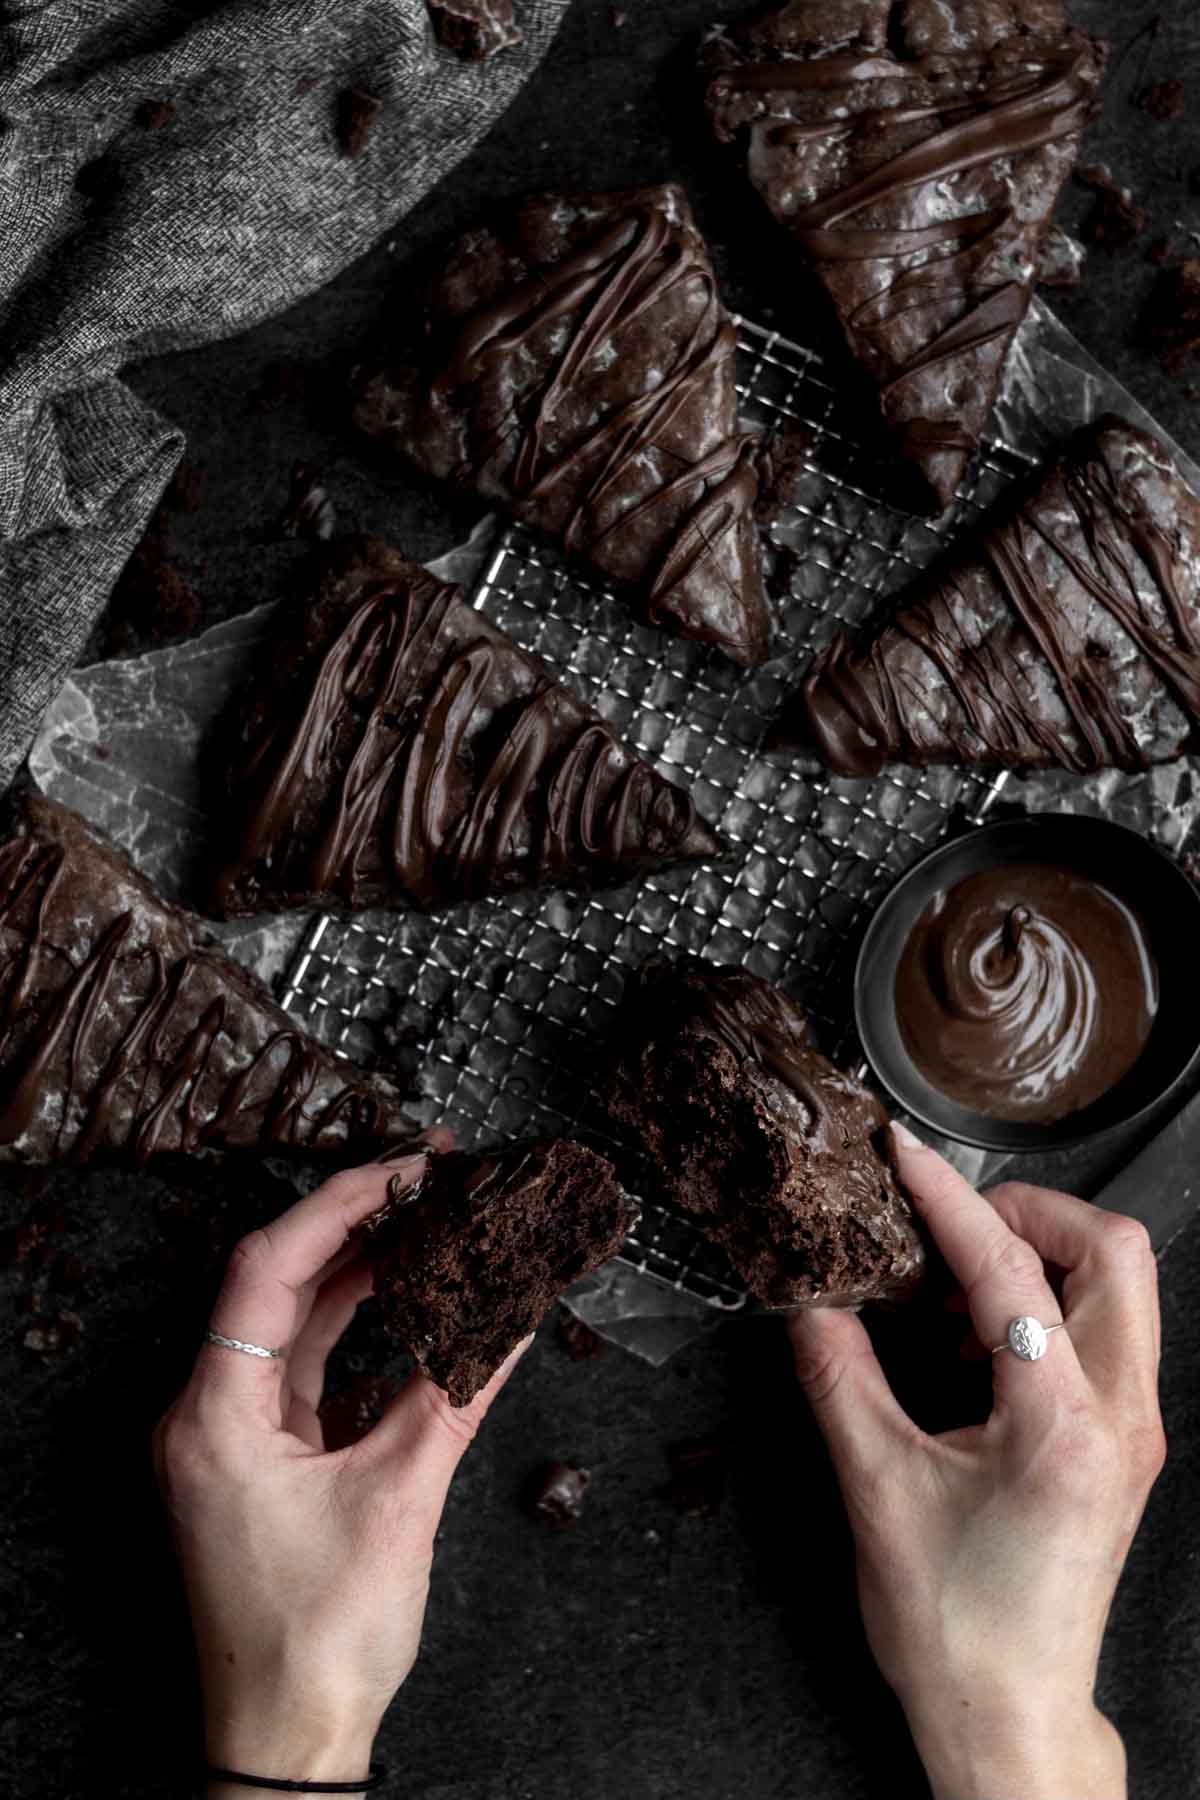
These beauties do not need an intro...the name says it ALL. Triple Chocolate Scones are decadent, rich, sweet and oh so incredible. Gluten free, egg free and nut free... they’re super simple to make, no kneading involved! They’re best served the same day so I would even make the dough the night before and then pop them in the oven to bake in morning...that way you will have fresh scones for bfast in as little as 25 min!
Love triple chocolate? Check out my Chocolate Loaf Cake, my Triple Chocolate Cheesecake, Triple Chocolate Donuts and Triple Chocolate Cinnamon Rolls.
Jump to:
Reasons to Love these Scones
Let’s have an honest discussion. I had never made scones prior to these. I thought they were out of reach.
I am not sure where I came up with the assumption that they are incredibly difficult to make because the truth is...they’re NOT!
I am seriously in shock as to how simple Triple Chocolate Scones are to make and as I said, if you make the wedges ahead of time...you can have fresh scones for breakfast in 25 minutes. Ok 30...because you need to glaze them.
(If you make the wedges ahead of time, store them on a plate overnight covered with plastic wrap in the fridge.)
They truly are best served the same day. By day two they’re still decent, but they do start to dry out...even if you store them in an air tight container.
This is one of the most common issues with using gluten free flour.
At any rate, they’re so so good.
How to Make Triple Chocolate Scones
Here are the step by step instructions to make these cookies!
Step 1: Preheat the Oven and Whisk the Dry Ingredients
Preheat your oven to 375 degrees Fahrenheit and line a large baking sheet with parchment paper. Set aside.
In a large bowl, whisk together the gluten free flour, cocoa powder, granulated sugar, baking powder, cinnamon and salt. Set aside.
Step 2: Make the Cornstarch Water
In a small bowl, using a spoon, mix together your cornstarch and 3 tablespoons of water until it is thin and watery. It will be thick and tacky at first.
Step 3: Mix the Wet Ingredients
Pour the heavy cream and vanilla into the cornstarch water mixture and whisk everything to combine. Set aside.
Step 4: Grate the Butter
Take your unsalted butter out of the freezer and using a cheese grater, grate the entire stick of butter into the dry ingredients. If you don’t have a grater you can cut tiny little pea sized pieces of butter into the dry ingredients.
Once the entire stick is grated, use clean hands to mix it all around. You don’t want giant clumps of butter...you want pea sized pieces or less.
Step 5: Add in the Wet Ingredients and Chocolate Chips
Once combined, whisk your wet ingredients one more time to make sure the cornstarch didn’t thicken and pour the wet ingredients in a circular motion into the dry ingredients. Pour in your chocolate chips and use a spatula to mix everything together.
Step 6: Shape into Discs
Once mixed, the dough should be crumbly. Lightly flour a clean work surface and pour the crumbly dough onto the surface. Using your hands, form the dough into a ball and flatten it into an 8 inch round disk. You don’t need to knead it, you just need it to hold together. If it feels like it’s sticking the the surface, use a little extra gluten free flour for dusting.
Step 7: Cut the Wedges
Once the dough is in the 8 inch disk, using a large knife, cut it into 8 triangular wedges...like you would cut a pizza. I like a big knife vs a pizza cutter because the dough is pretty thick and I feel like the knife works better.
Step 8: Bake
Place the wedges on the lined baking sheet, make sure they’re at least 2 inches apart and bake in the center rack for 25 minutes.
If all your scones don’t fit on your baking sheet, keep the ones that don’t fit in the fridge until you’re ready to bake them.
Once the scones are done, take them out of the oven and start to make the glaze.
For the Glaze
Step 1: Whisk the Ingredients
In a small bowl, whisk together the confectioners’ sugar, water and vanilla.
Step 2: Add the Glaze
You can either dunk the top of the scones into the glaze or you can use a pastry brush. I like the pastry brush because I also like the sides of the scones to be covered with the glaze.
Brush the top and sides of the scones with the glaze. The glaze hardens quickly.
Step 3: Melt the Chocolate and Drizzle
While the glaze is hardening, melt your chocolate chips in the microwave in 15 second increments, stirring after each time, until melted.
Use a spoon to drizzle the chocolate on top of each scone. Serve and enjoy!
Expert Tips
So by nature, cocoa powder is dryer than flour. So when we make chocolate scones we need to make up for that dryness and that’s where the heavy cream comes in.
If you can’t have dairy, there are vegan heavy cream substitutes. I know Silk makes a vegan heavy cream alternative but I have not tried it. If you use something like coconut cream, the scones are going to have a coconut taste.
You can also try a homemade vegan buttermilk instead: 1 cup non dairy milk of choice mixed with 1 tablespoon white vinegar. Stir and let sit 5 min. Once it’s chunky, dump a little bit out so that you’re only using ¾ a cup.
Since the homemade buttermilk is thinner than heavy cream, the scones might spread more instead of puffing up nicely. However, gluten free flour has a tendency to rise nicely so hopefully that will help.
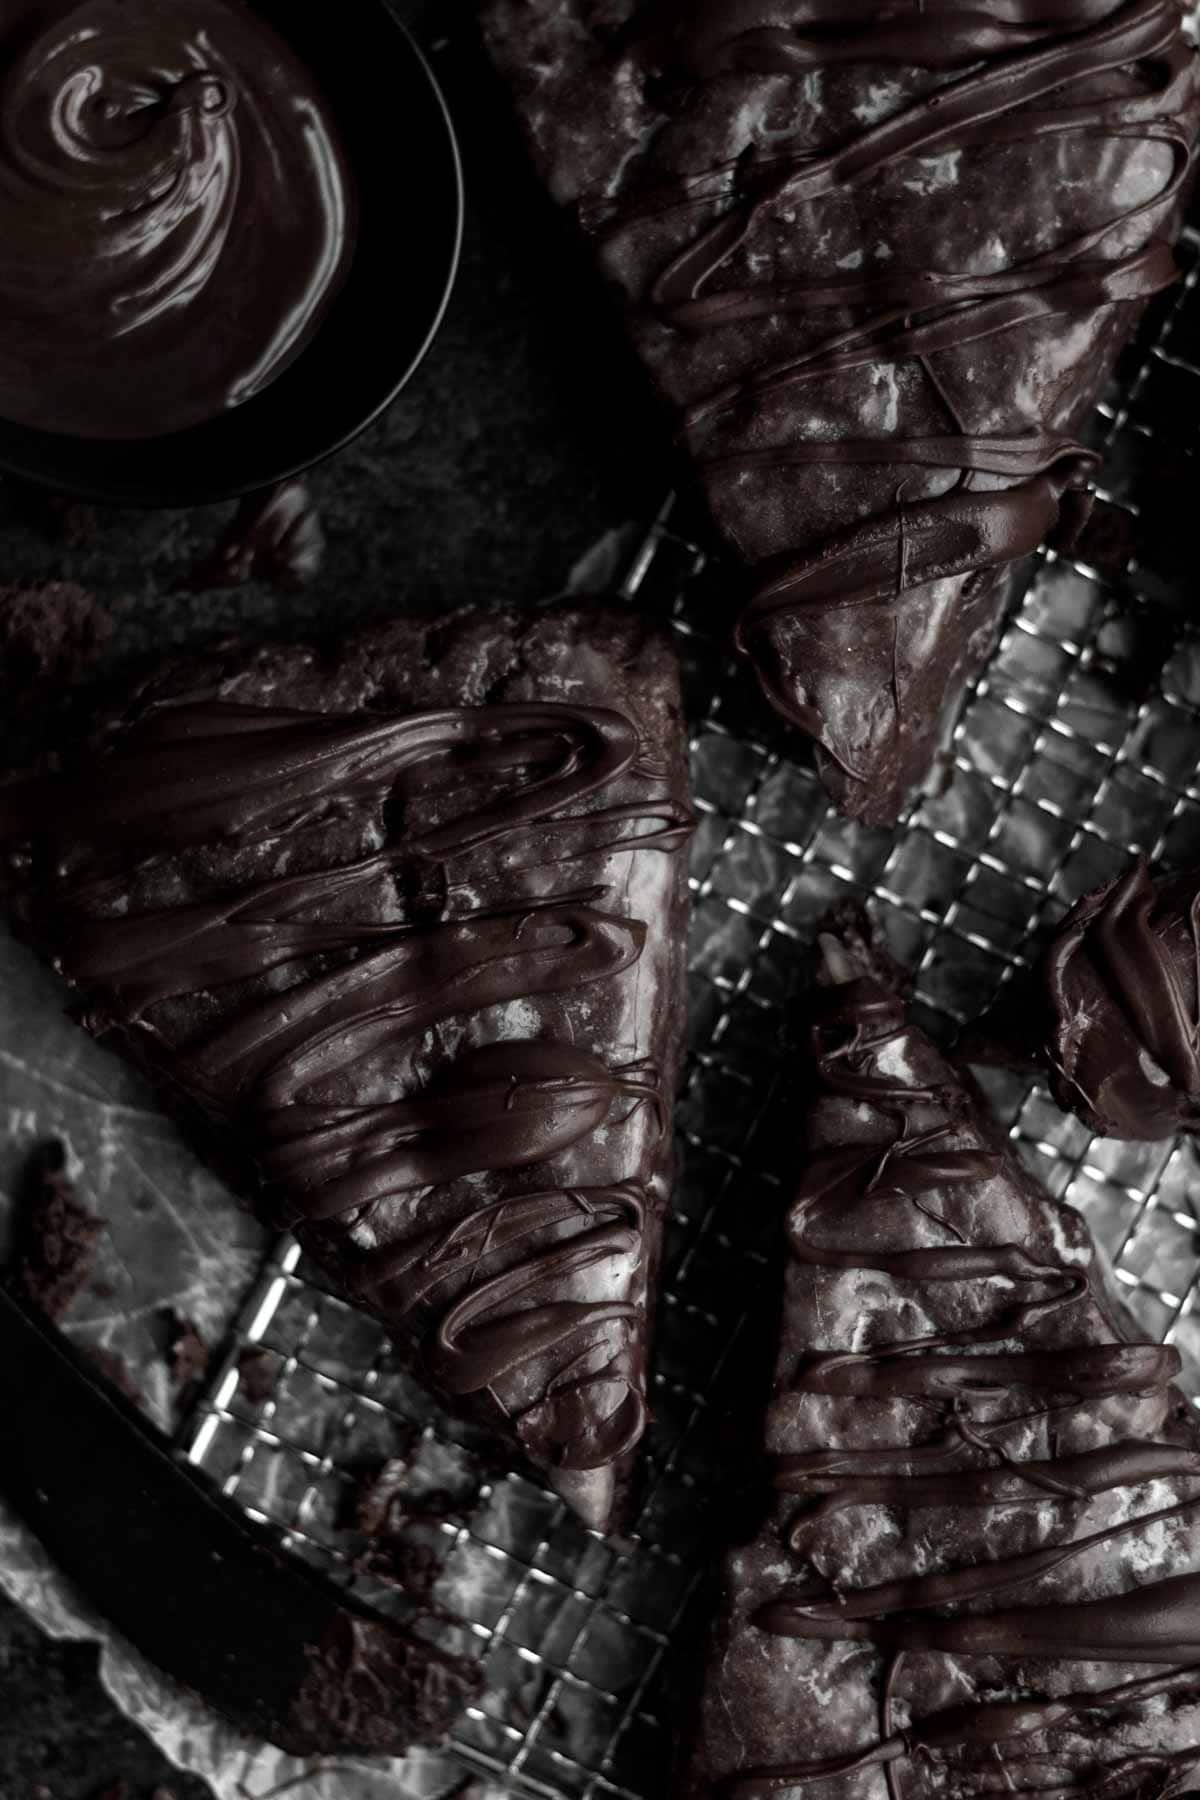
Glazing Tips for Triple Chocolate Scones
Once you take the scones out of the oven, you want to make the glaze.
It only take a few minutes to whip up.
Before you start glazing, set up a cooling rack with parchment paper or wax paper underneath. When you glaze it will drip as it dries and if you don’t have something underneath the rack, your counter will be a mess.
Also, make sure you let them dry on a cooling rack because if you let them dry on a pan or a sheet, the bottom of the scone won’t dry and will end up wet and soggy.
As for the glazing itself...you can dunk the scones into the glaze but I prefer to brush the glaze on using a pastry brush. This way I can glaze the tops and the sides of every scone. Not the bottom.
It’s also much neater this way. If you dunk the scone you’re going to have drips all down the sides. Brushing the glaze on gives the scones a nice clean look.
Anyway, I could not be more chocolate obsessed; I hope you enjoy my version of these wonderful gluten free, nut free and egg free Triple Chocolate Scones!
Recipe FAQs
Ok.. If you don’t have it in the freezer it’s not a huge deal. The first time I made the scones I just used butter from the fridge. After that I tried freezing it as Sally’s Baking Addiction says to do and I did prefer them this way. This way the butter melts in the oven versus melting from your hand while you’re grating it.
No. BUT, with that said, it works way better if you do this step. It gets the butter into those tiny like pieces that you just can’t get by ripping it or cutting it up.
Grating the butter helps for the next step when you mix it together. If it isn’t grated, the butter is much more difficult to work with in the flour mixture.
Other Breakfast Recipes You'll Love
Did you try this recipe? Please leave me a ⭐ review below!
Don’t forget to tag me on Instagram @laneandgreyfare and follow along on Pinterest, Facebook and YouTube! Enjoy!!!
📖 Recipe
Triple Chocolate Scones
Ingredients
For the Scones
- 1 ⅔ cup gluten free flour plus a little extra for dusting
- ⅓ cup Natural or Dutch Cocoa Powder
- ½ cup granulated sugar
- 2 ½ teaspoon baking powder
- ½ teaspoon ground cinnamon
- ½ cup unsalted butter or vegan baking stick, frozen
- ¾ cup heavy cream
- 2 heaping tablespoon cornstarch mixed with 3 tablespoons of water
- 1 ½ teaspoon pure vanilla extract
- 1 cup chocolate chips
For the glaze and drizzle
- 1 cup confectioners' sugar
- 2 tablespoons room temperature water
- 1 teaspoon pure vanilla extract
- ⅔ cup chocolate chips melted
Instructions
For the scones
- Preheat your oven to 375 degrees Fahrenheit and line a large baking sheet with parchment paper. Set aside.
- In a large bowl, whisk together the gluten free flour, cocoa powder, granulated sugar, baking powder, cinnamon and salt. Set aside.
- In a small bowl, using a spoon, mix together your cornstarch and 3 tablespoons of water until it is thin and watery. It will be thick and tacky at first.
- Pour the heavy cream and vanilla into the cornstarch water mixture and whisk everything to combine. Set aside.
- Take your unsalted butter out of the freezer and using a cheese grater, grate the entire stick of butter into the dry ingredients. If you don’t have a grater you can cut tiny little pea sized pieces of butter into the dry ingredients.
- Once the entire stick is grated, use clean hands to mix it all around. You don’t want giant clumps of butter...you want pea sized pieces or less.
- Once combined, whisk your wet ingredients one more time to make sure the cornstarch didn’t thicken and pour the wet ingredients in a circular motion into the dry ingredients. Pour in your chocolate chips and use a spatula to mix everything together.
- Once mixed, the dough should be crumbly. Lightly flour a clean work surface and pour the crumbly dough onto the surface. Using your hands, form the dough into a ball and flatten it into an 8 inch round disk. You don’t need to knead it, you just need it to hold together. If it feels like it’s sticking the the surface, use a little extra gluten free flour for dusting.
- Once the dough is in the 8 inch disk, using a large knife, cut it into 8 triangular wedges...like you would cut a pizza. I like a big knife vs a pizza cutter because the dough is pretty thick and I feel like the knife works better.
- Place the wedges on the lined baking sheet, make sure they’re at least 2 inches apart and bake in the center rack for 25 minutes.
- If all your scones don’t fit on your baking sheet, keep the ones that don’t fit in the fridge until you’re ready to bake them.
- Once the scones are done, take them out of the oven and start to make the glaze.
For the glaze
- In a small bowl, whisk together the confectioners’ sugar, water and vanilla.
- You can either dunk the top of the scones into the glaze or you can use a pastry brush. I like the pastry brush because I also like the sides of the scones to be covered with the glaze.
- Brush the top and sides of the scones with the glaze. The glaze hardens quickly.
- While the glaze is hardening, melt your chocolate chips in the microwave in 15 second increments, stirring after each time, until melted.
- Use a spoon to drizzle the chocolate on top of each scone. Serve and enjoy!
Nutrition
Recipe adapted from Sally's Baking Addiction's Triple Chocolate Scone's Supreme Recipe.



Ellie says
Hi Lee! Thanks for sharing the recipe:) I’d like to ask how much does one stick butter weigh? I don’t live in the states so I have no idea… thank you 🙏
Lee says
Hi Ellie! It should be updated now! Sorry about that!
Jen says
Can you make them with regular flour? Non gluten free?
Lee says
You can! Sadly, due to celiac disease I cannot test them but if using regular AP flour, make sure to use packed cups of flour (about 280 grams) and lessen the amount of heavy cream to about 1/2 cup. Hope that helps!
John says
Making these alongside my drip coffee really makes my mornings great. Thank you!
Lee Anne says
Oh, I've got to make this recipe! Just printed it out...actually, I've printed out several today. Love scones and this looks amazing!
Lee says
Thanks so much!