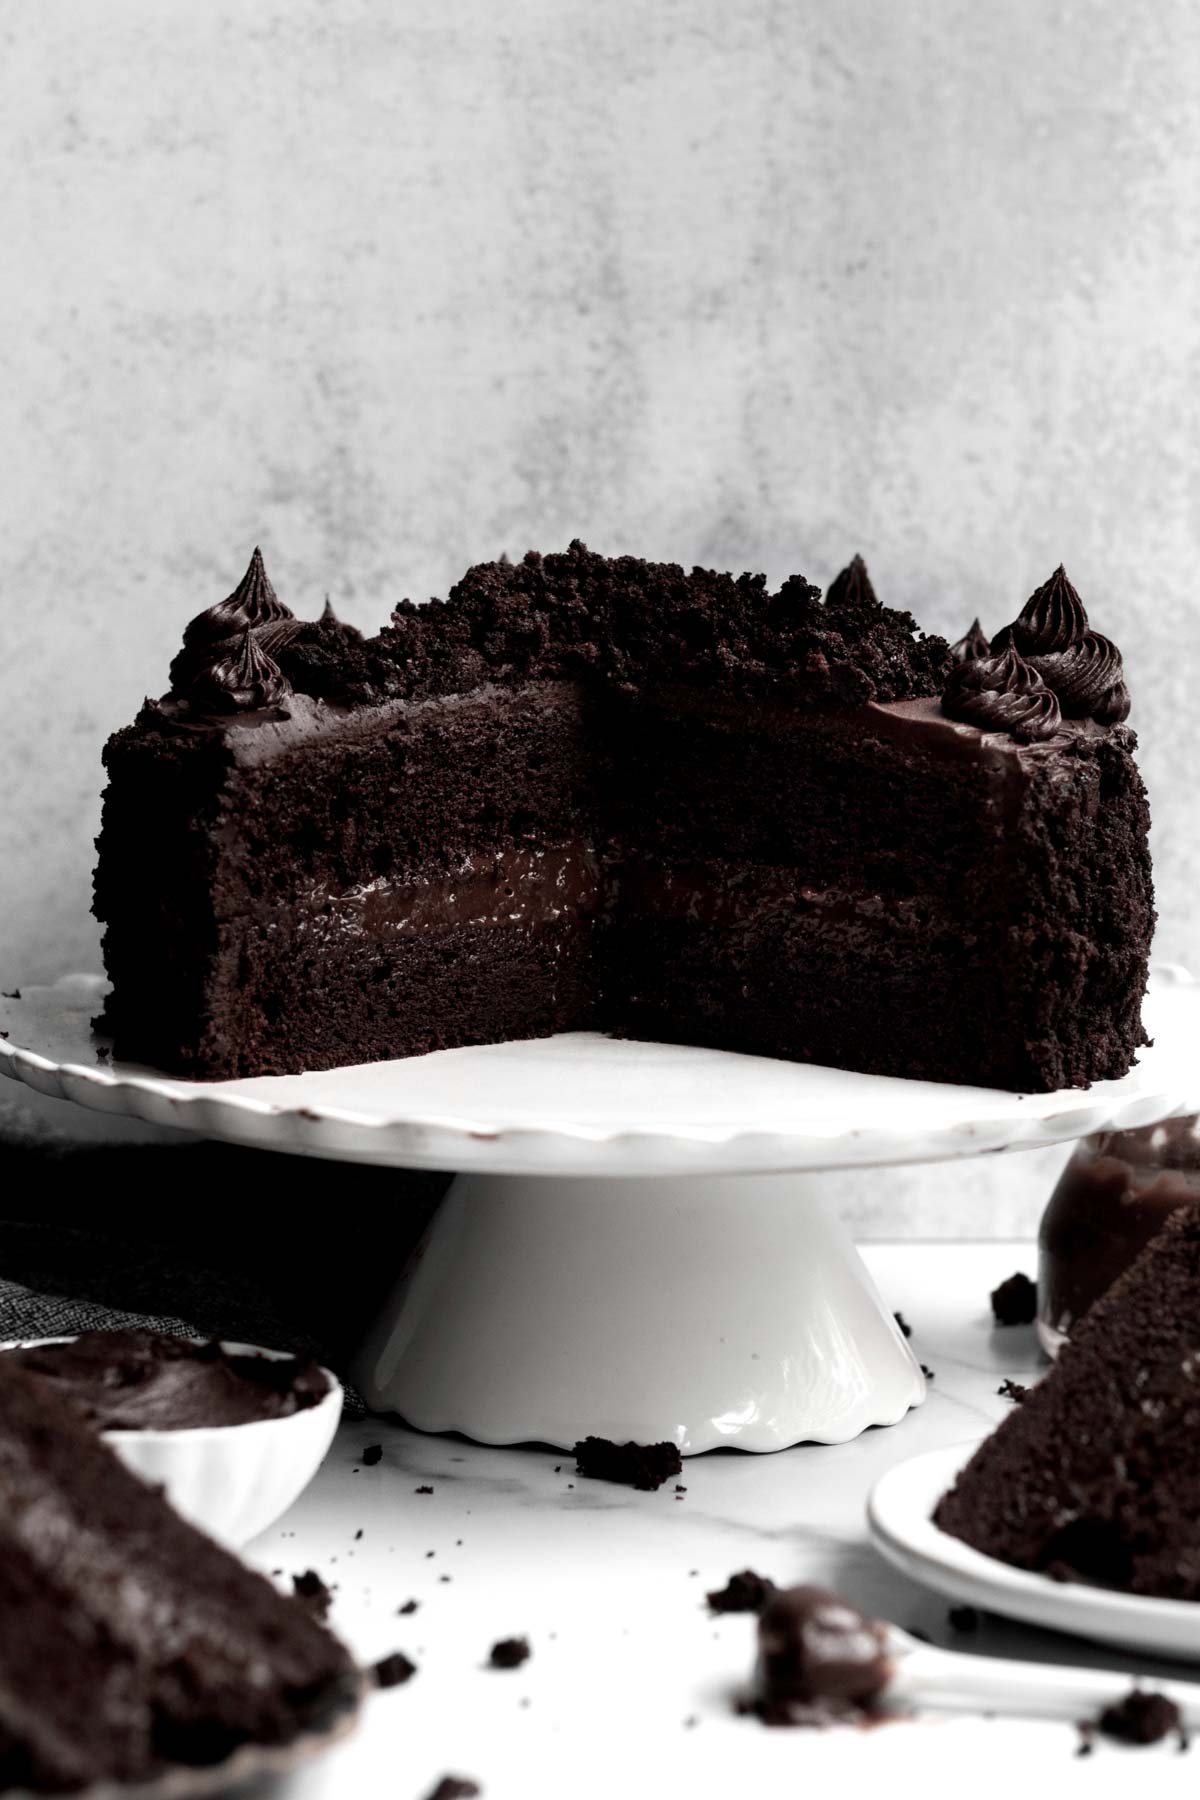
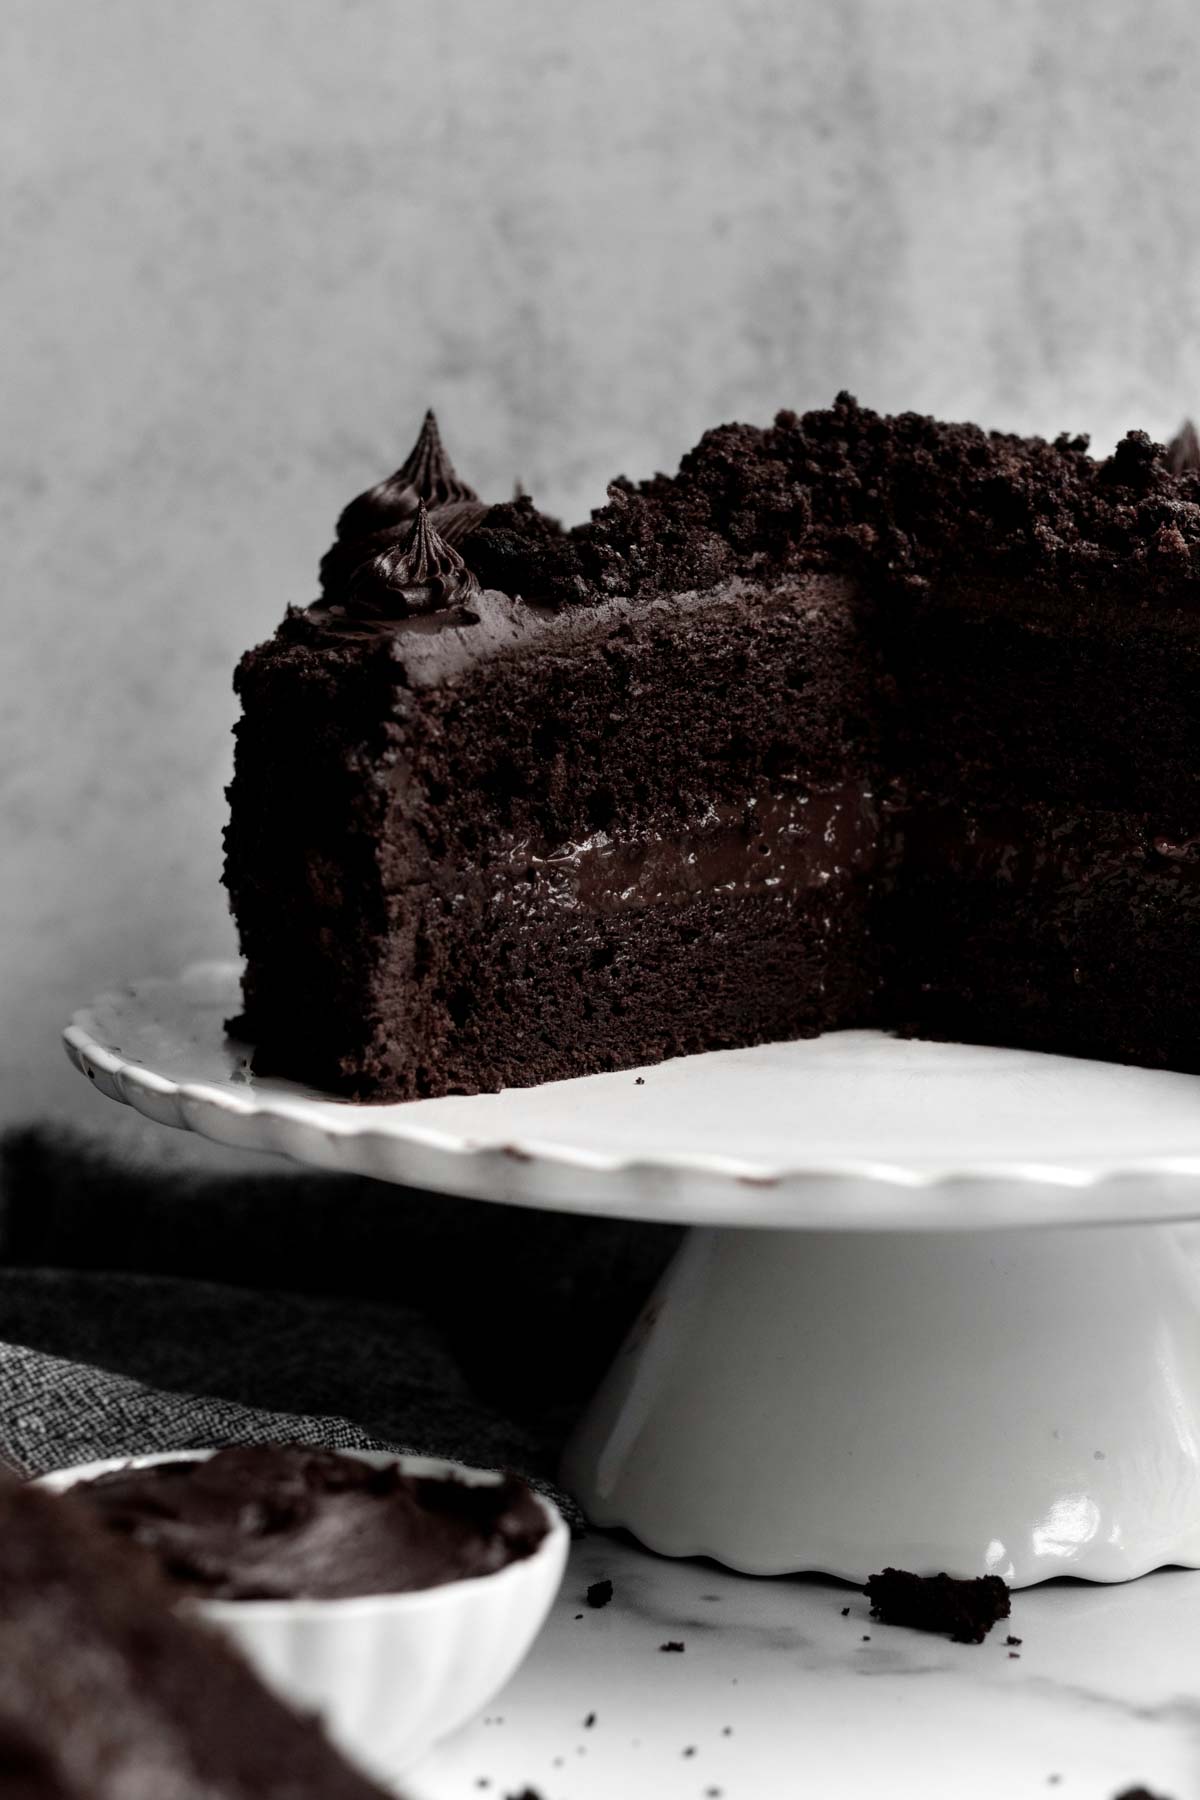
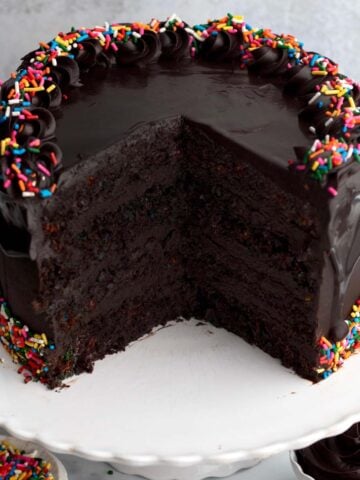
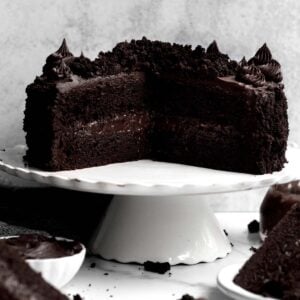
This Brooklyn Blackout Cake has layers of soft chocolate cake, silky chocolate pudding filling, surrounded by chocolate fudge frosting topped with chocolate crumbs. It's decadence on a fork. If that wasn’t enough, it’s gluten free, nut free, eggless and easily vegan! If you're a chocoholic, this is the cake for you!!!
Brooklyn Blackout Cake has always been my favorite cake...forever! It's decadent, moist, rich and this one is allergy friendly! No one would ever believe it! It's always a crowd favorite much like my Chocolate Fudge Cupcakes! Try it with another New York classic...New York Chocolate Egg Cream!
For more chocolate cake recipes, try my Triple Chocolate Cake, Chocolate Blueberry Cake and Chocolate Funfetti Cake.
Reasons to Love this Cake
- Allergy Friendly- This cake is gluten free, nut free, egg free and can easily be dairy free (vegan)!
- Soft & Fluffy- The cake is super soft, decadent and delicious.
- Pudding- It has dairy free chocolate pudding in the middle!
- Easy to Make- The batter mixes up in just one large bowl with a whisk!
- Triple the Chocolate- It has chocolate cake, chocolate pudding and chocolate fudge frosting. For more triple chocolate, check out my Triple Chocolate Cookies.
Ingredient Notes
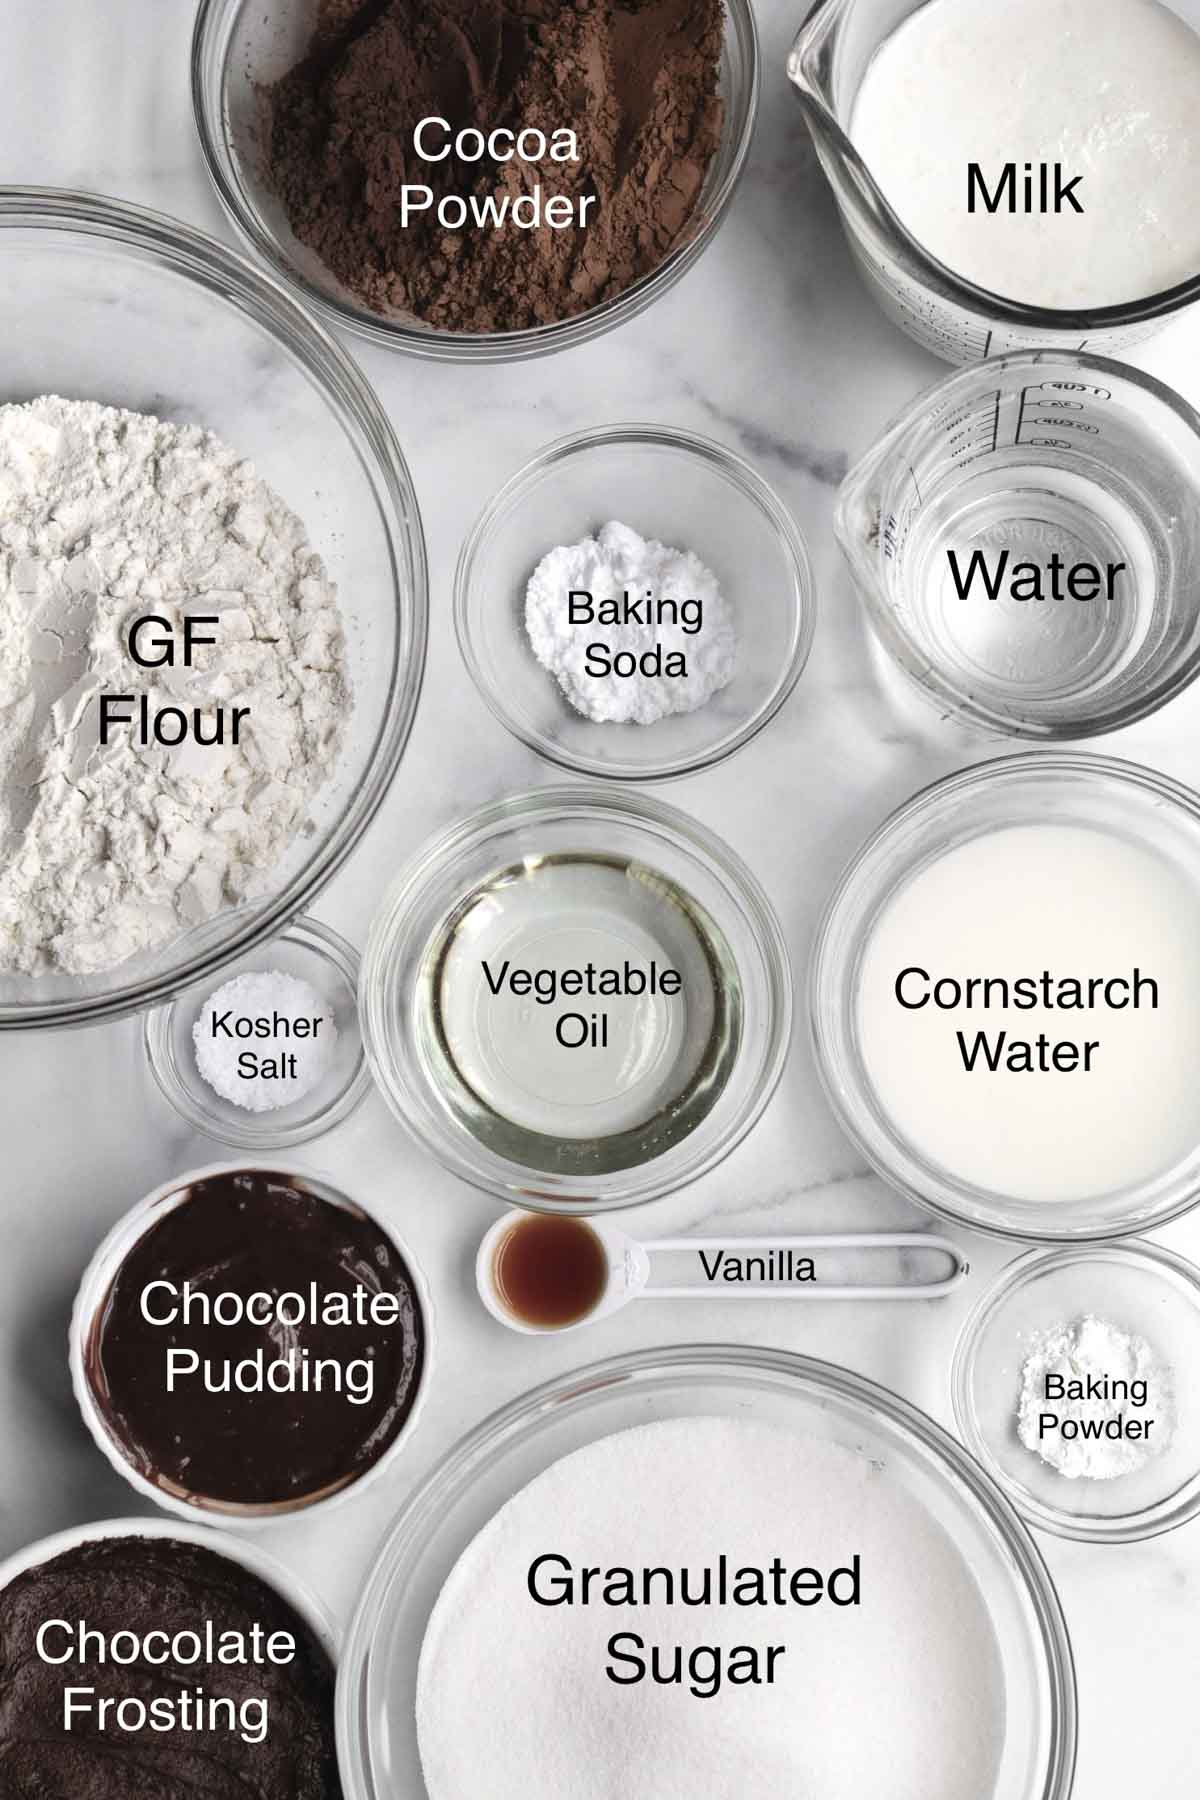
- Gluten Free Flour- If you also have nut allergies, make sure to use a brand that’s made in a nut free facility. I really love to use this gluten free flour because it’s nut safe but it does contain dairy. It also contains xanthan gum which really helps give baked goods their bounce.
- White Vinegar- We use this along with the milk to make a homemade buttermilk.
- Vegetable Oil- This cake uses oil instead of butter/vegan baking stick to help it stay moist.
- Cocoa Powders- I like to use two types but if you only want to use one, use Dutch or Natural Unsweetened.
- Cornstarch Water- This helps bind everything together since the cake is eggless.
- Chocolate Chips- To keep vegan, make sure to use gluten free/vegan chocolate chips. I love these allergy friendly chocolate chips.
See my recipe card below for a complete list of the ingredients with measurements.
Substitutions and Variations
How to Make this Vegan
- Use a gluten free flour that’s free from dairy.
- Make sure the brand of sugar you use is vegan.
- Use vegan baking sticks instead of butter in the frosting.
- Only use a non dairy milk of choice.
- Read the label on your chocolate chips to ensure they’re gluten free, nut free and vegan.
How to Make this recipe with All Purpose Flour
- Use 1 ½ cups packed AP flour (252 grams).
- Make sure to use ¾ cups packed cocoa powder.
This recipe has not been tested with these substitutions and/or variations due to celiac disease and food allergies. If you change any of the ingredients, please let us know how the recipe turned out in the comments below!
How to Make this Brooklyn Blackout Cake
Here are the step by step instructions to make this chocolate pudding cake!
Make the Pudding
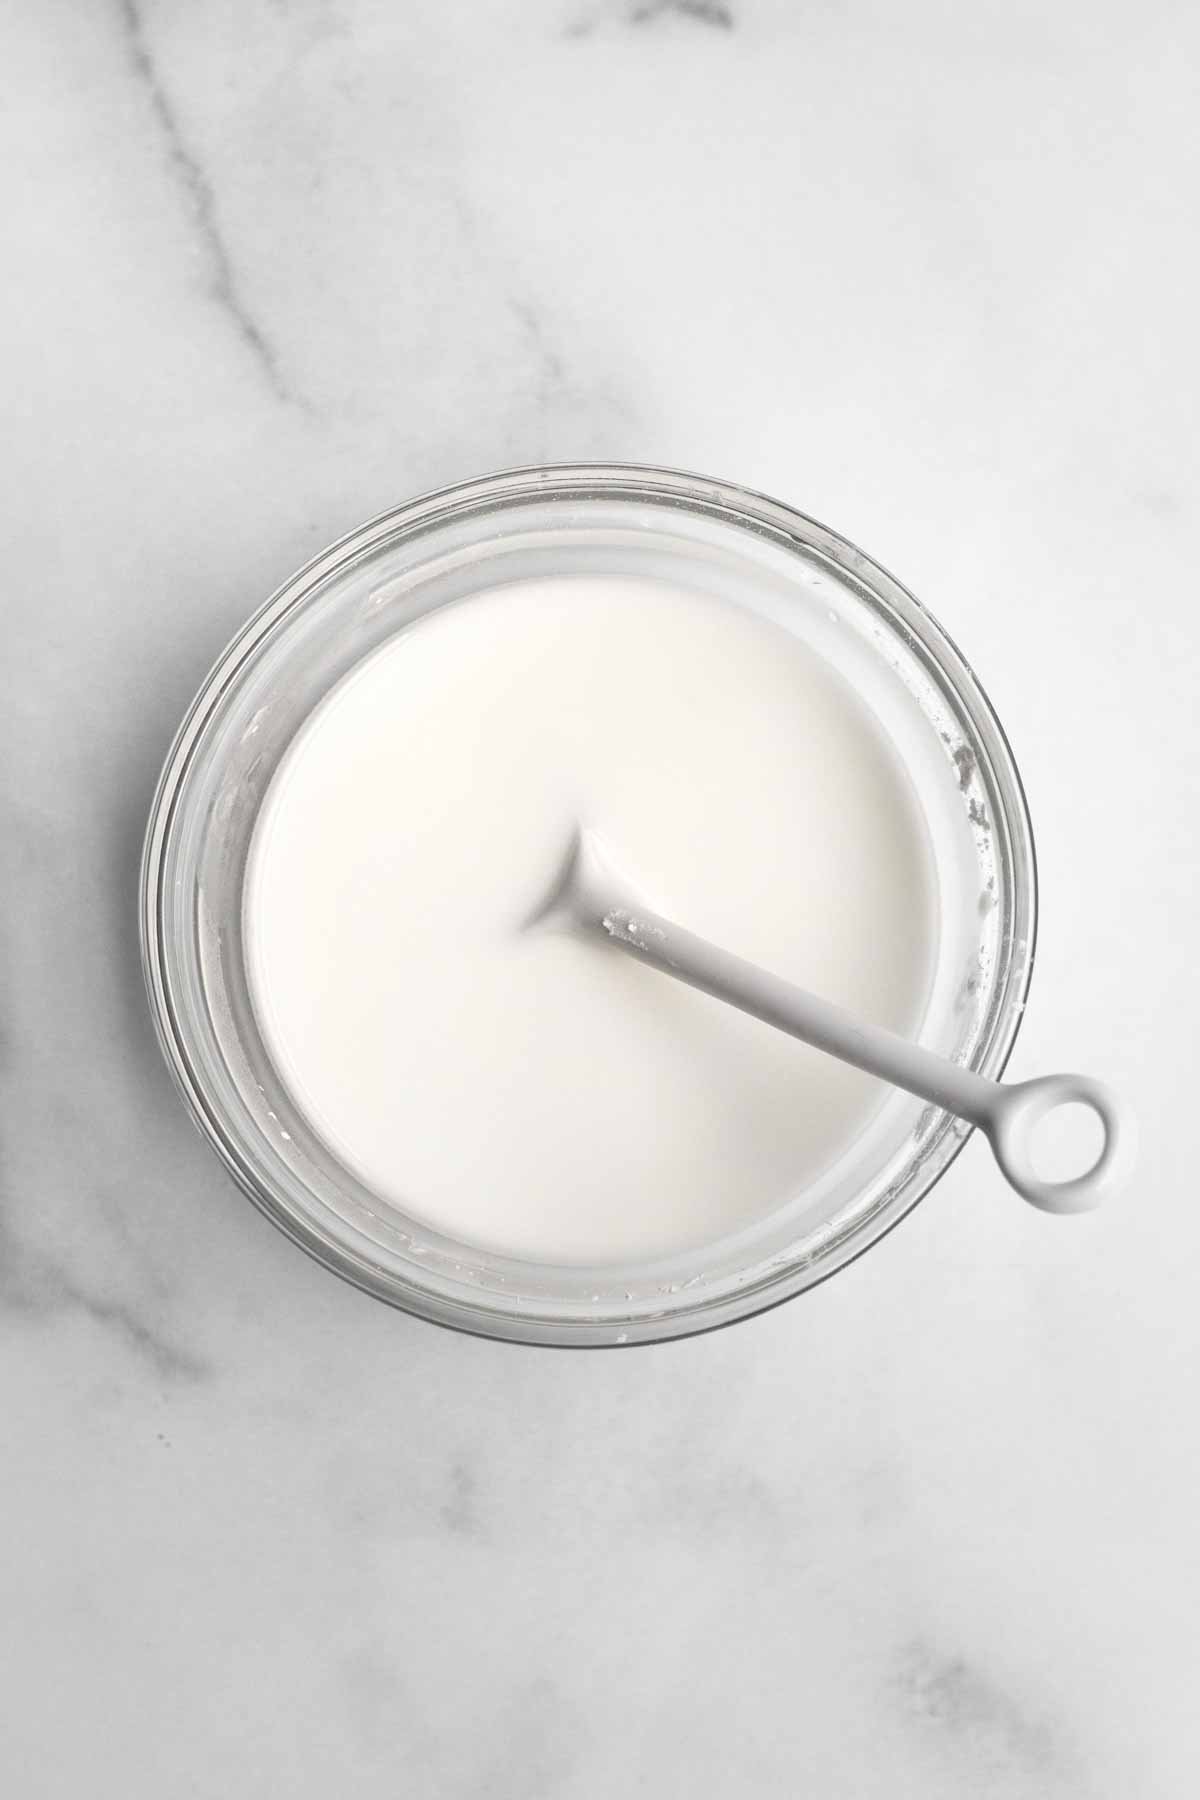
Step 1: Make the Cornstarch Water
In a small bowl, using a spoon, mix together the cornstarch and water until thin and watery. It will be thick and tacky at first. Set aside.
Step 2: Boil the Water and Mix with Cocoa Powder
Heat the water in the microwave for about 4 minutes until boiling. Or on the stove in a pan, until it comes to a rapid boil.
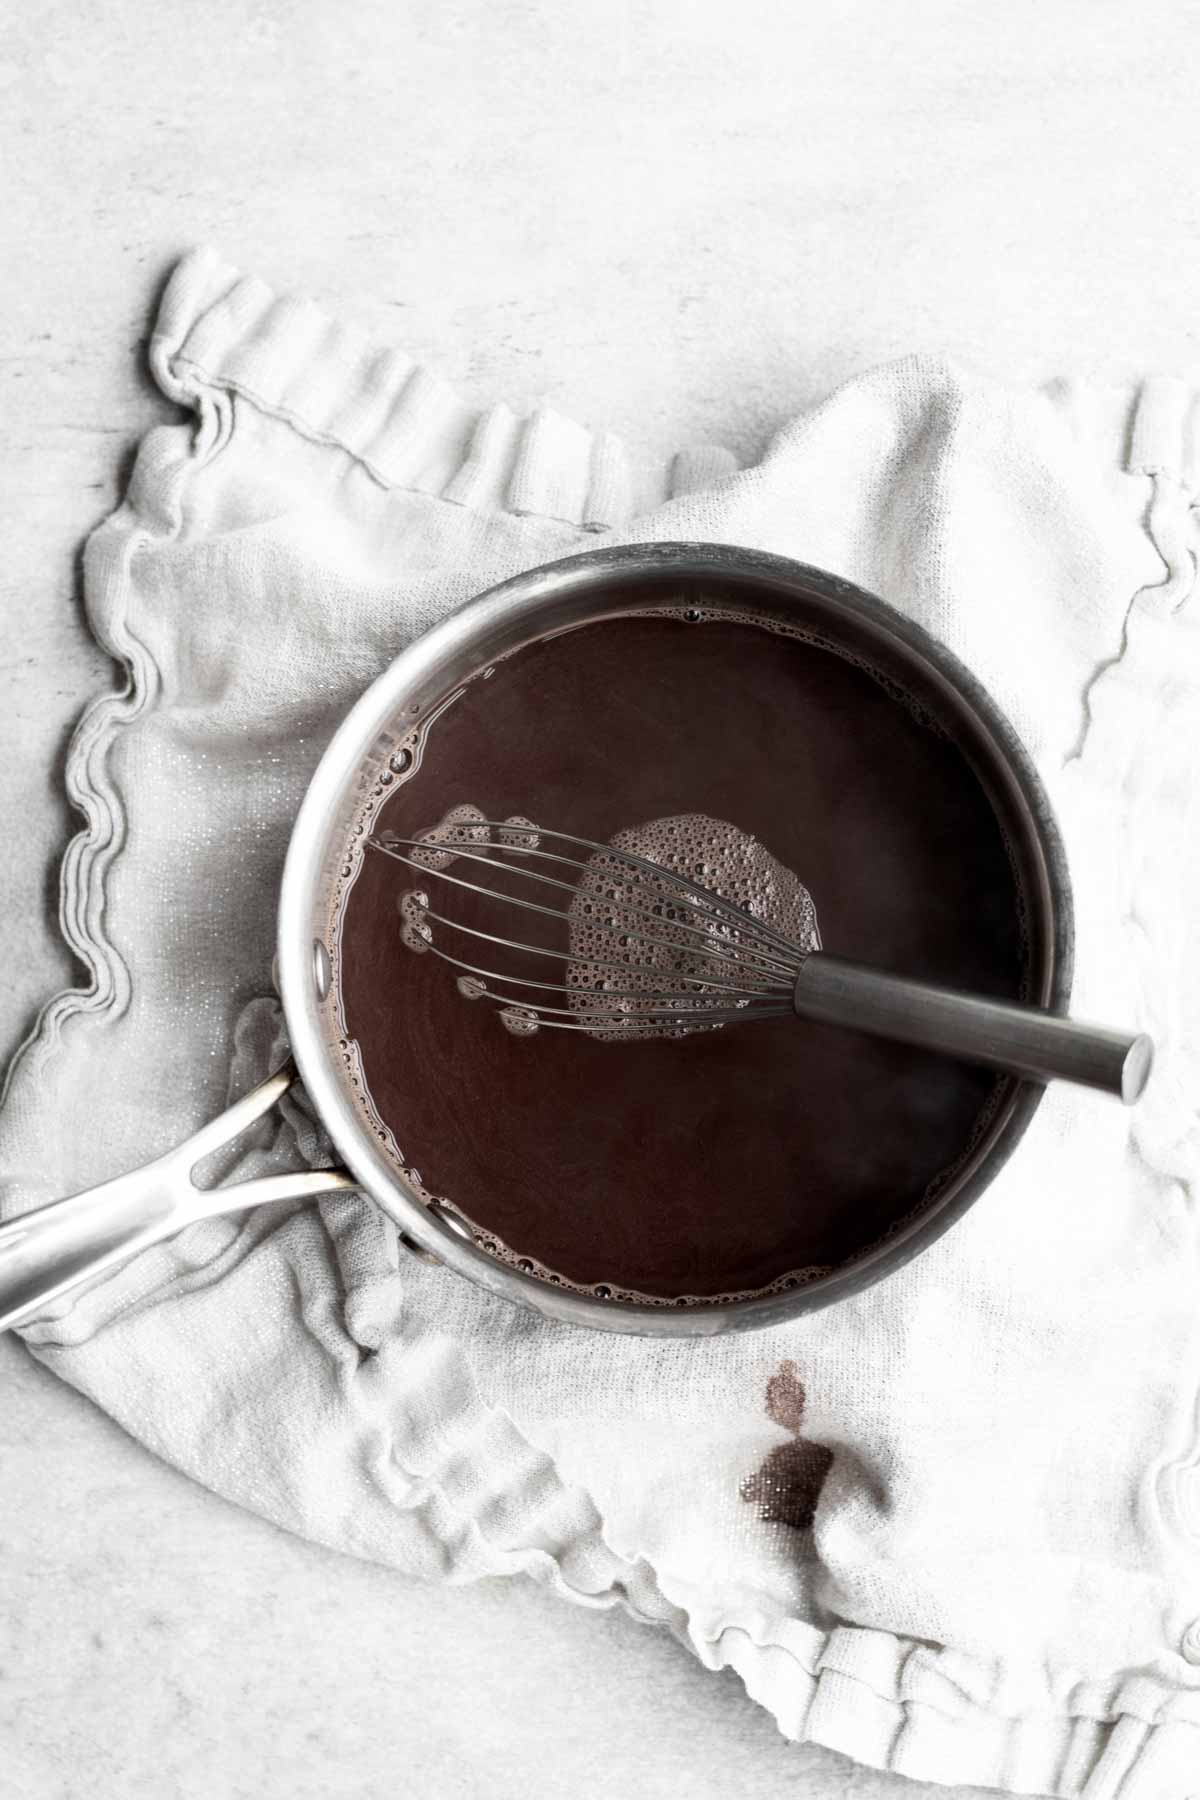
In a saucepan set over medium heat, whisk together the boiling water and cocoa powders.
Step 3: Add in other Ingredients and Boil
Whisk in the granulated sugar and chocolate chips until they are fully dissolved.
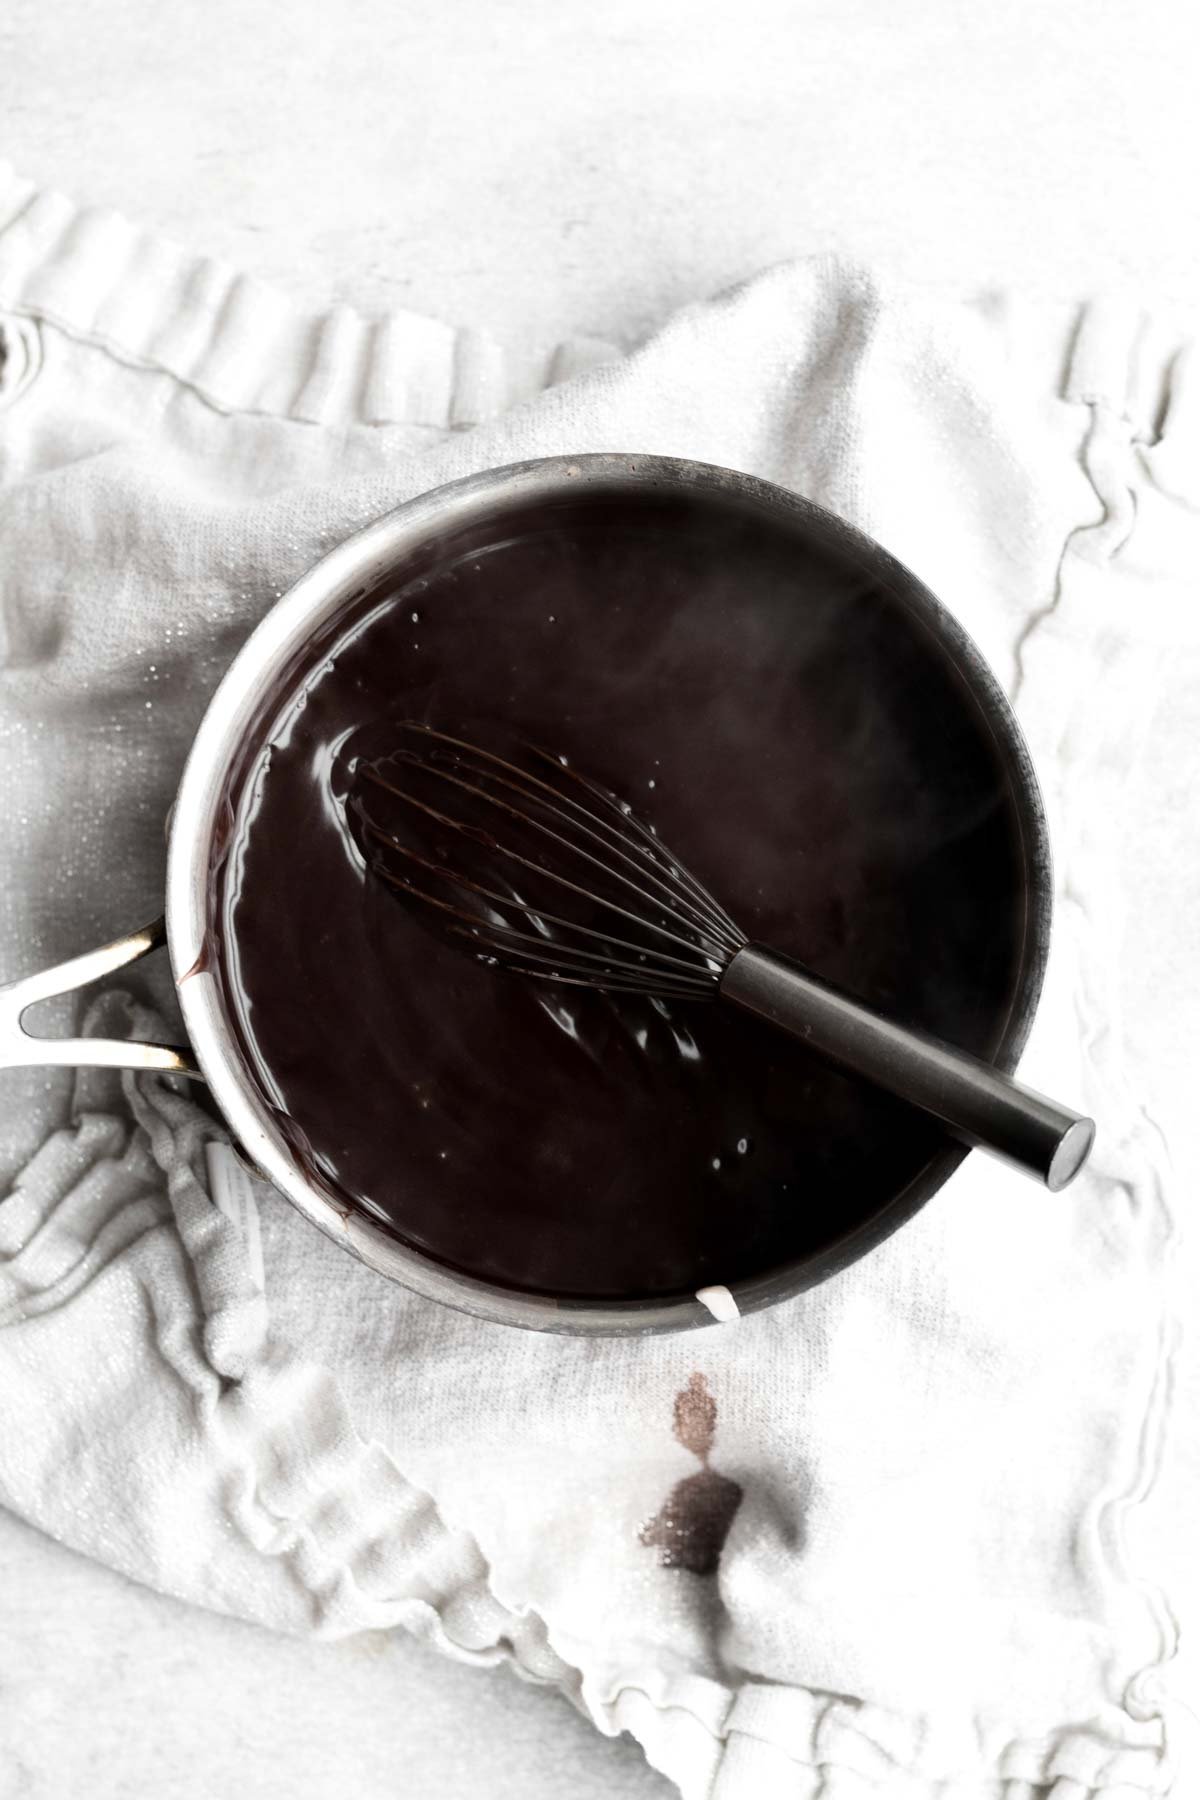
Whisk in the cornstarch water and salt until combined.
Whisking the entire time, bring the pudding to a boil. Once boiling, continue to whisk and boil for one minute. Then immediately remove from the heat.
Step 4: Whisk in the Vanilla and Butter/Vegan Baking Stick and Cool
Once off the heat, immediately whisk in the butter or vegan baking stick and vanilla until fully melted and combined.
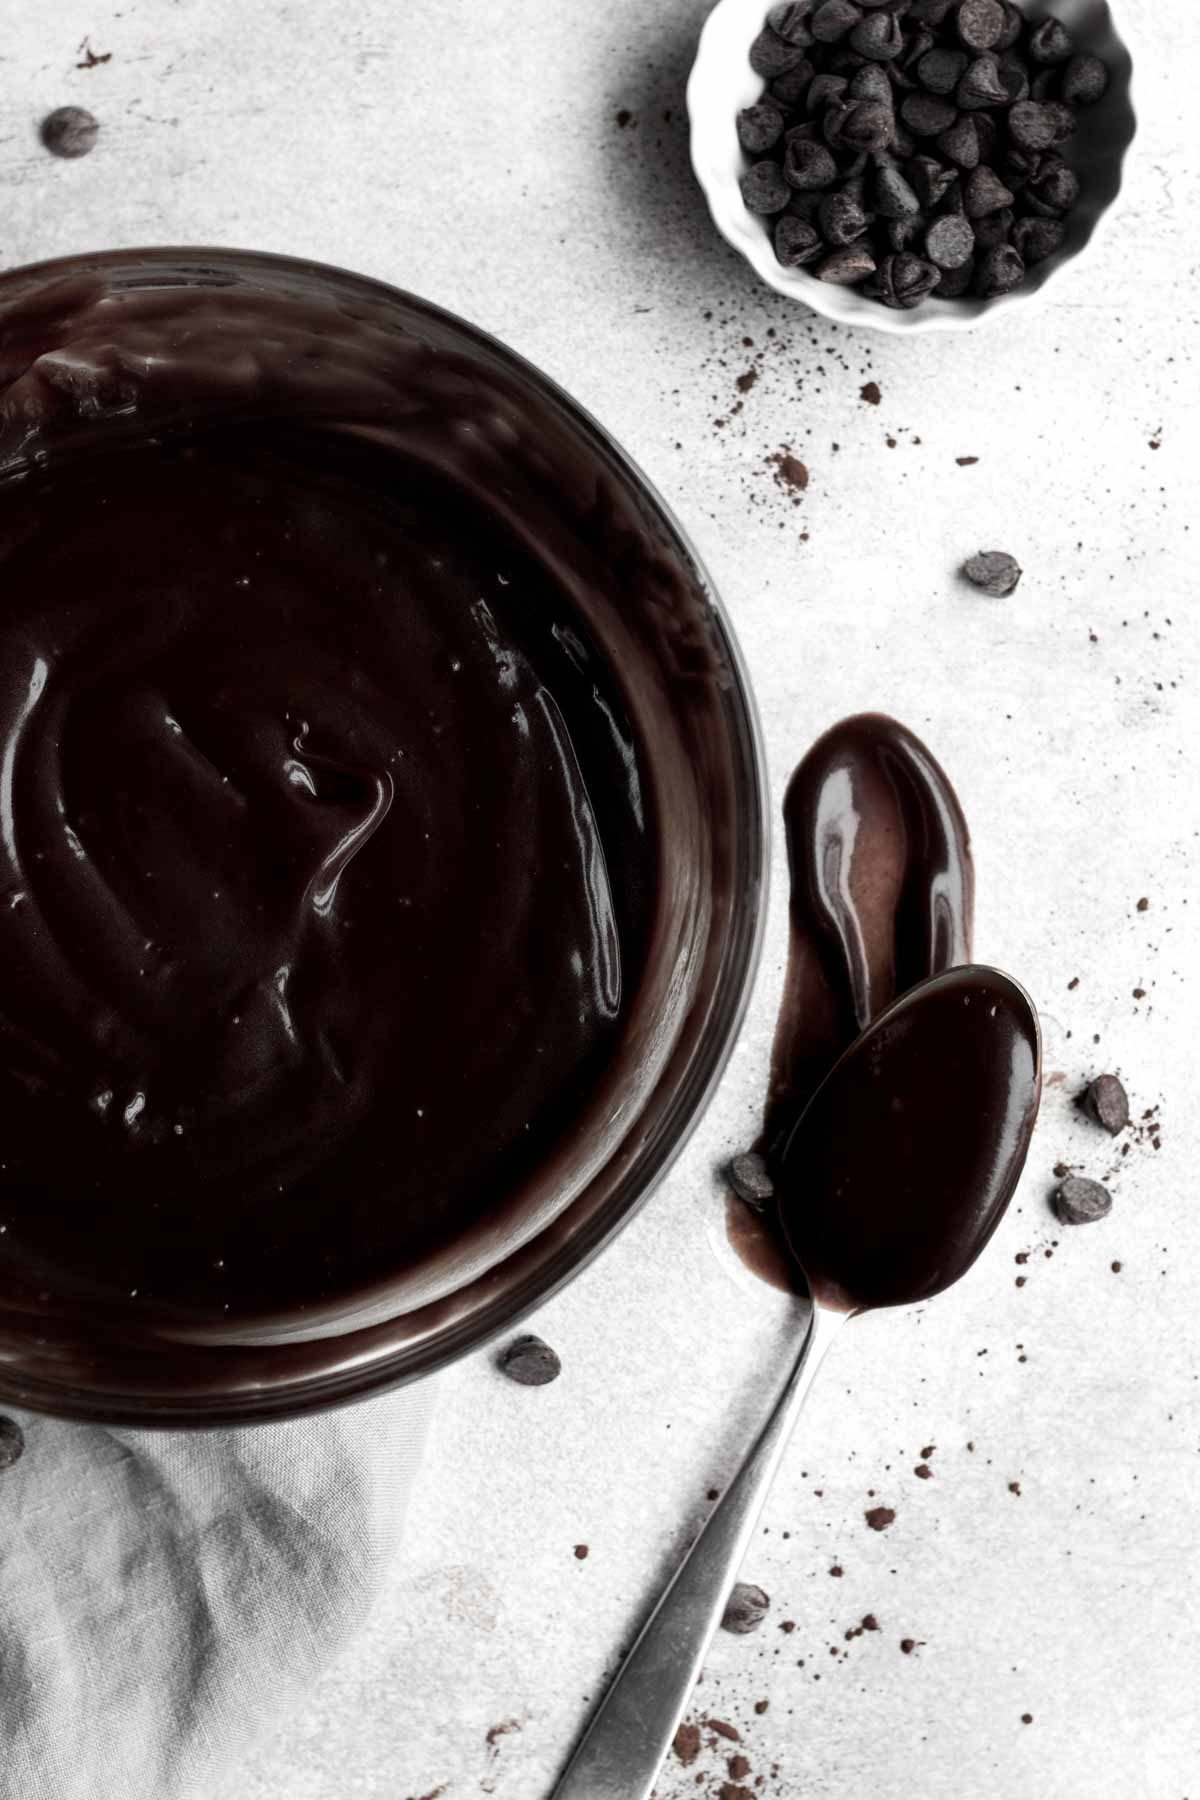
Leave the pan on a cutting board on the counter, whisking periodically until the pudding has cooled significantly. Then transfer to a heat safe bowl and refrigerate.
You want the pudding thick and cool when you assemble the cake. Make sure the pudding is made ahead of time and is cold from being in the fridge.
Make the Cake
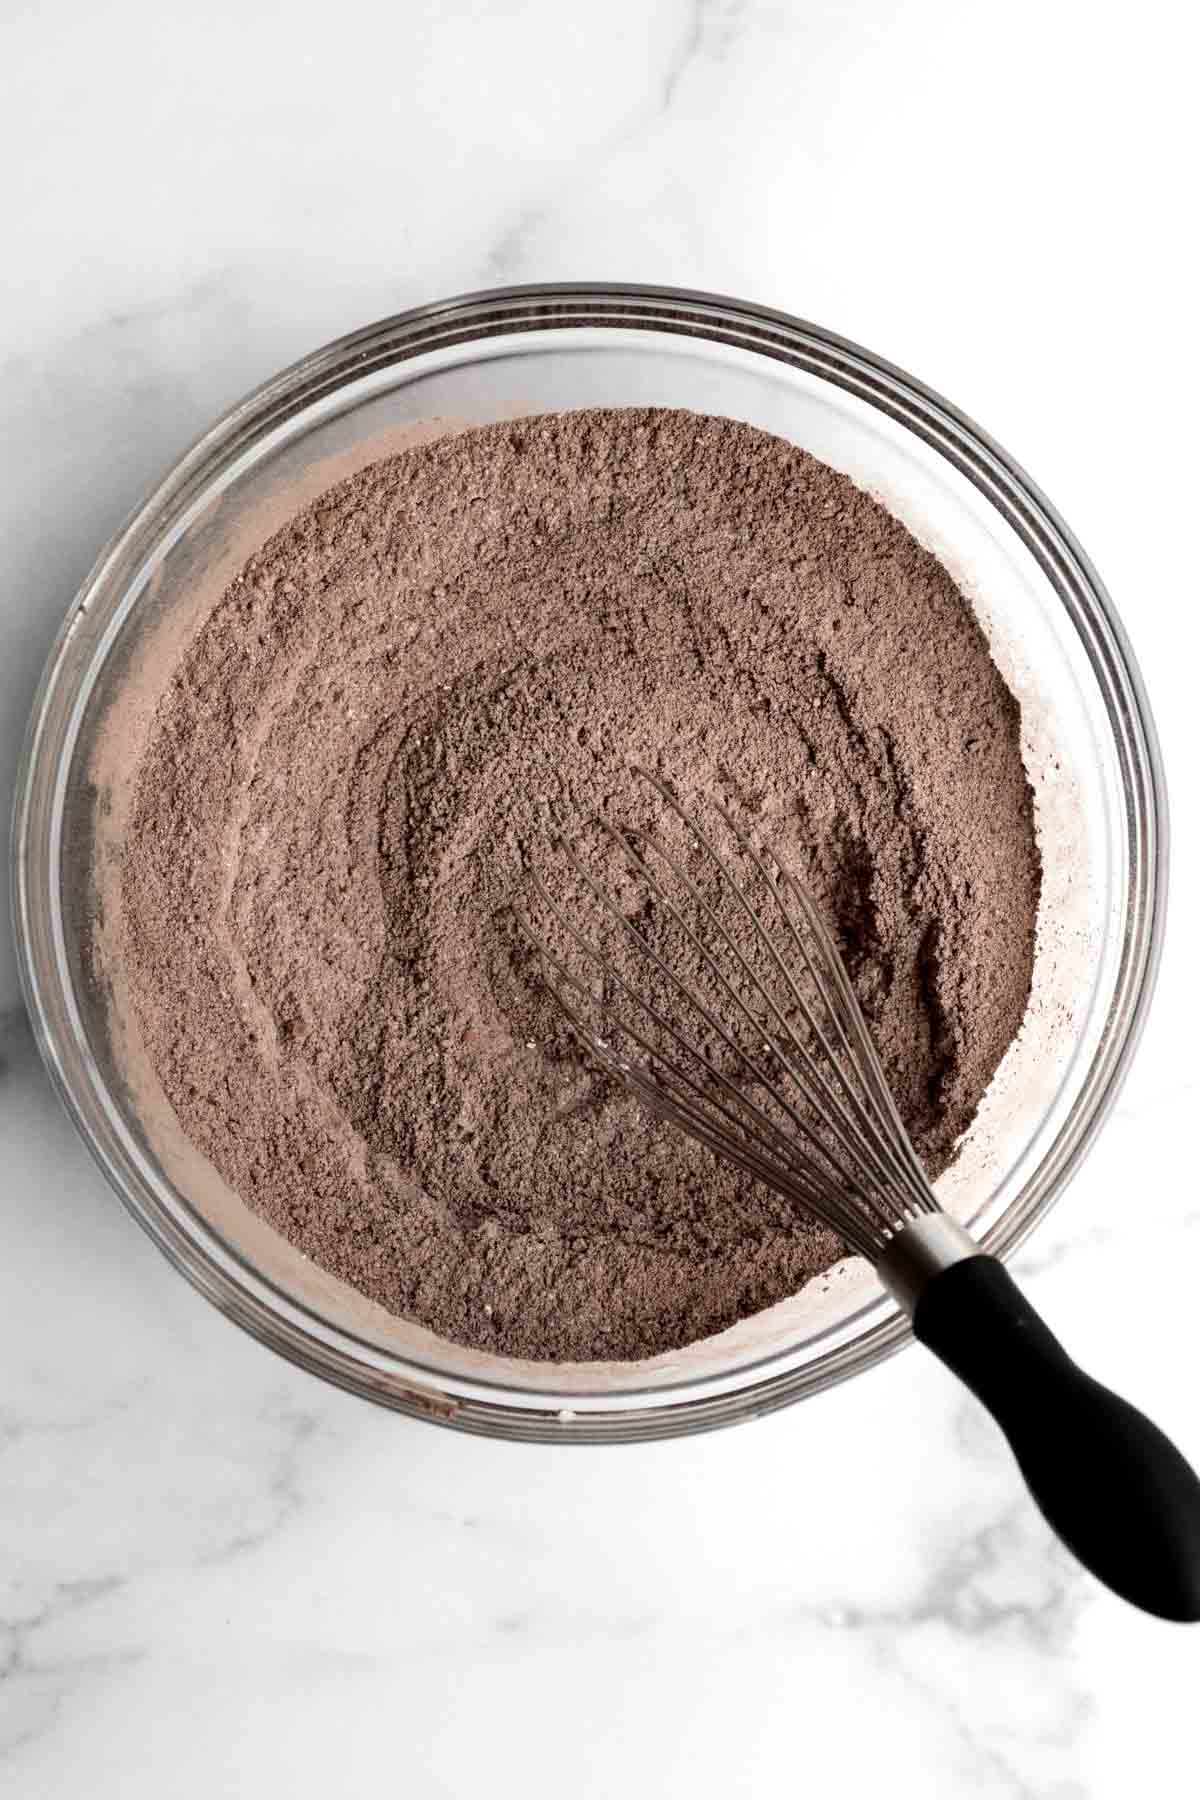
Step 1: Whisk Together all the Dry Ingredients
In a large bowl whisk together the gluten free flour, granulated sugar, cocoa powders, baking powder, baking soda and kosher salt.
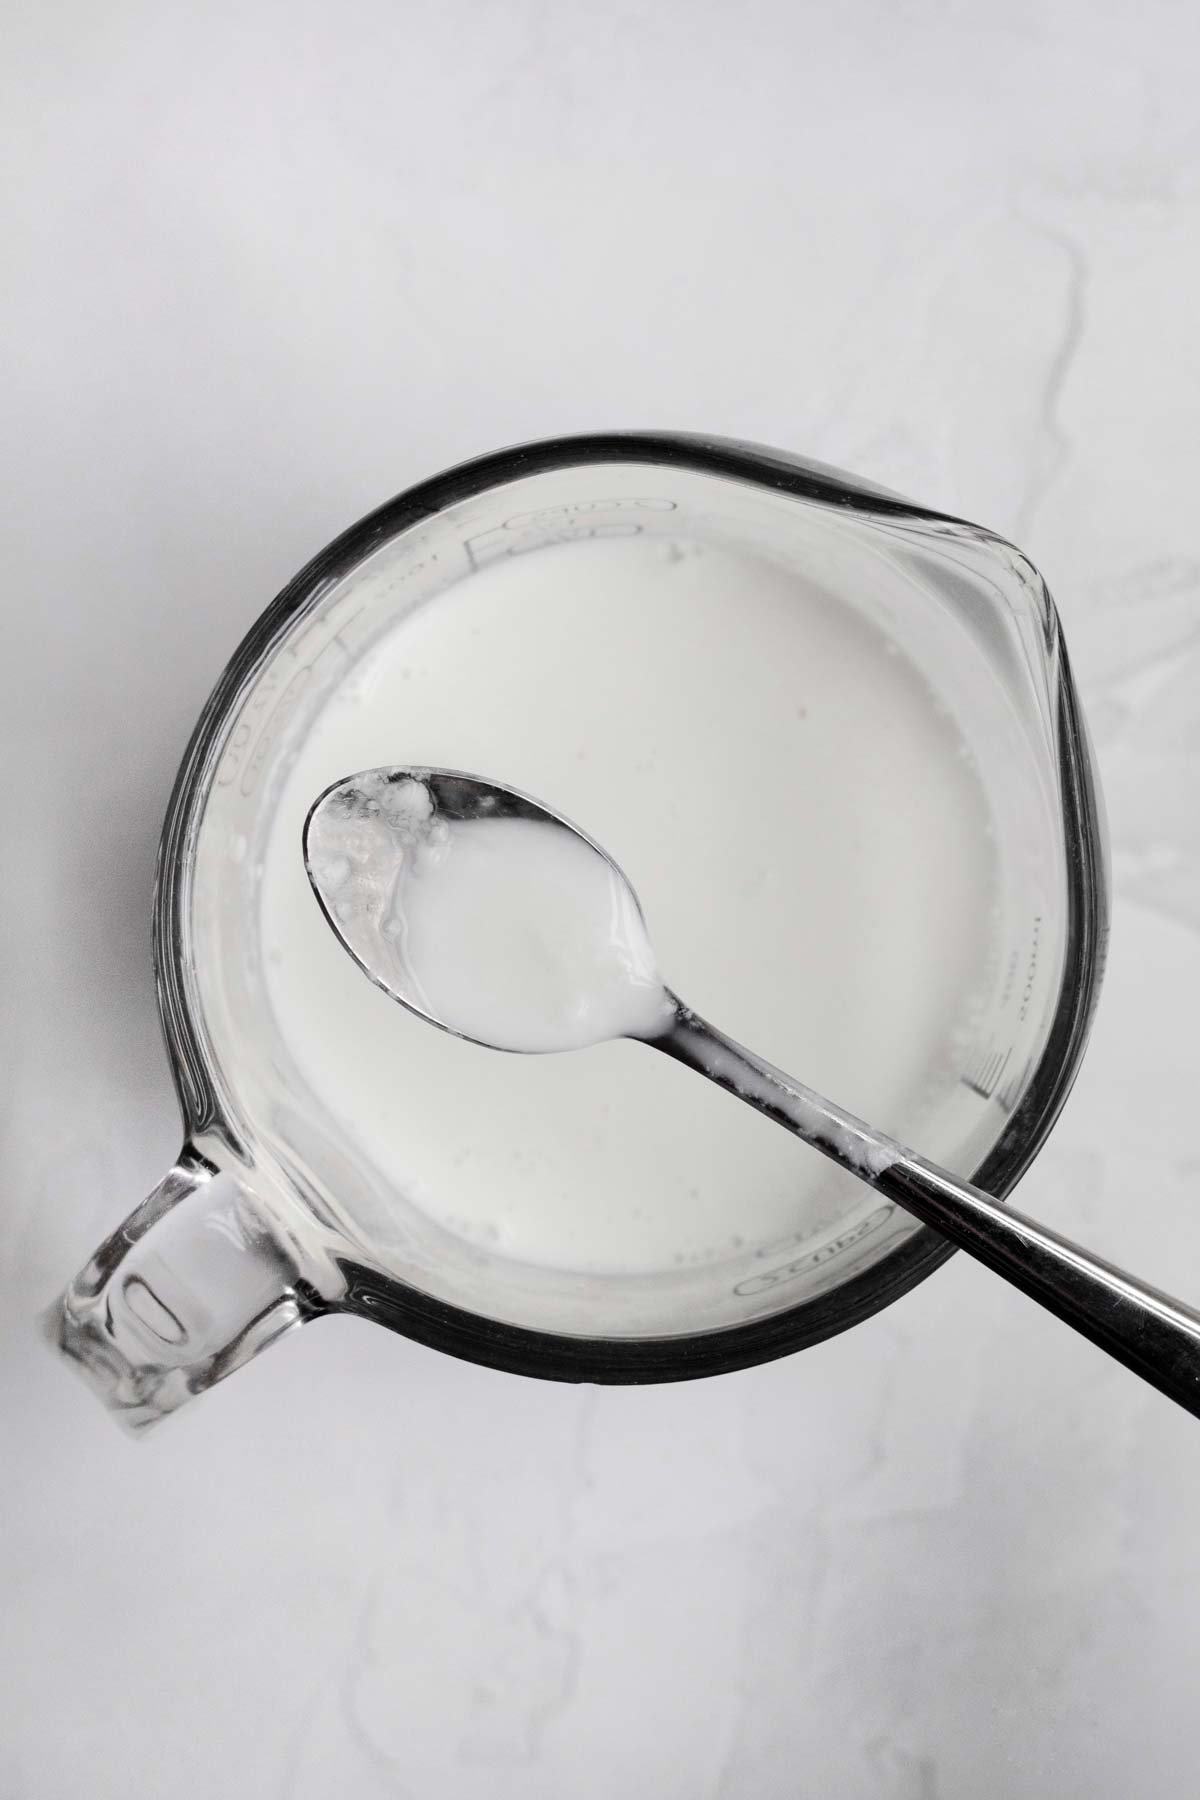
Step 2: Make the Homemade Buttermilk
In a large measuring cup, measure out 1 cup of milk. Add in 1 tablespoon of the white vinegar and stir. Let sit 5-10 minutes and it will appear chunky. That's normal.
Step 3: Make the Cornstarch Water
In a large bowl, using a spoon, mix together the cornstarch and water until thin and watery. It will be thick and tacky at first.
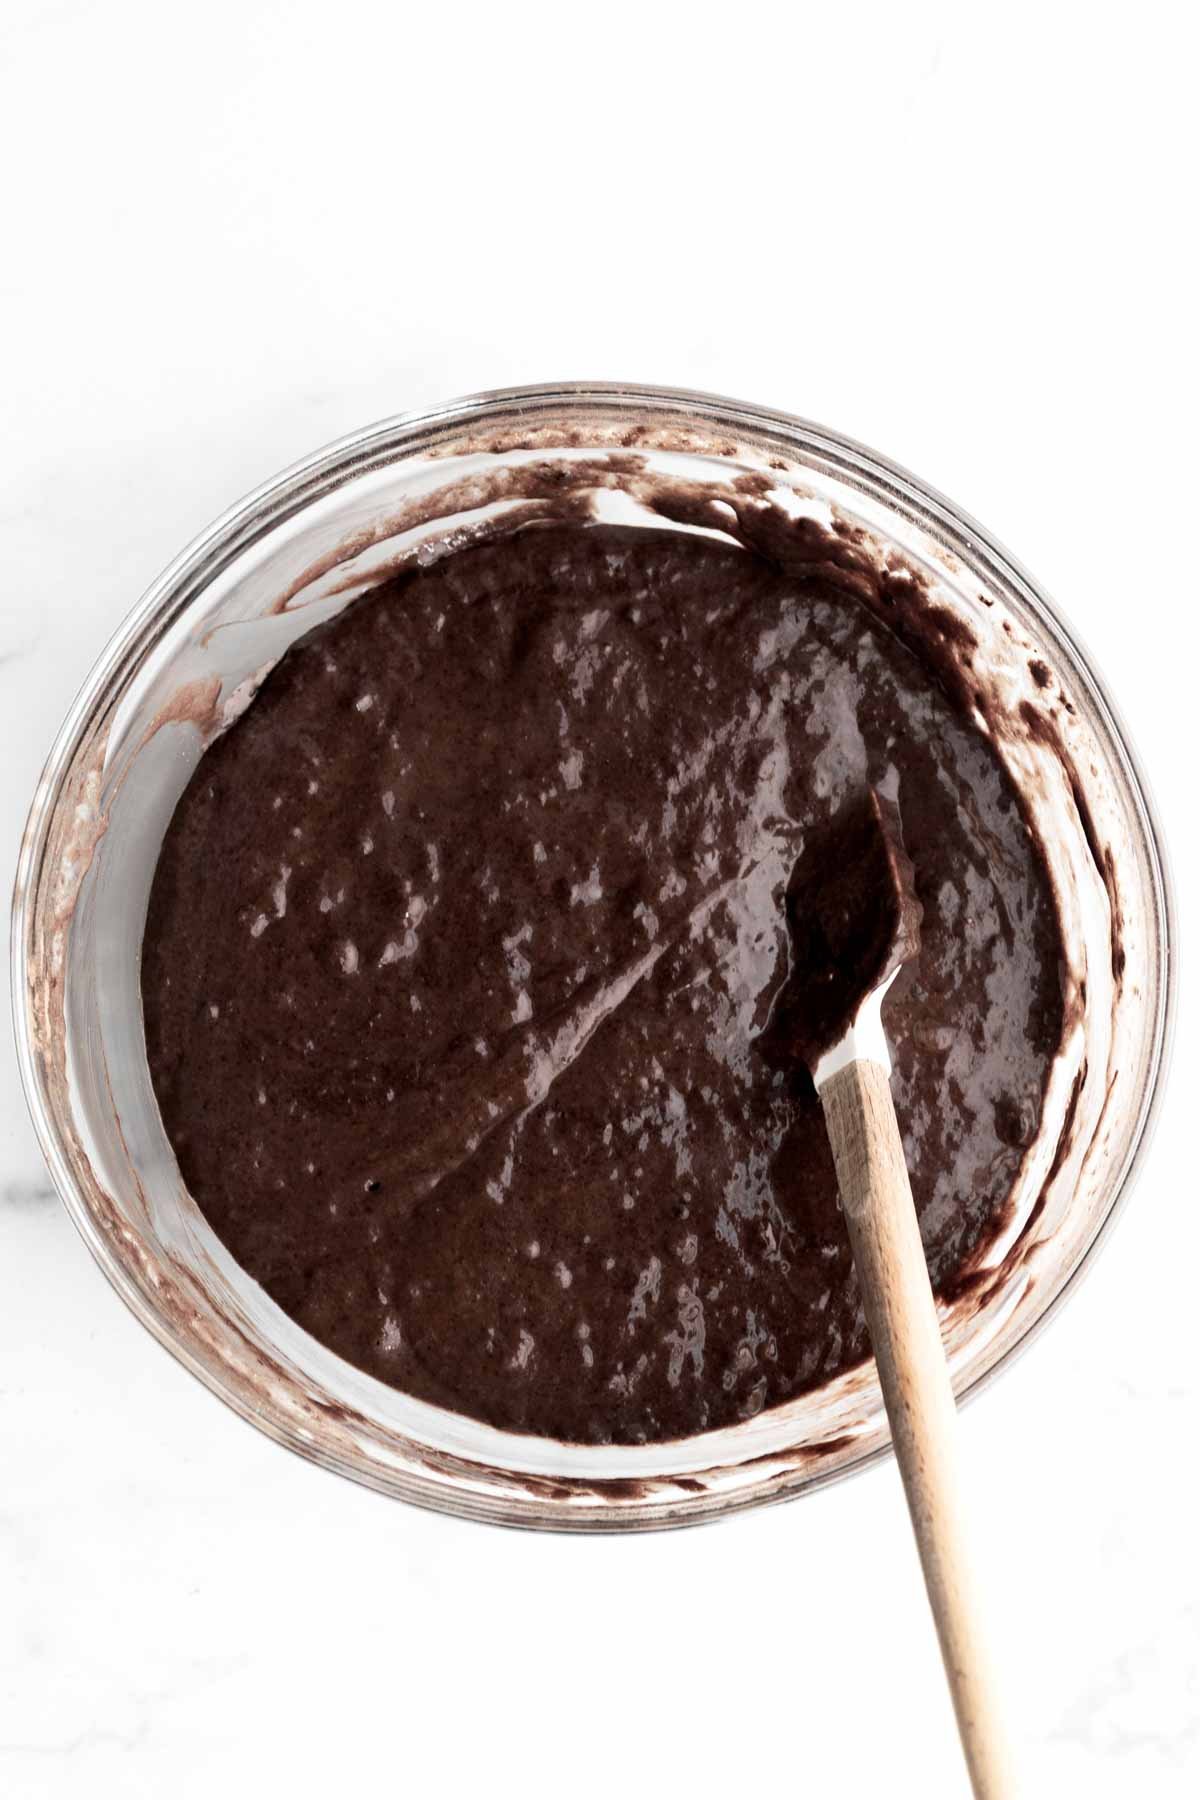
Step 4: Add the Liquid Ingredients
Make a well in the center of the dry ingredients. Add in the cornstarch water mixture, the homemade buttermilk, the warm water, vegetable oil and vanilla.
Whisk until smooth and combined. If it gets too thick, switch to using a spatula.
Step 5: Scoop the Batter
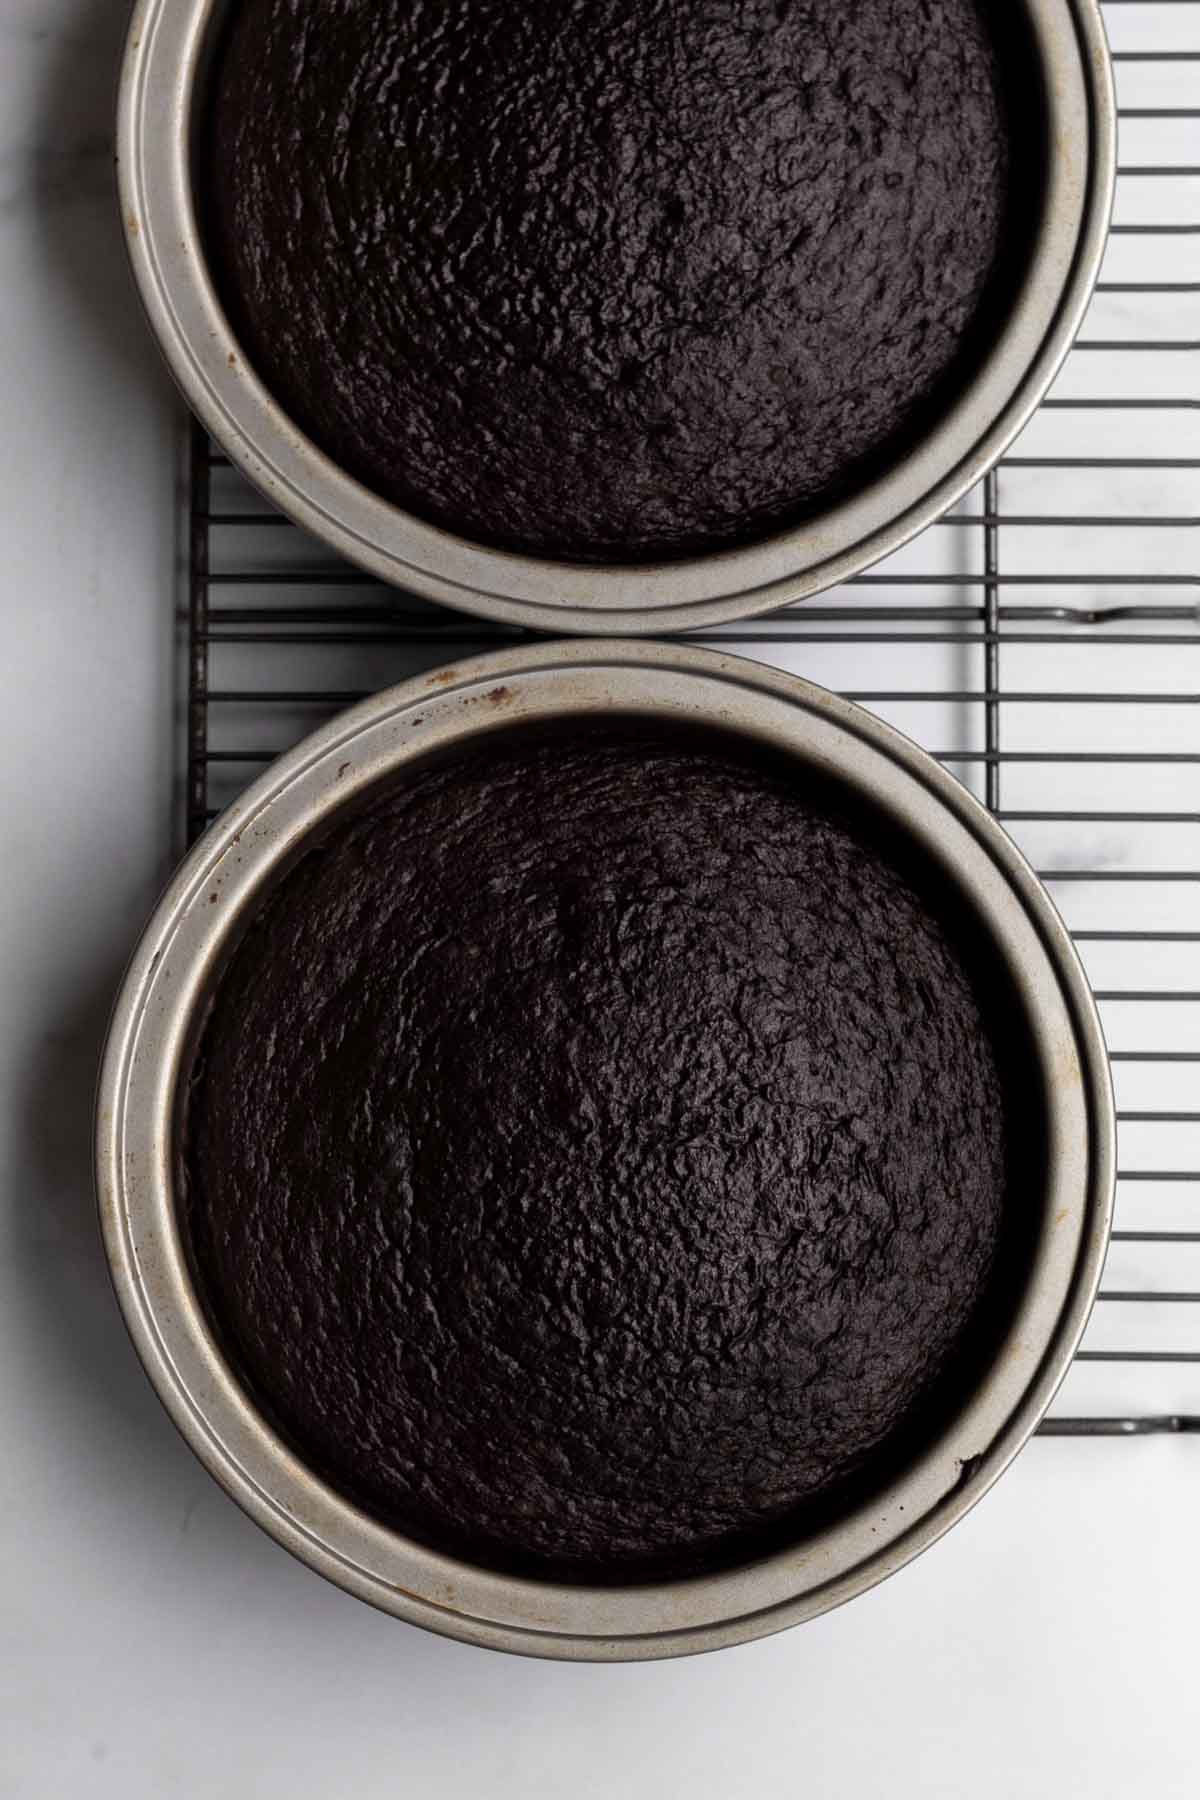
Using a spatula, divide the batter equally between two greased and parchment lined 8 inch cake pans; smooth the tops with a butter knife.
Bake the cakes in the center rack at 350 degrees Fahrenheit for 47-50 minutes until slightly springy when carefully touched.
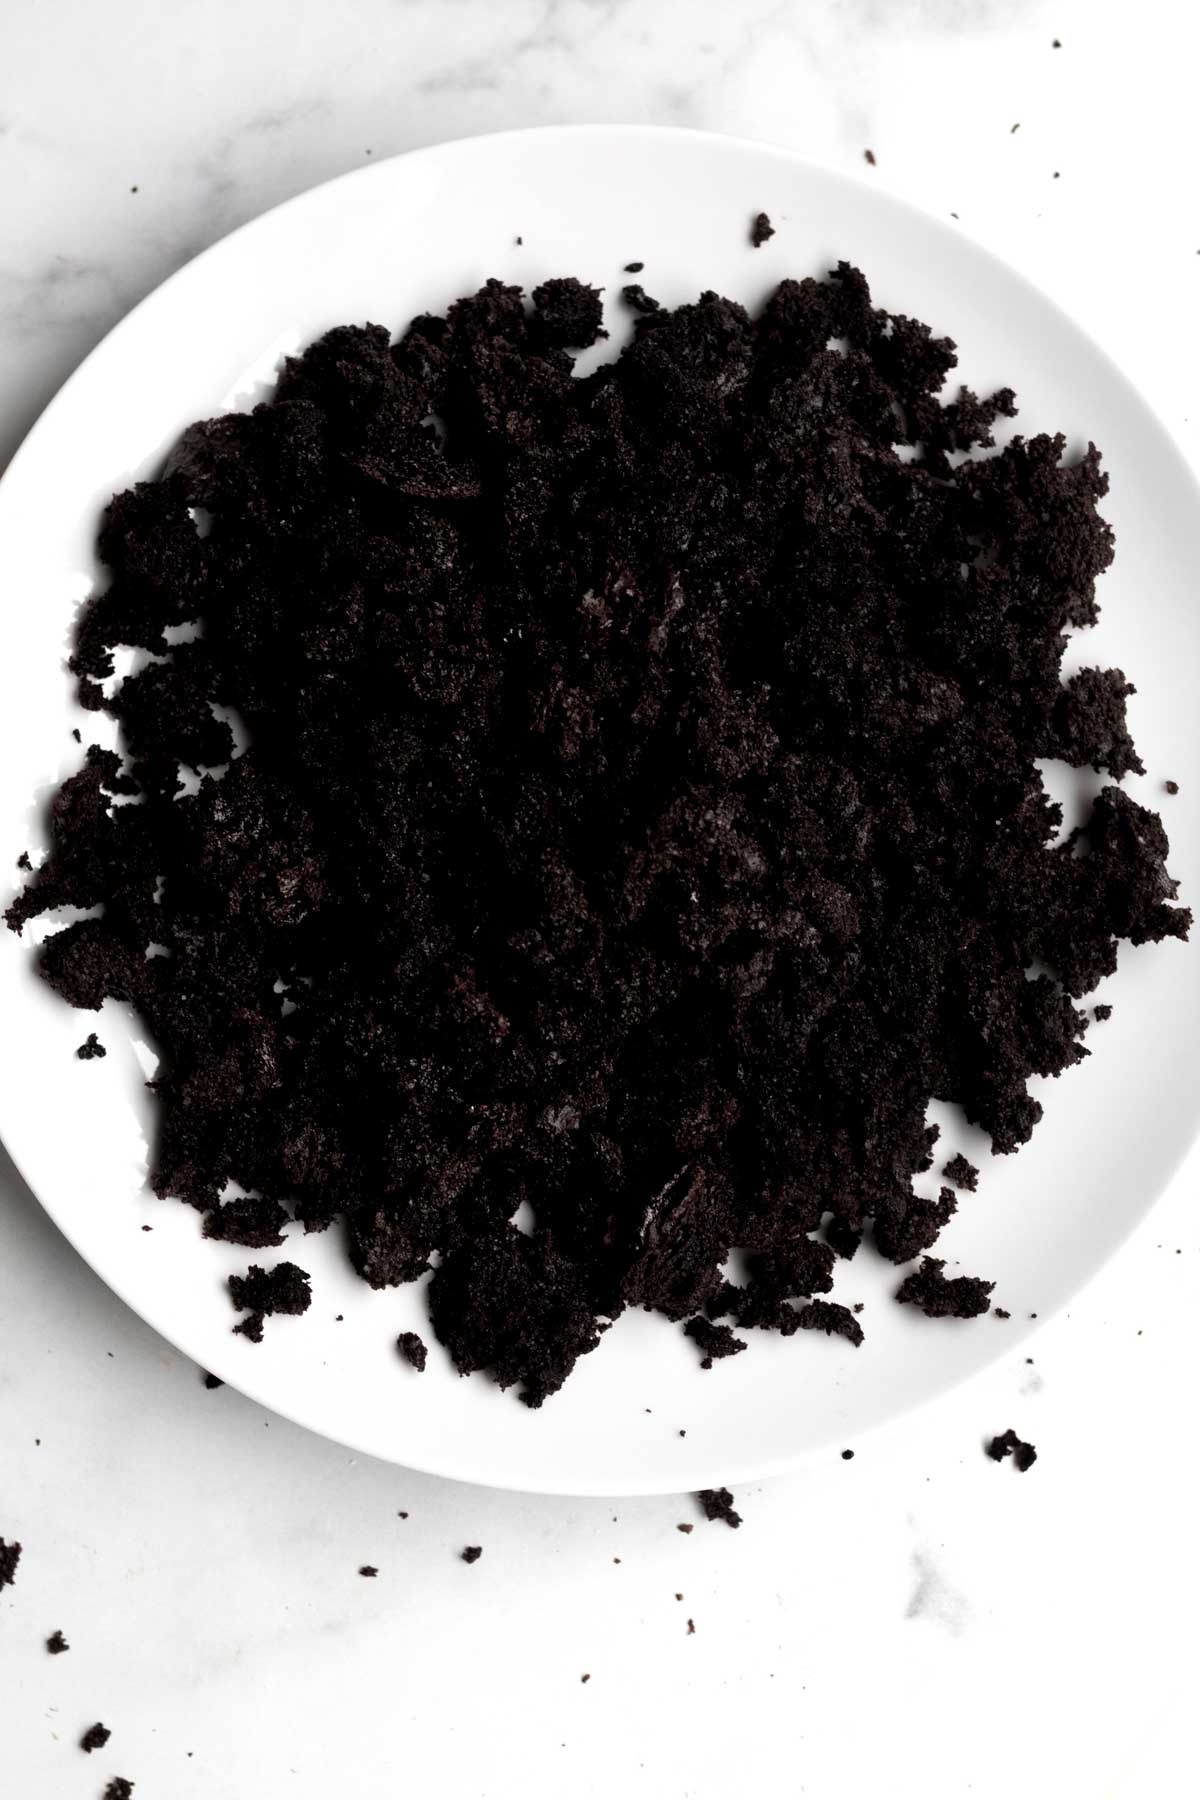
Step 6: Cut the Cakes and Make Crumbs
Remove cakes from the oven and let them cool in the cake pans.
Once the cakes have cooled completely, slice the tops off to create flat surfaces.
Cut or crumble the tops to make tiny crumbs. We will use these later so set them aside.
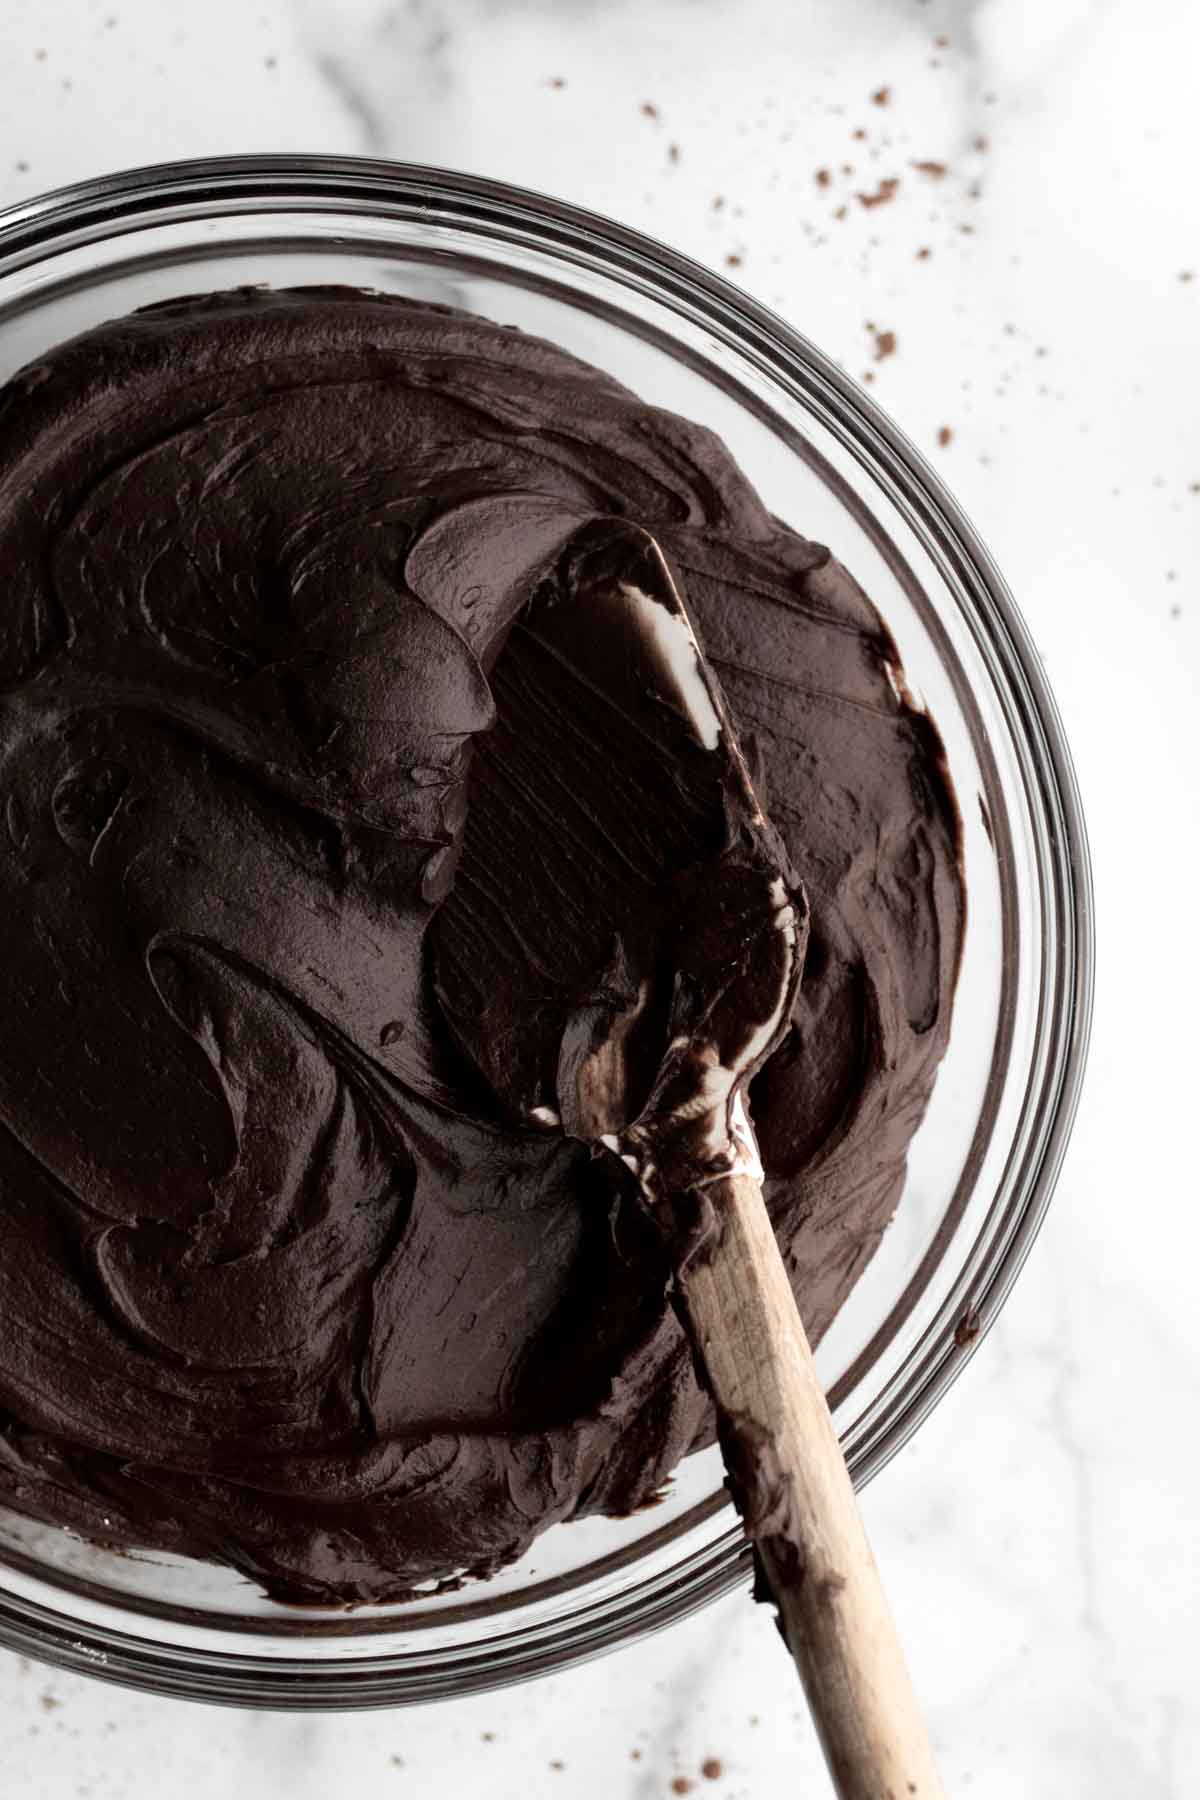
Step 7: Make the Frosting
In the large bowl of an electric mixer or using a hand held mixer, beat the butter or vegan baking stick until smooth and creamy. About 2 minutes.
With the mixer on very low speed, slowly add in the confectioners' sugar and cocoa powders and vanilla.
Slowly mix in the water a little at a time until you get the desired consistency. You may not need to use all the water.
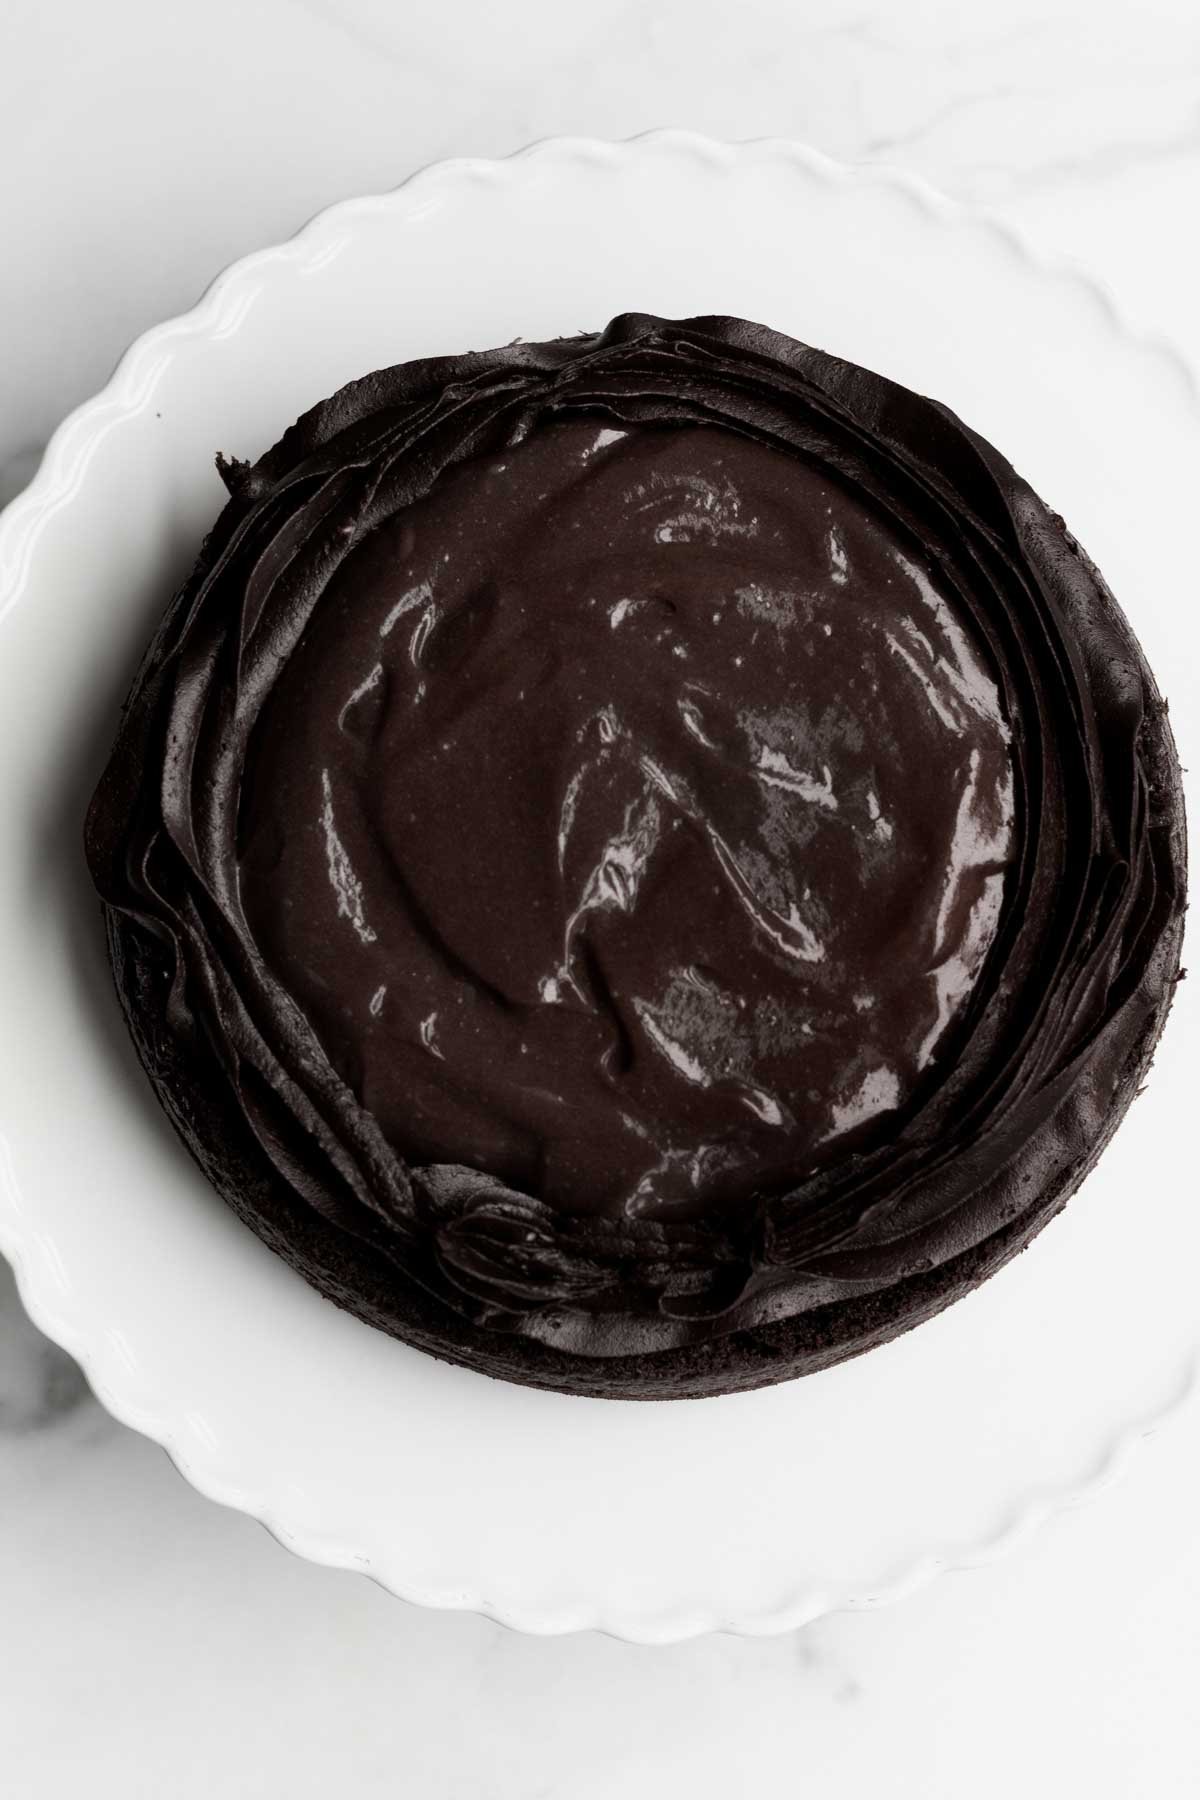
Step 8: Pipe a Ring of Frosting and Add the Pudding
Place one layer of cake on the bottom of a cake plate/stand. Place some of the frosting in a pastry bag and pipe a ring around the top edge of the cake.
Using a tablespoon, scoop about ¾ of the total amount of pudding into the center of the frosting ring.
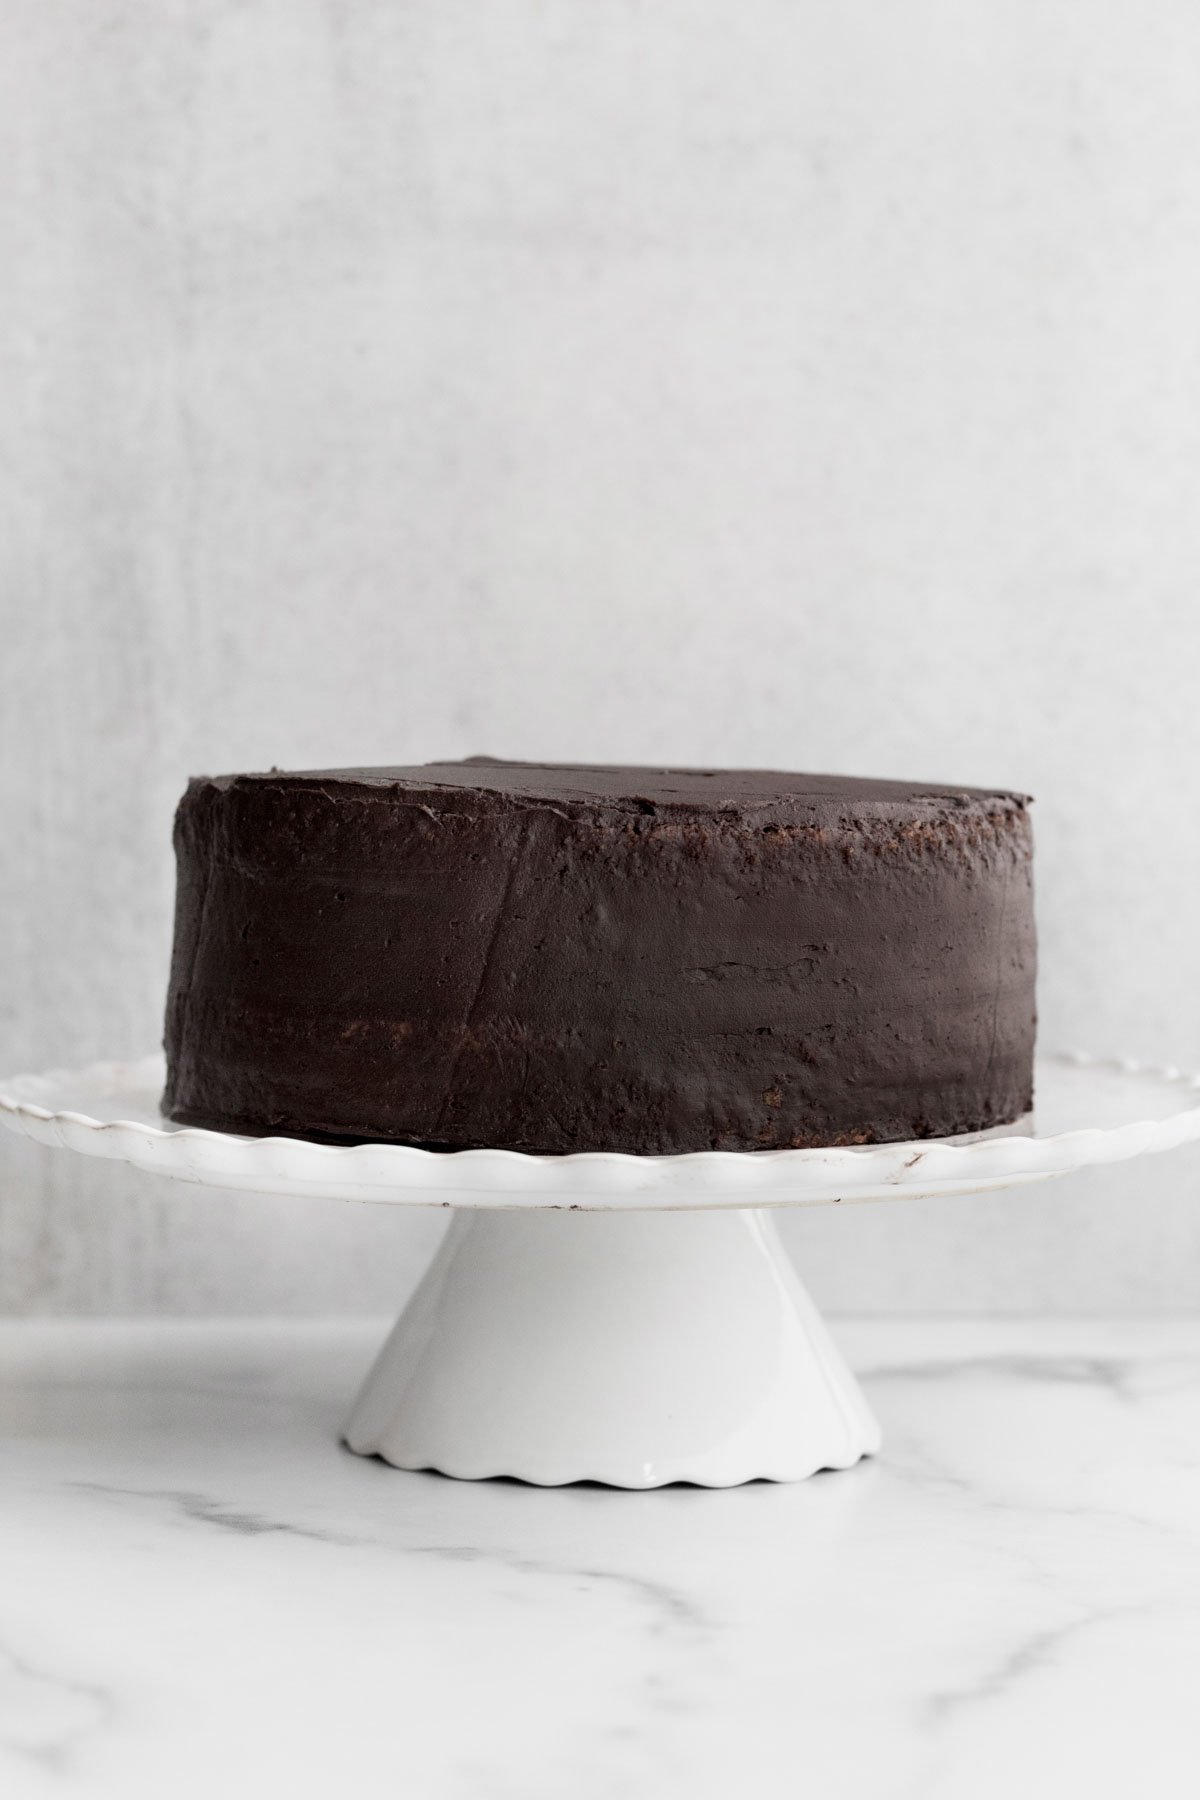
Step 9: Assemble the Cake and Chill
Put the second cake layer on top, bottom side up so the top is nice and flat.
Use an icing spatula to frost a thin layer of fudge frosting on the top of the cake and a thin layer on the sides.
Pop the entire cake in the fridge uncovered for 15-20 minutes. This will make it more stable to work with.
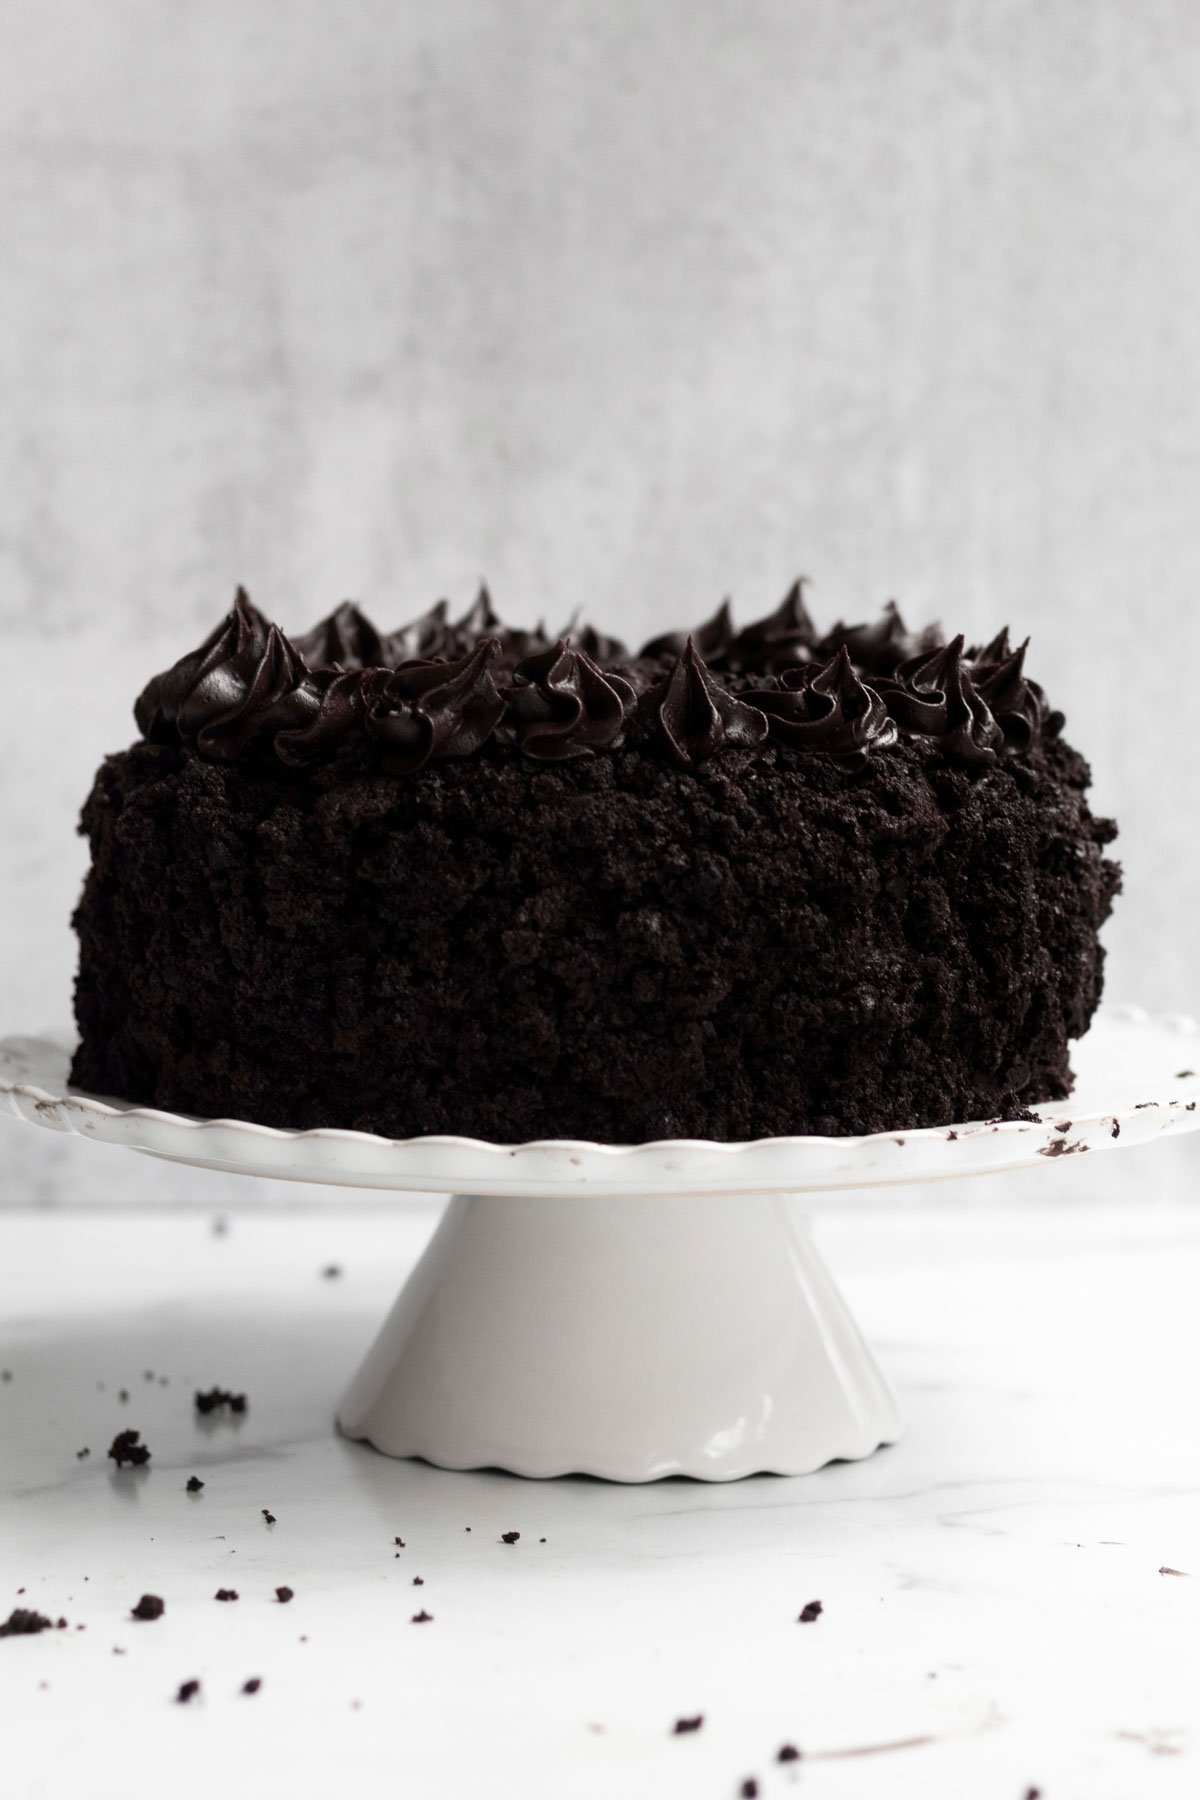
Step 10: Decorate the Cake
Take the cake out of the fridge and frost the sides again and this time immediately press the chocolate cake crumbs into the wet frosting so they stick.
Do the same with the top of the cake. If desired, pipe extra frosting swirls around the top of the cake.
If not serving the cake right away, chill the cake again and take the cake out 15-20 min prior to serving.
Expert Baking Tips
- Use 2 Types of Cocoa Powder- The 2 types of cocoa powders give the cake, frosting and pudding their dark hue. If you only have one type on hand, use natural unsweetened or dutch...just know the color will not be as dark as mine. Do not use dark alone; it will make your cake, frosting and pudding too dry and bitter.
- Make the Homemade Buttermilk- Measure out 1 cup of milk of choice. Add in 1 tablespoon of white vinegar and stir to combine. Let it sit for 5-10 minutes and then stir again. It will appear chunky and that’s normal.
- Smooth the Batter- Many gluten free batters have a way of staying exactly as they are placed, when baked. When the batter is in the cake pans, gently smooth the tops with a butter knife prior to baking.
- Make the Pudding the Day Before- Although this cake isn’t difficult to make, it is time consuming. The pudding must be thick. The best way for this to be thick enough to spread so it doesn’t ooze out of the cake is to make the pudding the day before the cake. This way when you need to assemble your cake, the pudding is super thick and easy to work with.
- Make the Frosting the Day Before- You don’t have to do this the day before, but it definitely makes assembling the cake a much quicker process. Store the frosting in a bowl covered with plastic wrap in the fridge. When ready to use, let it come to room temperature and rewhip to regain the creamy texture.
Recipe FAQs
Most gluten free baked goods are best made the same day, but you can make this cake, pudding and the frosting the night before and then do the assembling in the morning.
The pudding tends to eventually make the cake layers wet, so it really is best assembled the same day.
If making the night before, keep everything in the fridge wrapped in foil or plastic wrap.
To make the rings of frosting, put some frosting in a zip top bag and snip a corner off. Then pipe the frosting rings this way.
The blackout cake was invented by a bakery in Brooklyn called, Ebinger’s. Most likely it was invited in 1898 when the bakery opened its doors but the name really made the cake famous during WWII.
The story goes, it was named after the mandatory blackouts to protect the naval yard in Brooklyn.
Sadly the bakery went bankrupt in 1972 and the family kept the recipes locked away and a secret.
But what’s even more amazing to me is this personal connection. Sadly I was not able to ever experience Ebinger’s Blackout Cake since the bakery closed before I was born...but my dad lived in Brooklyn, 2 blocks away from Ebinger’s until he was 12 years old.
The blackout cake was my grandma’s favorite…well that and the coconut custard pie. My grandma, dad and aunt would walk to the bakery to get the cake. It of course became my dad’s and aunt’s favorite as well and why it's such a big part of my family as are NYC Black and White Cookies.
Once the cake is cut into, it’s best to cut the entire cake into slices, wrap each slice in foil and store in a zip top bag in the fridge. Eat extra slices within 2 days.
When ready to eat, let the slices sit on the counter, in the foil for about an hour or until the cake is room temperature and soft.
If desired, warm each slice in the microwave in 5 second increments until warm. It does make the pudding very hot. Be careful not to burn yourself!
I do not recommend freezing this cake as the pudding gets very wet when defrosting.
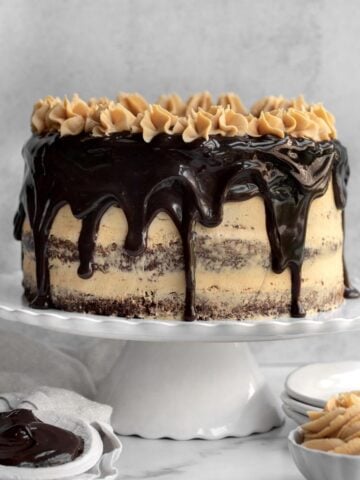
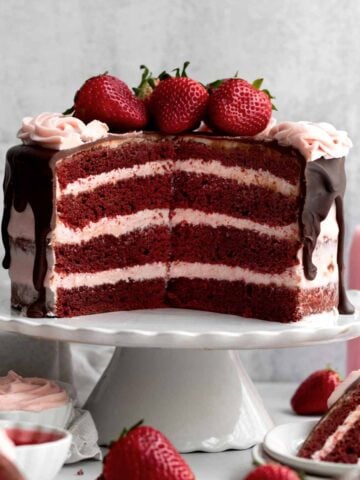
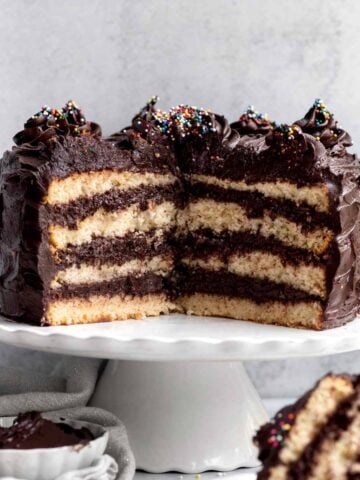
Other Cake Recipes You'll Love
Did you try this recipe? Please leave me a ⭐ review below!
Don’t forget to tag me on Instagram @laneandgreyfare and follow along on Pinterest, Facebook and YouTube! Enjoy!!!
📖 Recipe
Brooklyn Blackout Cake
Ingredients
For the Pudding
- 2 tablespoons cocoa powder (I use 1 tablespoon Dutch and 1 tablespoon Dark)
- 2 cups boiling water
- ¾ cup plus 1 tablespoon granulated sugar
- 1 ounce chocolate chips
- 4 tablespoons cornstarch
- 3 tablespoons water , cold
- ¼ teaspoon kosher salt
- 1 teaspoon pure vanilla extract
- 2 tablespoons unsalted butter or vegan baking stick
For the Cake
- 1.5 cups multipurpose gluten free flour (I use a gluten free multipurpose flour with xanthan gum already in it)
- 1.5 cups granulated sugar
- ¾ cup cocoa powder (I use ½ cup Dutch cocoa and ¼ cup dark)
- 1.5 teaspoons baking soda
- ¾ teaspoon baking powder
- ¾ teaspoon salt
- 4 heaping tablespoons cornstarch mixed with 6 tablespoons of water
- 1 cup milk
- 1 tablespoon white vinegar
- 1 cup water , warm
- 4 tablespoons vegetable oil
- 1 teaspoon pure vanilla extract
Instructions
Make the Pudding
- In a small bowl, using a spoon, combine the 4 tablespoons of cornstarch and the 3 tablespoons of cold water until smooth. It will be thick and tacky at first. Set aside.
- Boil 2 cups of water (you can do this in a microwave safe bowl or measuring cup as well).
- Over low heat on the stovetop, place the 2 tablespoons of cocoa powder in a pan and pour in the boiling hot water. Whisk to combine.
- Add the ¾ cup plus 1 tablespoon granulated sugar and the 1 ounce of chocolate chips, continue whisking to combine.
- Whisk in the cornstarch water mixture. Add the ¼ teaspoon kosher salt and bring to a boil, whisking the entire time. You should see it thickening. If not, increase your heat slightly but be careful not to burn. Let it boil for about a minute, whisking the entire time.
- Remove the pan from the heat and whisk in the 1 teaspoon pure vanilla extract and the 2 tablespoons butter or vegan baking stick.
- Leave the pan on a cutting board on the counter, whisking periodically until the pudding has cooled significantly. Then transfer to a heat safe bowl and refrigerate. You want the pudding thick and cool when you assemble the cake. Make sure the pudding is made ahead of time and is cold from being in the fridge.
Make the Cake
- Preheat the oven to 350 degrees. Grease two 8 inch round cake pans with vegetable oil, line bottoms with parchment paper and then grease the parchment paper with vegetable oil as well.
- Whisk the 1.5 cups gluten free flour, 1.5 cups of granulated sugar, ¾ cup cocoa powder, 1.5 teaspoons baking soda, ¾ teaspoon baking powder and ¾ teaspoon kosher salt in a large bowl until combined and lump free.
- Measure 1 cup of milk into a measuring cup. Add 1 tablespoon of white vinegar into the milk and stir with a spoon. Let it sit for 5-10 min and stir again. It should look slightly chunky. That’s normal.
- In a separate small bowl, combine the 4 heaping tablespoons of cornstarch and 6 tablespoons of water and mix together with a spoon until thin and watery. It will be thick and tacky at first. Set aside.
- Make a well in the center of the dry ingredients. Add the cornstarch water mixture, milk and vinegar mixture, 1 cup warm water, 4 tablespoons vegetable oil and 1 teaspoon pure vanilla extract. Whisk until smooth. If it starts to get too thick, use a spatula to mix the rest.
- Divide the batter evenly between the two greased cake pans.
- Bake the cakes for about 47-50 min in the center rack of the oven or until the cakes spring back at you when carefully touched.
- Let cool completely in the cake pans. Turn out from pans, and place on cooling racks.
- Once they're cool, use a cake knife cut a thin layer off the tops of each layer to make the cakes level and flat on top.
- Take the extra cake pieces and cut them into tiny crumbs. Set aside.
Make the Chocolate Frosting
- In the large bowl of an electric mixer or using a hand held mixer, beat the ¾ cup butter or vegan baking stick until smooth and creamy. About 2 minutes.
- With the mixer on very low speed, slowly add in the 3.5 cups confectioners' sugar.
- With the mixer on low speed still, add in the 1 cup of cocoa powder and 2 teaspoons pure vanilla extract .
- While the mixer is on, slowly add in the ½ cup of water a little at a time until you get the desired consistency. You may not need to use all the water.
Assembling the Cake
- Place one layer of cake on the bottom of a cake plate/stand. Place some of the frosting in a pastry bag and pipe a ring around the top edge of the cake. This is to keep the pudding from oozing out.
- Scoop about ¾ of the total amount of cold pudding into the center of the frosting ring.
- Put the second cake layer on top, bottom side up so the top is nice and flat.
- Use an icing spatula to frost a thin layer of the fudge frosting on the top of the cake and a thin layer on the sides. This is our crumb layer so the pudding doesn't ooze out.
- Pop the entire cake in the fridge uncovered for 15-20 minutes. This will make it more stable to work with.
- Take the cake out of the fridge and continue to frost. First frost the sides again and this time immediately press the chocolate cake crumbs into the wet frosting so they stick.
- Frost the top of the cake. Press the crumbs into the top as well.
- If desired, pipe extra frosting swirls around the top of the cake.
- If not serving the cake right away, chill the cake again and take the cake out 15-20 min prior to serving.
Video
Notes
Nutrition
The recipe for the chocolate pudding was from NYT's Blackout Cake Recipe.
Bella says
Hi, what brand of dark cocoa powder do you use? 🙂
Lee says
Hershey!
Syl F says
What type of chocolate chips do you use in the pudding - dark chocolate, milk chocolate, or some other type of chocolate chips?
Lee says
You can use whatever you like but I prefer semi-sweet chocolate chips!
Lindsey says
is this cake sturdy Enough for tiers?
Lee says
Hi Lindsey! Sadly I have not attempted any of my cakes with tiers but this cake is super super soft. If you wanted to attempt....I think my Triple Chocolate Cake would work better. If you put the layers in the fridge they do firm up well. Hope this helps!
Louise Hale says
this looks amazing, especially since I am gluten, dairy and egg free! I'm confused about assembling the cake. The recipe says to plop 3/4 of the pudding in the ring of frosting on the first layer. where is the rest of the pudding used? sorry if I missed it.
thanks!
Louise
Lee says
Hi Louise! No you didn't miss it! I recommend only using 3/4 of the pudding in the center of the cake because if you use it all, it tends to be too much and ooze out. But to make 3/4 of the recipe, the measurements get a bit complicated so that's why I show the full recipe. I make little cups of pudding with the extra. Store them in the fridge for 2 days. Sorry for the confusion! Hope this helps!
Melissa says
Hello! Can you use regular flour as well?
Lee says
Hi Melissa! Yes you can! I explain how under the "substitutions and variations" section of this post! I also have it listed in the notes section of the recipe card at the bottom of the blog post. Hope this helps!
Ash says
What can we use to substitute the cornstarch ?
Lee says
Hi Ash! You can use arrowroot! Many people have used that instead of cornstarch in my recipes and it worked out well they said! Hope that helps!
Terry says
This is the best cake ever!!!
Arantxa says
If I'm using only one cake pan, should I bale it for the same amount of time?
Lee says
Hi there. Do you mean you're only making half the recipe in one 8 inch cake pan? If so, then yes I would bake it for the 47-50 minutes. Hope this helps!
Dan Spicer says
Ok so first time I tried this cake it was ok. That being said it was also my first attempt at any cake from scratch. I just made it again and a separate gluten free sugar free cake as well. Both turned out AMAZING because I decided to follow the directions to a T. My favorite was the home made pudding. I have bookmarked, saved and picked a few for my next adventure. Ty ty ty for helping me make my wife’s favorite cake for her birthday!!!!
Lee says
SO glad, Dan! Thank you so much!
Molly says
My gluten eating husband said with baking this good, there is no need to eat gluten baking again.
For reference, I Used vanilla oatmilk and Jules AP flour blend
Lee says
Oh my gosh so so glad! Thank you so much!
Alicia says
Sooooooooo yummy!!
Lee says
Thank you!
Donna says
I never heard of using white vinegar until I started following you. And this is my favorite cake of all time.
Lee says
Thanks so much!
Emma says
This cake was absolutely delicious! Will definitely be making it again.
Lee says
Thank you so much, Emma! SO glad!
Jana says
Can you use cacao powder?
Lee says
Hi! I read that you can substitute it for cocoa powder but the flavor will be a bit more bitter so they suggest reducing the amount.
John says
Can’t wait to turn out the lights and start making this!
Lee says
haha!
Steve says
I grew up on Ebinger’s Blackout cake! This looks amazing!
Lee says
Thank you!!
Jessica says
Can this be made with regular flour instead of gluten free?
Lee says
Hi Jessica! Yes you can! I cannot test it due to celiac disease but I explain how under the "substitutions and variations" section of this post! I also have it listed in the notes section of the recipe card at the bottom of the blog post, in case you want to print the recipe out. Hope this helps!