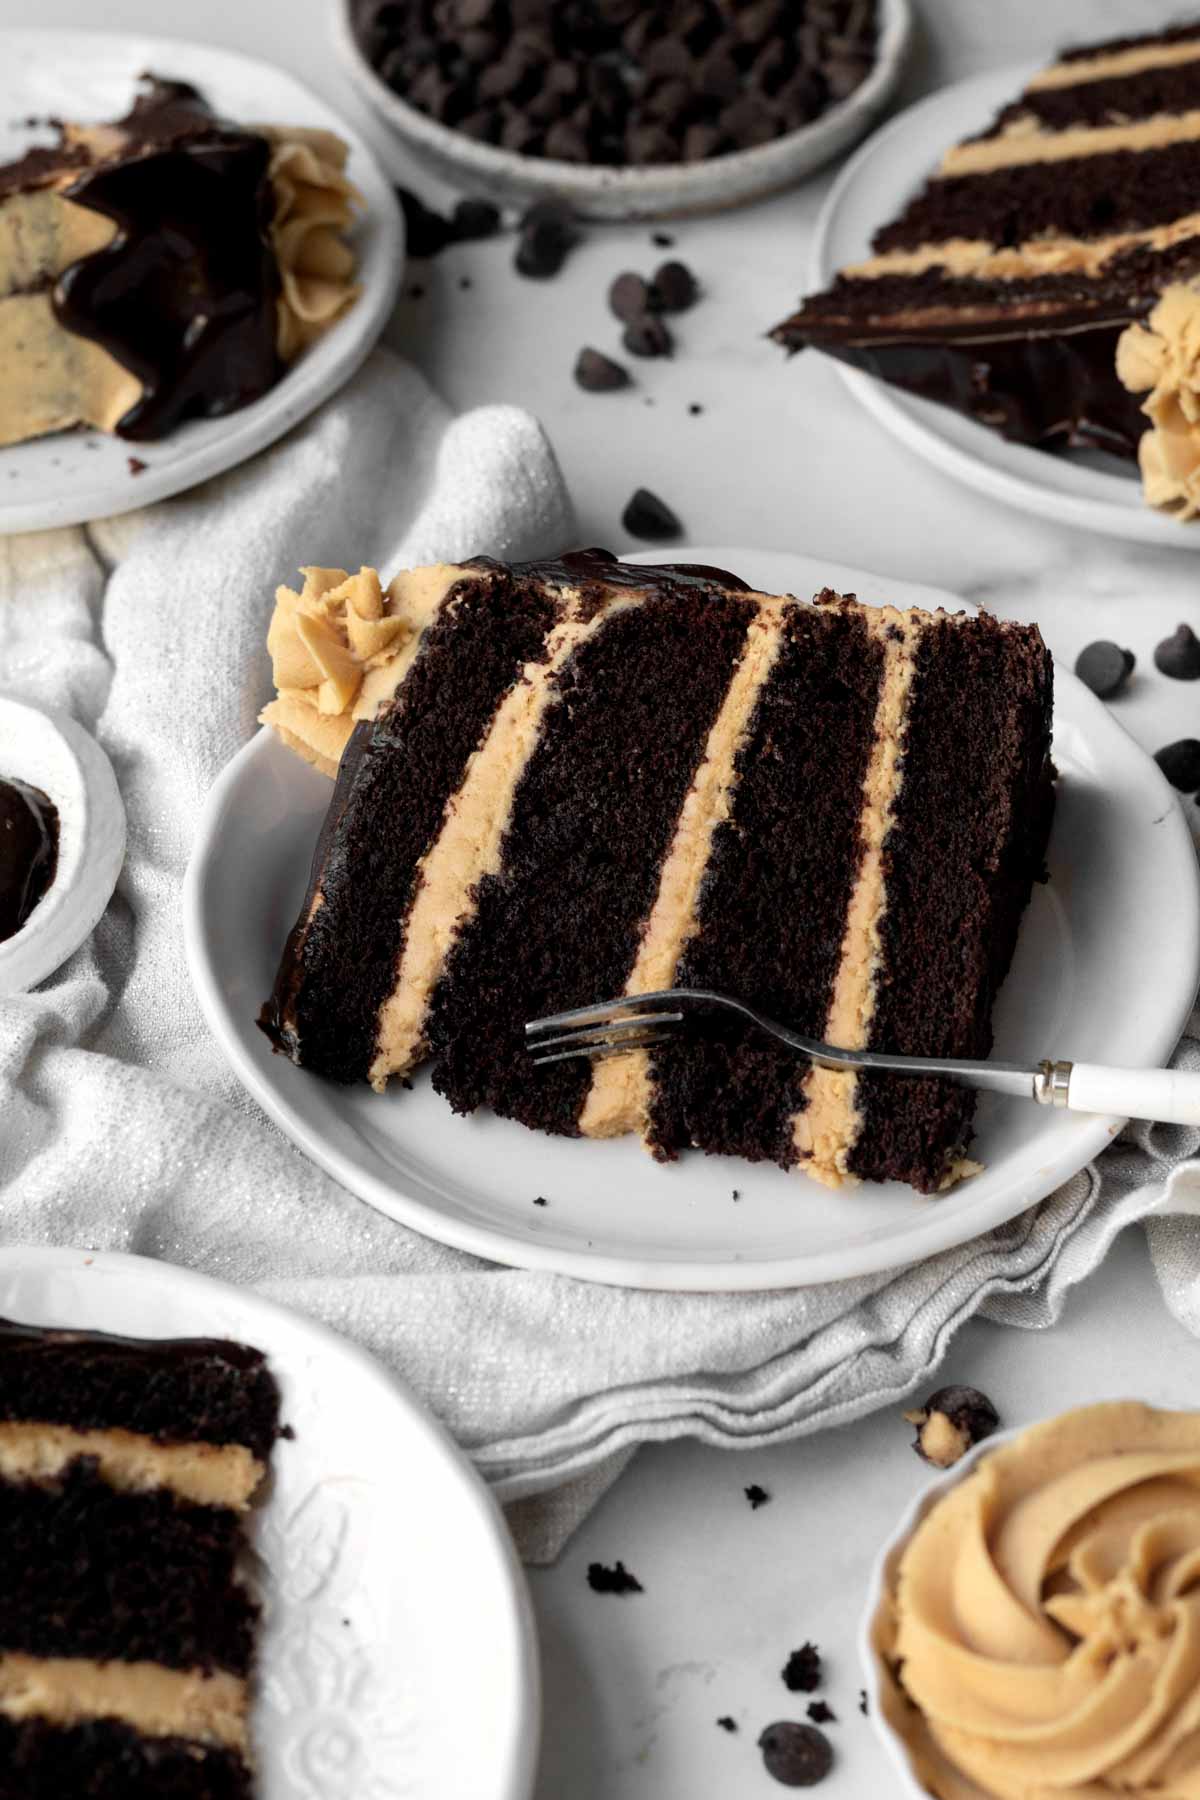
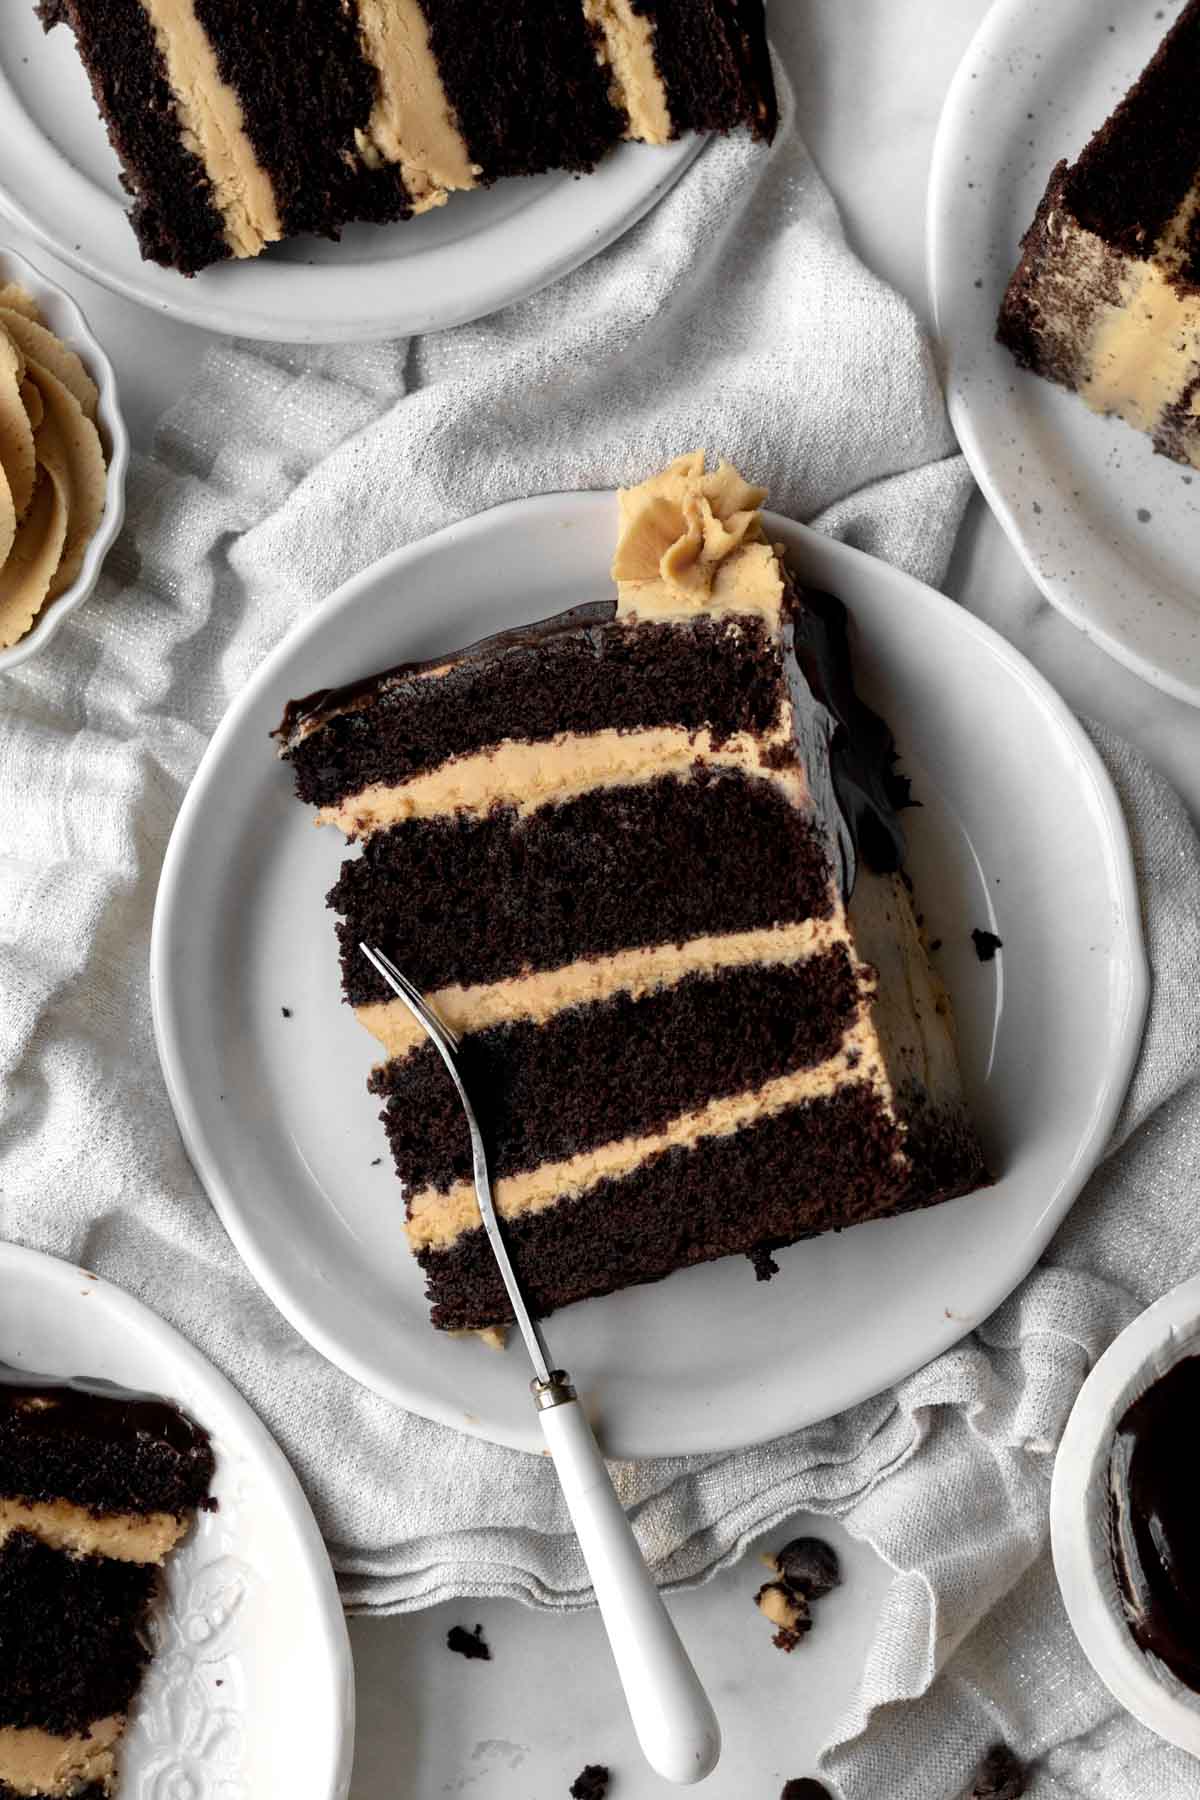
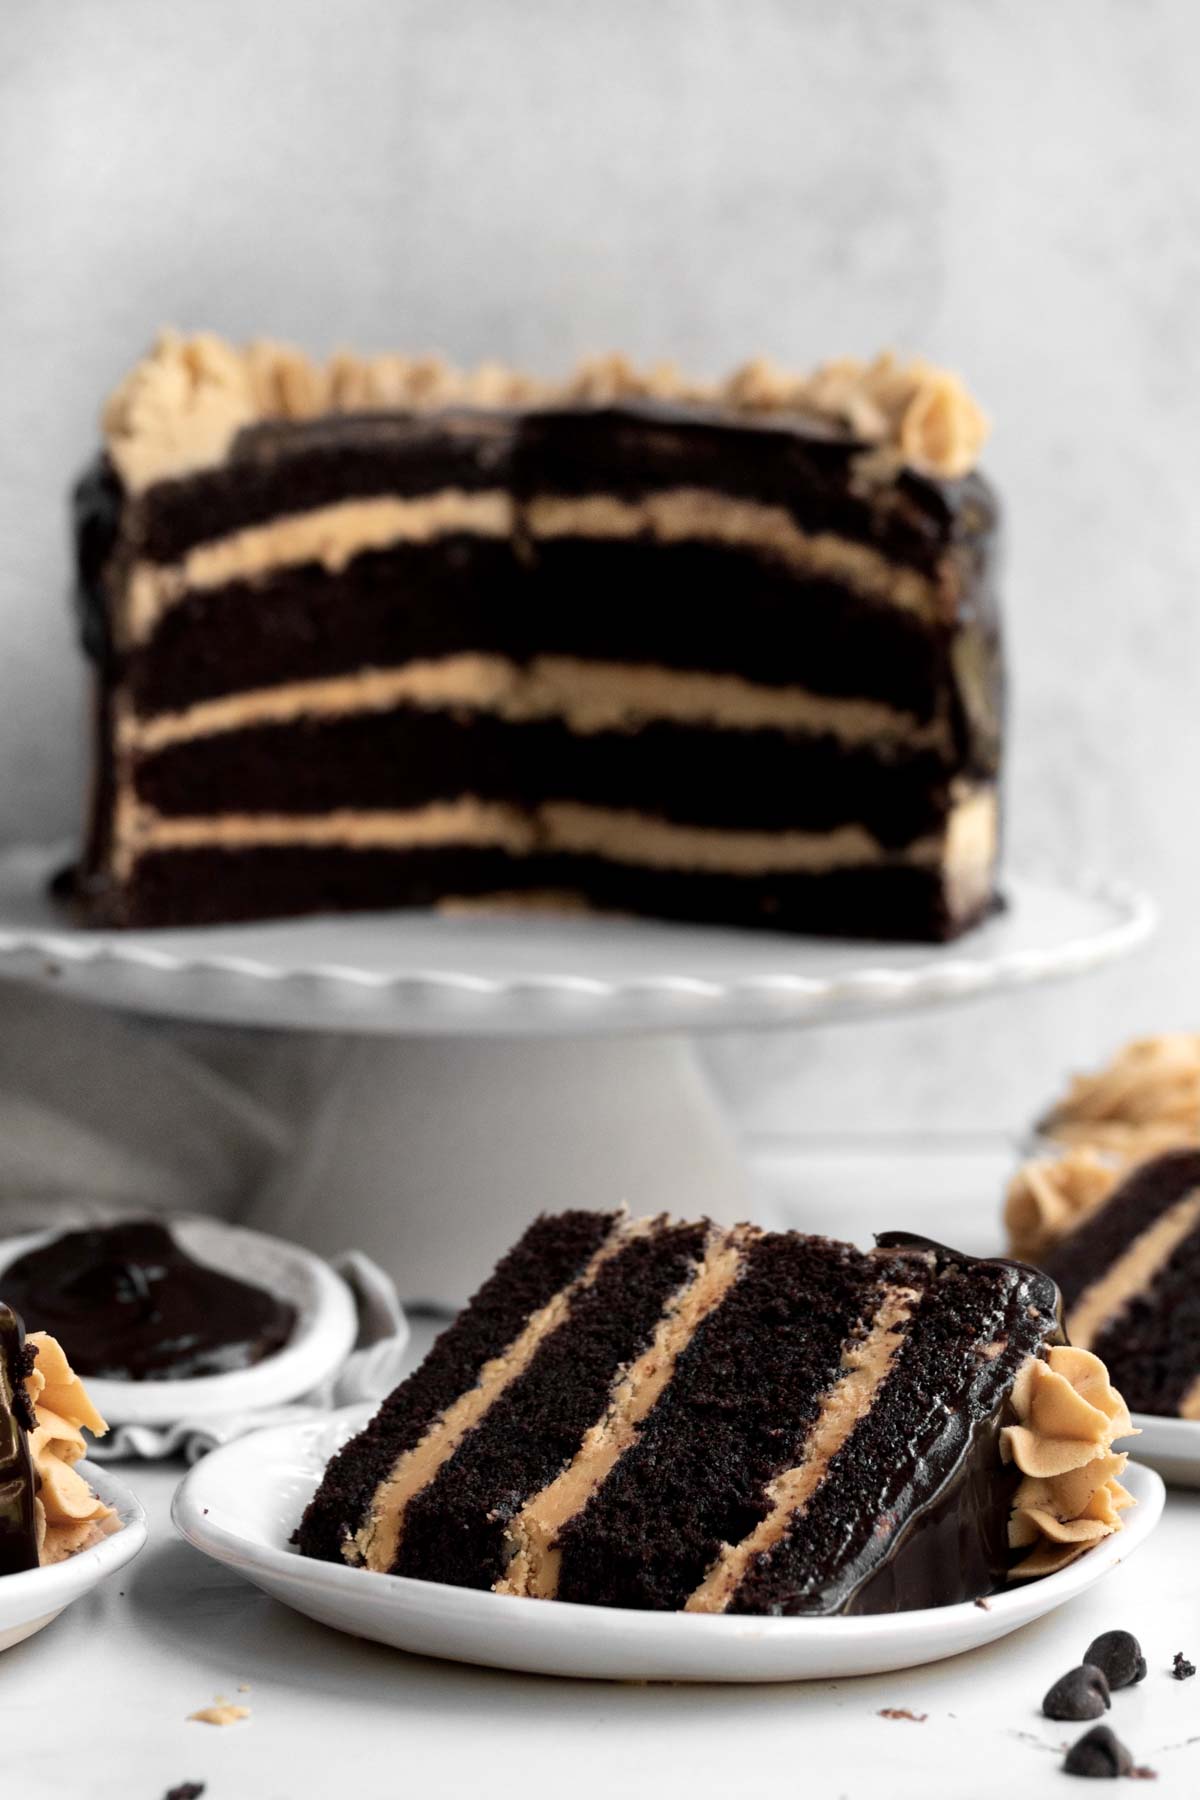
This Peanut Free Chocolate "Peanut Butter" Cake has alternating layers of soft gluten free chocolate cake and silky "peanut butter" frosting! It tastes like a creamy Reese's but it's completely nut free! Thanks to the magic of wow butter, you can safely enjoy the taste of peanut butter while devouring this chocolate cake! Don't have nut allergies? No problem; simply replace the wow peanut butter with any creamy peanut butter, nut butter or seed butter of your choosing!! Topped with chocolate ganache, this cake is a decadent dream! Best part is, it’s gluten free, nut free, egg free and easily vegan!
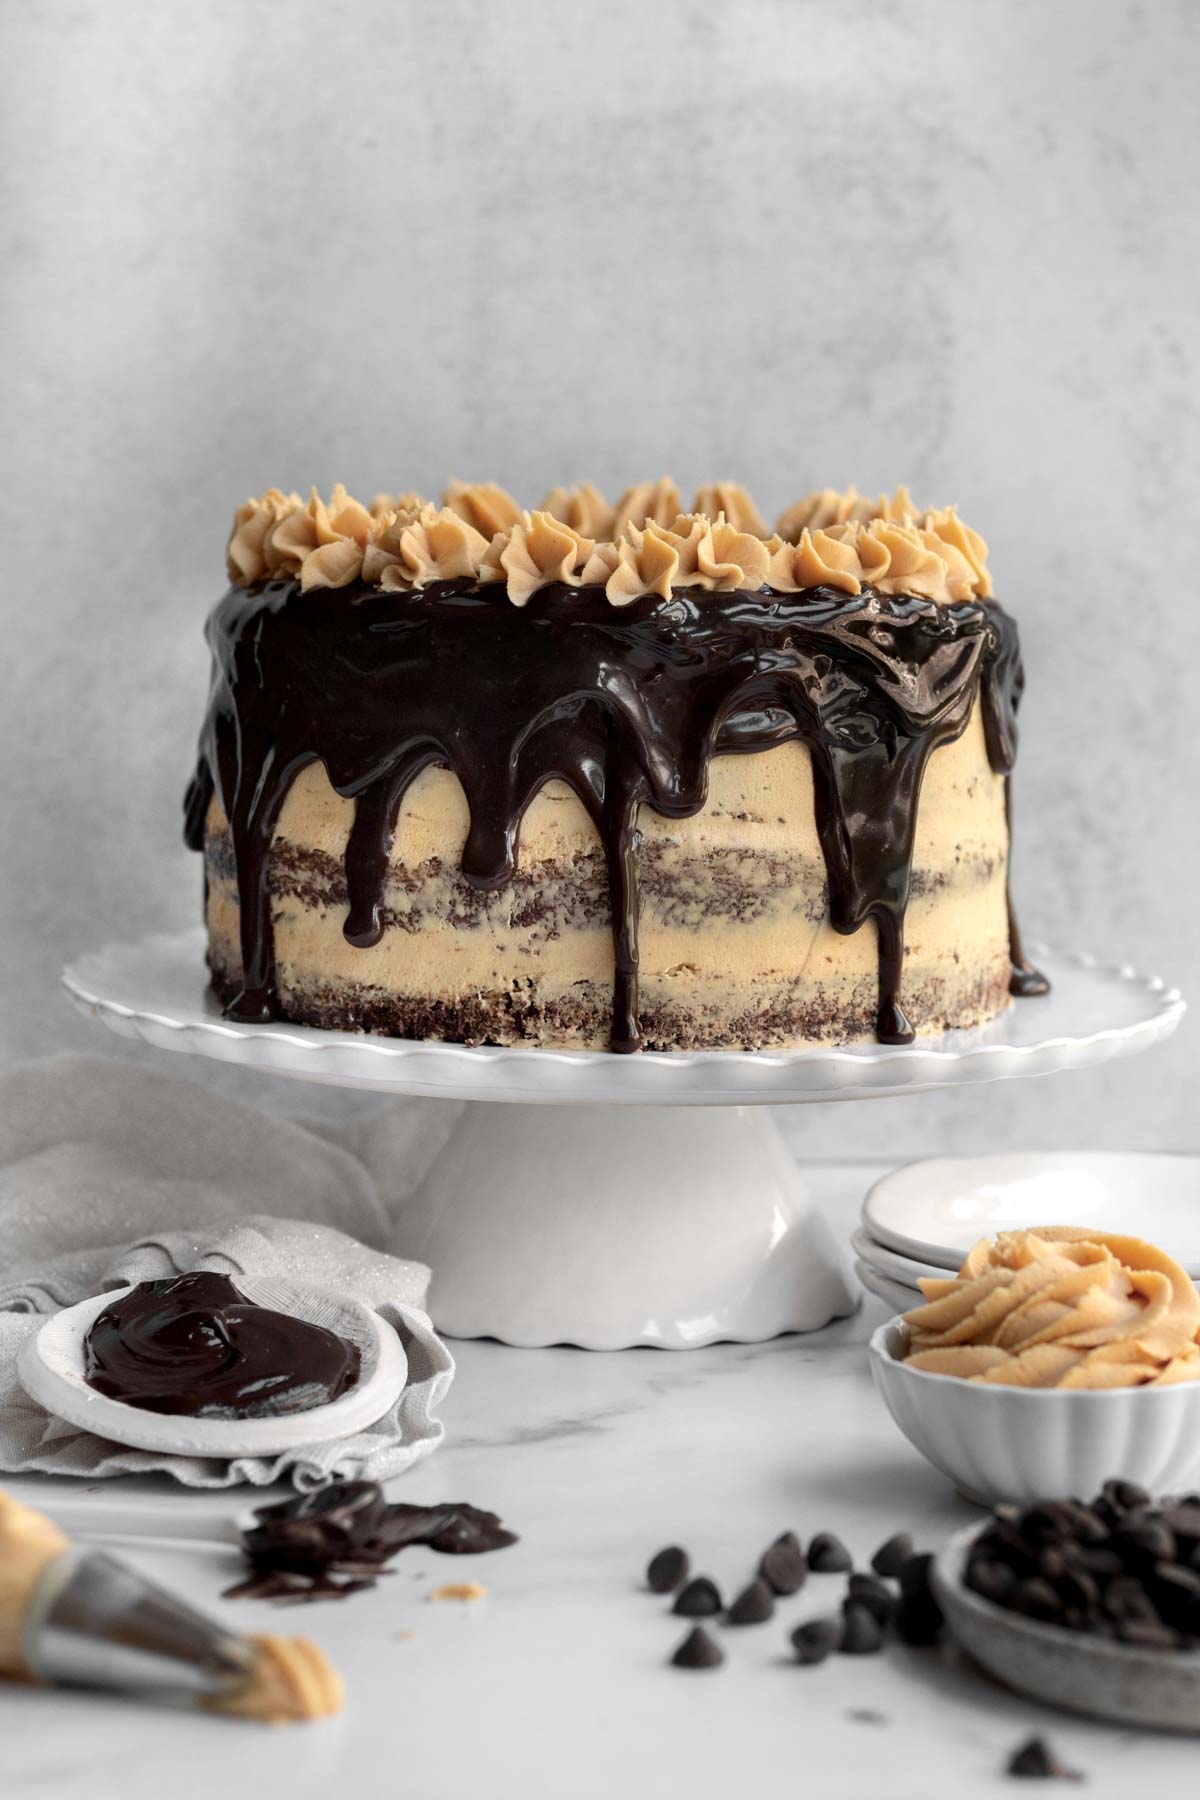
This Chocolate "Peanut Butter" Cake is for all of you longing for that peanut butter flavor but need something safe to eat! Wow Butter tastes like peanut butter and works beautifully in recipes like my Gluten Free No Bake Cookies! Our household cannot have any nuts or seeds at all. Wow butter allows us to feel like we’re still enjoying that peanut butter flavor without any of the risk! The chocolate cake is moist and decadent yet so simple to make! The batter mixes up with just a whisk and spatula. No mixer needed! It's the perfect cake for all you chocolate and peanut butter lovers!
For more Peanut Free "Peanut Butter" Recipes, try my Gluten Free "Peanut Butter" Chocolate Chip Cookies (Peanut Free), my No-Bake Chocolate Wow Butter Bars my super simple Nut Free Chocolate Spread and my Wow Butter Chocolate Tart.
Reasons to Love this Chocolate "Peanut Butter" Cake
- Allergy Friendly- This moist chocolate cake recipe is gluten free, nut free, egg free and can easily be dairy free (vegan)!
- Soft & Fluffy- The chocolate cake is super soft, decadent and delicious.
- Peanut Butter Flavor- This frosting has that classic peanut butter flavor without any nuts at all like in my Peanut Free "Peanut Butter" Ice Cream!
- Easy to Make- The batter mixes up in just one large bowl with a whisk just like my Chocolate Funfetti Cake!
Ingredient Notes

- Gluten Free Flour- If you also have nut allergies, make sure to use a brand that’s made in a nut free facility. I really love to use this gluten free flour because it’s free of the top 9 allergens. It also contains xanthan gum which really helps give baked goods their bounce and prevents them from falling apart.
- Cocoa Powders- I like to use Natural Unsweetened and Dark. Do not only use Dark as it will make the chocolate cake too dry and bitter.
- Granulated Sugar- I use this instead of brown sugar to keep the cake light. Brown sugar will tend to make the cake denser and chewier due to the added moisture content.
- White Vinegar- We use this along with the baking soda to help the cake rise.
- Vegetable Oil- This cake uses oil instead of butter/vegan baking stick to help it stay moist.
- Vanilla- Make sure to only use pure vanilla extract that is gluten free and vegan. If you use one that is not pure, the cake and frosting can have a chemical taste.
- Butter/ Vegan Baking Stick- Only use room temperature butter in the frosting. If using vegan butter, make sure it's on the cold side versus room temperature. Also, use vegan baking sticks instead of vegan butter from a tub.
- Wow Butter- For those of you that don’t know, Wow Butter is a nut free butter spread that is made in a gluten free, tree nut free, peanut free, egg free and dairy free facility (it's vegan). It also contains no seeds and is made of soy. It is perfect for my household since my kids have issues with all those items aside from dairy (finally) and soy. I am lucky enough to have this product in my local grocery store, but you can also buy Wow Butter on amazon. If you don't need to be nut free, simply swap this out with creamy peanut butter!
- Water- This frosting uses room temperature water instead of milk! Add it in slowly; you may not need it all.
- Heavy Cream- If you want to make the ganache drip vegan, make sure to use a gluten free vegan heavy cream.
- Chocolate Chips- To keep vegan, make sure to use gluten free/vegan chocolate chips. I love these allergy friendly chocolate chips.
See my recipe card below for a complete list of the ingredients with measurements.
Substitutions and Variations
How to Make this into a Vegan Chocolate Cake Recipe
- Use a gluten free flour that’s free from dairy.
- Make sure the brand of sugar you use is vegan.
- Use vegan baking sticks instead of butter in the frosting.
- Only use a non-dairy milk of choice.
- Read the label on your chocolate chips to ensure they’re gluten free, nut free and vegan. I love to use these vegan/gluten free chocolate chips.
- Only use a vegan heavy cream.
- Use a vegan nut free spread like Wow Butter!
Make this Recipe with All Purpose Flour
- Use 3 cups packed AP flour (504 grams).
- Make sure to use packed ½ cup cocoa powder (58 grams).
- Only use ¾ cup vegetable oil.
With Regular Peanut Butter
- Replace the Wow Butter in the frosting recipe with equal amounts of creamy peanut butter.
For Vegan Ganache without Vegan Heavy Cream
- Place ¾ cup of vegan chocolate chips and 6 tablespoons of a vegan baking stick in a heat safe bowl.
- Heat them in the microwave in 10 second increments, stirring after each time until the chocolate chips and vegan baking stick are fully melted and incorporated.
- Then follow the directions for spooning it on the cake and letting it drip down the sides.
This recipe has not been tested with these some of these substitutions and/or variations due to celiac disease and food allergies. If you change any of the ingredients, please let us know how the recipe turned out in the comments below!
How to Make Peanut Free Chocolate "Peanut Butter" Cake
Here are the step by step instructions to make this chocolate & "peanut butter" cake!

Step 1: Whisk Together the Dry Ingredients
In a large bowl whisk together the gluten free flour, granulated sugar, cocoa powder, baking soda and kosher salt.

Step 2: Make 3 Wells, Add the Wet Ingredients
Into the dry ingredients, make 3 wells for the wet ingredients to be poured into. In one well pour the vegetable oil, in the other pour the white vinegar and in the last, pour the vanilla.
Pour the cold water on top of all the ingredients. Whisk everything together until fully combined. Switch to using a spatula when the batter gets too thick.

Step 3: Scoop the Batter and Bake
Using a spatula, divide the batter equally between two greased and parchment lined 8 inch cake pans; smooth the tops with a butter knife.
Bake the cake in the center rack at 350 degrees Fahrenheit for 45 minutes.

Step 4: Make the "Peanut Butter" Frosting
In the large bowl of an electric mixer or using a hand held mixer, beat the butter and wow butter until smooth; about 2 minutes.
Be careful not to over beat because wow butter has a tendency to seize up.
Then slowly beat in the confectioners’ sugar and the vanilla until combined.
Then beat in the water a little at a time until you get the desired consistency. You may not need to use it all.

Step 5: Cut the Cakes in Half
Remove cakes from the oven and let them cool in the cake pans.
Once the cakes have cooled completely, take them out of the pan and slice them in half horizontally to create 4 thinner layers of cake.
If the tops of your cakes have domes, you can very carefully slice them off to make the tops flat.

Step 6: Frost the Cake and Chill
Separate the frosting into 5 equal sections.
Place one layer of cake on a cake plate/stand. Scoop ⅕ (about 1 cup) of frosting on top of the layer and use an icing spatula to spread it around.
Place another layer of cake on top; repeat this same process. Do this with 3 layers of cake.
Once you get to the last layer of cake, place it bottom (or flat) side up so the top of the cake is nice and flat. Use an icing spatula or a butter knife to frost the top and a thin layer on the sides of the cake.
You should only use a fifth of the frosting on the top and sides combined.
Pop the entire cake in the fridge uncovered for 15-20 minutes.

Step 7: Make the Ganache
Place chocolate chips in a heat safe bowl. Set aside.
Then pour heavy cream in a saucepan over medium heat, whisking constantly. Once it begins to simmer around the edges, immediately pour the cream over the chocolate chips.
Cover with plastic and let sit one minute. Then remove plastic and whisk until smooth.

Step 8: Spoon on the Chocolate Ganache and Decorate
Take the cake out of the fridge and immediately spoon almost all the liquid ganache on top of the cake.
Using an icing spatula, push the ganache around the edges of the cake so it drips down the sides.
Put the remaining ⅕th of the frosting into a piping bag and then make swirls or dollops all around the edge of the top of the cake.
Expert Baking Tips
- Use Packed Cups of Flour- Normally in baking we do not use packed cups however, when working with gluten free, I've found using packed cups works best to help the baked goods keep their shape. Or read the gram measurement.
- Use 2 Types of Cocoa Powder- The 2 types of cocoa powders give the cake its dark hue. If you only have one type on hand, use natural unsweetened or dutch...just know the color will not be as dark as mine. Do not use dark alone; it will make your cake too dry and bitter. Also use packed cups like with the flour.
- Smoothing the Batter- Many gluten free flour batters have a way of staying exactly as they are placed, when baked. If you leave it misshapen, that’s how it will remain when baked. When the batter is in the pans, gently smooth the tops with a butter knife.
- Cream the Butter and Wow Butter- For the frosting, you could technically put all the ingredients in the bowl together and beat them at the same time. However, this can leave chunks of butter throughout the frosting. Your best bet is to beat the butter and wow butter together first until it is smooth and creamy for about two minutes. Then beat in all the other ingredients. Do not over beat as the wow butter has a tendency to seize up.
- Add the Water a Little at a Time- When adding in the rest of the water as the final step, only add it in slowly, a little at a time until you get the desired frosting consistency. You may not need to add all the water. If your butter was fairly cold when making the frosting, you will probably need more water than if your butter was actually room temperature.
- Making The Frosting- If the frosting is too liquidy, add more confectioners’ sugar 1 tablespoon at a time until you reach the desired consistency. It should be thick enough to stay put on the cake and not run off. If the frosting appears too thick, add a little water ¼ teaspoon at a time.
- Make the Frosting the Day Before- You don’t have to do this the day before, but it definitely makes assembling the cake a much quicker process. Store the frosting in a bowl covered with plastic wrap in the fridge. When ready to use, let it come to room temperature and rewhip to regain the creamy texture.
- Drip the Ganache Quickly- Work quickly because the cold cake will quickly stop the ganache from dripping too much.
Recipe FAQs
Yes! If you don’t have any nut allergies, you can use creamy peanut butter in place of the wow butter.
Simply replace the wow butter in the recipe for equal amounts of creamy peanut butter and there you have it!
Most gluten free baked goods are best made the same day, but you can make this cake the night before and then do the decorating like the ganache and pipe the extra buttercream in the morning.
If making the cake the night before, keep the cake in the fridge under a dome or wrapped in foil until ready to decorate.
Yes. Store it in a bowl covered with plastic wrap in the fridge. When ready to use, bring the frosting to room temperature and rewhip to regain that creaminess.
Yes. This isn't sponsored but the brand silk makes one. It says it’s gluten free but there is no certified label, so I would look into that if you have celiac.
As for allergens, it does contain coconut, sunflower and faba bean protein, last time I checked. Always read the labels.
Check out the section above entitled "substitutions and variations" for a vegan heavy cream recipe.
Storing: Once the cake is cut into, cut the entire cake into slices, wrap each slice in foil and store in a zip top bag in the fridge for up to 2 days
When ready to eat, let the slices sit on the counter, in the foil for about an hour or until the cake is room temperature and soft. If desired, warm each slice in the microwave for 5-10 seconds; be careful not to burn your mouth.
Freezing: Wrap slices in foil, place in the zip top bag and freeze for up to 30 days.
When ready to eat, put the slices in the fridge the night before or leave them out on the counter for 2 hours prior to eating or until the cake is room temperature and soft. If desired, warm each slice in the microwave for 5-10 seconds; be careful not to burn your mouth.
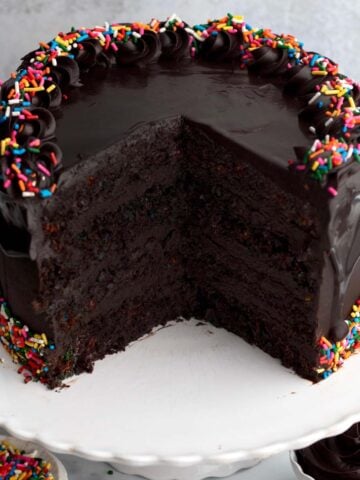
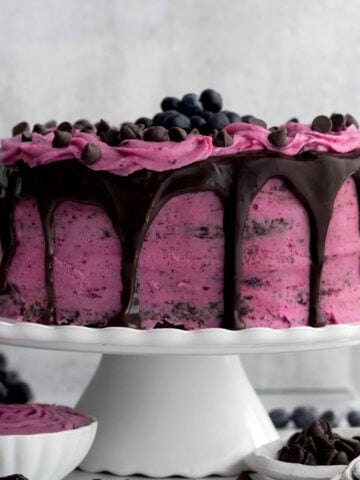
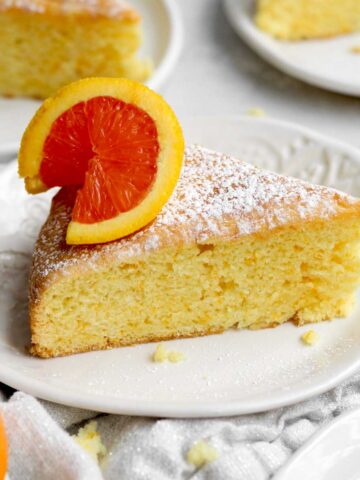
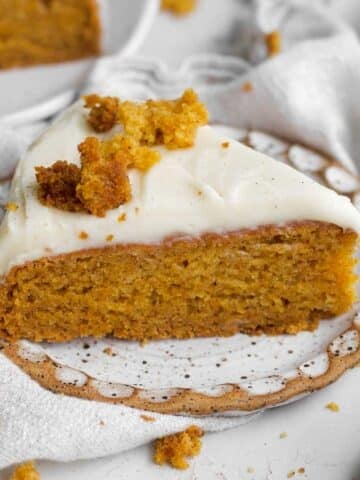
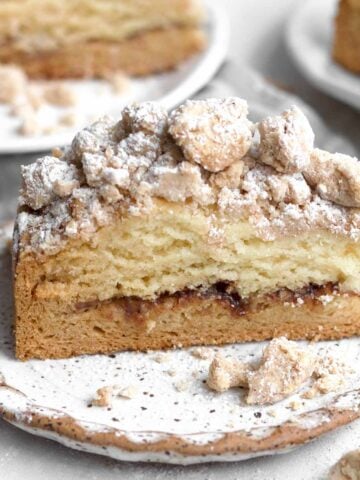
More Chocolate Cake Recipes You'll Love

Did you try this recipe? Please leave me a ⭐ review below!
Don’t forget to tag me on Instagram @laneandgreyfare and follow along on Pinterest, Facebook and YouTube! Enjoy!!!
📖 Recipe
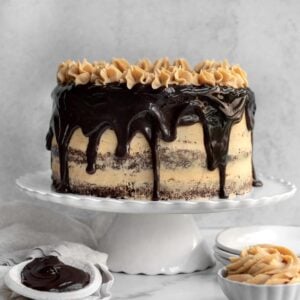
Peanut Free Chocolate "Peanut Butter" Cake
Ingredients
For the Chocolate Cake
- 3 cups multipurpose gluten free flour (I use a gluten free multipurpose flour with xanthan gum already in it
- ½ cup cocoa powder I use ¼ cup Dutch or Natural Unsweetened and ¼ cup Dark
- 2 cups granulated sugar
- 2 teaspoons baking soda
- 2 teaspoons kosher salt
- ¾ cup plus 2 tablespoons, vegetable oil
- 2 tablespoons white vinegar
- 2 teaspoons pure vanilla extract
- 2 cups cold water
For the Peanut Free "Peanut Butter" Frosting
- 1 cup unsalted butter or vegan baking sticks, room temperature
- 1 cup wow butter , room temperature (or 1 cup creamy peanut butter)
- 5 cups confectioners’ sugar
- 1 teaspoon pure vanilla extract
- ¼ cup plus 2 tablespoons water , room temperature
For the Chocolate Ganache Drip
- 6 oz chocolate chips
- ½ cup heavy cream
Instructions
Make the Chocolate Cake
- Preheat the oven to 350 degrees Fahrenheit. Grease two 8 inch cake pans with vegetable oil, line with parchment paper and then lightly grease again with vegetable oil.
- In a large bowl whisk together the 3 cups multipurpose gluten free flour, ½ cup cocoa powder, 2 cups granulated sugar, 2 teaspoons baking soda and 2 teaspoons kosher salt.
- Using clean hands, make 3 wells in the dry ingredients for the wet ingredients to be poured into.
- In one well pour the ¾ cup plus 2 tablespoons vegetable oil, in the other well pour the 2 tablespoons white vinegar and in the last, pour the 2 teaspoons pure vanilla extract.
- Pour the 2 cups cold water on top of all the ingredients.Use a whisk to mix everything together until fully combined. If it gets too thick for the whisk, switch to using a spatula. Do not over-mix.
- Using a spatula, scoop the batter evenly into the greased and parchment lined 8 inch cake pans and smooth the tops with a butter knife.Bake the cakes in the center rack at 350 degrees Fahrenheit for 45 minutes until the tops are slightly springy when carefully touched.Once out of the oven, let the cakes cool almost completely in the pans for 15 mins before trying to remove. Then remove from pans and let cool completely on a wire cooling rack.
- Once cool, slice both cakes in half horizontally. Now you have 4 thin layers of cake.If your cakes have dome tops, you can take a thin layer off the tops of the cake with a knife, to make a flat surface.
Make the Peanut Free "Peanut Butter" Frosting
- While the cake is baking, make the frosting.In the large bowl of an electric mixer or using a hand held mixer, beat the 1 cup unsalted butter and 1 cup wow butter (or creamy peanut butter) until smooth.
- Slowly beat in the 5 cups confectioners' sugar and the 1 teaspoon pure vanilla extract and mix until combined.
- Add in the ¼ cup plus 2 tablespoons of room temperature water...a little at a time until you get the desired consistency.You may not need to use all the water.
Assemble the Cake
- Divide frosting into 5 equal servings.
- Place one layer of cake on a cake plate/stand. Scoop ⅕ (about 1 cup) of frosting on top of the layer and use an icing spatula to spread it around.
- Place another layer of cake on top; repeat this same process. Do this with 3 layers of cake.
- Once you get to the last layer of cake, place it bottom (or flat) side up so the top of the cake is nice and flat. Use an icing spatula or a butter knife to frost the top and a thin layer on the sides of the cake.You should only use a fifth of the frosting on the top and sides combined.Pop the entire cake in the fridge uncovered for 15-20 minutes.
Make the Chocolate Ganache
- Place the 6 ounces chocolate chips in a heat safe bowl. Set aside.Pour the ½ cup heavy cream in a saucepan over medium heat, whisking constantly. Once it begins to simmer around the edges, immediately pour the cream over the chocolate chips. Do not mix!
- Cover with plastic and let sit 1.5 minutes. Then remove plastic and whisk until smooth.Immediately take the cake out of the fridge. Spoon almost all the liquid ganache on top of the cake.Take an icing spatula and push the ganache around to the edges of the cake so it drips down the sides.Work quickly because the cold cake will quickly stop the ganache from dripping too much
- Take the last ⅕th of buttercream and put it into a piping bag. Create swirls or dollops going all the way around the top rim of the cake.If you have frosting leftover, save it in a bowl covered in plastic wrap in the fridge for a few days.
Video
Notes
Nutrition

Esther says
Hi Lee! Thank you for such delicious recipes. May I ask which ingredients replaced the eggs?
Lee says
Hi Esther! Thank you! Actually this recipe does not have your typical "egg replacer." It is made without eggs or dairy naturally!
Usha says
Canni make this using AP flour
Lee says
Hi you can, yes! However I cannot test the recipe using regular flour as my daughter has celiac disease and my entire house is gluten free.
Rocío says
Hola! Que Harina usaste? Porque hay varias!
O usaste premezcla para pastelería?
Muchas gracias
Lee says
Hola! Use cup4cup en esta receta. Es seguro para mis hijos porque no contiene gluten ni nueces. Sin embargo, contiene lácteos.
Ellen says
I have a question . I am going to make this . It looks so delicious. If someone has a nut allergy can you use Almond milk? If not what kind
Thank you
Lee says
Hi Ellen! Thank you for the kind words! Definietly don't use almond milk if there is a nut allergy. If the person can have dairy, you can just use regular whole milk. If the person is dairy free, use another non dairy milk of choice that does not contain nuts. Let me know if the person is dairy free. I'm working on another chocolate ganache that does not need heavy cream or vegan heavy cream. xox
Jenny says
Would I use smooth peanut butter instead of wow butter ?
Lee says
Hi Jenny! Yes...you can replace the wow butter with smooth peanut butter!
Patel says
Hey what other flour can be used instead of gluten free flour?
Lee says
Hi there! You can use regular all purpose flour. If doing so, only use 3/4 cup vegetable oil and not the amount that the recipe calls for. Hope that helps!
John says
Chocolate Wow Butter Cake sure does look amazing! What an easy recipe to follow!
Lee says
Thanks so much!