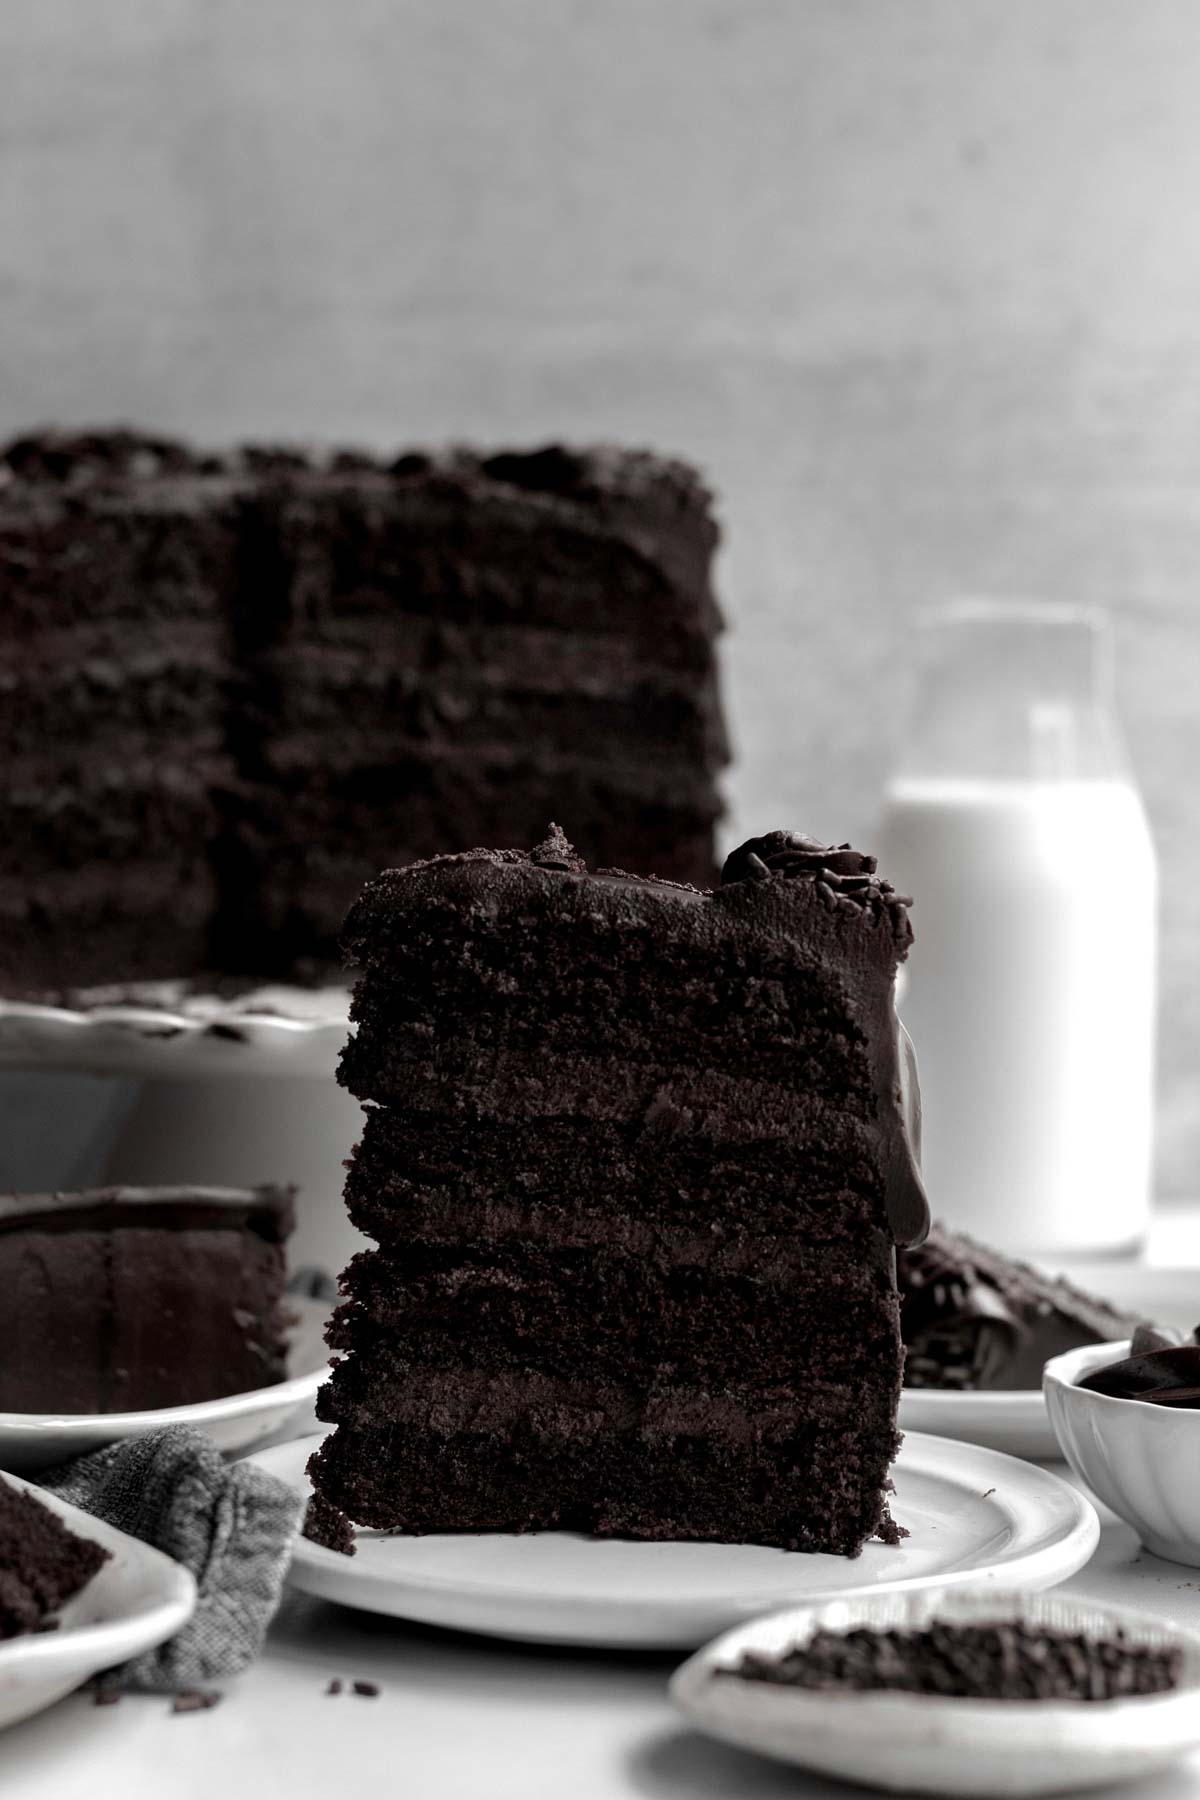
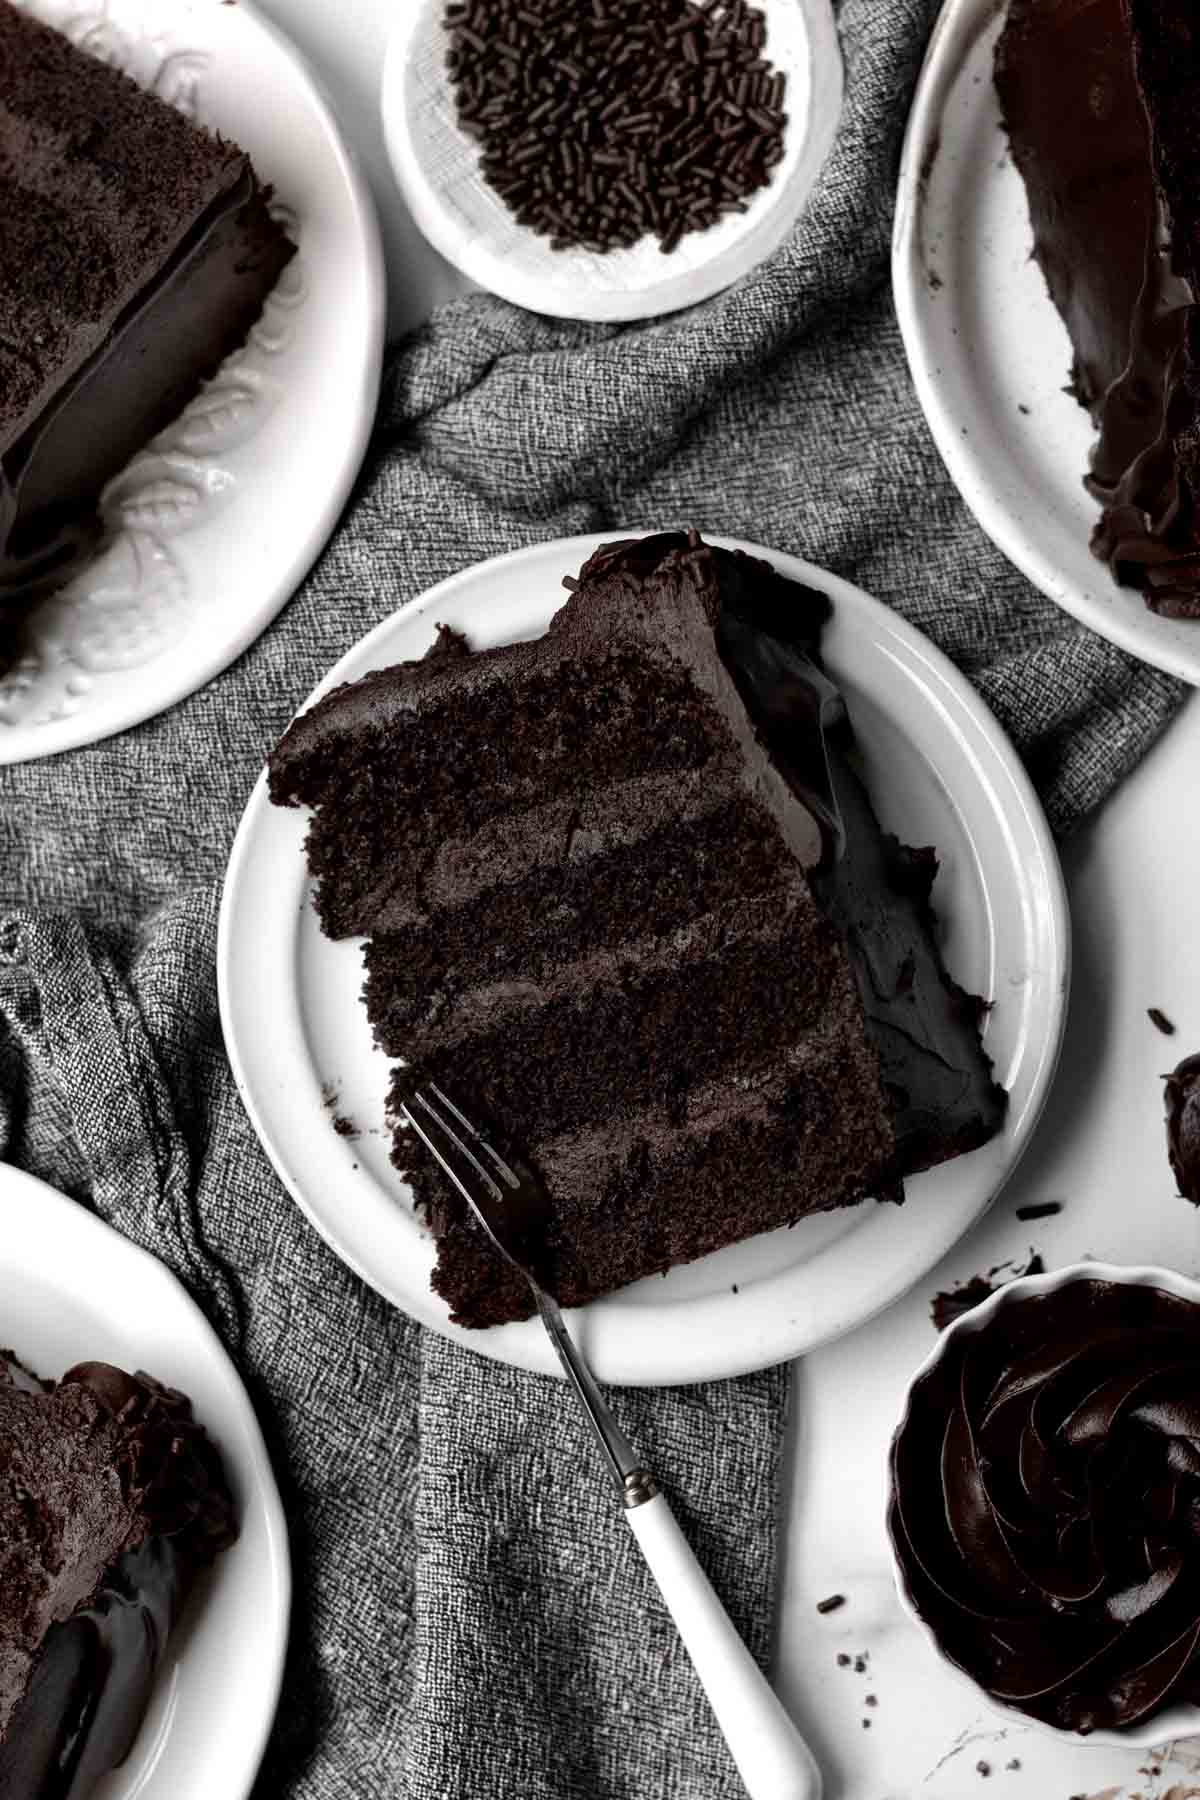
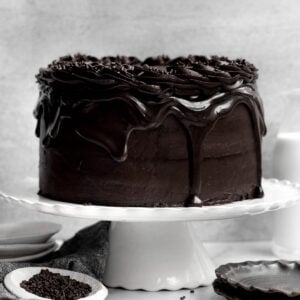
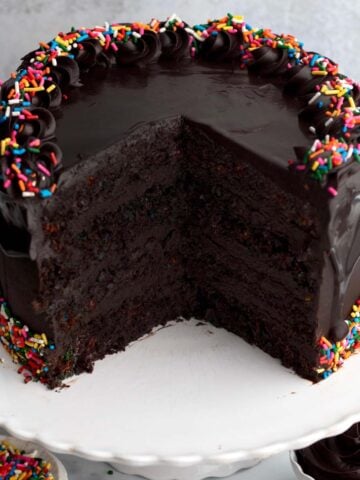
This Triple Chocolate Layer Cake has alternating layers of soft gluten free chocolate cake and creamy chocolate fudge frosting. It's then topped with chocolate ganache, more frosting and sprinkles. If that wasn't enough, this dreamy cake is also nut free, eggless and easily vegan! It’s a must try for all the chocolate lovers out there!
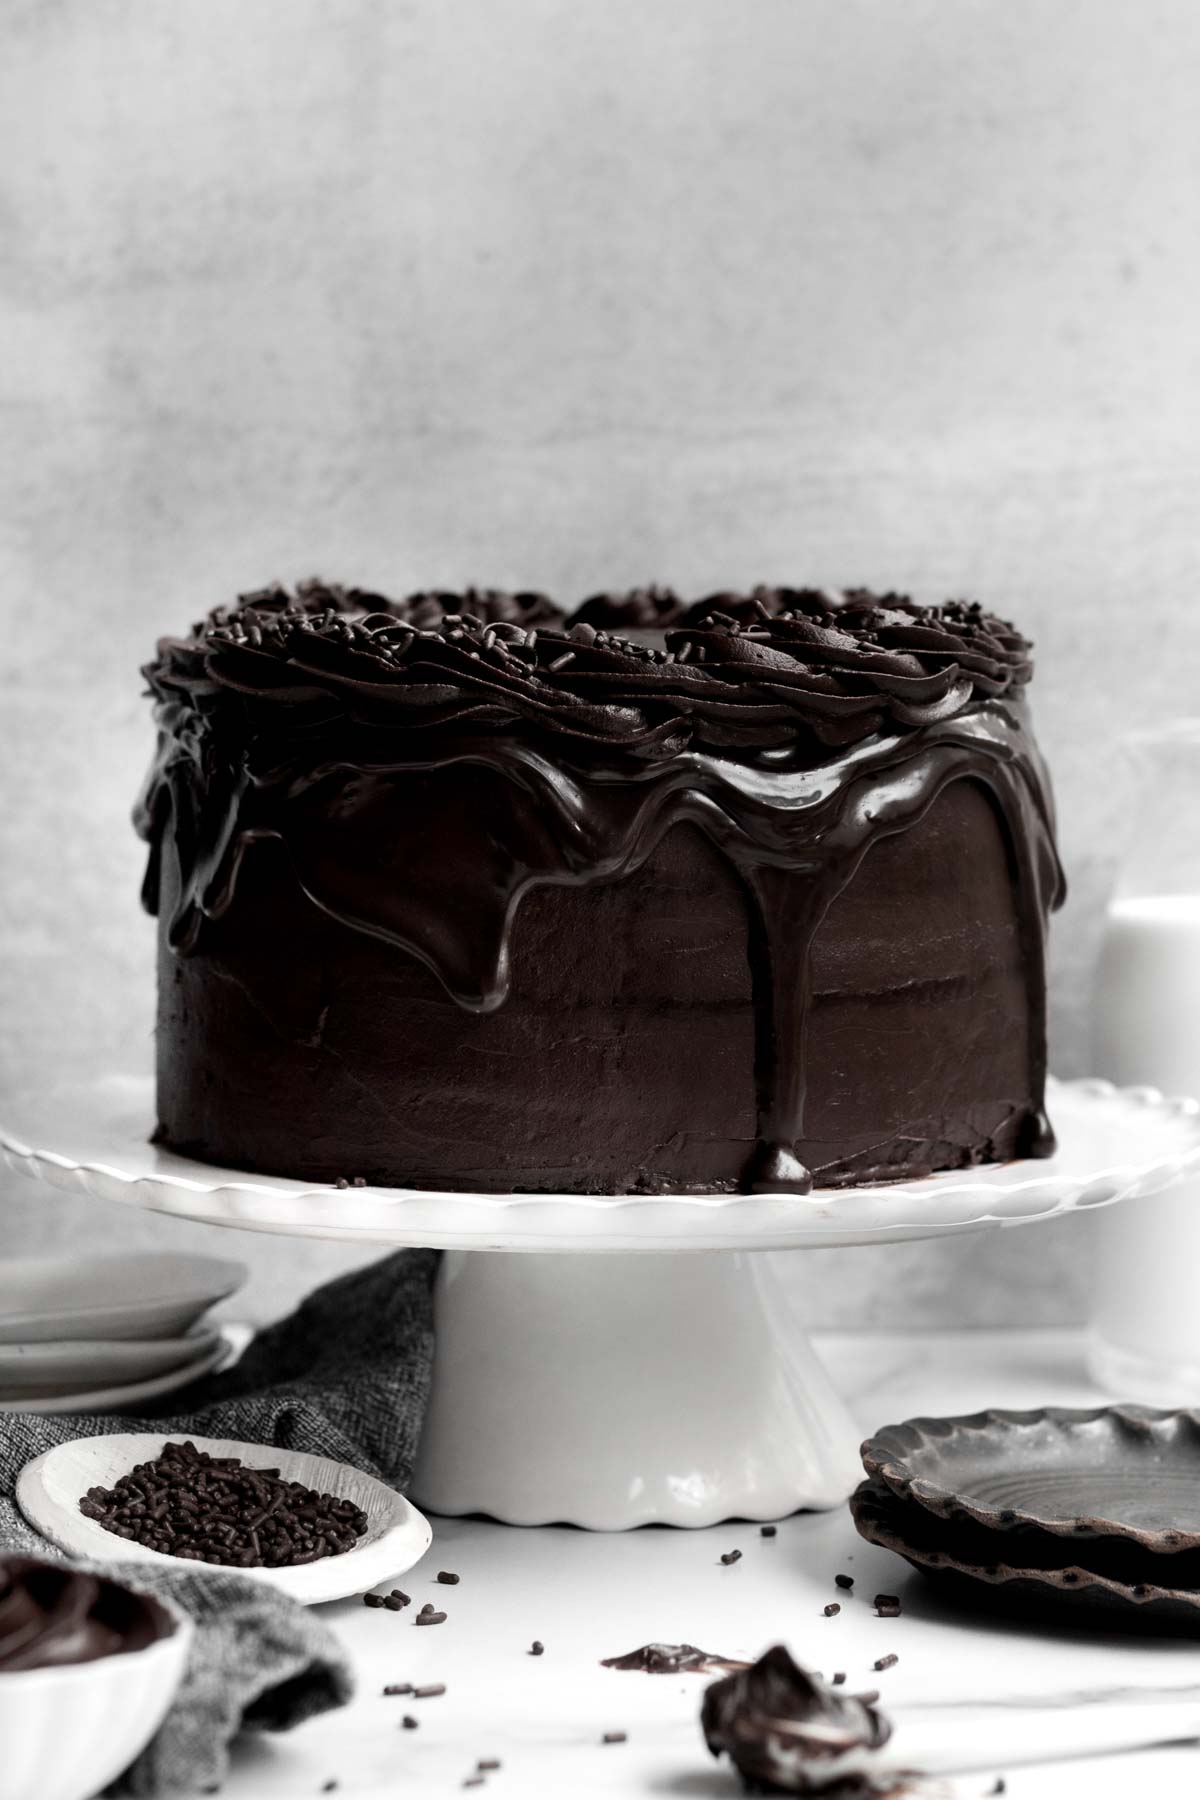
This Triple Chocolate Cake recipe is so easy to follow! The rich cake batter whips up in one bowl with a whisk! No mixer needed. It's soft and moist while still being decadent and luscious.
For more triple chocolate recipes, try my Brooklyn Blackout Cake, Triple Chocolate Cinnamon Rolls, Triple Chocolate Cheesecake and Triple Chocolate Donuts.
Reasons to Love this Cake
- Allergy Friendly- This cake is gluten free, nut free, egg free and can easily be dairy free (vegan)!
- Soft & Fluffy- The cake is super soft, decadent and delicious.
- Fudge Frosting- It has a luscious fudge frosting!
- Easy to Make- The batter mixes up in just one large bowl with a whisk!
- Triple Chocolate- It has chocolate cake, frosting and drip!
Ingredient Notes
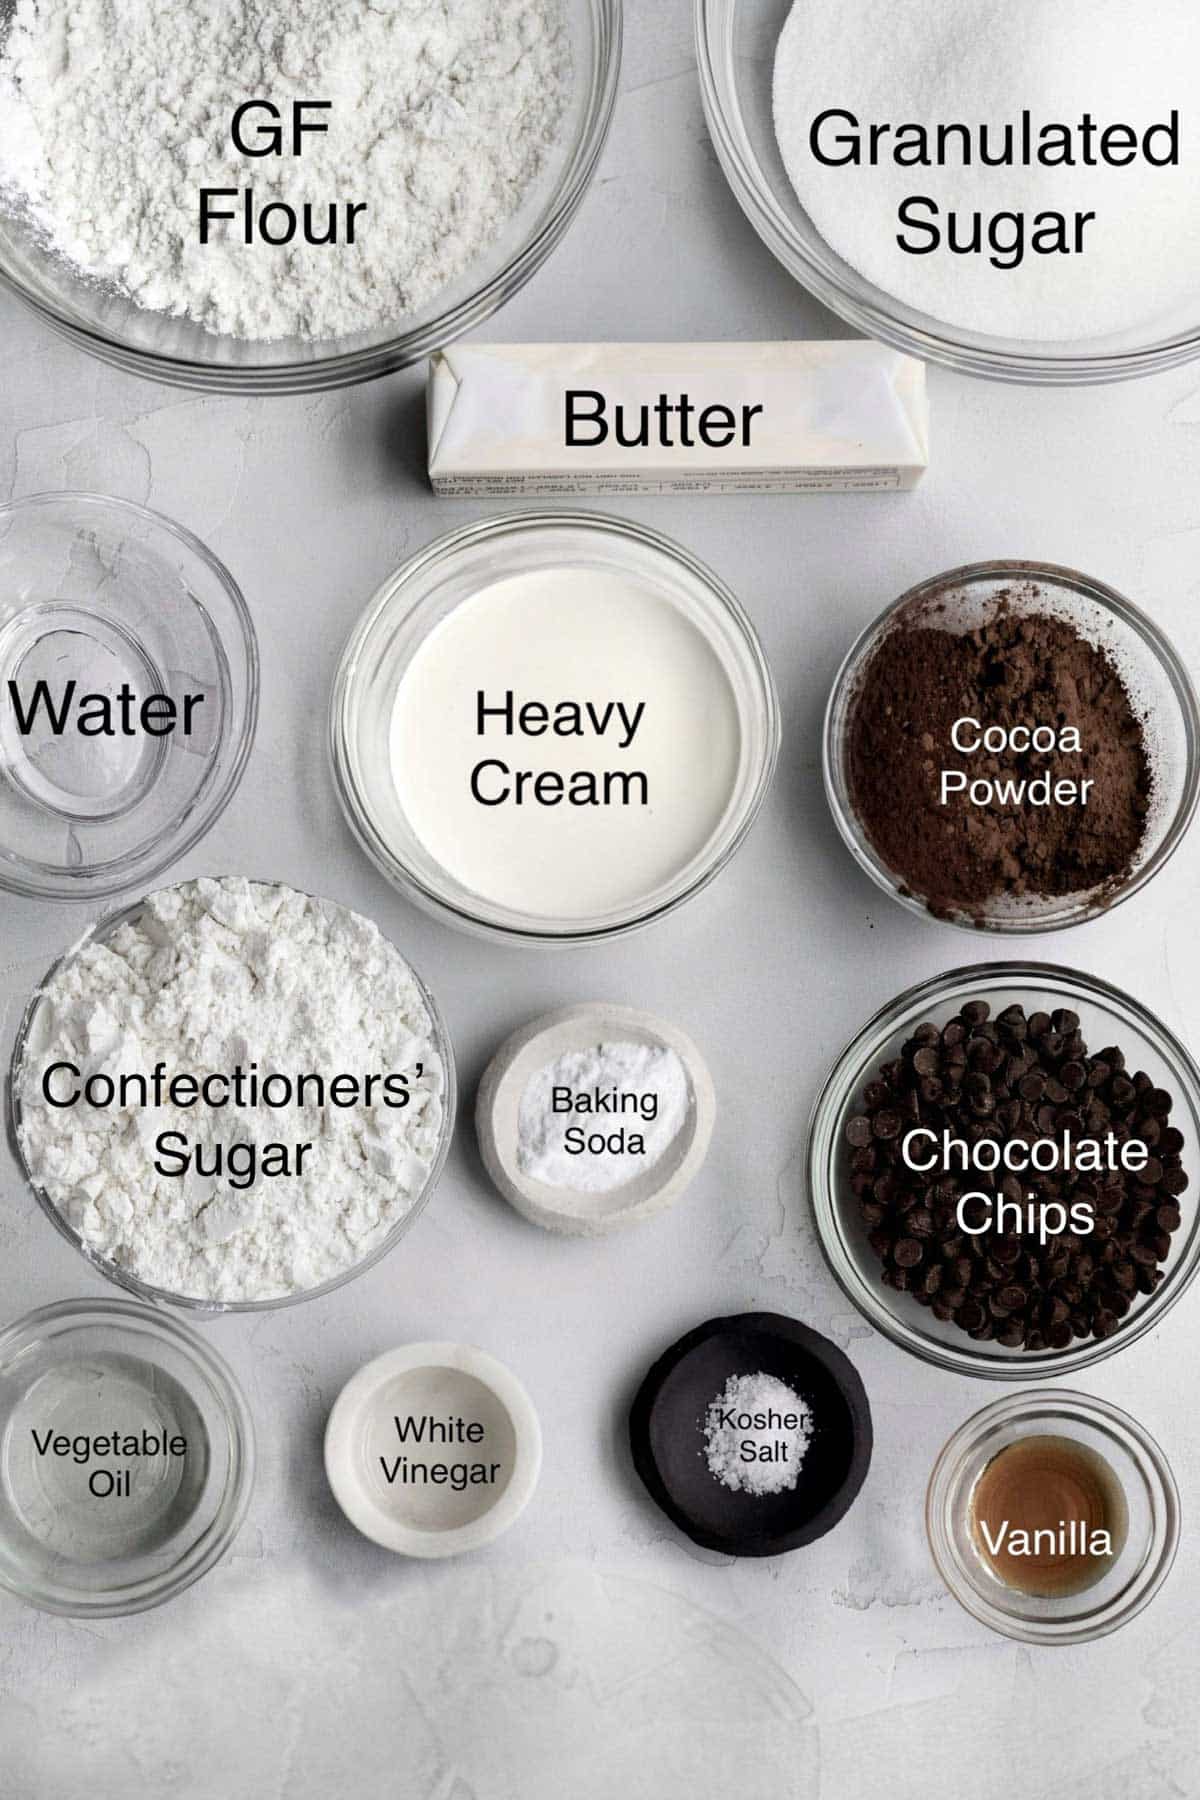
- Gluten Free Flour- If you also have nut allergies, make sure to use a brand that’s made in a nut free facility. I really love to use this gluten free flour because it’s nut safe but it does contain dairy. It also contains xanthan gum which really helps give baked goods their bounce.
- White Vinegar- We use this along with baking soda to help the cakes rise.
- Vegetable Oil- The cake uses oil instead of butter/vegan baking stick to help it stay moist.
- Cocoa Powders- I like to use two types but if you only want to use one, use Dutch or Natural Unsweetened.
- Heavy Cream- If you want to make the ganache drip vegan, make sure to use a gluten free vegan heavy cream.
- Chocolate Chips- To keep vegan, make sure to use gluten free/vegan chocolate chips. I love these allergy friendly chocolate chips.
See my recipe card below for a complete list of the ingredients with measurements.
Substitutions and Variations
How to Make this Vegan
- Use a gluten free flour that’s free from dairy.
- Make sure the brand of sugar you use is vegan.
- Use vegan baking sticks instead of butter in the frosting.
- Use a vegan heavy cream alternative like in my Cocoa Dusted Truffles.
- Make sure to use vegan chocolate chips.
- If using sprinkles, make sure they're gluten free and vegan.
How to Make this recipe with All Purpose Flour
- Use 3 cups packed AP flour (504 grams).
- Make sure to use packed ½ cup cocoa powder (58 grams).
- Only use ¾ cup vegetable oil.
This recipe has not been tested with these substitutions and/or variations due to celiac disease and food allergies. If you change any of the ingredients, please let us know how the recipe turned out in the comments below!
How to Make Triple Chocolate Cake
Here are the step by step instructions to make this cake!
Make the Cake
Step 1: Whisk Together All the Dry Ingredients
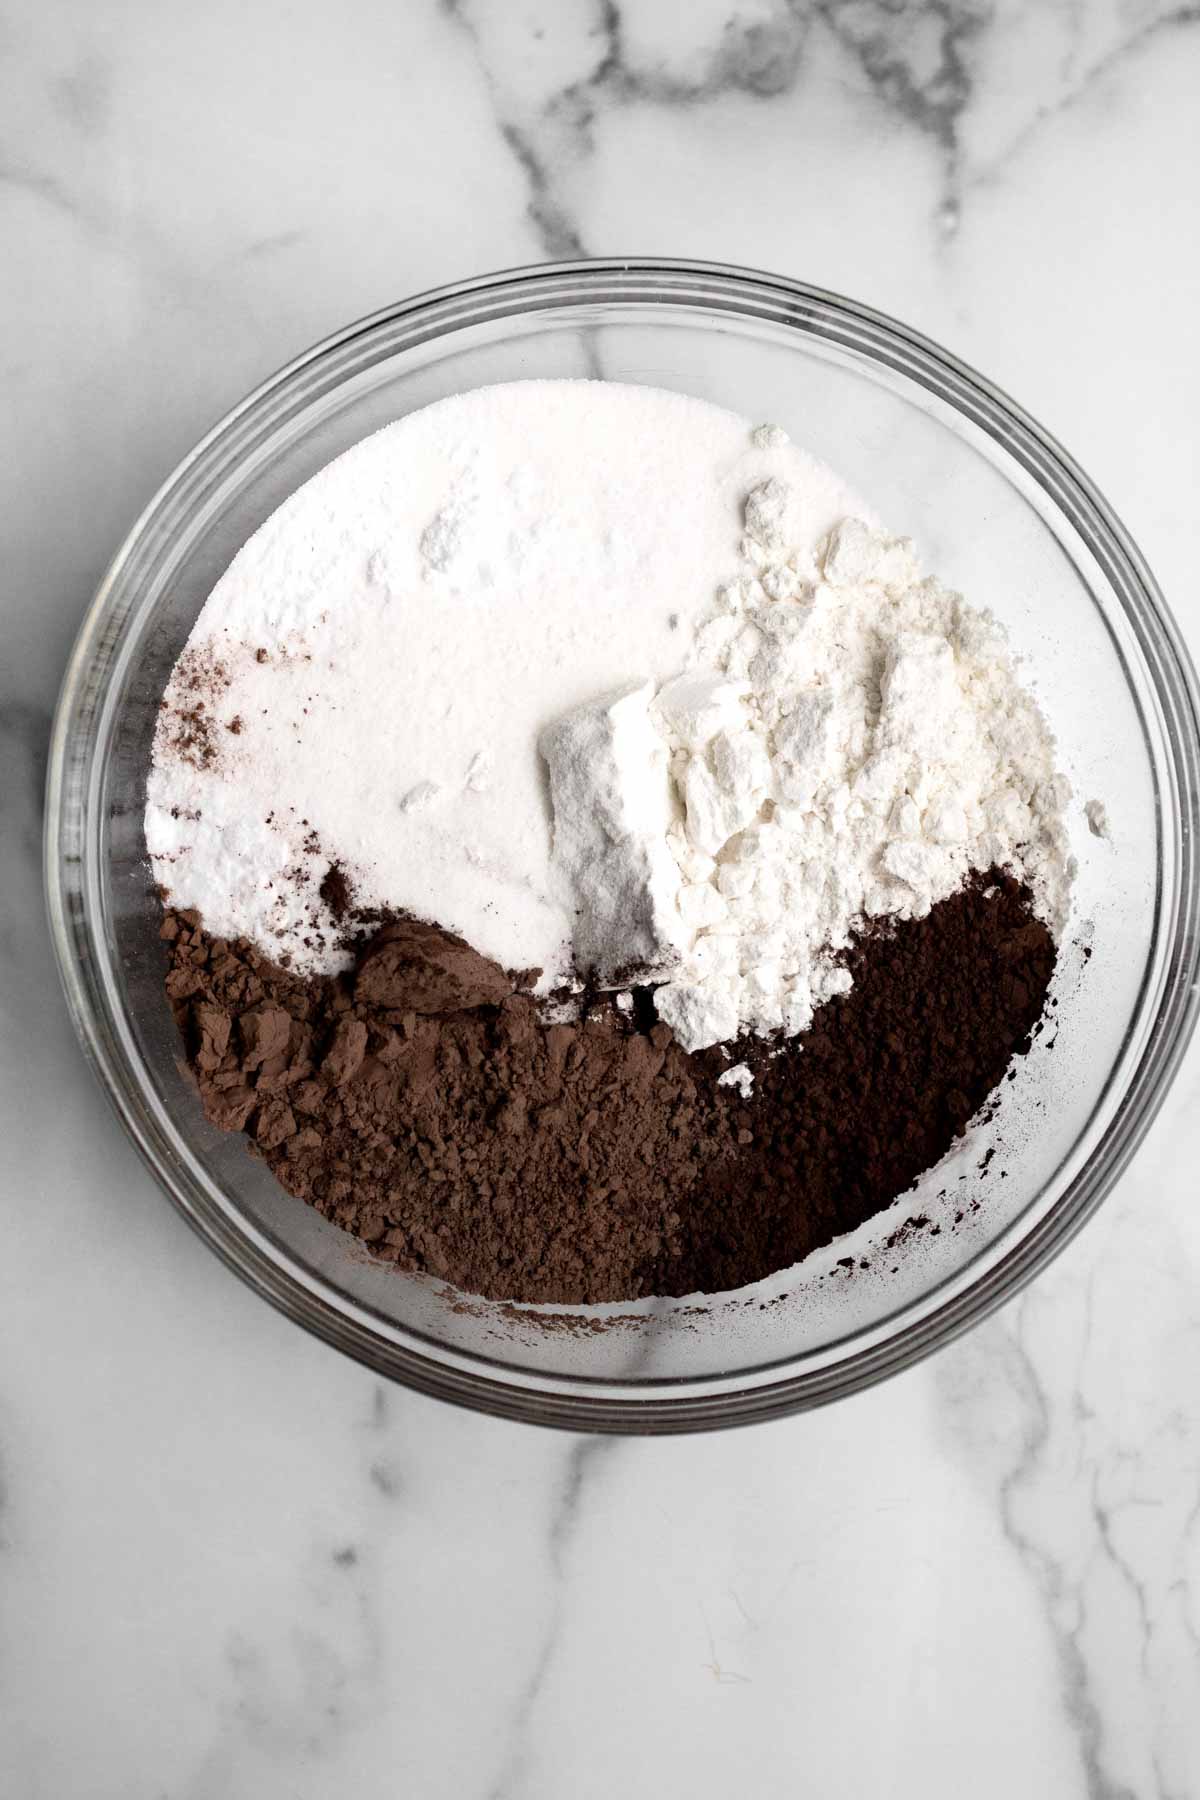
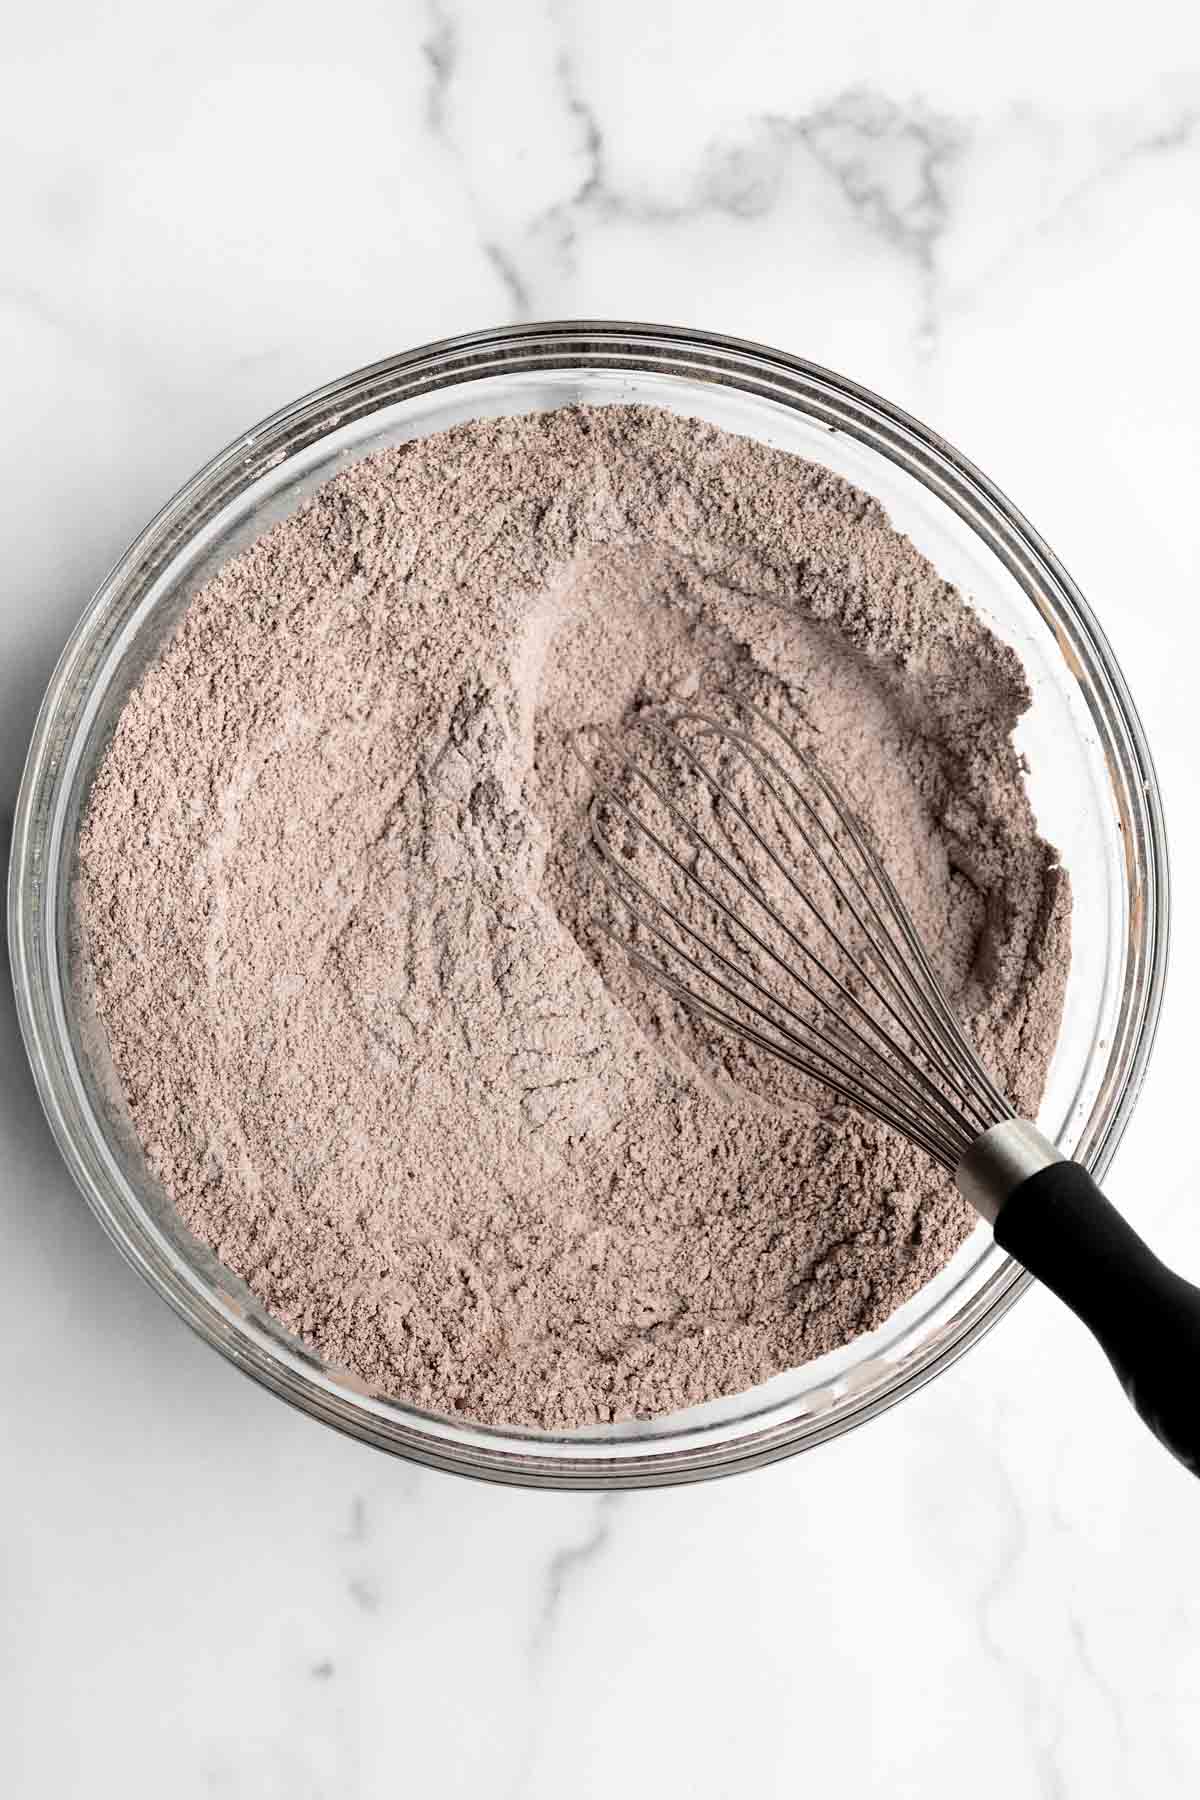
In a large bowl whisk together the gluten free flour, granulated sugar, cocoa powders, baking soda and kosher salt.
Step 2: Make 3 Wells in the Dry Ingredients
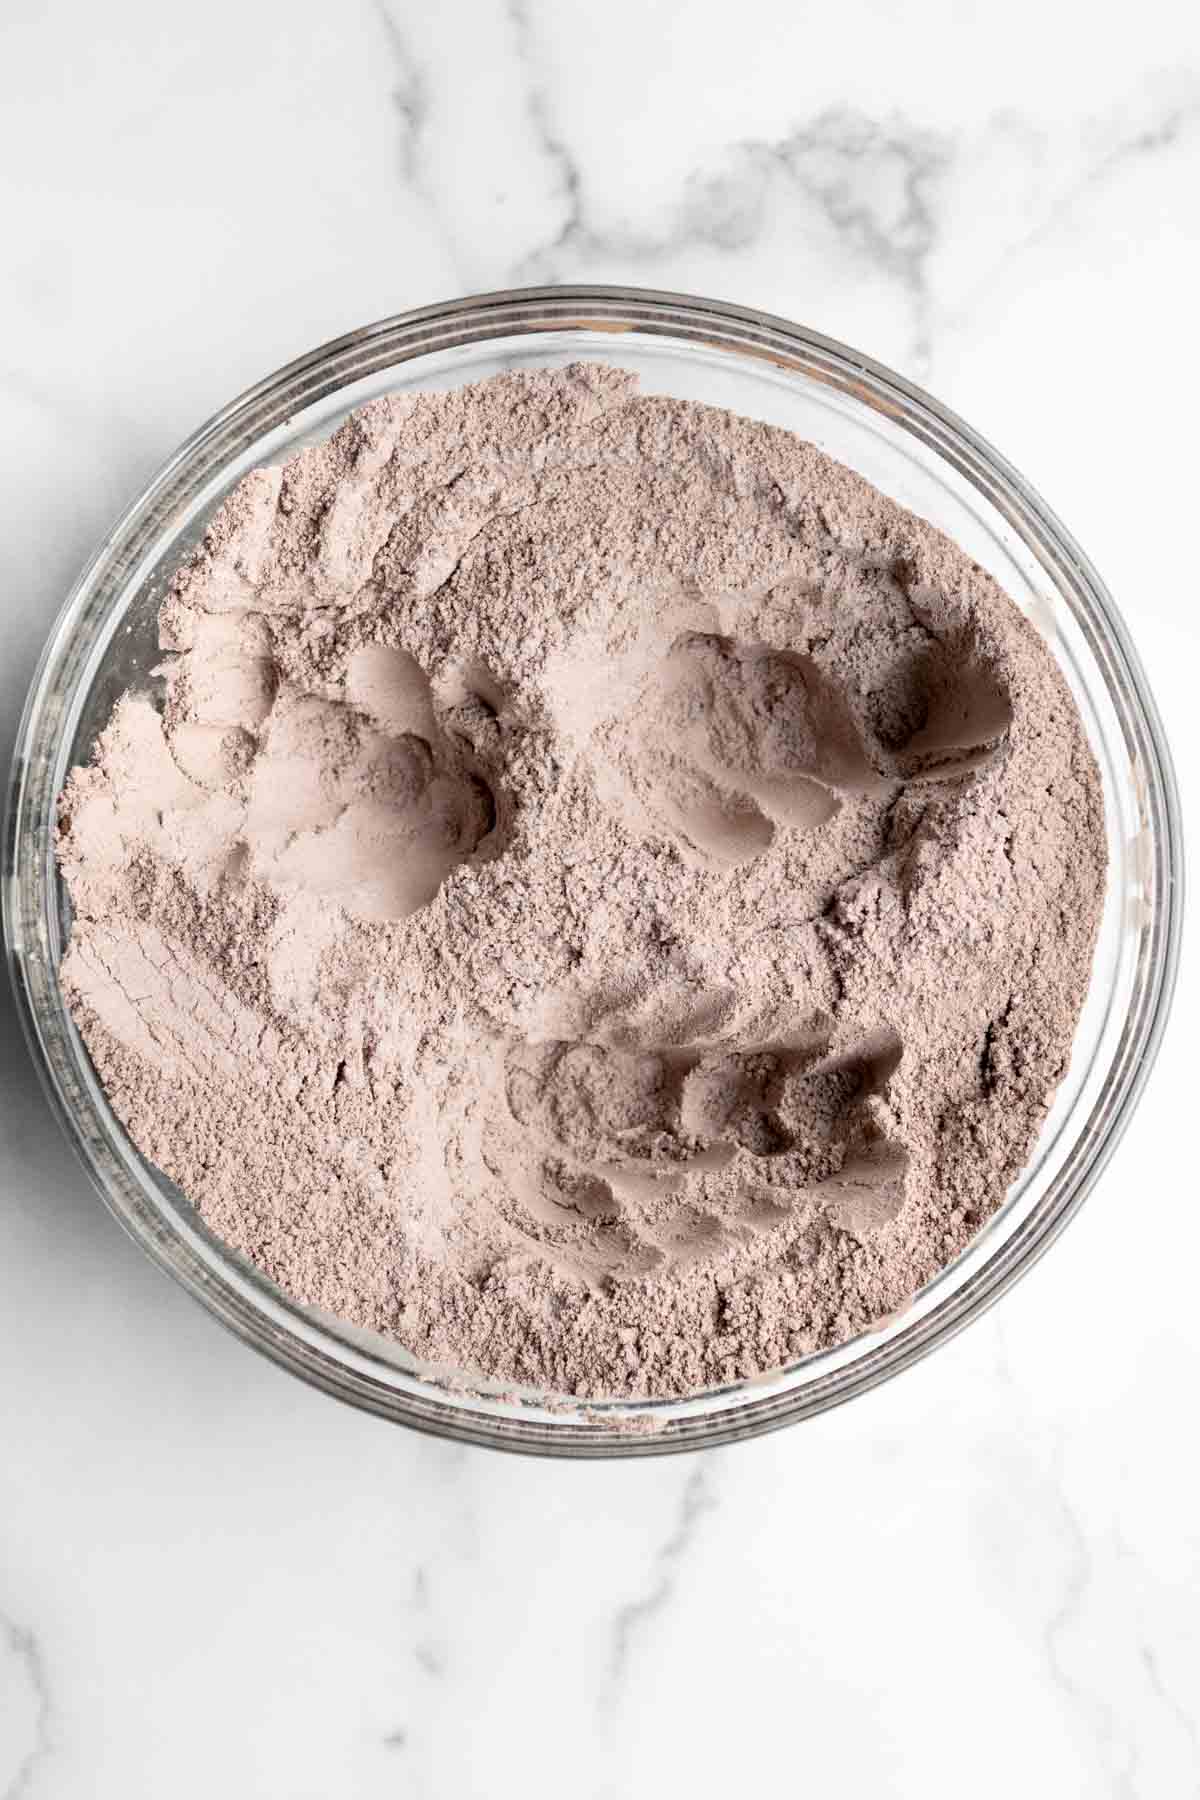
In the dry ingredients, using clean hands, make 3 wells for the wet ingredients to be poured into.
Step 3: Pour in the Liquid Ingredients minus the Water
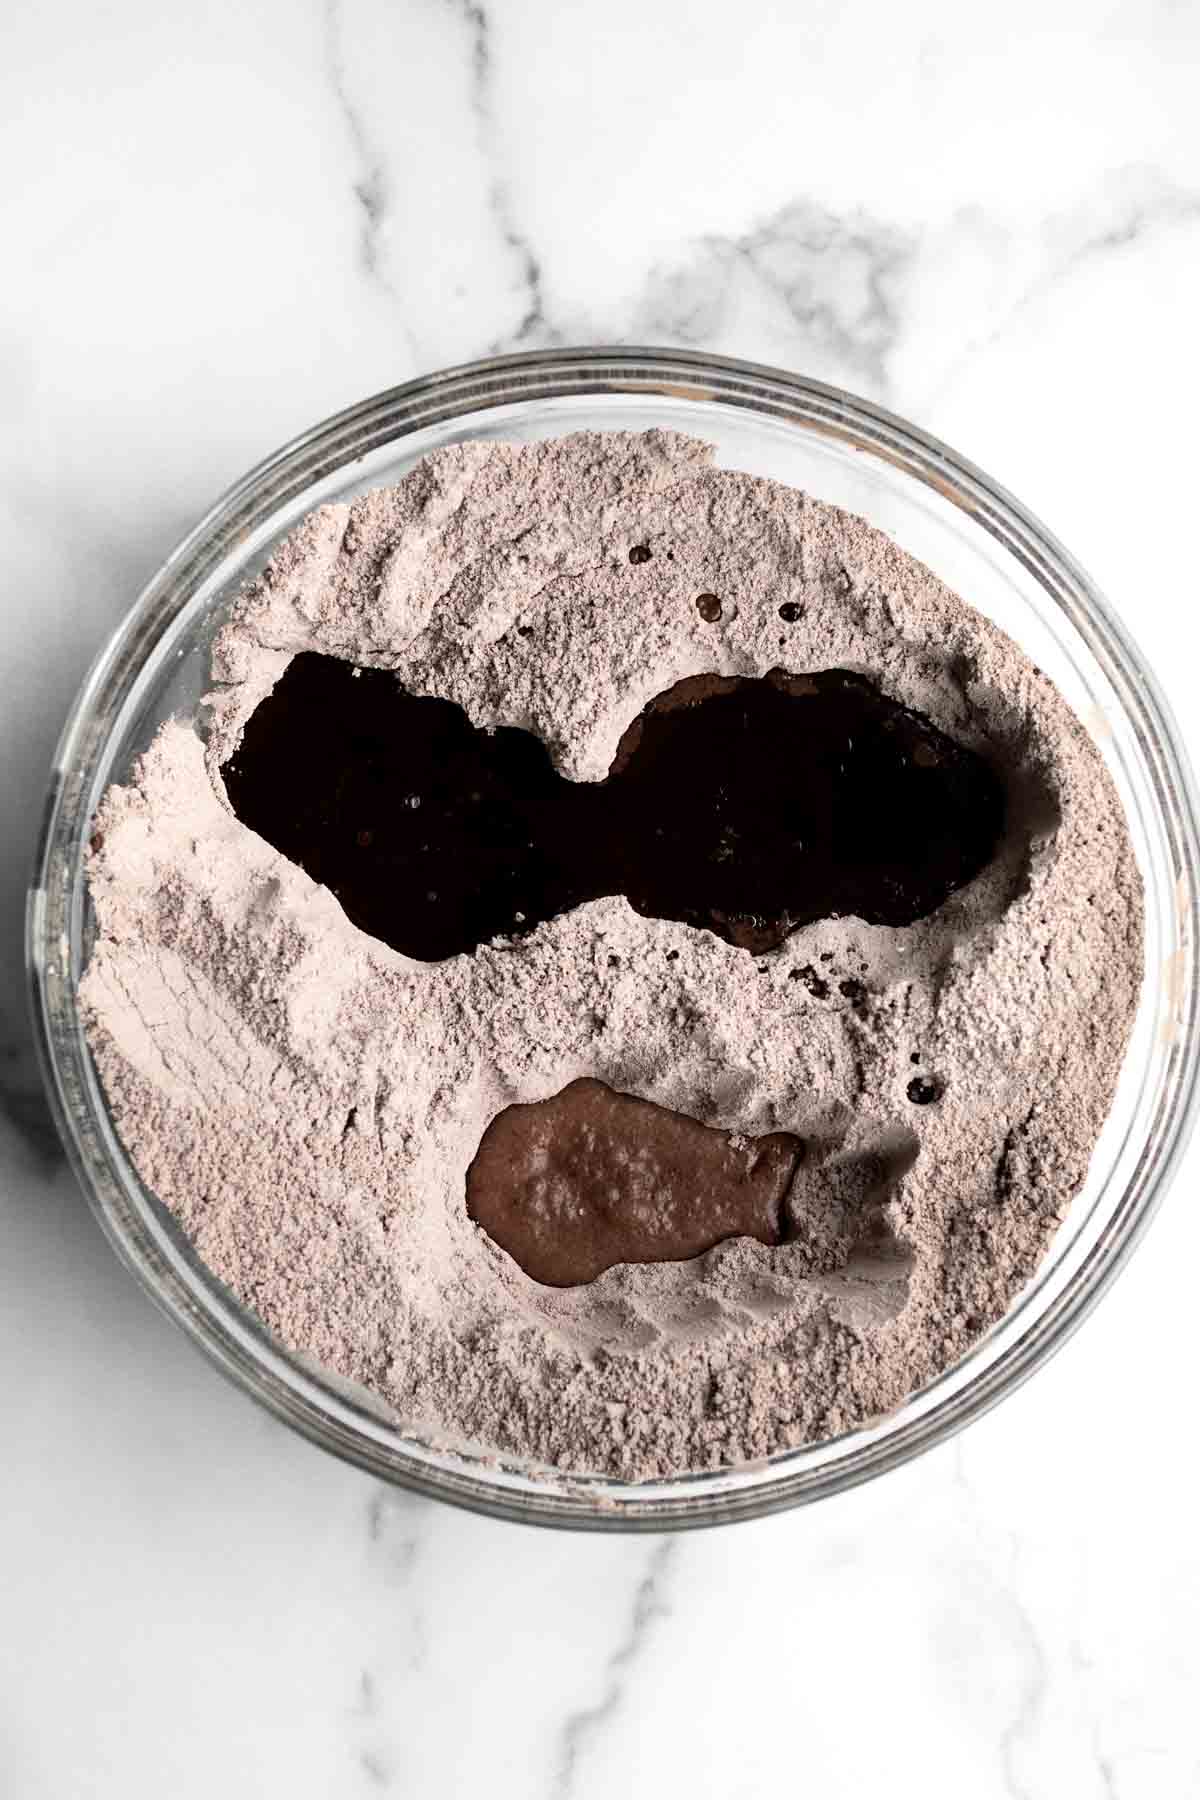
In one well pour the vegetable oil, in the other well pour the white vinegar and in the last, pour the vanilla.
Step 4: Pour the Cold Water on Top
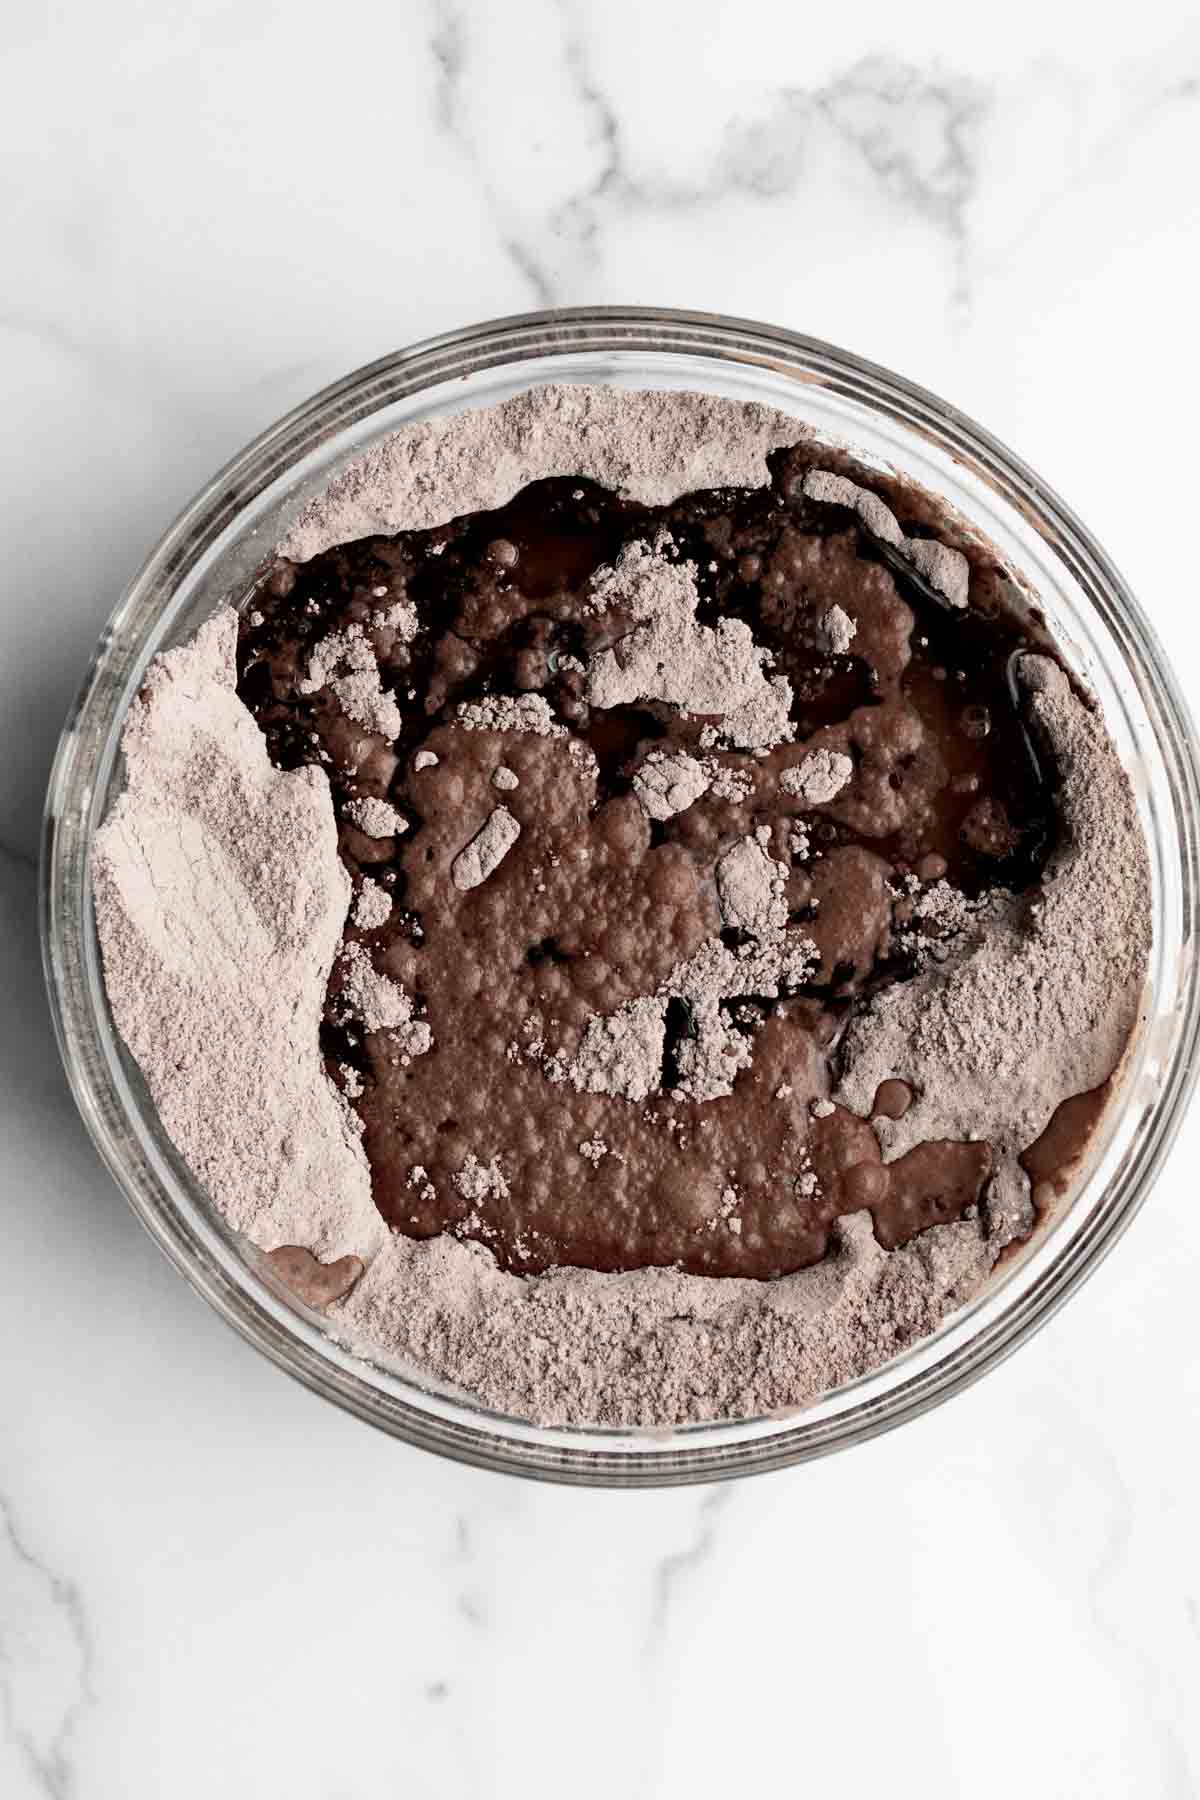
Pour the cold water on top of all the ingredients.
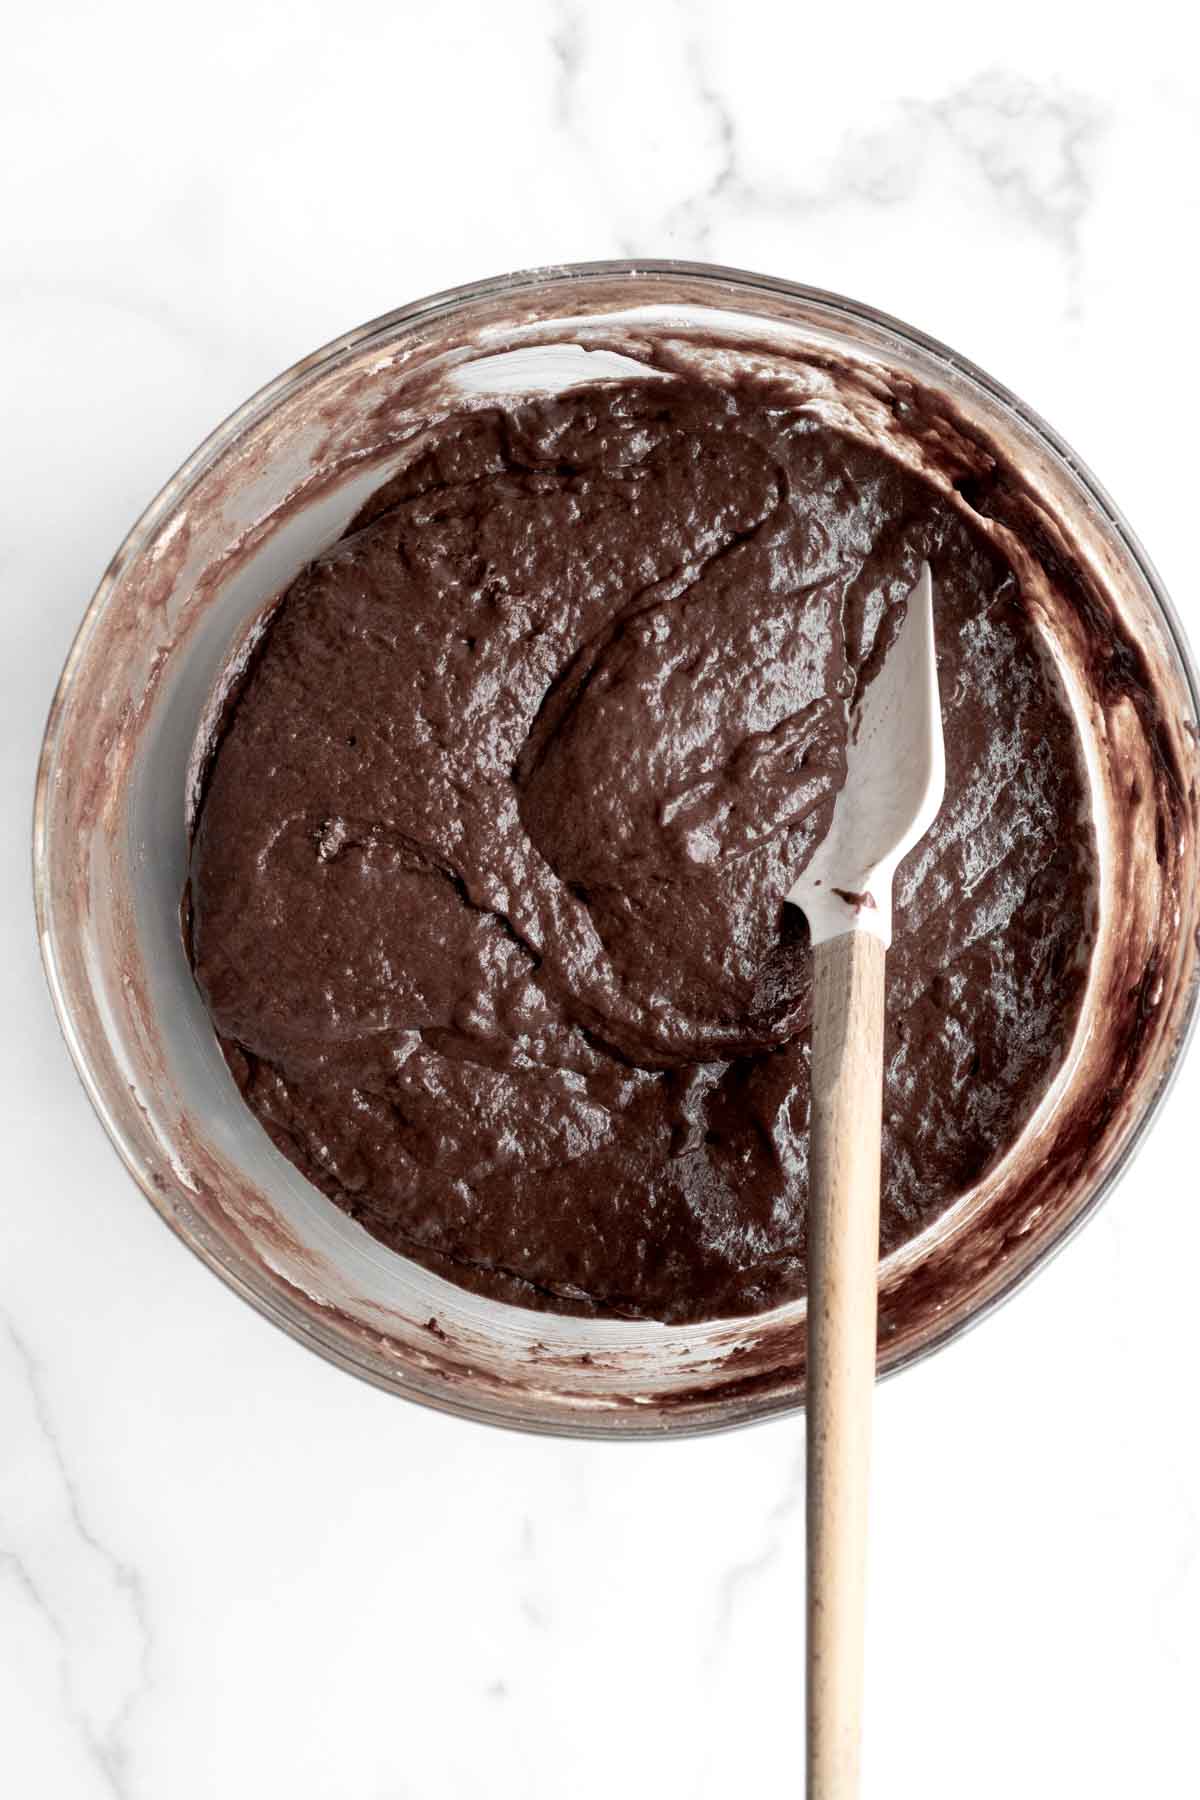
Step 5: Whisk to Combine Everything
Use a whisk to mix everything together until fully combined. If it gets too thick for the whisk, switch to using a spatula. Do not over mix.
Step 6: Scoop the Batter
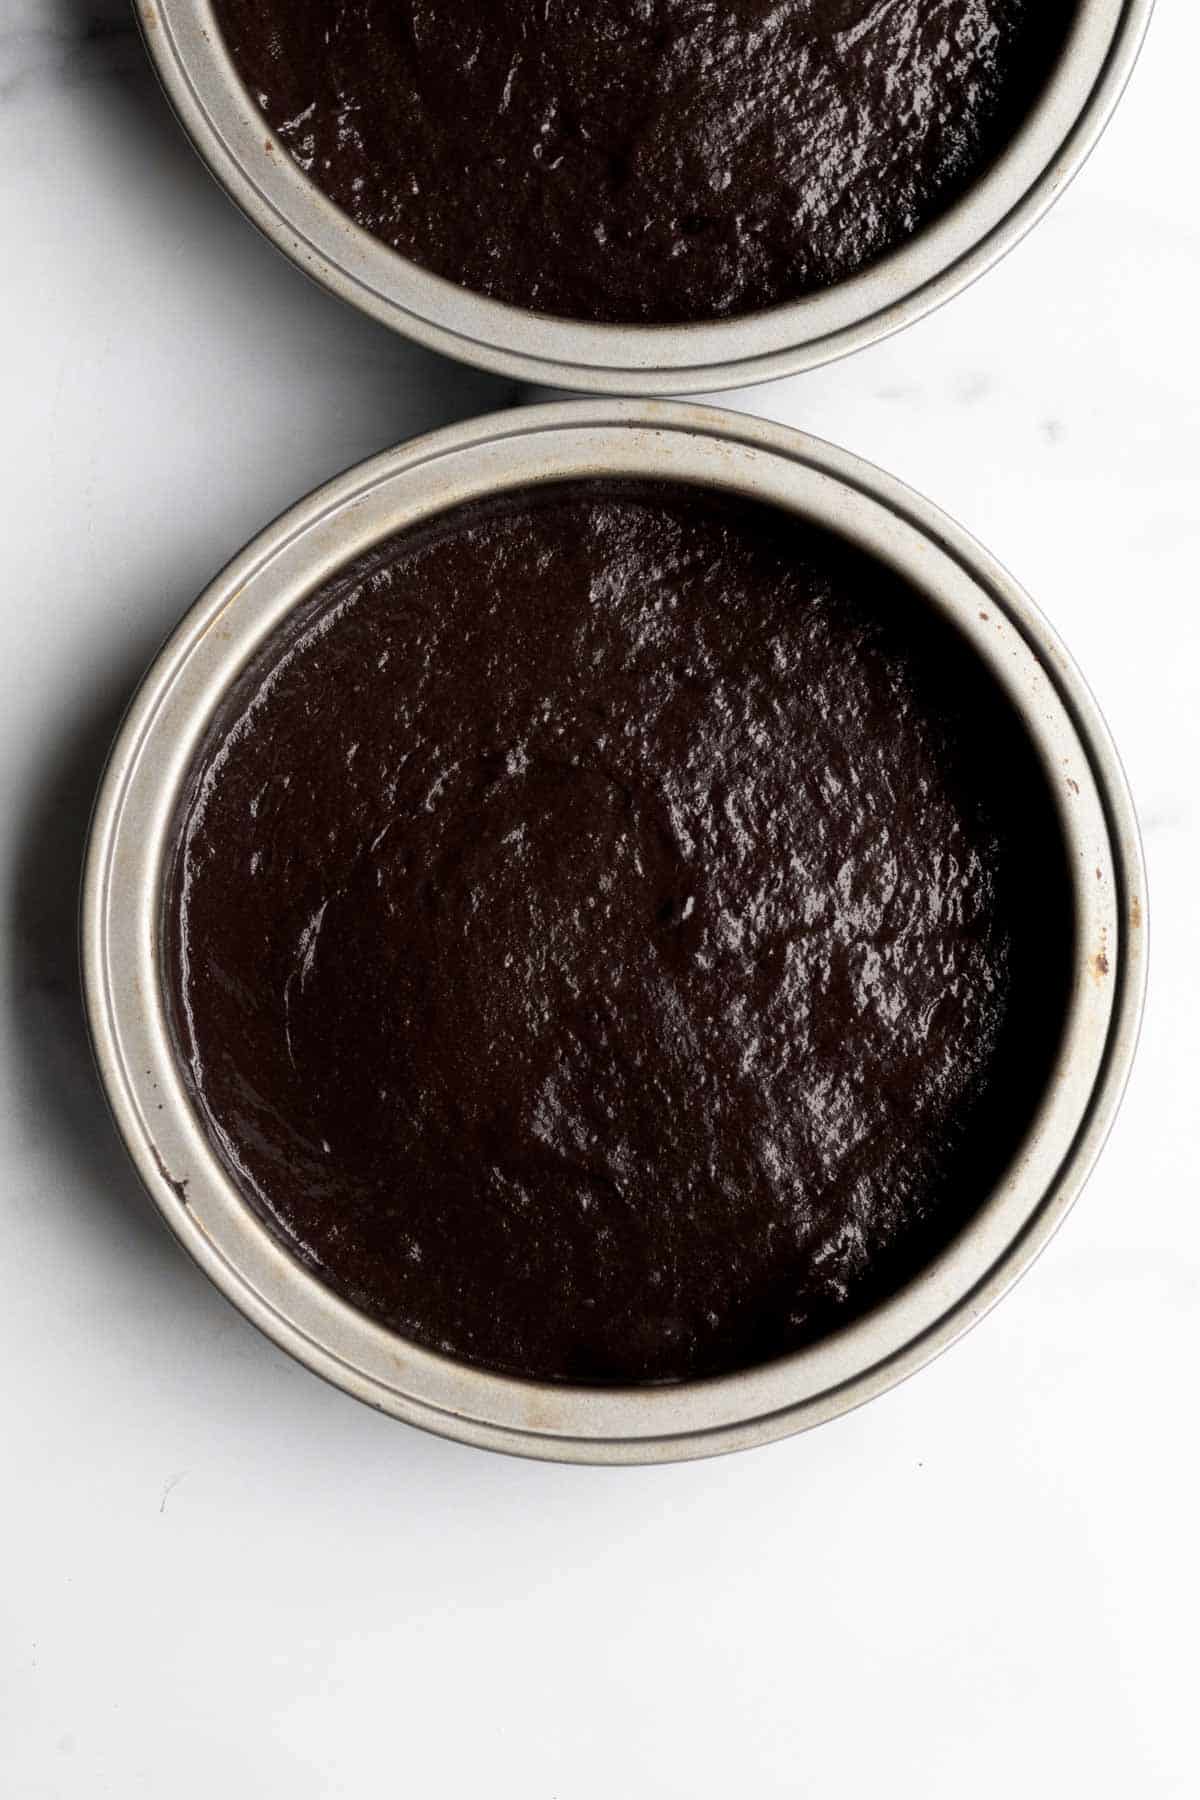
Divide the batter evenly into two greased and parchment lined 8 inch cake pans and smooth the tops with a butter knife.
Step 7: Bake the Cakes
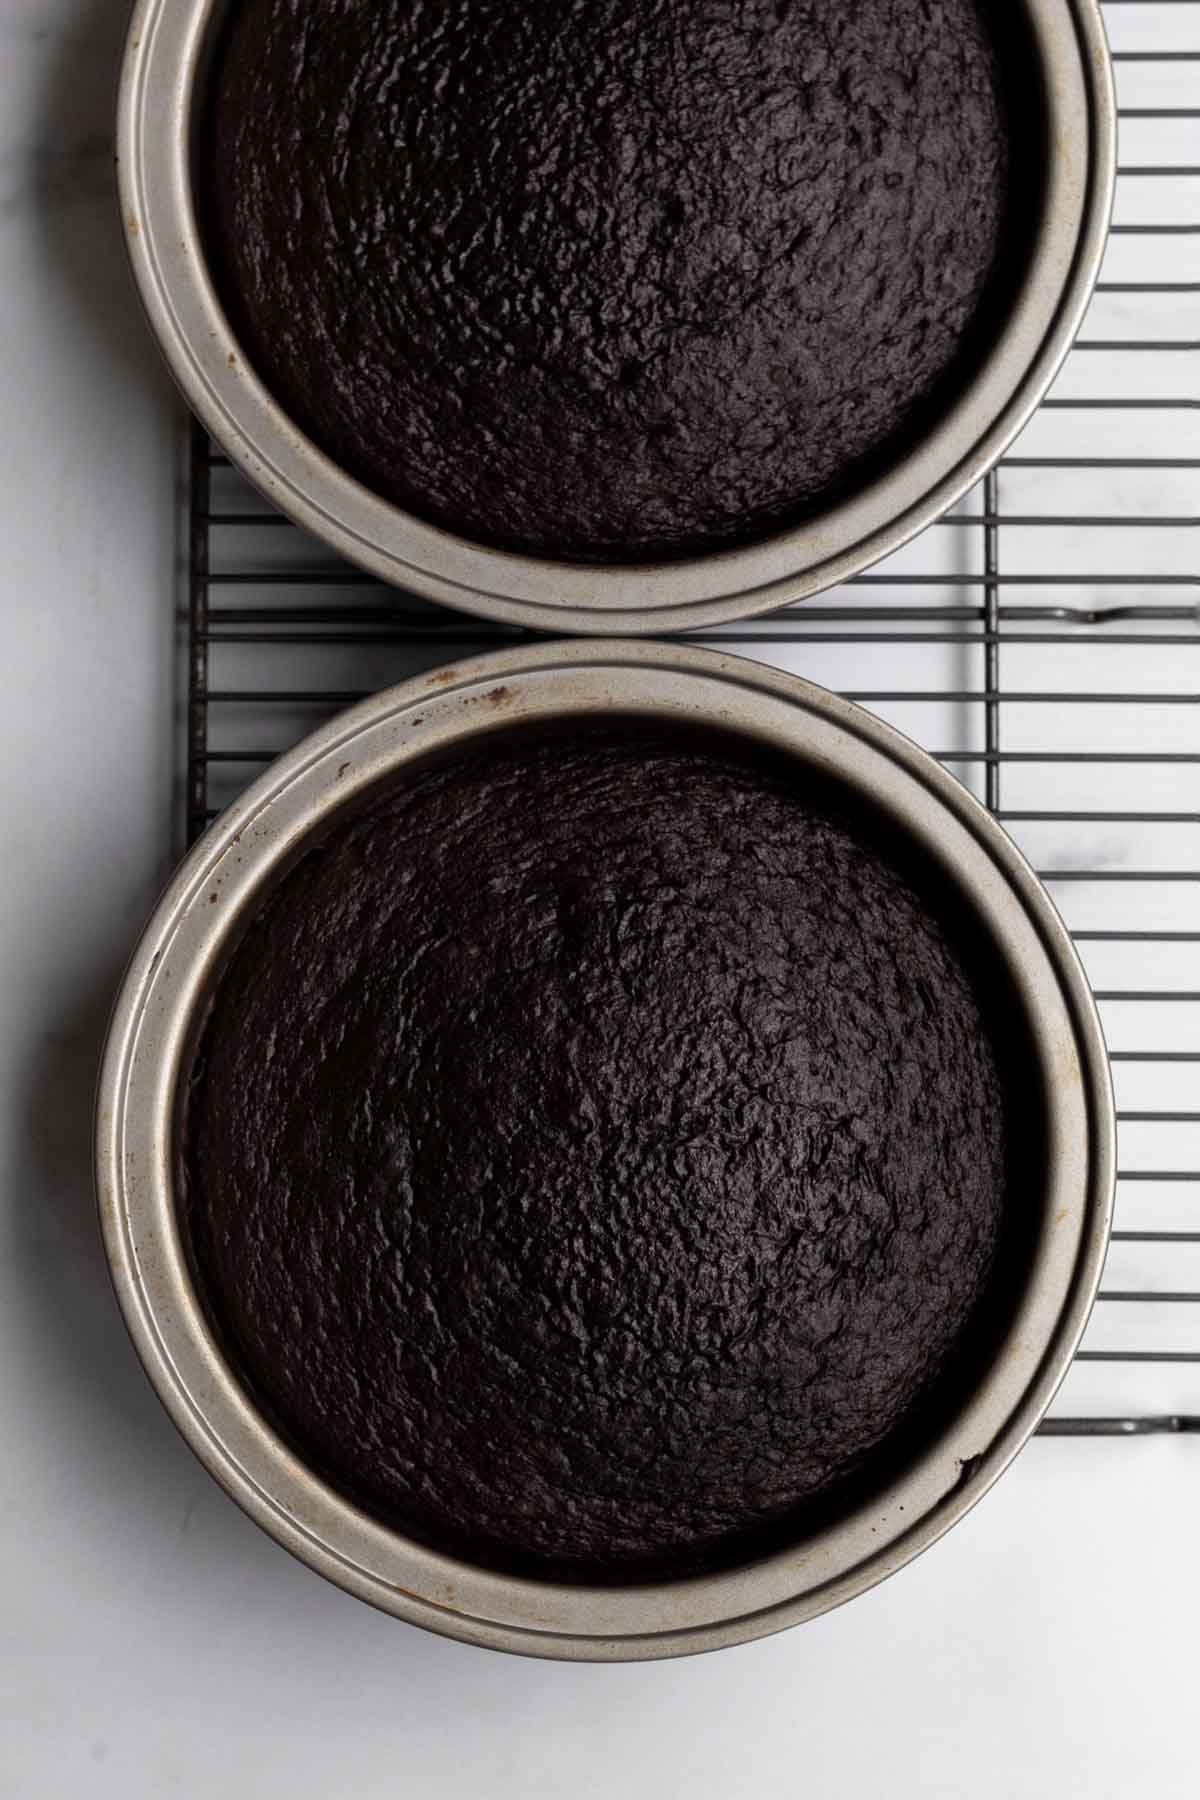
Bake the cakes in the center rack at 350 degrees Fahrenheit for 45-48 minutes until the top is slightly springy when carefully poked.
Step 8: Cut the Cakes in half
Remove cakes from the oven and let them cool in the cake pans.
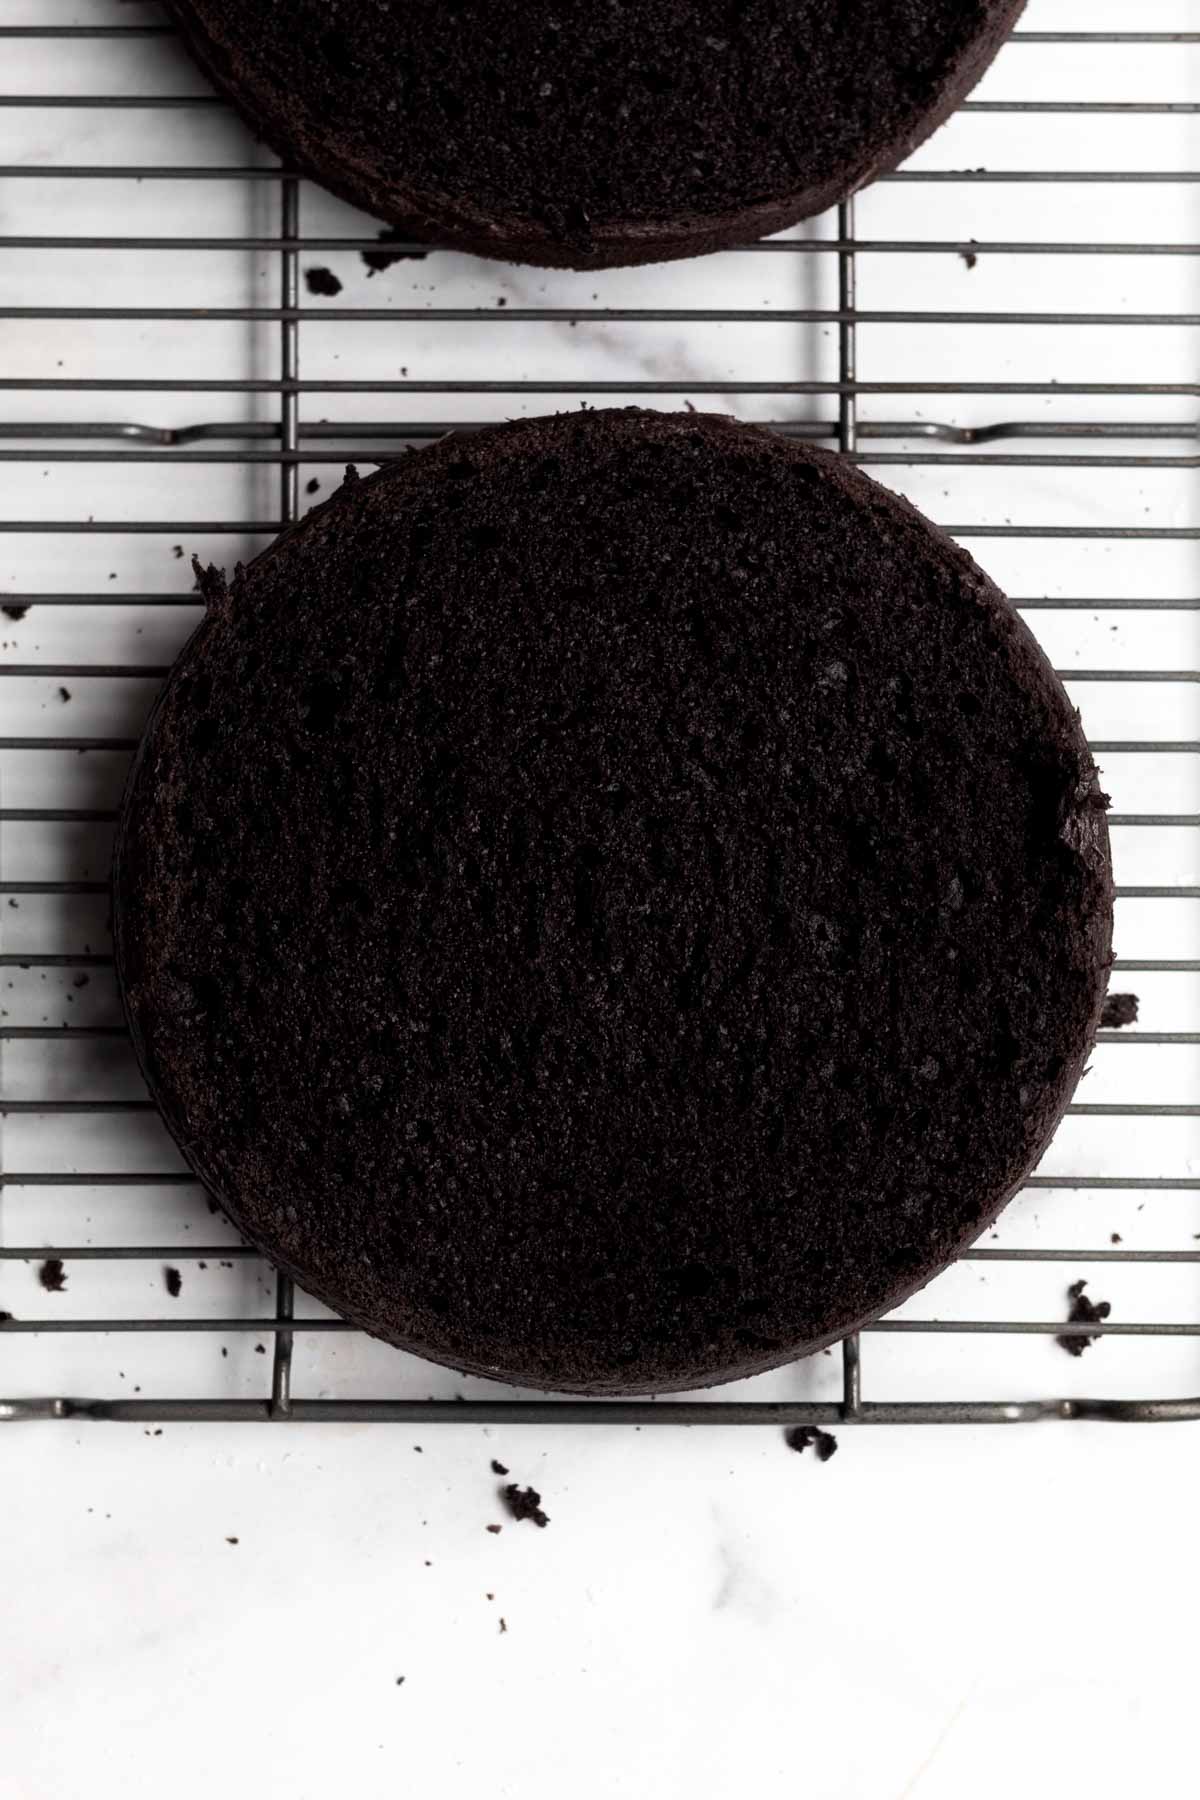
Once the cakes have cooked completely, take them out of the pan and slice them in half horizontally to create 4 thinner layers of cake.
If the tops of your cakes have domes, you can very carefully slice them off to make the tops flat.
Make the Frosting
Step 1: Cream the Butter/ Vegan Baking Stick
In the large bowl of an electric mixer or using a hand held mixer, beat the butter or vegan baking stick until smooth and creamy. About 2 minutes.
Step 2: Add the Confectioners' Sugar
WIth the mixer on very low speed, slowly add in the confectioners' sugar.
Step 3: Add in the Cocoa Powders
With the mixer on low speed still, add in the cocoa powders.
Step 4: Add in the Vanilla
Add in the vanilla and beat until combined.
Step 5: Add in the Water
While the mixer is on, slowly add in the water a little at a time until you get the desired consistency. You may not need to use all the water.
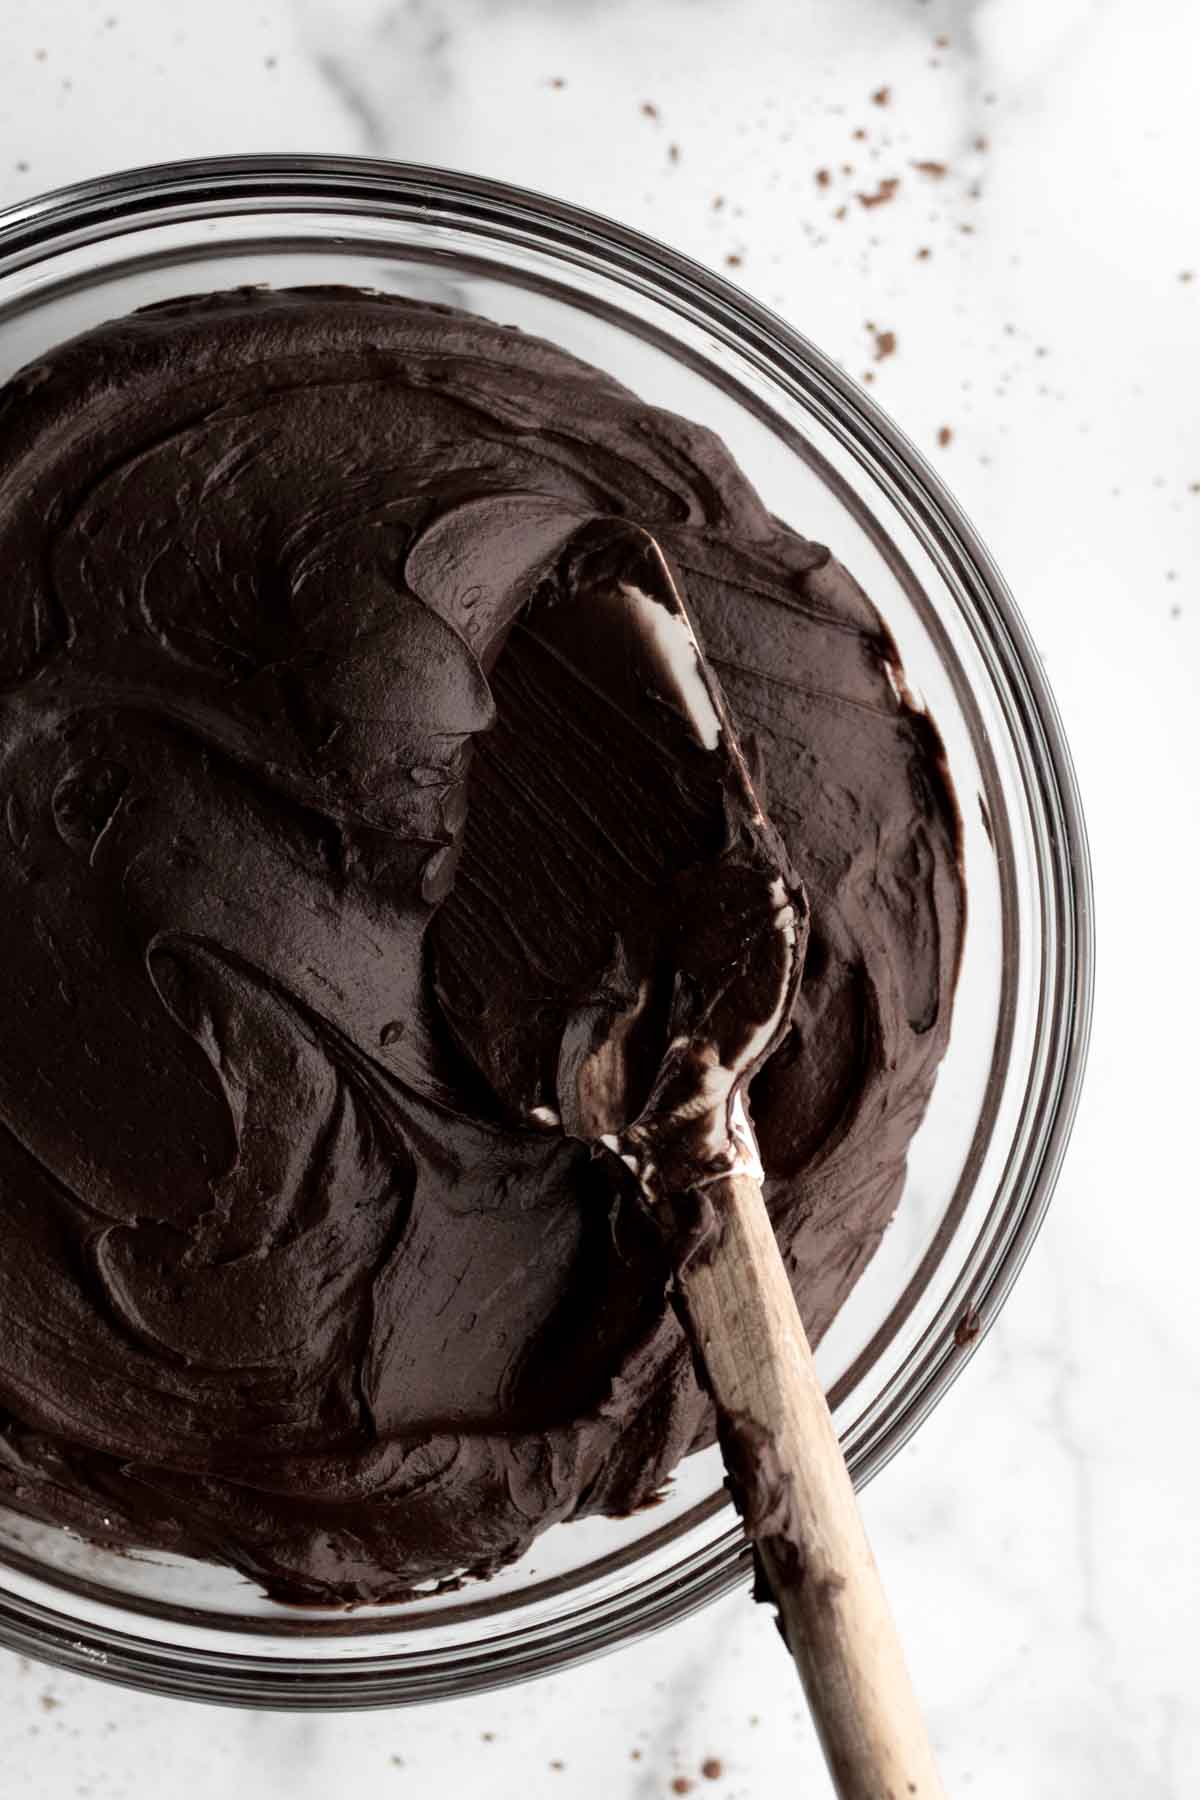
Assembling the Cake
Step 1: Divide the Frosting into equal sections
Separate the frosting into 5 equal sections.
Step 2: Frost One Layer of cake
Place one layer of cake on a cake plate/stand. Scoop ⅕ (about 1 cup) of frosting on top of the layer and use an icing spatula to spread it around.
Step 3: Repeat the Process
Place another layer of cake on top; repeat this same process. Do this with 3 layers of cake.
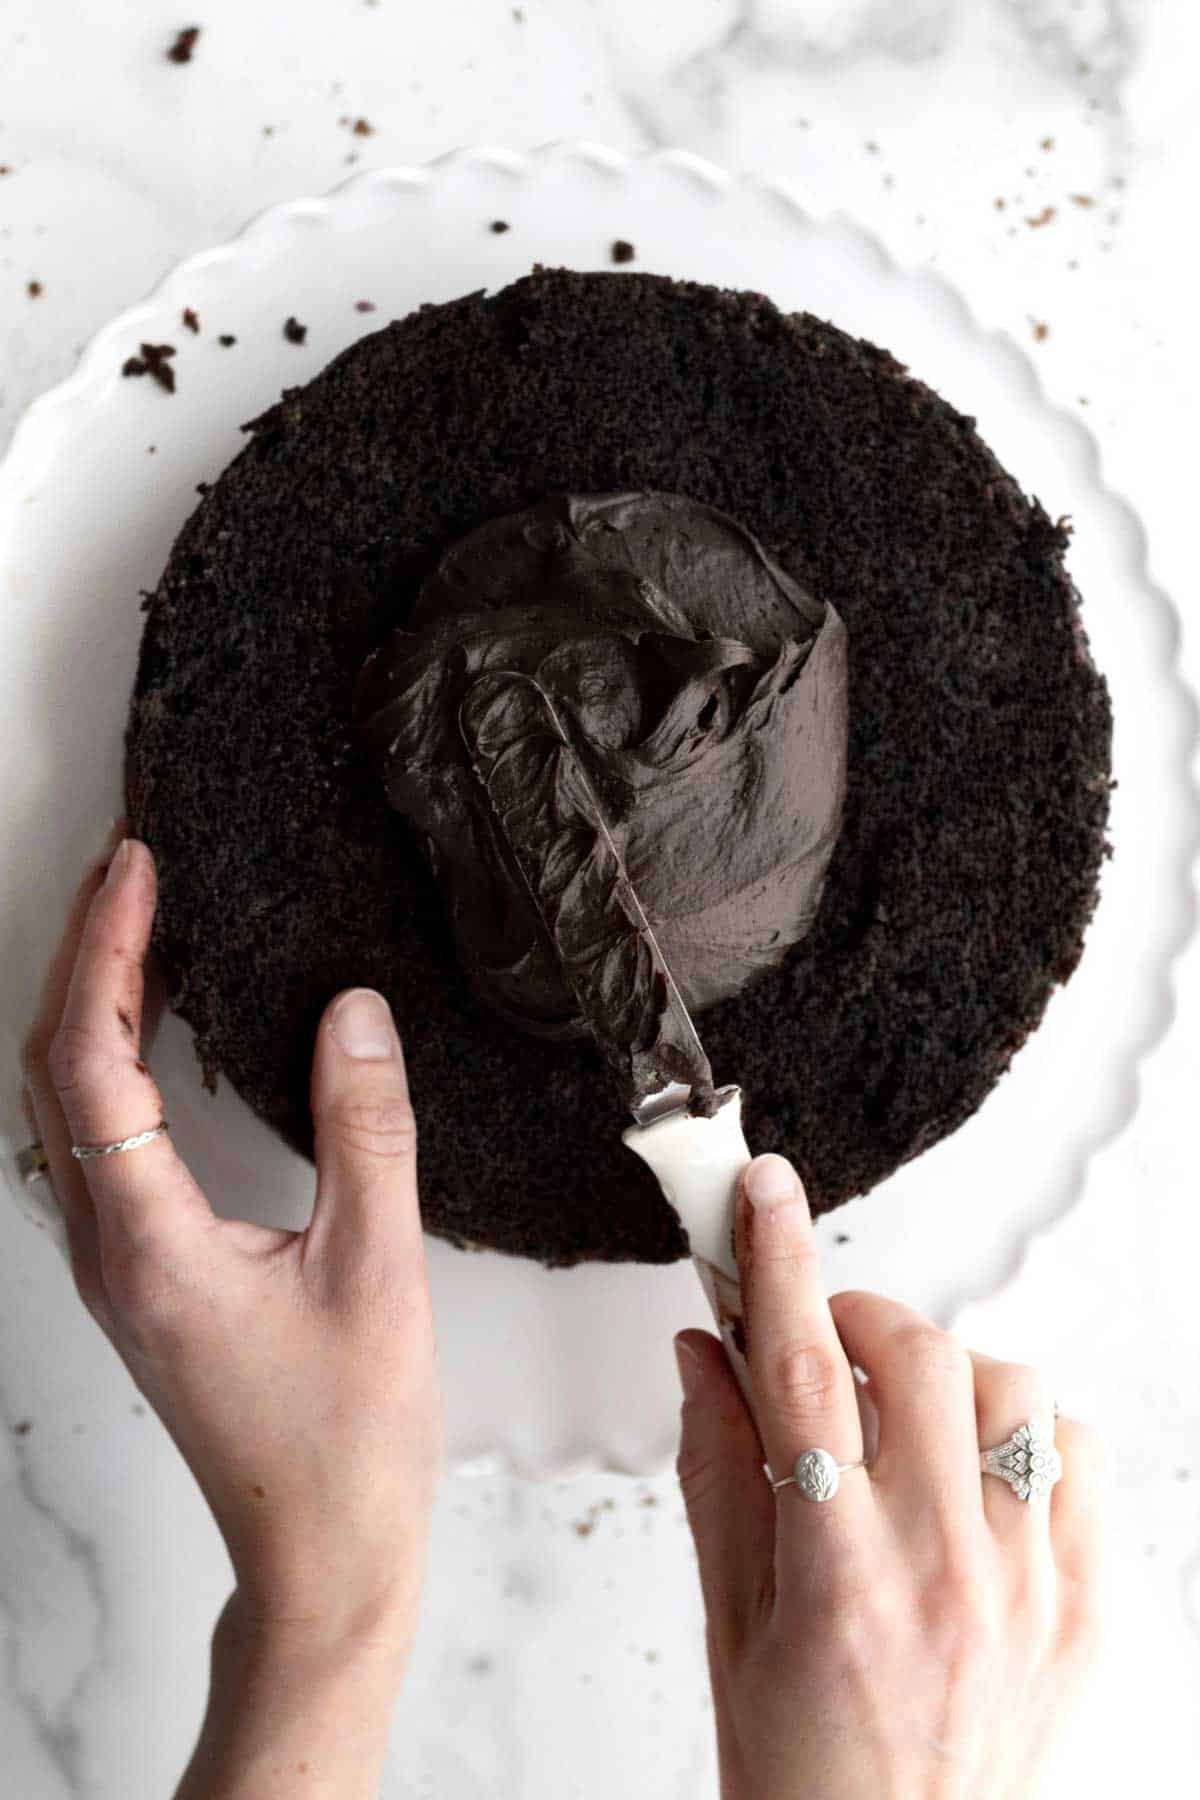
Step 4: Keep the Top and Sides Thin
Once you get to the top layer of cake, place it bottom (or flat) side up so the top of the cake is nice and flat.
Use an icing spatula or a butter knife to frost the top and a thin layer on the sides of the cake.
You should only use ⅕th of the frosting on the top and sides combined.
Step 5: Chill the Cake
Pop the entire cake in the fridge uncovered for 15-20 minutes. This will make it more stable to work with for the ganache drip.
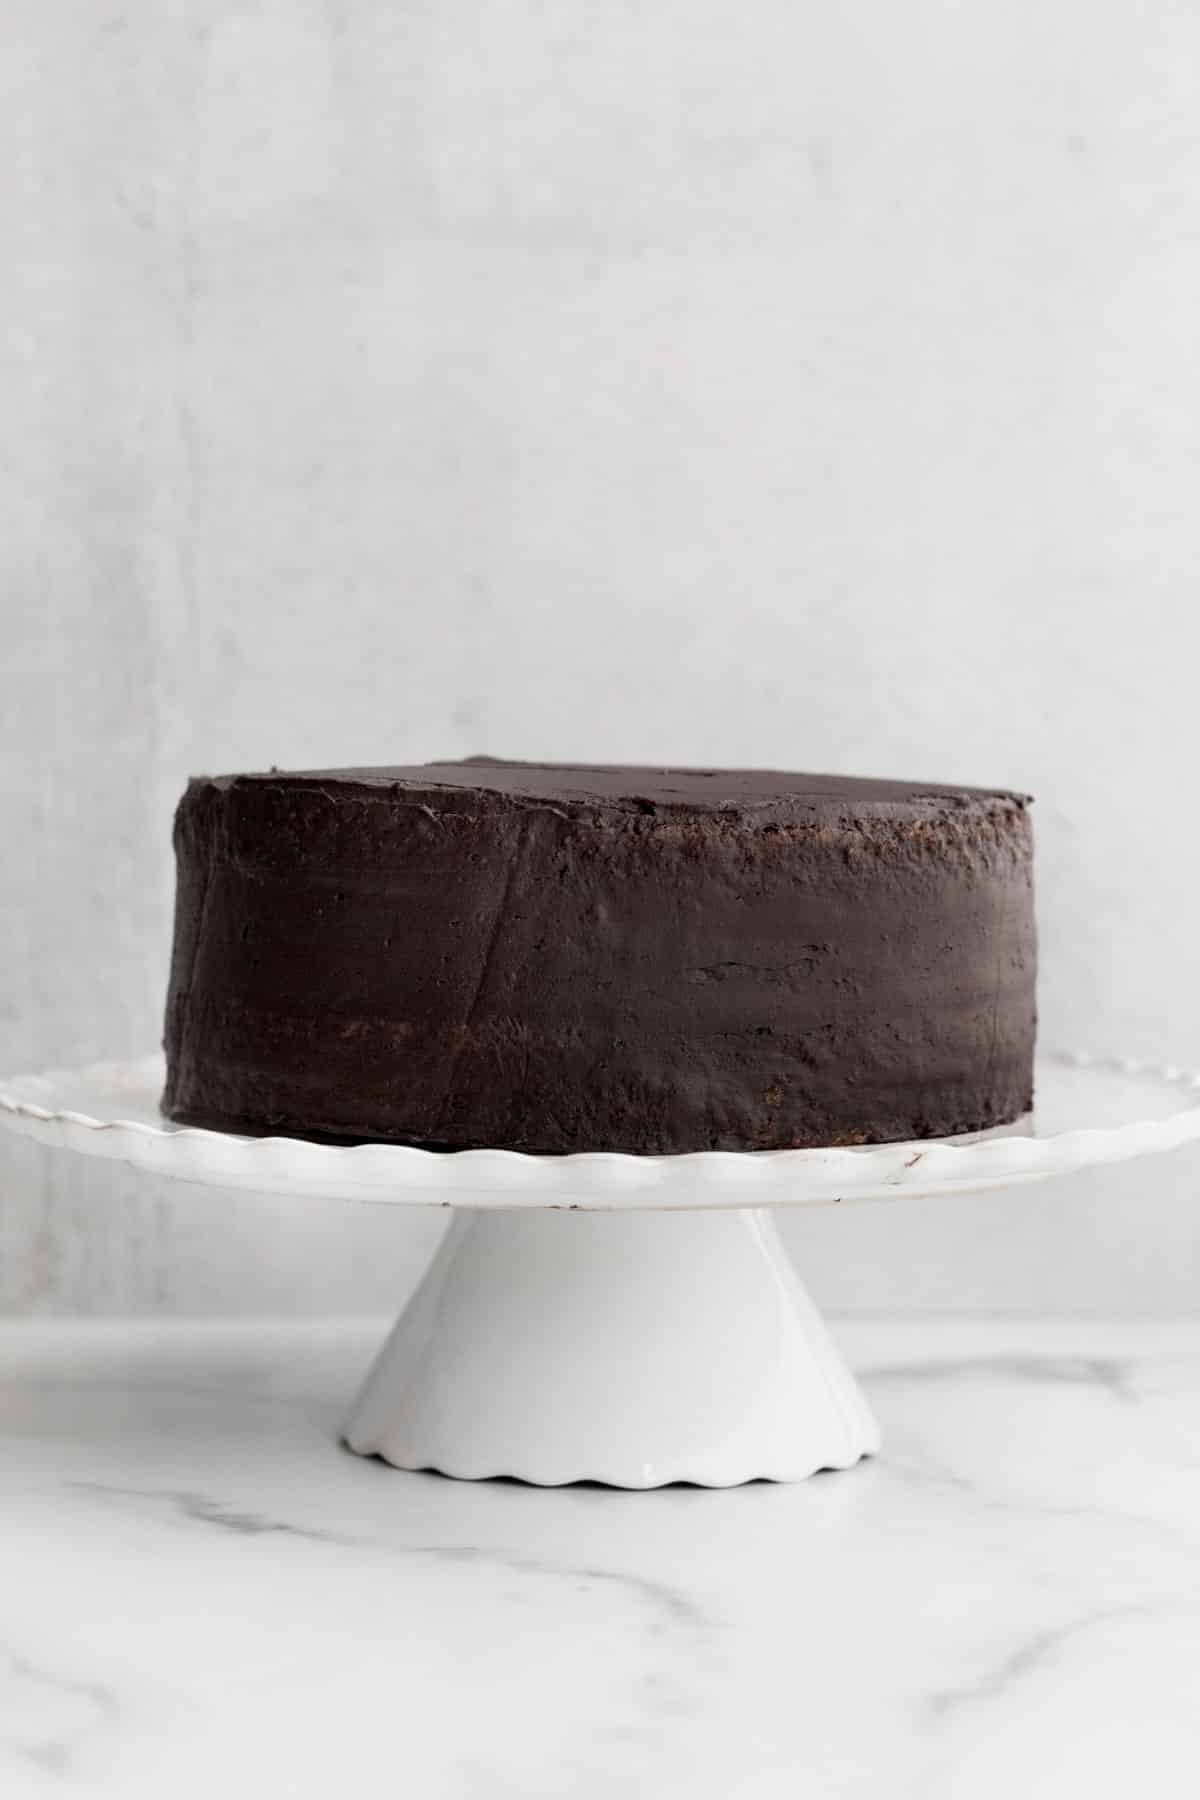
Make the Ganache
Step 1: Place the Chocolate Chips in a Heat Safe Bowl
Set the bowl with the chips aside.
Step 2: Heat the Heavy Cream
Set the heavy cream in a small saucepan over medium heat, whisking constantly.
When the heavy cream begins to simmer around the edges, immediately pour the cream over the chocolate chips.
Step 3: Let it Sit
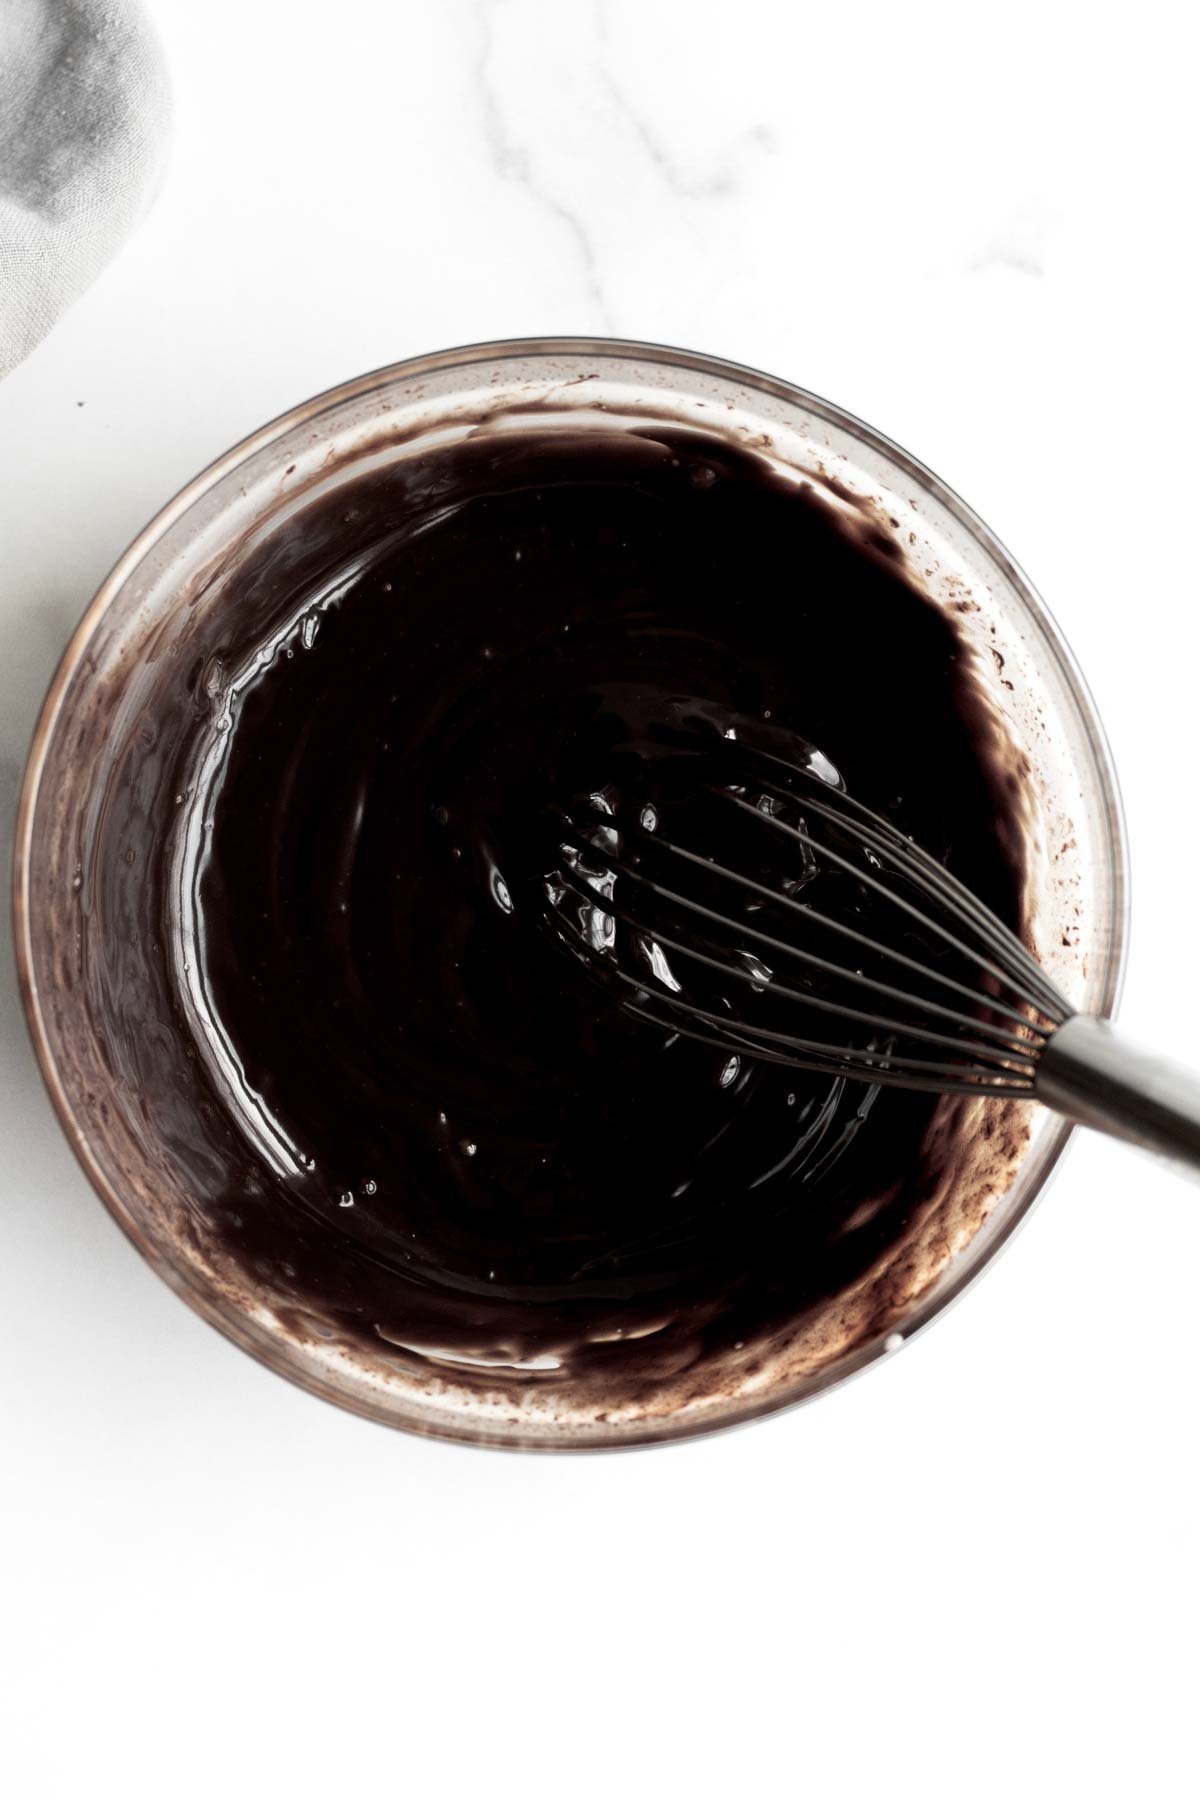
Do not whisk the heavy cream and chocolate chips together yet! Let it sit for one minute and then whisk until combined and smooth.
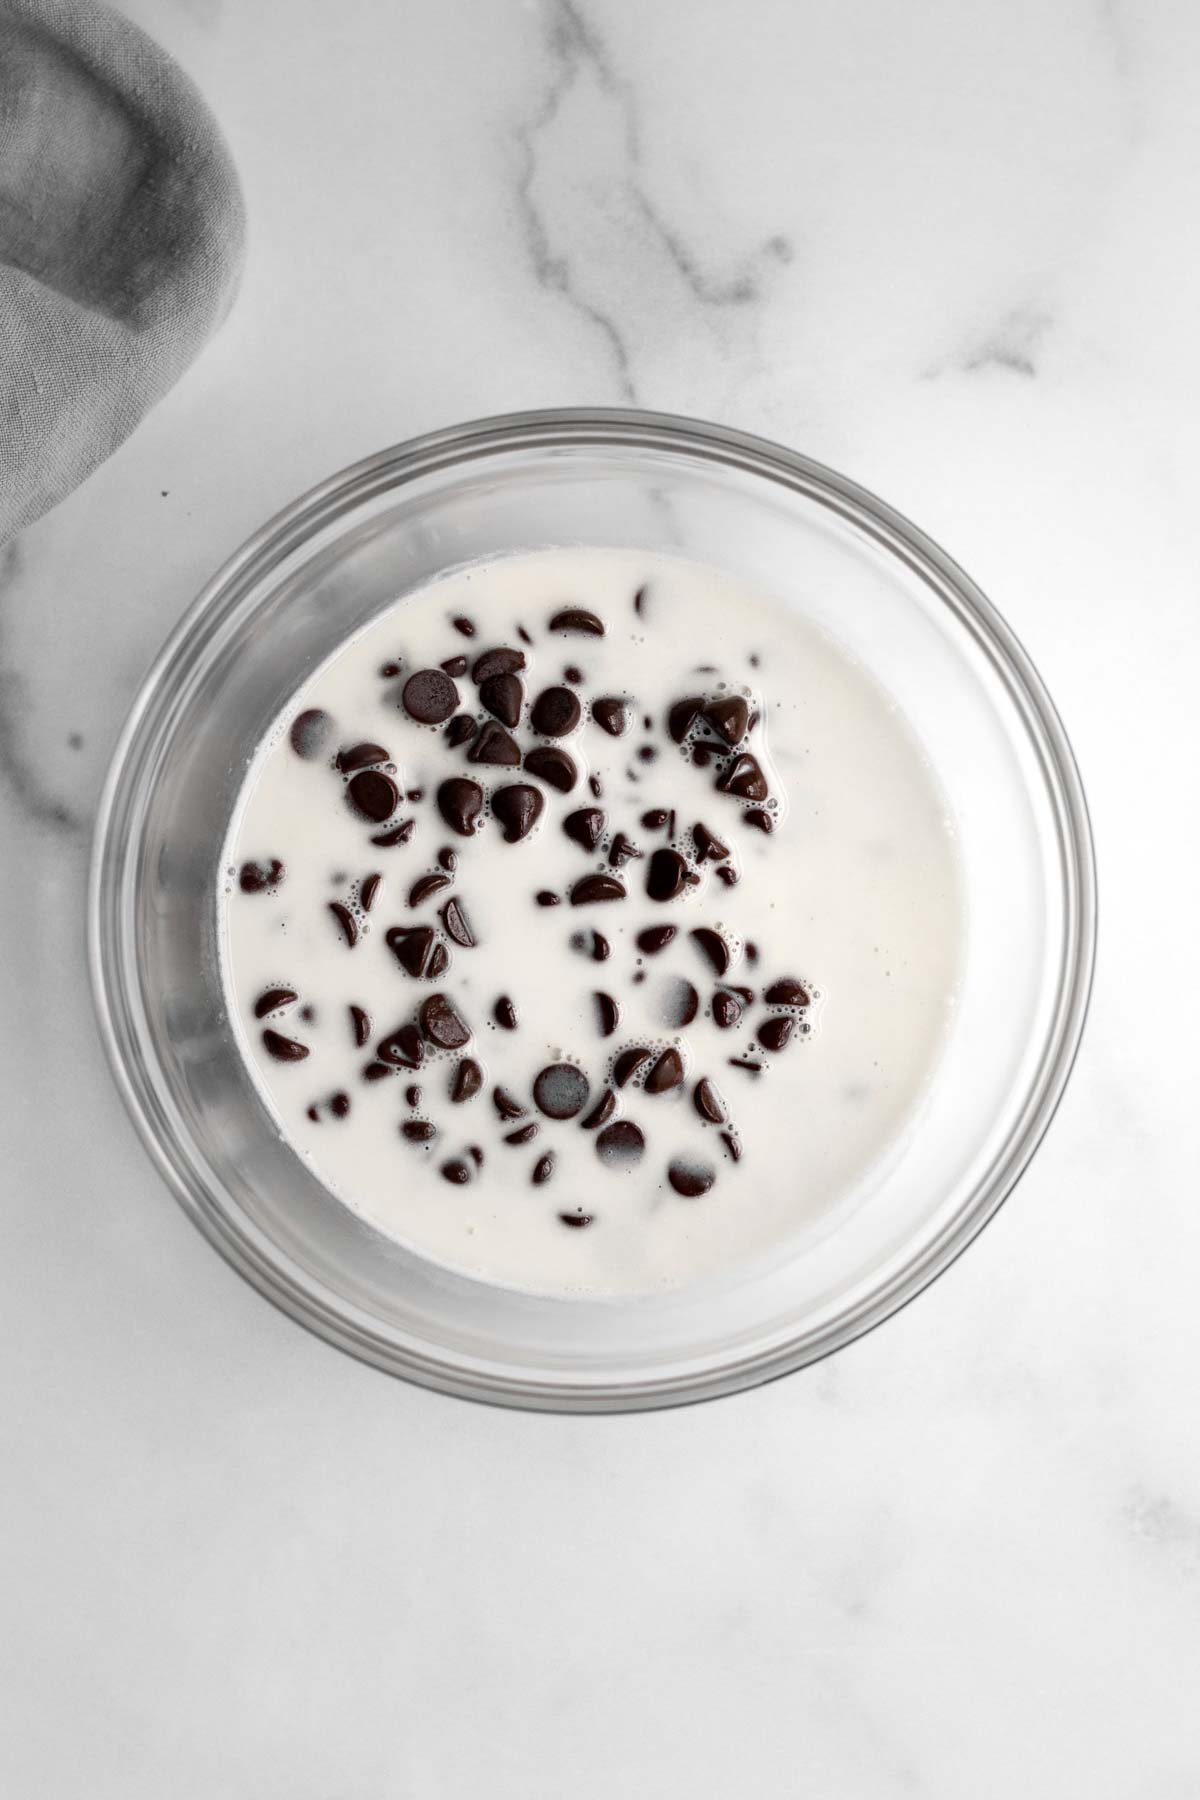
Make the Ganache Drip
Step 1: Spoon the Ganache
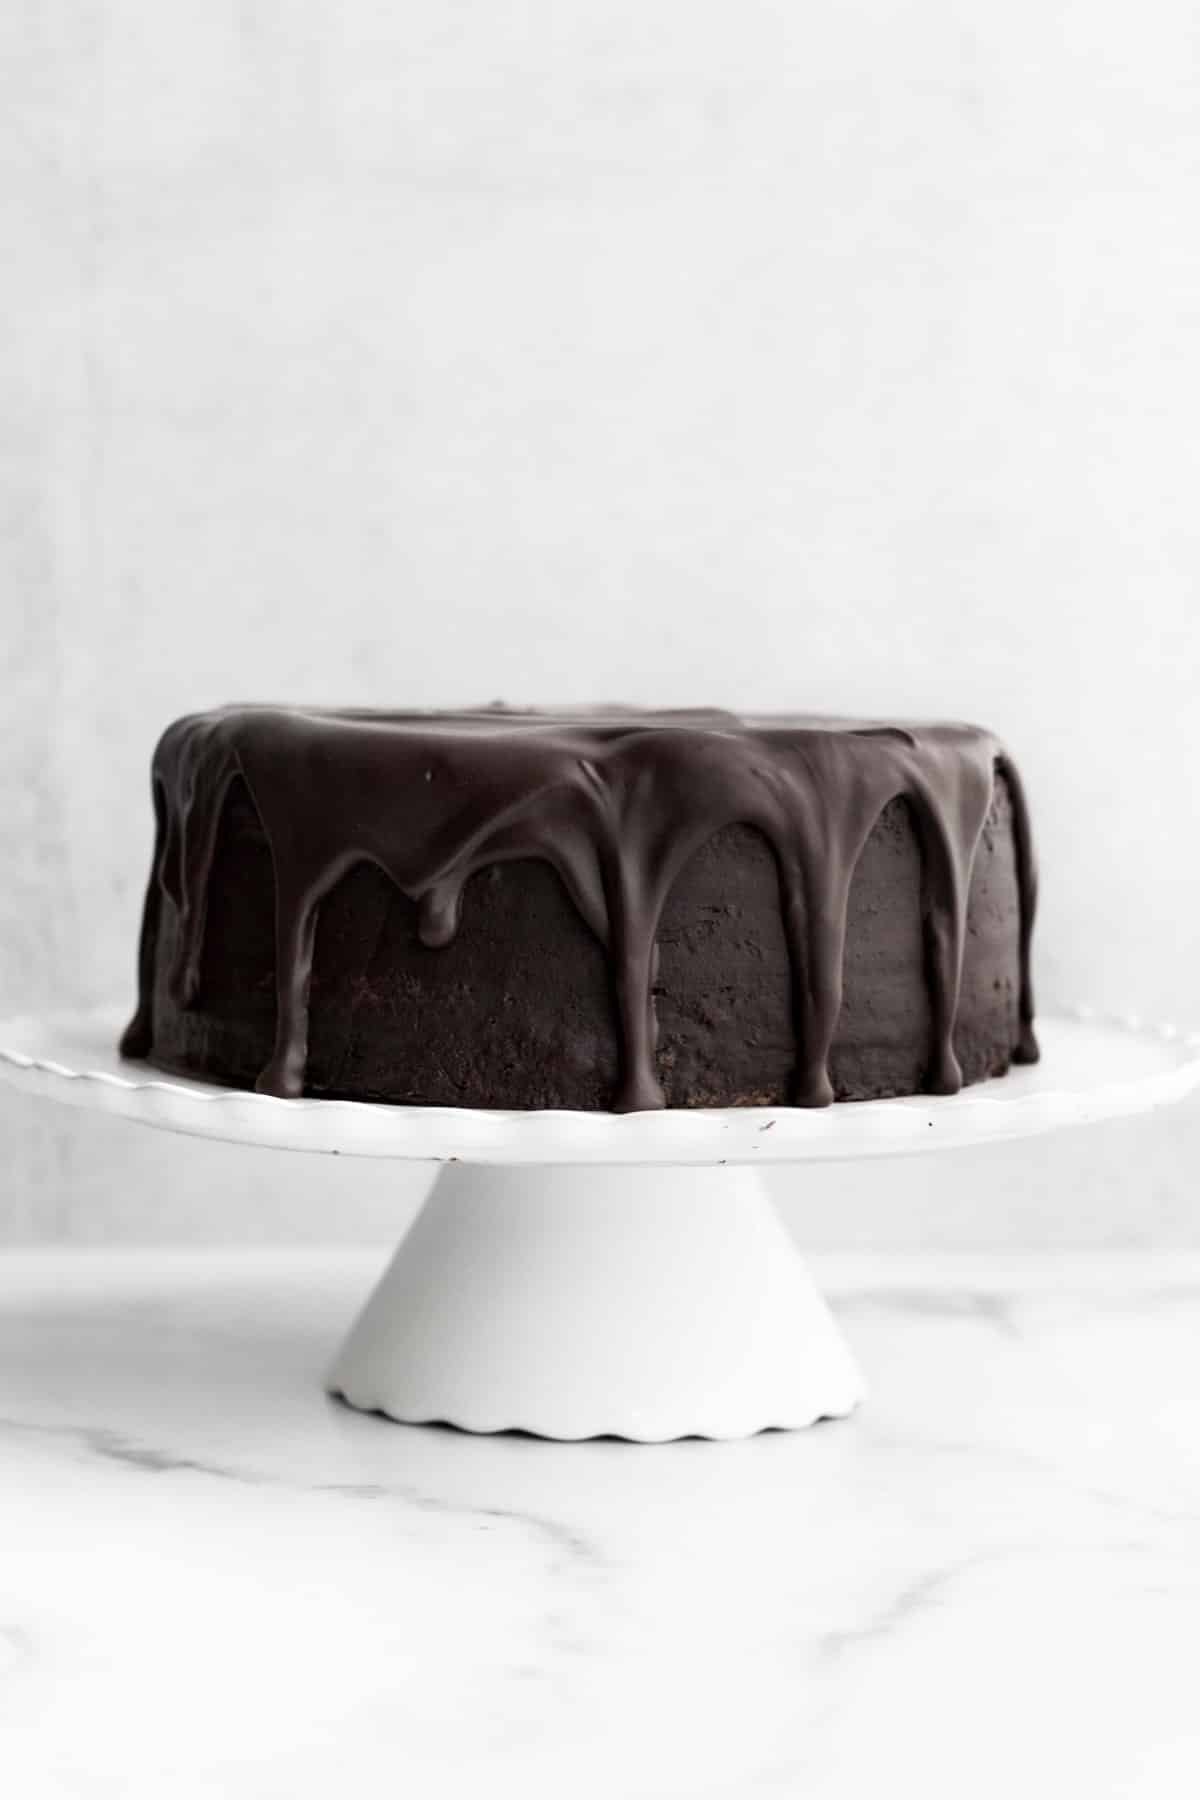
Take the cake out of the fridge and immediately spoon almost all the liquid ganache on top of the cake.
Step 2: Push the Ganache to the Edge
Using an icing spatula, push the ganache around the edges of the cake so it drips down the sides.
Work quickly because the cold cake will quickly stop the ganache from dripping too much.
Decorate the Cake
Step 1: Pipe Swirls
Put the remaining ⅕th of the frosting into a piping bag.
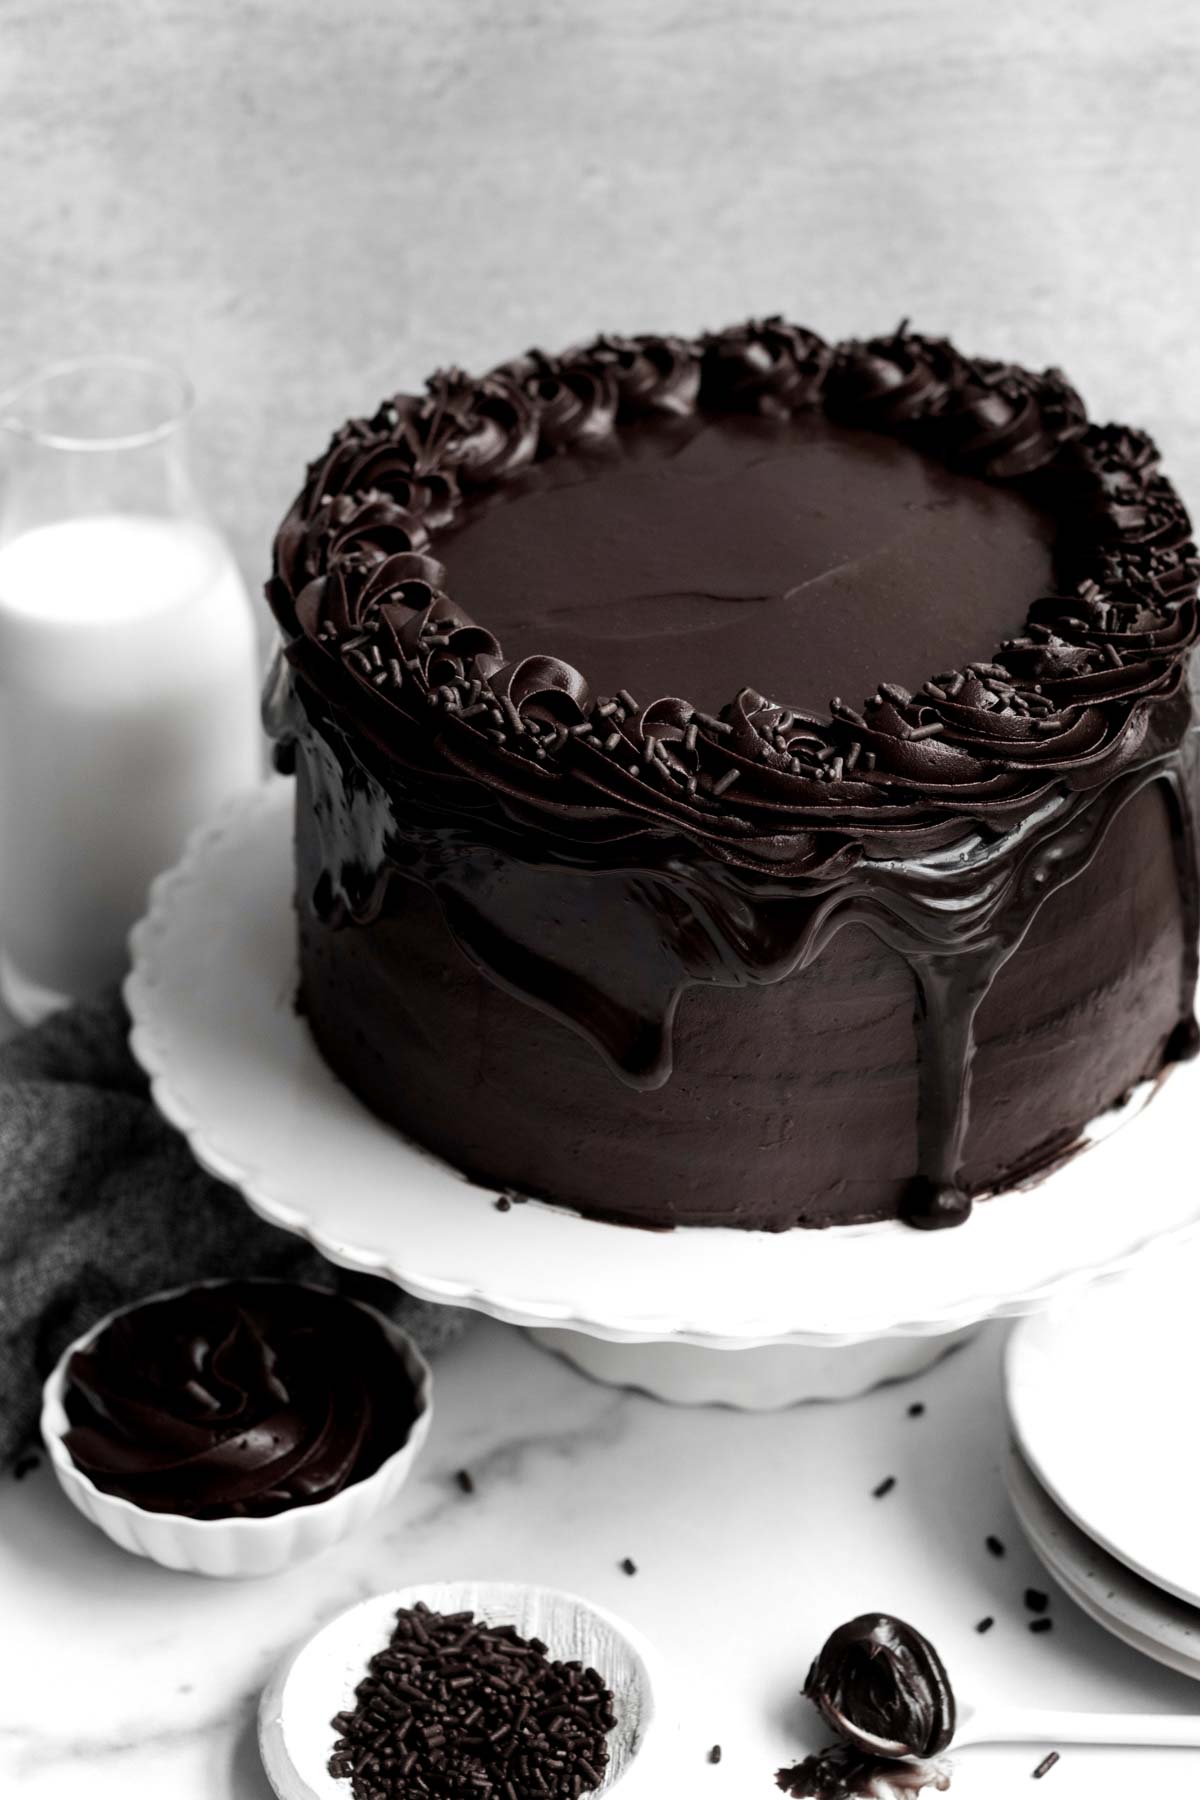
Make swirls all around the edge of the top of the cake.
Step 2: Add Chocolate Sprinkles
Sprinkle some gluten free/nut free/vegan chocolate sprinkles on top of the fudge swirl.
Expert Baking Tips
- Use 2 Types of Cocoa Powder- The 2 types of cocoa powders gives the cake its dark hue. If you only have one type on hand, use natural unsweetened or dutch...just know their color will not be as dark as mine. Do not use dark alone; it will make your cake and frosting too dry and bitter.
- Smooth the Batter- Many gluten free batters have a way of staying exactly as they are placed, when baked. When the batter is in the cake pans, gently smooth the tops with a butter knife prior to baking.
- Make the Frosting the Day Before- You don’t have to do this the day before, but it definitely makes assembling the cake a much quicker process. Store the frosting in a bowl covered with plastic wrap in the fridge. When ready to use, let it come to room temperature and rewhip to regain the creamy texture.
Recipe FAQs
Most gluten free baked goods are best made the same day, but you can make this cake the night before and then do the decorating like the ganache and pipe the extra buttercream in the morning.
If making the cake the night before, keep the cake in the fridge under a dome or wrapped in foil until ready to decorate.
Yes! You can make the frosting the night before.
Store it in a bowl covered with plastic wrap in the fridge.
When ready to use, bring the frosting to room temperature and rewhip if you want to regain that creaminess.
To decorate the cake, if you don’t have a piping bag you can use your icing spatula or butter knife or the back of a spoon to make swirls or marks all over the cake.
You can check out my Vegan Vanilla Cake for inspiration.
I have an easy recipe for a vegan ganache with vegan baking sticks:
- Place ¾ cup of chocolate chips and 6 tablespoons of a vegan baking stick in a heat safe bowl.
- Heat them in the microwave in 10 second increments, stirring after each time until the chocolate chips and vegan baking stick are fully melted and incorporated.
Then follow the directions for spooning it on the cake and letting it drip down the sides.
Once the cake is cut into, it’s best to cut the entire cake into slices, wrap each slice in foil and store in a zip top bag in the fridge. Eat extra slices within 2 days.
When ready to eat, let the slices sit on the counter, in the foil for about an hour or until the cake is room temperature and soft. If desired, warm each slice in the microwave for 5-10 seconds; be careful not to burn your mouth.
If not eating all the extra slices within 2 days, take the slices wrapped in foil and place in the zip top bag and freeze them. You can keep the slices frozen for up to 30 days.
When ready to eat, put the slices in the fridge the night before or leave them out on the counter for 2 hours prior to eating or until the cake is room temperature and soft. If desired, warm each slice in the microwave for 5-10 seconds; be careful not to burn your mouth.
Other Cake Recipes You'll Love
Did you try this recipe? Please leave me a ⭐ review below!
Don’t forget to tag me on Instagram @laneandgreyfare and follow along on Pinterest, Facebook and YouTube! Enjoy!!!
📖 Recipe
Triple Chocolate Layer Cake
Ingredients
For the Cake
- 3 cups gluten free flour (I use a 1:1 gluten free flour with xanthan gum)
- 2 cups granulated sugar
- 2 teaspoons baking soda
- 2 teaspoons kosher salt
- ½ cup cocoa powder (I use ¼ cup Dutch or Natural Unsweetened and ¼ cup Dark)
- ¾ cup plus 2 tablespoons vegetable oil
- 2 tablespoons white vinegar
- 2 teaspoons pure vanilla extract
- 2 cups cold water
For the Frosting
- 1.5 cups unsalted butter or vegan baking stick, room temperature
- 7 cups confectioners’ sugar
- 2 cups cocoa powder (I use 1 cup of Dutch or Natural Unsweetened and 1 cup of Dark)
- 4 teaspoons pure vanilla extract
- 1 cup water , room temperature
For the Ganache Drip
- 6 oz semi sweet chocolate chips
- ½ cup heavy cream
For the Decorations
- Chocolate gluten free/nut free sprinkles if desired.
Instructions
Make the Cake
- Preheat the oven to 350 degrees Fahrenheit. Grease two 8 inch cake pans with vegetable oil, line with parchment paper and then lightly grease again with vegetable oil.
- In a large bowl whisk together the gluten free flour, sugar, baking soda, salt and cocoa powder.
- Make 3 wells in the dry ingredients.
- In the first well, pour the vegetable oil.
- In the second well, pour the white vinegar.
- In the third well, pour the vanilla.
- Pour the cold water over everything and whisk together until just combined. If it starts getting thick, use a spatula instead of a whisk.
- Divide the batter evenly between the two 8 inch pans and smooth the tops with a butter knife.
- Bake in the center rack of the oven for 45 minutes or until the cakes spring back at you when carefully touched.
- Remove from the oven and let the cake cool completely in pans. Once cool, remove from pans and transfer to a cooling rack and slice both in half horizontally. Now you have 4 thin layers of cake.
Make the Frosting
- In the large bowl of an electric mixer or using a hand held mixer, beat the butter or vegan baking stick until smooth and creamy. About 2 minutes.
- With the mixer on very low speed, slowly add in the confectioners' sugar.
- With the mixer on low speed still, add in the cocoa powders.
- Add in the vanilla and beat until combined.
- While the mixer is on, slowly add in the water a little at a time until you get the desired consistency. You may not need to use all the water.
- Divide frosting into 5 equal servings.
Assemble the Cake
- Place one layer of cake on the cake stand. Take ⅕ of the frosting and frost the top. Place another layer of cake on top and repeat. Do this process 3 times.
- Frost a thin layer of frosting on the top of the cake and sides of the cake. Use a cake scraper or an icing spatula to scrape excess frosting off the sides of the cake. This should be a semi naked cake. Pop in the fridge uncovered for 15 min to harden.
Make the Ganache
- While the cake is chilling, place chocolate chips in a heat safe bowl. Place heavy cream in a pan on the stove over medium heat. Whisk constantly until the edges begin to simmer. Immediately pour on top of chips and do not mix! Let sit 1-2 min then whisk until fully combined and smooth.
- Take the cake out of the fridge. Spoon almost all of the liquid ganache on top of the cake. Take an icing spatula and push the ganache around to the edges of the cake so it drips down the sides. Work quickly since the cold cake will harden the ganache fast.
Decorate the Cake
- Put the rest of the fudge frosting into a piping bag and pipe a swirl all around the edge of the outside of the cake. You may have frosting leftover. You can save it in a bowl covered in plastic wrap in the fridge for a few days.
- Place chocolate sprinkles on the fudge swirl if desired.


Becca Johnson
Have you ever tried making this with almond flour and/or coconut flour? I’m wanting to make this Keto as much as I can.
Lee
I am sorry I cannot have either in my household due to my son's severe allergies. Sadly both those flours are not a 1 to 1 replacement for gluten free multipurpose flour. Almond flour, for example, is a high fat flour and can make baked goods greasy due to the added moisture. Sadly you'd also have to adjust the liquid amounts in the recipe for the best results. King Arthur says to replace 1/4 of the flour in a recipe with almond flour. So if a recipe calls for 1 cup of flour, then use 3/4 cup gf multipurpose flour and 1/4 cup almond flour. Sorry I can't be of more help!
Anna
I've made this cake 3 times already and it is AMAZING! All my non-vegan friends and family members cannot believe it's vegan and keep asking to make more.
Just a tip to definitely add less rather than more water when mixing the frosting, and add in small amounts. I usually end up only needing about 1/3 of a cup of water, as opposed to a full cup.
The first two times I used two 8-inch cake pans, but this time around I used a bigger cake pan (maybe 11-inches, I'm not sure), and it turned out great! I had to bake it for about 10 minutes longer to ensure everything is baked evenly, and then I split it into 3 pieces to layer the frosting. I will definitely keep coming back to this recipe and others - thank you!! 🙂
Lee
SO glad!!! Thanks so so much!
Christine
Oh, and i am using your metric measurement. Some measurements are strange like the 2 of butter sticks. We do not have sticks here in Belgium. Thanks again xx
Lee
The butter amount is for the frosting and it should be listed in cups. When you click the metric button, it should be in grams. I just checked and it looks ok. Let me know if there is an issue! I updated this recipe recently and maybe it didn't show the update yet?
Christine
Thanks a lot! the metrics show now. And i'll keep the measurements the same. Was just nervous because the measurements are literally 2x more than for my standard 2 x 8" chocolate cake recipe, as well as my other cake recipes. Thx again.
Christine
Just from the photos and ingredients/quantities, I can tell this will be yet another winner recipe! Question please: If i plan to make a simple 2-layer 8" chocolate cake (using the cake part to make a cookie dough filled/frosted/topped cake) using your recipe (not cutting both layers in half), how do I adjust the ingredient amounts please? I see the ingredient amounts of your other 2 x 8" layer cakes are much lower which is why I ask. Thanks!!
Lee
Hi Christine! You can make this into a two layer cake...the layers will just be a bit thicker. The batter fits into two 8 inch cake pans, just do not cut the cakes in half horizontally when they cool. Nothing should need to be adjusted. Hope that makes sense.
Terry Crawford
Best best chocolate cake. I used rice flour and it worked so well.
Megan Koury
Excited to try making this for my 4-year-old's birthday as he cannot have eggs, wheat, dairy, or nuts. As I will need to make this vegan I have a question with respect to the vegan heavy cream: would using coconut cream work for the ganache?
Lee
That should work although I sadly cannot test it due to my son's allergies. However, you can make it with vegan chocolate chips and vegan baking sticks instead! If you check out my chocolate lemon cake recipe...I have how to make it there. Hope this helps!
https://laneandgreyfare.com/chocolate-lemon-cake/
Ellen
Fantastic cake, it held up really well when I made it they day before an event! The cake itself was moist, and the frosting was excellent- perfect for a family with a huge vegan sweet tooth and a deep love of chocolate!
Lee
Thanks so much!!! I'm so glad!
Louise
Hi, cake looks amazing. Haven’t tried it, but will soon. Dumb ? What would happen if one used reg. ap flour instead of gf? Thanks!
Lee
Thank you!!! Not a dumb question at all! You can make it with regular but sadly I cannot test it due to celiac disease. However, I used to make this recipe all the time (before my daughter was diagnosed) with regular AP flour. Instead of using 3/4 plus 2 tablespoons of vegetable oil...use just 3/4 of a cup. Hope that helps!!
Florence Catlett
My question on using this is that the vinegar and another ingredient were added to add to rising of gf flour. Do those still need to be used?
Lee
Hi there! Yes! The vinegar is needed if you use gf or AP flour. Hope that helps!
Steve
You can never have too much chocolate and this cake does not disappoint. Delicious!
Lee
Thank you!
Kate
I made this cake and it was absolutely delicious. I didn’t have any vegetable oil on hand so I substituted with coconut oil instead. It was so decadent and delicious. I didn’t use the drip but instead topped it with chocolate buttercream and lots of Easter eggs . You need to try this cake 🎂 This cake is what love is made off ❤️
Lee
I'm so glad!!! Thank you!
John
This cake is the best! So much chocolate! It's delicious!
Lee
Thank you!
Donna
Chocolate layer cake has always been my favorite cake and this one was the best. So moist and yummy!
Lee
Thanks so much! So glad you love it!
JAMN
My daughter can't have eggs, gluten, dairy, or nuts-so this is a gift of a recipe. It was in her words- "the yummiest cake ever".
Lee
I am so so glad! Thanks so much!!!
Veronica
This chocolate cake is delicious! I made it for my daughter who has a peanut allergy and her friend who has celiac disease. They loved it! I will definitely make it again.
Lee
So glad thank you!!!
Allison
Most delicious gluten free cake I’ve ever eaten! And so easy to whip up!
Lee
Thank you, Allison!!!
Gord
Did you slice the cakes into 2 layers??
Your comment about frosting 1 layer, then repeating 3 times prompted this question. Cake LOOKS FANTASTIC!!! Thanks for this!!😋😋😋
Lee
Yes sorry! If you look under the "tips for making the triple chocolate cake" I say to slice both layers horizontally in half to create 4 thin layers of cake. Sorry for the confusion and thanks for your kind words!!!
Elaine Adamo
Such a delicious, uncomplicated recipe. I am a follower of laneandgreyfare and often enjoy her cookies. This chocolate cake recipe will definitely be my go to recipe for company. Love the tip to freeze individual pieces so I can enjoy this decadent cake all to myself.
Such a fan Lee and I will be sharing this recipe with friends.
Lee
Oh my goodness so kind thank you so so much!!!!
Giana
I absolutely LOVE this cake!! Probably the best chocolate cake I have ever had. You wouldn’t even be able to tell it’s allergy-free which is the best part.
Lee
Thank you so much!!!! SO happy to hear!
Gary
Looks great one ? Why is there vinegar in the recipe ? Thanks
Lee
Hi! The vinegar is an acid and it is used to react with the baking soda. The two together create a chemical reaction by producing carbon dioxide and makes the batter rise! The vinegar also helps when cakes have no eggs; it makes the cake light and fluffy! Hope that helps!
Gary S. Lucas
Thanks looks delicious
Lee
Thanks!!!