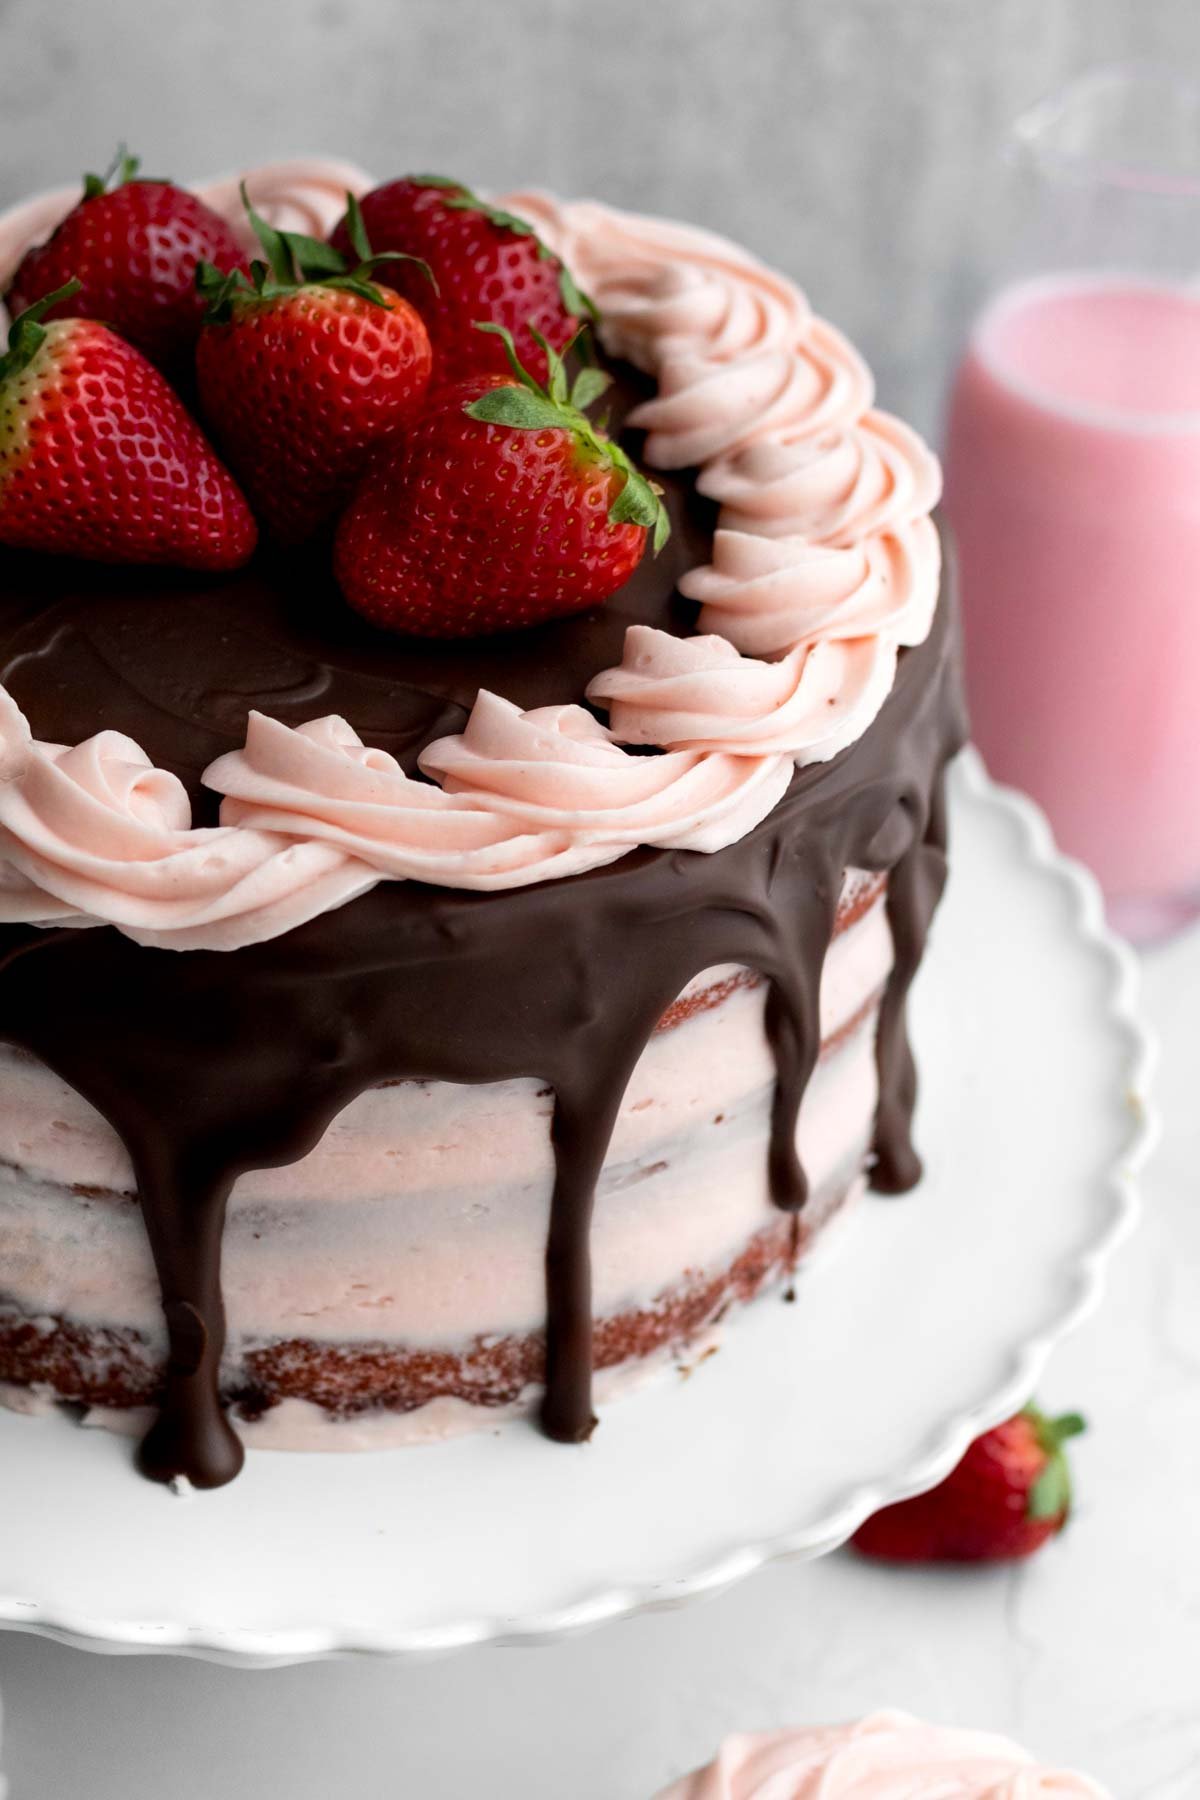
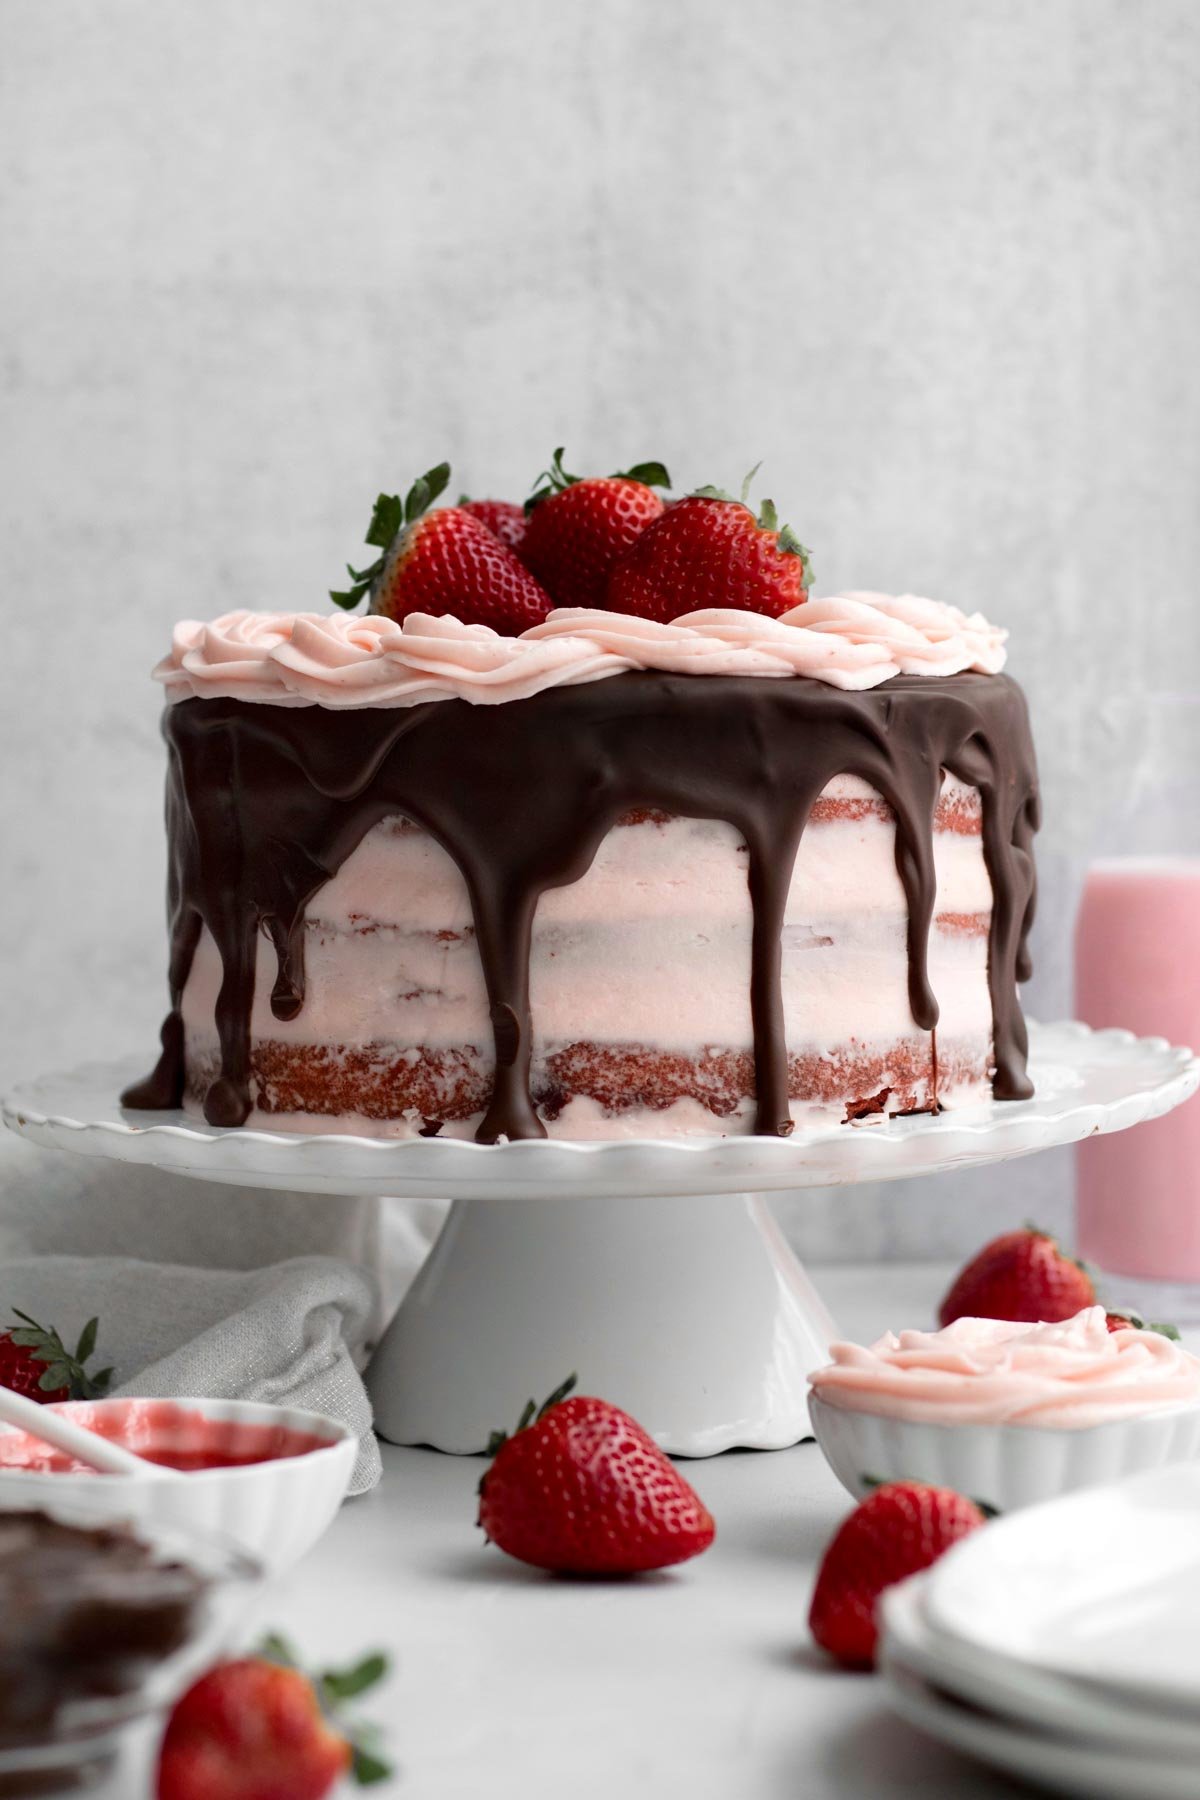
This Strawberry Red Velvet Cake is an eggless red velvet cake surrounded by soft strawberry buttercream frosting. Topped with a chocolate drip and fresh strawberries, it’s a show stopper for sure! Best yet this pretty pink and red cake is gluten free, nut free, eggless and can easily be vegan!
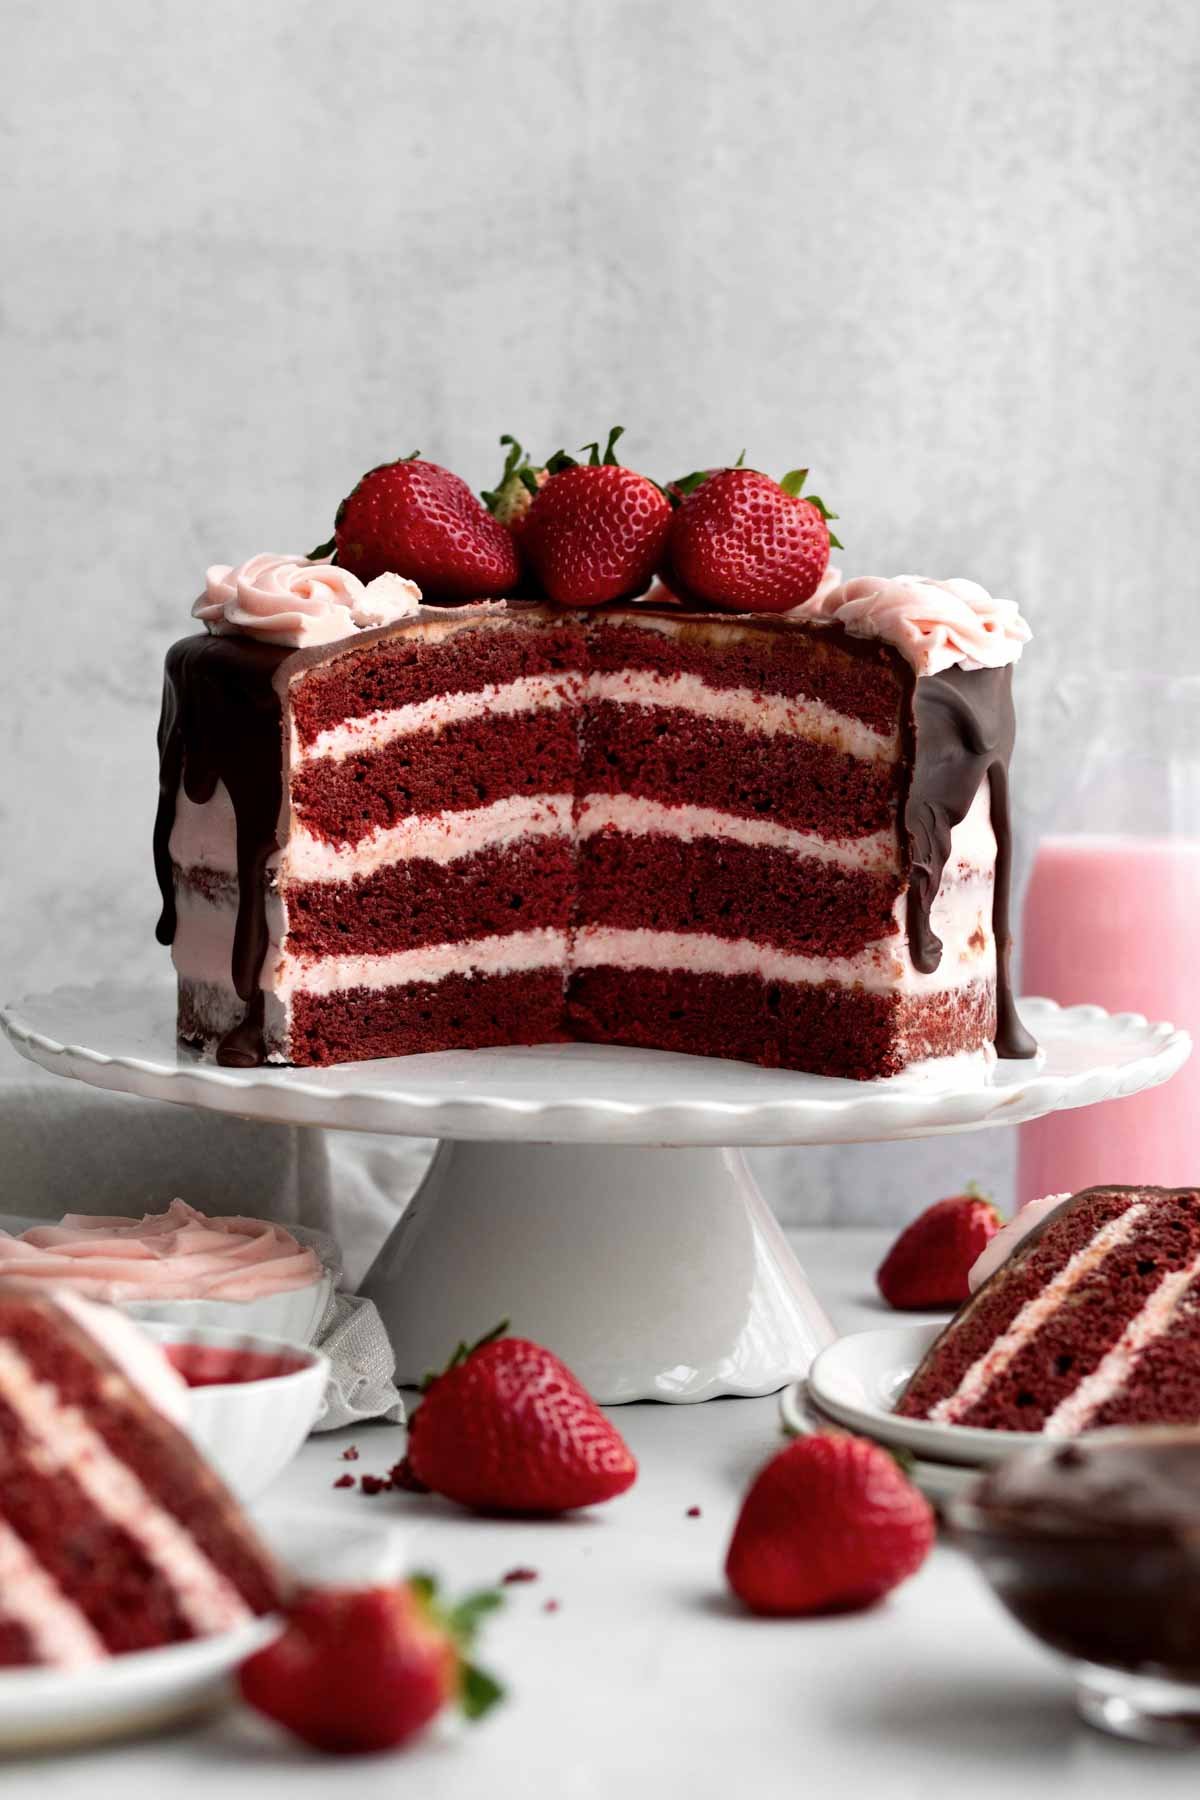
Guys, I love this Strawberry Red Velvet cake so much! It has that soft chocolate taste with a little tang combined with the sweet, yet mild, strawberry buttercream. You’ll think you’ve been struck by Cupid’s arrow and fallen madly in love! With a cake. Yes.
For more Valentine’s Day recipes, check out my red velvet oreo cookies, strawberry filled cupcakes, no bake strawberry pie, and my sugar cookies with chocolate.
Reasons To Love This Cake
- Allergy Friendly- This cake is gluten free, nut free, egg free and can easily be dairy free (vegan)!
- Soft & Fluffy- The red velvet cake is super soft and delicious.
- Strawberry Buttercream- This is a homemade buttercream frosting made from fresh strawberries just like in our Strawberry Filled Cupcakes!
Ingredient Notes
- Gluten Free Flour- If you also have nut allergies, make sure to use a brand that’s made in a nut free facility. I really love to use this gluten free flour because it’s nut safe but it does contain dairy. It also contains xanthan gum which really helps give baked goods their bounce.
- Cocoa Powders- I like to use half dutch or natural unsweetened and half dark. If you only have one, use dutch or natural unsweetened.
- Butter/Vegan Baking Stick- Only use room temperature.
- Cornstarch and Water- This is an eggless cake so this mixture helps bind everything together.
- Pure Vanilla Extract- Make sure the vanilla you use is pure and gf.
- Milk- If there are no dairy allergies or if you’re not vegan, you can use regular whole milk. For non dairy, use a non dairy milk of your choosing.
- White Vinegar- It helps everything rise and gives us that tang that’s specific to red velvet.
- Fresh Strawberries- We use either fresh or frozen to make the strawberry buttercream, like in my Strawberry Sugar Cookies, and fresh on the top of the cake.
- Red Food Coloring- Make sure to read the label to keep your food safe. I useMcCormick.
See my recipe card below for a complete list of the ingredients with measurements.
Substitutions and Variations
How to Make this Vegan
- Use a gluten free flour that’s free from dairy.
- Make sure the brand of sugar you use is vegan.
- Use vegan baking sticks instead of butter in the frosting.
- Only use a non dairy milk of choice.
- Make sure the red food coloring is made in a vegan facility or is plant based.
- Only use vegan chocolate chips. I love these allergy friendly chocolate chips.
How to Make this recipe with All Purpose Flour
- Use 2 ½ packed cups of AP flour (420 grams).
- Make sure to use 1 cup of milk.
This recipe has not been tested with these substitutions and/or variations due to celiac disease and food allergies. If you change any of the ingredients, please let us know how the recipe turned out in the comments below!
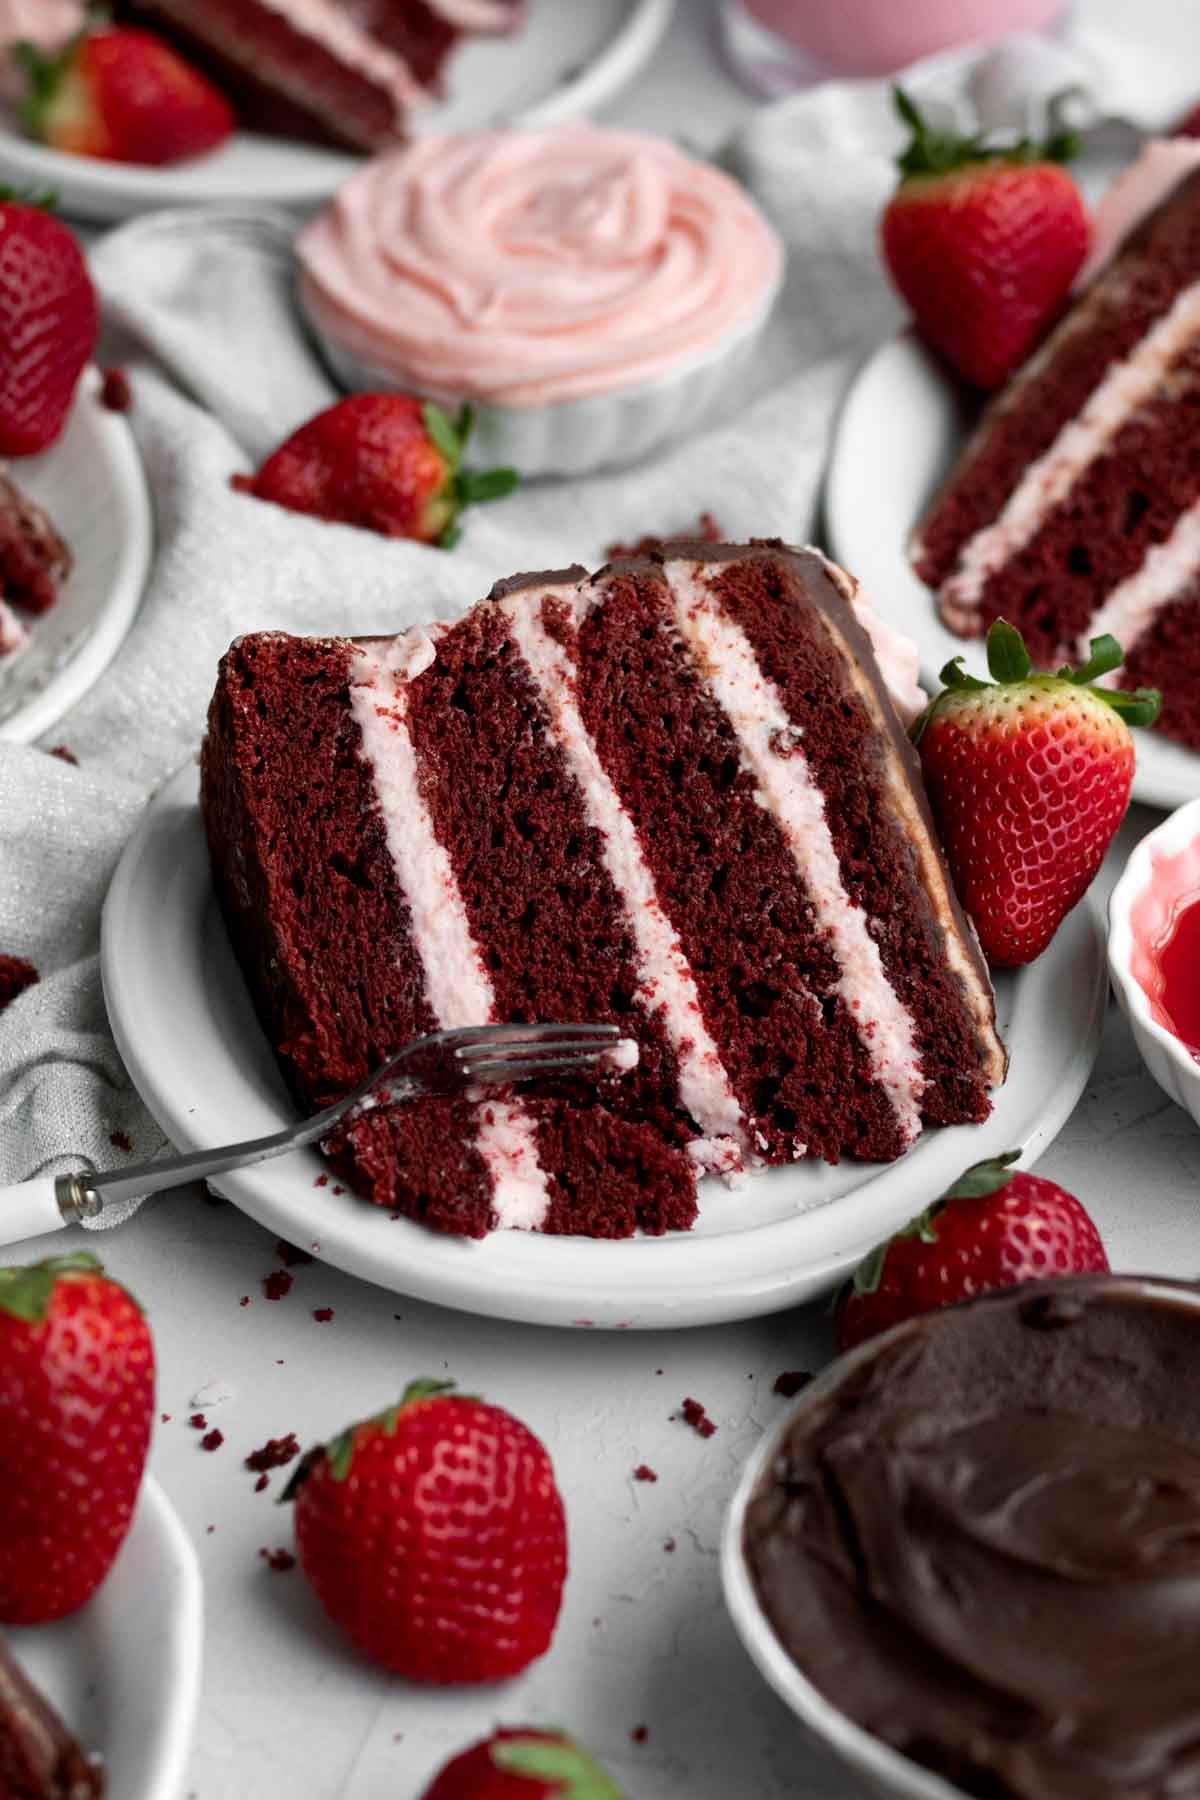
How to Make Strawberry Red Velvet Cake
Here are the step by step instructions to make this cake!
Make the Cake
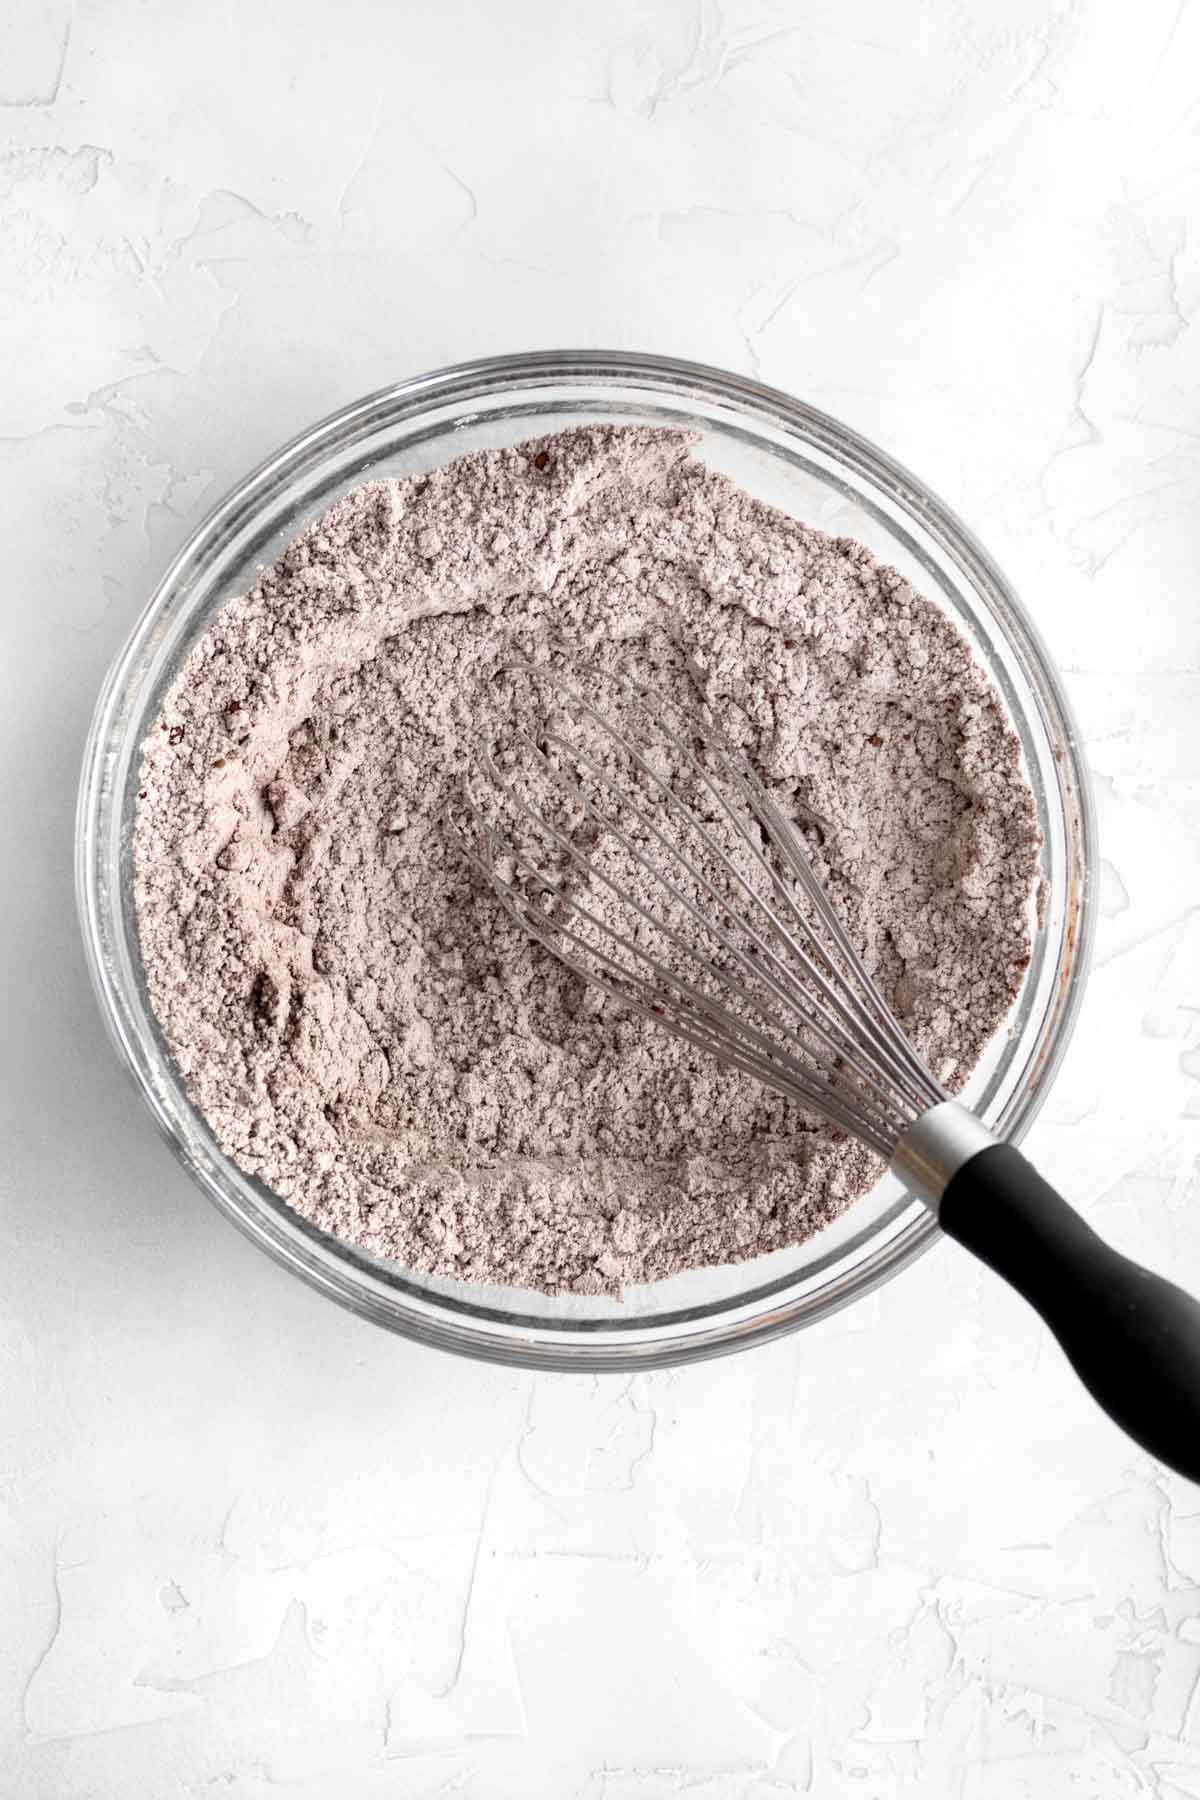
Step 1: Whisk Together all the Dry Ingredients
In a large bowl whisk together the gluten free flour, cocoa powders, baking powder, baking soda and kosher salt.
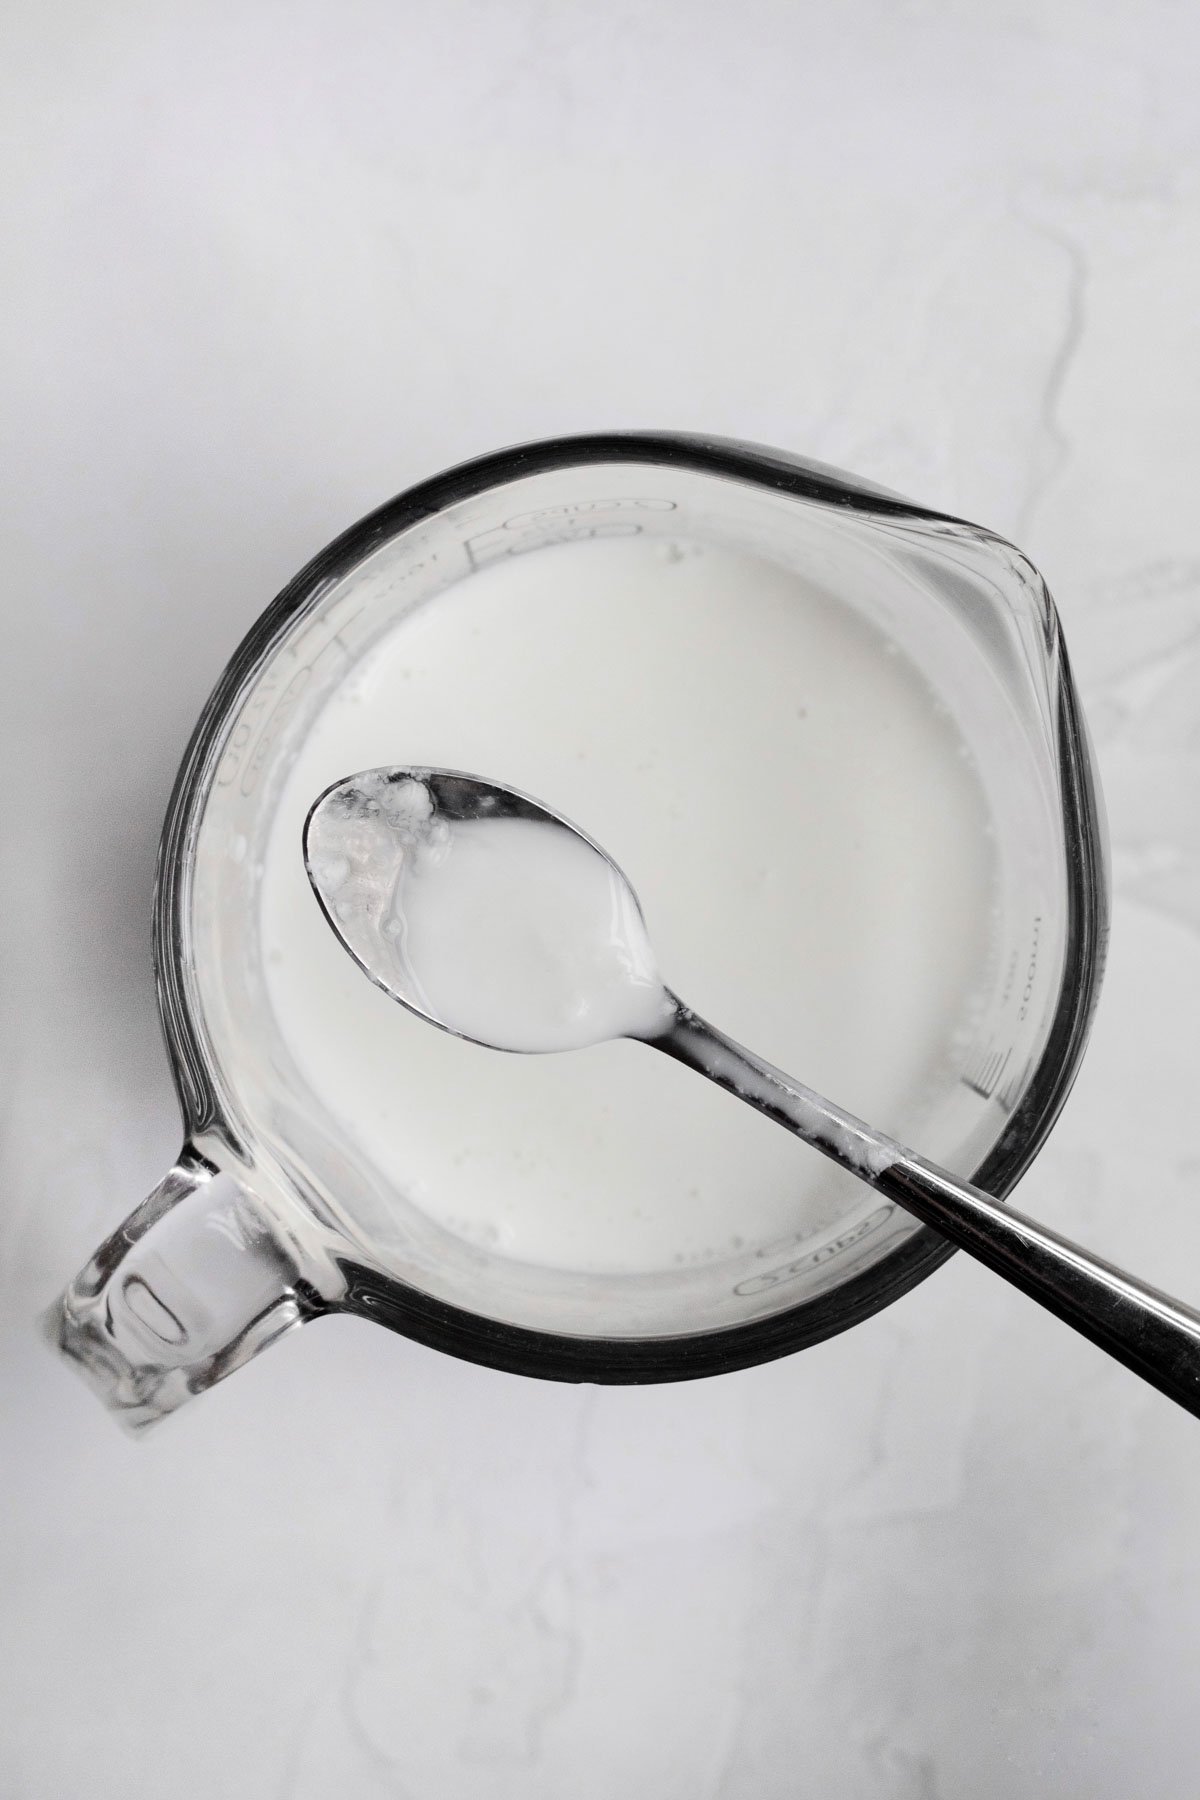
Step 2: Make the Homemade Buttermilk
In a large measuring cup, measure out 1 cup of milk. Add in 1 tablespoon of the white vinegar and stir. Let sit 5-10 minutes and it will appear chunky. That's normal.
Step 3: Make the Cornstarch Water
In a large bowl, using a spoon, mix together the cornstarch and water until thin and watery. It will be thick and tacky at first.
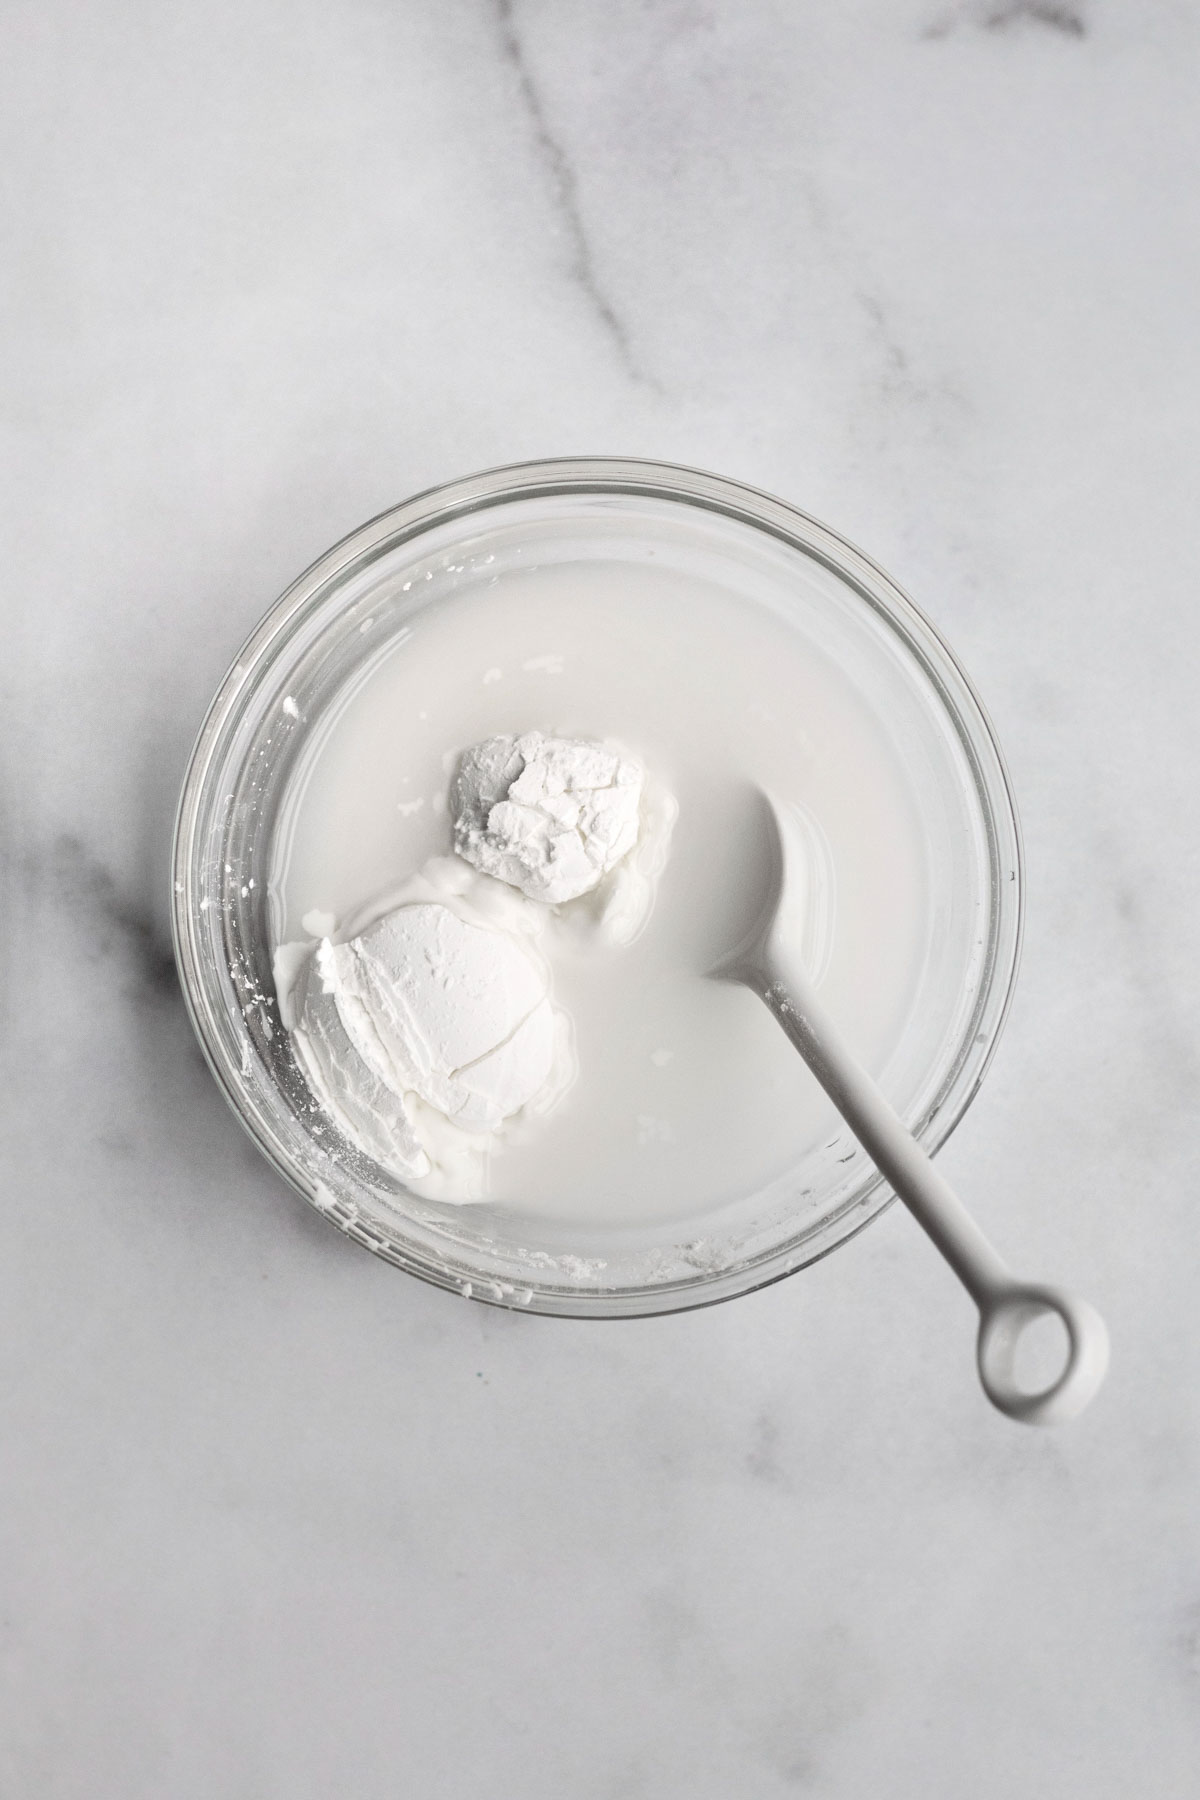
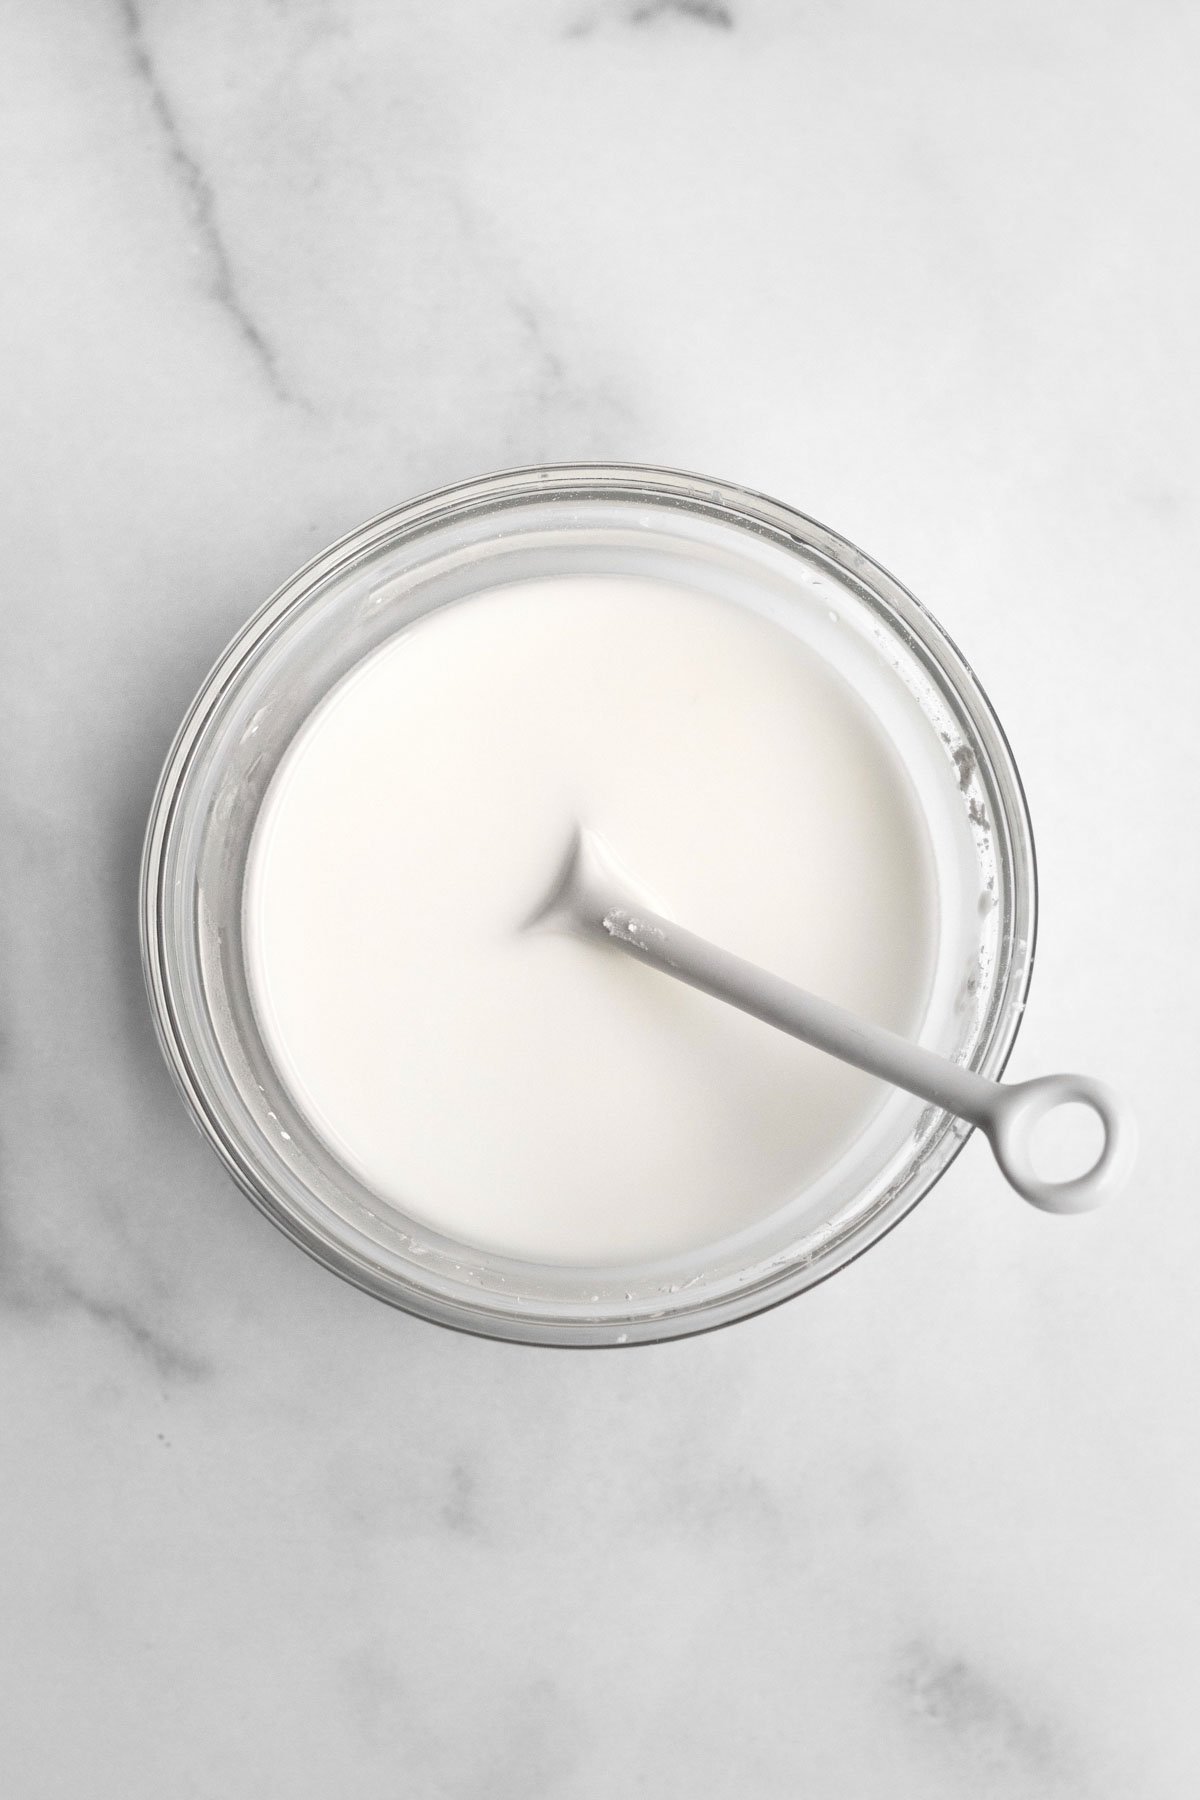
Step 4: Cream the Butter and Sugar
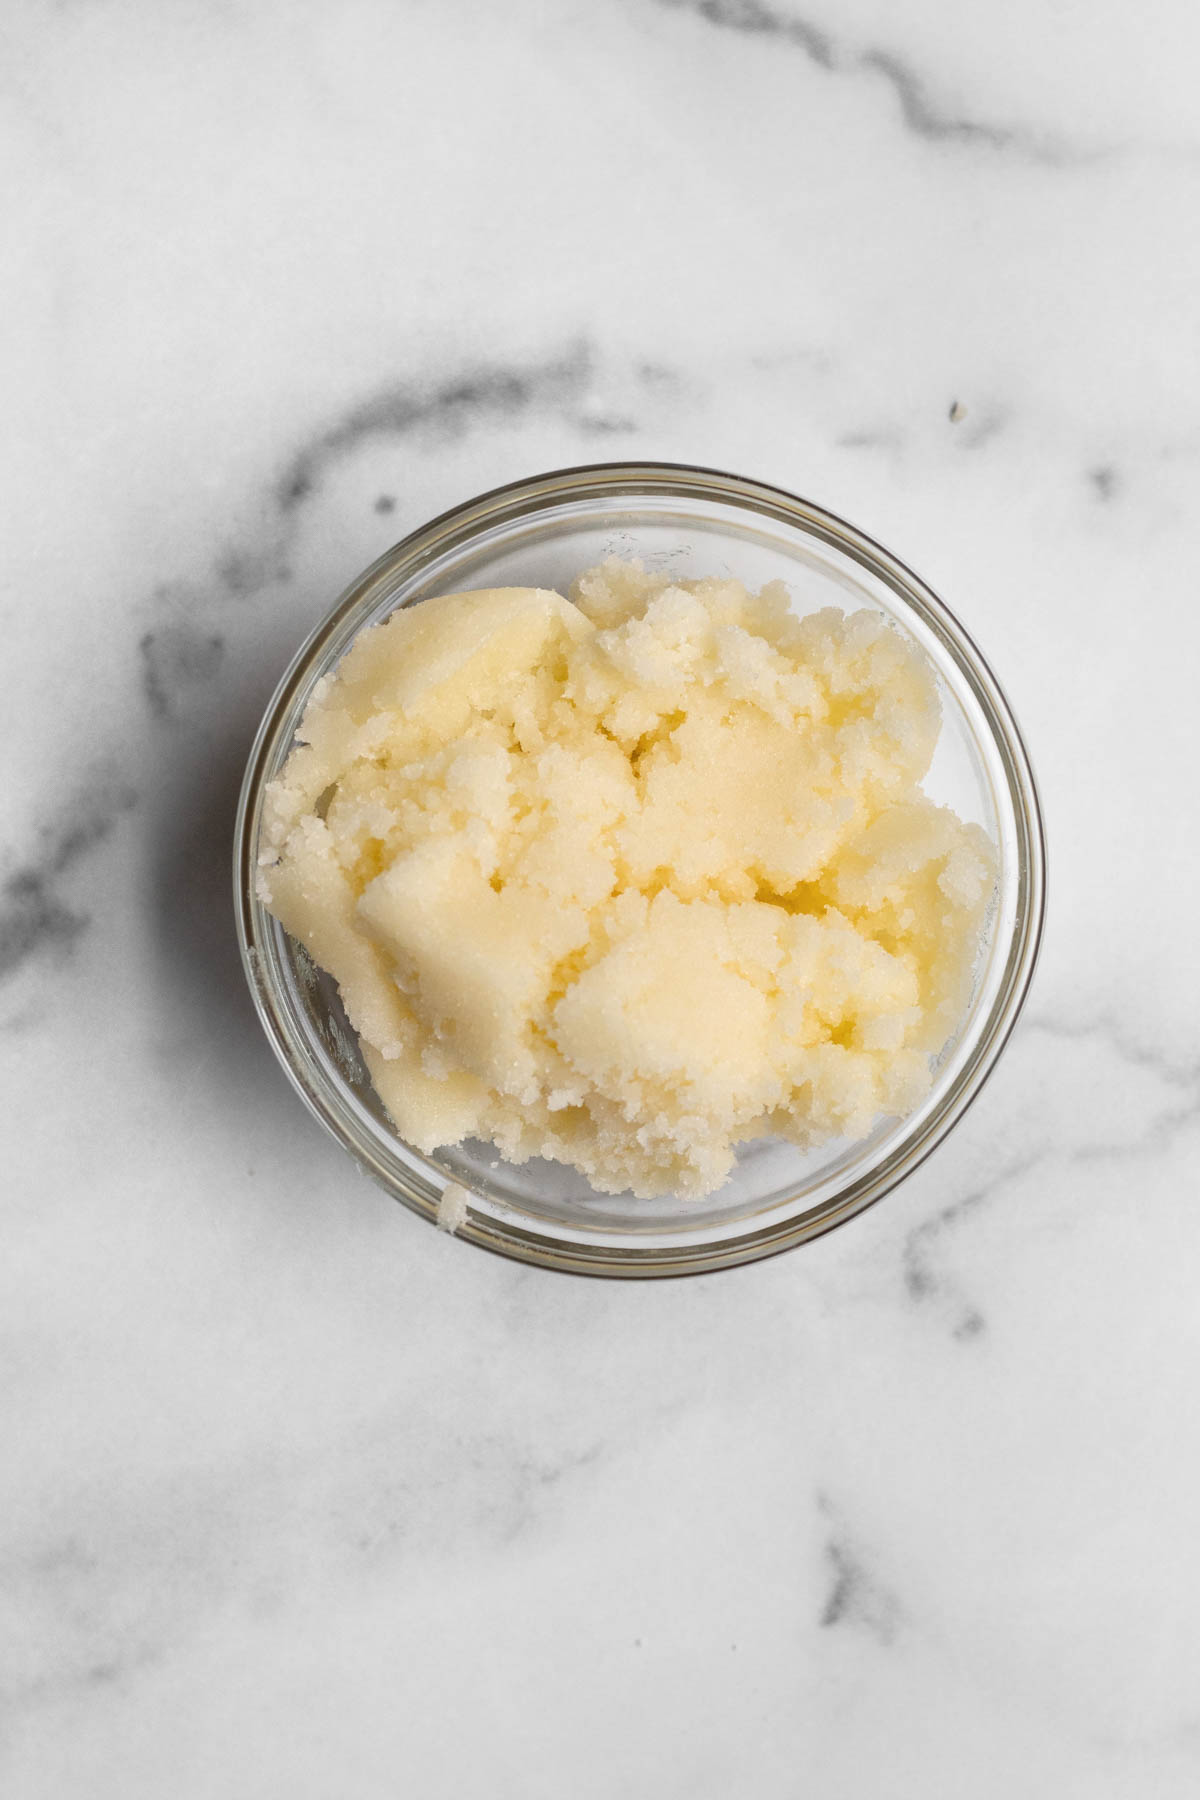
In a large bowl of an electric mixer fitted with the paddle attachment or using a hand held mixer, beat the butter or vegan baking stick and the granulated sugar until soft and creamy. About 2-3 minutes.
Step 5: Mix in the Cornstarch Water Mixture
Slowly beat in the cornstarch water mixture, half at a time, into the creamed butter and sugar. The final mixture will look chunky and that is perfectly normal.
Step 6: Stir Together the Wet Ingredients
Add the other ⅓ cup of milk, the remaining teaspoon of white vinegar, the red food coloring and vanilla into the measuring cup with the homemade buttermilk. Whisk to combine.
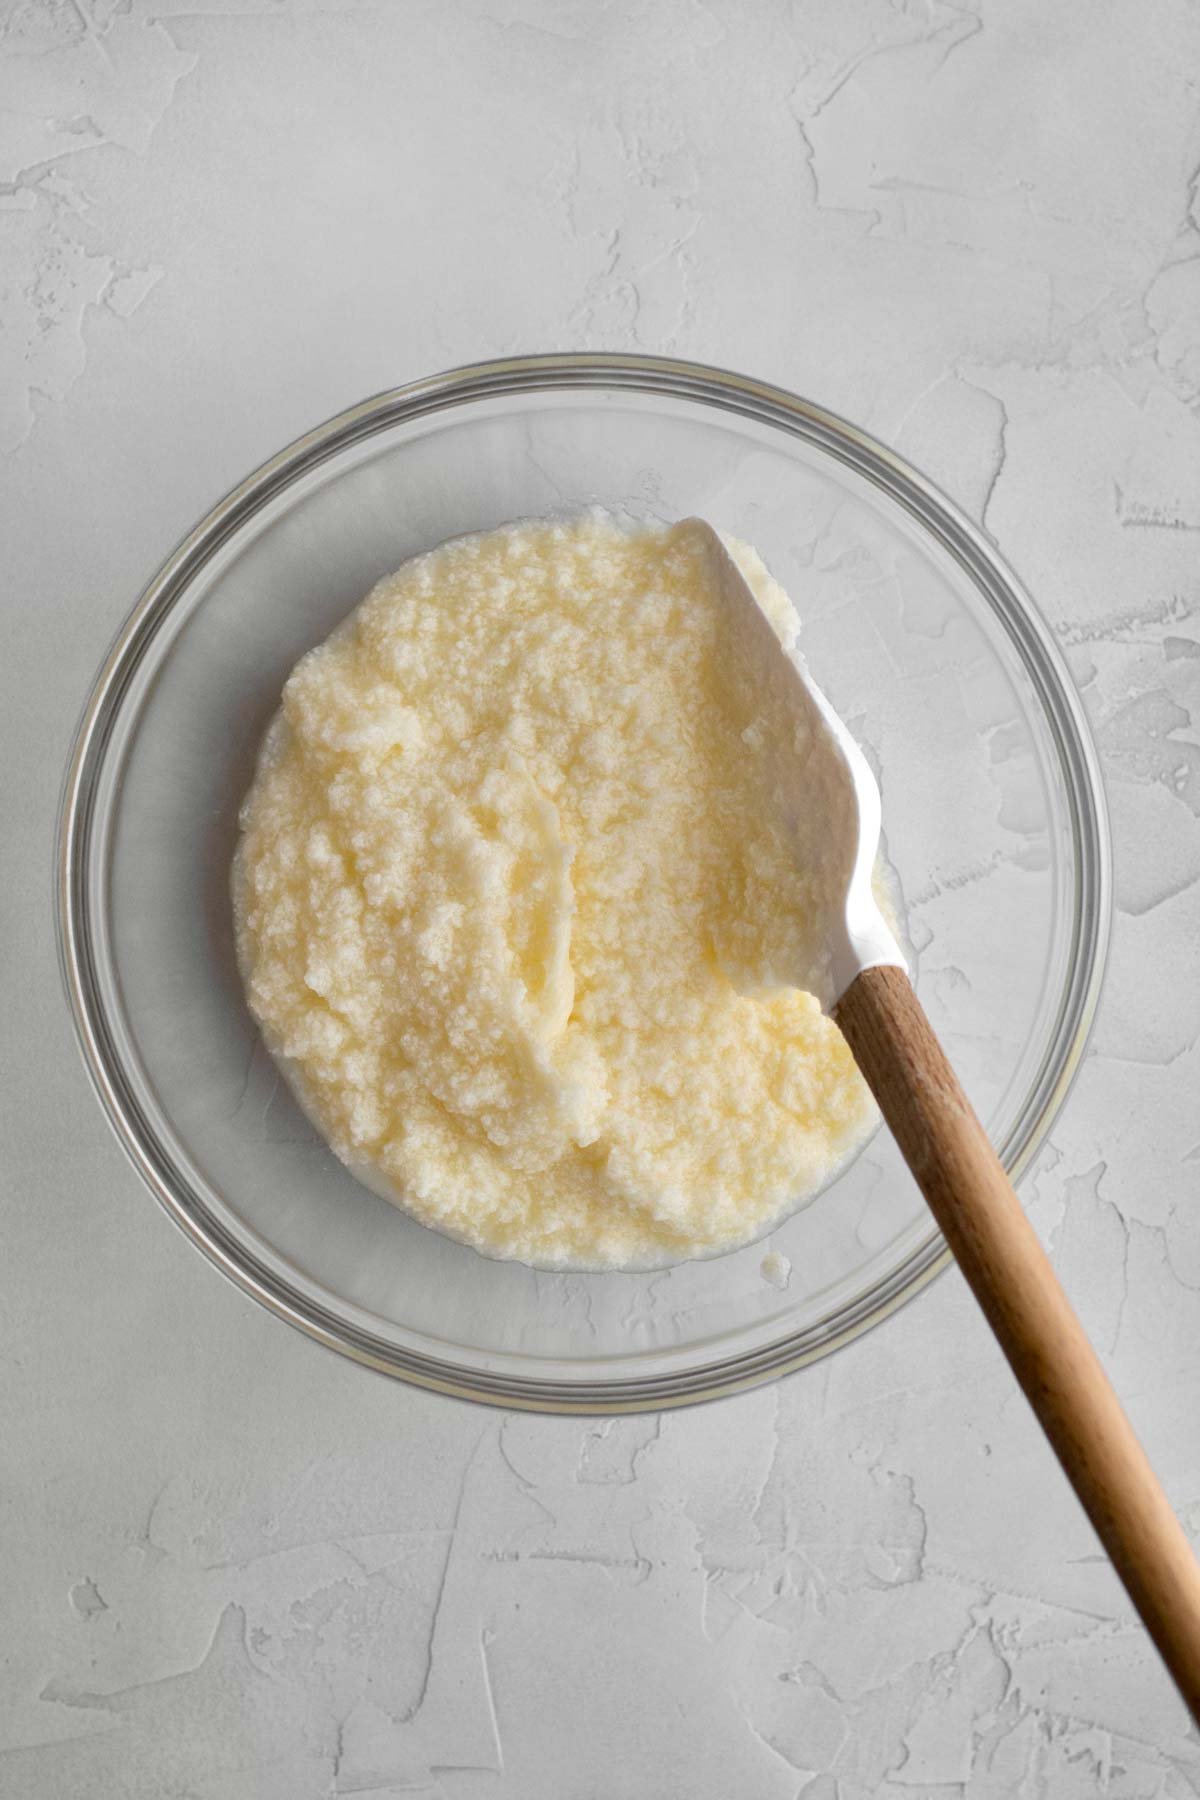
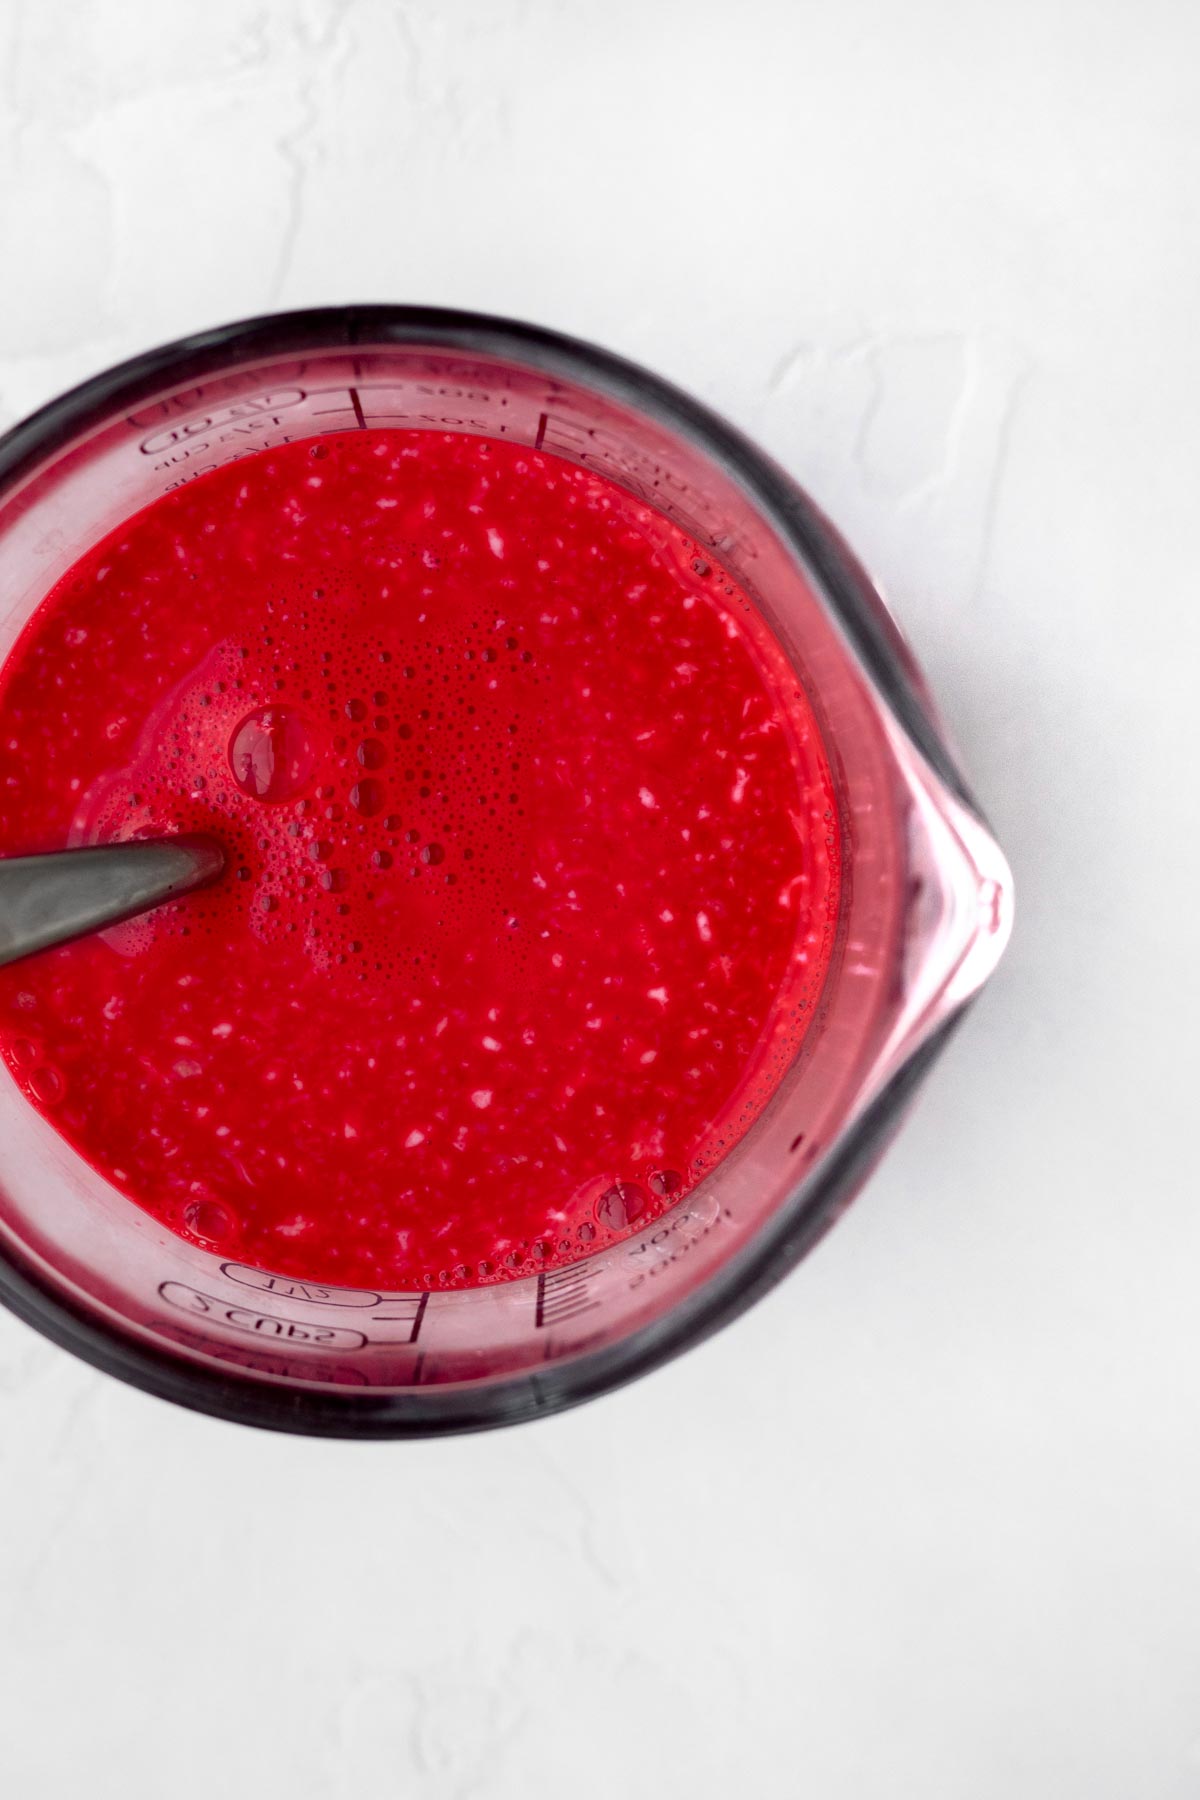
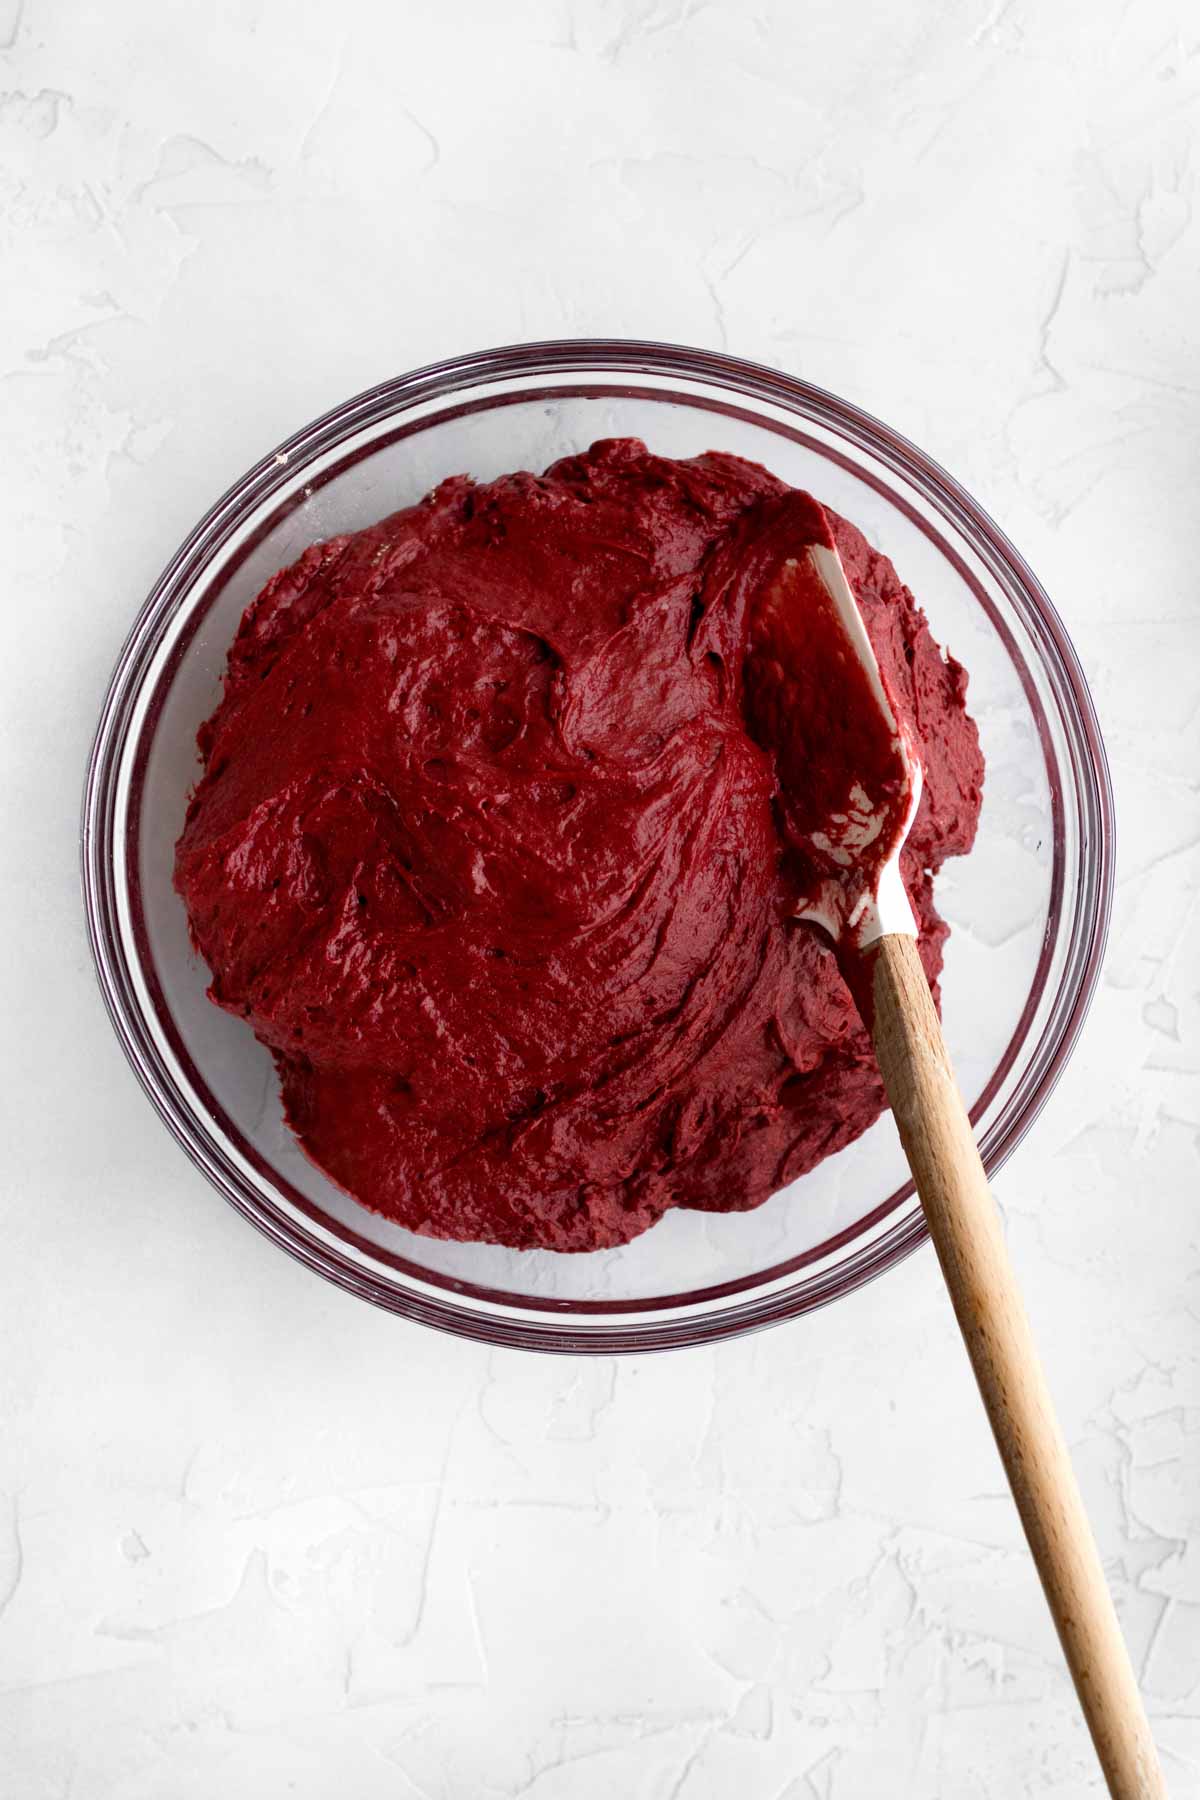
Step 7: Beat in Dry Ingredients and Wet Ingredients
With the mixer on low speed, slowly add in the dry and wet ingredients in 3 sections, starting and ending with the dry ingredients until combined.
Step 8: Scoop the Batter
Using a spatula, divide the batter equally between two greased and parchment lined 8 inch cake pans; smooth the tops with a butter knife.
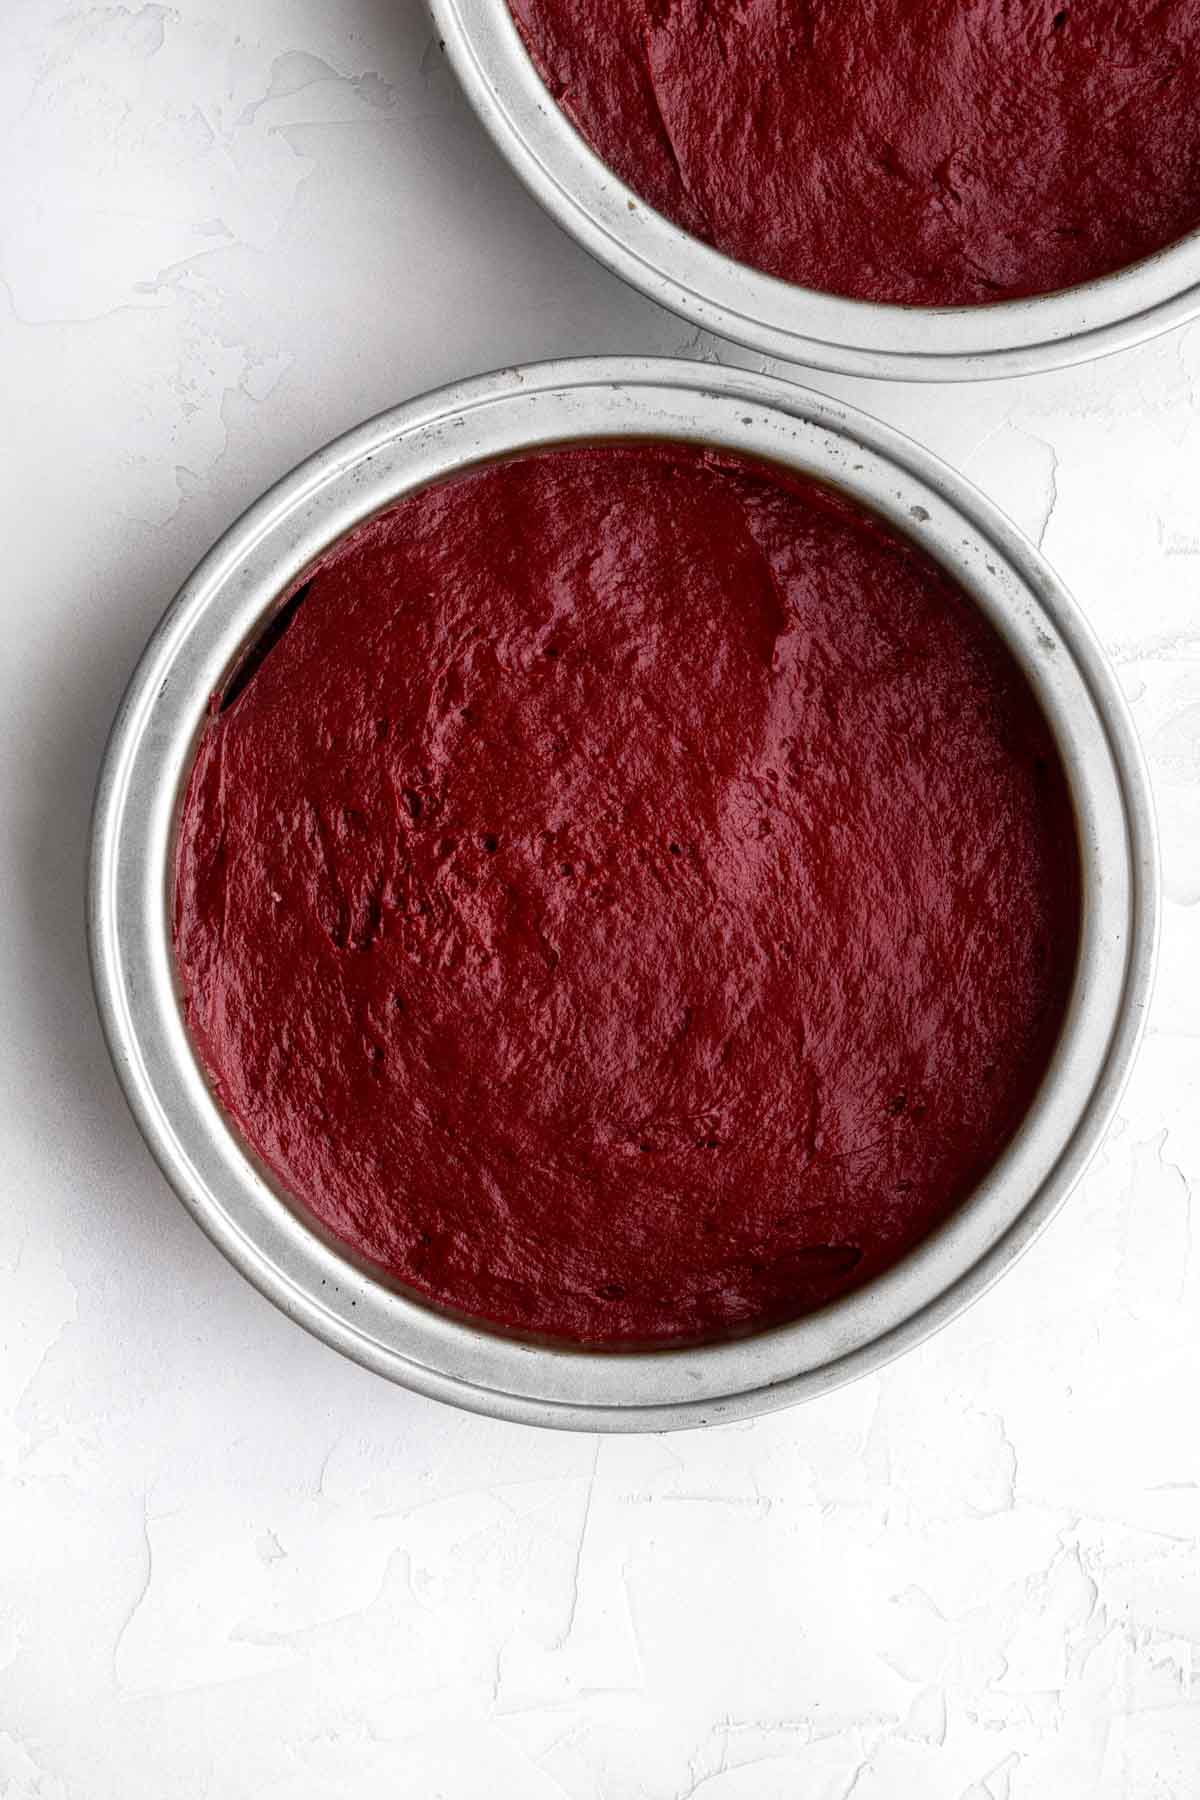
Step 9: Bake the Cakes
Bake the cakes in the center rack at 350 degrees Fahrenheit for 45 minutes until slightly springy when carefully touched.
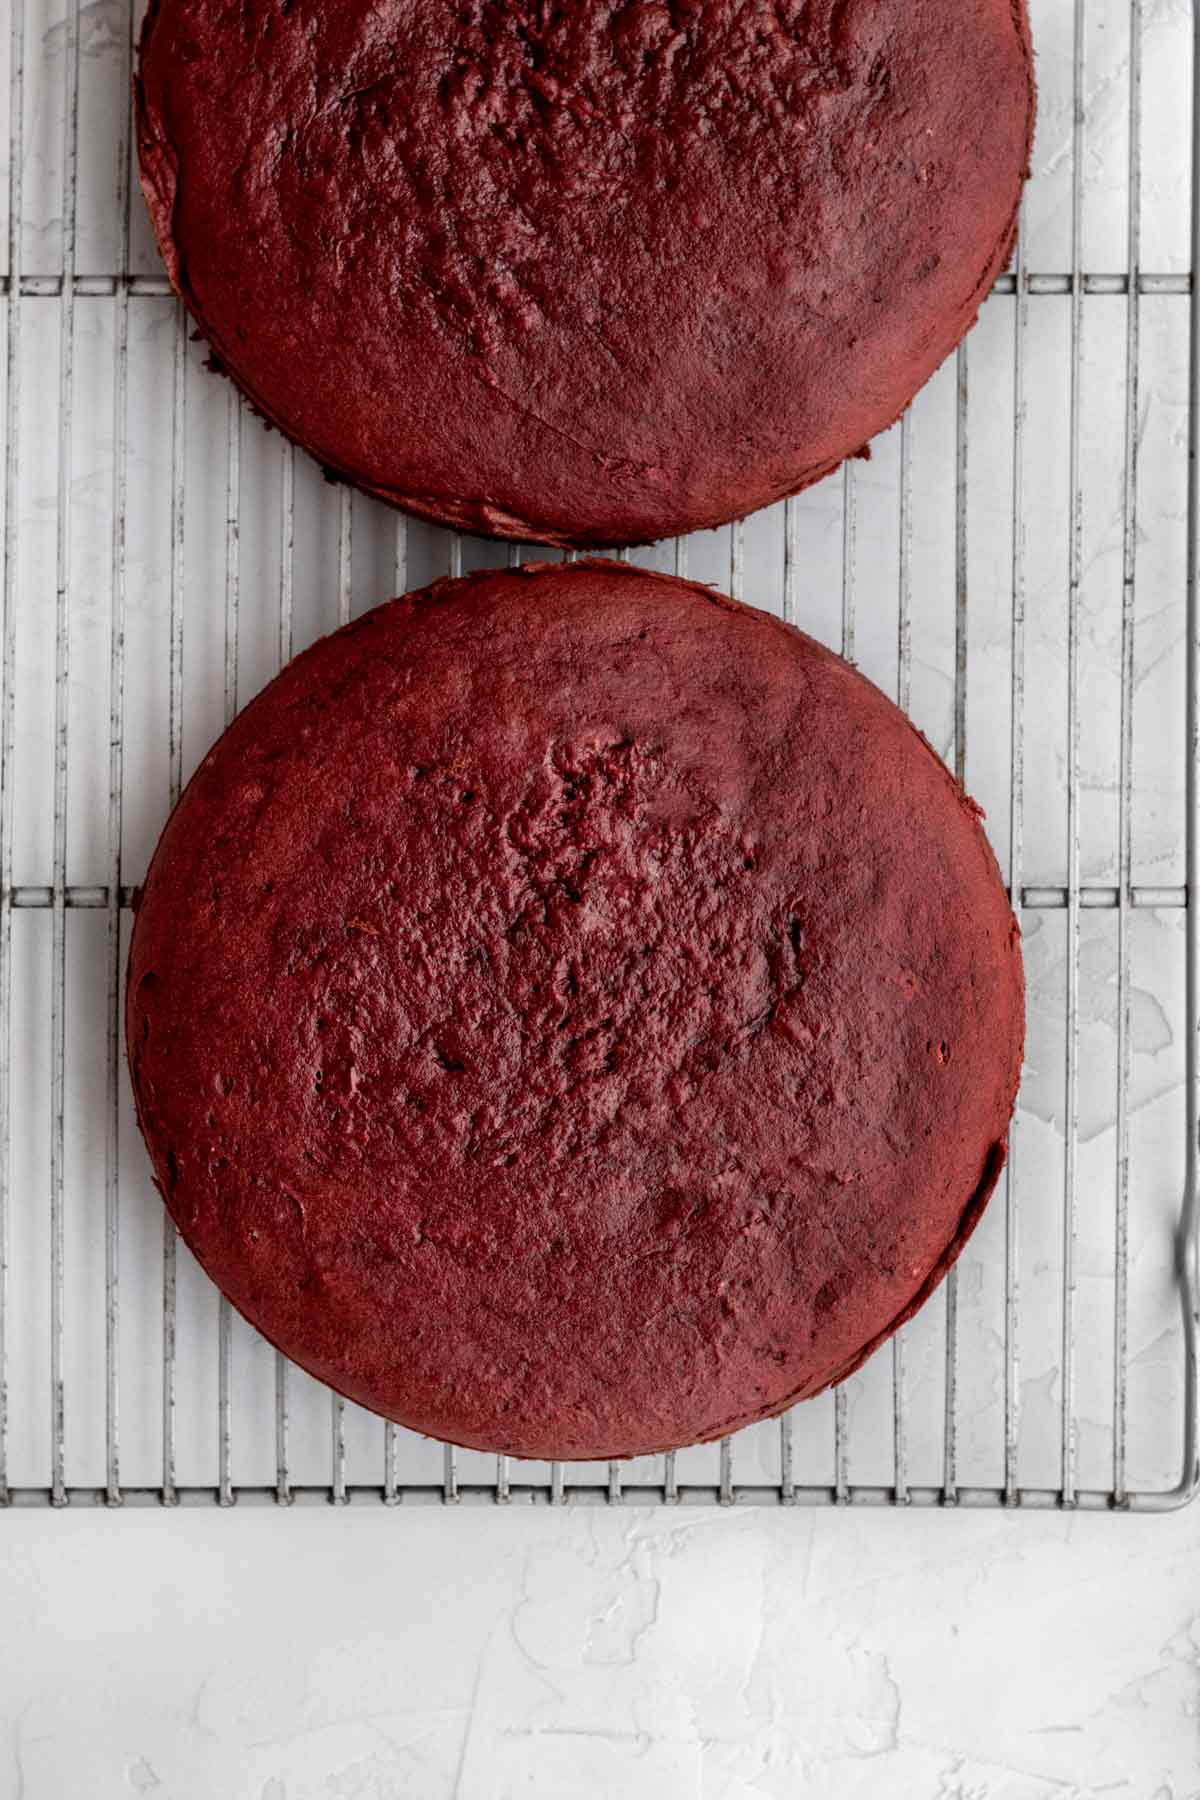
Step 10: Cut the Cakes
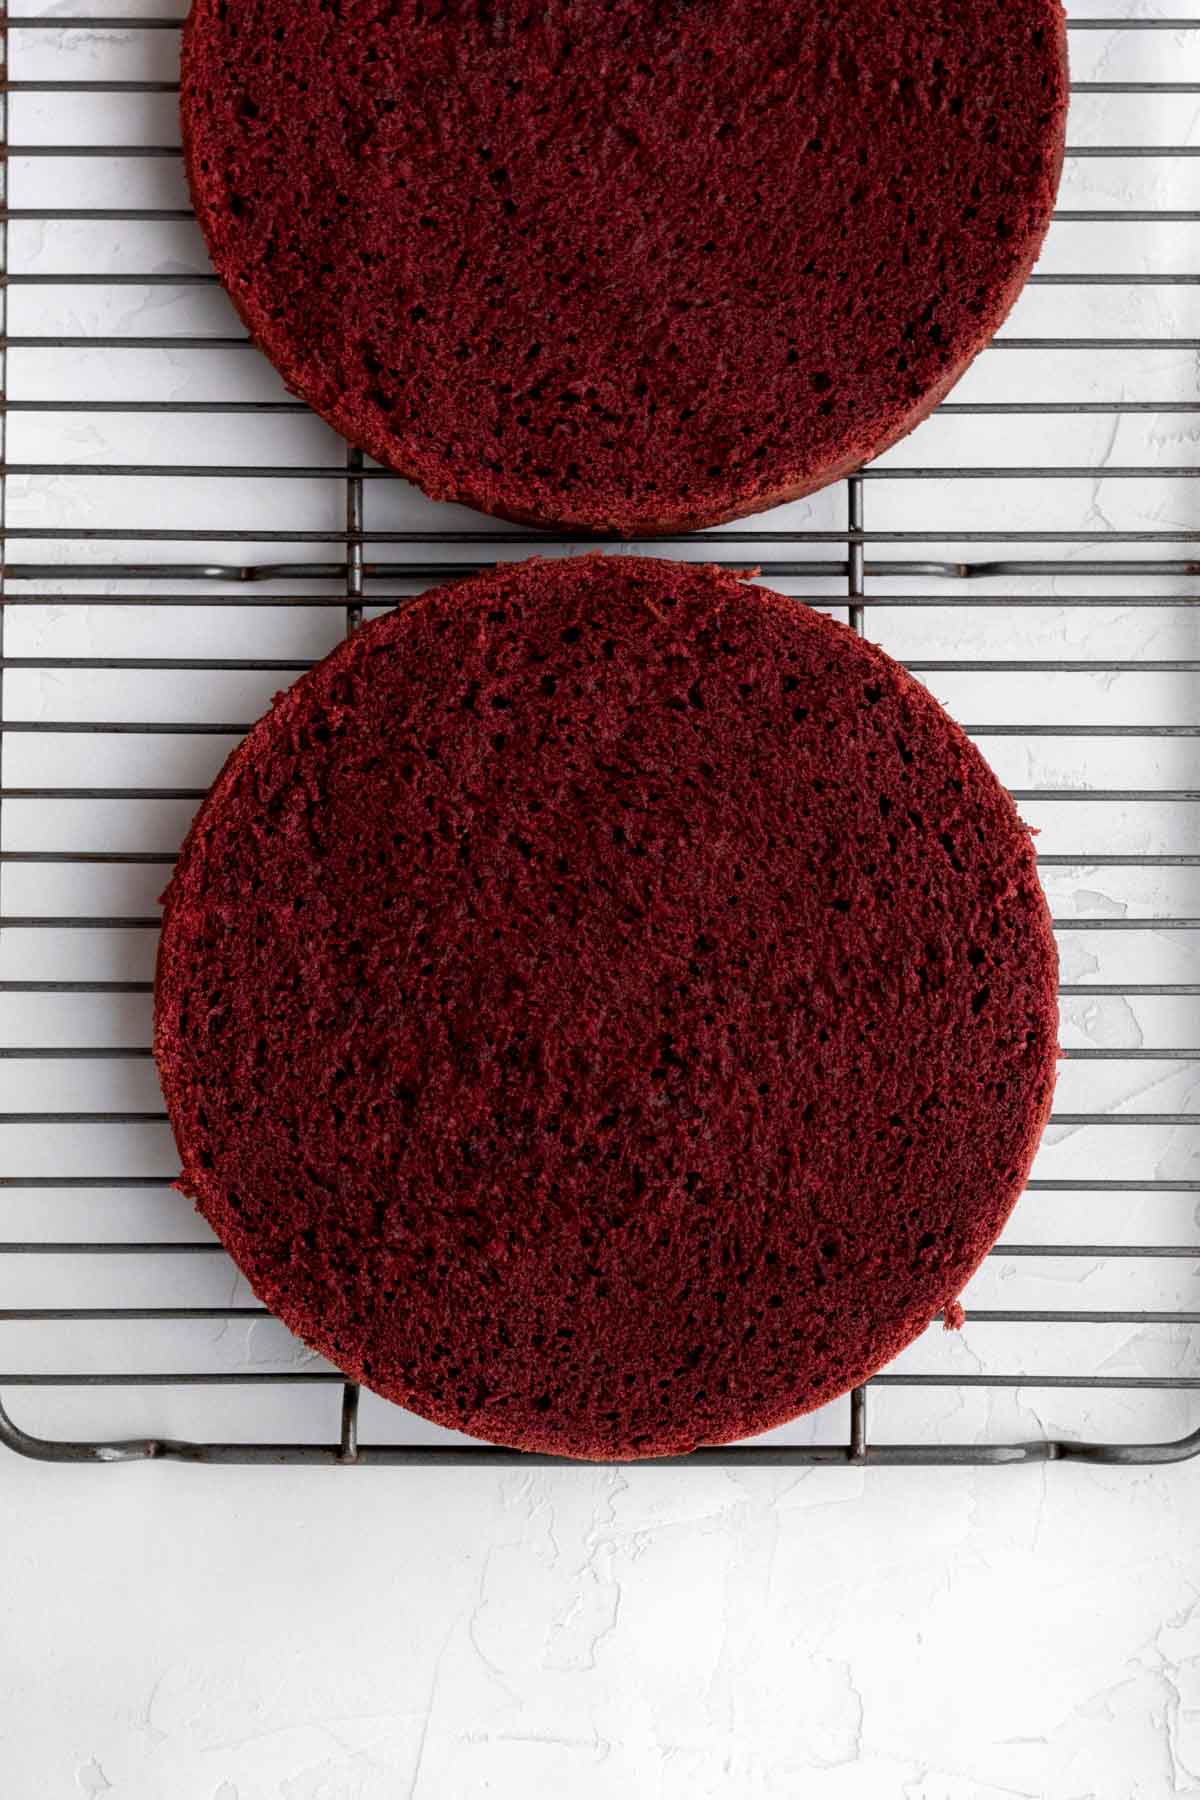
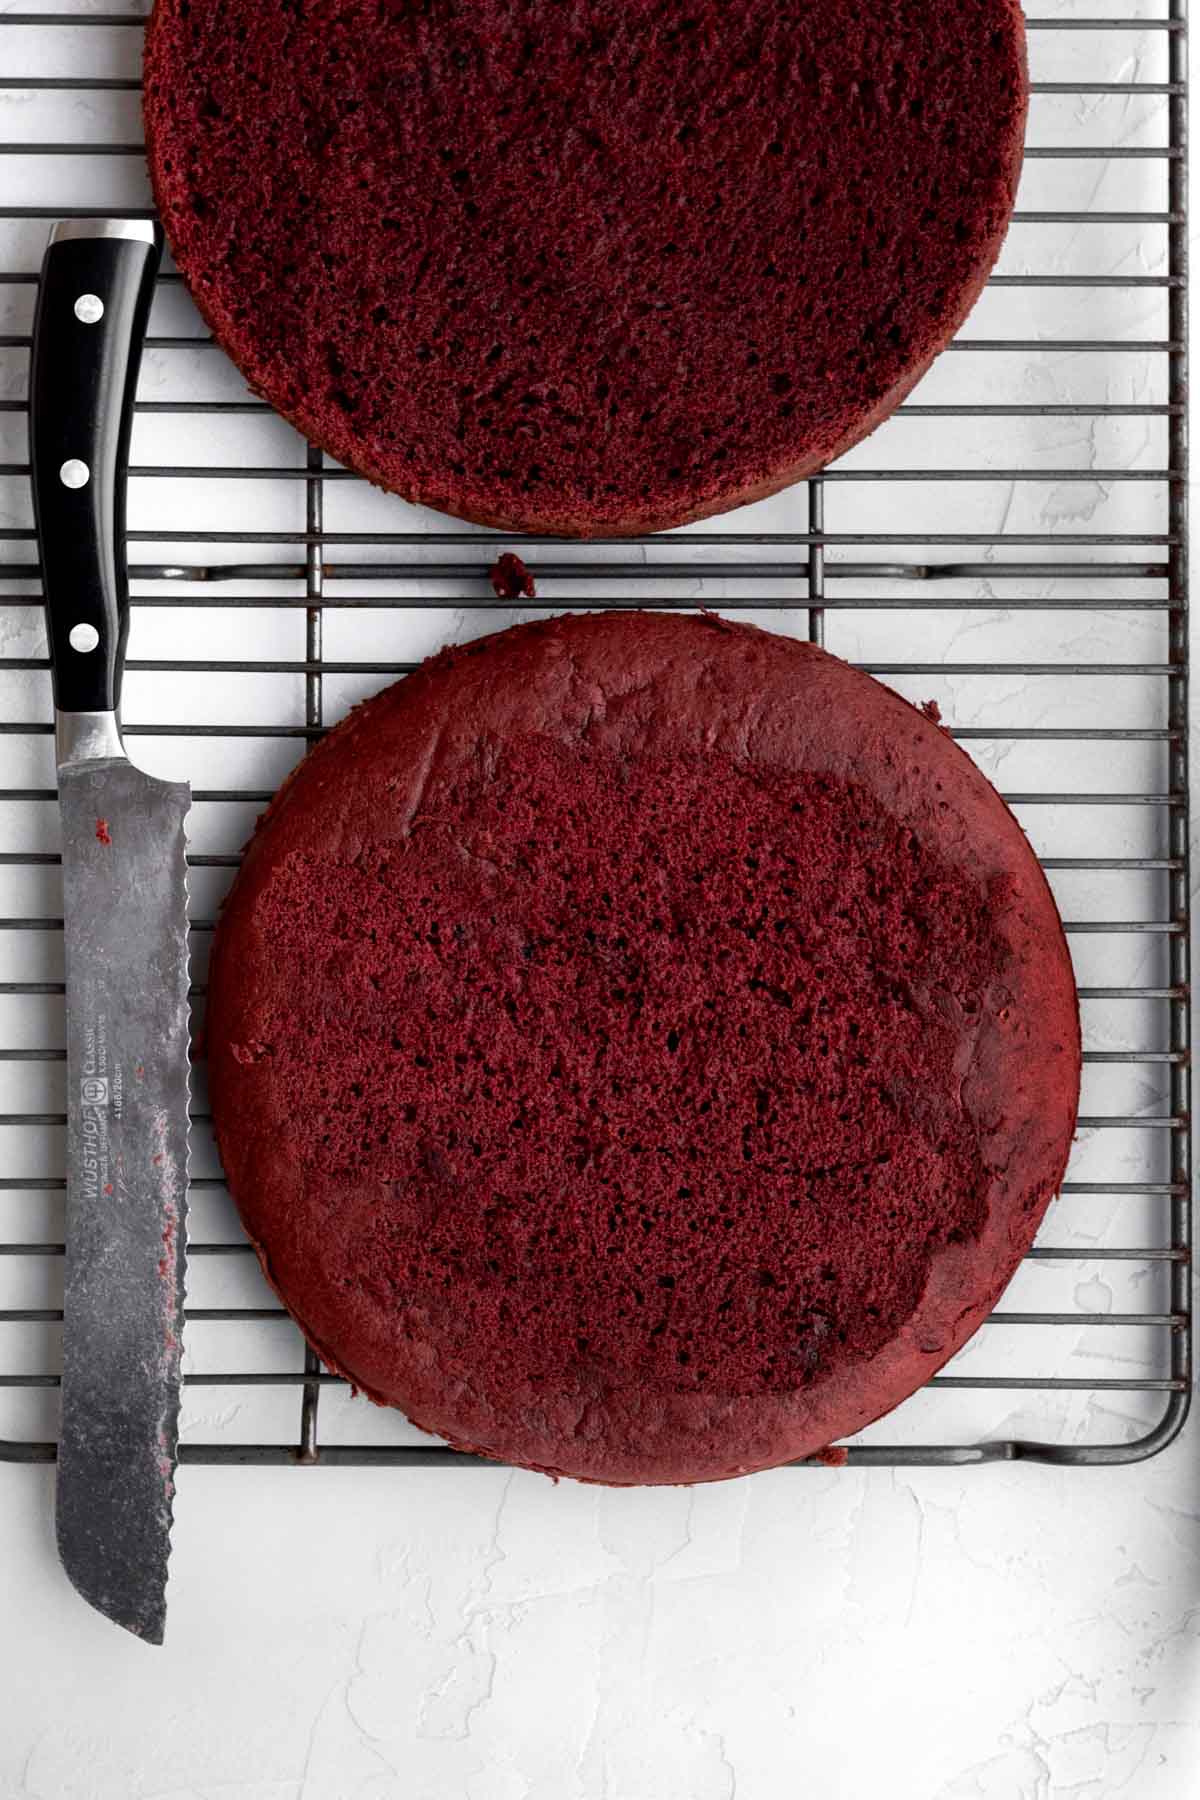
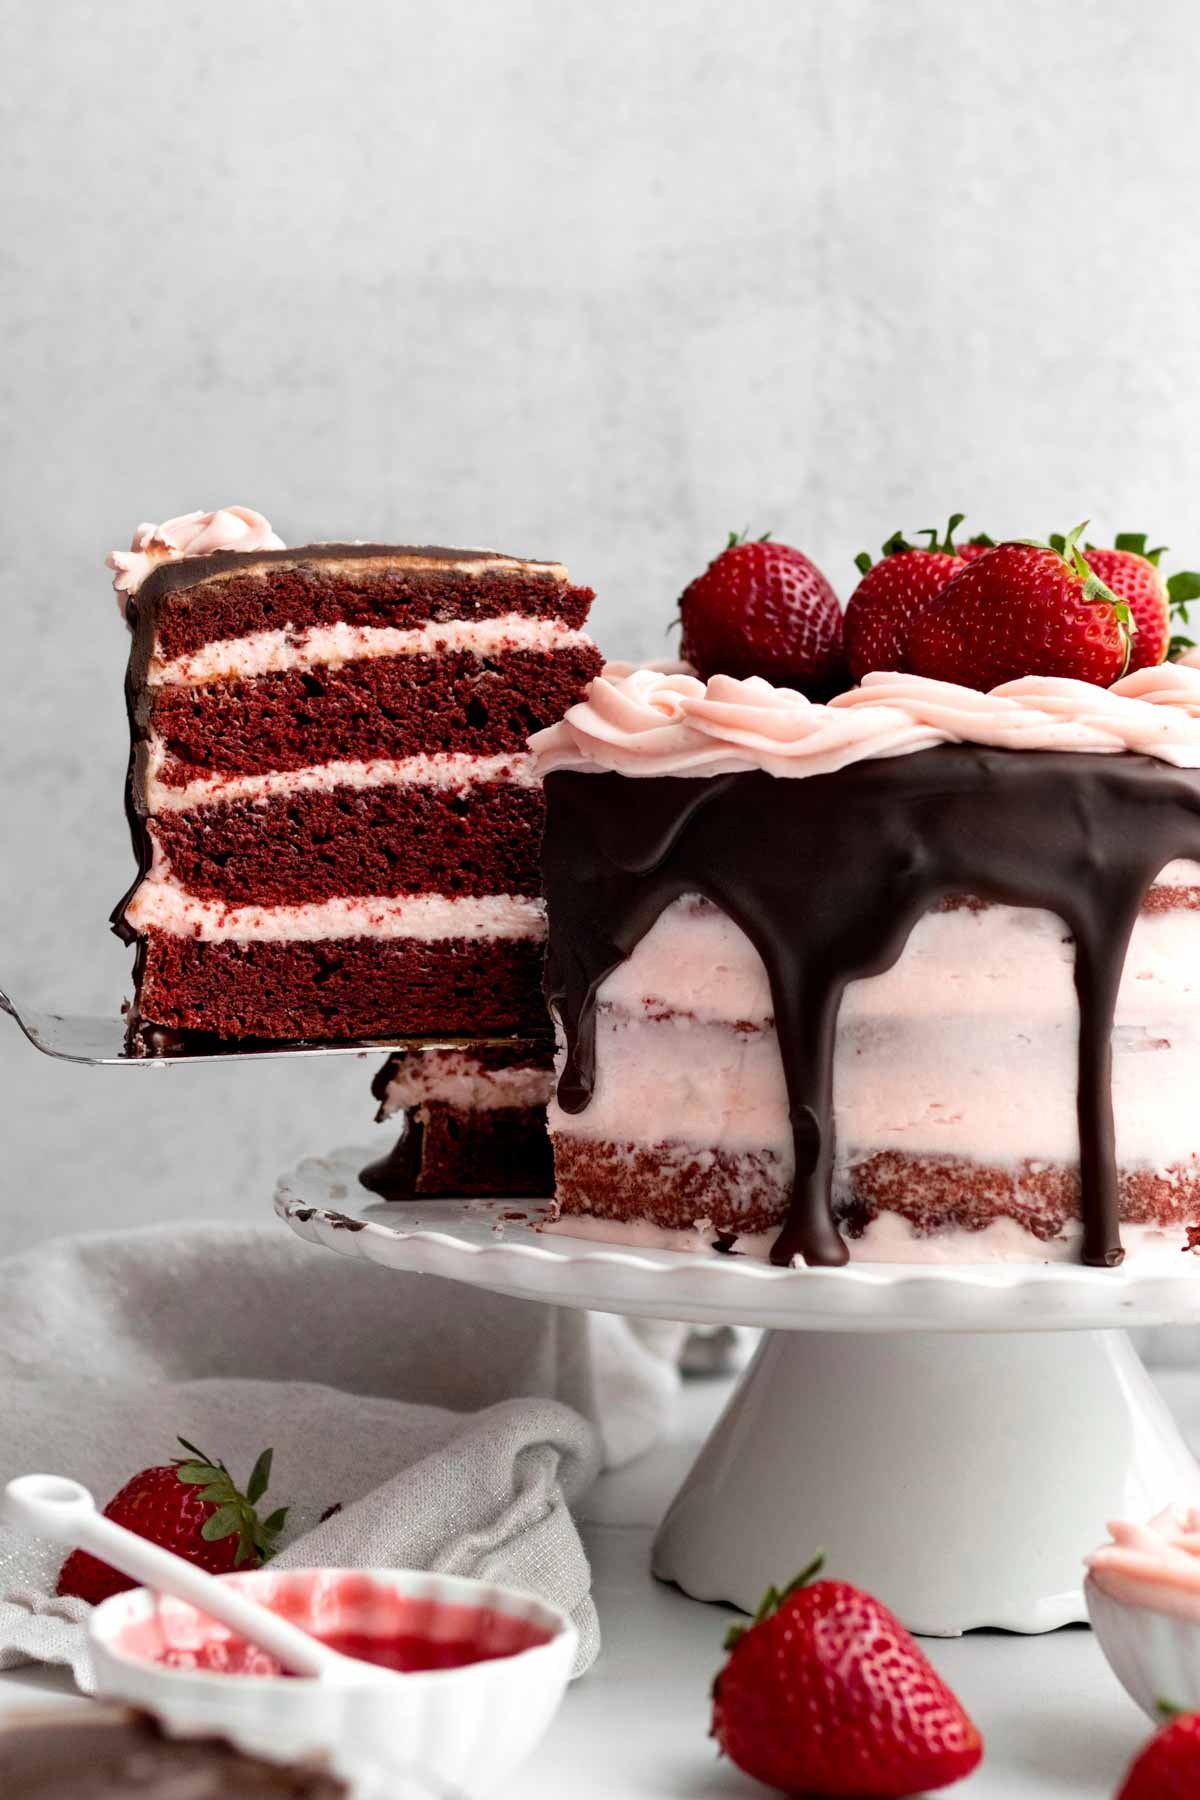
Once the cakes have completely cooled, slice the cakes in half horizontally to create 4 thinner layers of cake.
If the tops of your cakes have domes, you can very carefully cut them off to make them flat.
Make the Strawberry Frosting
Step 1: Heat the Strawberries and Granulated Sugar
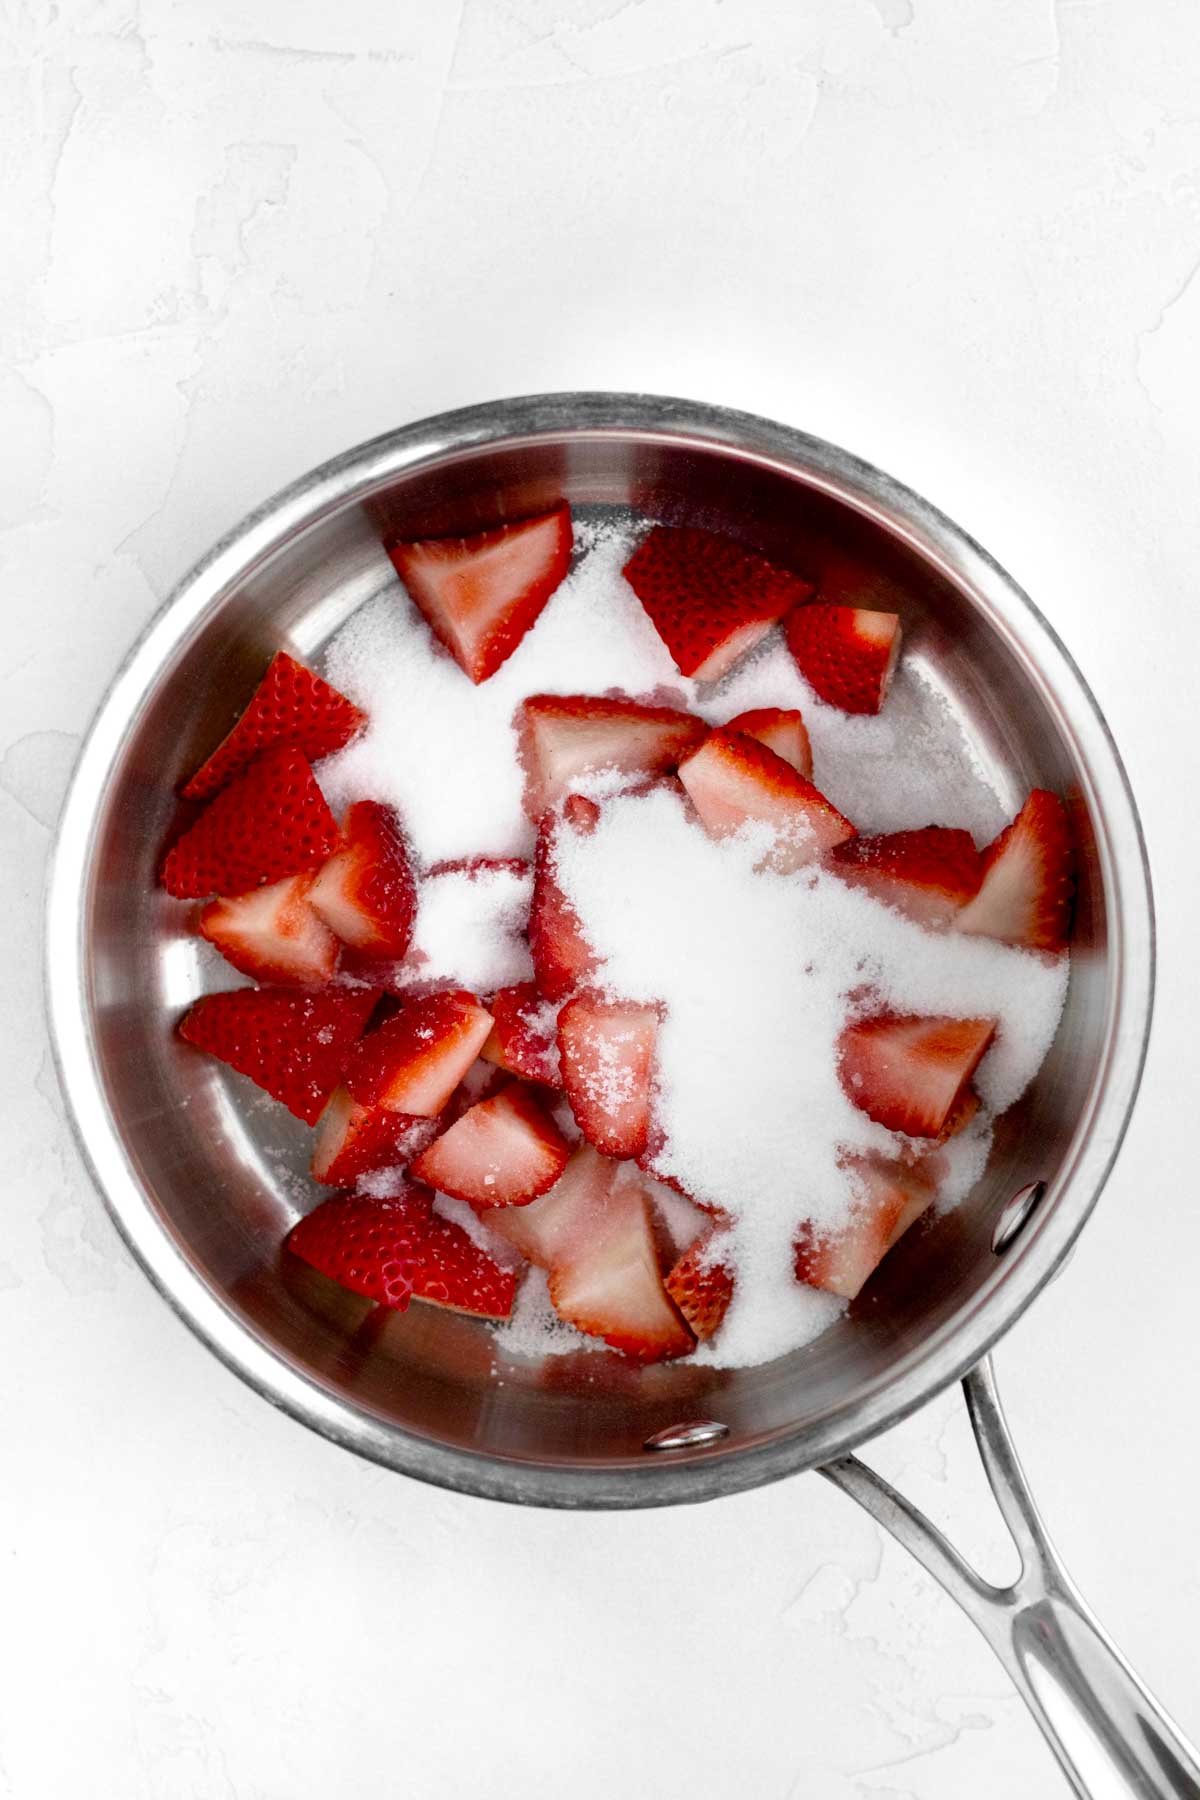
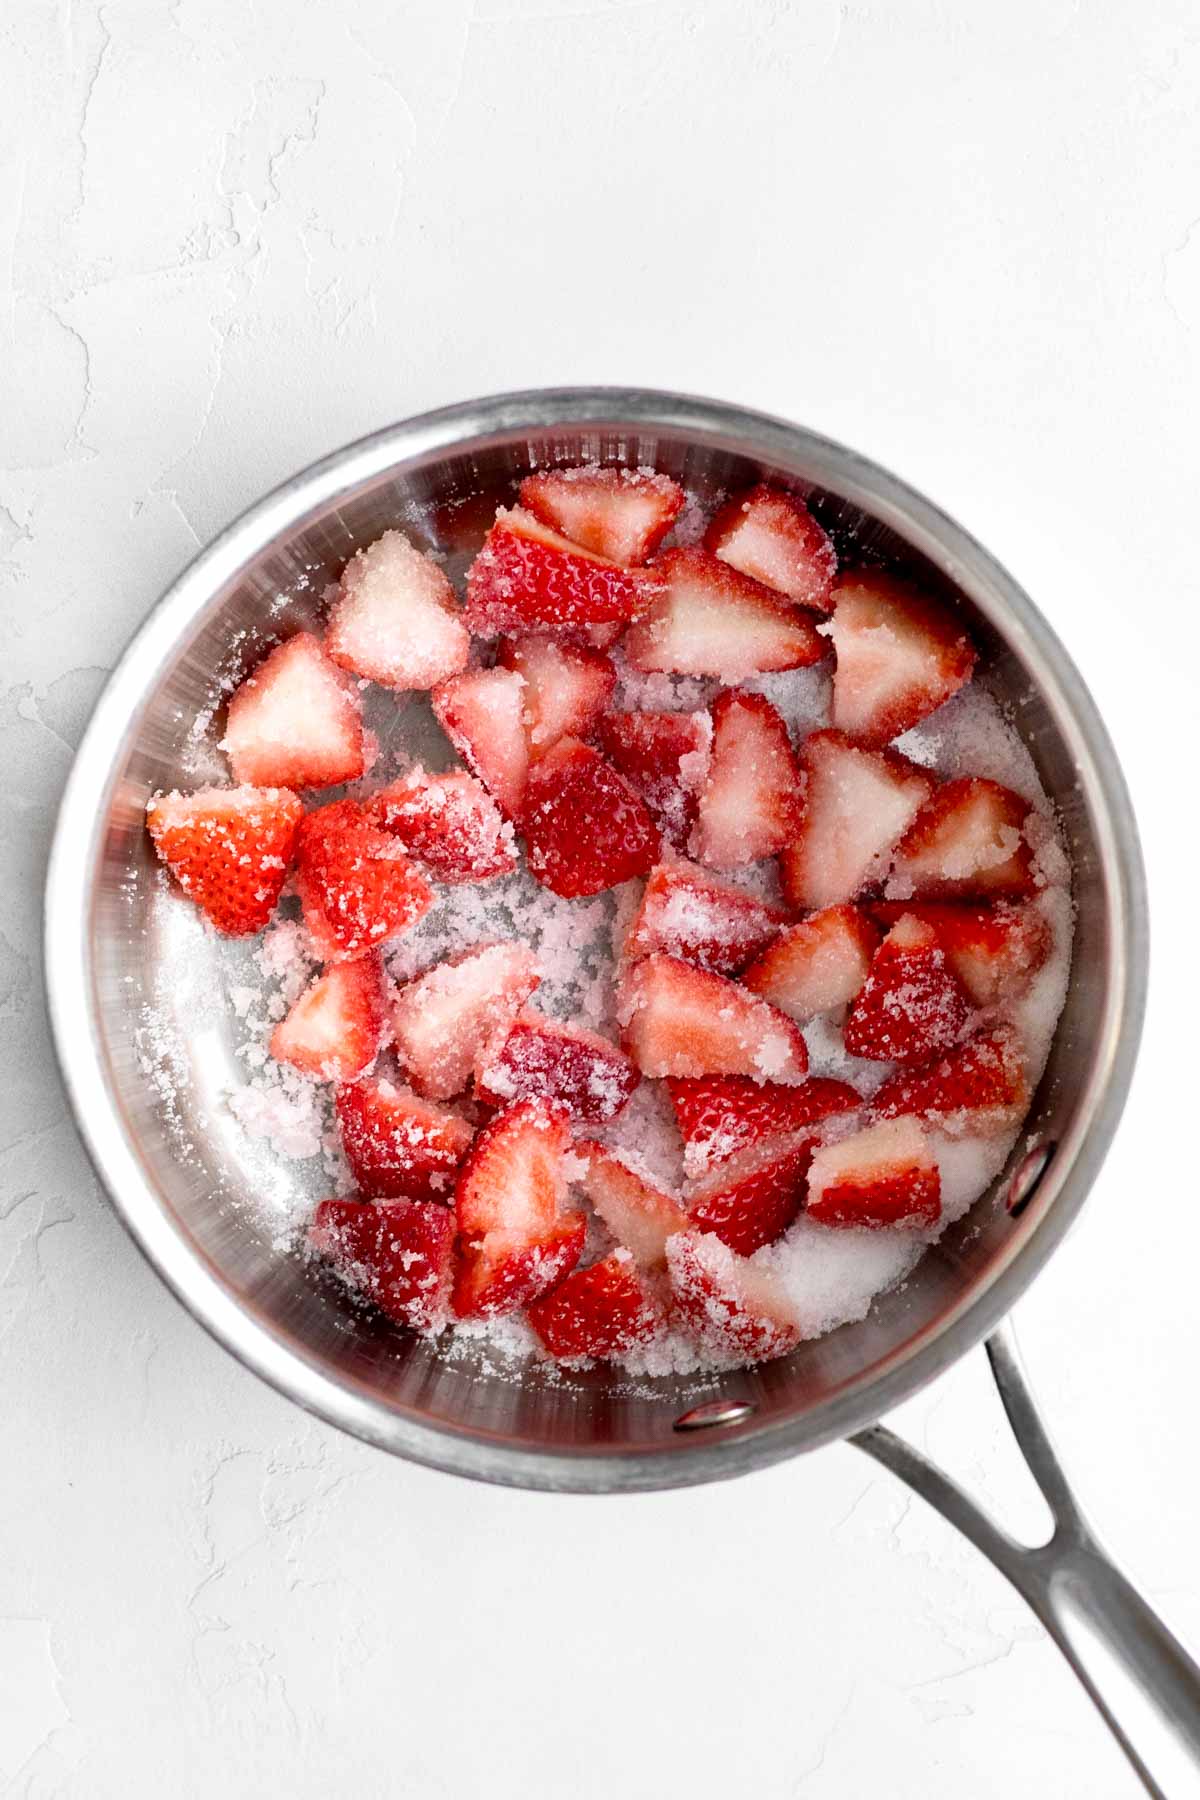
In a saucepan set over medium heat, cook the granulated sugar and strawberries until they are syrupy. 5-8 min. It will still appear chunky and that’s fine.
Step 2: Strain the Strawberries
Set a mesh colander over a bowl. Pour the strawberry liquid through the strainer and set aside to let cool.
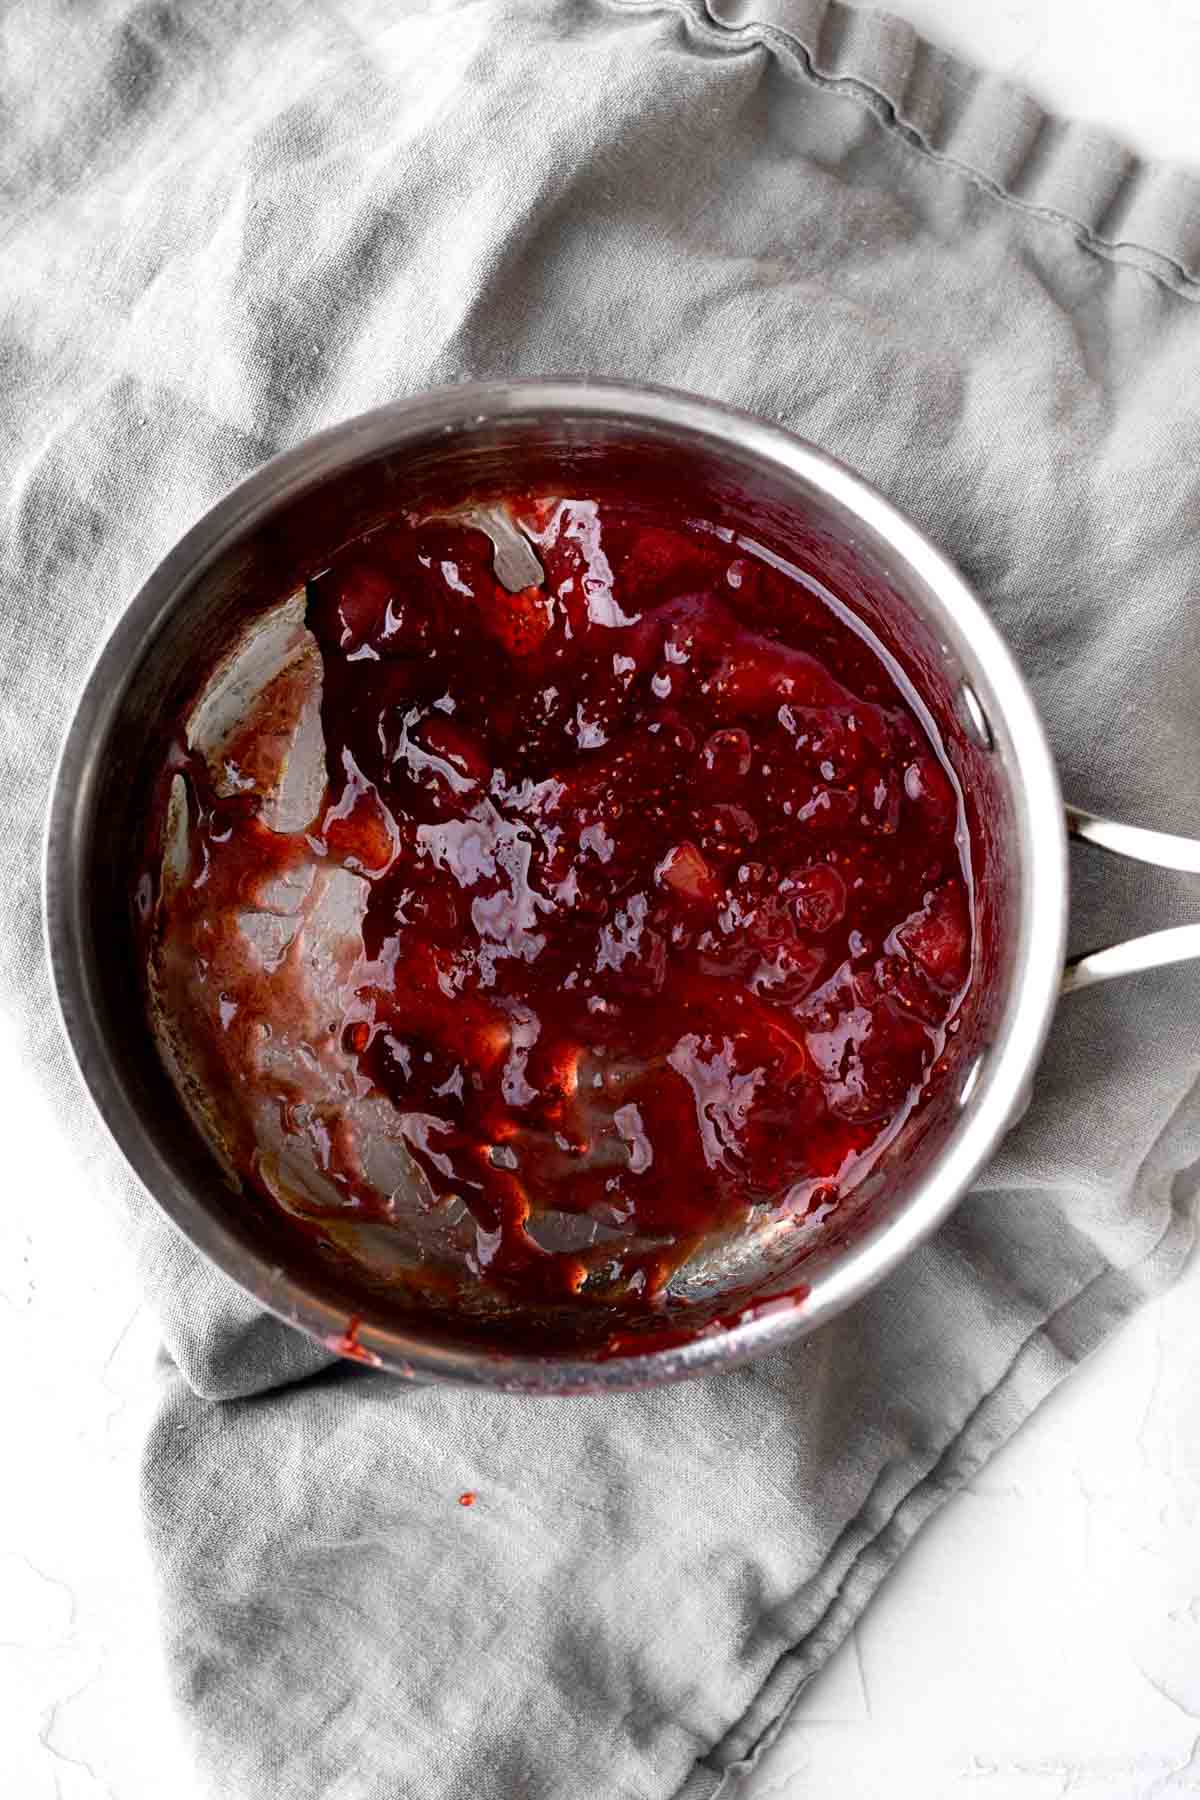
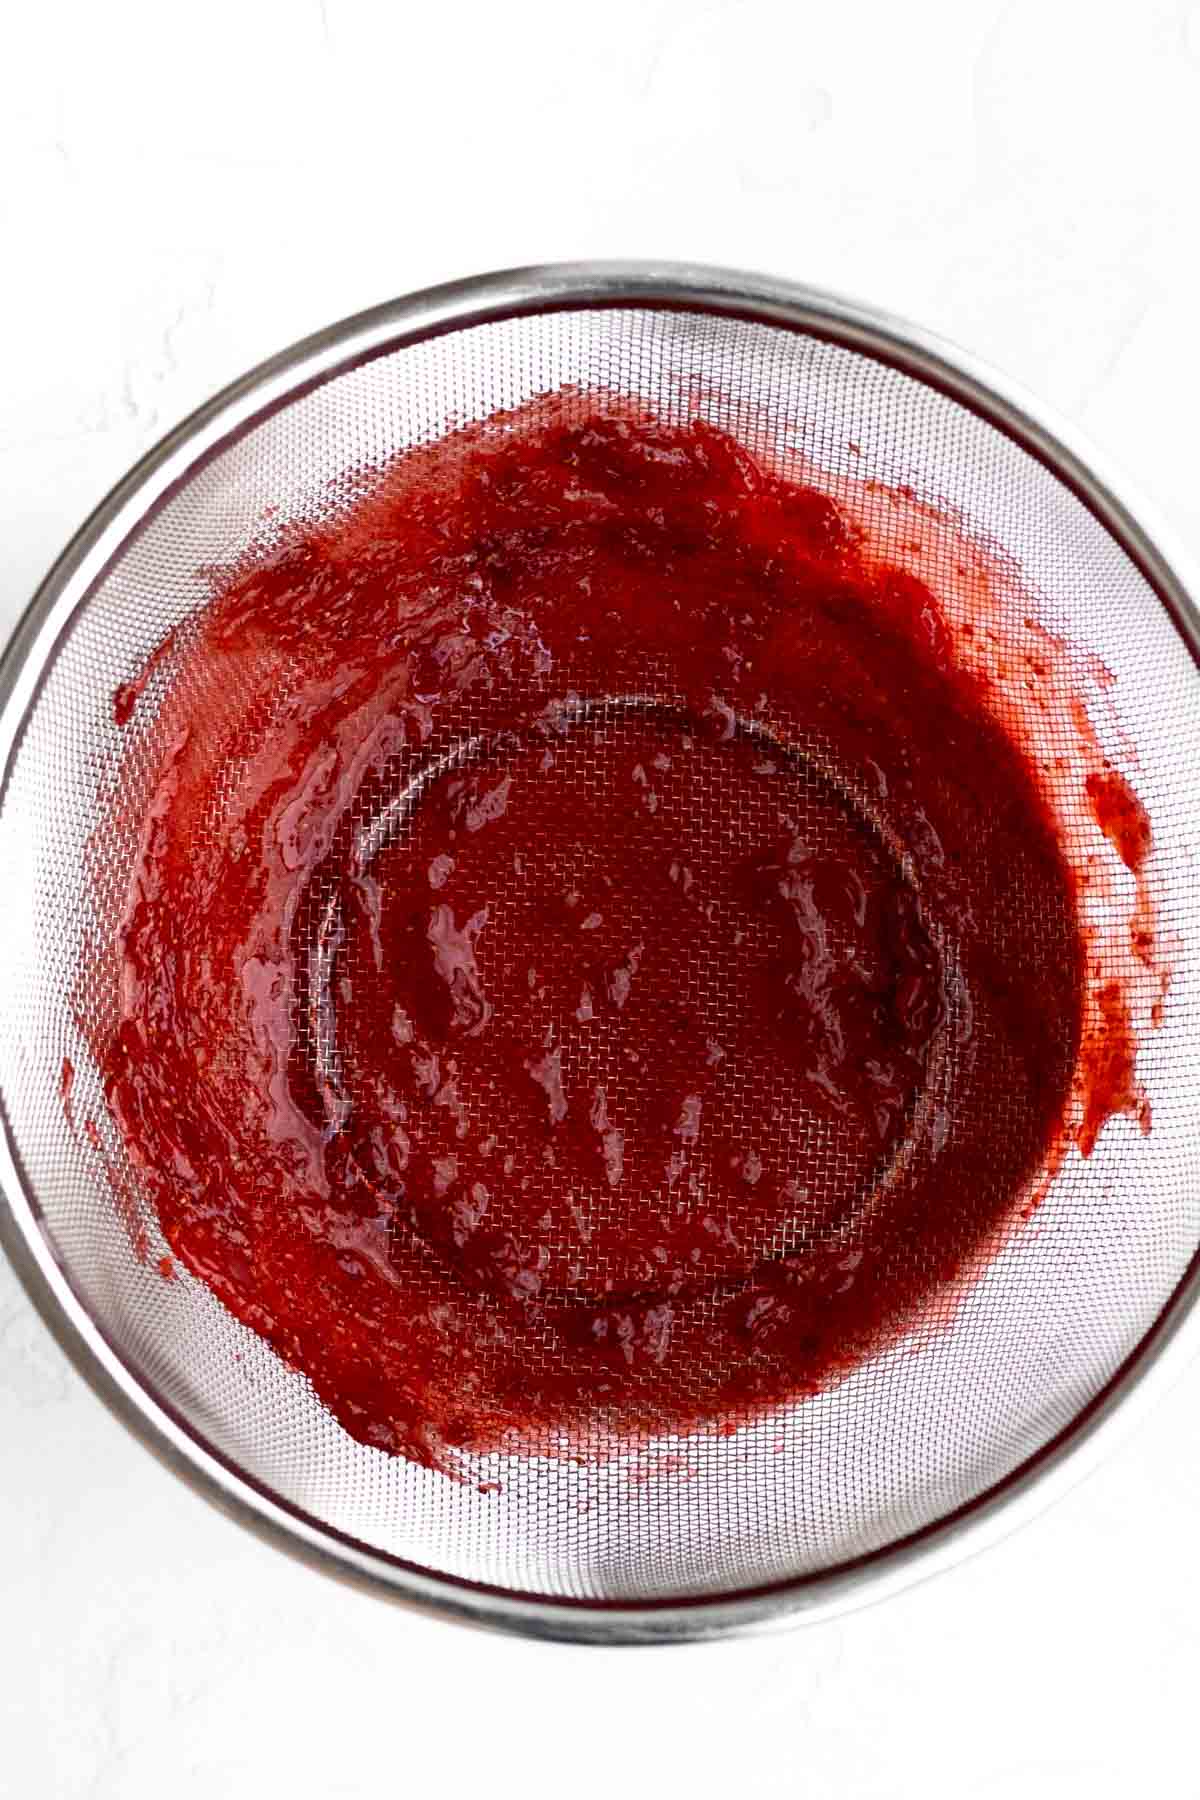
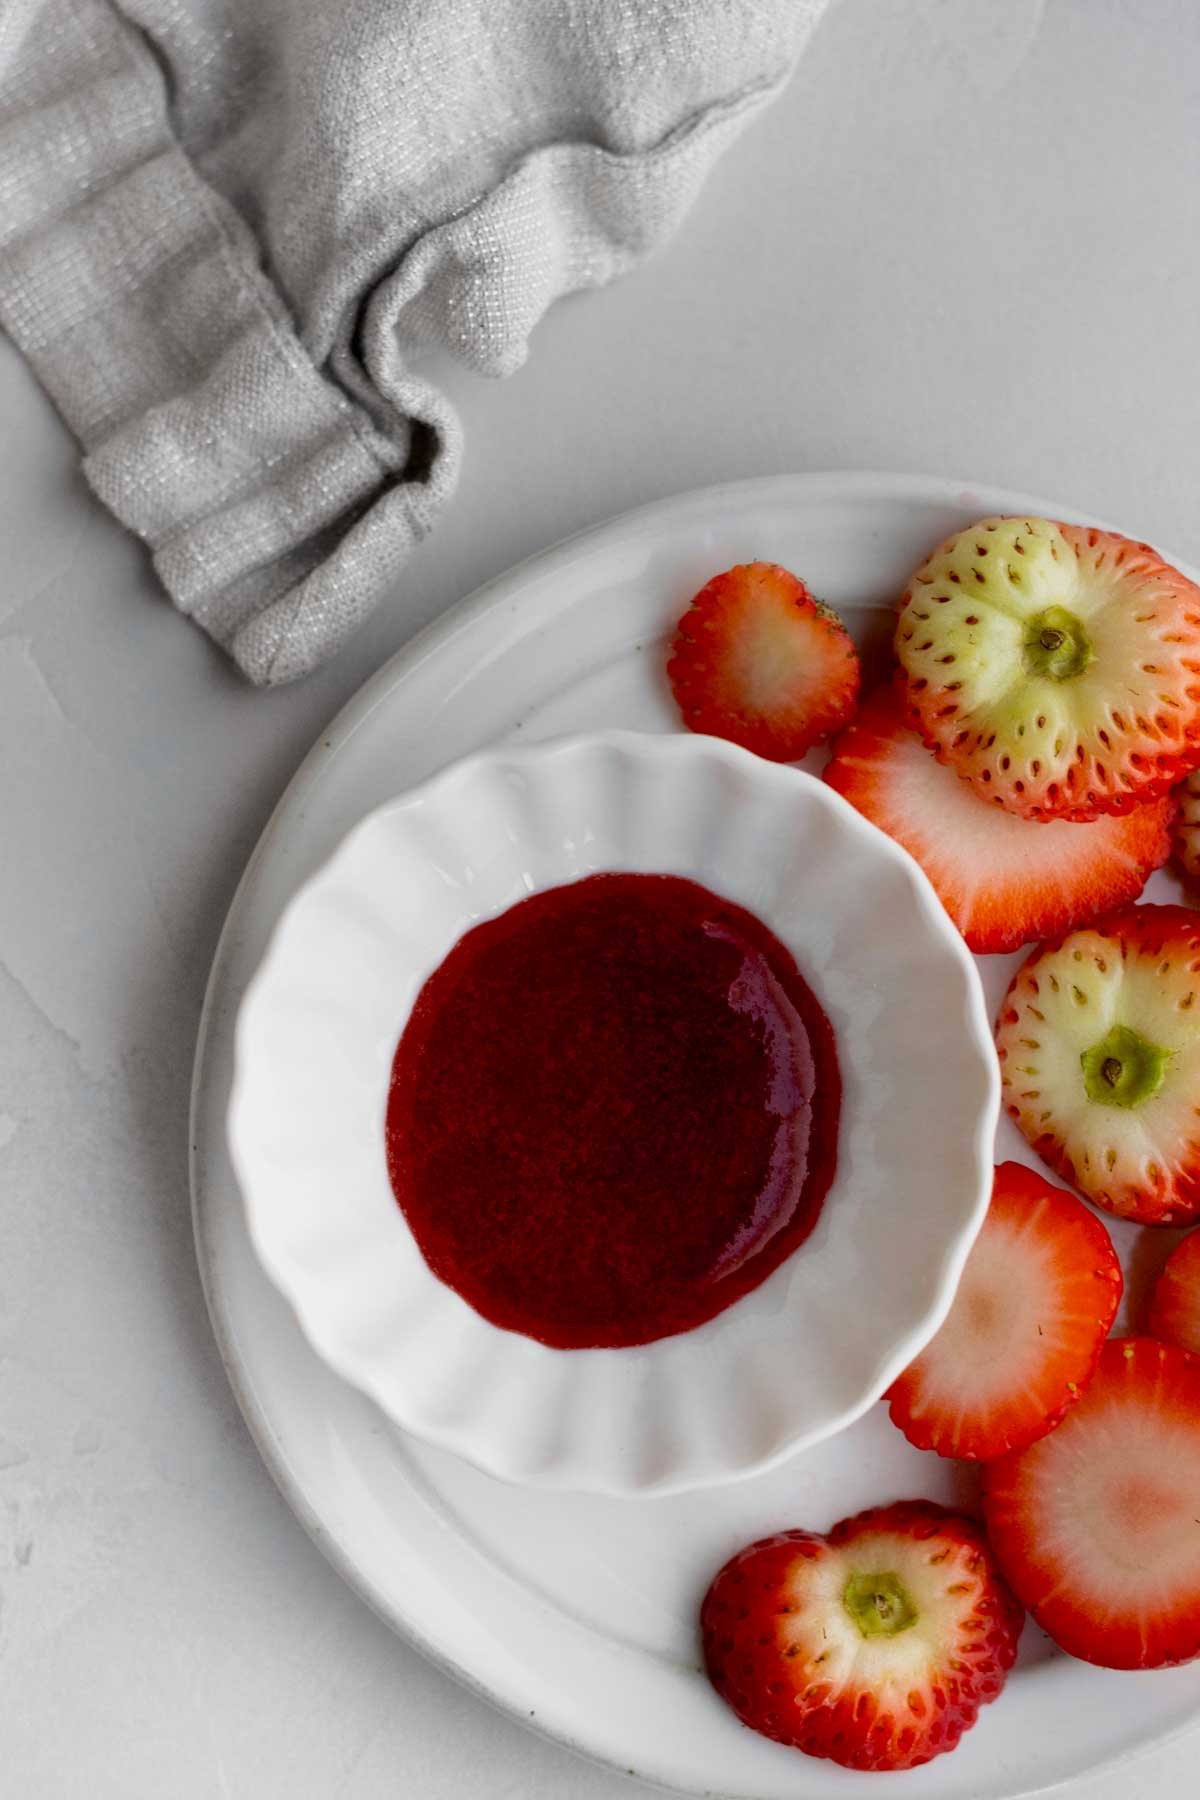
Step 3: Cream the Butter/Vegan Baking Stick
In the large bowl of an electric mixer or using a hand held mixer, beat the butter or vegan baking stick until smooth and creamy. About 2 minutes.
Step 4: Add the other Ingredients
With the mixer still on, slowly beat in the confectioners’ sugar, water, salt, the cooled strained strawberry liquid (4 tablespoons) and the vanilla until smooth and combined.
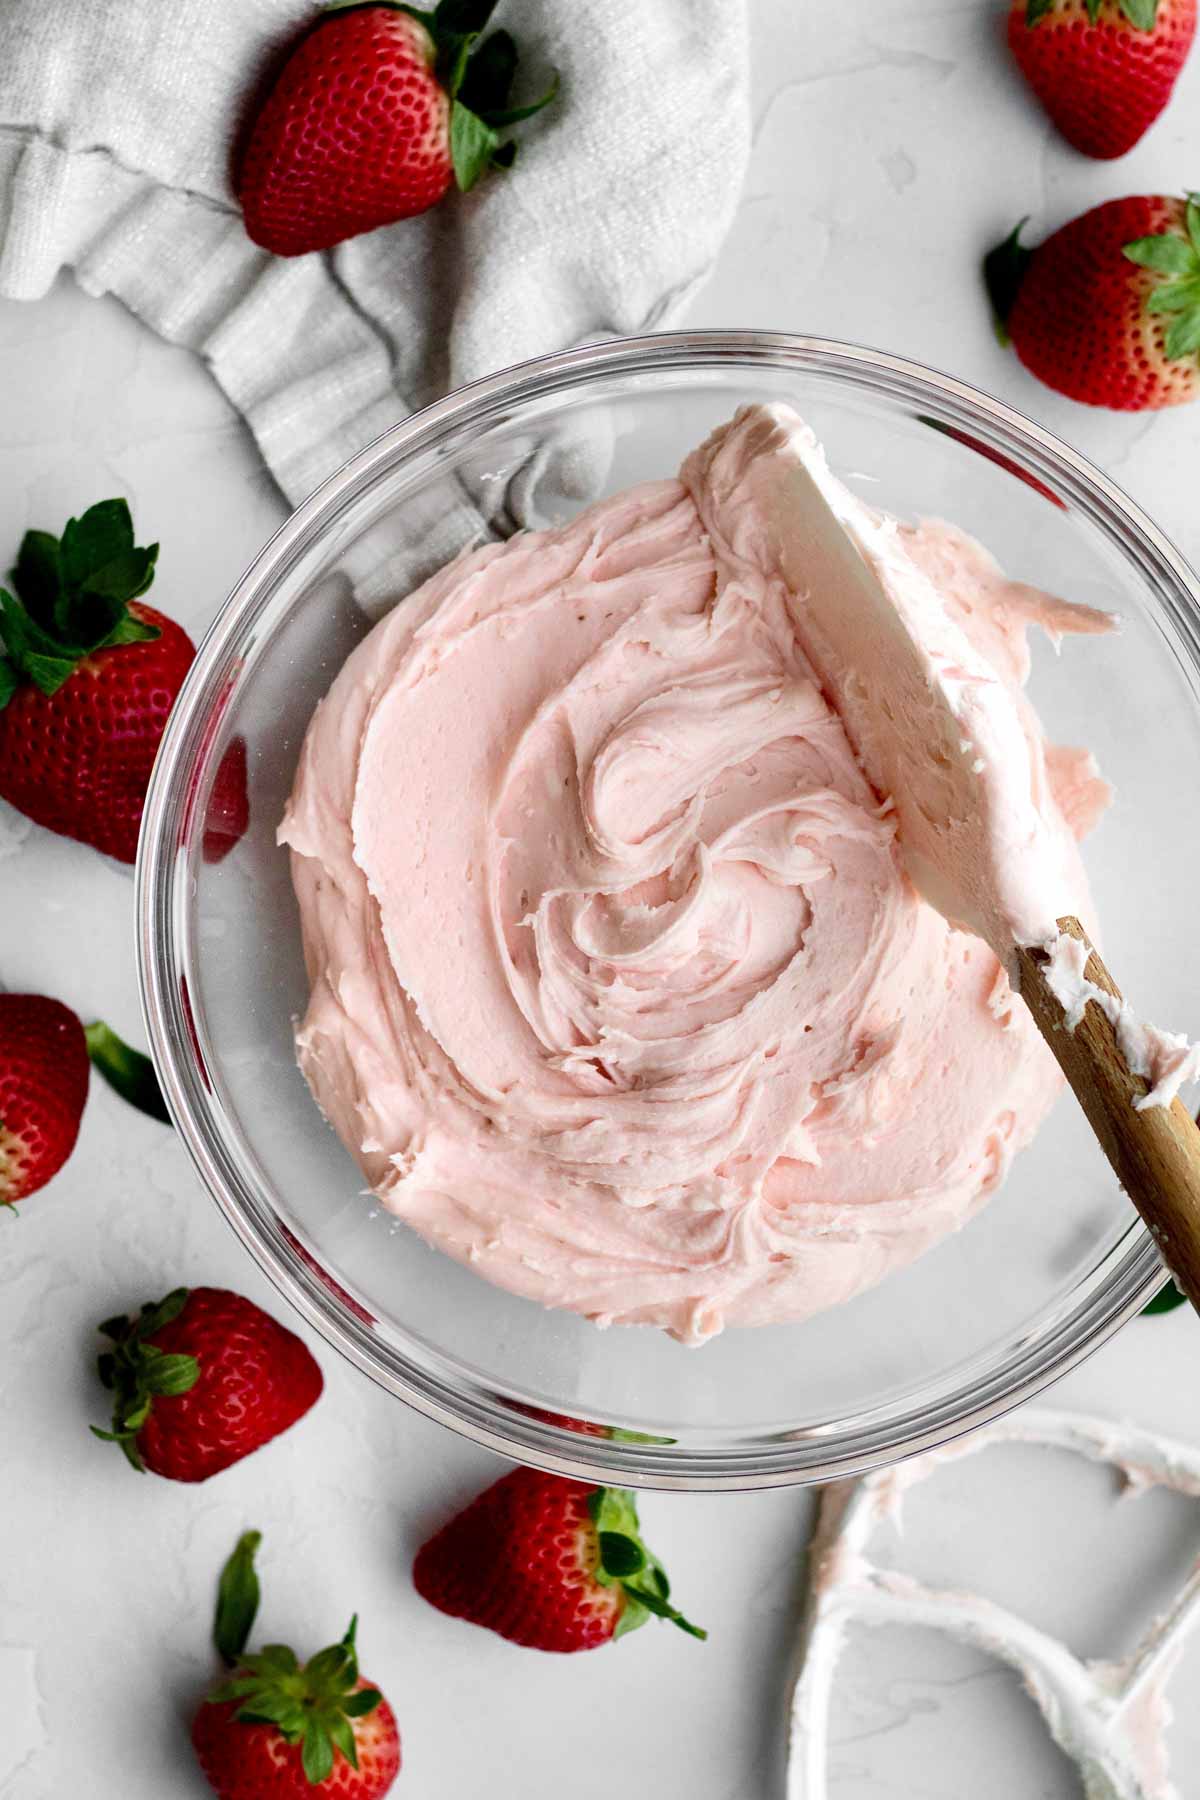
Assembling the Cake
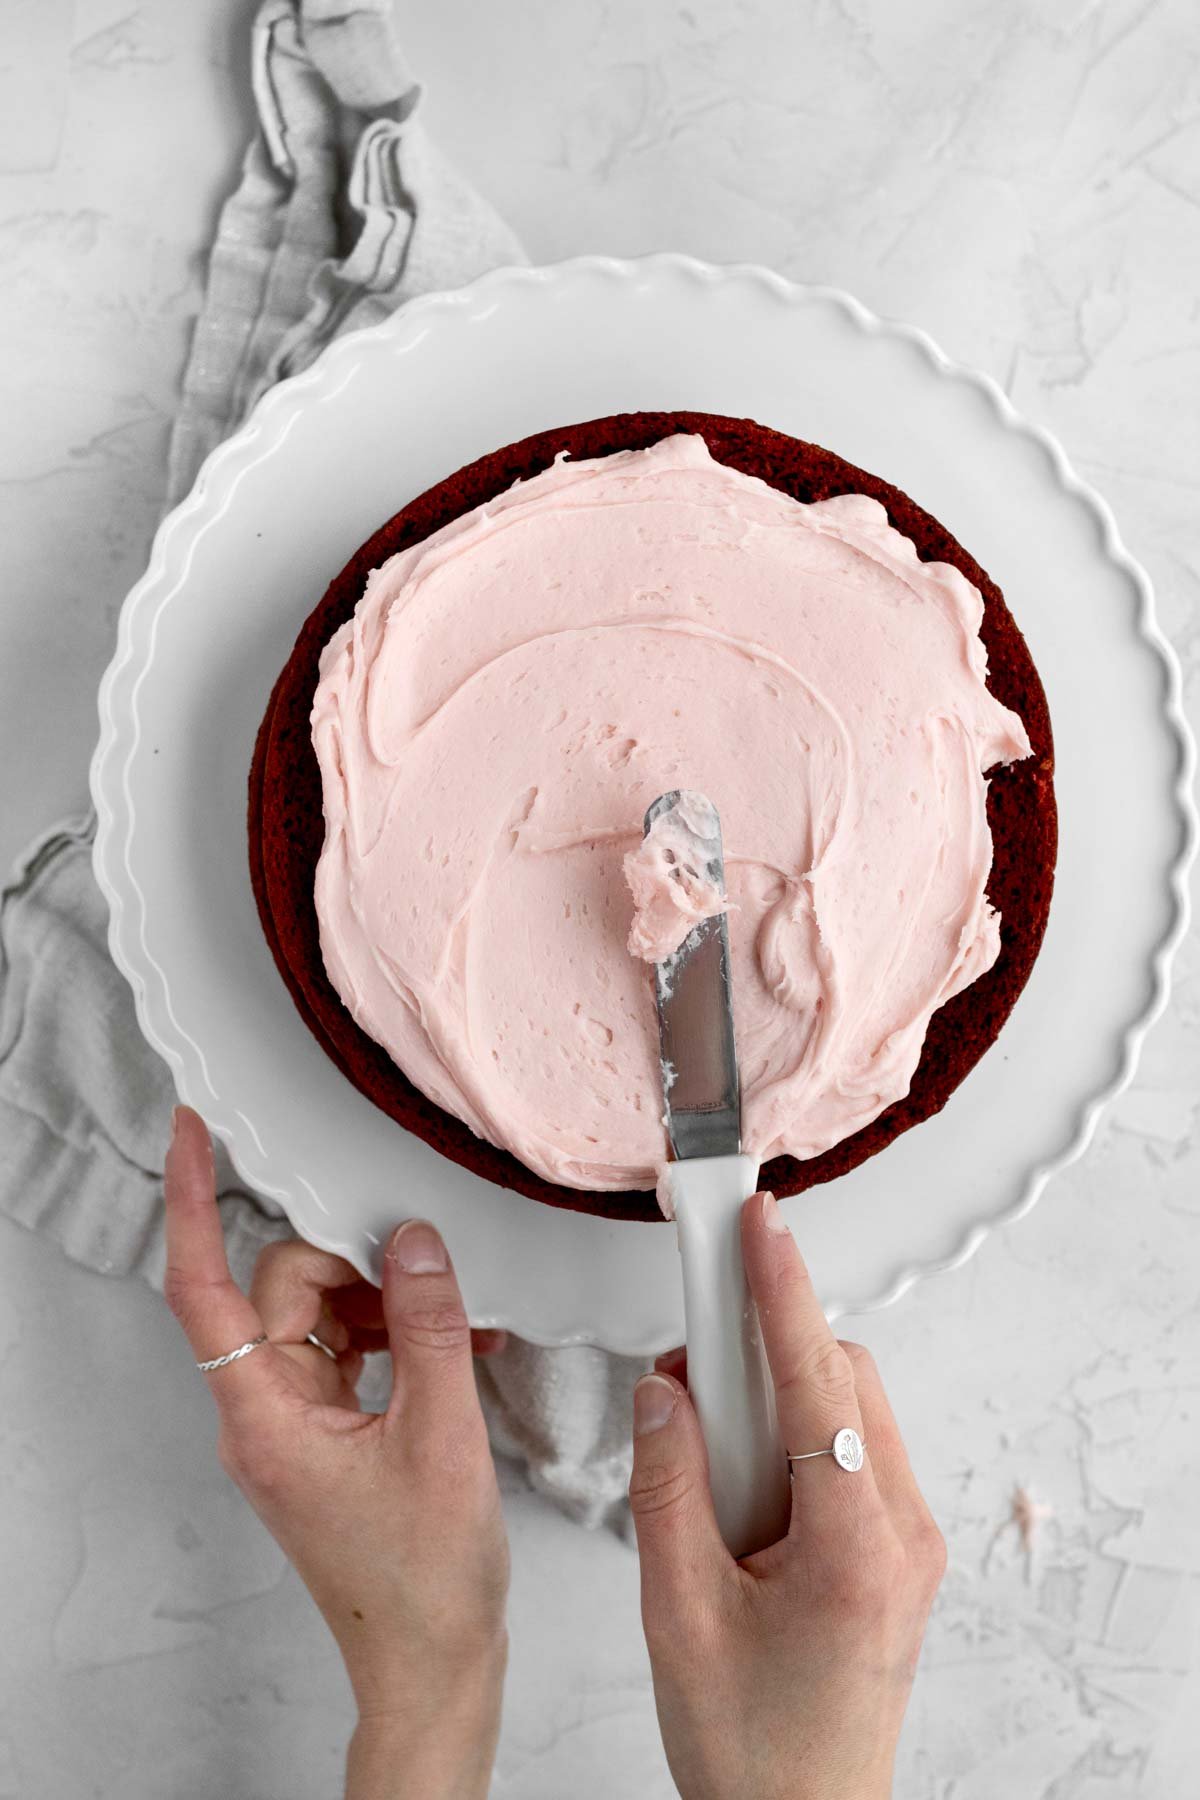
Step 1: Divide the Frosting and Frost One Layer
Separate the frosting into 5 equal sections.
Place one layer of cake on the bottom of a cake plate/stand. Scoop ⅕ of the buttercream on top and use an icing spatula to spread it around.
Step 2: Repeat the Process
Place another layer of cake on top; repeat this same process. Do this with 3 layers of cake.
Step 3: Keep the Top and Sides Thin
Once you get to the top, place the last layer bottom (or flat) side up so the top is nice and flat. Use an icing spatula to frost the top and a thin layer on the sides.
You should only use ⅕th of your frosting on the top and sides combined. It’s a semi naked cake.
Step 4: Chill the Cake
Pop the entire cake in the fridge uncovered for 15-20 minutes. This will make it more stable to work with.
Decorate The Cake
Step 1: Make the Ganache
When the cake has only 5 minutes left to chill in the fridge, start making the ganache.
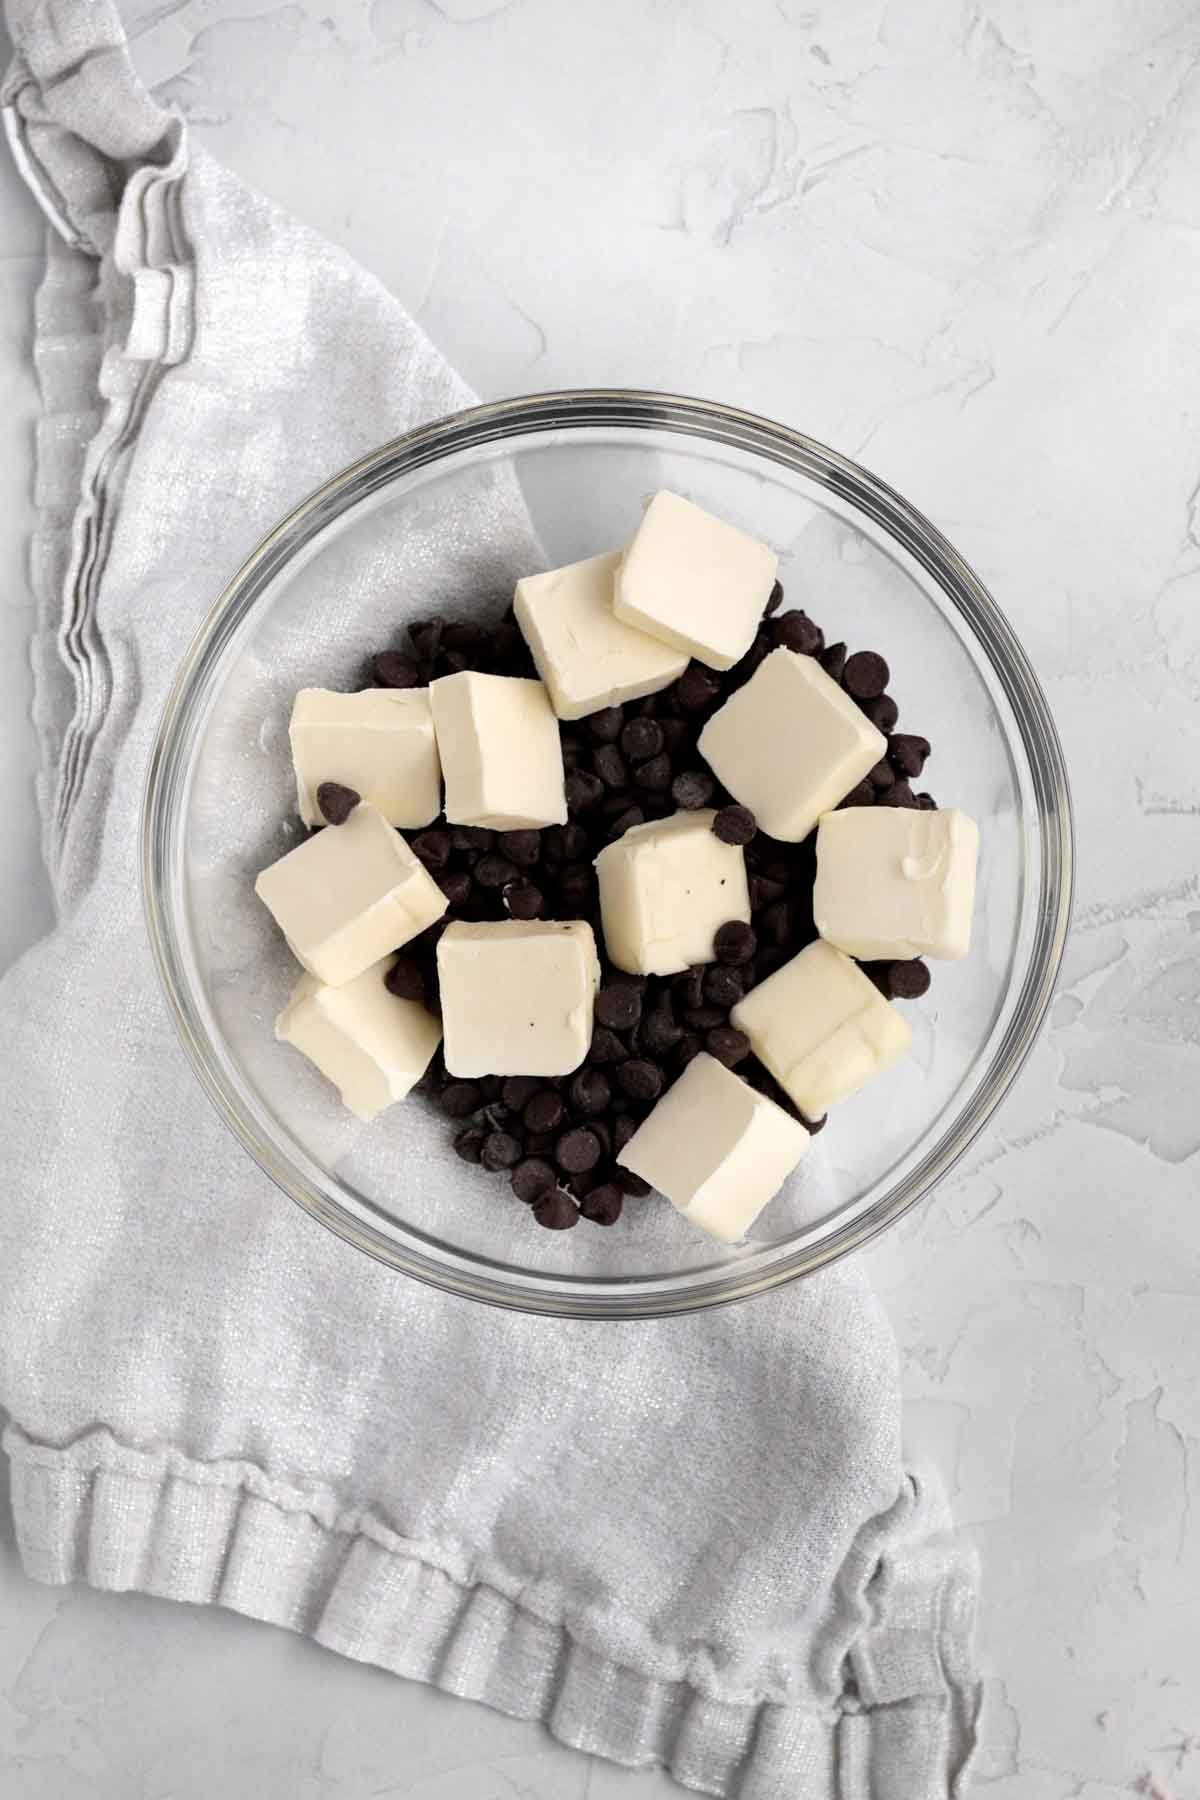
Place the chocolate chips and butter or vegan baking sticks in a heat safe bowl.
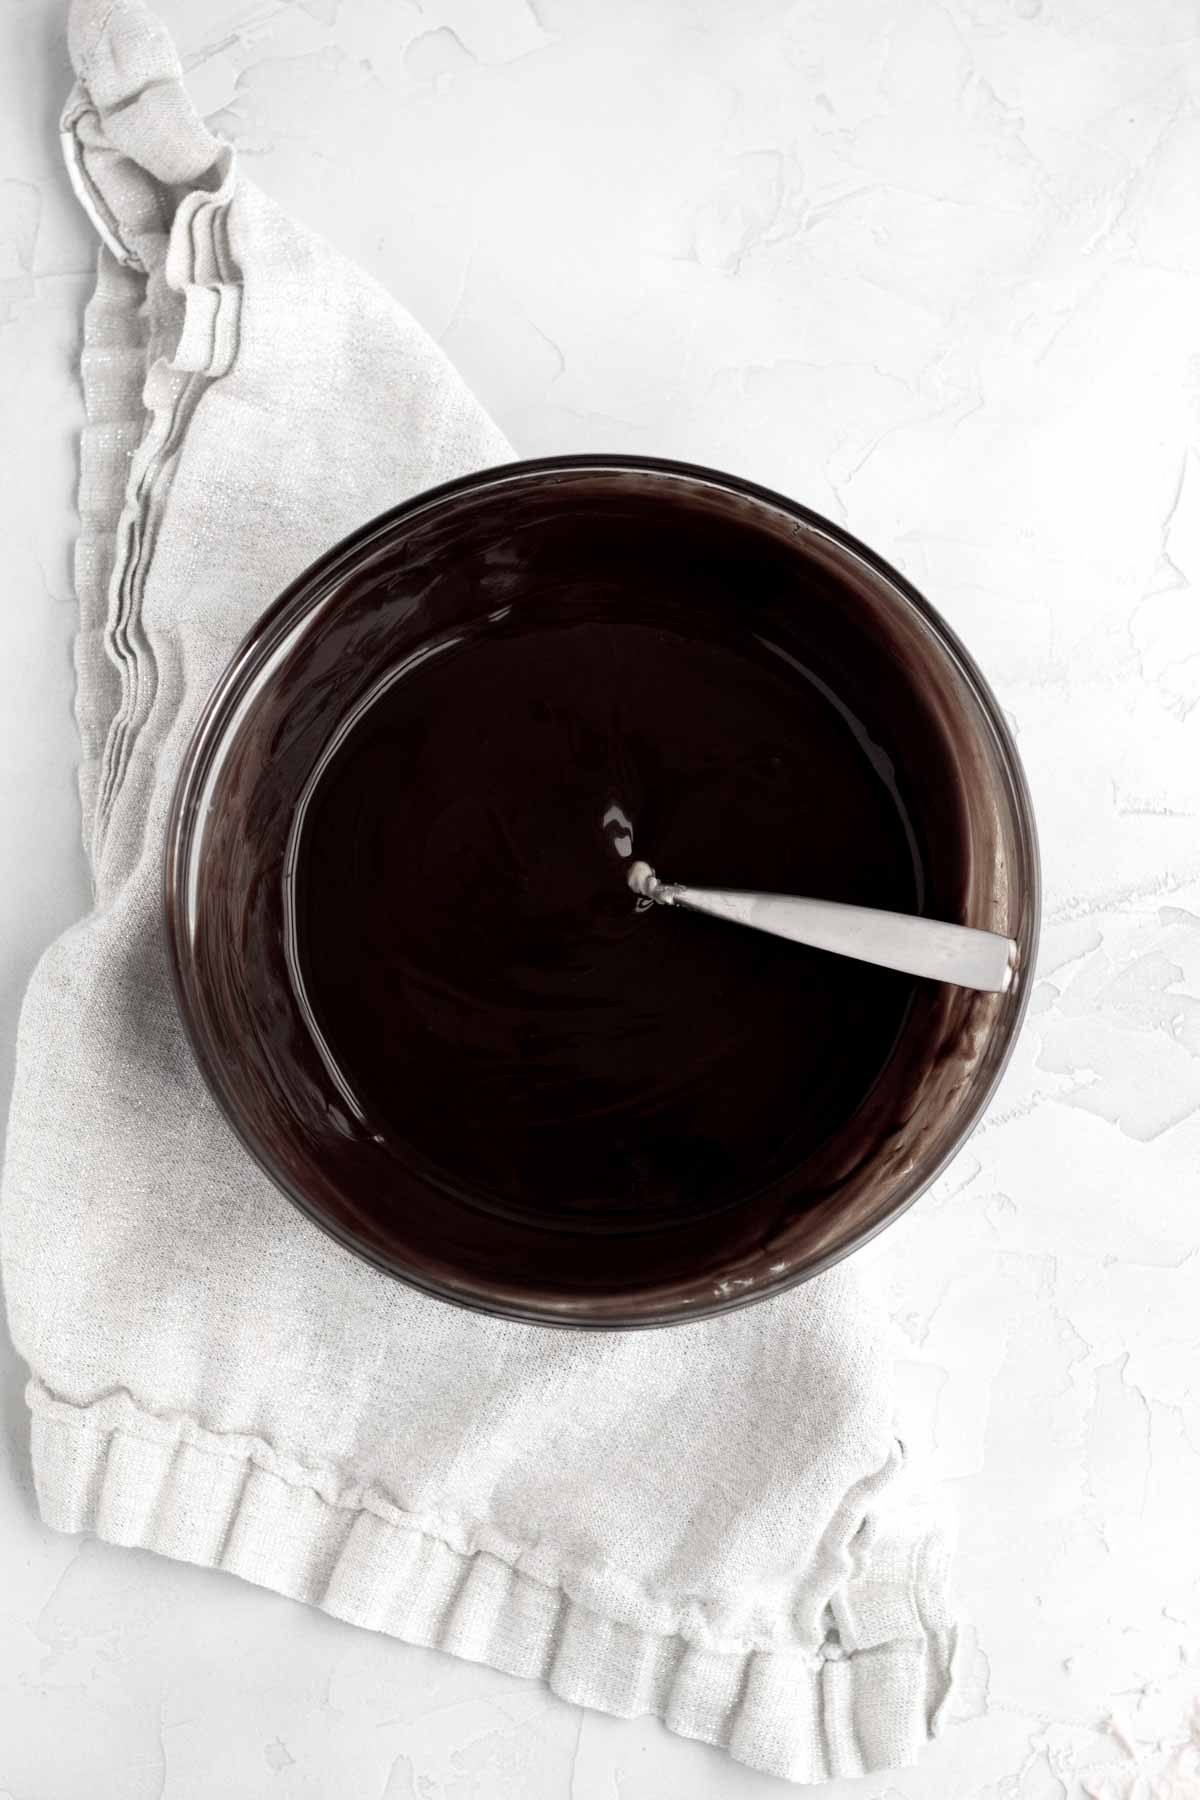
Heat them in the microwave in 10-15 second increments, stirring after each time until the chocolate chips and butter/vegan baking stick are fully melted and incorporated.
Step 2: Do the Ganache Drip
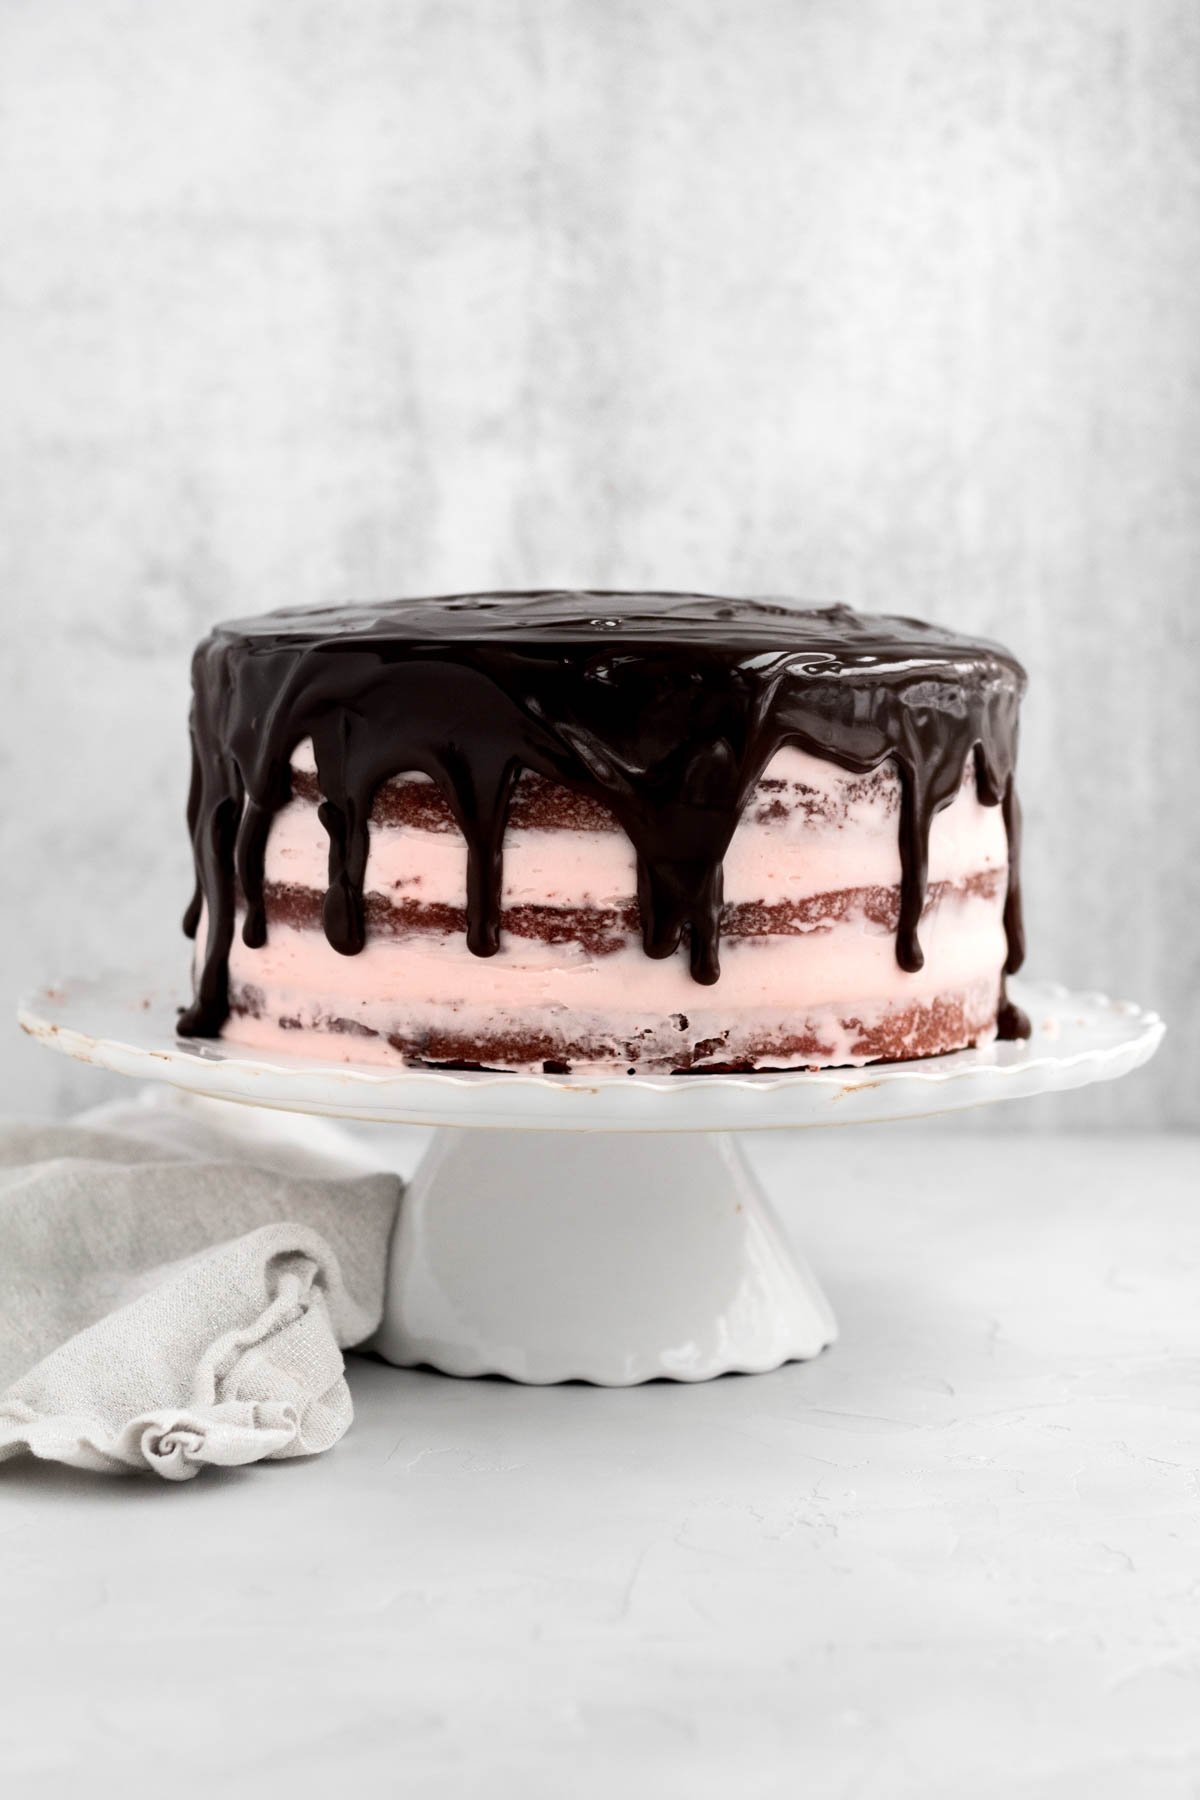
Spoon almost all the liquid ganache on top of the cake.
Push the ganache around to the edges of the cake using an icing spatula. You want it to drip down the sides.
Work quickly; the cold cake will stop the ganache from dripping too much.
Step 3: Pipe the Swirls
Put the remaining ⅕th of strawberry buttercream into a piping bag.
Create swirls going all the way around the top rim of the cake. If you desire, place extra washed strawberries in the top center. I used 5.
Expert Baking Tips
- Use 2 Types of Cocoa Powder- The 2 types of cocoa powders give the cake that richer flavor. If you only have one type on hand, use natural unsweetened or dutch...just know the color will not be as dark as mine. Do not use dark alone; it will make your cake too dry and bitter.
- Make the Homemade Buttermilk- Measure out 1 cup of milk of choice. Add in 1 tablespoon of white vinegar and stir to combine. Let it sit for 5-10 minutes and then stir again. It will appear chunky and that’s normal.
- Smooth the Batter- Many gluten free batters have a way of staying exactly as they are placed, when baked. When the batter is in the cake pans, gently smooth the tops with a butter knife prior to baking.
- Use a Cake Scraper- Work with a cake scraper or a large icing spatula. The frosting should be super thin on the sides.
- Melt the Chocolate and Butter Slowly- If you rush this process and try to even heat the chocolate in 20 second increments (instead of 15 second increments), you can overheat the chocolate. If that happens it will seize up and basically not be usable.
Recipe FAQs
Most gluten free baked goods are best made the same day, but you can make this cake the night before and then do the ganache and pipe the extra buttercream in the morning.
If making the night before, keep the cake in the fridge under a dome or wrapped in foil until ready to decorate.
However, the frosting can be made a day ahead of time and stored in the fridge in an airtight container or in a bowl covered with plastic wrap. Before using, let come to room temperature and rewhip to regain that creamy texture.
Can this cake be made into cupcakes?
You can check out my recipe for Red Velvet Cupcakes!
Is red velvet just chocolate with red food coloring?
No. It's more than just that.
There is cocoa powder in the cookies but if you were to eliminate the red food coloring, there wouldn’t be enough cocoa powder to make this a true chocolate cake.
In addition to a small amount of cocoa powder, red velvet contains buttermilk and white vinegar. Those things help give it that tang that we know so well.
Many food colorings are NOT safe for those with celiac and nut allergies.
It appears to me that McCormick is.
I checked their website and it said that any product that contains a gluten free label is produced on a dedicated gluten free line and has been validated as gluten free.
McCormick says if gluten appears in a product, they will always list it on a label.
They will never hide allergens under the term “natural flavors.”
I even called the company. The statement said, if a product ever contained an allergen it would be declared on the label. If it is not declared, this means the product does not contain it.
I feel very confident in using McCormick products due to these procedures they have in place, but of course you need to make your own decisions.
You can also use plant based natural food colorings but keep in mind it won't be as deep a color as mine are.
I can buy it at my local grocery store, but you can also buy McCormick Red Food Coloring on amazon.
Once the cake is cut into, it’s best to cut the entire cake into slices, remove the strawberries and wrap each slice in foil and store in a zip top bag in the fridge. Eat extra slices within 2 days.
When ready to eat, let the slices sit on the counter, in the foil for about an hour or until the cake is room temperature and soft.
If not eating all the extra slices within 2 days, take the slices wrapped in foil (without the strawberries on top) and place in the zip top bag and freeze them. You can keep the slices frozen for up to 30 days.
When ready to eat, put the slices in the fridge the night before or leave them out on the counter for 2 hours prior to eating or until the cake is room temperature and soft.
Other Strawberry and Red Velvet Recipes You'll Love
Did you try this recipe? Please leave me a ⭐ review below!
Don’t forget to tag me on Instagram @laneandgreyfare and follow along on Pinterest, Facebook and YouTube! Enjoy!!!
📖 Recipe
Strawberry Red Velvet Cake
Ingredients
For the Cake
- 2.5 cups gluten free flour (I use a 1:1 gluten free flour with xanthan gum)
- ¼ cup cocoa powder ( I use 2 tablespoons of dutch or natural unsweetened and 2 tablespoons of dark)
- 1 teaspoon baking powder
- 1 teaspoon baking soda
- 1 teaspoon kosher salt
- ½ cup unsalted butter or vegan baking stick, room temperature
- 1.5 cups granulated sugar
- 4 heaping tablespoons cornstarch mixed with 6 tablespoons water
- 1 ⅓ cups milk , keep ⅓ separate
- 1 tablespoon plus 1 teaspoon white vinegar , kept separate
- 1 teaspoon pure vanilla extract
- 1 tablespoon plus 1 teaspoon red liquid food coloring (I use McCormick)
For the Strawberry Buttercream
- 3 ½ cups strawberries , fresh or frozen
- 1 ½ cups granulated sugar
- 8 cups confectioners' sugar
- 1 cup unsalted butter or vegan baking stick
- ¼ cup plus 2 tablespoons water
- 2 teaspoons pure vanilla extract
- 2 pinches kosher salt
For the Chocolate Drip
- ¾ cup chocolate chips
- 6 tablespoons unsalted butter or vegan baking stick
Instructions
For The Cake
- Preheat the oven to 350 degrees Fahrenheit and grease and line two 8 inch cake pans with parchment paper. Set aside.
- In a large bowl, whisk together the gluten free flour, cocoa powders, baking powder, baking soda and salt.
- Measure out 1 cup of milk of choice in a large measuring cup and add in 1 tablespoon of white vinegar. Mix with a spoon and let sit for 5-10 minutes. This is your vegan buttermilk.
- In a small bowl, using a spoon, mix together the cornstarch and water until it is thin and watery. It will be thick and tacky at first. Set aside.
- In a large bowl of an electric mixer using the paddle attachment, beat together the butter or vegan baking stick and the granulated sugar until light and fluffy. About 2-3 minutes
- Add the cornstarch water mixture in two parts into the creamed butter and sugar. Pour about half in and beat till combined then pour in the second half and beat until combined.
- Using a spoon, stir your vegan buttermilk. It will appear chunky and this is what we want. In the same measuring cup, add in the other ⅓ cup of milk, the teaspoon of white vinegar, the red food coloring and the vanilla. Use a little whisk to combine everything.
- With the mixer on low speed, add the dry and wet ingredients in 3 sections, starting and ending with the dry ingredients. Mix until fully combined. Use a spatula after to make sure it is completely mixed.
- With a spatula, scoop half the batter into one cake pan and the other half into the other pan. Smooth the tops with a butter knife.
- Bake the cakes in the center rack at 350 degrees Fahrenheit for 45 minutes until slightly springy when carefully touched.
- Let them cool in the pan and then transfer to a cooling rack.
- Once the cakes have completely cooled, slice the cakes in half horizontally to create 4 thinner layers of cake.If the tops of your cakes have domes, you can very carefully cut them off to make them flat.
- While the cakes are baking, make the frosting.
For the Frosting
- In a small saucepan set over medium heat, combine the quartered strawberries and granulated sugar. Stir constantly for about 5-8 minutes until the strawberries have liquified a bit and the sugar has dissolved. Use the back of your spoon to mash the strawberries apart.
- Set a strainer or a mesh colander over a bowl and strain the strawberry liquid. You don’t want any of the seeds, you just want the liquid.
- With the paddle attachment of an electric mixer, or using a large bowl and a hand mixer, beat the room temperature butter or vegan baking stick until creamy. About 2-3 minutes.
- Add the confectioners’ sugar, water, strained strawberry liquid (about 8 tablespoons), salt and vanilla. Beat until smooth and combined.If the strawberry liquid solidified a bit, that’s ok. Just use a spatula to scrape it into your mixing bowl.
Assembling the Cake
- Place one cake layer on the cake stand. Take ⅕ of the frosting and frost the top. Place another layer of cake on top of the frosting. Repeat the frosting layer. Repeat this process 3 times.
- Take the last layer of cake and put it bottom side up (or flat side up) so the top is nice and flat. Use an icing spatula to frost the top and a thin layer on the sides. You should only use ⅕ of your frosting on the top and sides. This is a semi naked cake.
- Pop the entire cake uncovered in the fridge for 15-20 min so it’s more stable to work with.
Decorating the Cake
- When the cake has only 5 min left in the fridge, make the ganache.
- Place chocolate chips and butter or vegan baking sticks together in a heat safe bowl. Microwave them together in 10-15 second increments, stirring after each time, until the chocolate chips and butter are fully melted and incorporated. This will take a few min.
- Immediately take the cake out of the fridge. Spoon almost all the liquid ganache on top of the cake. Take an icing spatula and push the ganache around to the edges of the cake so it drips down the sides. Work quickly because the cold cake will quickly stop the ganache from dripping too much.
- Take the last ⅕th of buttercream and put it into a piping bag. Create swirls going all the way around the top rim of the cake.
- If desired, place extra washed strawberries in the top center of the cake. I used 5.


Wendy
This was an awesome cake to make and enjoy eating! I doubled the recipe, made it in a half-sheet pan, which i then cut into half and then layers, to wind up with 4 layers. It was a massive undertaking for me but tottally worth it and will be doing it again and again! Only I think i will keep to the smaller round.😉
In my doubling i forgot to double the red food color but it was still a lovely velvet red. All my coworkers enjoyed it with some ordering it for their birthday.
Thank you for all your hard work with experimenting and tasting all that cake.
Claire
Can I use oil instead of butter? Butter doesn't work for my stomach unfortunately..
Lee
Can you use vegan butter?
Emily
My cake tasted delish, it just looked like mush! Any tips to keep it from breaking apart?!
Lee
Hi Emily! Thanks! It could be the gluten free flour that you're using. Sadly not all gf flours are the same. Also, eggless cakes are very delicate when they are warm. I would wait till the cake has completely cooled before removing it from the cake pans. Once cool, pop the cakes in the fridge for about 20 minutes or so. This will make them easier to frost. Hope this helps!
Ginny
This cake is gorgeous and I can't wait to make it again for Valentine's Day!
Steve
Delicious!!
Billy
Attempting this over the weekend! Will keep you updated. I cannot wait, looks delicious!!
Ginny
This cake is gorgeous!!! The flavor combinations were SO good!
Lee
Thank you so much!
mark dipaola
Delicious recipe…and so easy to follow. Keep up the great work!
Lee
Thank you!
Nancy DiPaola
the directions were easy to follow and the cake came out amazing!
Lee
Thanks! So glad you love it!
John
This Strawberry Red Velvet Cake is amazing and simple to make!