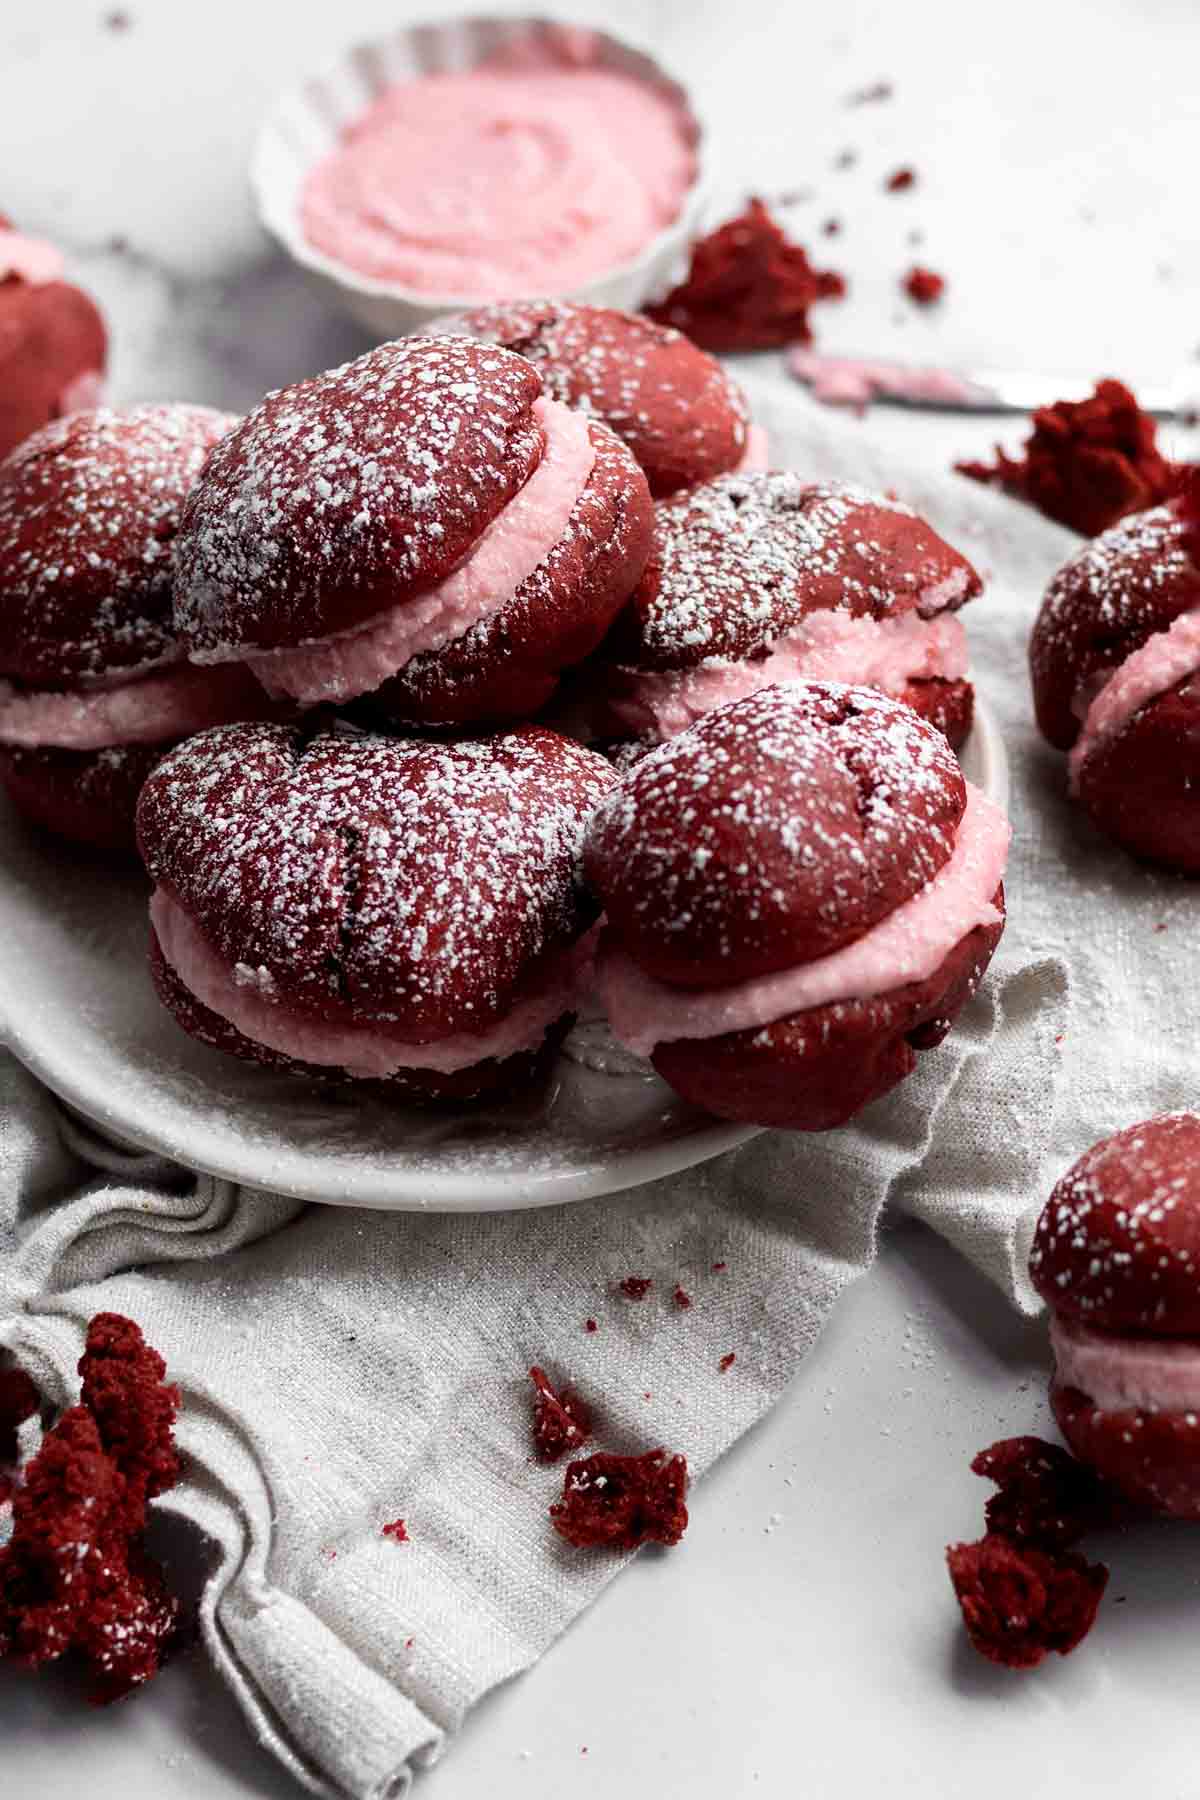
These Red Velvet Whoopie Pies with Vegan Raspberry Buttercream Filling are divine. They’re like little gluten free, egg free, nut free hand held cakes and I can’t get enough! The delicious red velvet pairs beautifully with the vegan raspberry buttercream making this Whoopie Pie one to be remembered.
If you’ve been following along for a while, you will know I’ve said before that whoopie pies are not something I ever had growing up.
In fact, I never even had them at all until recently. I cannot believe what I’ve been missing! They’re delicious and I want to make them in every flavor imaginable.
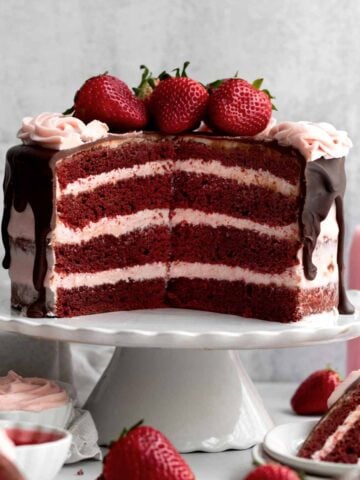
Haha. Ok with that said, let’s talk about these Red Velvet Whoopie Pies with Vegan Raspberry Buttercream Filling. Since red velvet has that slight chocolate flavor and tang, the raspberry filling works perfectly. If you love raspberries, try my Raspberry Cheesecake Cookies! If you want a fruity frosting with red velvet, make sure to check out my Strawberry Red Velvet Cake! Or if you prefer that classic thang, check out my cream cheese frosting.
They’re super simple to make; it is basically combining the wet and dry ingredients.
Do you love Red Velvet? Make sure to check out my Red Velvet Cream Cheese Cookies, Red Velvet Cupcakes, Red Velvet Donuts, my 4th of July Cookies and Red Velvet Kiss Cookies.
Tips for making Red Velvet Whoopie Pies
The only part that gets a little tricky is placing them on the baking sheet....
A 1 inch cookie scoop works best but you could use two tablespoons if you don’t have the scoop. I say two because this batter is fairly sticky and you’ll need a second spoon to help it out onto the parchment lined baking sheet.
One of the things I’ve noticed with some gluten free flours is that a lot of times they will bake exactly the way you left them. So if you scoop the batter onto the sheet and it looks like a misshapen blob, that is the way it will look when it’s done being baked.
So one step that is crucial to Whoopie Pies, since you want them to be a perfect dome, is shaping the raw batter into a dome once it is on the baking sheet.
The best way to do this is with clean fingers that have been sprinkled with water. You don’t want your fingers dripping wet but you don’t want them dry because the batter will just stick to them.
With slightly wet fingers, gently press down and around on the domes. You want to make sure they look like actual little domes and that they’re all smooth.
Mind that bake time with the Red Velvet Whoopie Pies
Once you’ve done this to all the little domes on your baking sheet, pop them in the oven and bake for 16-17 minutes.
You want to make sure you don’t take them out too early. If you do, the domes collapse and you end up with what looks like a bunch of shriveled raisins. They’d still taste fine but they’re just not super attractive to look at.
After you take them out of the oven, let them sit on the baking sheet until they are cool. If you try to take them off too soon, you’ll end up with a giant mess.
Now for the Vegan Raspberry Filling
While the pies are cooling you can make the filling.
Yes you need to use your stovetop to liquify the frozen raspberries, but it really only takes about 5-10 minutes for that to happen like in my Raspberry Cookies.
Make sure you do use a strainer or a colander after because you don’t want any seeds in your filling. You want a nice creamy texture. Mix that tablespoon of seedless liquid into the filling ingredients. You’ll get a gorgeous pink hue with a slight raspberry flavor.

They’re gluten free, egg free and nut free! They can easily be dairy free (vegan) by using a dairy free gluten free flour, a non dairy milk of choice in the batter and vegan baking sticks. Celiac and allergy friendly and you’d never know it. Enjoy!
More Red Velvet Recipes You'll Love

Did you try this recipe? Please leave me a ⭐ review below!
Don’t forget to tag me on Instagram @laneandgreyfare and follow along on Pinterest, Facebook and YouTube! Enjoy!!!
📖 Recipe

Red Velvet Whoopie Pies
Ingredients
For the Whoopie Pies:
- 2 cups gluten free flour
- 3 tablespoons unsweetened cocoa powder
- 1 teaspoon baking soda
- ½ teaspoon salt
- 1 stick unsalted butter or vegan baking stick, softened
- 1 cup packed light brown sugar
- 2 heaping tablespoons cornstarch combined with 3 tablespoons water
- 1 cup milk of choice room temperature
- 1 tablespoon white vinegar
- 2 teaspoons pure vanilla extract
- 1 tablespoon plus 1 teaspoon liquid red food coloring I used McCormick. If you’re using paste coloring you will need way less...probably only 1 teaspoon total.
For the filling:
- ½ cup frozen raspberries
- ¼ cup granulated sugar
- ½ cup 1 stick vegan baking stick, softened
- 3 cups plus 3 tablespoons confectioners’ sugar
- 3 tablespoons water
- ½ teaspoon pure vanilla extract
Instructions
- Preheat your oven to 350 degrees Fahrenheit and line a baking sheet with parchment paper. Set aside.
- In a large bowl, whisk together the gluten free flour, cocoa powder, baking powder and salt. Set aside.
- Measure out 1 cup milk of choice. Add the one tablespoon of white vinegar into the milk and stir. Let sit for 5-10 min and then stir again. It will look chunky and that’s normal. Set aside.
- In a small bowl using a spoon, mix together the cornstarch and water until thin and watery. It will be thick and tacky at first. Set aside.
- In the bowl of an electric mixer using the paddle attachment or in a large bowl using a hand held mixer, beat the softened butter or vegan baking stick until soft and creamy. About 1-2 minutes.
- Add the brown sugar on medium speed and beat until fluffy and combined.
- Beat in the cornstarch water mixture, you may need to stir it a second time if it got tacky again. Once combined add in the milk vinegar mixture and vanilla. Scrape down the sides of the bowl as needed.
- Then on slow speed, slowly add in the dry ingredients and mix until just combined. Add in the red food coloring and mix until combined and your batter turns a deep red color.
- Using an ice cream scoop or cookie scoop, spoon batter onto prepared baking sheets making sure to leave 2 inches in between each cookie. Get your fingers wet and gently using your fingers, press down the batter to make a dome instead of a ball. Gluten free flour has a way of staying exactly as it is placed down, so if you leave it in a ball shape or misshapen, that’s how it will end up.
- Bake for 16-17 min and let cool on the baking sheet. While they are cooling, make the filling.
- For the filling: In a small saucepan set over medium heat, combine the frozen raspberries and granulated sugar. Stir constantly for about 5 minutes until the raspberries have liquified and the sugar has dissolved. Use the back of your spoon to mash the raspberries apart.
- Set a strainer or a mesh colander over a bowl and strain the raspberries. You don’t want any of the seeds, you just want the liquid. You should have about 1 tablespoon of liquid.
- With the paddle attachment of an electric mixer, or using a large bowl and a hand mixer, beat the softened vegan baking stick until creamy. Add the confectioners’ sugar, water, strained raspberry liquid (1 tablespoon) and vanilla. Beat till smooth and combined. If the raspberry liquid solidified a bit, that’s ok. Just use a spatula to scrape it into your mixing bowl.
- NOTE: To make the filling with dairy, use softened butter instead of the vegan baking stick. Enjoy!
john says
Red velvet takes these whoopie pies to the next level!