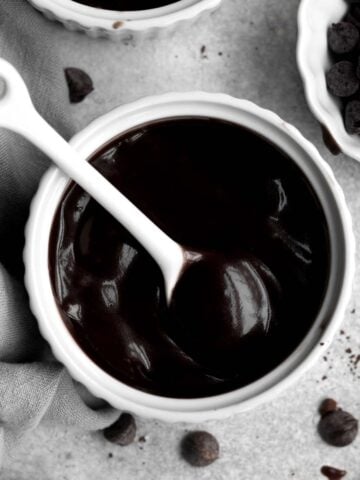
This Easy Chocolate Mousse recipe is rich, decadent, creamy and could not be more simple to make! No eggs, no cornstarch and no gelatin are used to create the light yet luxurious texture. This simple chocolate mousse recipe takes less than 25 minutes to mix up and then pops in the fridge to set! If that wasn't enough, this no egg chocolate mousse is also gluten free, nut free and can be dairy free with a few simple tweaks!
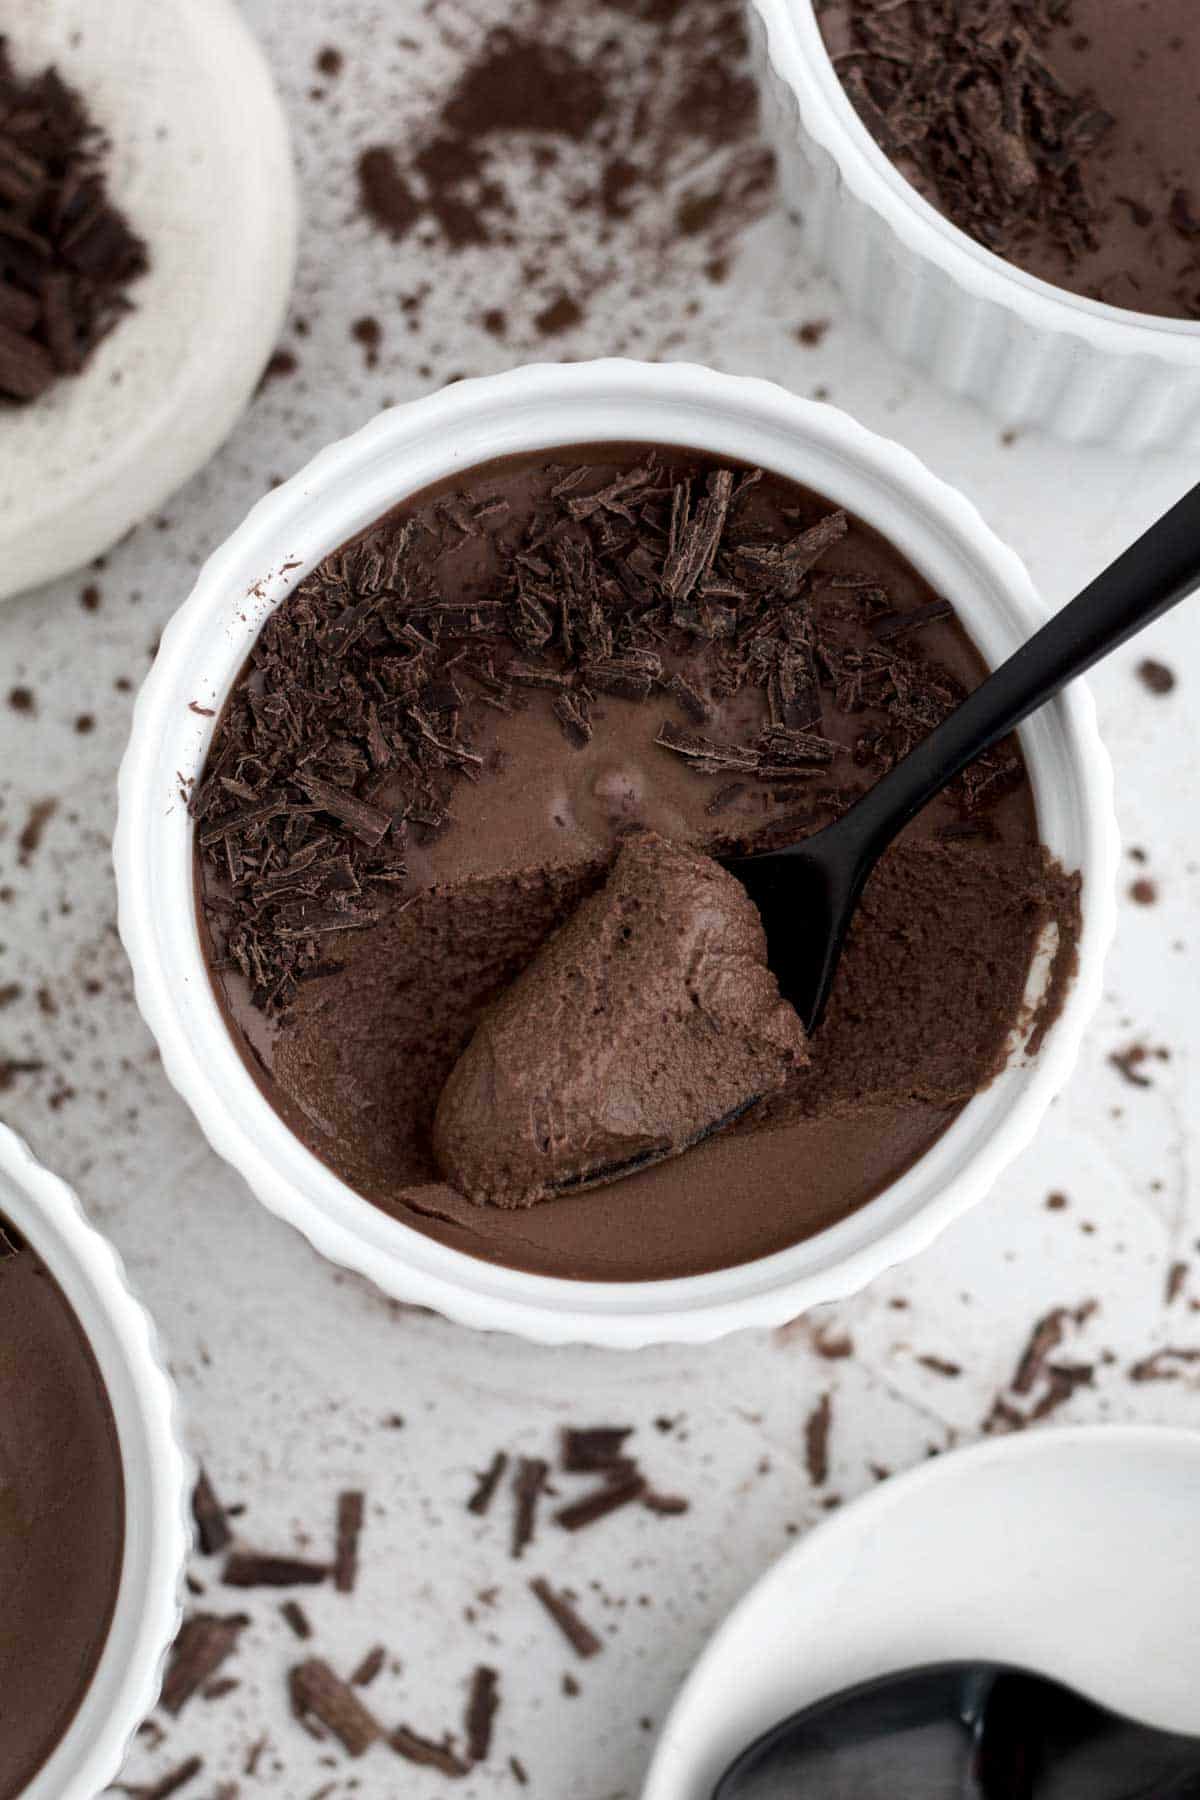
This Easy Eggless Chocolate Mousse is so airy, you'd never know it has zero eggs! I have to be completely honest; I never really liked regular chocolate mousse. Typically, it is made with raw eggs and I don't know, but it really never sat right with me. Now, having a household with food allergies, I had no choice but to attempt a chocolate mousse without egg and let me tell you, this is the best mousse I've ever had! My daughter gobbled it up and my father, who loves mousse, said this was way better than any mousse he has ever had!
For more easy no-bake recipes, check out my Oreo Fudge, Chocolate Ganache Tart, my No-Bake Strawberry Pie and my Gluten Free No-Bake Cookies!
Reasons to Love This Easy Chocolate Mousse
- Allergy Friendly- This chocolate mousse is gluten free, nut free, egg free and can easily be dairy free (vegan)!
- Light & Creamy- The mousse itself is so smooth yet is super airy and light!
- No Bake- This gluten free chocolate mousse recipe is perfect for days when you don't want to turn on the oven!
- Easy to Make- It whips up in less than 25 minutes with only a few ingredients!
Ingredient Notes
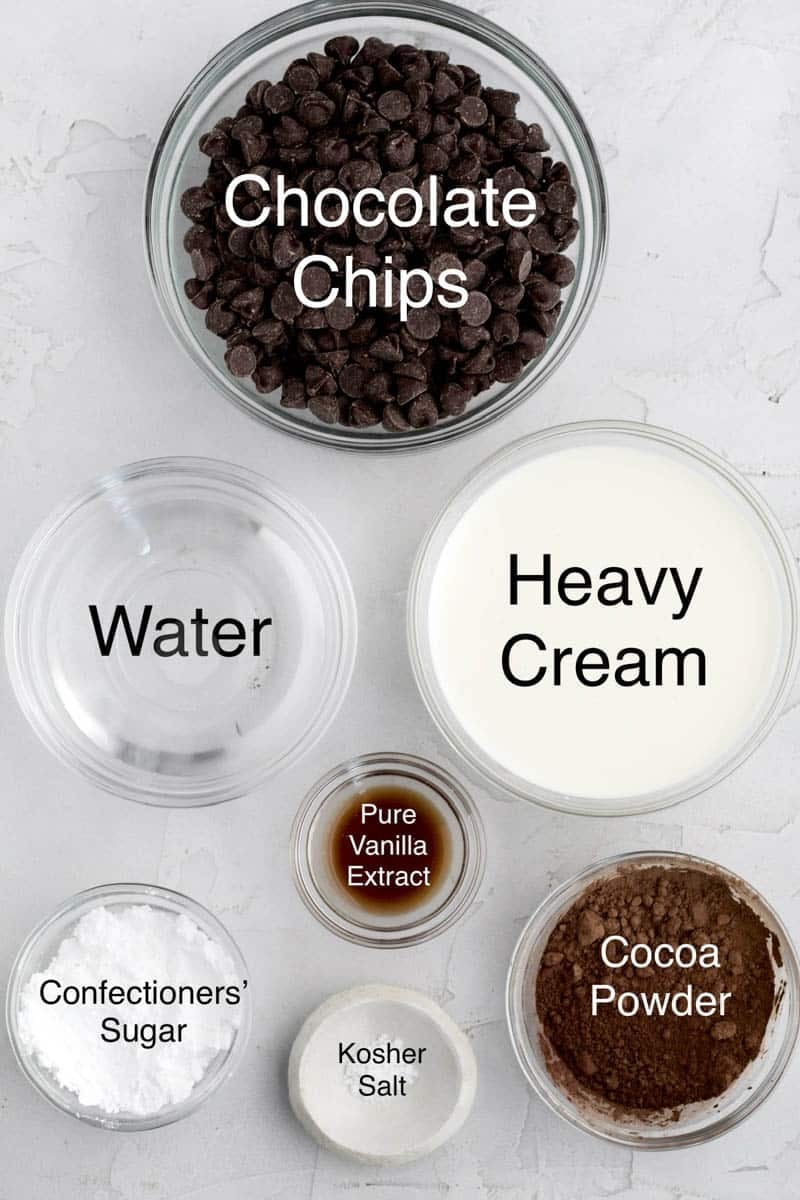
- Heavy Cream- We use this to make the whipped cream. To make vegan, use a dairy-free heavy cream alternative like you can in my Dusted Cocoa Truffles.
- Powder Sugar- We use it in the whipped cream to sweeten it a bit.
- Kosher Salt- I like to use kosher because it really brings out the flavors.
- Cocoa Powders- I love using two types: Natural Unsweetened and Dark to make a dark chocolate mousse. Both cocoa powders give the mousse a dark color and stronger flavor but if you only want to use one, use Dutch or Natural Unsweetened. Do not only use Dark alone as the chocolate mousse will be too dry and bitter.
- Chocolate Chips- I like to use semi-sweet but you can use whatever type you prefer. To make vegan, make sure to use gluten free/vegan chocolate chips. I love these allergy friendly chocolate chips and use them all the time like in my Chocolate Chip Cupcakes!
- Vanilla- Make sure to use pure vanilla extract otherwise the mousse will have a chemical taste.
See my recipe card below for a complete list of the ingredients with measurements.
Substitutions and Variations
How to Make this into a Vegan Chocolate Mousse
- Use a dairy free heavy whipping cream.
- Make sure the brand of sugar you use is vegan.
- Only use pure vanilla extract from a gluten free/vegan facility.
- Read the label on your chocolate chips to ensure they're gluten free, nut free and vegan.
This recipe may not have been tested with all of these substitutions and/or variations due to celiac disease and food allergies. If you change any of the ingredients, please let us know how the recipe turned out in the comments below!
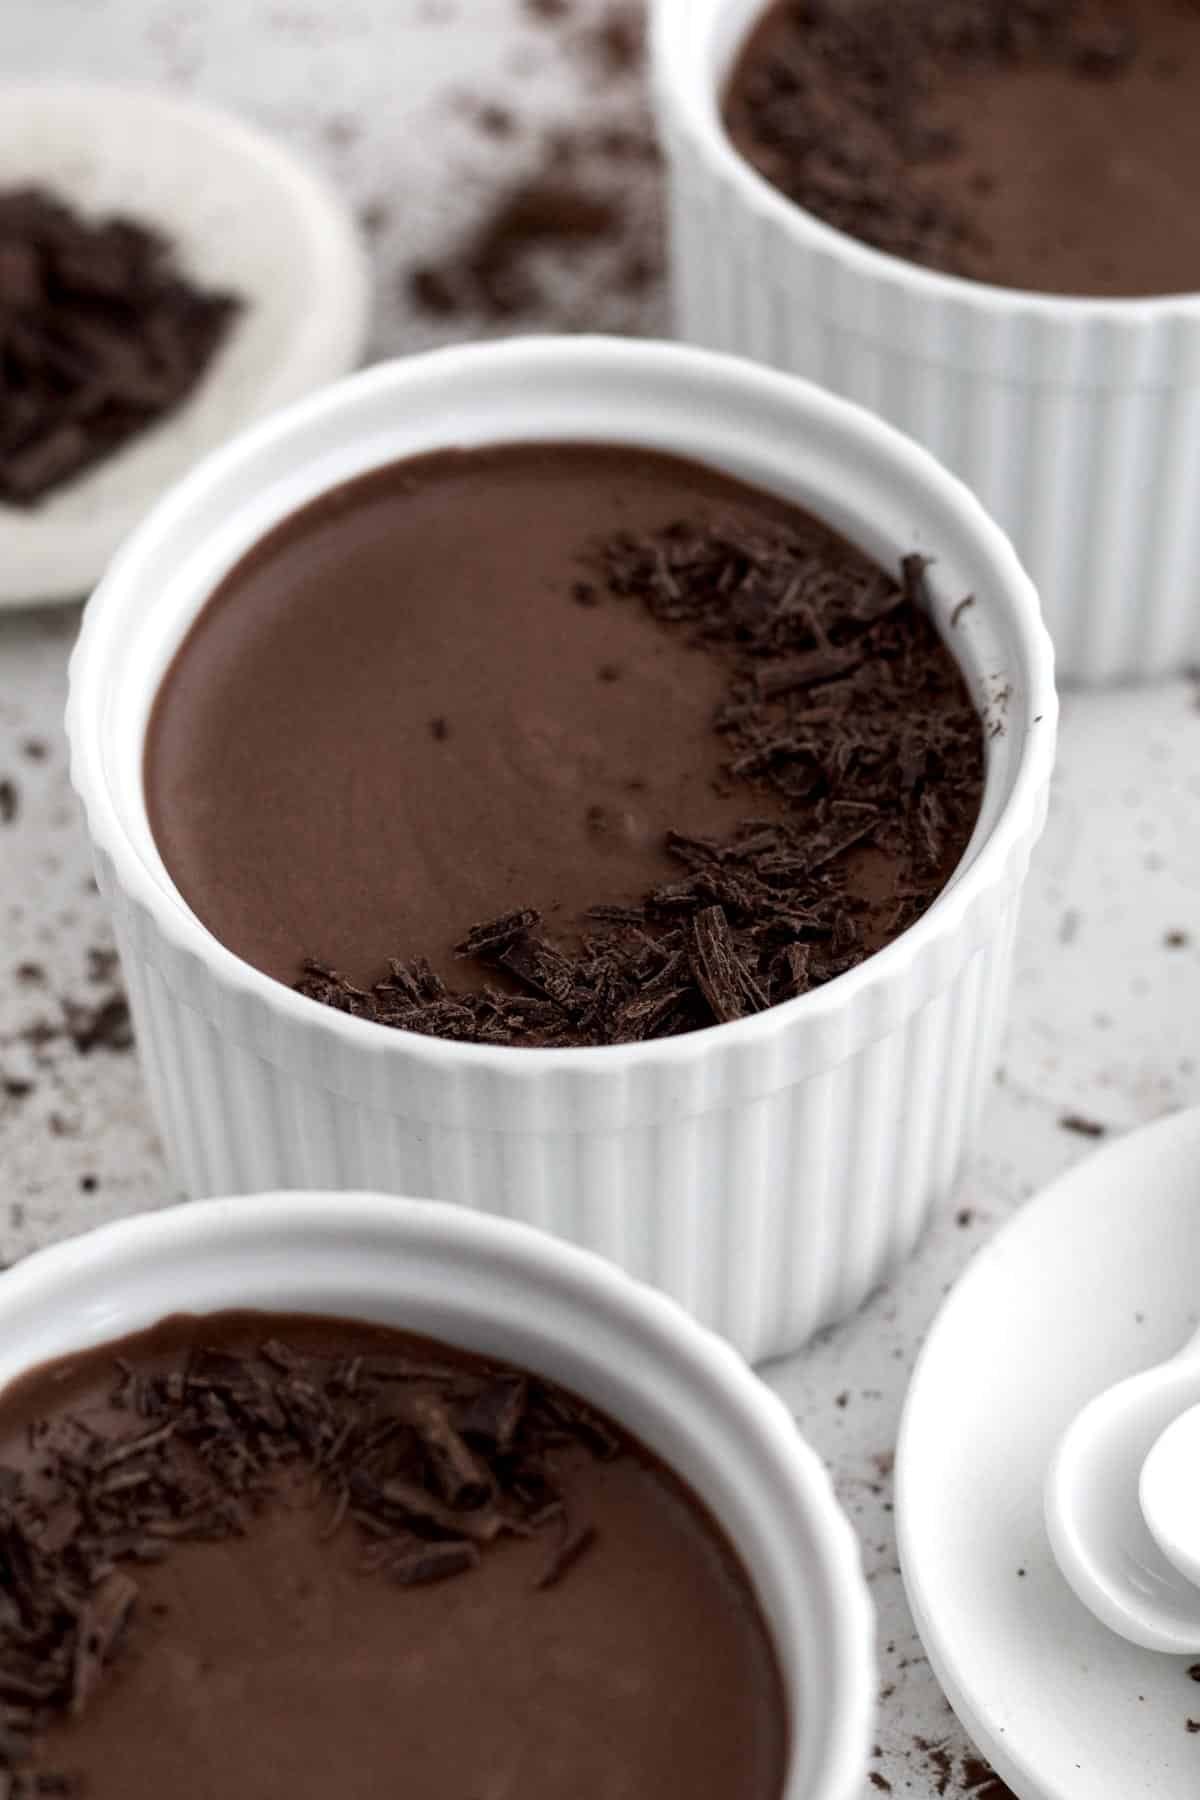
How to Make Chocolate Mousse
Here are the step by step instructions to make this easy chocolate mousse recipe!
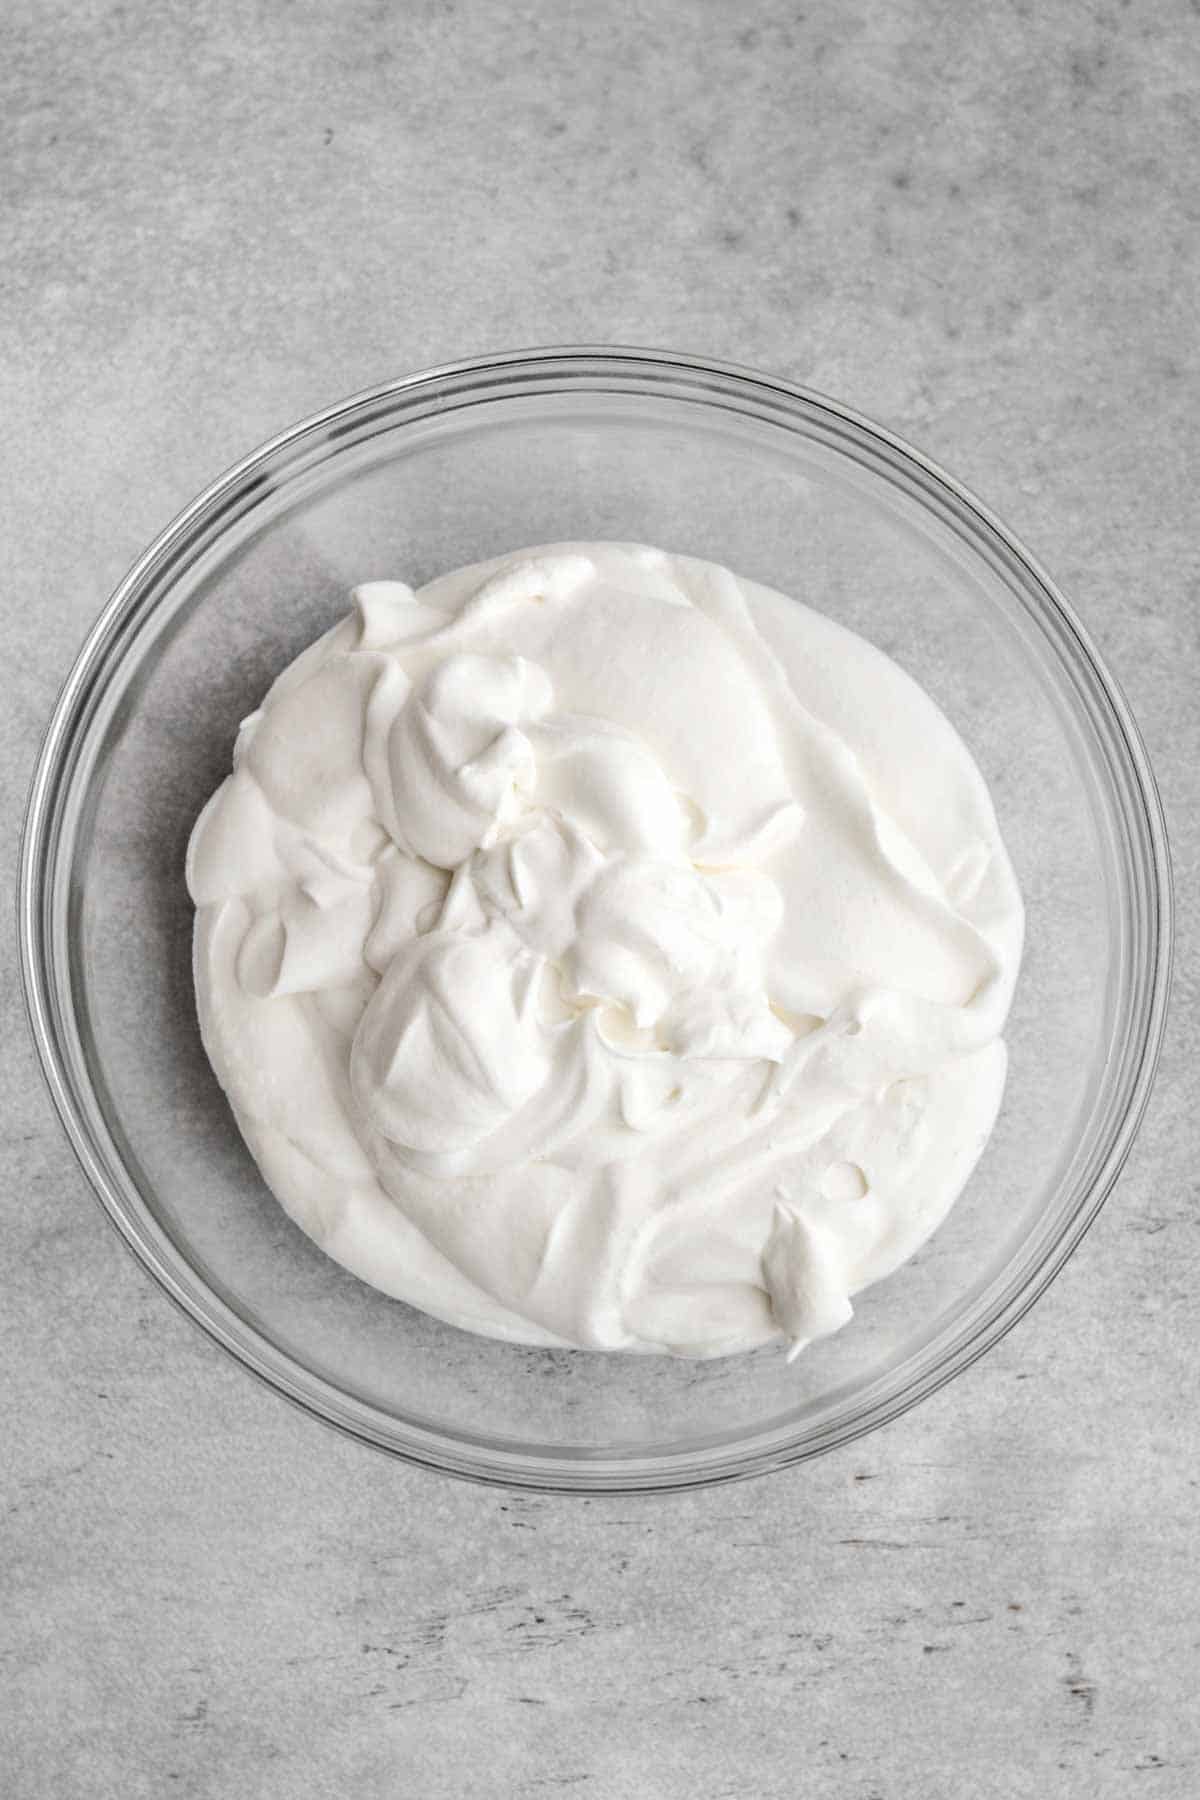
Step 1: Make the Whipped Cream
In a large bowl, whisk together the heavy cream, confectioners' sugar and salt until soft peaks form. Set aside.
Make sure not to over-whisk or the mousse will be dense and gritty.
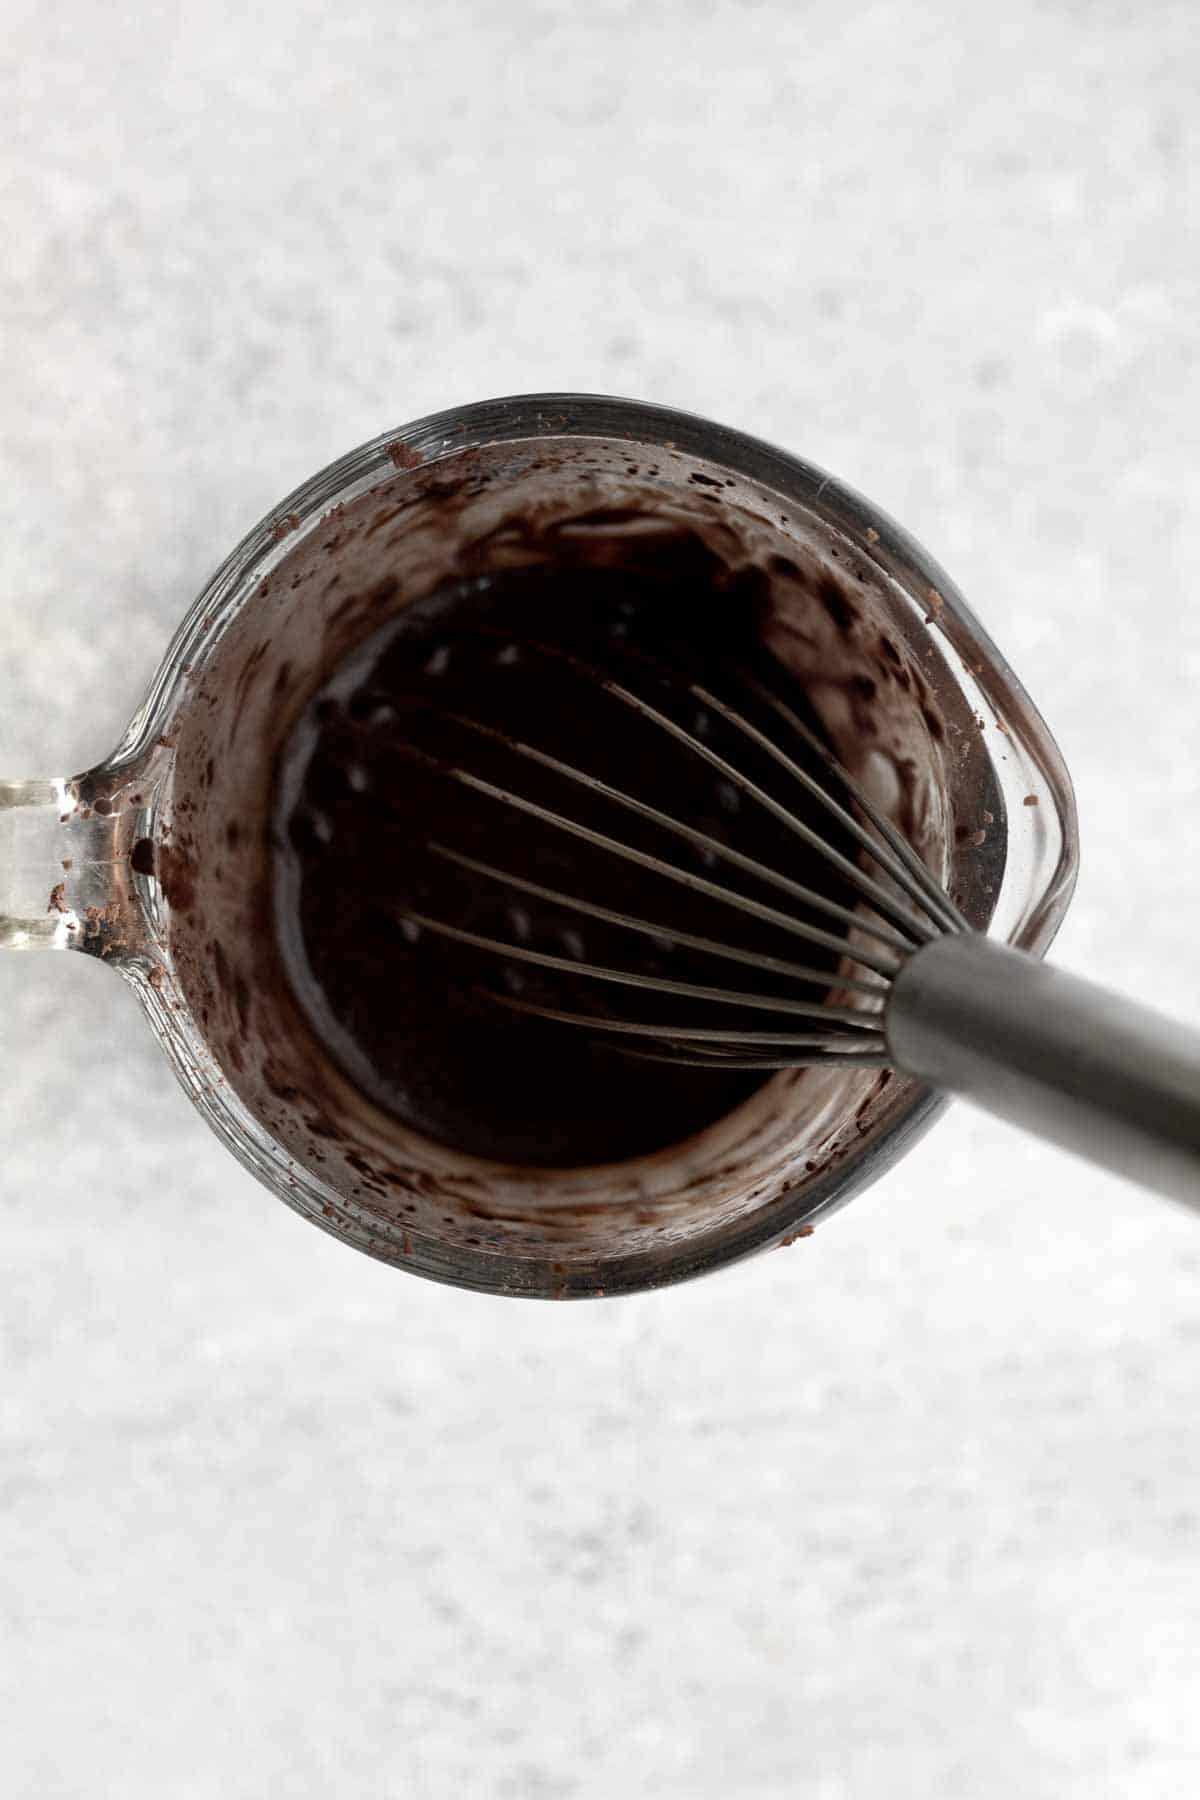
Step 2: Make the Hot Water and Cocoa Powder Mixture
Heat the cup of water in a heat safe glass measuring cup in the microwave until bubbling. About 2 minutes.
While hot, carefully whisk the cocoa powders and vanilla into the water. Set aside.
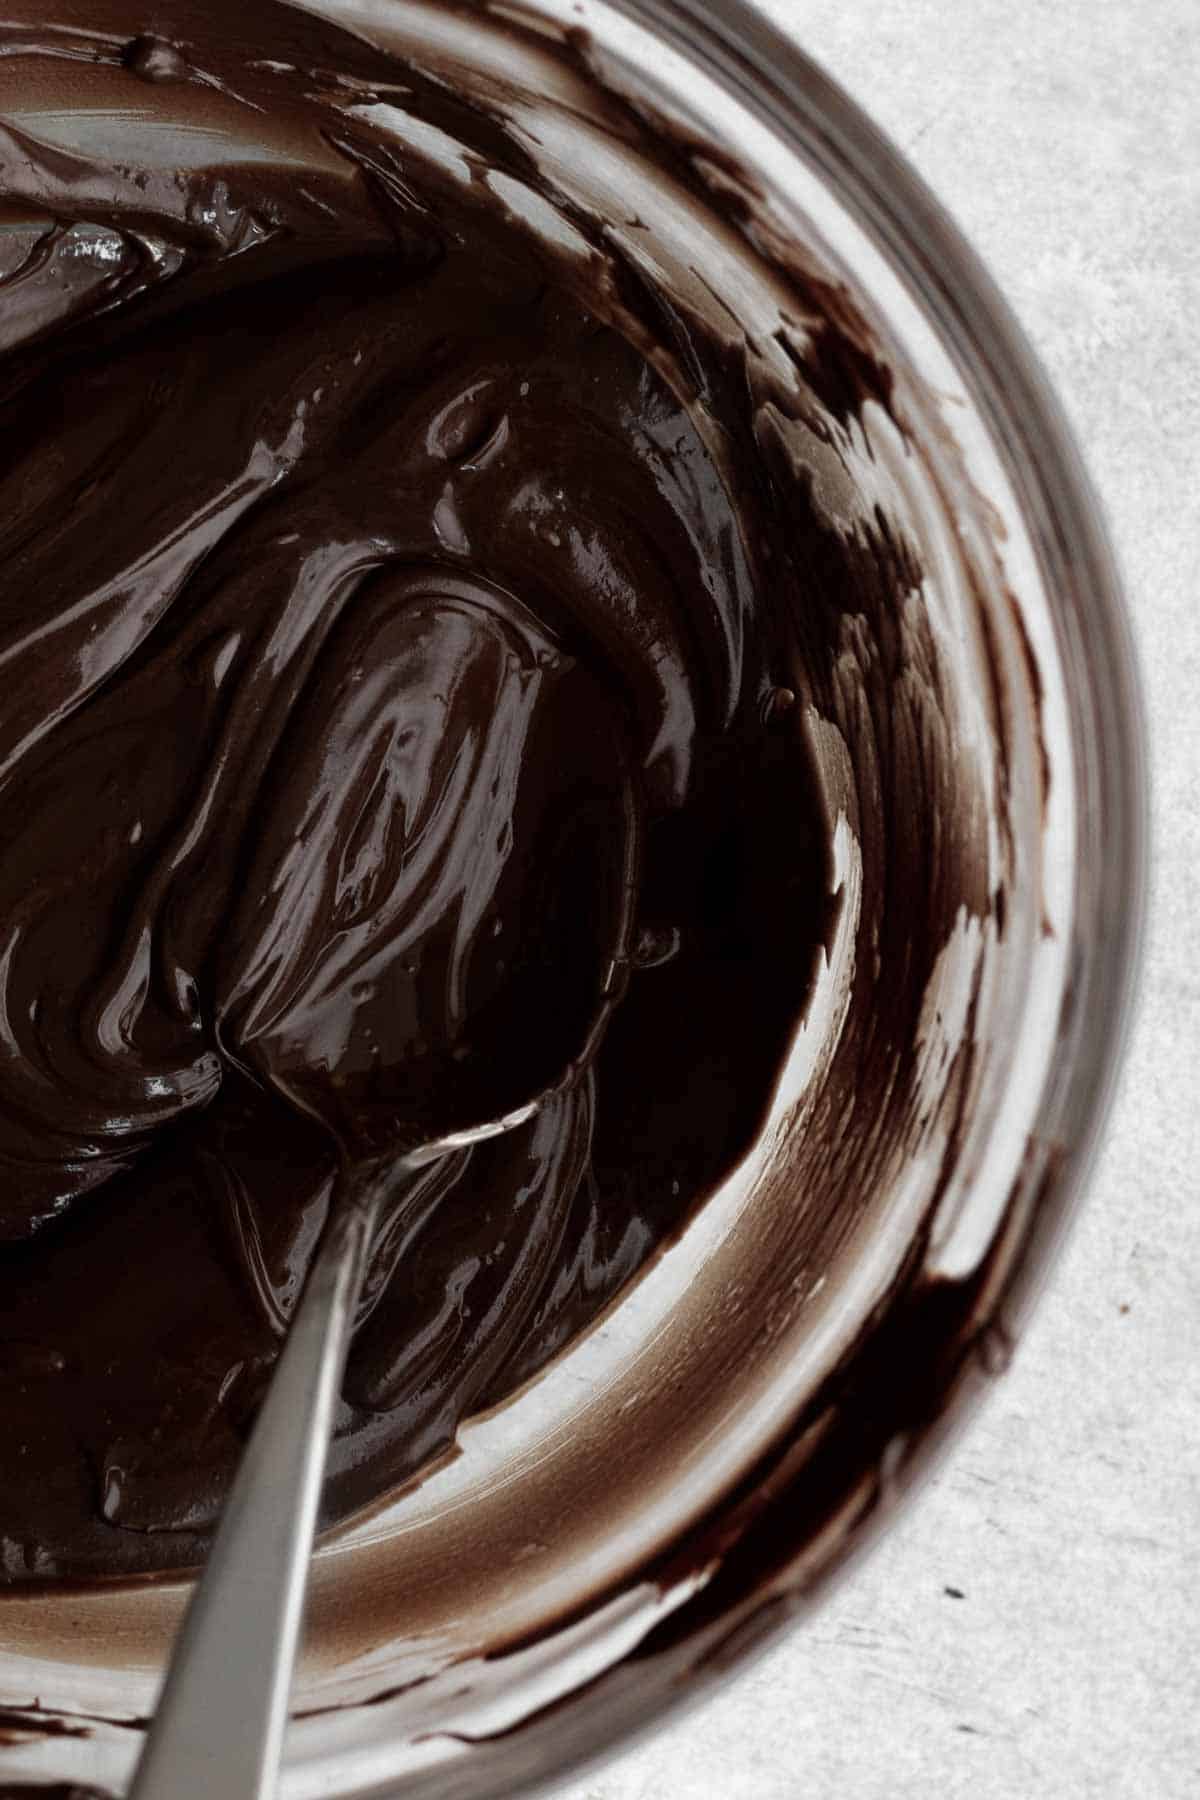
Step 3: Melt the Chocolate Chips
Place the chocolate chips in a heat safe bowl. Microwave in 15 second increments, stirring after each time, until fully melted.
If they aren't fully melted, you will have chunks in your mousse.
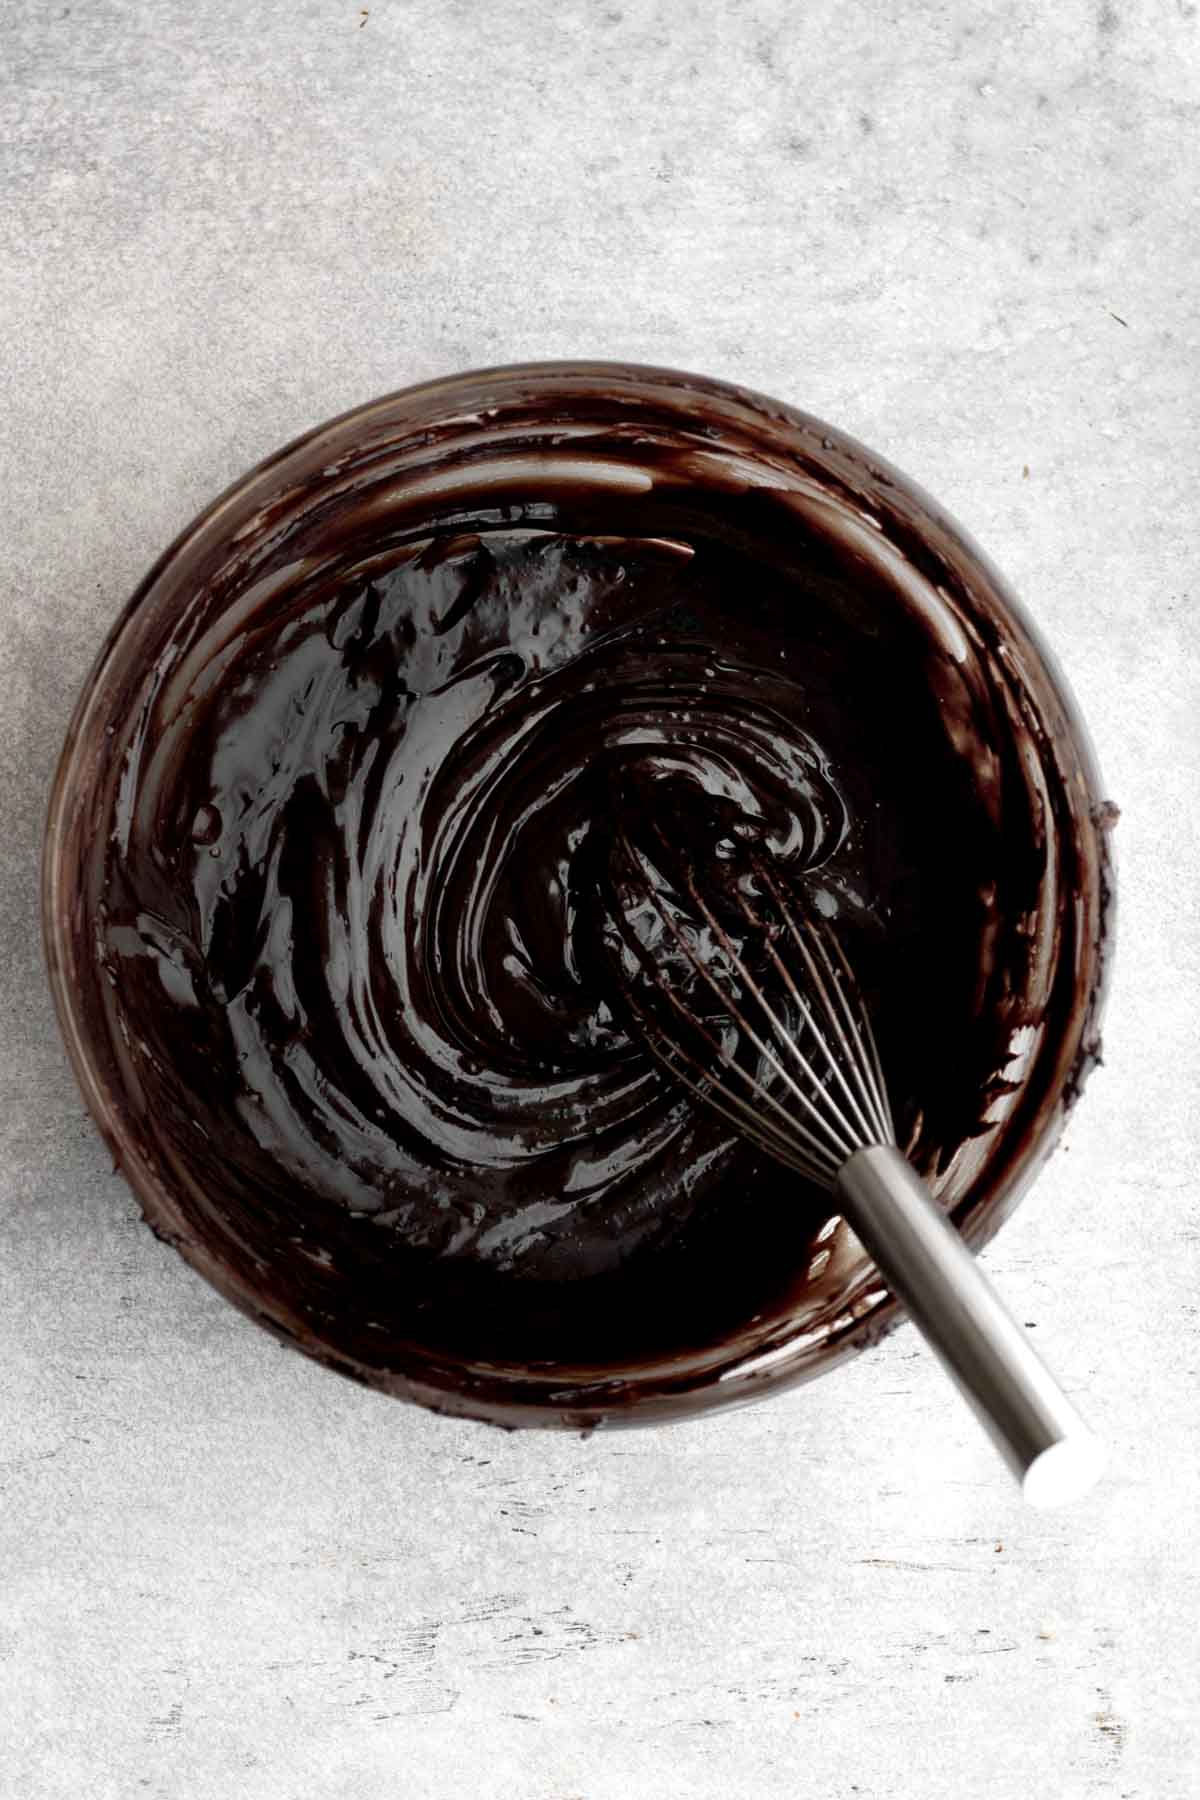
Step 4: Add the Cocoa Powder Water into the Melted Chocolate
Pour the cocoa powder water mixture into the melted chocolate chips and whisk to combine.
If you notice the mixture getting too thick, microwave the entire thing in 10 second increments, whisking after each time, until smooth. You want it very liquidy and not thick.
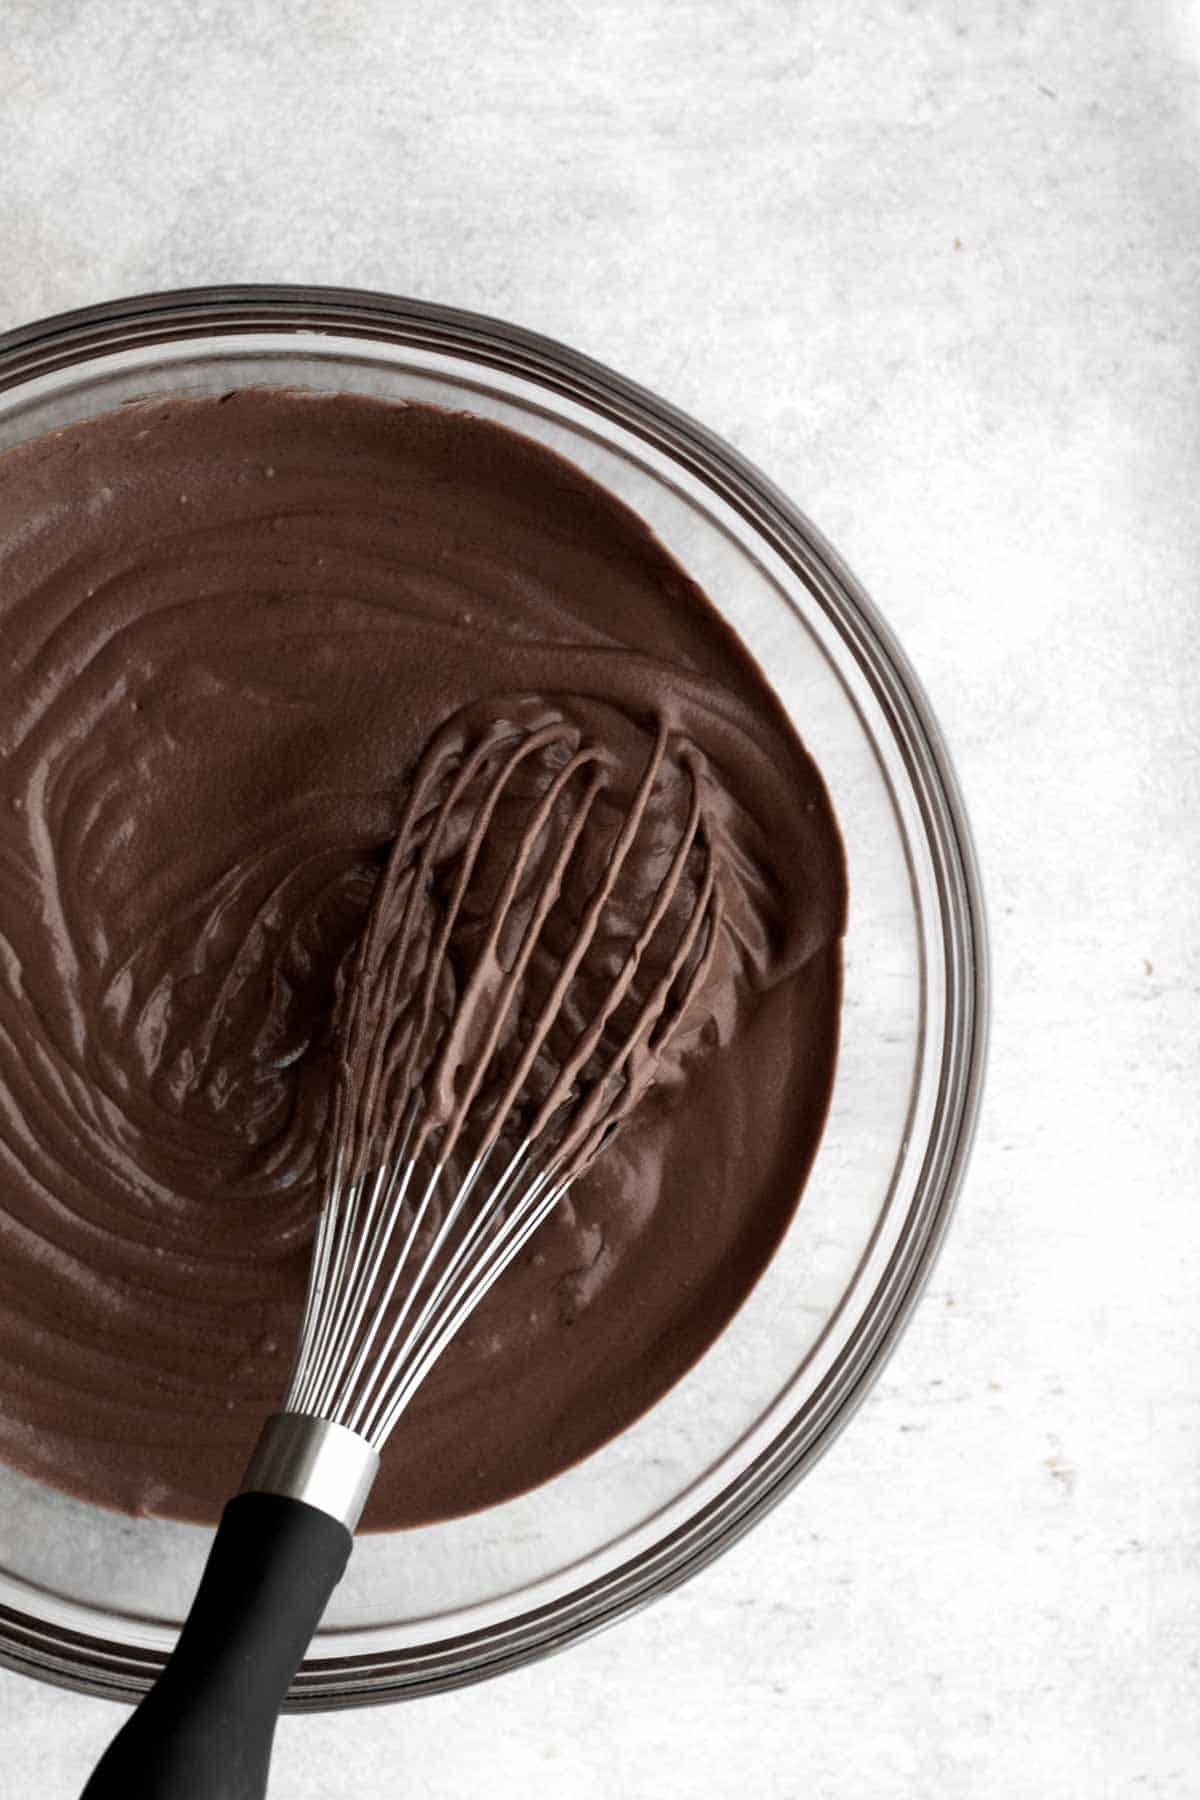
Step 5: Add the Chocolate Mixture to the Whipped Cream
Using a whisk, fold the chocolate mixture into the whipped cream and mix until there are no more white streaks.
Do not over-mix or the mousse will be grainy and dense.
Step 6: Add into Ramekins and Chill
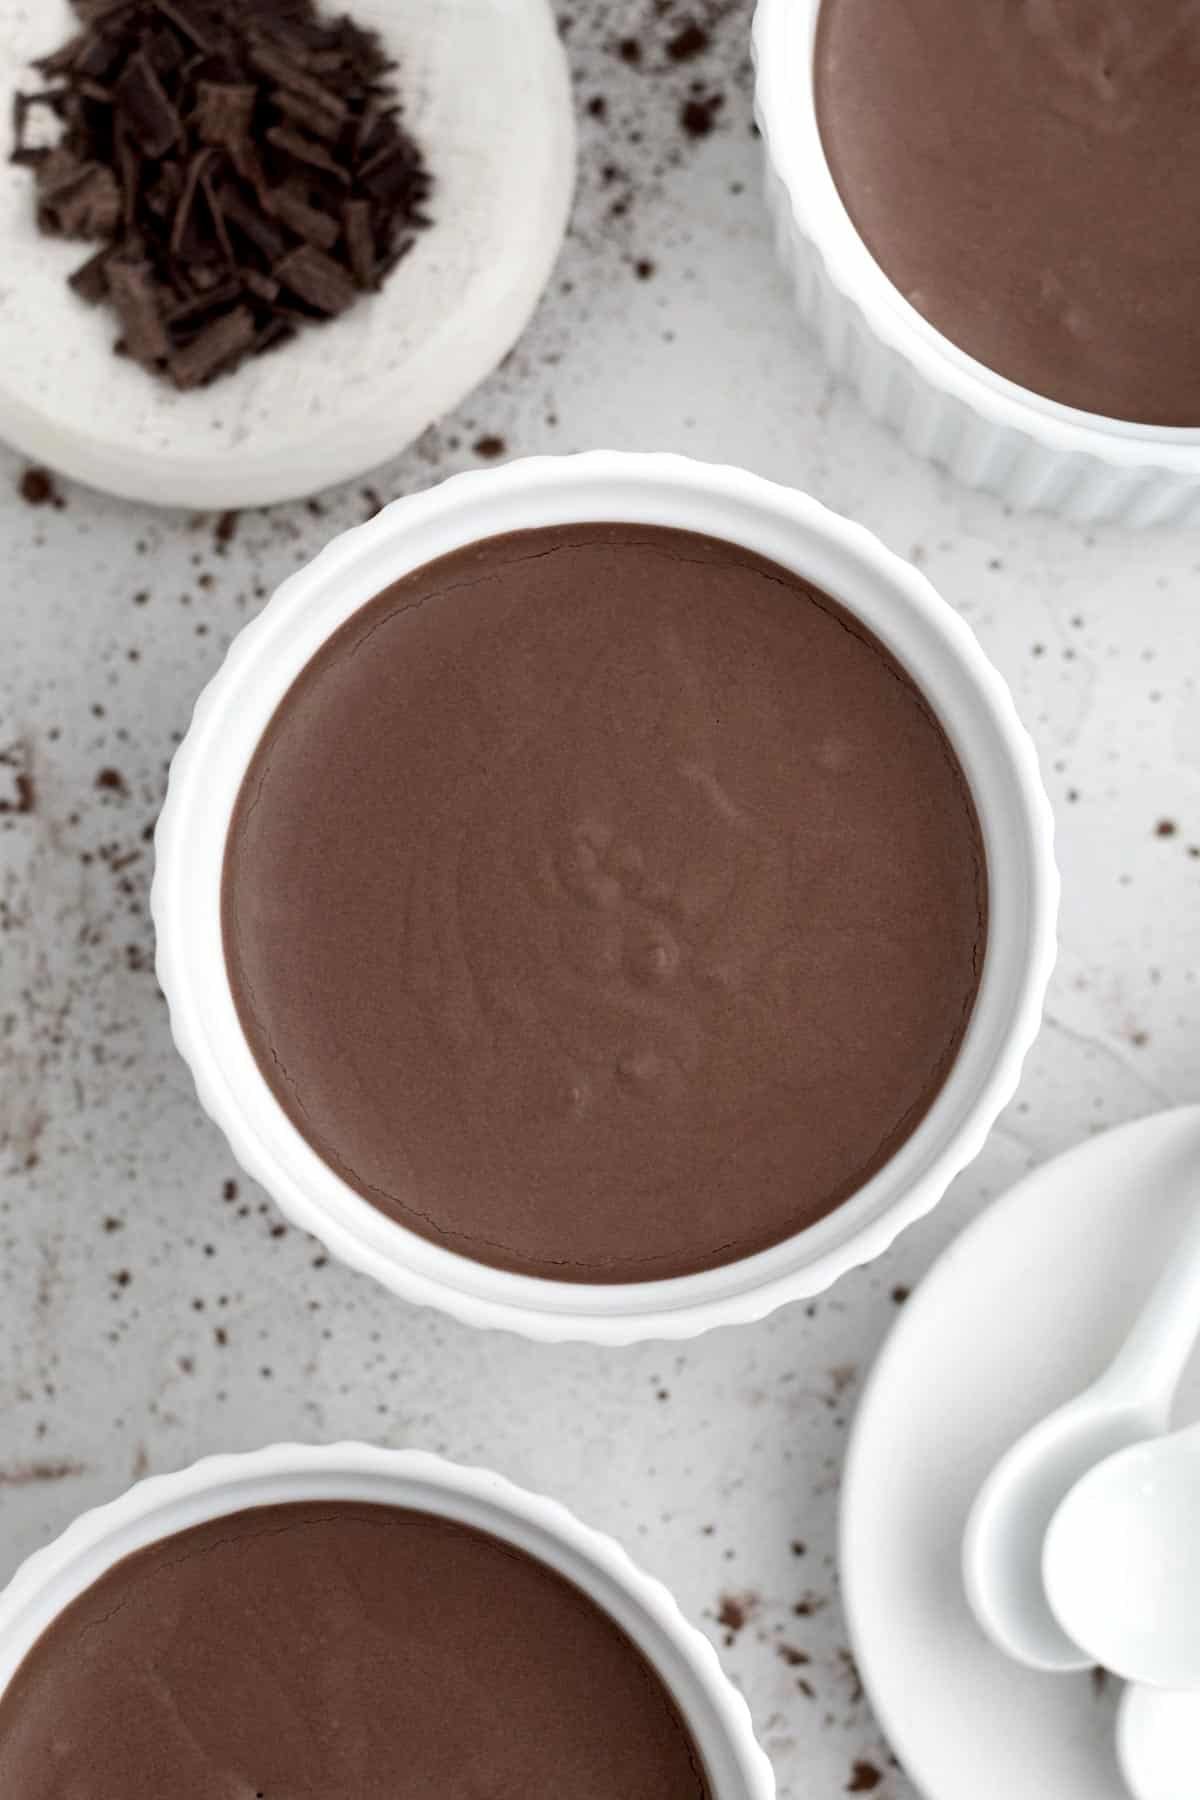
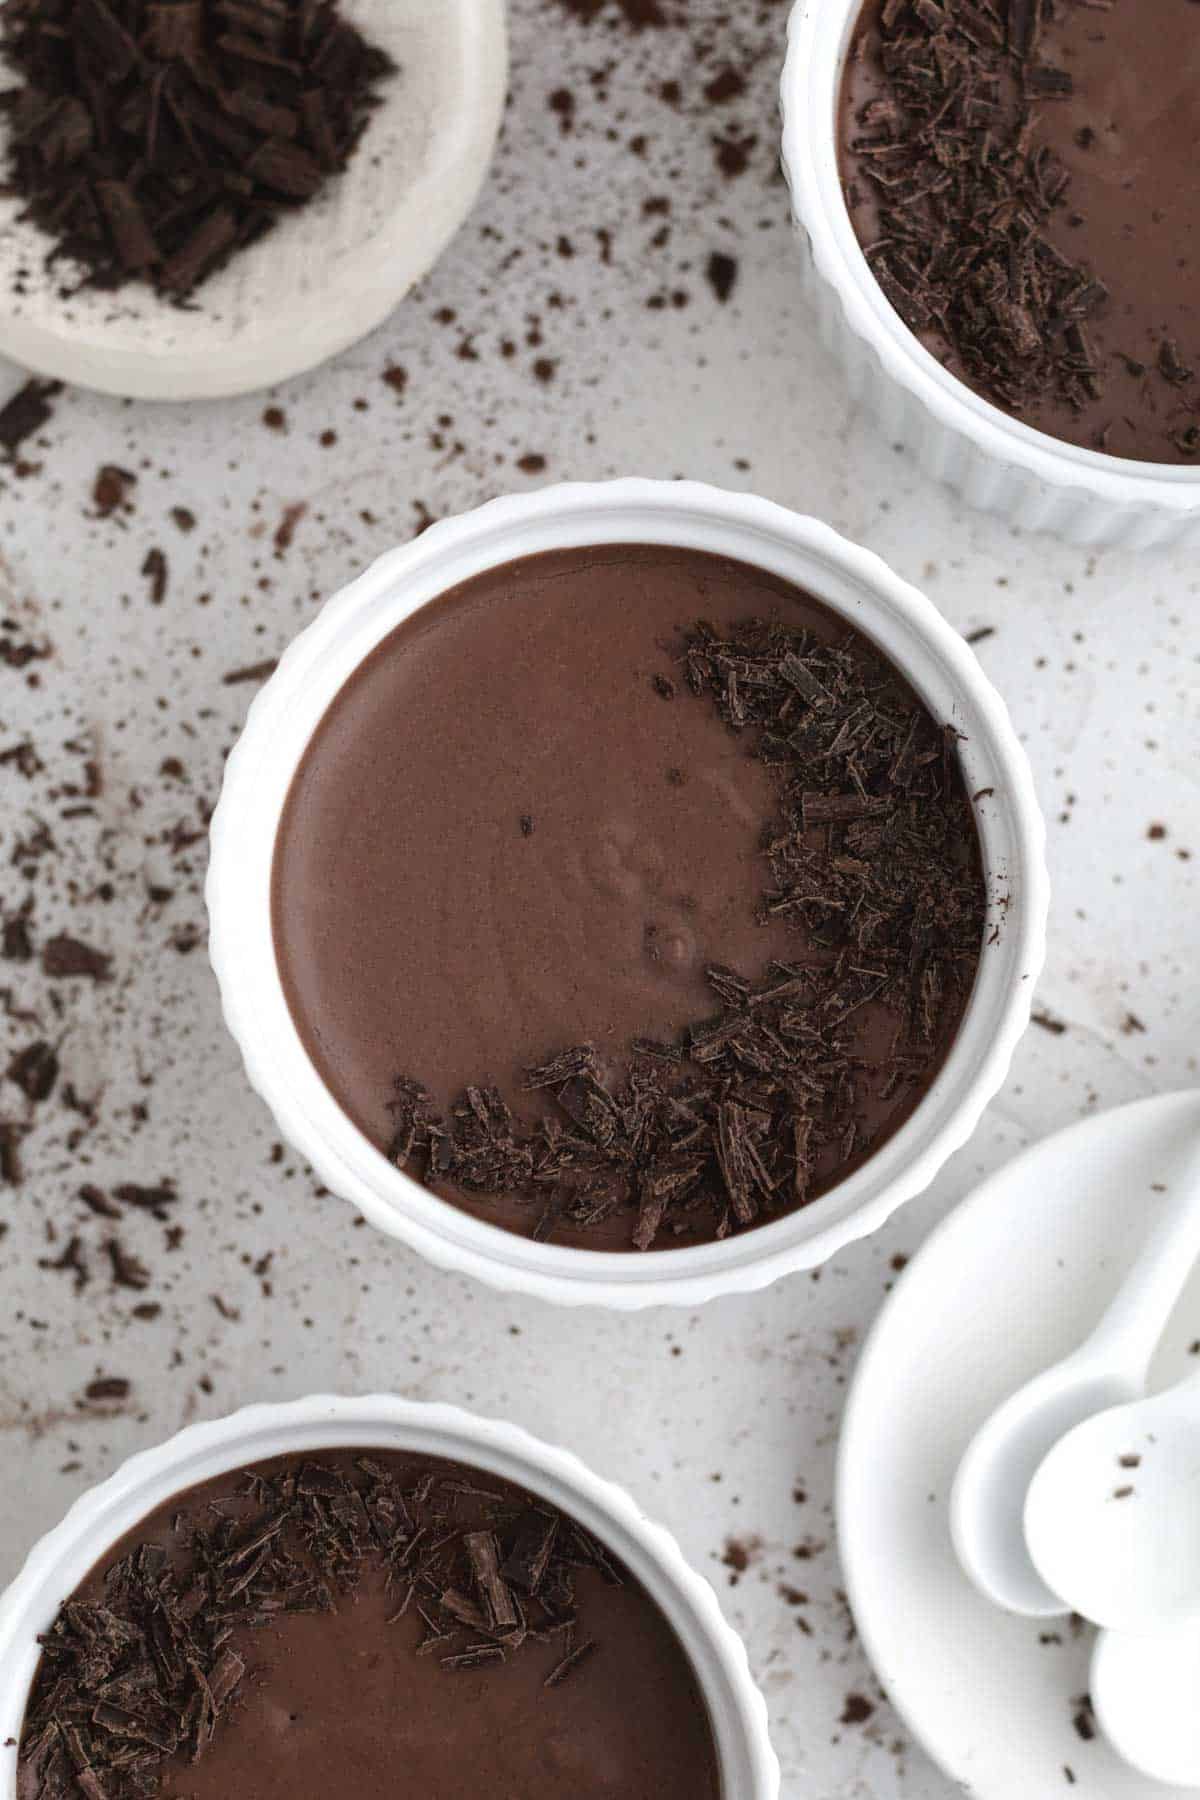
Spoon the liquidy chocolate mixture into ramekins, smooth the tops and pop in the fridge uncovered for about 3 hours.
Serve with whipped cream, chocolate shavings or enjoy as is!
Expert Tips
- Don't Over-Mix the Heavy Cream- Make sure you only whisk until soft peaks form. If you over-whisk the cream, the mousse will end up very dense and grainy instead of light and airy.
- Using 2 Types of Cocoa Powder- The 2 types of cocoa powders give the mousse its dark hue. If you only have one type on hand, use natural unsweetened or dutch...just know the color will not be as dark as mine. Please do not use dark alone; it will make your chocolate mousse too chalky, dry and bitter.
- Melt the Chocolate Slowly- If you rush this process and try to heat the chocolate in 20 second increments (instead of 15 second increments), you can overheat the chocolate. If that happens it will seize up and basically not be usable.
- Make sure the Chocolate Liquid is Actually Liquid- This chocolate mixture must be a liquid. If it is too thick when added to the whipped cream, it will cause the mousse to be very dense and grainy.
- Be Patient with the Chilling Process- I know 3 hours is a long time to wait, but please don't rush it. You want it to set otherwise you will be eating a very tasty but liquidy chocolate. If the mousse is very firm after chilling, let sit out for 15 minutes prior to eating.
Recipe FAQs
Yes! The mousse is delicious the same day. Just remember that it needs 3-4 hours to set.
So if you need it by 12pm for a party, the mousse needs to be in the fridge to set by 8:00am-9:00am.
The mousse is best made the day of or the day prior. You can store the mousse in the ramekins in the fridge, overnight.
If you want to make the chocolate mousse more than the night before, let set in the fridge uncovered in a shallow bowl. After 4 hours or so or once the right texture, store the entire mousse in an airtight container and then transfer to ramekins when ready to serve.
Mousse can be made with whipped cream or with whipped eggs. Both incorporate air bubbles into the dessert which give it the light, airy and foamy texture we love.
Most likely, you over-whipped the cream. Over-whipping the cream creates a butter-like texture that results in a dense, grainy or even separated mousse. It was also become very hard after chilling.
Also, make sure the chocolate liquid is actually a liquid when you fold it into the whipped cream. If it is too thick, it will also cause the mousse to become grainy and thick.
The entire mixture should be liquidy when you add it to the ramekins.
This is not sponsored but the brand silk makes one. It says it’s gluten free but I don’t see a certified label, so I would look into that if you have celiac.
As for allergens, it does contain coconut, sunflower and faba bean protein, last time I checked. Always read the labels.
You can store the eggless chocolate mousse in the ramekins overnight.
The mousse is best made the day of or the day prior. If you want to make the chocolate mousse more than the night before, let set in the fridge uncovered in a shallow bowl. After 4 hours or so or once the right texture, store the entire mousse in an airtight container and then transfer to ramekins when ready to serve.
Other Easy Recipes You'll Love
Did you try this recipe? Please leave me a ⭐ review below!
Don’t forget to tag me on Instagram @laneandgreyfare and follow along on Pinterest, Facebook and YouTube! Enjoy!!!
📖 Recipe
Easy Chocolate Mousse (Eggless)
Ingredients
- 1.5 cups heavy whipping cream
- 2 tablespoons confectioners' sugar
- 1 pinch kosher salt
- ⅓ cup water , hot from boiling
- 3 tablespoons cocoa powder ( I use 1.5 of Natural Unsweetened and 1.5 of Dark)
- 1 teaspoon pure vanilla extract
- 1.5 cups chocolate chips
Instructions
- In a large bowl, whisk together the 1.5 cups heavy cream, 2 tablespoons confectioners' sugar and the 1 pinch of kosher salt until soft peaks form. Set aside.Make sure not to over-whisk or the mousse will be dense and gritty.
- Heat the ⅓ cup of water in a heat safe glass measuring cup in the microwave until bubbling. About 2 minutes. While hot, carefully whisk the 3 tablespoons of cocoa powders and the 1 teaspoon of pure vanilla extract into the hot water. Set aside.
- Place the 1.5 cups of chocolate chips in a heat safe bowl. Microwave in 15 second increments, stirring after each time, until fully melted.If they aren't fully melted, you will have chunks in your mousse.
- Pour the cocoa powder water mixture into the melted chocolate chips and whisk to combine.If you notice the mixture getting too thick, microwave the entire thing (in a heat safe bowl) in 10 second increments, whisking after each time, until smooth. You want it very liquidy and not thick.
- Using a whisk, fold the chocolate mixture into the whipped cream and mix until there are no more white streaks.Do not over-mix or the mousse will be grainy and dense.
- Spoon the liquidy chocolate mixture into ramekins and pop in the fridge uncovered for about 3-4 hours. Serve with whipped cream, chocolate shavings or enjoy as is!


Lisa
The directions say to whisk the heavy cream (whipping cream). Do you use a beater or a simple whisk?
Lee
Hi Lisa! I use a whisk but you can use a beater if you prefer! Just make sure not to over-beat it! Hope this helps!
john
This chocolate mousse brought me back to the days of when I was little and this was all I ate. It's so creamy and delicious! I love it!