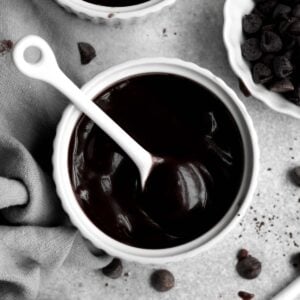
This Dairy Free Pudding is rich, silky and allergy friendly! It is an amazingly quick chocolate dessert that takes 15 min to whip up! Not only is it free from dairy, but it’s gluten free, nut free and vegan! Perfect for when you need a no-bake chocolate dessert in a hurry!
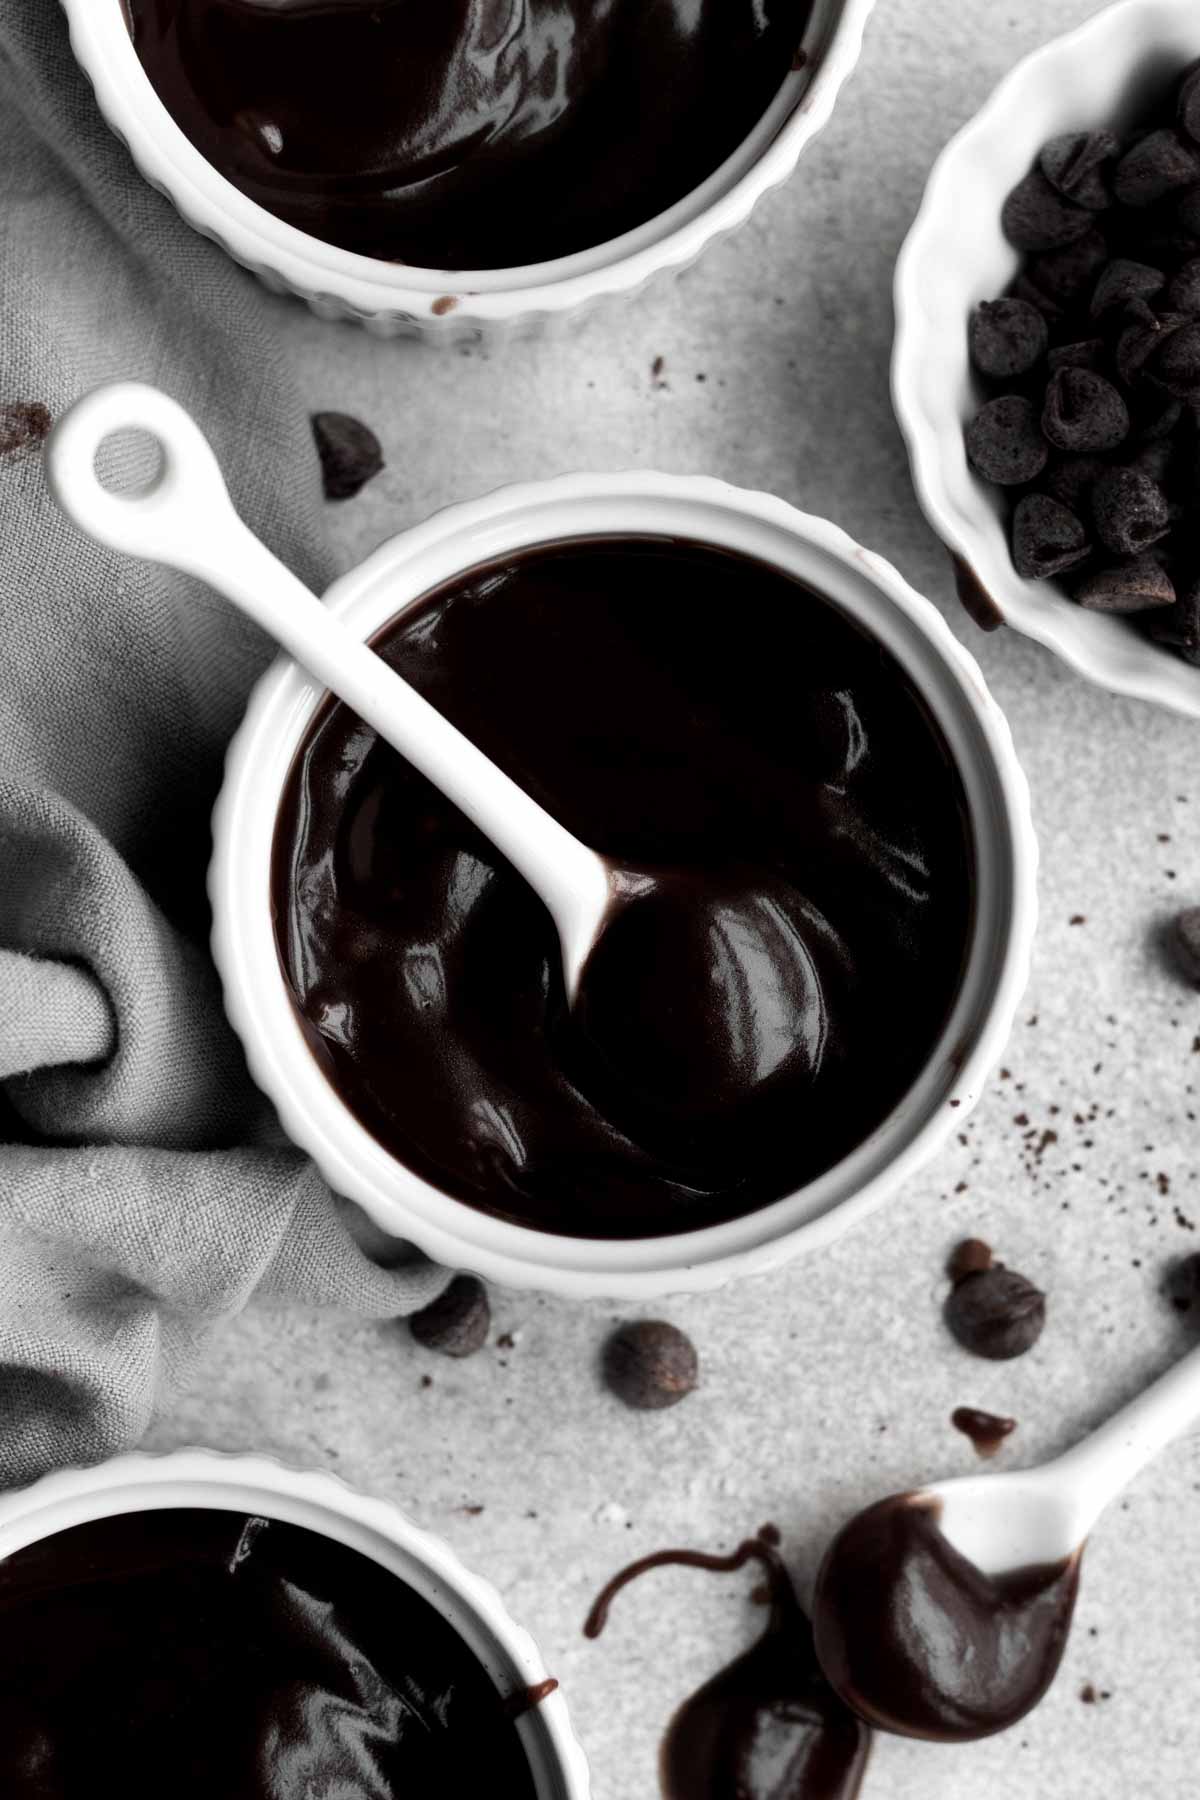
As far as vegan chocolate desserts go, this Dairy Free Pudding is chocolate heaven. Even with zero milk of any kind, it still tastes like the real deal! Nor does it contain any ingredients like avocados. Don’t get me wrong, I love avocado but when I’m baking for children with celiac and allergies, I want my desserts to taste as close to the real deal as possible.
I found this recipe by accident years ago in a blackout cake recipe by New York Times Cooking. It was so perfect that I didn't change it.
If you’re looking for more chocolate recipes, check out my Easy Chocolate Mousse, my Chocolate Fudge Frosting, Brooklyn Blackout Cake and Vegan Chocolate Pudding Pie.
Reasons To Love This Dairy Free Pudding
- Allergy Friendly- This recipe is gluten free, nut free, egg free and dairy free (vegan).
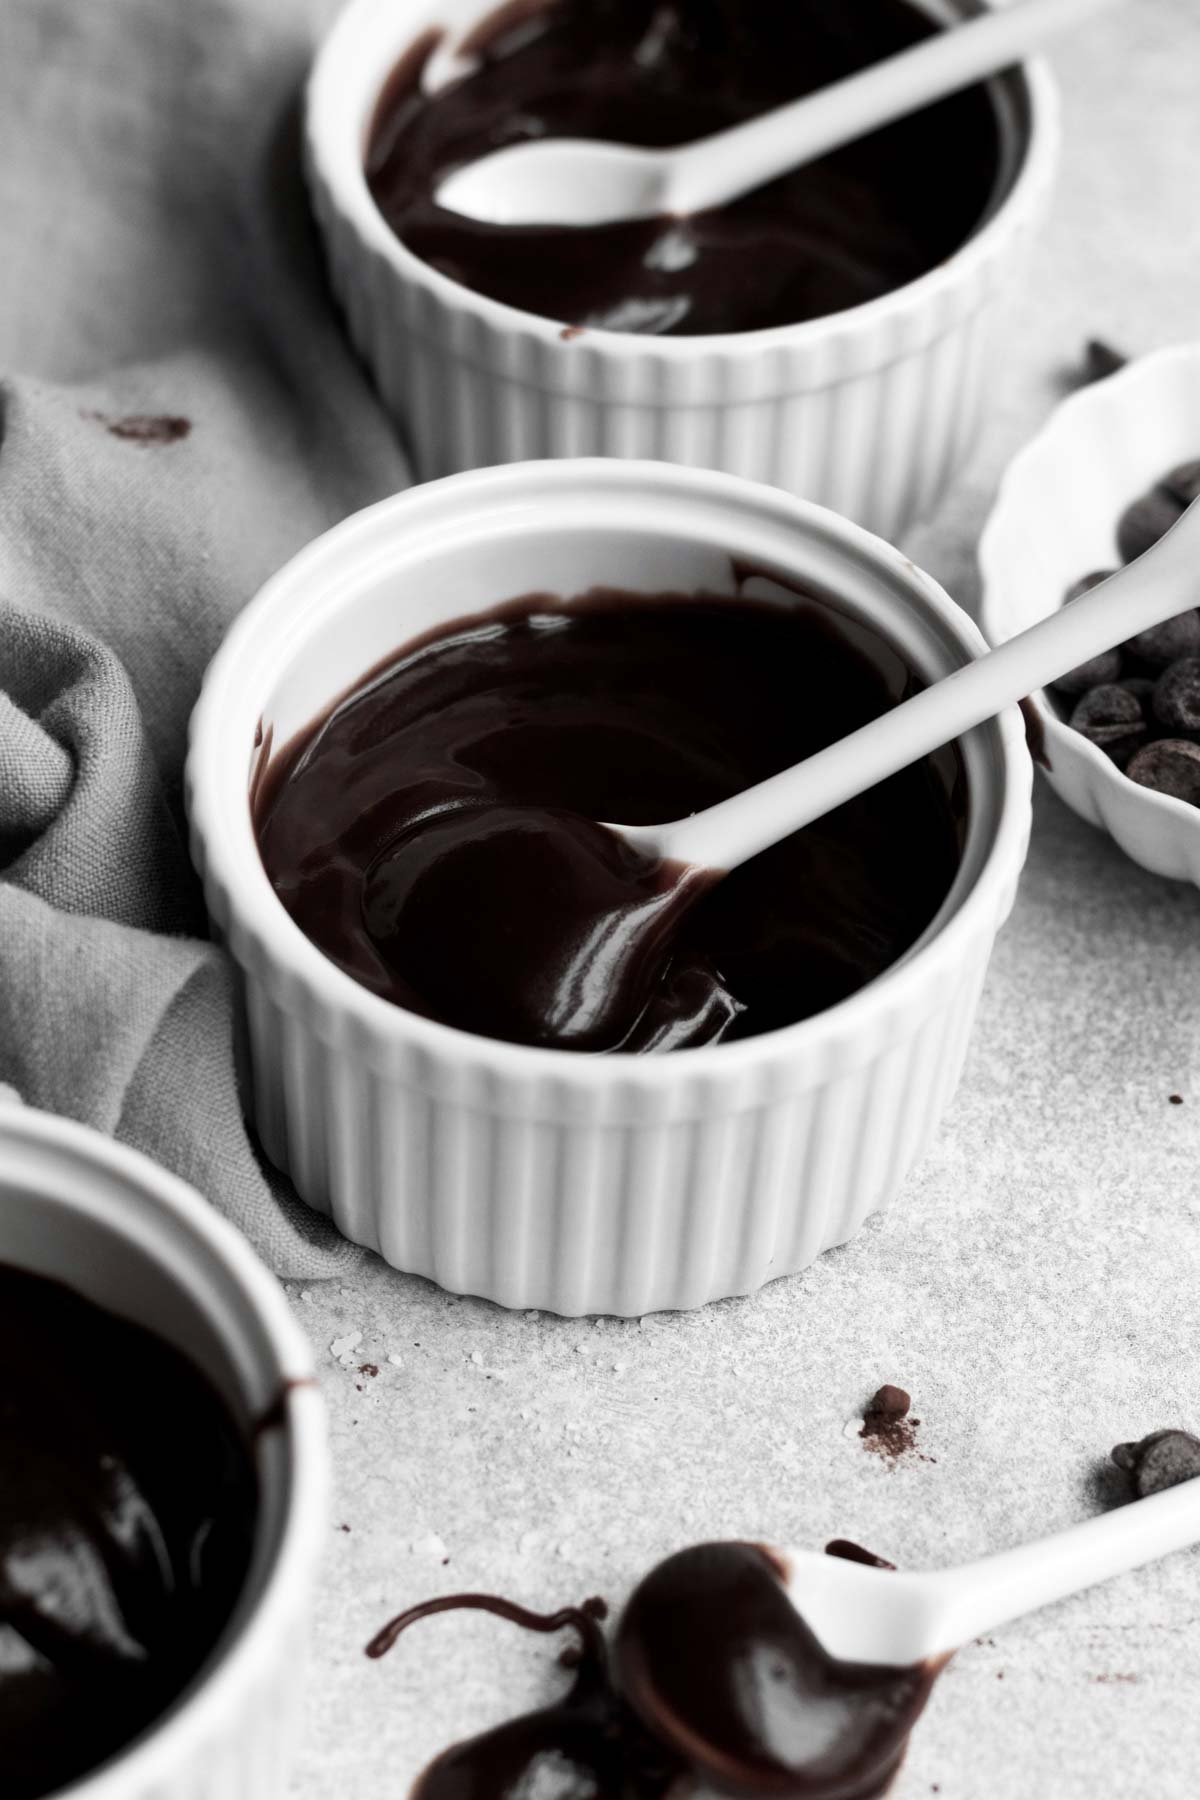
- Rich & Silky- This chocolate pudding is so smooth and luscious.
- No Avocados- As much as I love avocados, there are none in this recipe. I wanted this pudding to taste as close to dairy pudding as possible and it does!
- Easy to Make- Whips up in one pan with only a few ingredients!
Ingredient Notes

- Boiling Water- Like typical pudding we need boiling water to melt the cocoa powder and granulated sugars.
- Vegan Baking Stick- If you don’t need to be dairy free you can absolutely replace this with unsalted butter.
- Cocoa Powders- I like to use two types but if you only want to use one, use Dutch or Natural Unsweetened.
- Chocolate Chips- Use whatever allergy friendly type you like; I prefer semi sweet. I love these allergy friendly chocolate chips.
- Granulated Sugar- This is what makes the pudding nice and sweet.
- Cornstarch Water- This is what we use to thicken the pudding.
- Kosher Salt- Draws out all the flavors.
- Vanilla- Make sure to only use pure vanilla extract otherwise the pudding can have a chemical flavor.
See my recipe card below for a complete list of the ingredients with measurements.
Substitutions and Variations
How to Ensure this is Vegan Pudding
- Make sure the brand of sugar you use is vegan.
- Use vegan baking sticks instead of butter.
- Read the label on your chocolate chips to ensure they’re gluten free, nut free and vegan.
Make this Pudding without Cornstarch
- Instead of cornstarch mixed with water, use 4 tablespoons of gluten free flour to thicken the pudding. Use an immersion blender at the end to try to eliminate any lumps of flour that may form. Please keep in mind, the pudding will have a slightly different flavor. I prefer the cornstarch water mixture.
- You can also use arrowroot starch mixed with the water. Use the same amounts as you would with the cornstarch.
This recipe has not been tested with some of these substitutions and/or variations due to celiac disease and food allergies. If you change any of the ingredients, please let us know how the recipe turned out in the comments below!
How to Make Dairy Free Pudding
Here are the step by step instructions to make this chocolate pudding!
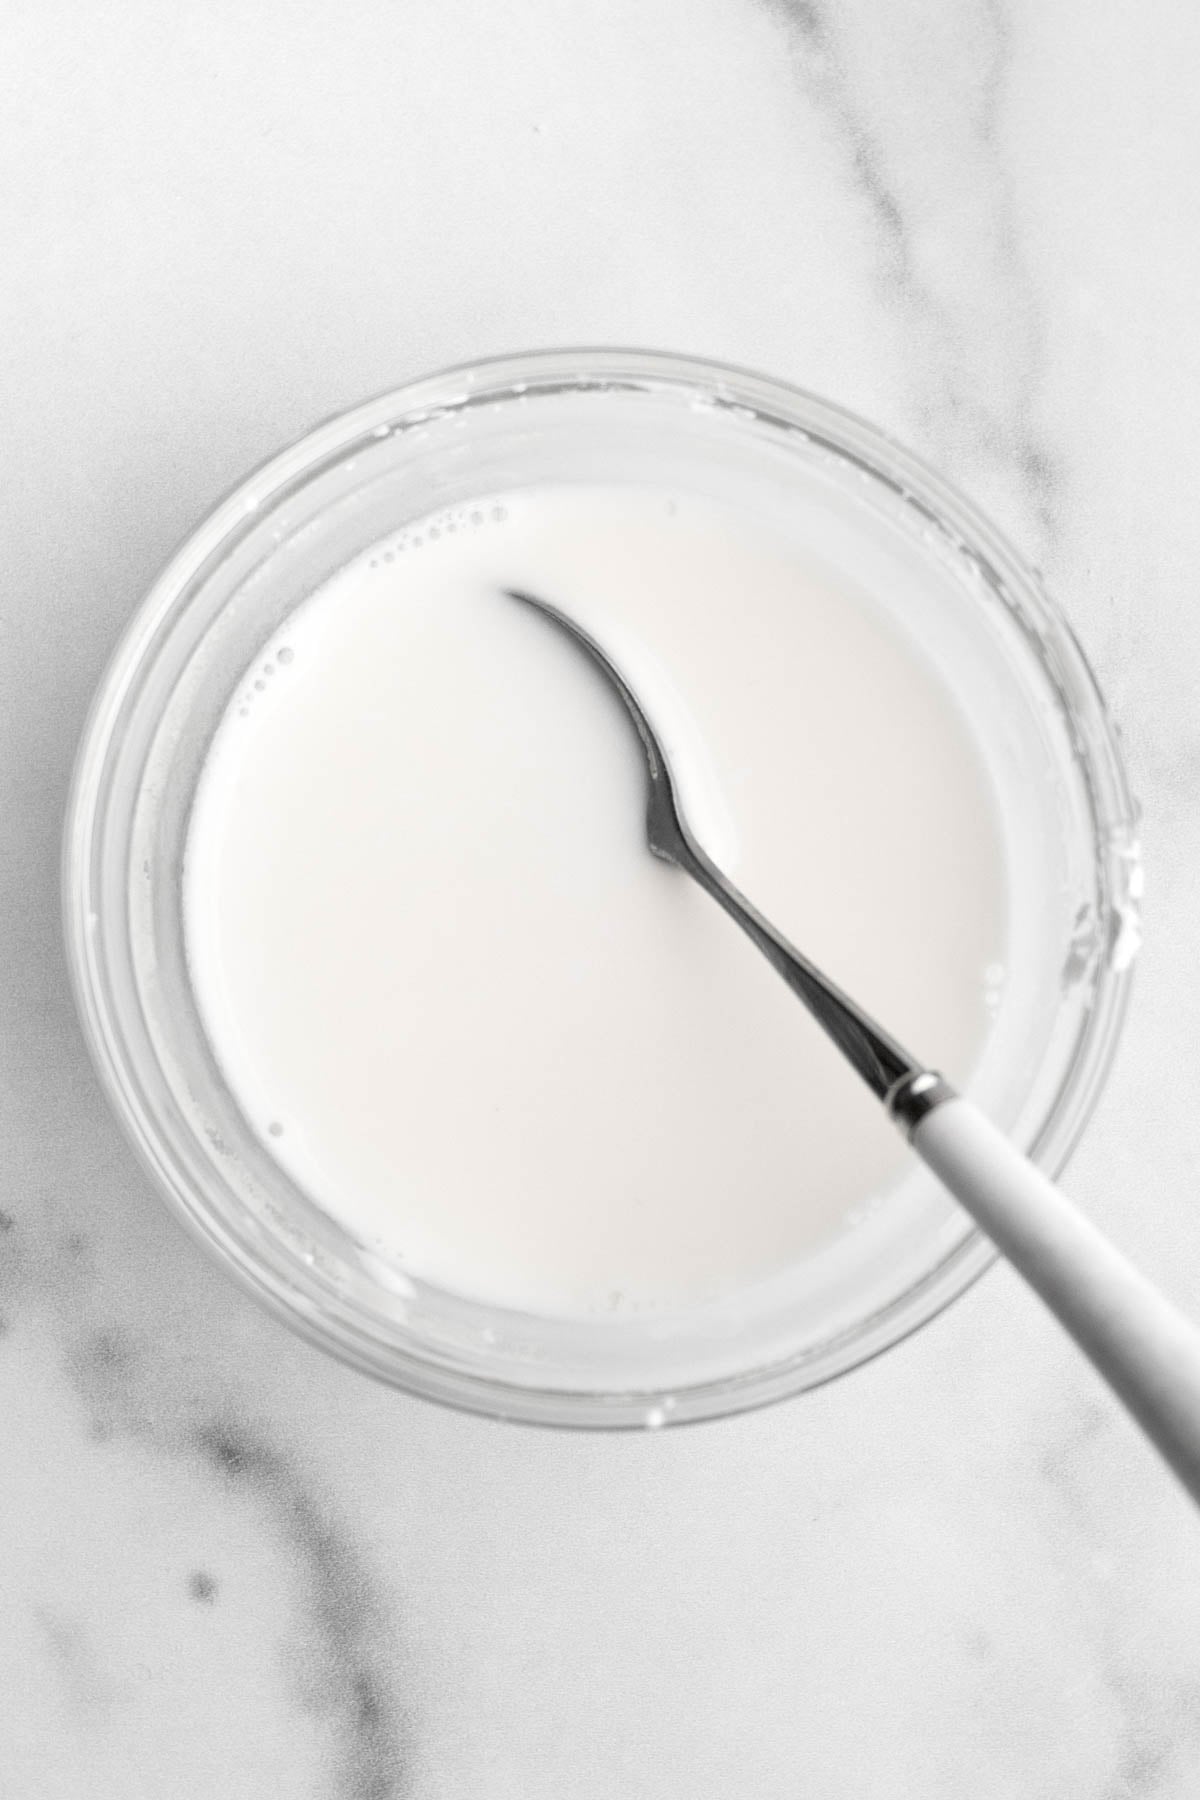
Step 1: Make the Cornstarch Water
In a small bowl, using a spoon, mix together the cornstarch and water until thin and watery. It will be thick and tacky at first. Set aside.
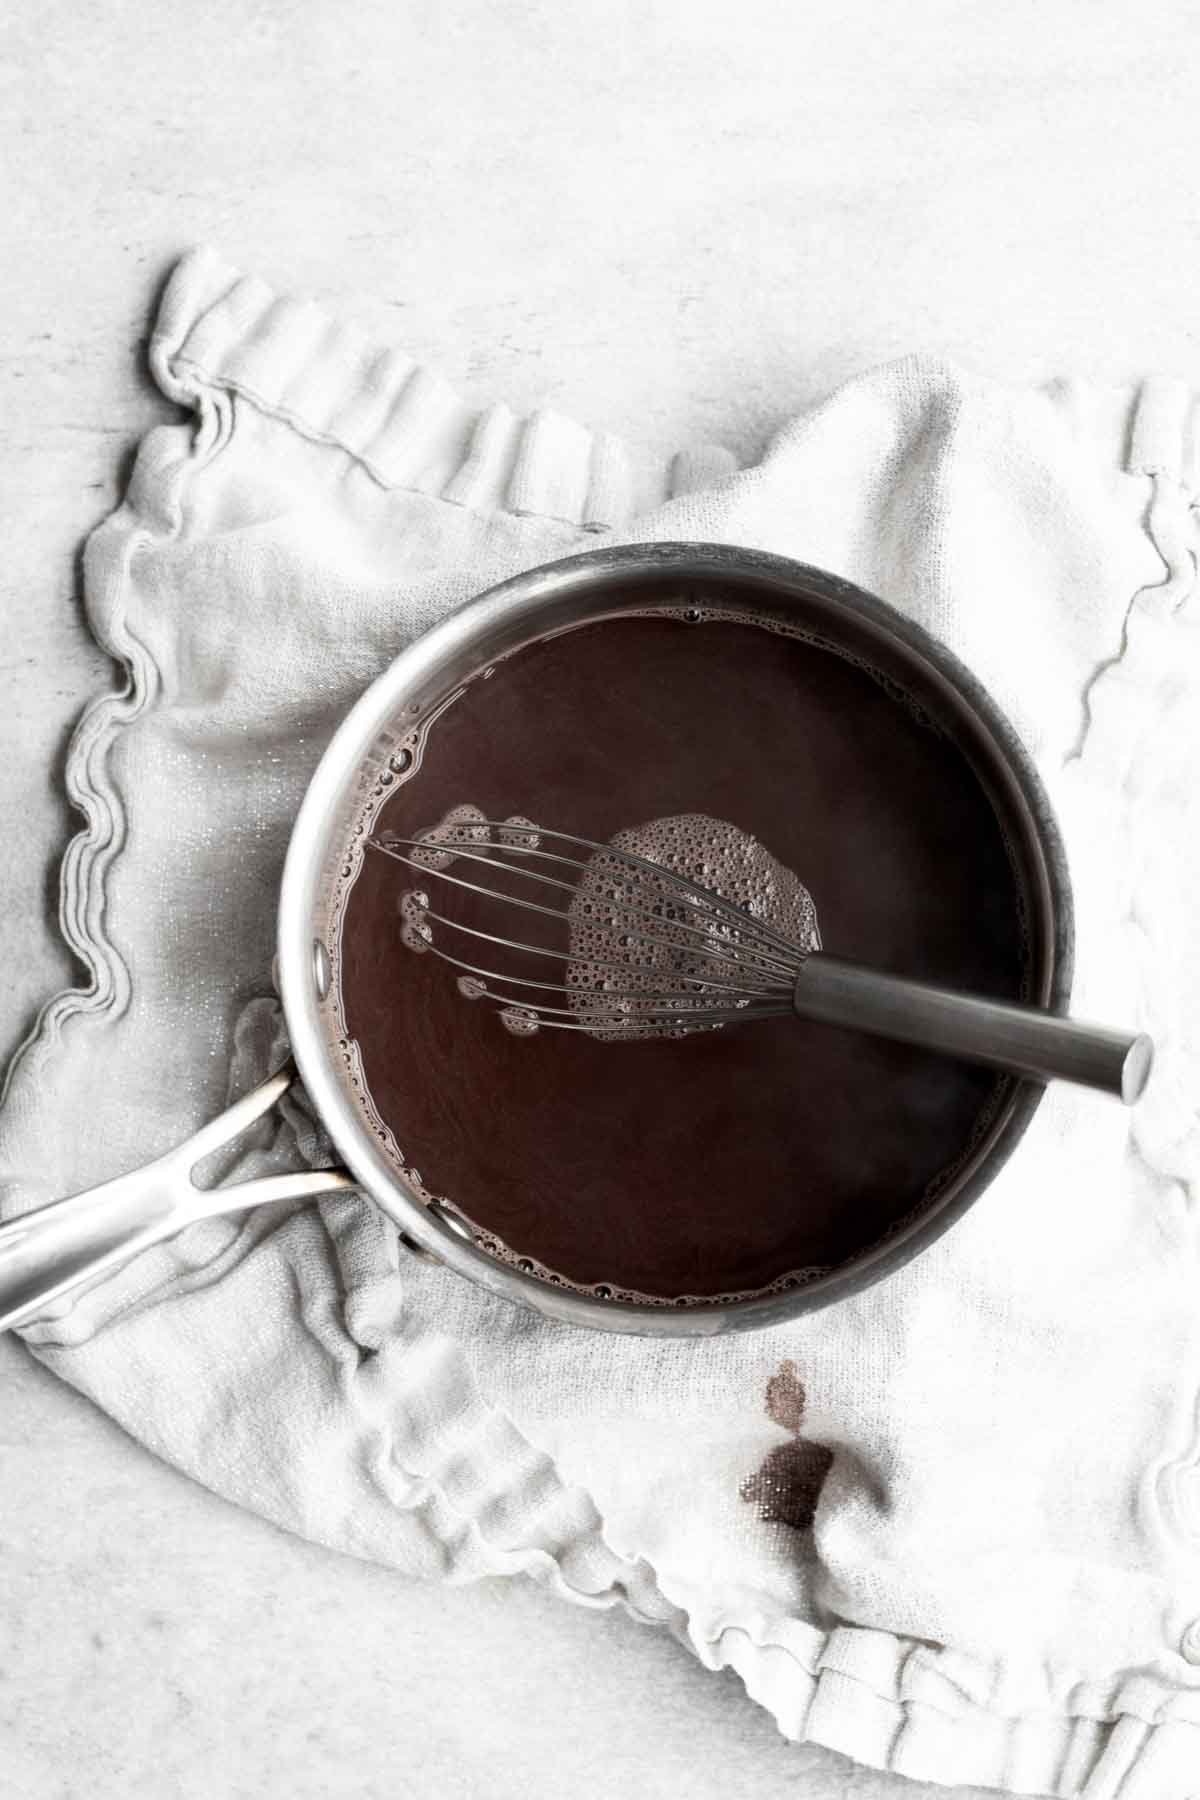
Step 2: Boil the Water and Combine the Boiling Water and Cocoa Powders
In a large heat safe measuring cup, heat the water in the microwave for about 4 minutes until boiling. (Or boil the water on the stovetop until there is a rapid boil).
Set a medium saucepan over medium heat on the stove. Add in the boiling water and cocoa powders; whisk to combine.

Step 3: Add in the Sugar and Chocolate Chips
Whisk in the granulated sugar and chocolate chips until they are fully dissolved.
Step 4: Add the Cornstarch Water and Salt and Bring to a Boil
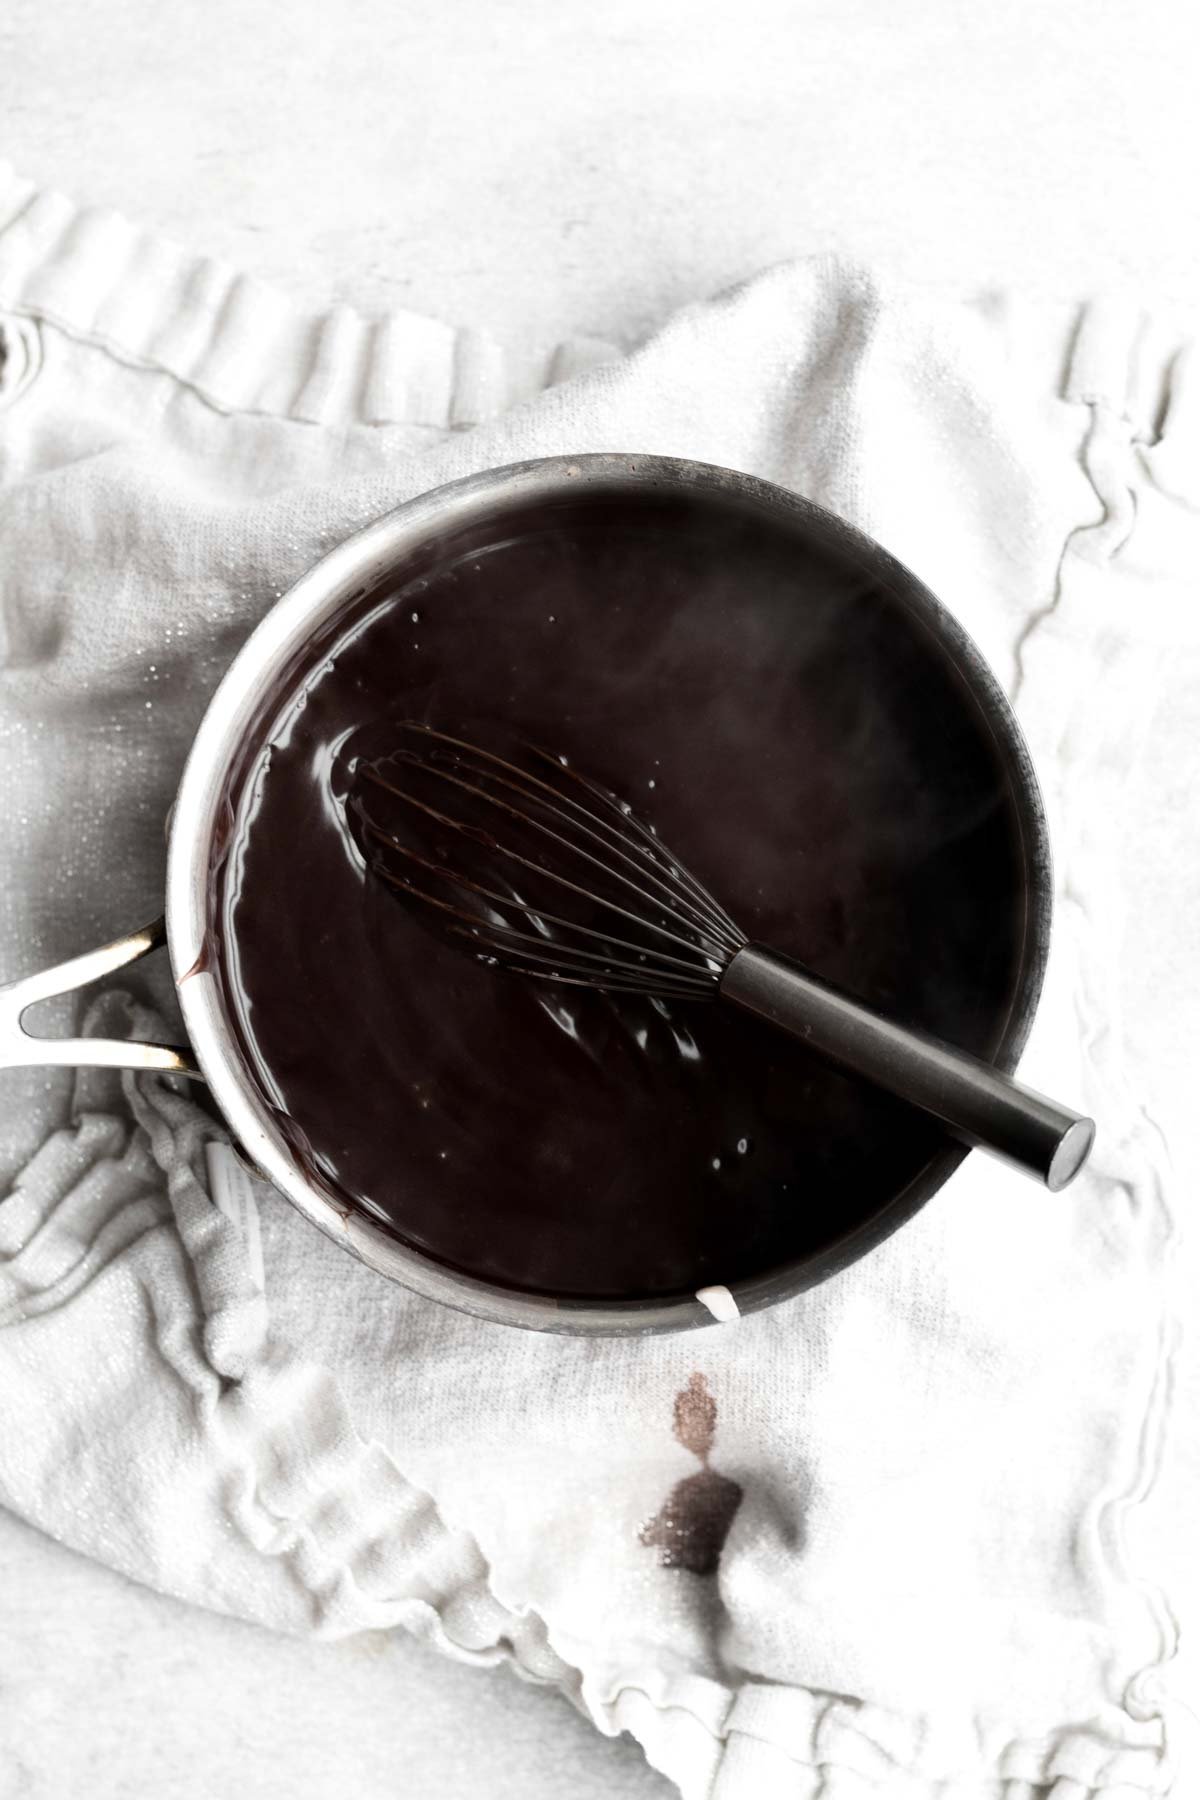
Whisk in the cornstarch water and salt until combined.
Whisking the entire time, bring the pudding to a boil. Once boiling, continue to whisk and boil for one minute. Then immediately remove from the heat.
Step 5: Whisk in the Vanilla and Vegan Baking Stick
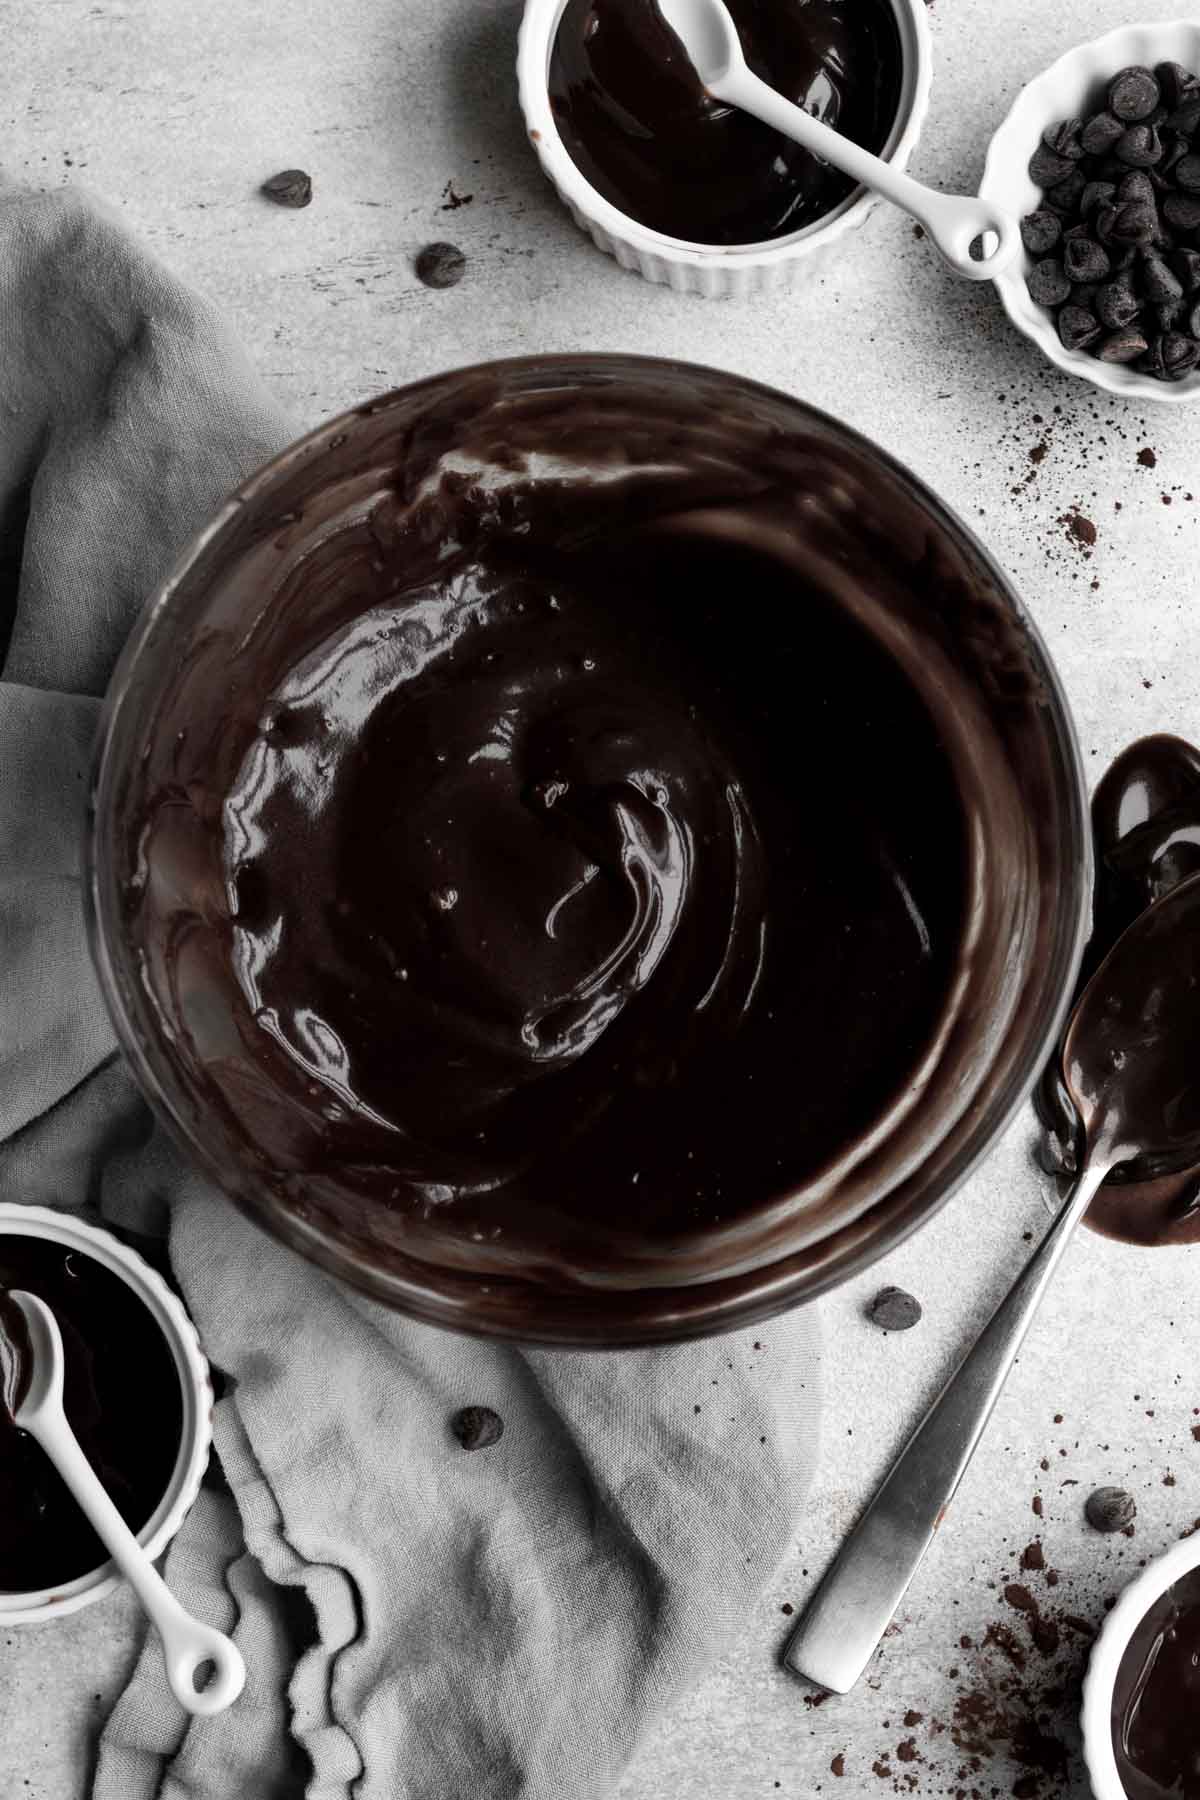
Once off the heat, immediately whisk in the vegan baking stick and vanilla until fully melted and combined.
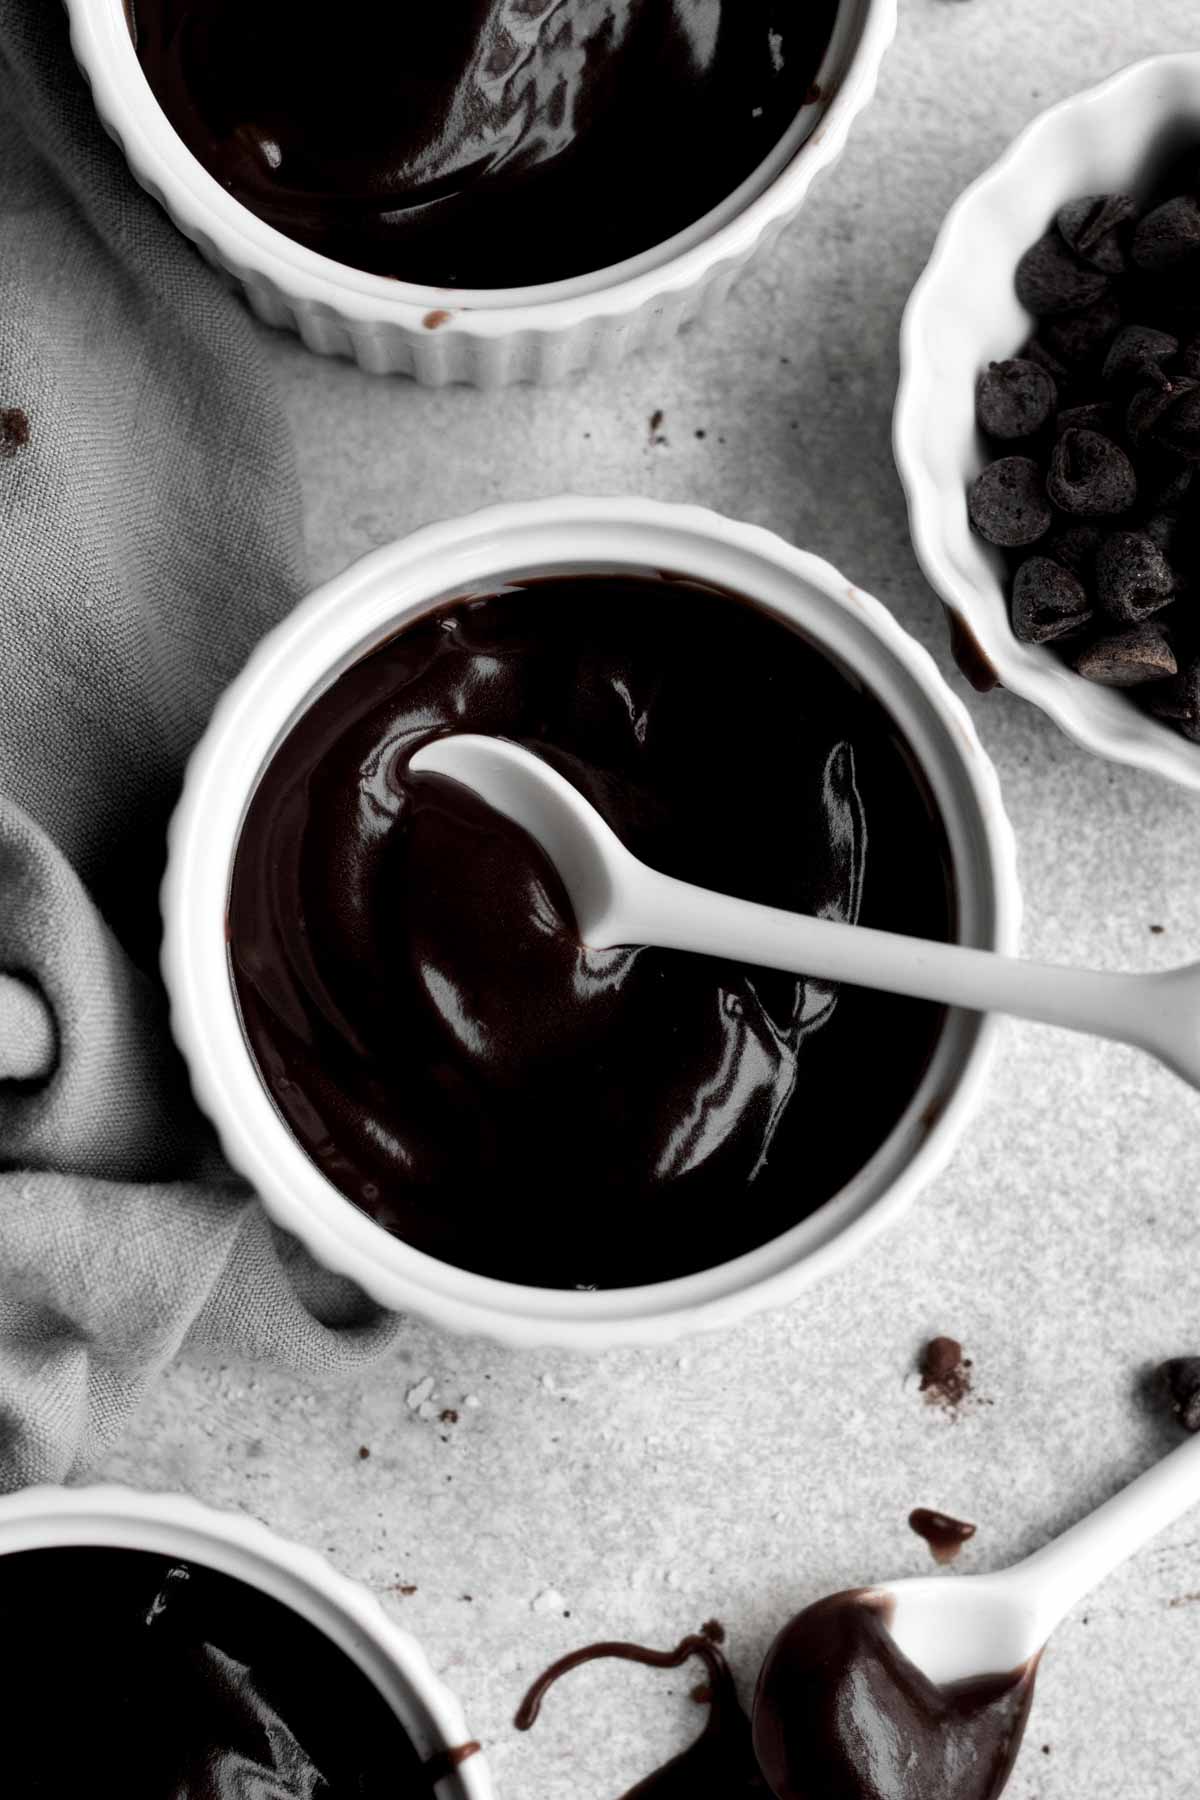
Leave on the counter, whisking periodically until room temperature. Once cool, transfer to a heat safe bowl, cover with plastic wrap (or place in an airtight container) and place in the fridge.
Make sure the pudding is cool before covering otherwise a wet layer will form on top.
Expert Baking Tips
- Get Your Ingredients Ready Ahead of Time- Get all your ingredients ready to go before you start making the pudding. You have to whisk non stop during the recipe so if you have to stop whisking to get ingredients, your pudding could burn. I measure everything out and have it set in small bowls next to my stove so I can dump them in as I go. This means you’ll need to mix your cornstarch water together beforehand. Also, have your water boiled and ready to go. I boil mine in the microwave but you can also boil it right on the stove.
- Use 2 Types of Cocoa Powder- The 2 types of cocoa powders give the cookies their dark hue. If you only have one type on hand, use natural unsweetened or dutch...just know their color will not be as dark as mine. DO NOT use dark alone; it will make your pudding too dry and bitter.
- Let the Pudding Cool- Let the pudding stay at room temperature until it is no longer hot before storing. If you cover the hot pudding, it will form a wet layer in the fridge.
Recipe FAQs
It doesn’t boil the way that water does. It gets deep bubbles that pop up a few at a time.
Once you see your first one of these types of bubbles, set your timer for one minute and still whisk but let it continue to bubble.
Once the minute is up, immediately remove the pan from the heat.
Instead of cornstarch mixed with water, use 4 tablespoons of gluten free flour to thicken the pudding.
You’ll most likely need to use an immersion blender at the end to try to eliminate any lumps of flour that may form.
Also, the pudding will have a slightly different flavor. I prefer the cornstarch water mixture.
Can I make this pudding ahead of time?
You can make this pudding the night before you need to use it.
Store it in a bowl covered with plastic wrap or in an airtight container.
Once completely cool, store extra dairy free pudding in an airtight container or a bowl covered in plastic wrap in the fridge for up to 2 days.
Before consuming, make sure to give it a good stir.
I do not recommend freezing the pudding. It is best made fresh.
More Chocolate Recipes You'll Love

Did you try this recipe? Please leave me a ⭐ review below!
Don’t forget to tag me on Instagram @laneandgreyfare and follow along on Pinterest, Facebook and YouTube! Enjoy!!!
📖 Recipe
Dairy Free Pudding
Ingredients
- 2 cups boiling water
- 2 tablespoons cocoa powder I use 1 tablespoon Dutch or Natural Unsweetened and 1 tablespoon Dark
- ¾ cup plus 1 tablespoon granulated sugar
- 1 oz chocolate chips about 65 regular size chocolate chips
- 4 level tablespoons of cornstarch mixed with 3 tablespoons cold water
- ¼ teaspoon kosher salt
- 2 tablespoons unsalted vegan baking stick or unsalted butter if you’re not dairy free/vegan
- 1 teaspoon pure vanilla extract
Instructions
- In a small bowl, mix together the 4 tablespoons cornstarch and the 3 tablespoons of water until it’s thin and watery. It will be thick and tacky at first. Set aside.Get all the ingredients measured out and ready to go next to the stove because you need to be whisking the entire time.
- In the large heat safe measuring cup, heat the 2 cups water in the microwave for about 4 minutes until boiling. Or you can heat it on the stove until it comes to a rapid boil.
- Set a medium saucepan over medium heat on the stove. Add in the boiling water and 2 tablespoons cocoa powder and whisk to combine.
- Whisk in the ¾ cup plus 1 tablespoon granulated sugar and 1 ounce chocolate chips until they are fully dissolved.
- Whisk in the cornstarch water and ¼ teaspoon kosher salt until combined.
- Whisking the entire time, bring the pudding to a boil. Once boiling, continue to whisk and boil for one minute, whisking the entire time. Once the minute is up, immediately remove from the heat.
- Once off the heat, whisk in the 2 tablespoons vegan baking stick and 1 teaspoon pure vanilla extract until fully melted and combined.
- Leave the pan on a cutting board on the counter, whisking periodically until the pudding has cooled significantly.
- Once it has cooled a bit, transfer to a heat safe bowl and continue to let it cool on the counter until it gets close to room temperature. Give it another whisk and refrigerate with nothing on top.
- Periodically check the pudding in the fridge and once it’s cold, place plastic wrap on top.
- If you put the plastic wrap on top when it’s warm there will be lots of condensation and the top of the pudding will be wet.
Video
Notes
Nutrition
The recipe for the chocolate pudding was from NYT's Blackout Cake Recipe.
Alicia says
An easy chocolatey pudding!!
Lee says
Thank you!
Anne888 says
Loved this! I used the chocolate pudding to make a small trifle with some left over Red Velvet cupcakes that didn’t get frosted. It was small because some was eaten by my teenager before it cooled enough for the trifle (which was just the classic layered dessert with additional raspberries). The pudding and cake parts were Lane and Grey Fare recipes.
Lee says
Thanks so much! SO glad and a wonderful idea!
Julie says
can you replace the sugar with something else
Lee says
I have not tried with a substitute but many people make my recipes using monk fruit sweetener, swerve or stevia. Hope this helps!
john says
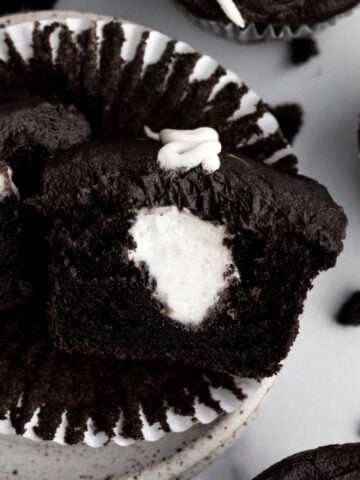
This pudding makes the perfect filling for my cupcakes!
Alene says
My husband will love this. He loves dark, dark chocolate and he won't have to put up with my rice flour free concoctions. Thank you.
Lee says
Thanks, Alene!
Jodi says
Hi, this looks great, however my daughter is allergic to corn. What is a suitable substitute thickener. I’ve tried arrowroot starch and don’t feel it thickens as well. We are celiac, egg free, dairy free and corn free, (+ over 200 food allergies 🙁
Lee says
Hi Jodi! Sorry to hear about all the allergies. Instead of cornstarch mixed with water, use 4 tablespoons of gluten free flour to thicken the pudding. Use an immersion blender at the end to try to eliminate any lumps of flour that may form. Please keep in mind, the pudding will have a slightly different flavor but it should do the trick! Hope this helps!