These Cocoa Pebble Treats are loaded with chocolate and marshmallows! They have mini marshmallows mixed into the treats themselves and are topped with a coating of chocolate crunch and then finished with a smooth chocolate topping. Best yet, they're gluten free, nut free, eggless and can easily be vegan!
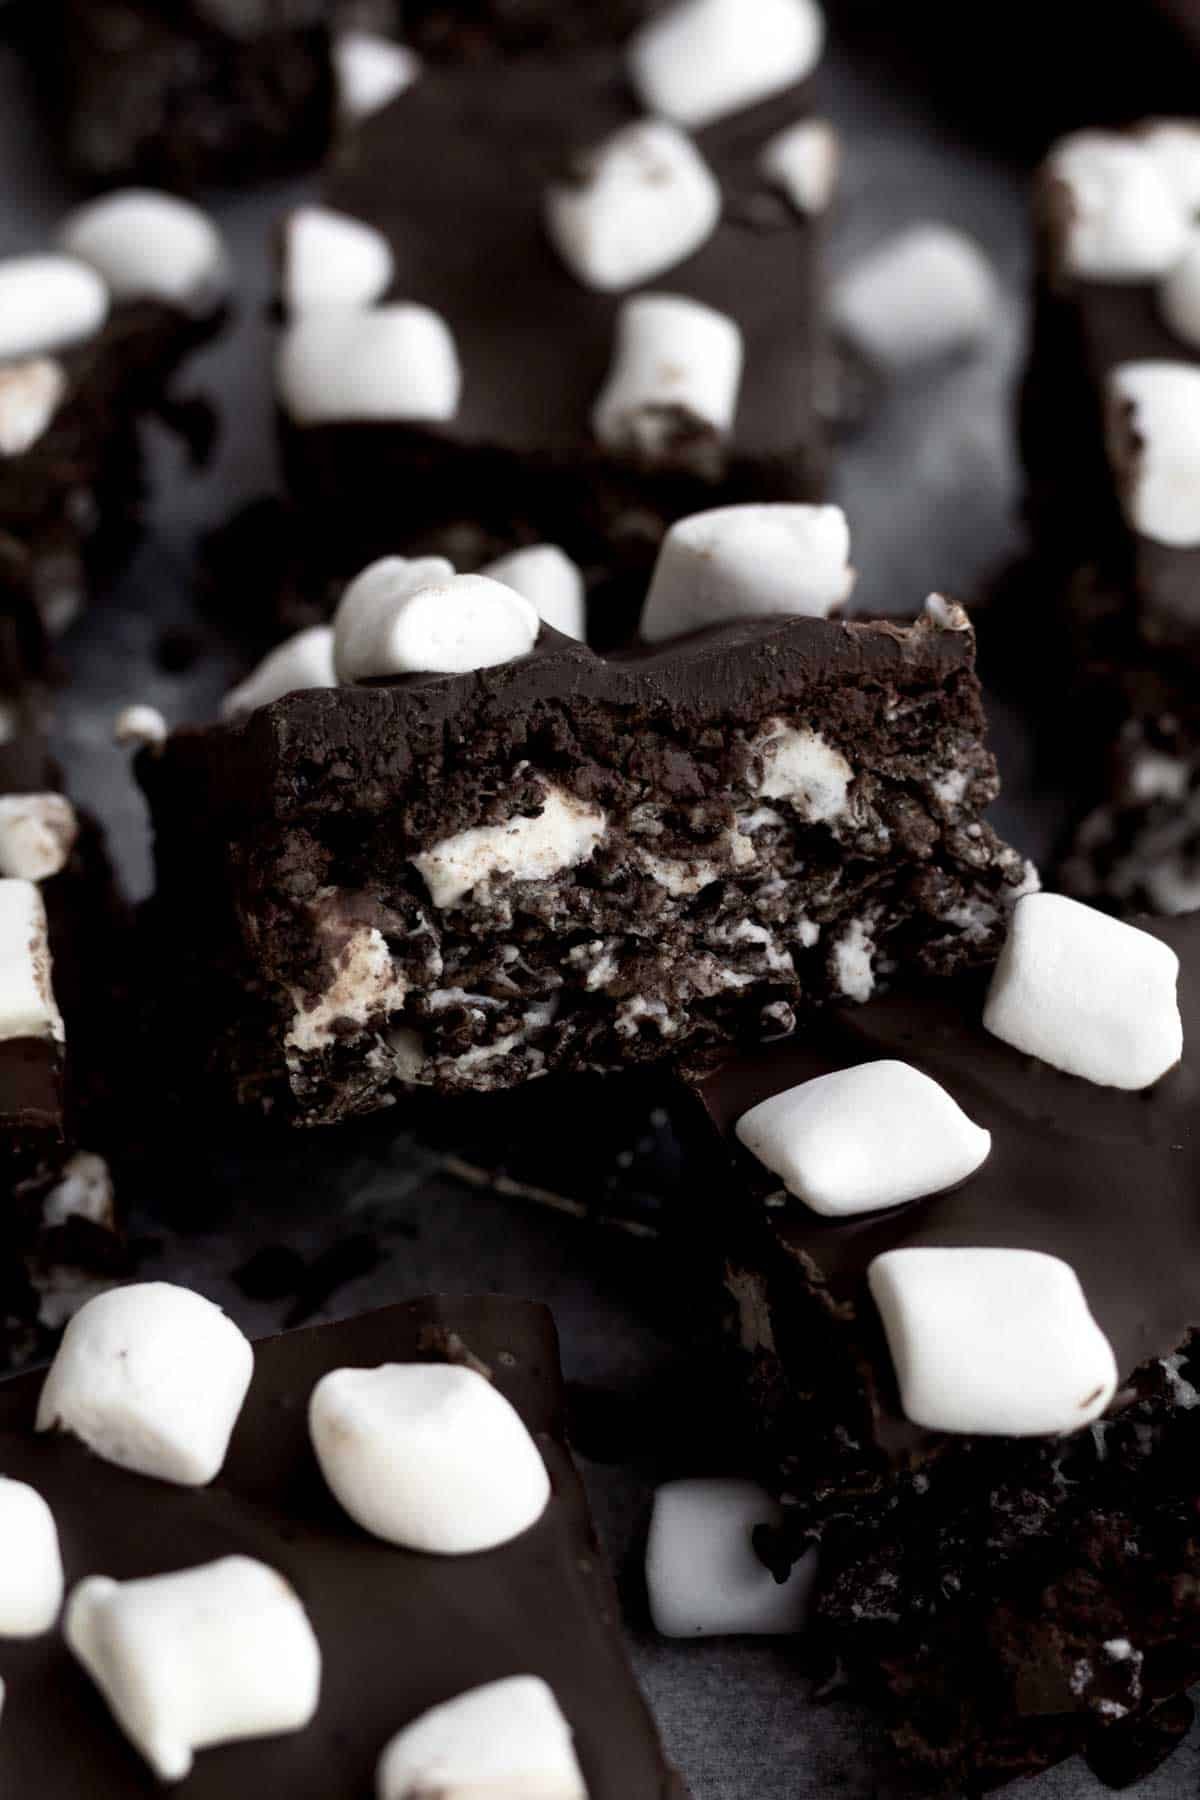
These Cocoa Pebble Treats are so easy to make! They're perfect for when you need a last minute dessert for the kids, a party or for a late night no bake snack! If you're a cocoa pebbles and fruity pebbles fan, make sure to check out my Fruity Pebbles Cookies, Fruity Pebbles Ice Cream and my Fruity Pebbles Treats!
For more easy no-bake treats, try my Cookie Mug Cake, my Chocolate Wow Butter Bars, S'mores Snack Mix, or my Oreo Fudge!
Reasons to Love These Treats
- Allergy Friendly- This recipe is gluten free, nut free, eggless and easily vegan.
- Chocolate- These treats are topped with both a chocolate crackle and smooth melted chocolate. If you want to skip the crackle you can just do the melted chocolate.
- Marshmallows- They're made with mini vegan marshmallows that are also mixed into the treats themselves and sprinkled on top.
- Easy to Make- They're no-bake and can be made in the microwave! If you love microwave baking, check out my Chocolate Chip Mug Cake!
Ingredient Notes
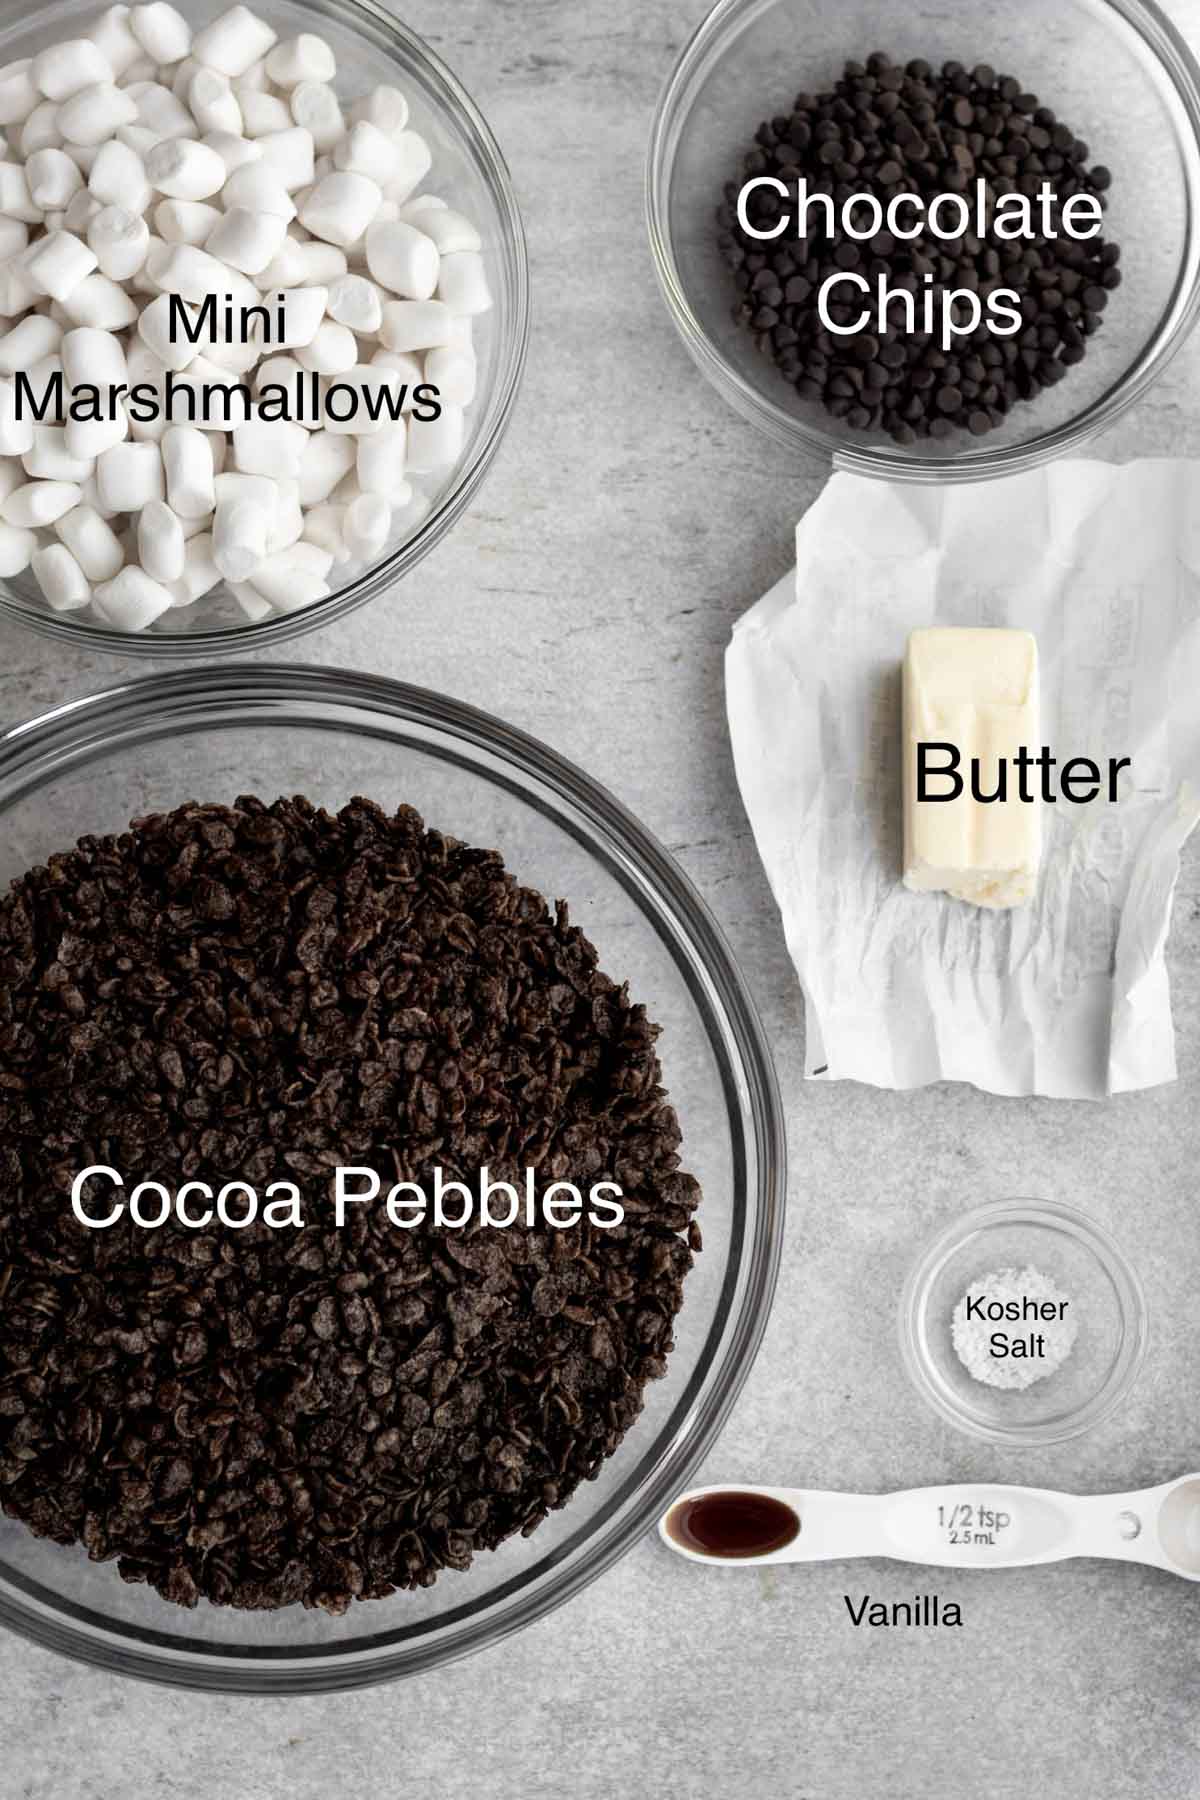
- Chocolate Chips- To keep vegan, make sure to use gluten free/vegan chocolate chips. I love these allergy friendly chocolate chips.
- Unsalted Butter/ Vegan Baking Stick- Use vegan baking sticks to make this recipe vegan.
- Pure Vanilla Extract- Make sure the vanilla you use is pure and gf or the treats will taste chemically.
- Kosher Salt- To help bring out all the flavors.
- Marshmallows- I like to use 10 ounces of mini marshmallows. I find they melt more evenly, especially with vegan marshmallows. I use the same ones in my Chocolate Chip Marshmallow Cookies.
- Cocoa Pebbles- You can use whatever gluten free/vegan chocolate rice cereal that you desire.
See recipe card below for a full list of ingredients and measurements.
Substitutions and Variations
How to Make these into Vegan Treats
- Use a gluten free/vegan chocolate rice cereal. Make sure to read the labels if you're allergic to nuts.
- Only use unsalted vegan baking sticks.
- Use chocolate chips that are gluten free, nut free and vegan.
- Make sure the marshmallows you use are gluten free and vegan.
This recipe has not been tested with some of these substitutions and/or variations due to celiac disease and food allergies. If you change any of the ingredients, please let us know how the recipe turned out in the comments below!
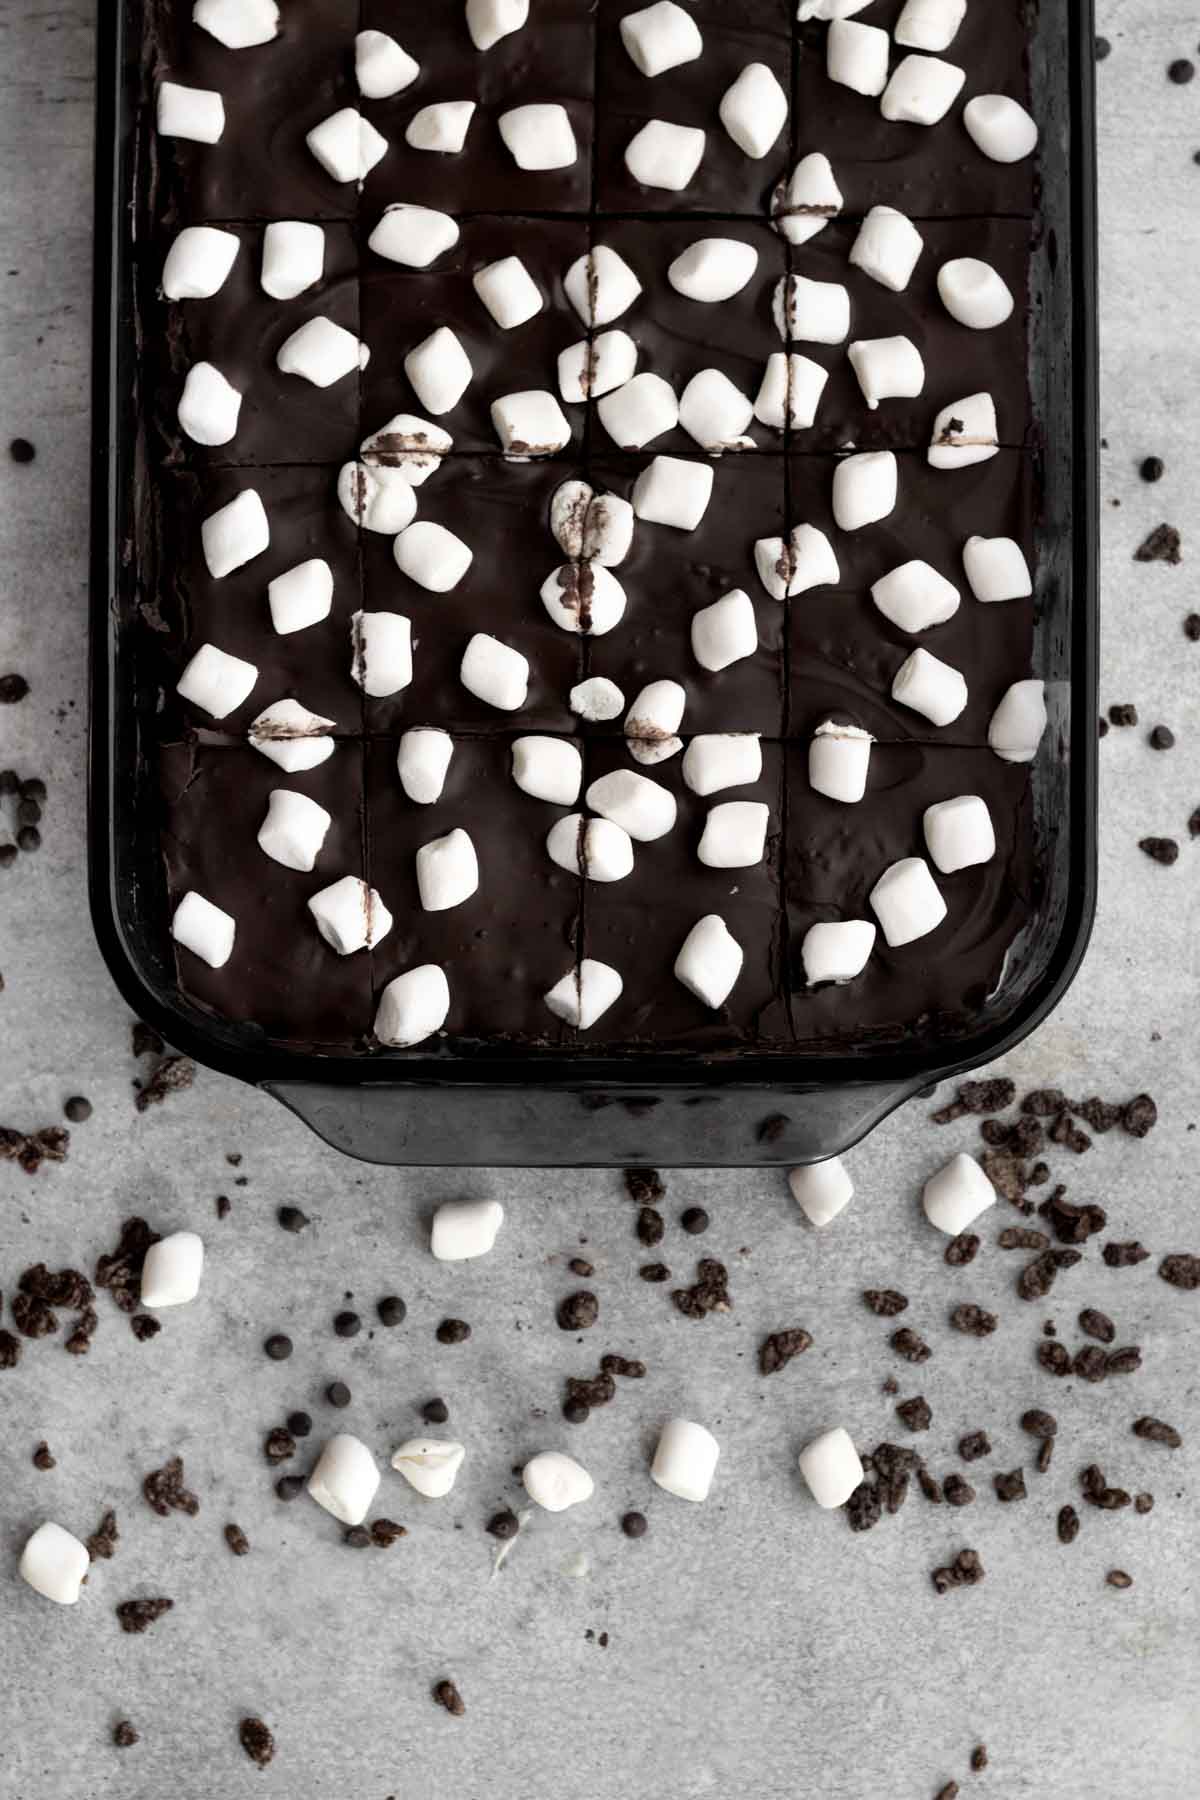
How to Make Cocoa Pebble Treats
Here are the step by step instructions to make these gluten free cocoa krispie treats!
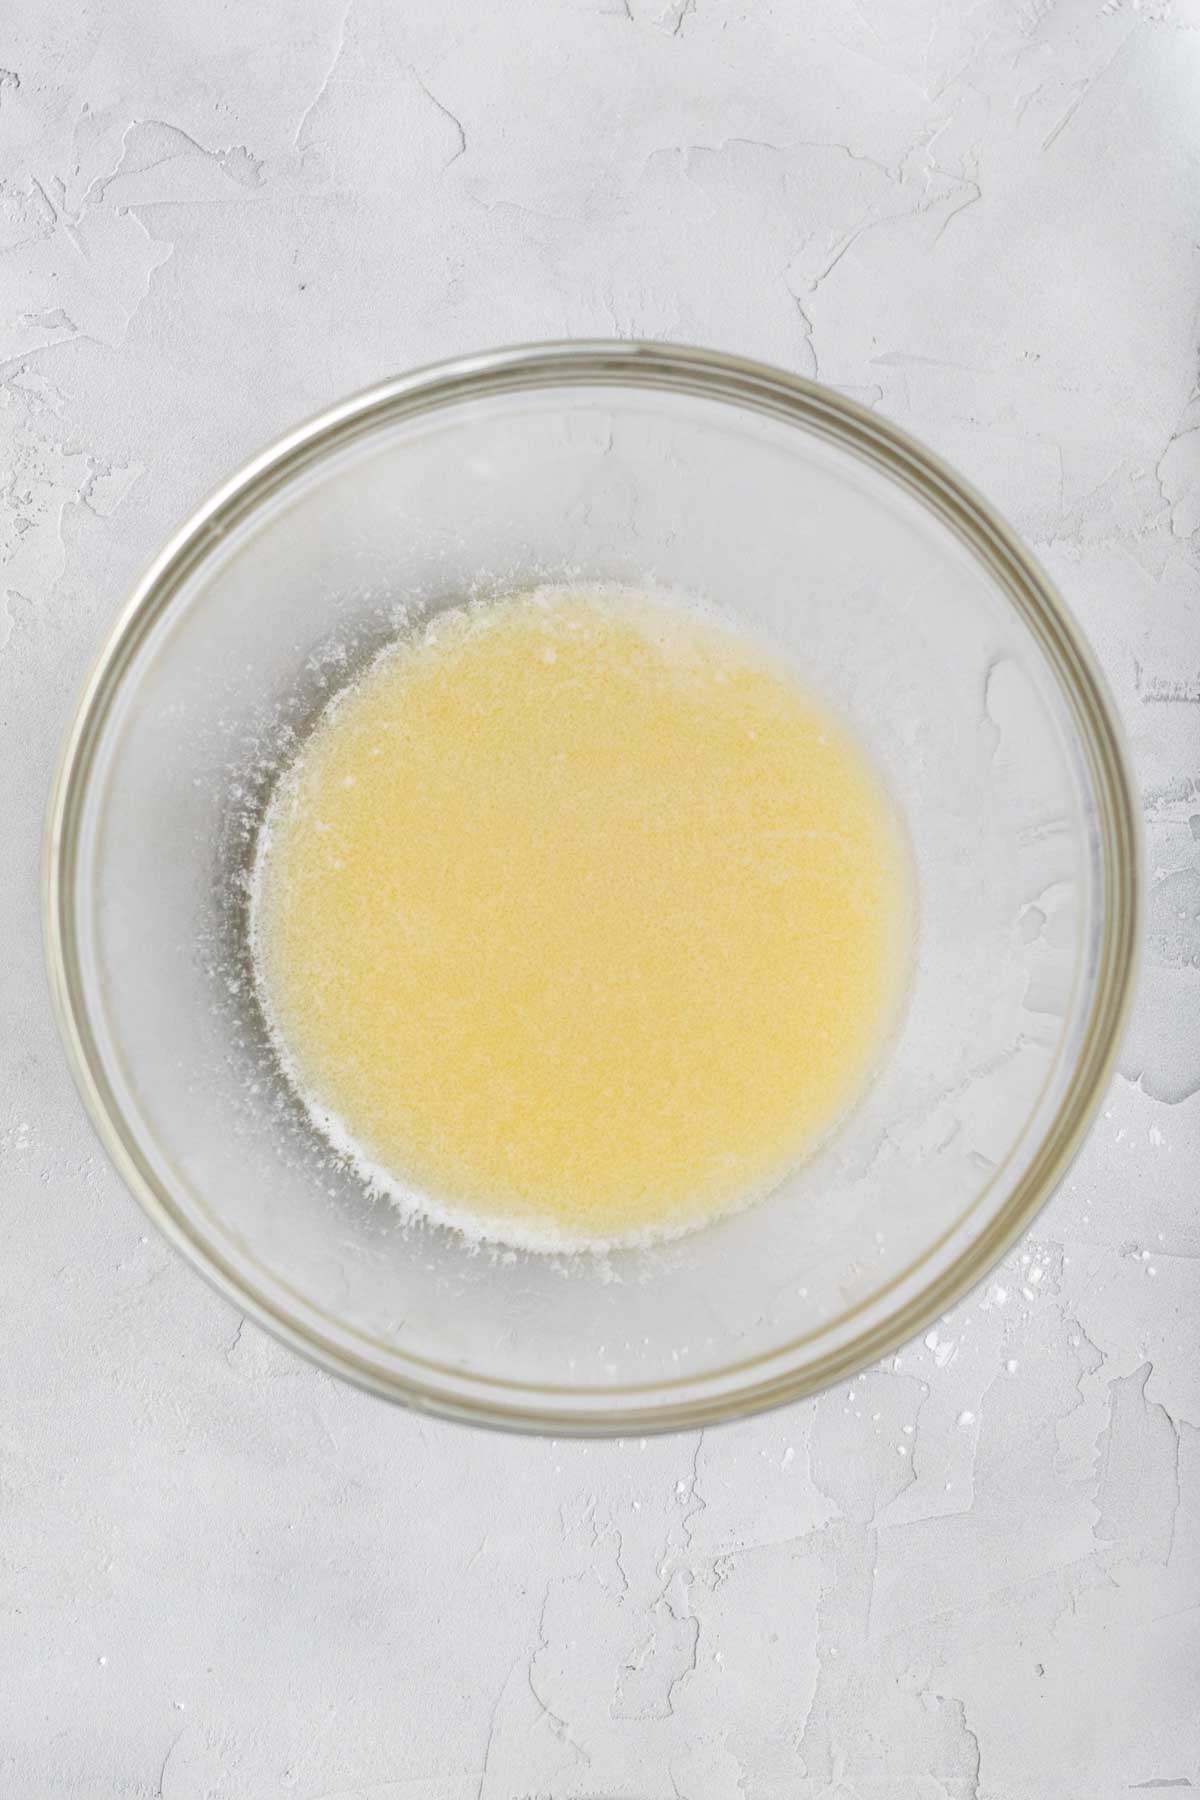
Step 1: Melt The Butter
In the microwave safe bowl, melt the butter in 20 seconds increments until completely melted.
Step 2: Add in the Salt, Vanilla and Marshmallows
Whisk the salt and the vanilla into the melted butter.
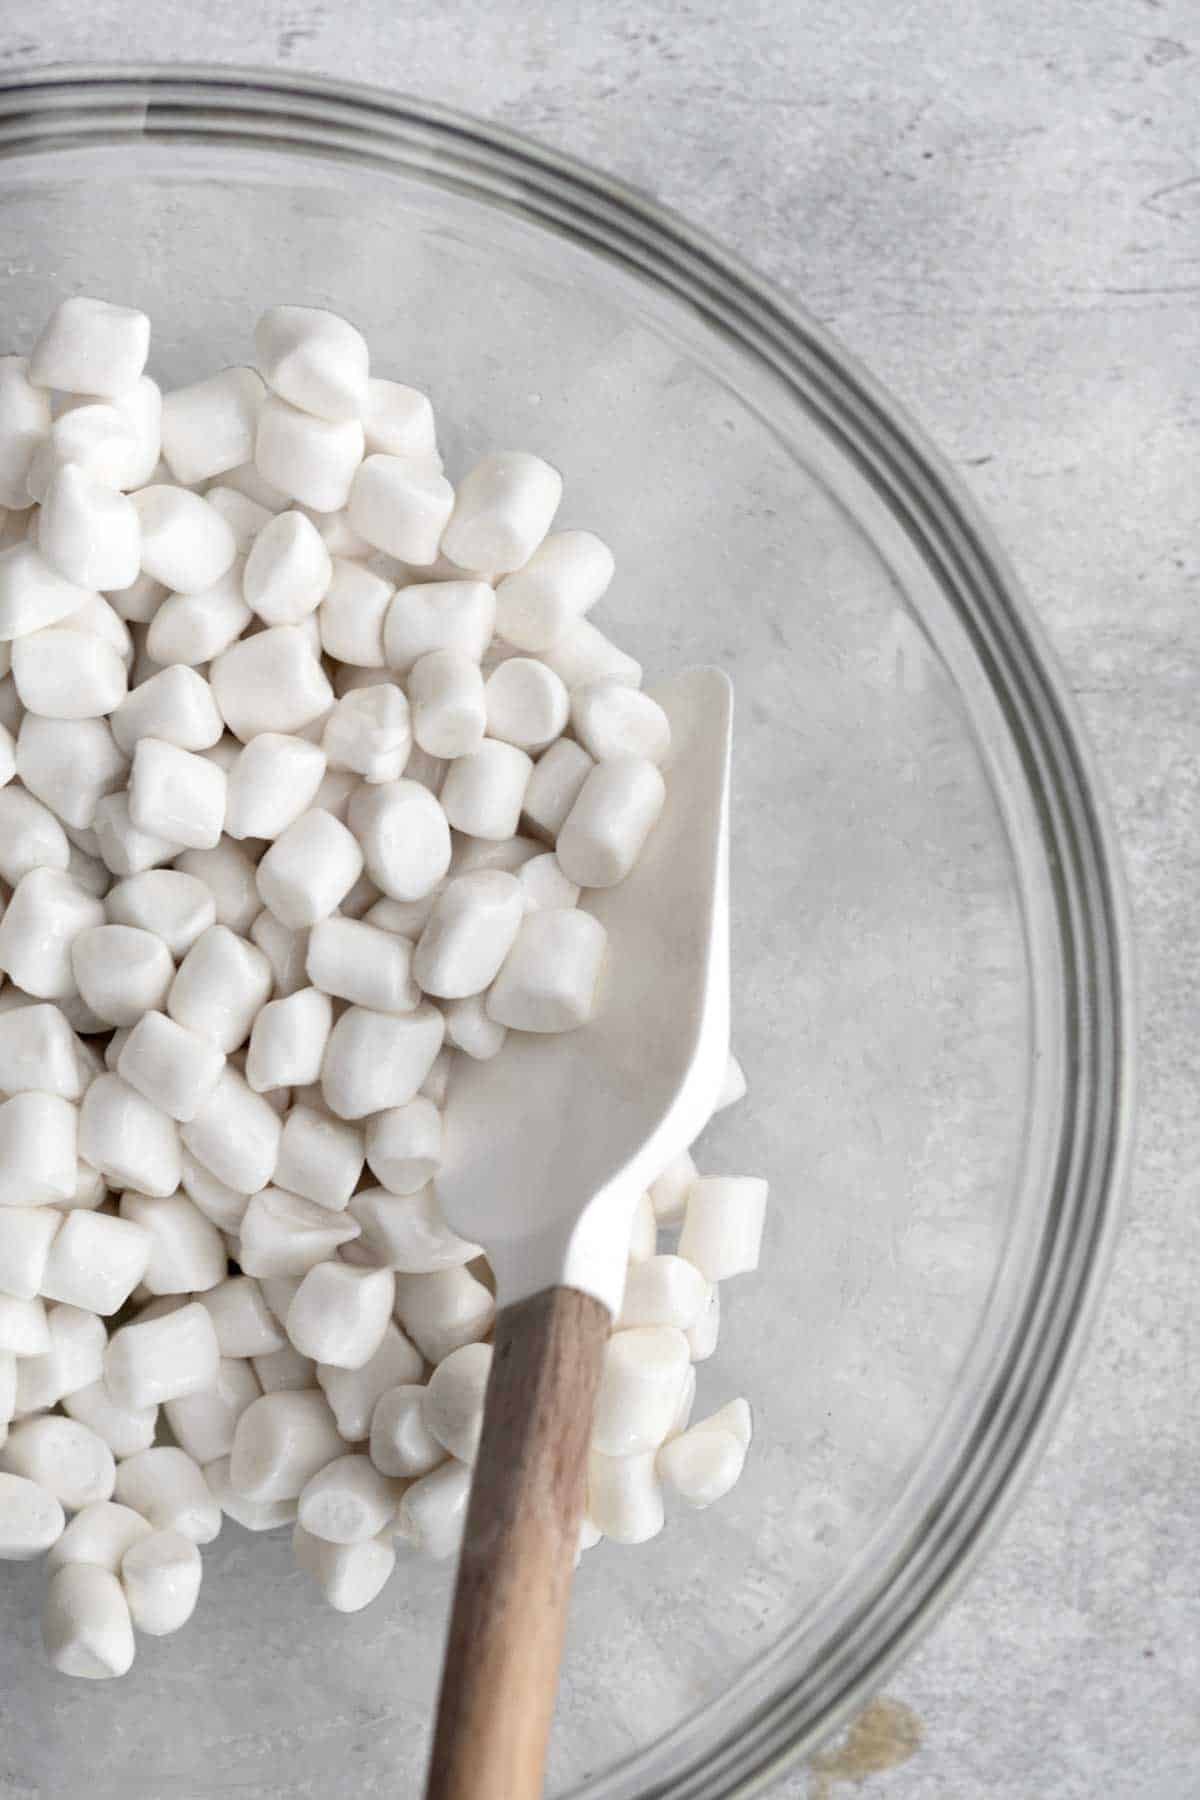
Use a spatula to mix in 10oz of mini marshmallows. Coat them all with the melted butter.
Step 3: Melt the Marshmallows
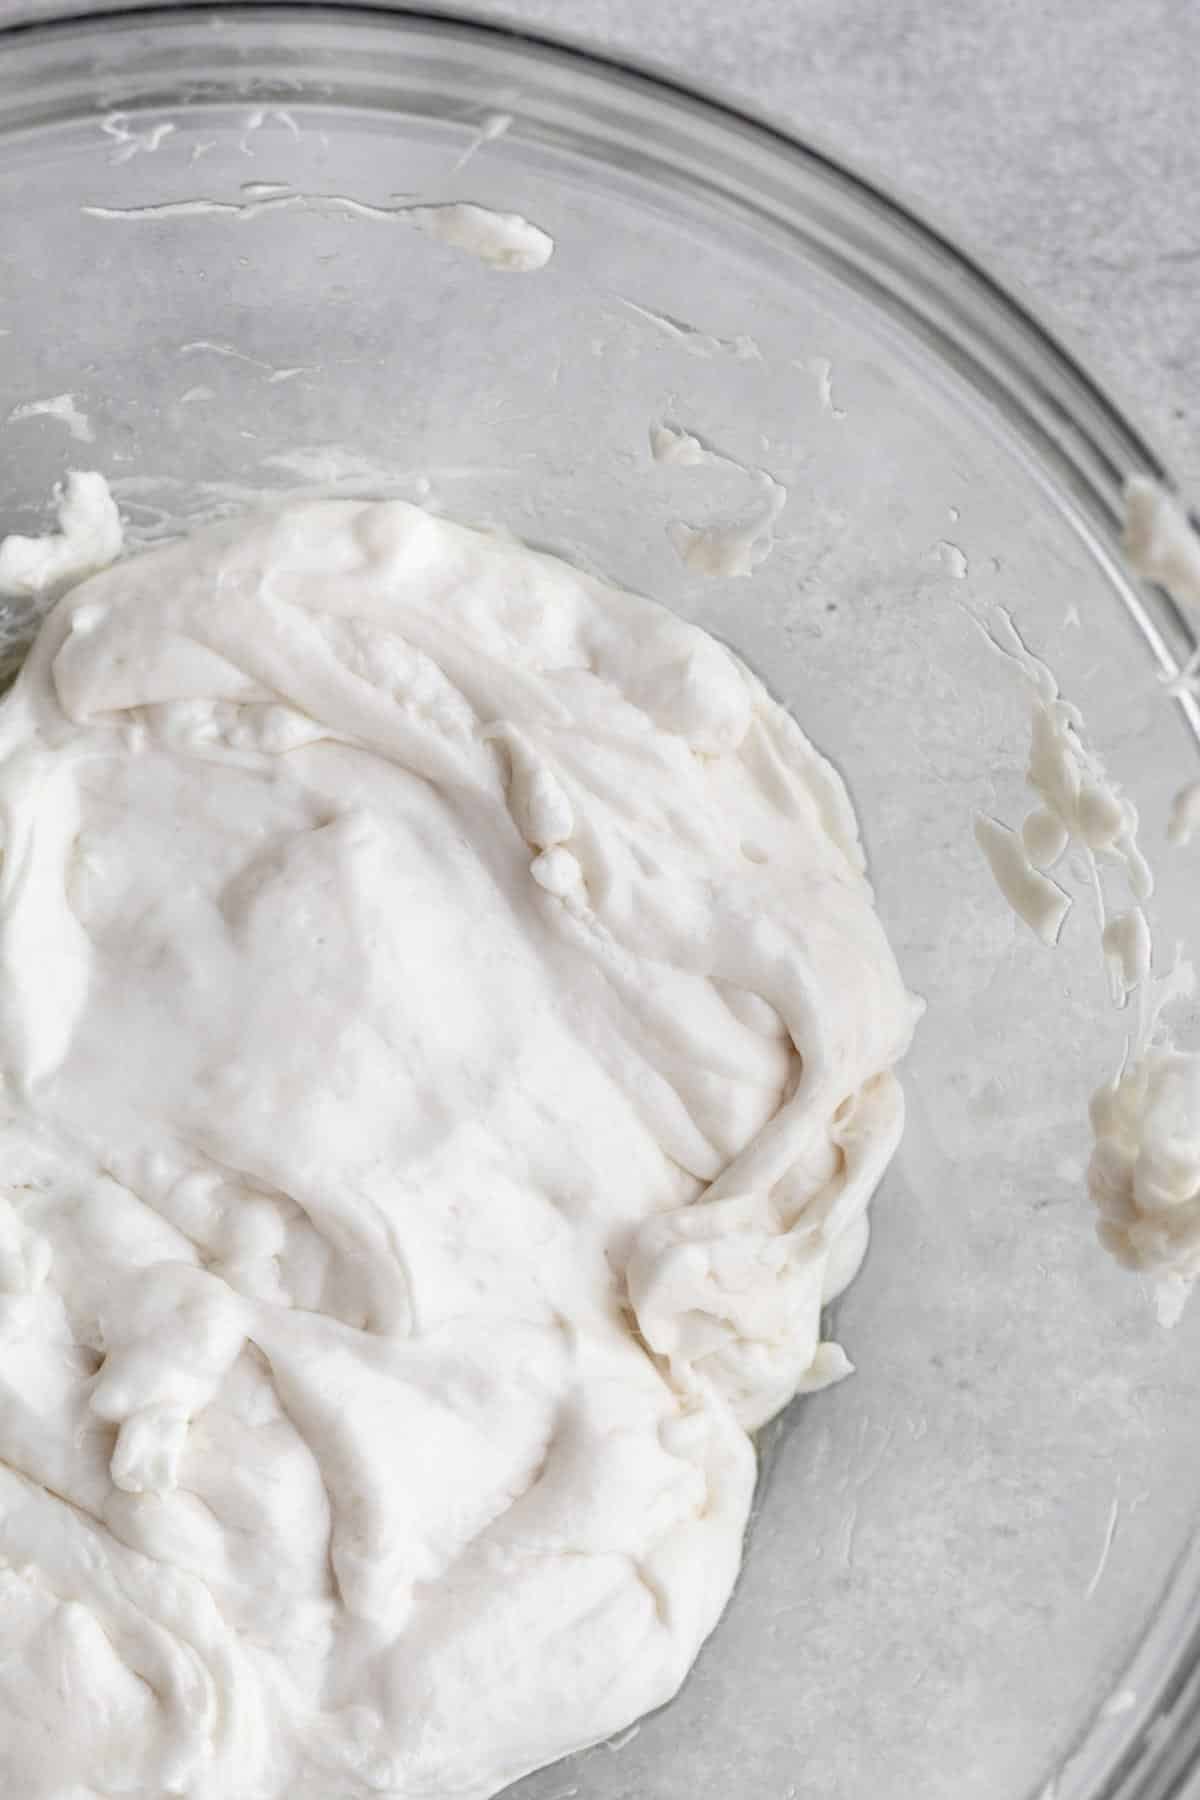
Microwave in 40 second increments, whisking after each time, until the marshmallows are melted fully incorporated with he butter.
If using vegan marshmallows, you may need to whisk hard and quickly to make sure the butter and marshmallows are incorporated.
Step 4: Add the Cocoa Pebbles and Mini Marshmallows
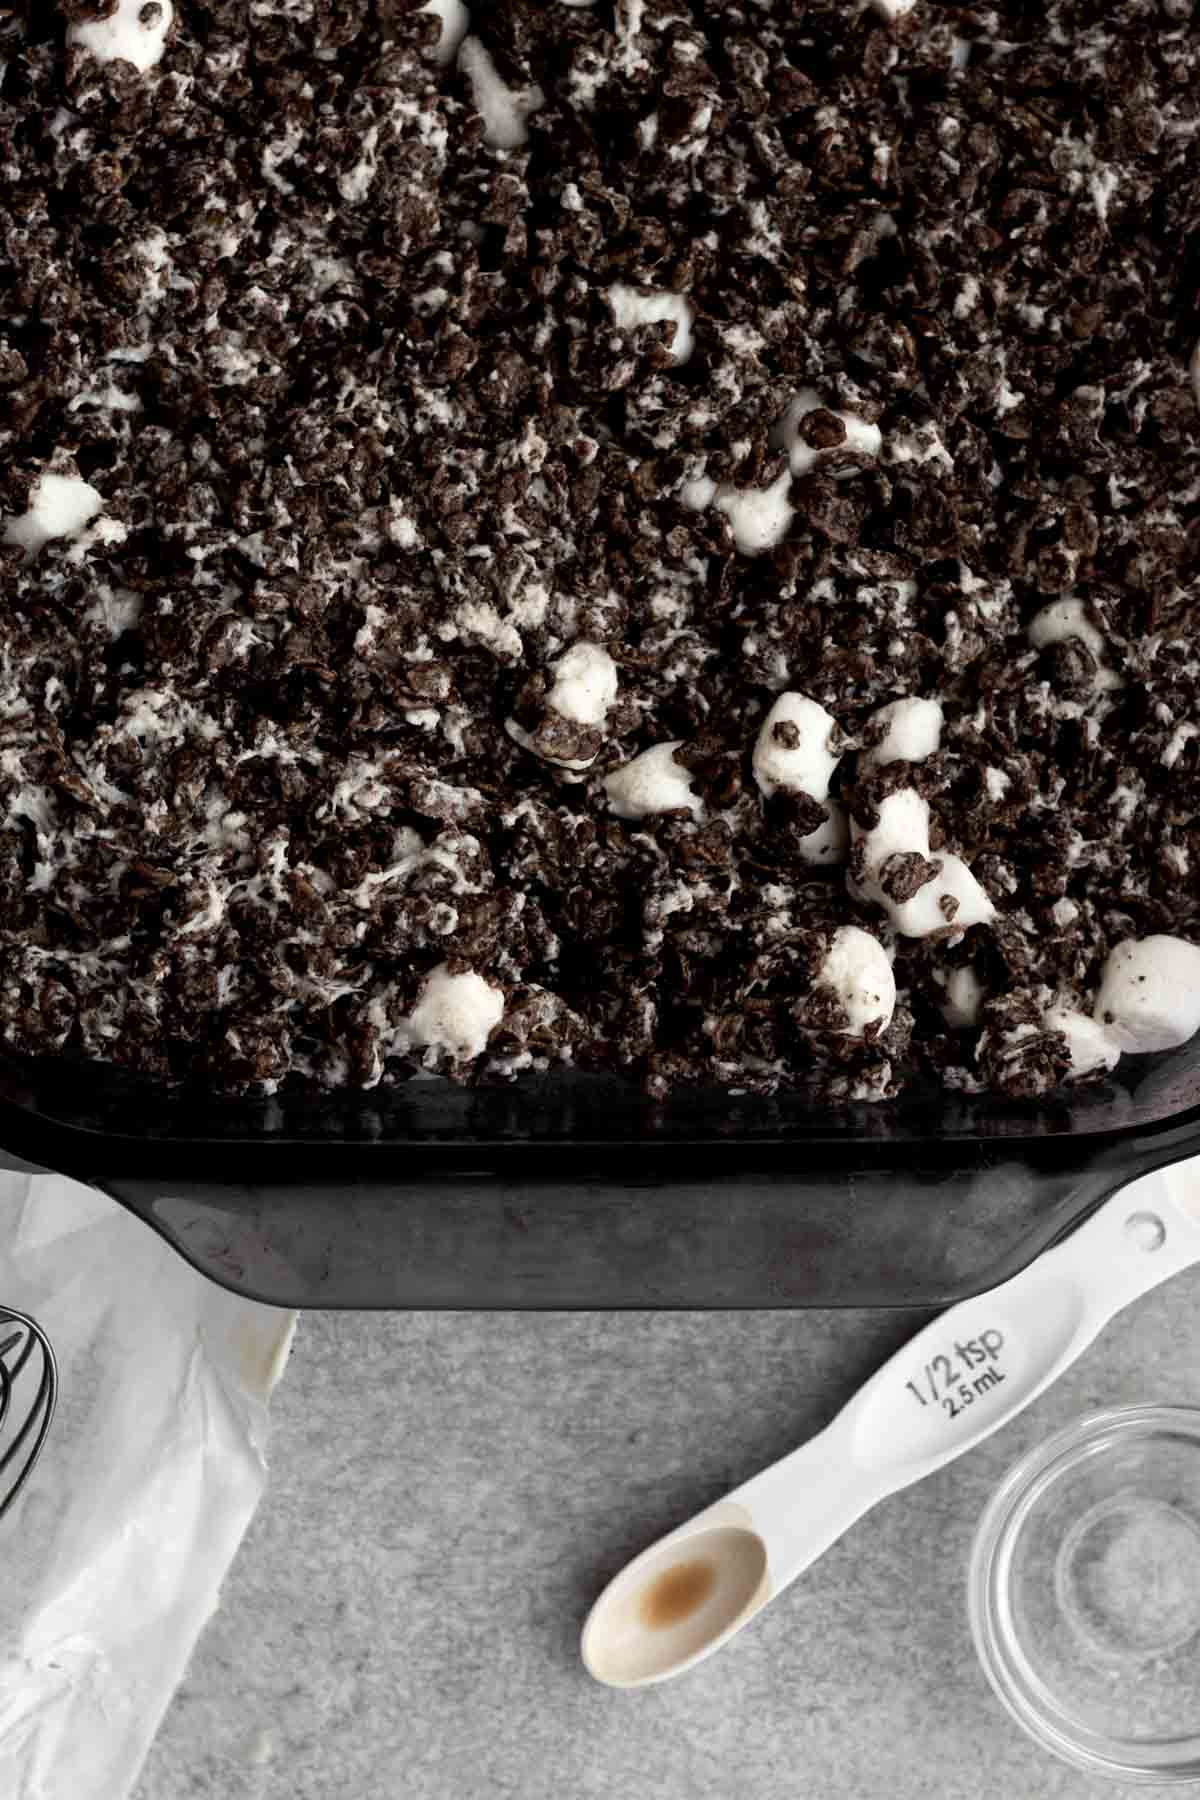
Use a spatula to mix in 6 cups of cocoa pebbles and 1 cup of mini marshmallows into the melted marshmallows.
Press the treats into a greased 9 x 13 pan and set aside.
Step 5: Make the Chocolate Crunch
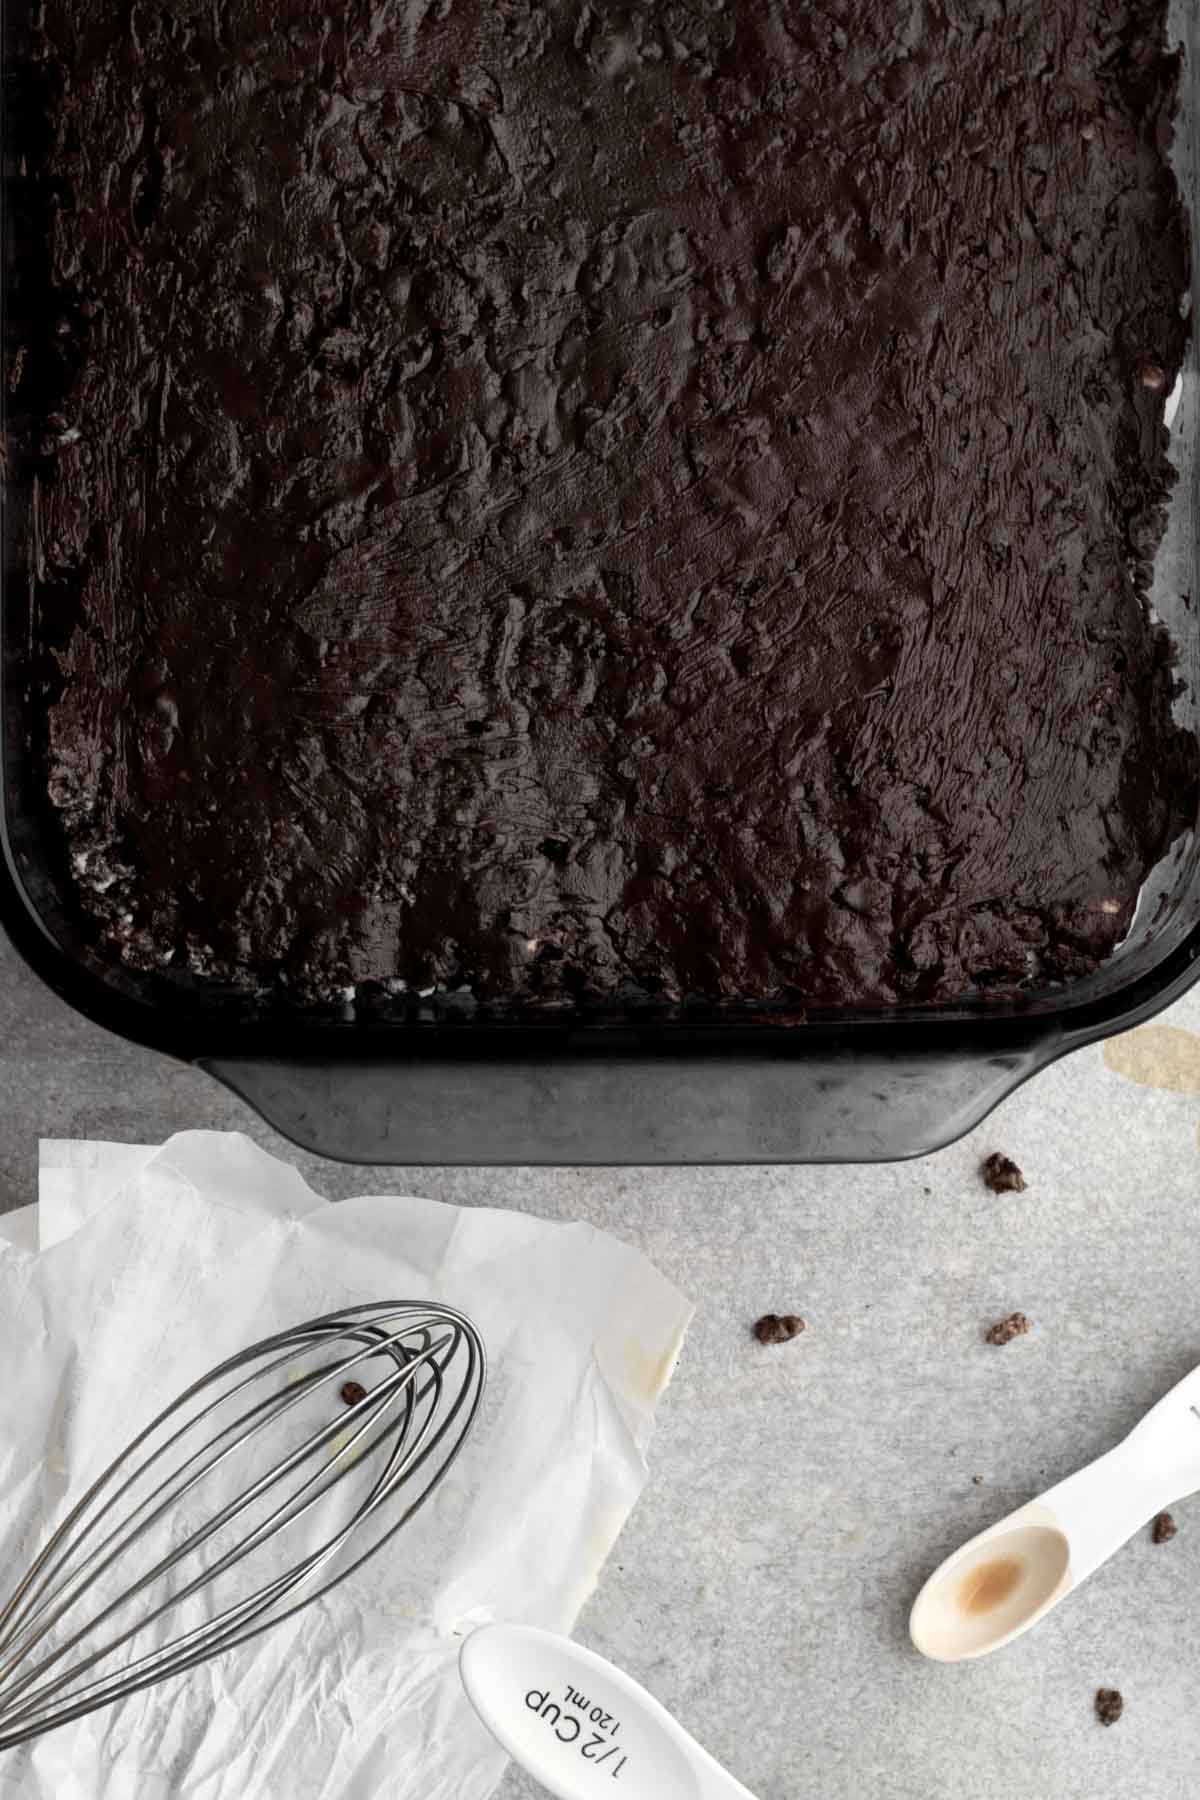
Microwave 2 cups of chocolate chips with 5 tablespoons of butter in 20 second increments until melted.
Stir in the ¾ cup of cocoa pebbles. Spread the mixture on top of the cocoa pebble treats.
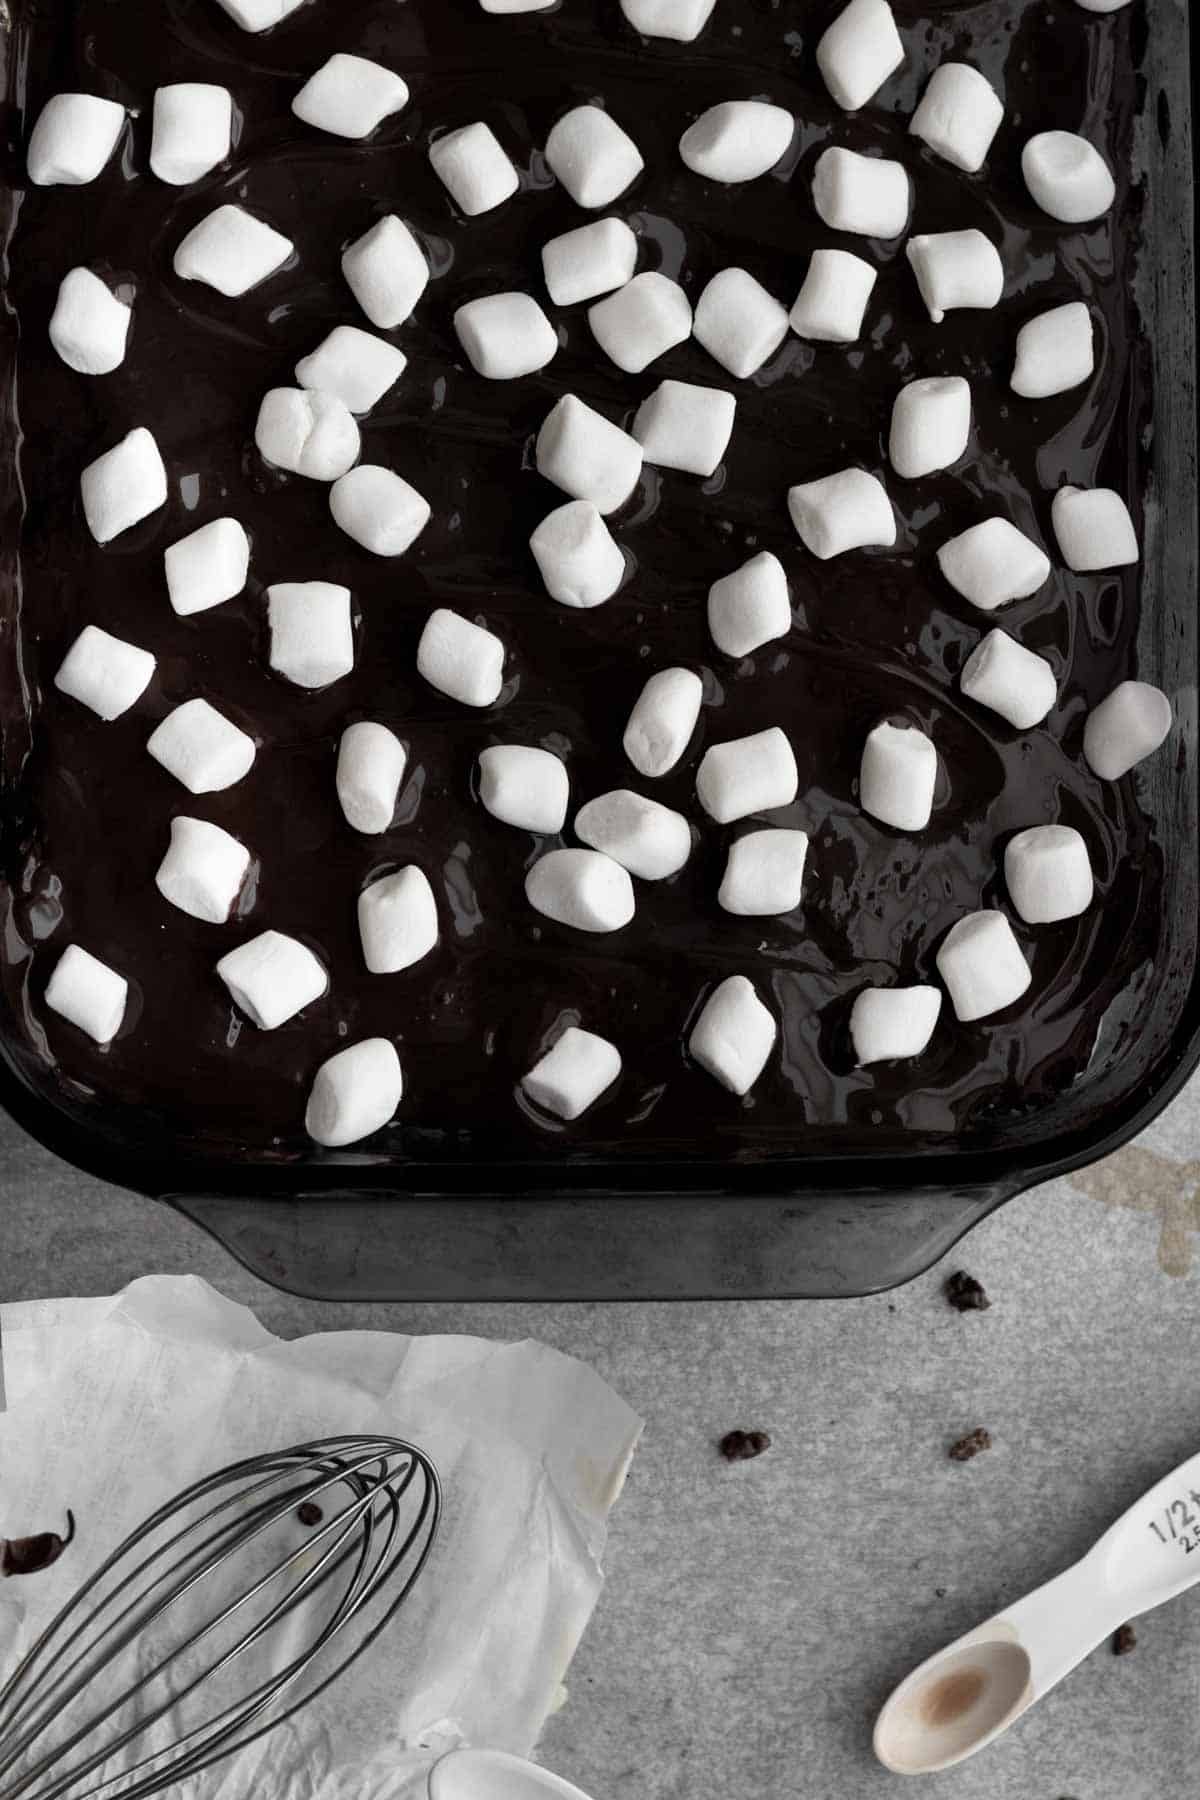
Step 6: Melt the Chocolate Topping and Sprinkle the Mini Marshmallows
Melt another ½ cup of chocolate chips in 20 second increments.
Pour the melted chocolate over the top of the chocolate crunch topping for a smooth finish and place down some extra mini marshmallows into the melted chocolate so they stick.
Expert Tips
- Melt the Butter and Marshmallows Slowly- If you're using vegan marshmallows, I recommend heating them slowly in the microwave. I find vegan marshmallows are very difficult to work with and really want to resist melting. They also have a tendency to want to separate from the butter/vegan baking stick. Make sure you whisk in-between each heating session to reincorporate the butter with the marshmallows.
- Melt the Chocolate Slowly- If you rush this process and try to even heat the chocolate in 20 second increments (instead of 15 second increments), you can overheat the chocolate. If that happens it will seize up and basically not be usable.
Recipe FAQs
I cut mine into rectangles that are about 3 inches by 2 inches. If you do that, it makes about 20.
You can cut them into smaller squares if you wish.
I find when melting vegan marshmallows, the mini ones seem to melt better.
If using non vegan marshmallows, you can use the large ones. You will need about 40.
Although cocoa pebbles say gluten free and do not contain any obvious animal products, I read that they may or may not contain vitamin D3 that is synthesized from lanolin, which is derived from sheep wool.
There is vegan vitamin D3 which comes from lichen...so I am unsure as to where it comes from in the cocoa pebbles.
To play it safe, you can buy a labeled vegan chocolate rice cereal. There are quite a few brands that make it, however many are made in facilities with nuts...so please read your labels if you have nut allergies.
Yes of course! They just won't be "cocoa" pebble treats then! They will still be delish!
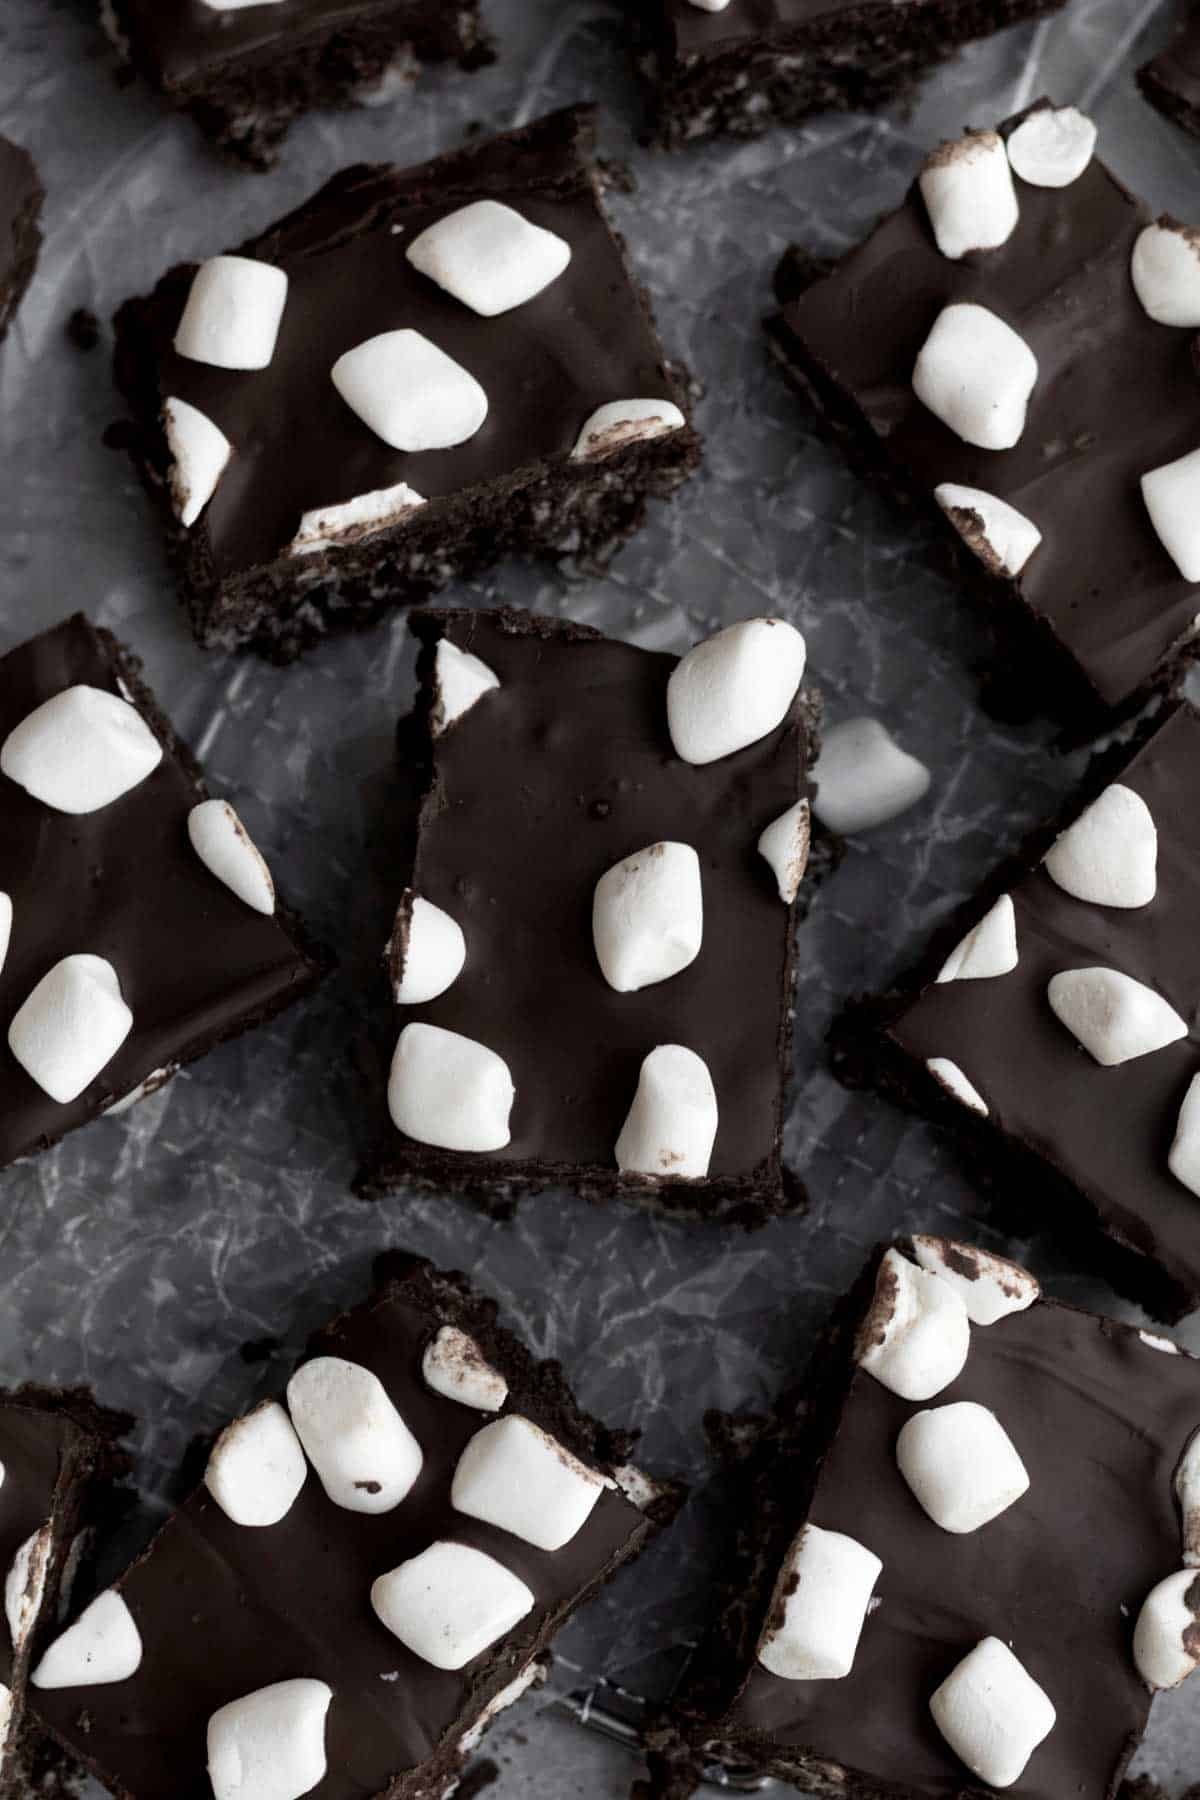
Cut the treats into rectangles or squares and store the Cocoa Pebble Treats in an airtight container at room temperature for up to 3 days.
You can freeze the treats for up to 30 days. Wrap the individually cut treats in aluminum foil and then pop them in a zip top bag or put into a freezer safe airtight container.
To thaw, place the treats on the counter for 2 hours or until they are soft.
Other No-Bake Treats You'll Love
Did you try this recipe? Please leave me a ⭐ review below!
Don’t forget to tag me on Instagram @laneandgreyfare and follow along on Pinterest, Facebook and YouTube! Enjoy!!!
📖 Recipe
Cocoa Pebble Treats
Ingredients
For the Treats
- 4 tablespoons unsalted butter or vegan baking stick
- Pinch kosher salt
- ½ teaspoon pure vanilla extract
- 10 ounces Mini Marshmallows
- 6 cups cocoa pebbles
- 1 cup mini marshmallows (not melted)
For the Topping
- 2 ½ cups chocolate chips (½ cup kept separate)
- 5 tablespoons unsalted butter or vegan baking stick
- ¾ cup cocoa pebbles
- extra mini marshmallows for sprinkling
Instructions
For the Treats
- Grease a 9 x 13 inch pan and set aside.
- Place the 4 tablespoons butter or vegan baking stick in a heat safe bowl. Microwave in 20 second increments until fully melted.
- Whisk the 1 pinch kosher salt and the ½ teaspoon pure vanilla extract into the melted butter.
- Add in the 10oz of mini marshmallows and use a spatula to coat them all with the melted butter.
- Put the bowl back in the microwave and heat in 40 second increments, whisking after each time, until the marshmallows are melted and the marshmallows and butter are fully incorporated.If using vegan marshmallows, you may need to whisk hard and quickly to make sure the butter and marshmallows are incorporated.
- Pour the 6 cups of cocoa pebbles and 1 cup of mini marshmallows into the melted marshmallows. Use a spatula to combine and coat completely.
- Press the treats into the greased 9 x 13 pan and set aside.
- Heat 2 cups of chocolate chips with 5 tablespoons of unsalted butter or vegan baking stick in the microwave in 20 second increments.
- Once melted, stir in the ¾ cup of cocoa pebbles. Spread the mixture on top of the cocoa pebble treats. It tastes like a crunch bar when it hardens!
- Melt another ½ cup of chocolate chips in 20 second increments.
- Pour the melted chocolate over the top of the chocolate crunch topping for a smooth finish and place down some extra mini marshmallows into the melted chocolate so they stick.
- Let sit for about an hour until the chocolate hardens.
- Cut into squares or rectangles. Enjoy!

nancy
so easy to make and it was a hit!
Lee
Thank you!!!