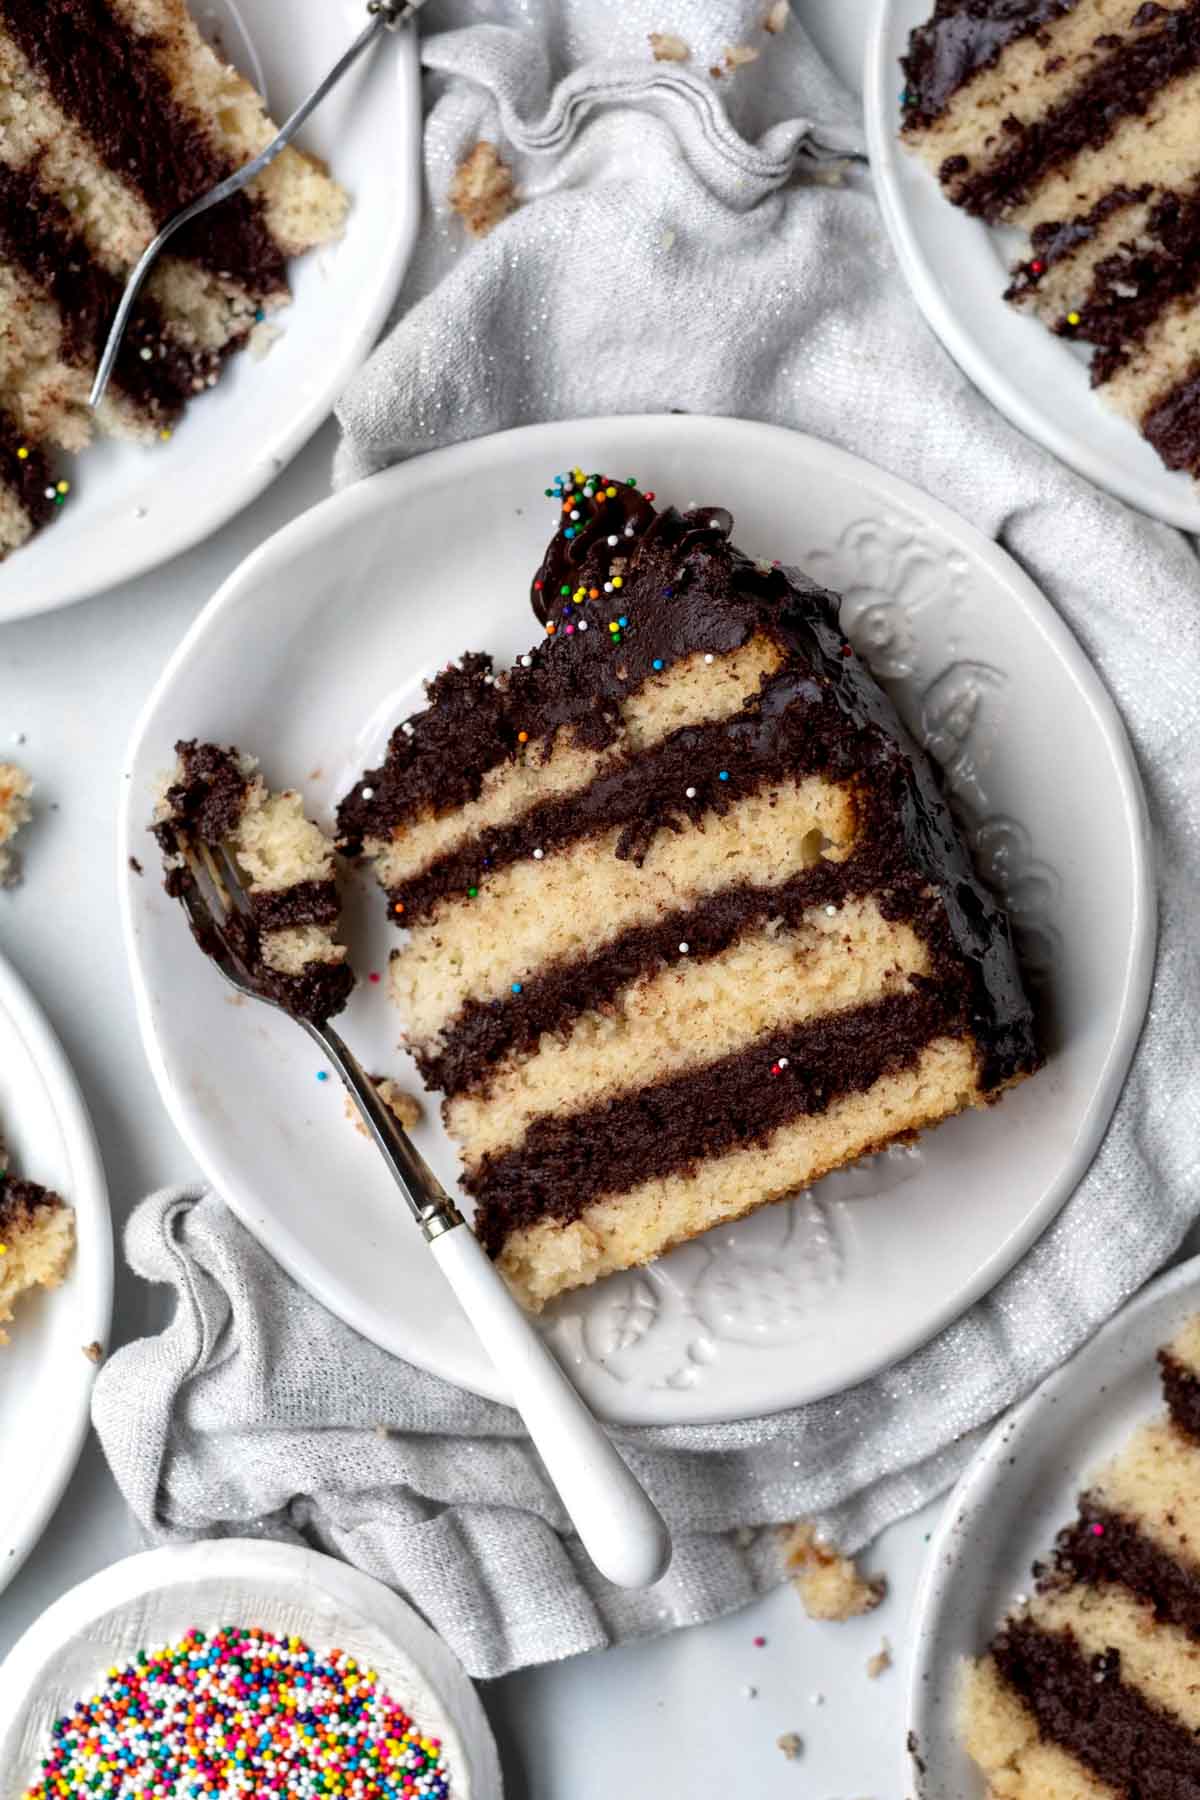
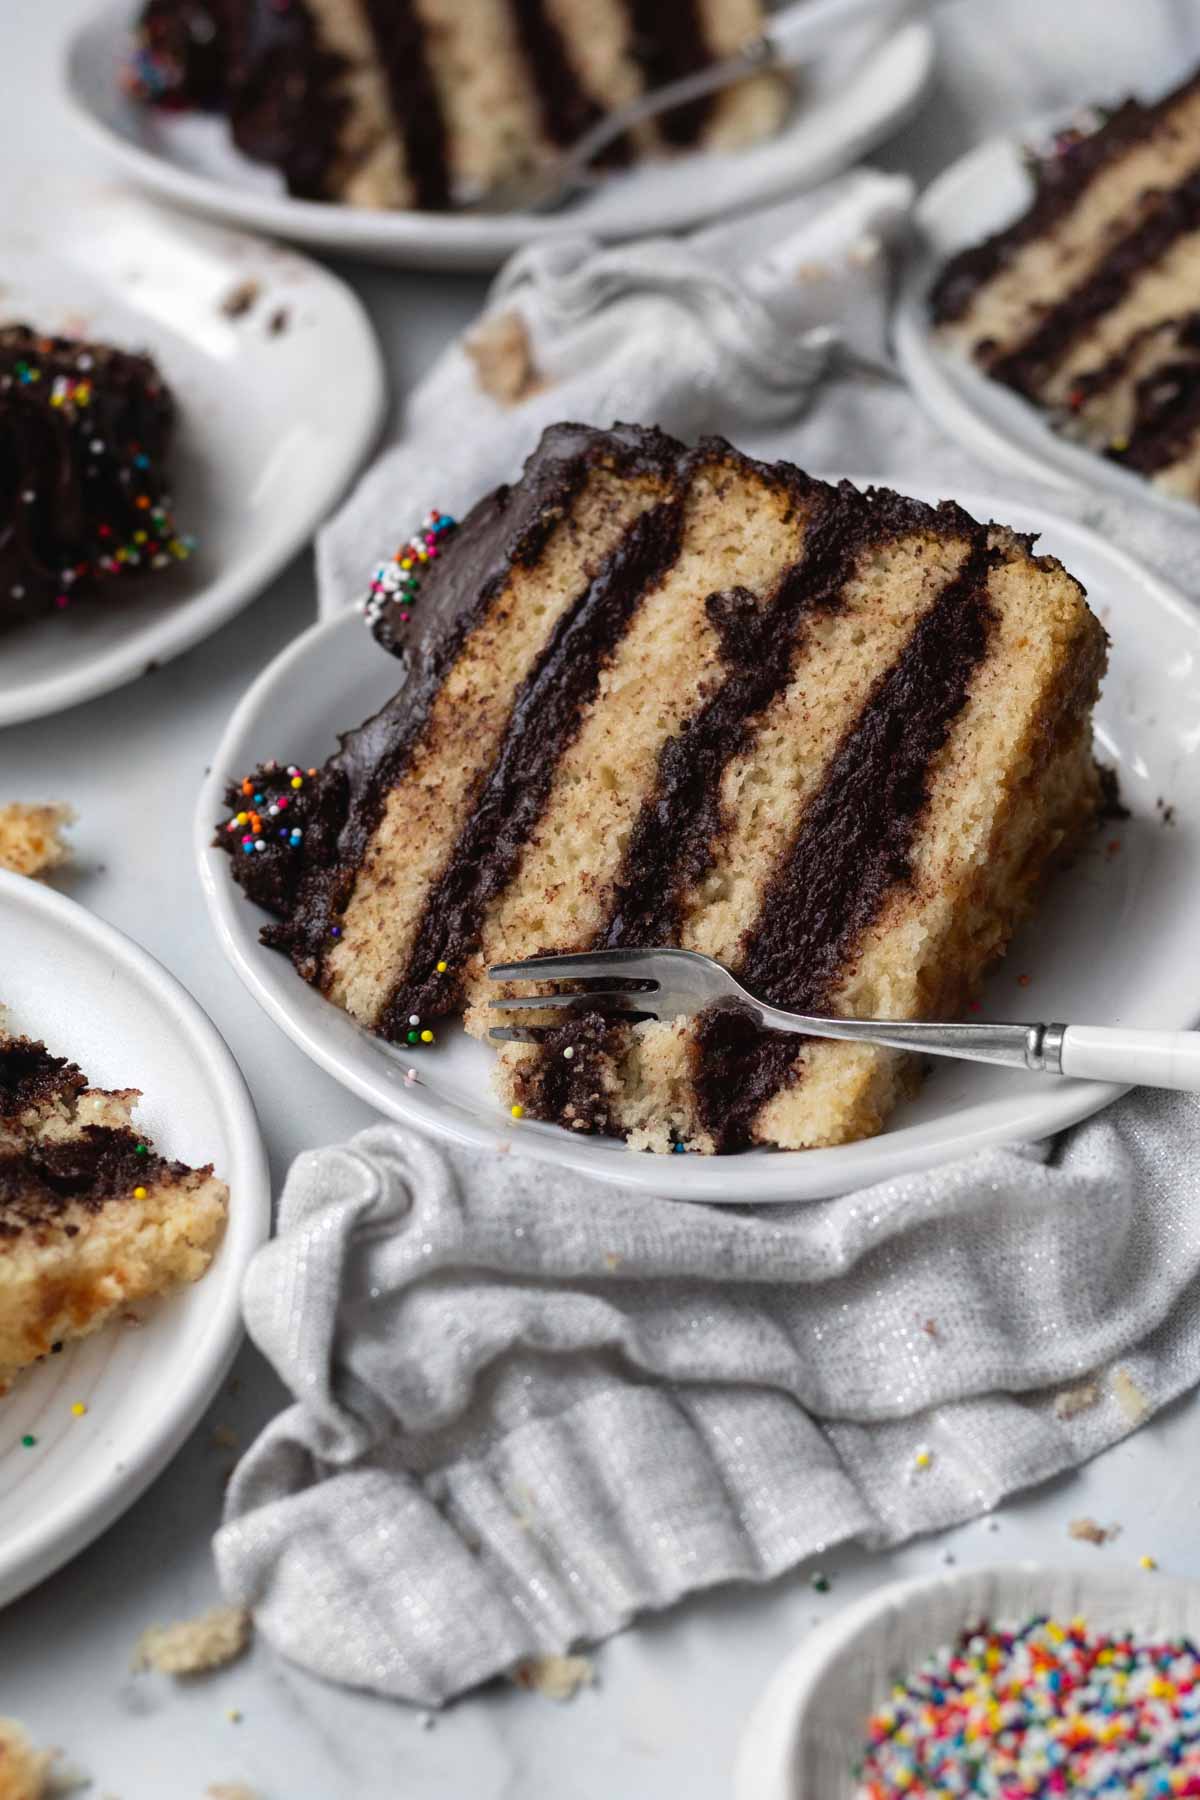
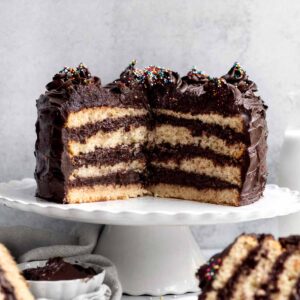
This Gluten Free Birthday Cake is a delicious soft golden cake surrounded by layers of fudgey chocolate frosting. Perfect for any occasion, not just birthdays, it is simple to make and easy to assemble! Best of all, it’s gluten free, nut free, egg free and easily vegan!
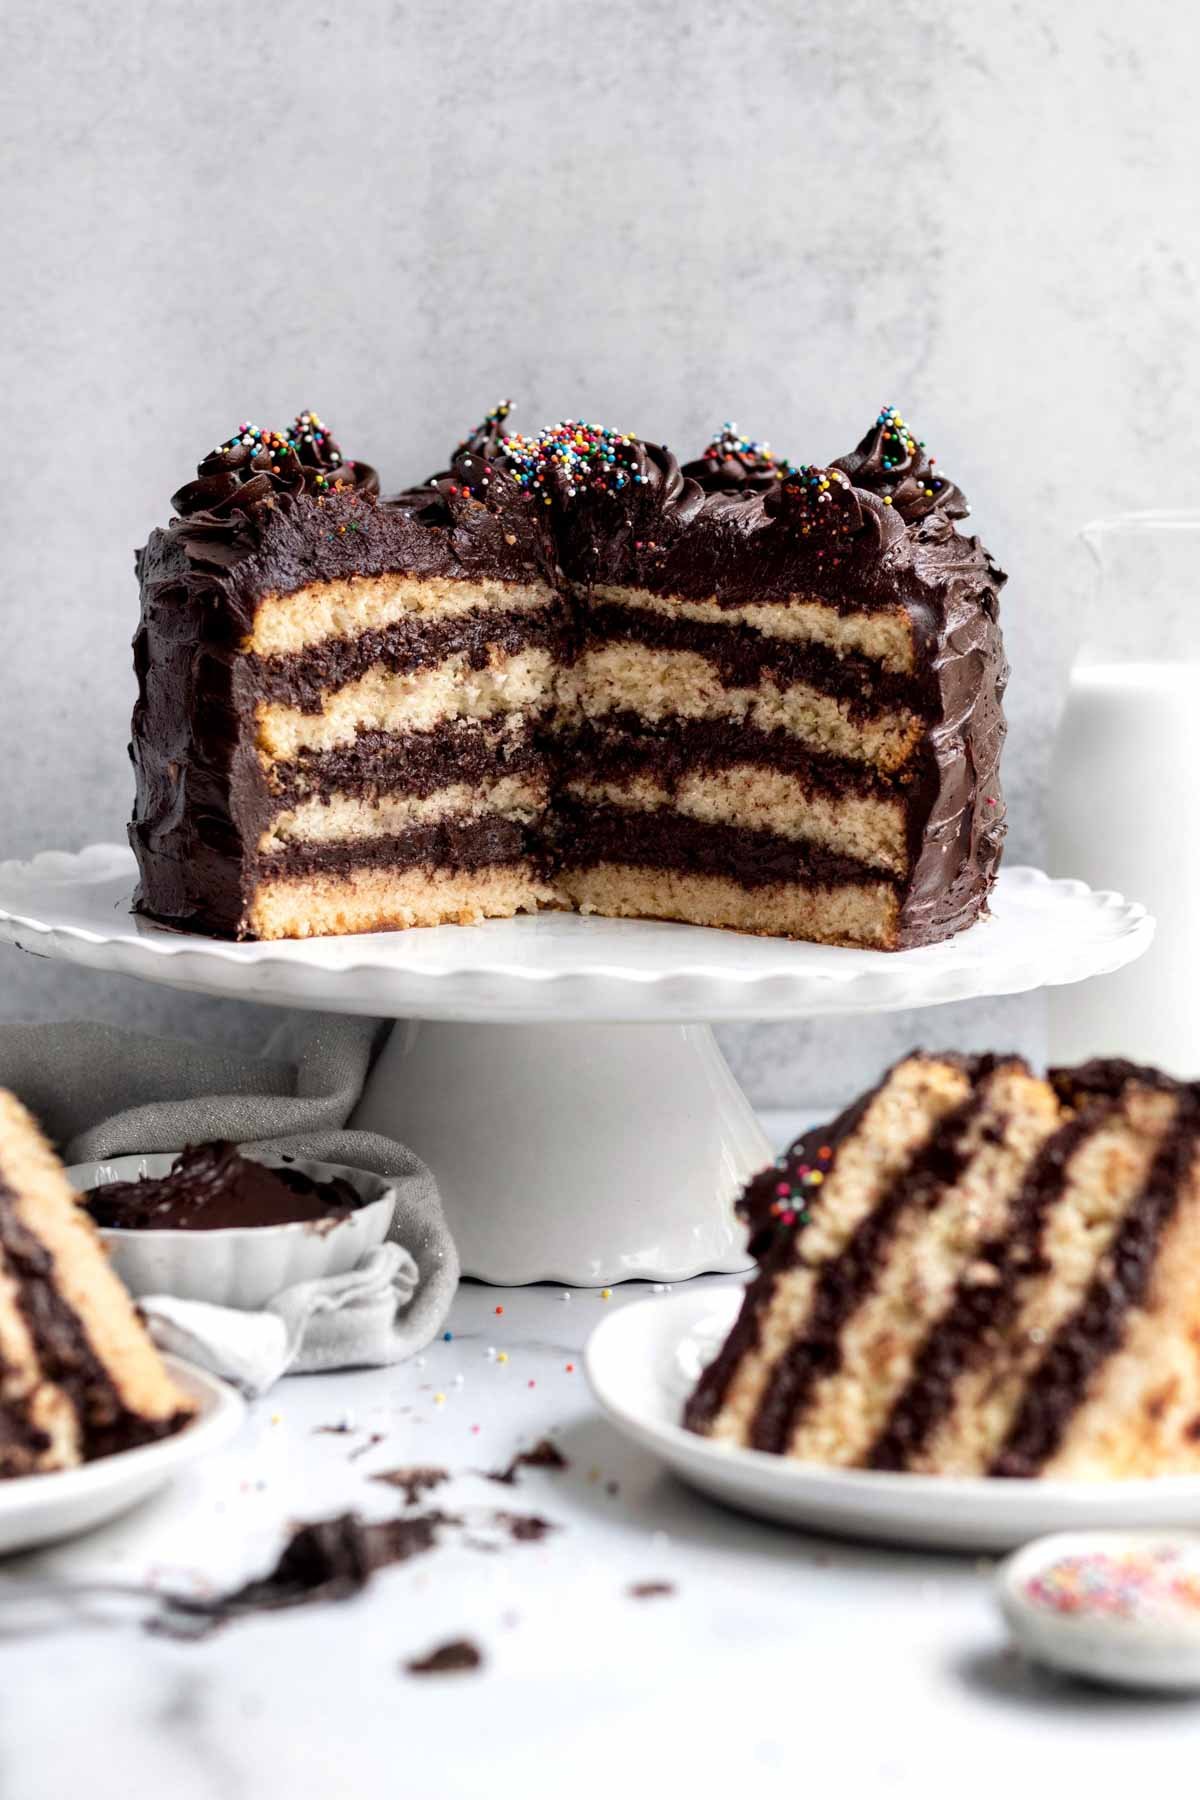
This beautiful Gluten Free Birthday Cake is soft, sweet with a slight richness from the frosting. It's the perfect cake for those that like chocolate or vanilla!
Growing up, my favorite cakes were Entemann’s Fudge Iced Golden and Pepperidge Farm’s Rich Golden Layer Cake because my family didn't bake; this beautiful golden layer cake is my spin on both of those cakes...only way more delicious!
For more non chocolate cake recipes try my Wow Butter Cake, Snickerdoodle Cake and Gluten Free Banana Cake.
Jump to:
Reasons to Love this Cake
- Allergy Friendly- This cake is gluten free, nut free, egg free and can easily be dairy free (vegan)!
- Soft & Fluffy- This cake is super soft and delicious.
- Fudge Frosting- Layers of our fudge frosting ensure you get chocolate in every bite.
- Easy to Make- The batter mixes up in just one large bowl with a whisk!
Ingredient Notes
- Gluten Free Flour- If you also have nut allergies, make sure to use a brand that’s made in a nut free facility. I really love to use this gluten free flour because it’s nut safe but it does contain dairy. It also contains xanthan gum which really helps give baked goods their bounce.
- Milk- If there are no dairy allergies or if you’re not vegan, you can use regular whole milk. For non dairy, use a non dairy milk of your choosing.
- Pure Vanilla Extract- Make sure the vanilla you use is pure and gf.
- Vegetable Oil- Adds moisture into this cake; there is no butter or vegan baking stick in the batter.
- Cocoa Powders- I like to use two types in the frosting, but if you only want to use one, use Dutch or Natural Unsweetened.
- Butter/Vegan Baking Stick- Only use room temperature in the frosting. If you use softened, the frosting will be way too liquidy.
See my recipe card below for a complete list of the ingredients with measurements.
Substitutions and Variations
How to Make this Vegan
- Use a gluten free flour that’s free from dairy.
- Make sure the brand of sugar you use is vegan.
- Use vegan baking sticks instead of butter in the frosting.
- Only use a non dairy milk of choice.
- Read the label on your sprinkles (if using them) to ensure they’re gluten free, nut free and vegan.
How to Make this recipe with All Purpose Flour
- Use 2 ¼ cups packed AP flour (378 grams).
This recipe has not been tested with these substitutions and/or variations due to celiac disease and food allergies. If you change any of the ingredients, please let us know how the recipe turned out in the comments below!
How to make Gluten Free Birthday Cake
Here are the step by step instructions to make this cake!
Make the Cake
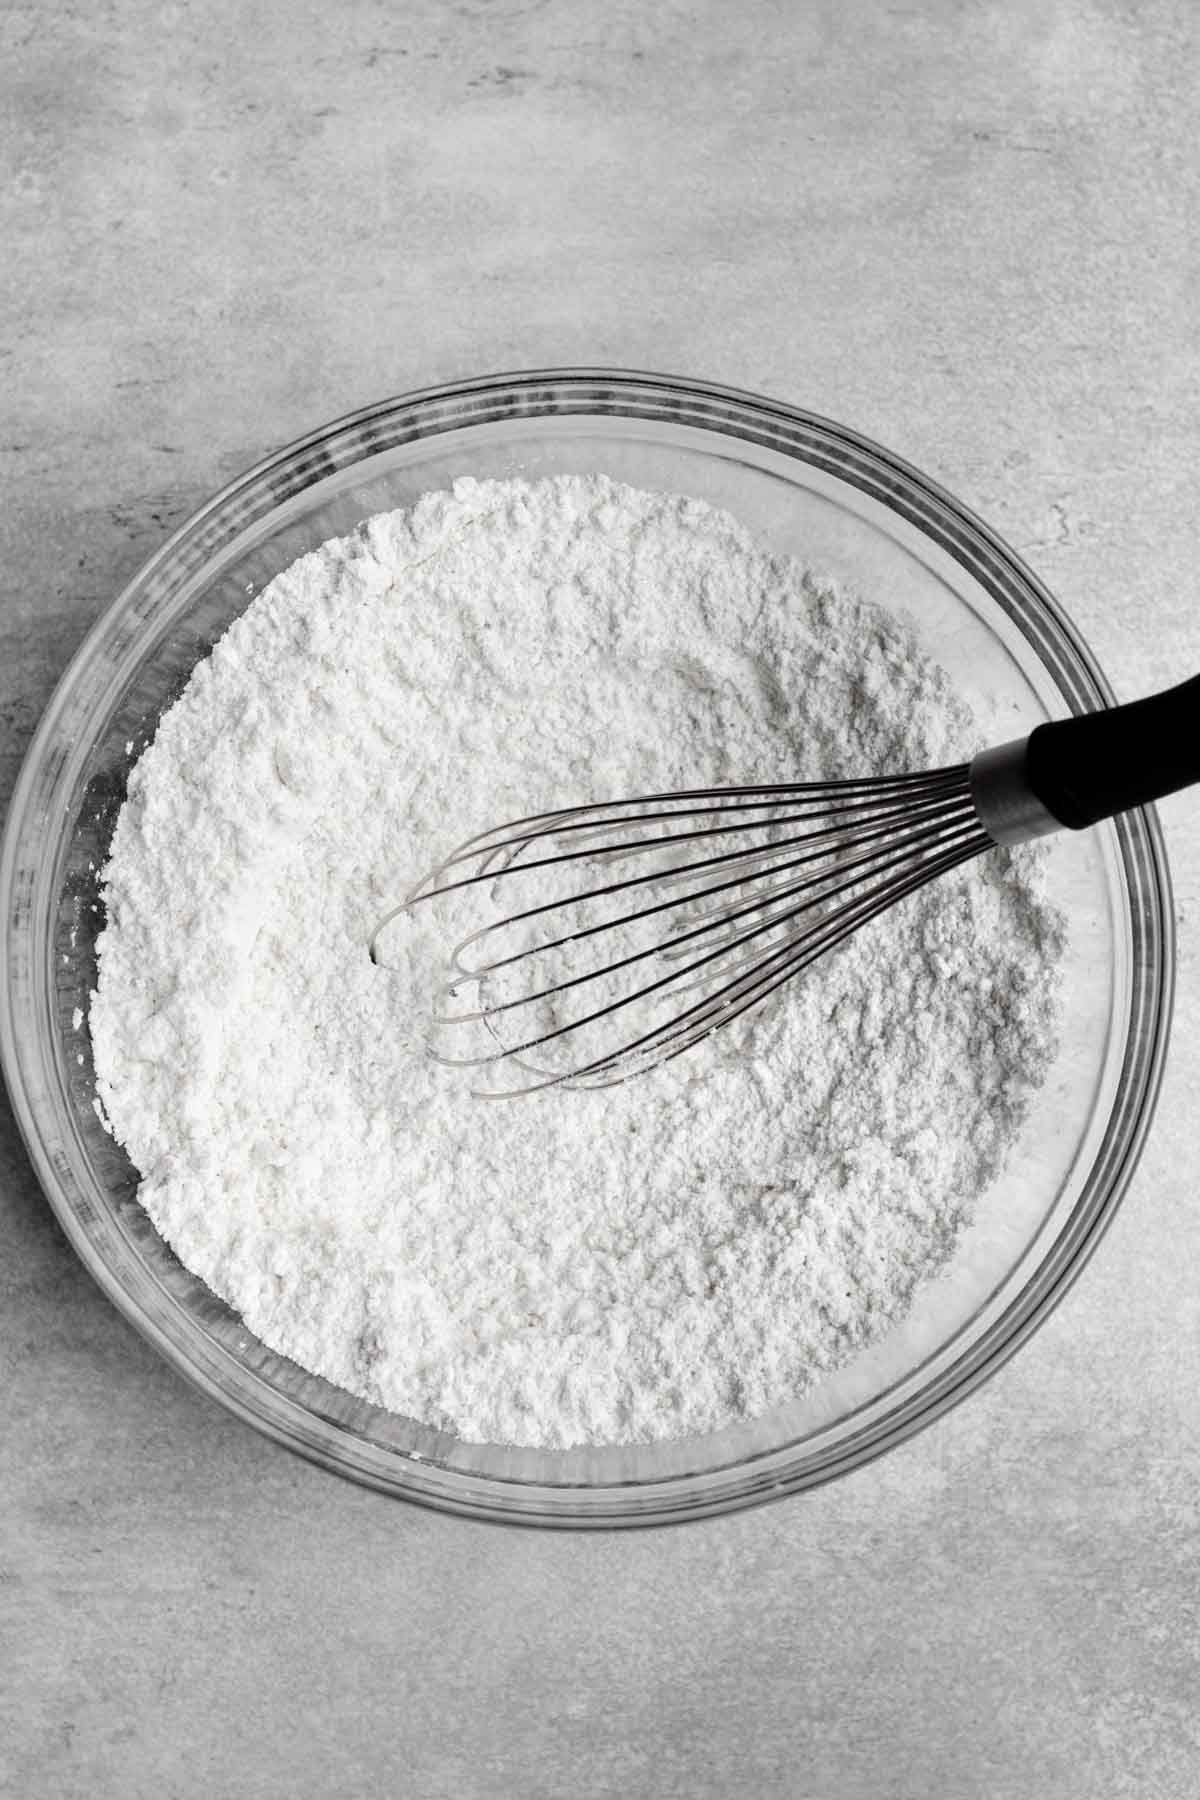
Step 1: Whisk Together the Dry Ingredients
In a large bowl whisk together the gluten free flour, granulated sugar, baking powder, baking soda and salt. Set aside.
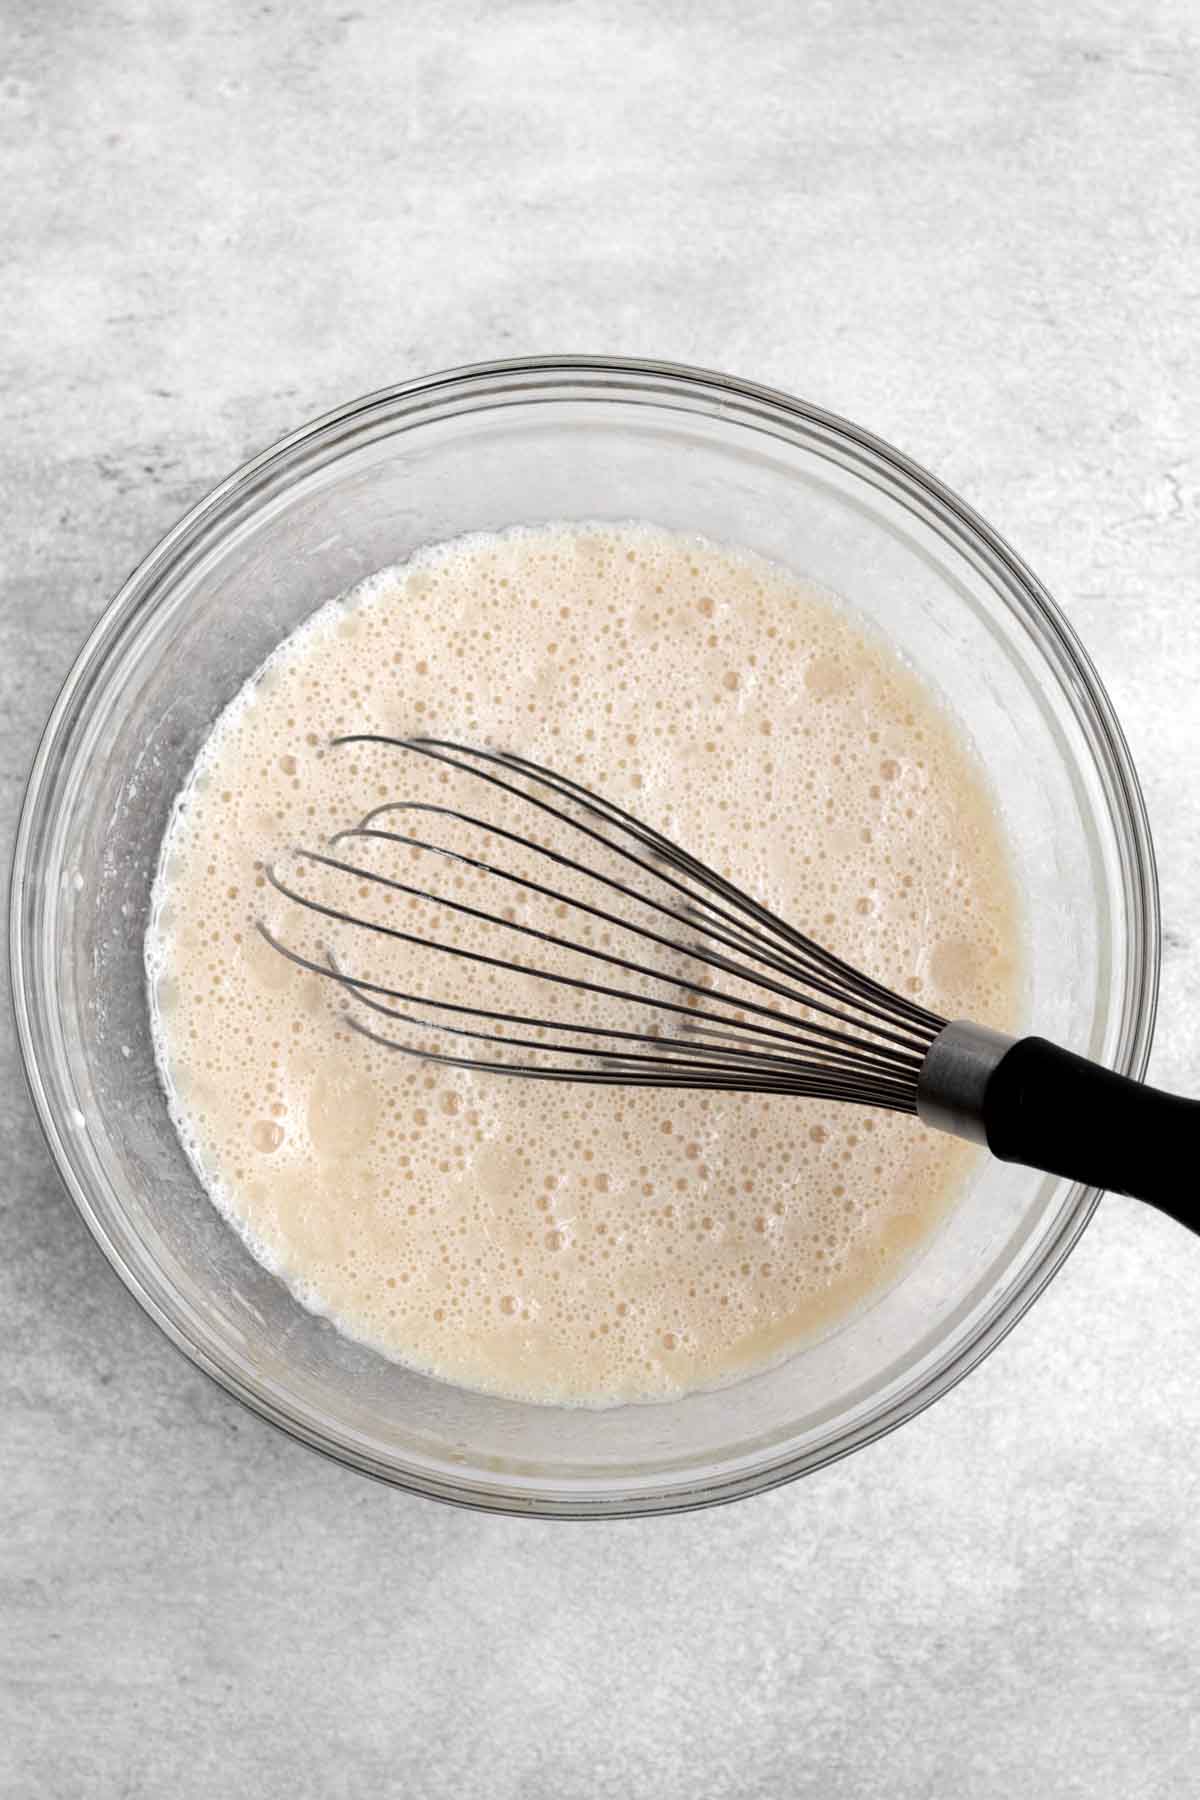
Step 2: Mix Together the Wet Ingredients and Brown Sugar
In a medium bowl, whisk together the milk of choice, light brown sugar, vegetable oil and the vanilla.
Step 3: Add the Wet Ingredients into the Dry
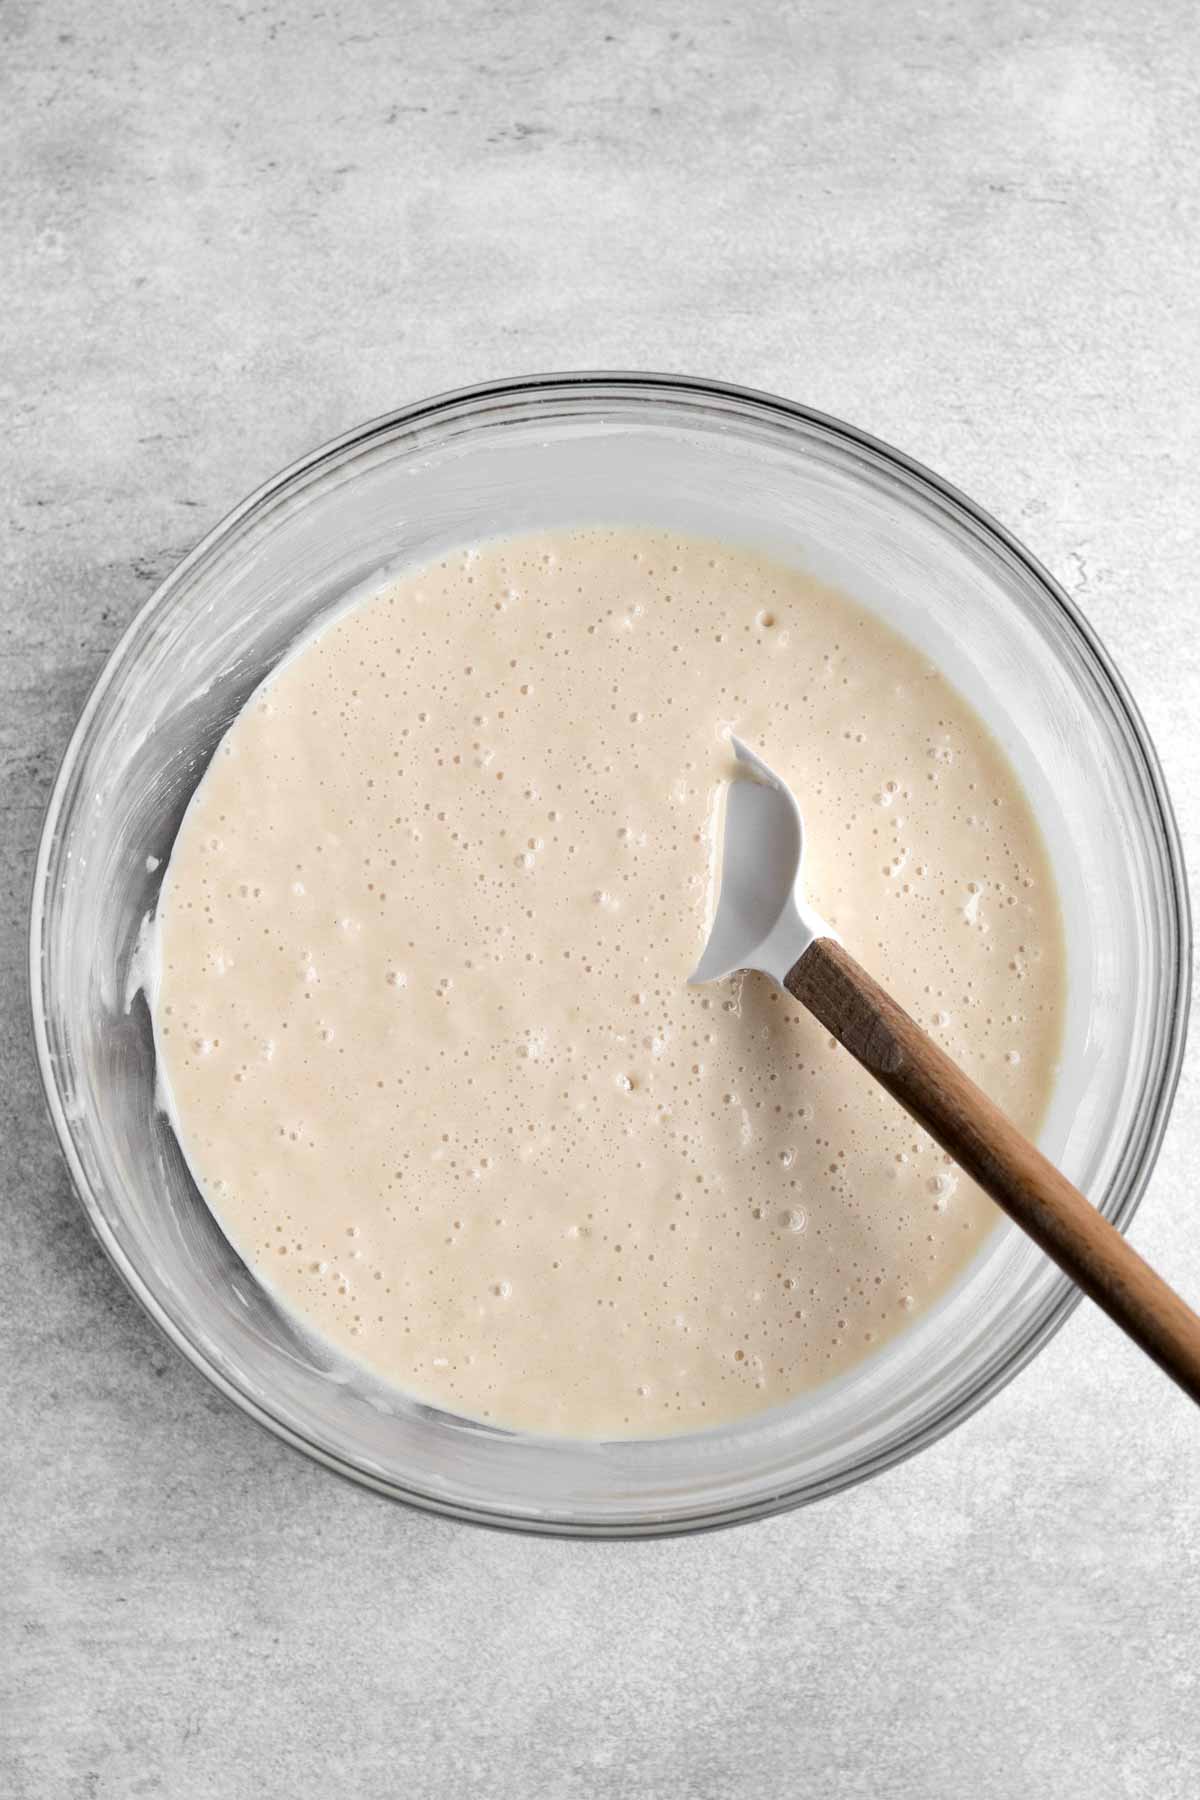
Slowly add the milk mixture into the dry ingredients and whisk to combine. It if gets too thick, switch to a spatula but it should be fairly liquidy.
Step 4: Scoop the Batter
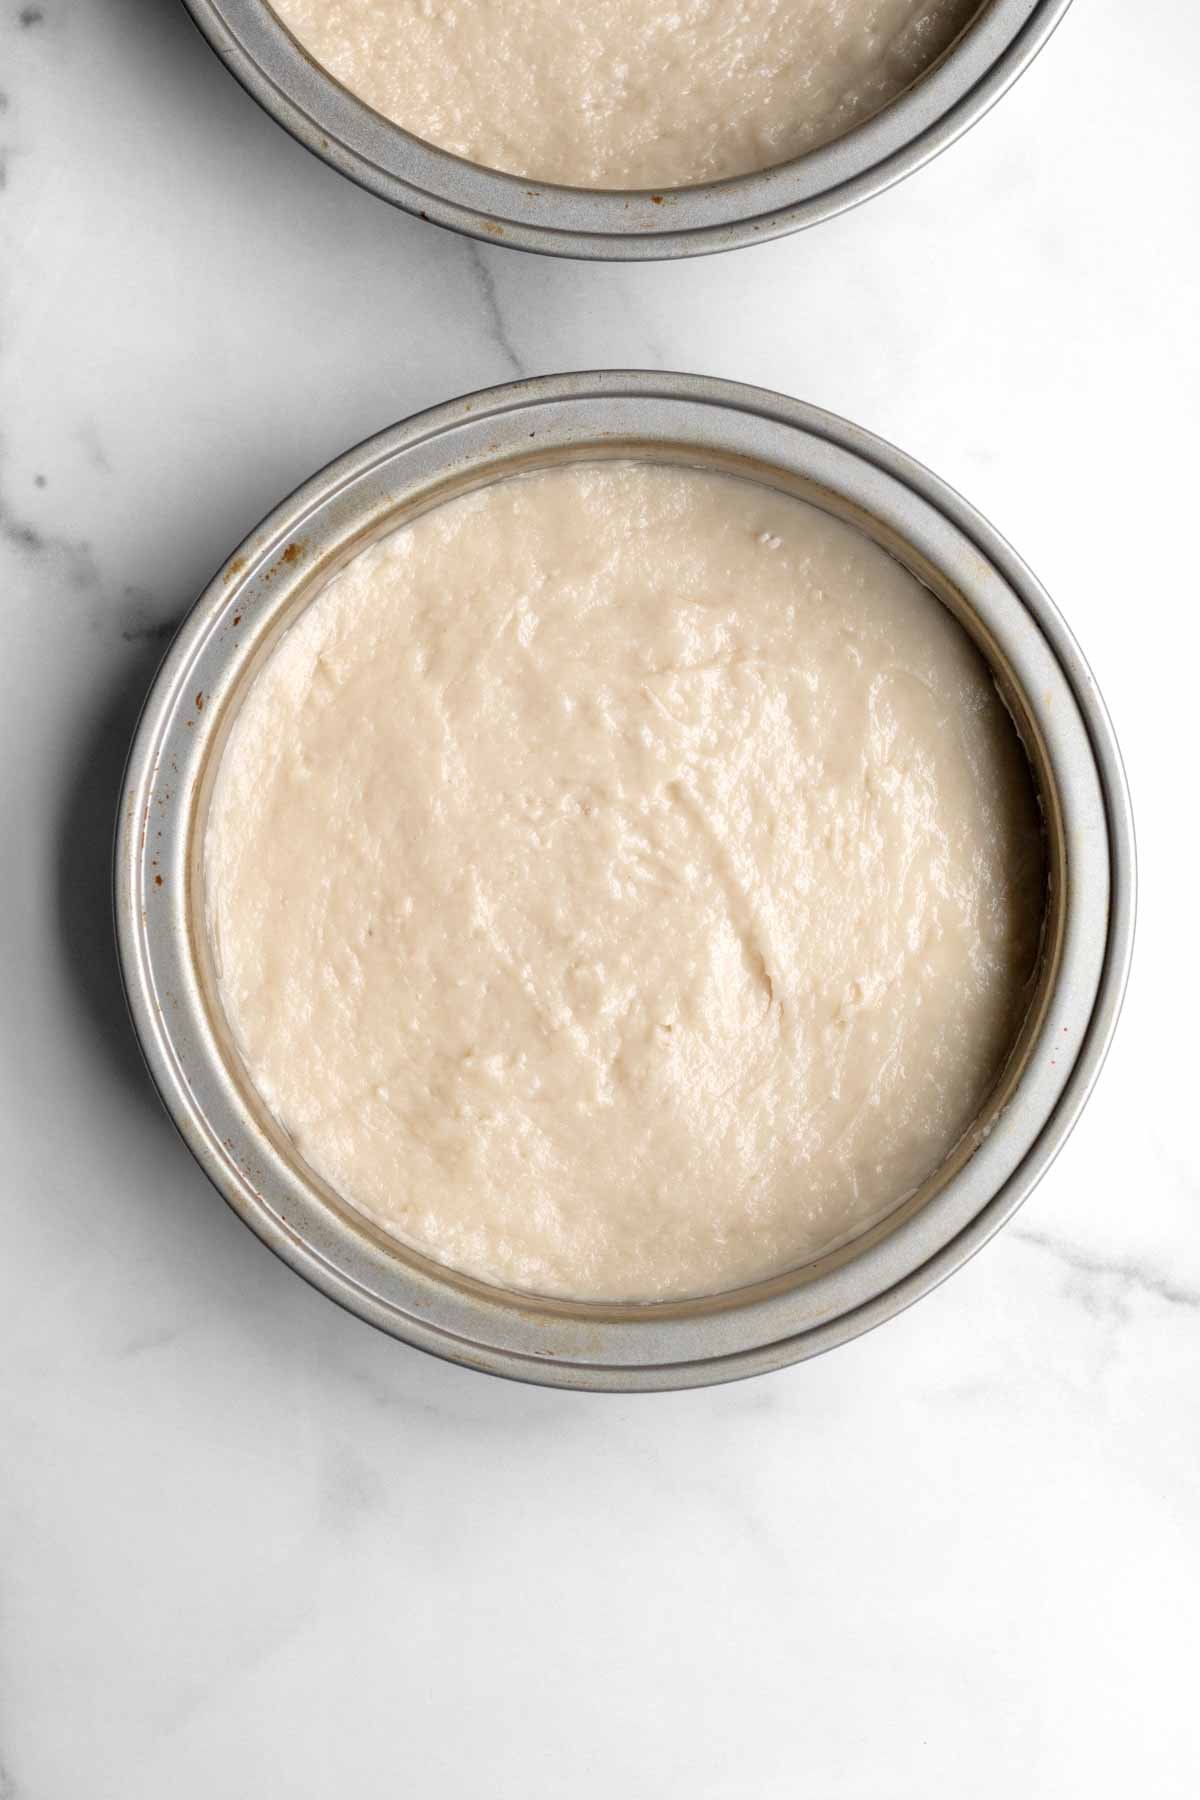
Using a spatula, divide the batter equally between two greased and parchment lined 8 inch cake pans; smooth the tops with a butter knife.
Step 5: Bake the Cakes
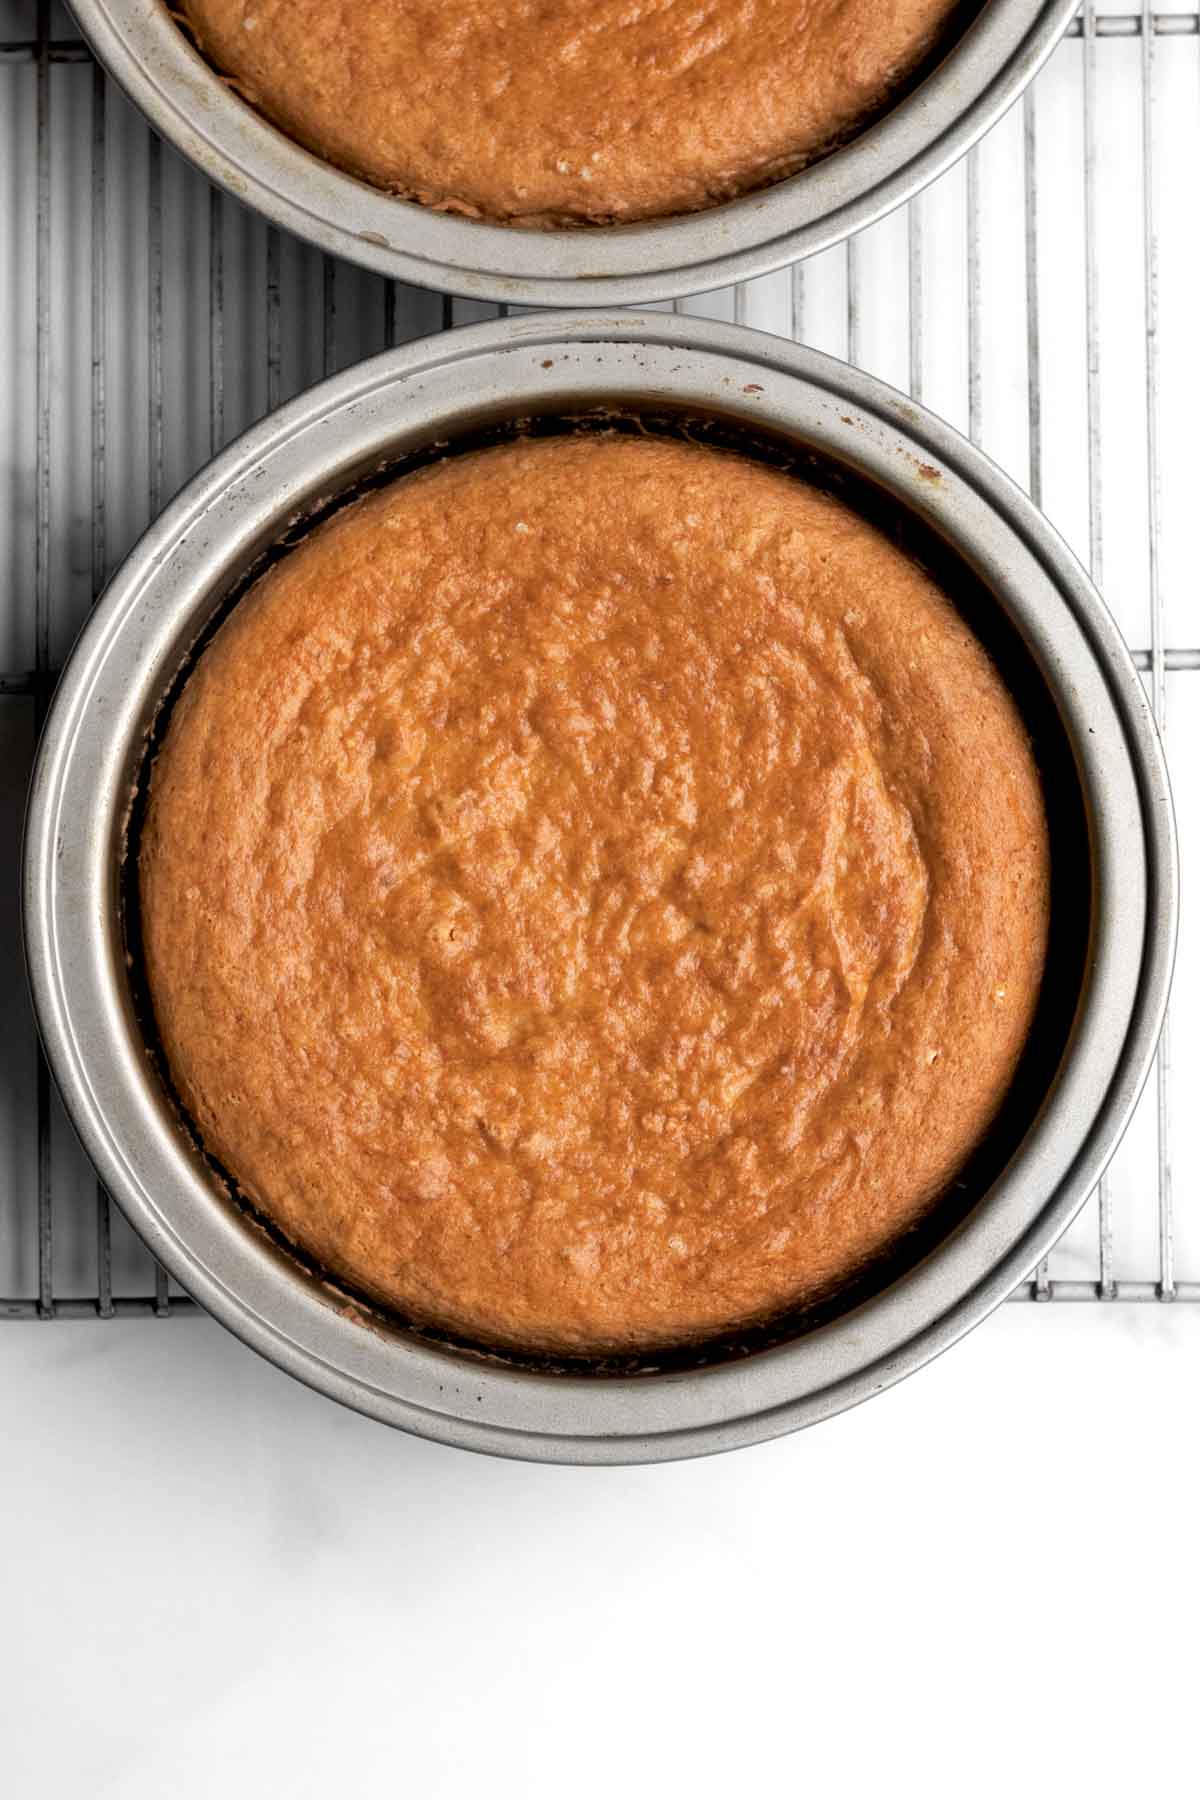
Bake the cakes in the center rack at 350 degrees Fahrenheit for 35 minutes until golden on top and slightly springy when carefully touched.
Step 6: Cut the Cakes
Remove cakes from the oven and let them cool in the cake pans.
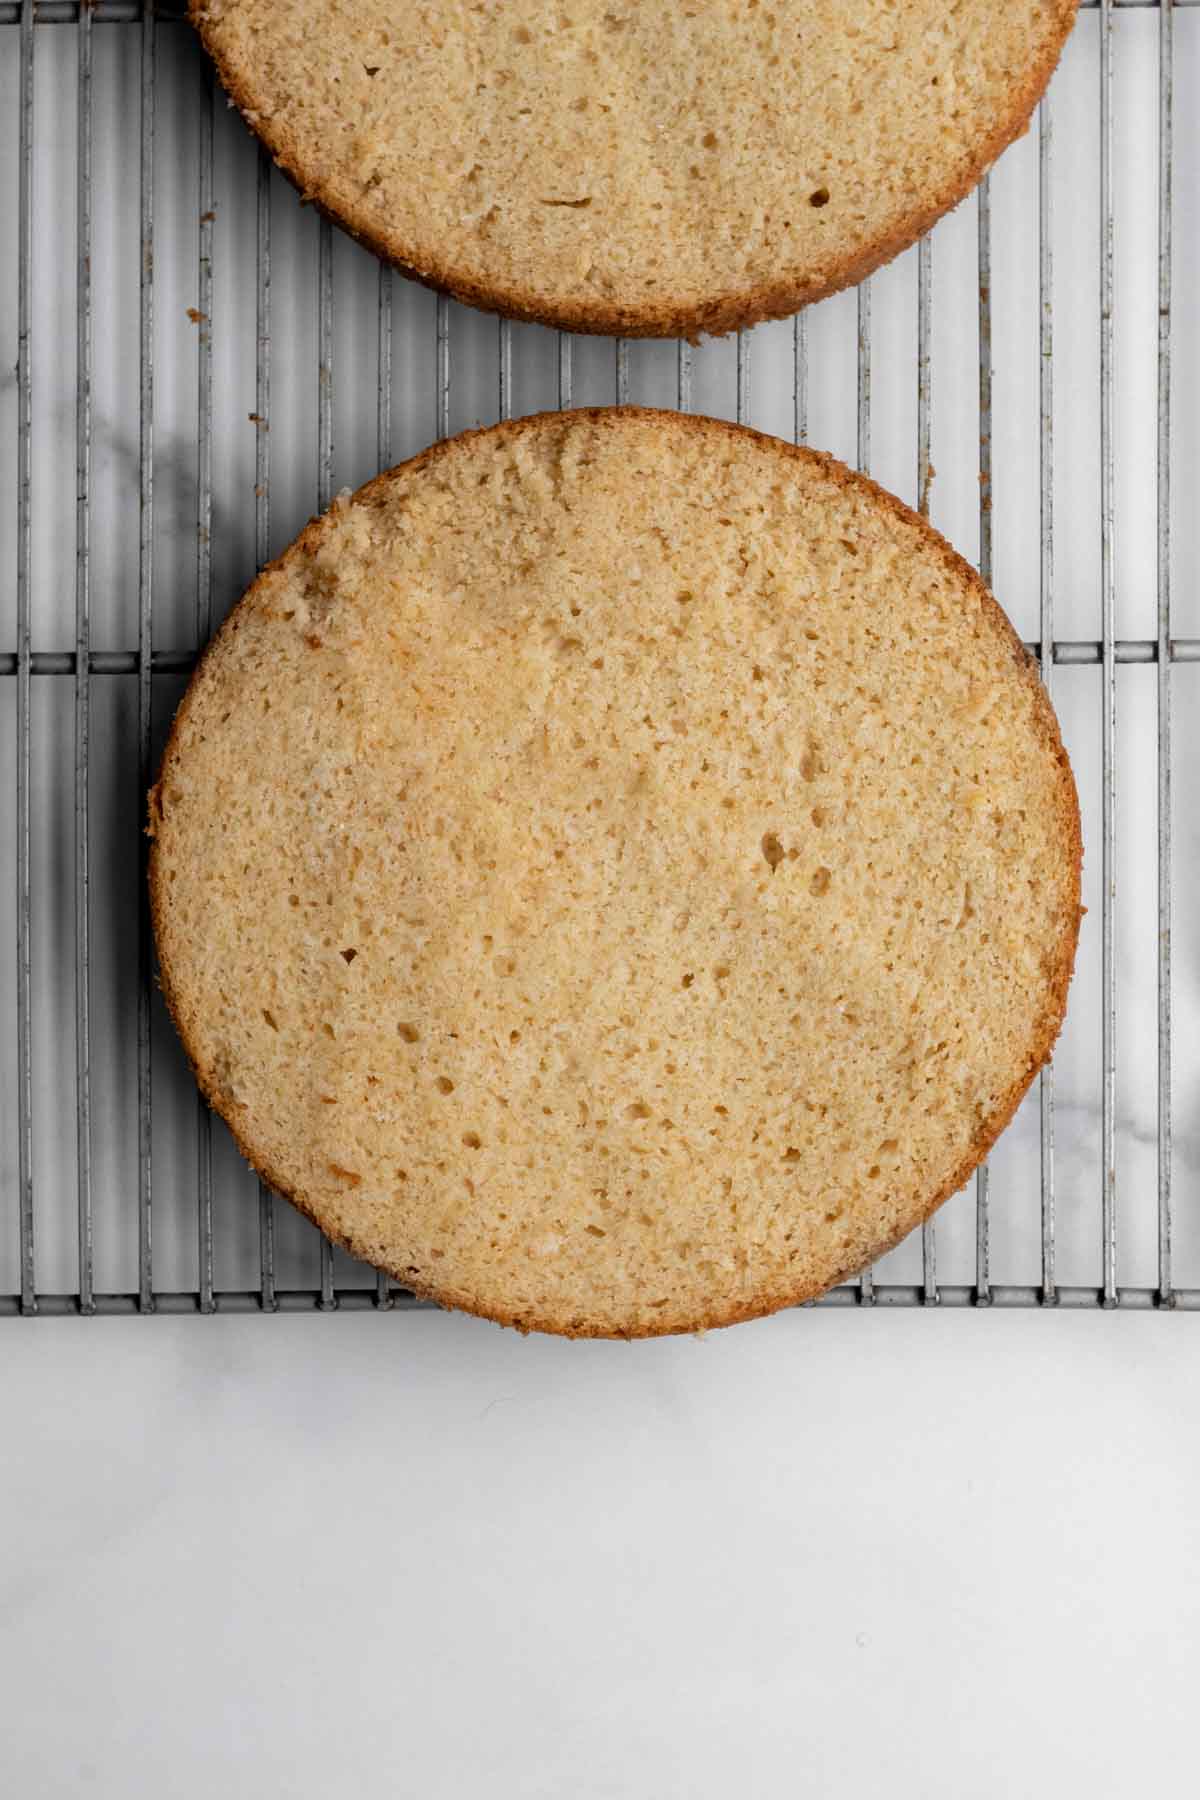
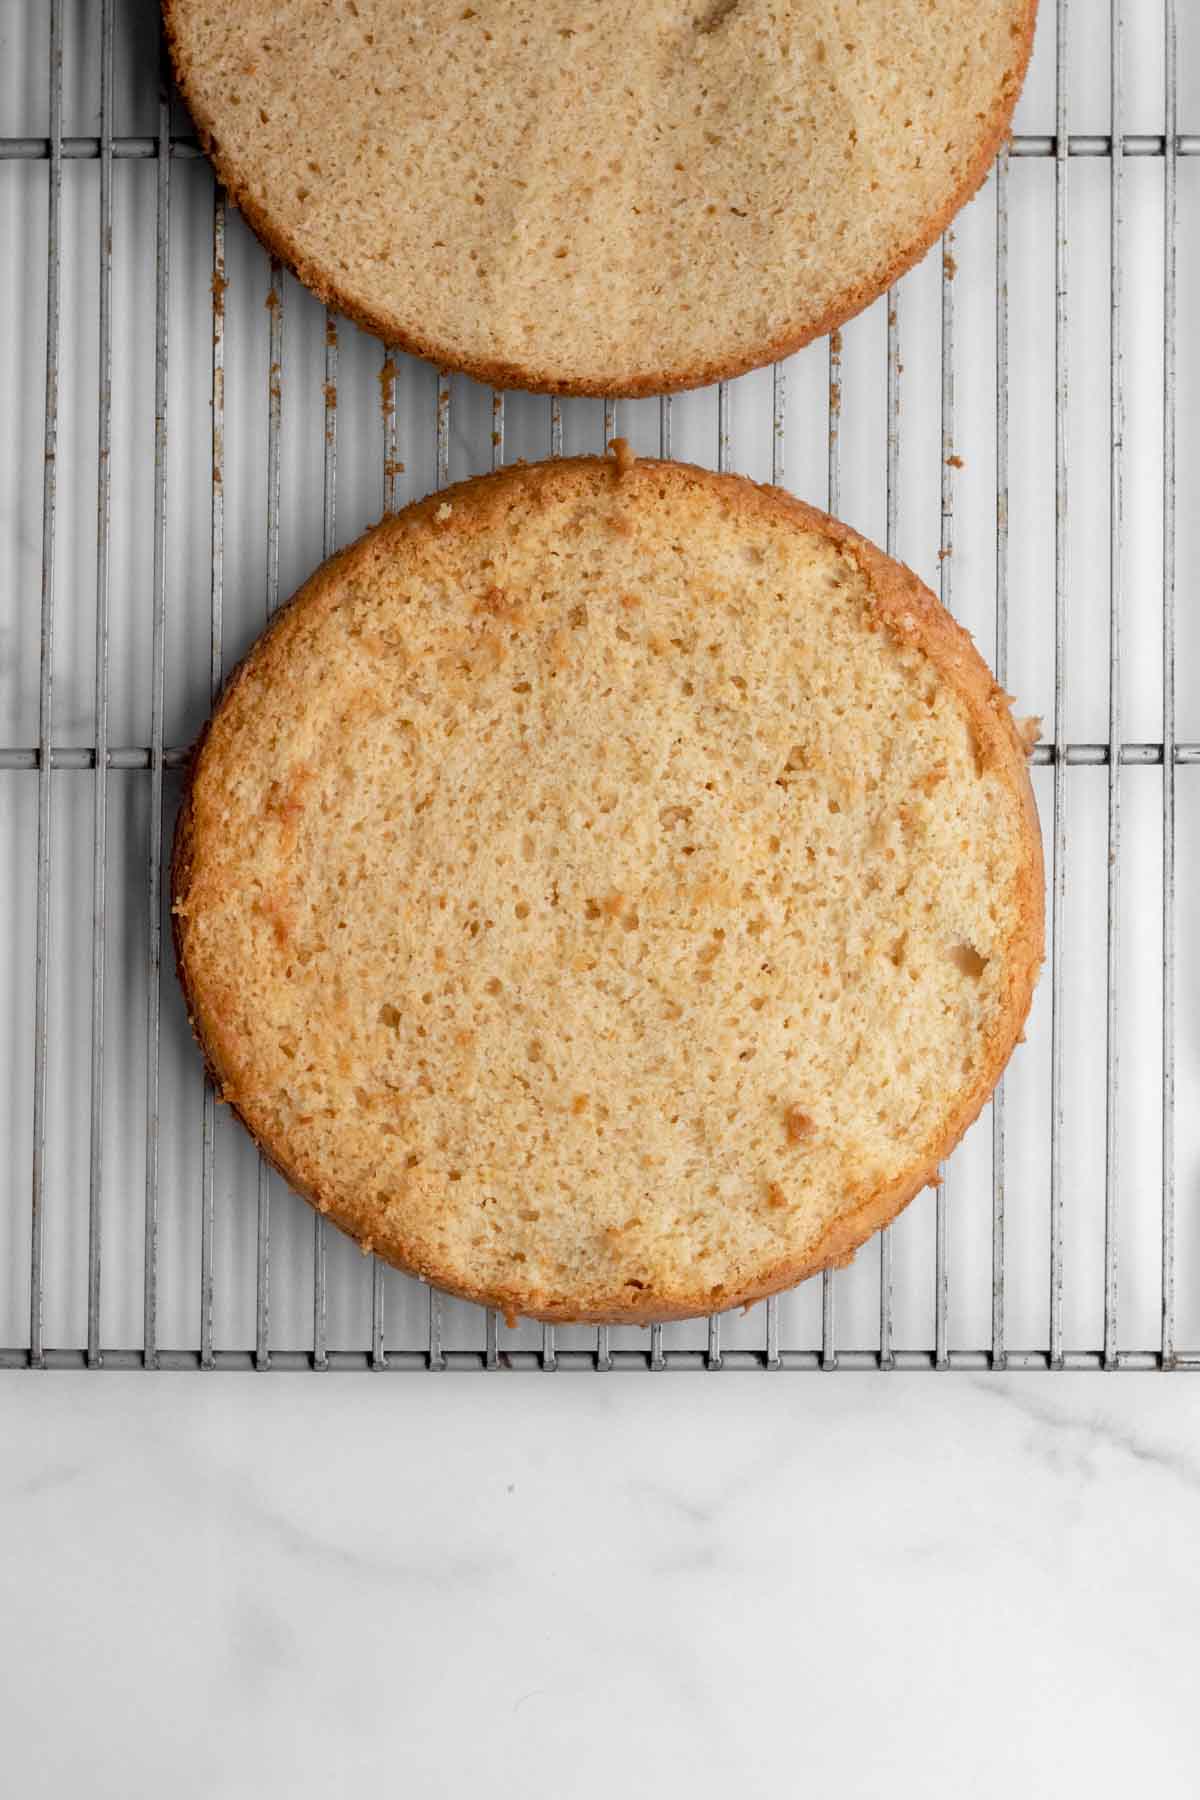
Once the cakes have cooled completely, take them out of the pan and slice them in half horizontally to create 4 thinner layers of cake.
If the tops of your cakes have domes, you can very carefully slice them off to make the tops flat.
Make the Frosting
Step 1: Cream the Butter/Vegan Baking Stick
In the large bowl of an electric mixer or using a hand held mixer, beat the butter or vegan baking stick until smooth and creamy. About 2 minutes.
Step 2: Add the Confectioners' Sugar and Cocoa Powders
With the mixer on very low speed, slowly add in the confectioners' sugar and cocoa powders.
Step 3: Add in the Vanilla
Add in the vanilla and beat until combined.
Step 4: Add in the Water
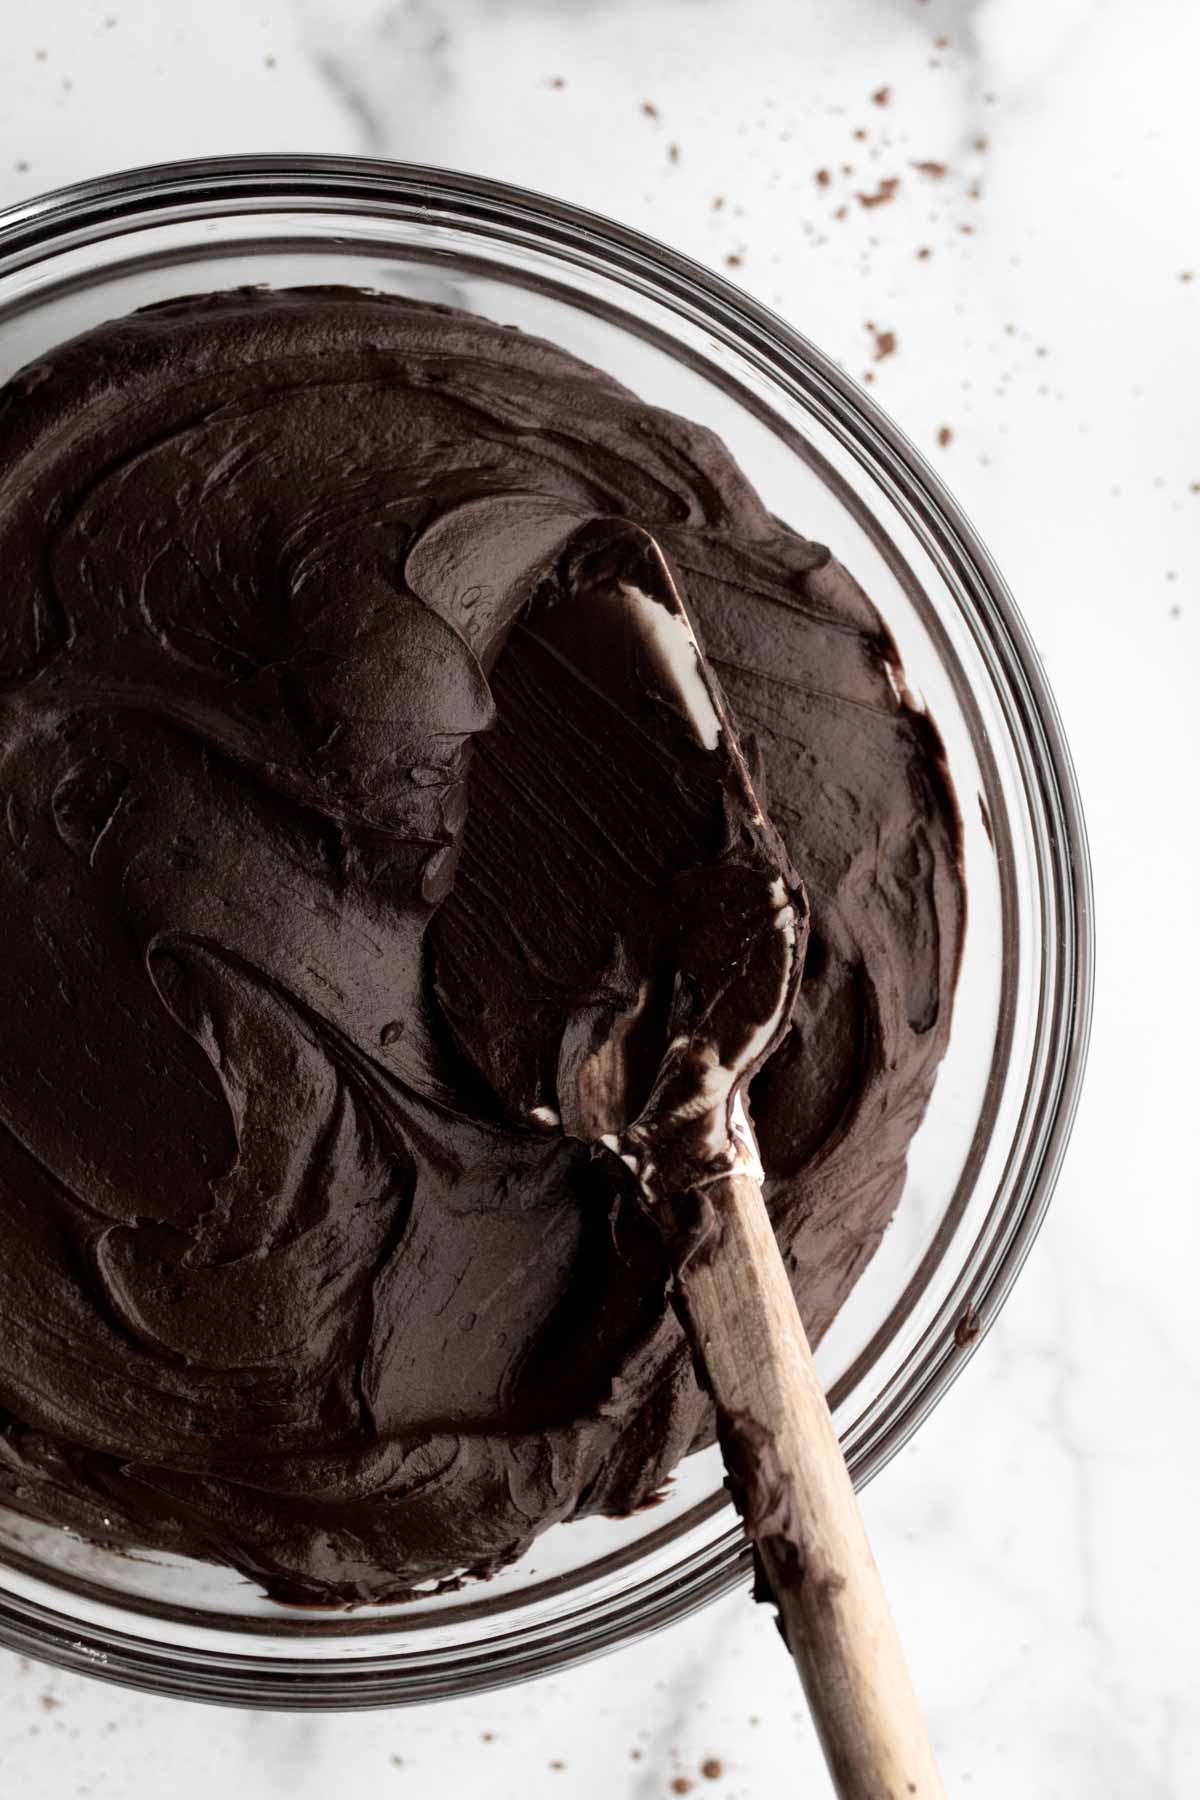
While the mixer is on, slowly add in the water a little at a time until you get the desired consistency. You may not need to use all the water.
Assembling the Cake
Step 1: Divide the Frosting and Frost One Layer
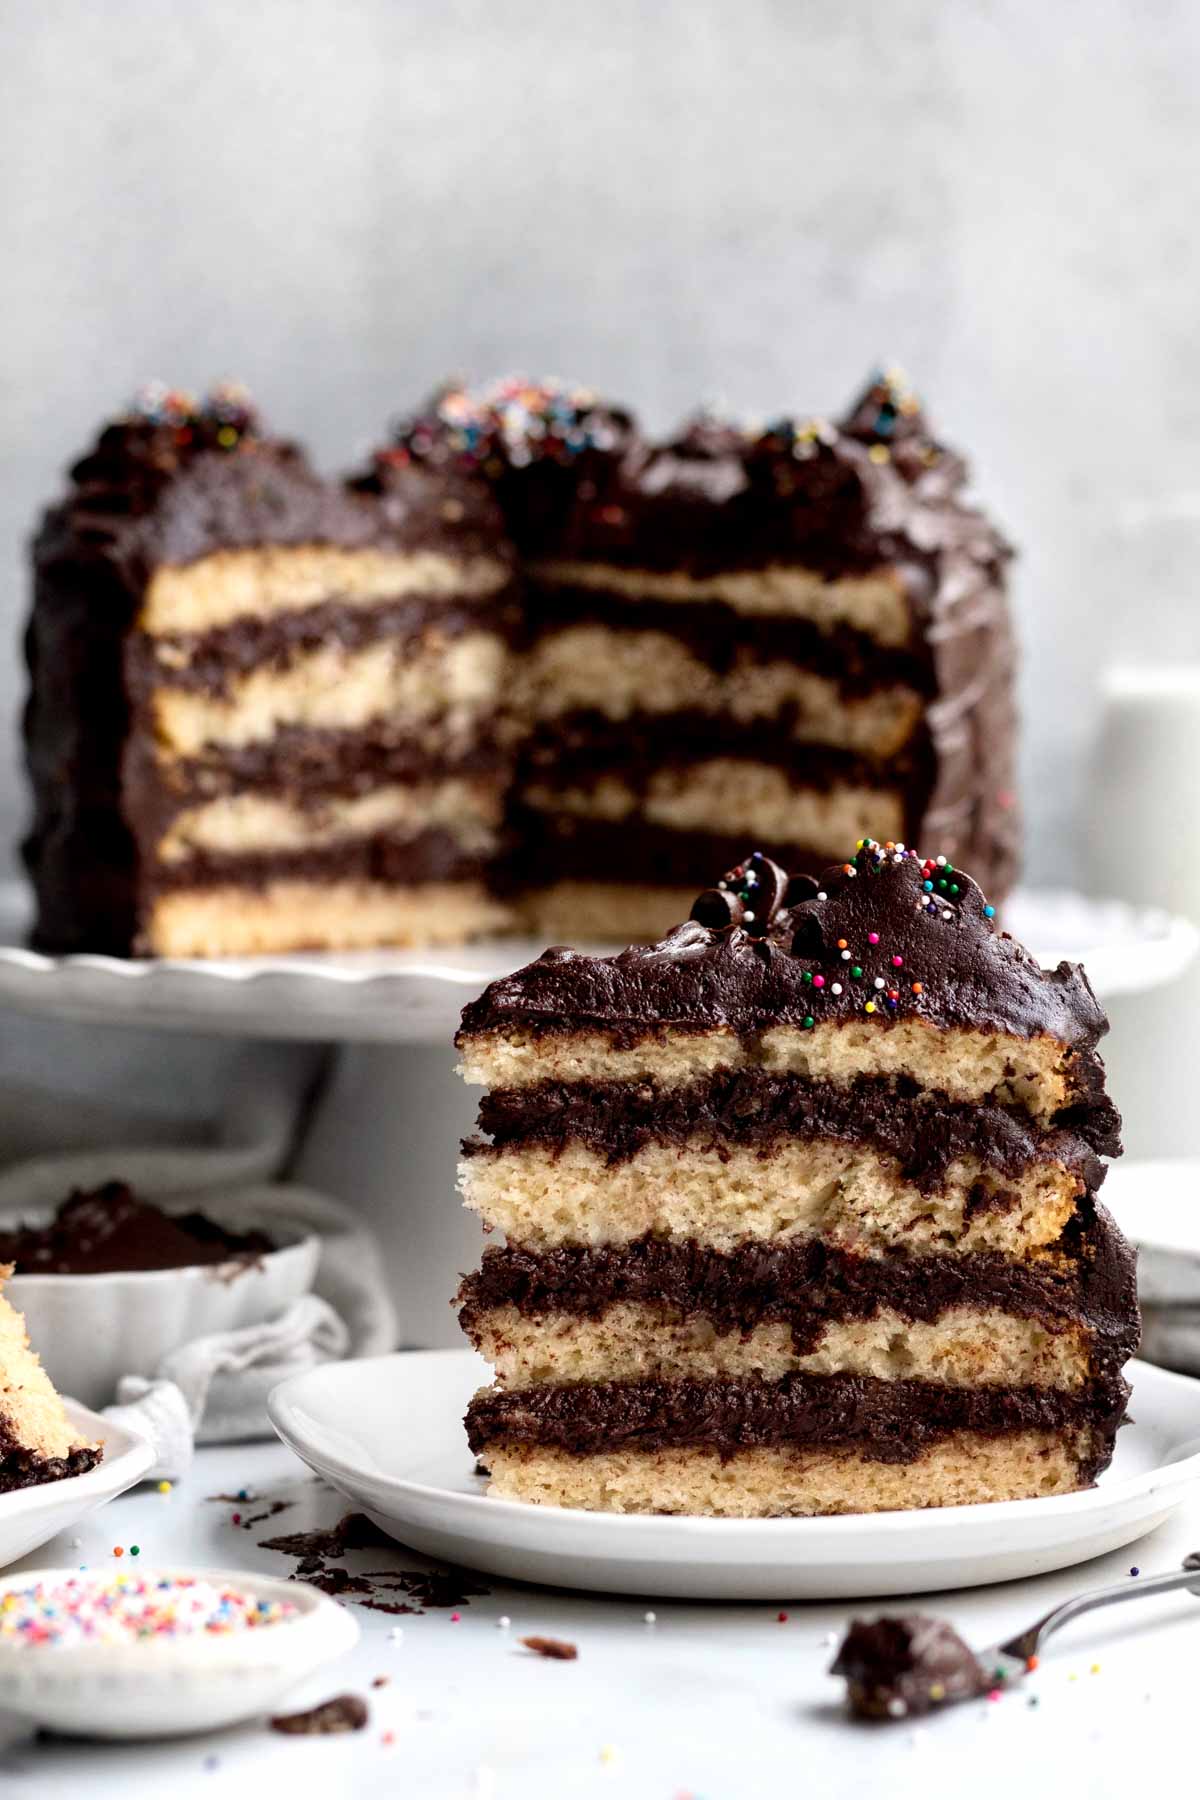
Separate the frosting into 5 equal sections.
Place one layer of cake on the bottom of a cake plate/stand. Scoop ⅕ (about 1 cup) of the frosting on top and use an icing spatula to spread it around.
Step 2: Repeat the Process
Place another layer of cake on top; repeat this same process. Do this with 3 layers of cake.
Step 3: Frost the Top and Sides
Once you get to the top layer of cake, place it bottom (or flat) side up so the top of the cake is nice and flat.
Use an icing spatula to frost the top and the sides. You should have some frosting left over to pipe decorations if desired.
Decorate the Cake
Step 1: Make Swirls
Put the remaining frosting into a piping bag.
Make swirls all around the edge of the top of the cake.
Step 2: Add Sprinkles
Sprinkle some gluten free/nut free/vegan nonpareils or sprinkles on top of the frosting swirls.
Expert Baking Tips
- Use 2 Types of Cocoa Powder in the Frosting- The 2 types of cocoa powders give the cake that richer flavor. If you only have one type on hand, use natural unsweetened or dutch...just know the color will not be as dark as mine. Do not use dark alone; it will make your frosting too chalky and bitter.
- Smooth the Batter- Many gluten free batters have a way of staying exactly as they are placed, when baked. When the batter is in the cake pans, gently smooth the tops with a butter knife prior to baking.
- Make the Frosting the Day Before- You don’t have to do this the day before, but it definitely makes assembling the cake a much quicker process. Store the frosting in a bowl covered with plastic wrap in the fridge. When ready to use, let it come to room temperature and rewhip to regain the creamy texture.
Recipe FAQs
Most gluten free baked goods are best made the same day, but you can make this cake the night before and then pipe the extra frosting deocorations in the morning.
If making the night before, keep the cake in the fridge under a dome or wrapped in foil until ready to decorate.
Yes this recipe makes 18 cupcakes.
Bake them at the same temperature for 24 minutes until tops are golden and springy when gently and carefully poked.
To decorate the cake, if you don’t have a piping bag you can use your icing spatula or butter knife or the back of a spoon to make swirls or marks all over.
You can look at my Vegan Vanilla Cake for inspiration.
Yes! You can make the frosting the night before.
Store it in a bowl covered with plastic wrap in the fridge.
When ready to use, bring the frosting to room temperature and rewhip if you want to regain that creaminess.
Once the cake is cut into, it’s best to cut the entire cake into slices and wrap each slice in foil and store in a zip top bag in the fridge. Eat extra slices within 2 days.
When ready to eat, let the slices sit on the counter, in the foil for about an hour or until the cake is room temperature and soft. If desired, warm each slice in the microwave in 5 second increments until warm. It does make the frosting very hot. Be careful not to burn yourself!
If not eating all the extra slices within 2 days, take the slices wrapped in foil and place in the zip top bag and freeze them. You can keep the slices frozen for up to 30 days.
When ready to eat, put the slices in the fridge the night before or leave them out on the counter for 2 hours prior to eating or until the cake is room temperature and soft.
Other Cake Recipes You'll Love
Did you try this recipe? Please leave me a ⭐ review below!
Don’t forget to tag me on Instagram @laneandgreyfare and follow along on Pinterest, Facebook and YouTube! Enjoy!!!
📖 Recipe
Gluten Free Birthday Cake
Ingredients
For the Cake
- 2 ¼ cups gluten free flour (I use a 1:1 gluten free flour with xanthan gum)
- 1 cup granulated sugar
- 1 ½ teaspoons baking powder
- ½ teaspoon baking soda
- ½ teaspoon kosher salt
- 1 ½ cups milk
- ½ cup light brown sugar , packed
- ½ cup vegetable oil
- 2 teaspoons pure vanilla extract
For the Frosting
- 1.5 cups unsalted butter or vegan being stick
- 7 cups confectioners' sugar
- 2 cups cocoa power ( I use 1 cup of Dutch or Natural Unsweetened and 1 cup of Dark)
- 4 teaspoons pure vanilla extract
- 1 cup water , room temperature
Instructions
Make the Cake
- Preheat the oven to 350 degrees Fahrenheit and grease and line two 8 inch cake pans with parchment paper. Set aside.
- In a large bowl, whisk together the gluten free flour, granulated sugar, baking powder, baking soda and salt. Set aside.
- In a medium bowl, whisk together the milk of choice, the light brown sugar, the vegetable oil and the vanilla.
- Slowly add the milk mixture into the flour mixture and use a spatula to combine as it gets thick.
- With a spatula, scoop half the batter into one pan and the other half into the other pan. Smooth the tops with a butter knife.
- Bake both cakes in the center rack for 35 minutes.
- Let them cool in the pan and then transfer to a cooling rack.
- Once the cakes have cooled completely, cut them in half horizontally. Now you will have 4 thinner layers of cake. If the cake tops are domed, you can carefully cut the tops off to make them flat.
Make the Frosting
- In the large bowl of an electric mixer or using a hand held mixer, beat the butter or vegan baking stick until smooth and creamy. About 2 minutes.
- With the mixer on very low speed, slowly add in the confectioners' sugar.
- With the mixer on low speed still, add in the cocoa powders.
- Add in the vanilla and beat until combined.
- While the mixer is on, slowly add in the water a little at a time until you get the desired consistency. You may not need to use all the water.
Assembling the Cake
- Separate the frosting into 5 equal sections.Place one layer of cake on the bottom of a cake plate/stand. Scoop ⅕ (about 1 cup) of the frosting on top and use an icing spatula to spread it around.
- Place another layer of cake on top; repeat this same process. Do this with 3 layers of cake.
- Once you get to the top layer of cake, place it bottom (or flat) side up so the top of the cake is nice and flat. Use an icing spatula to frost the top and the sides. You should have some frosting left over to pipe decorations if desired.
- Put the remaining frosting into a piping bag.Make swirls all around the edge of the top of the cake. Sprinkle some gluten free/nut free/vegan nonpareils or sprinkles on top of the frosting swirls.
Video
Notes
Nutrition
The recipe for the cake was adapted from The Food Network's Vegan Vanilla Cupcakes.


Dan Spicer
I made this for my bff for her birthday. She said it was so good that I need to start selling lol. I did give credit where it was suppose to go lol. It was so easy to follow the directions and if I can make it so can you! Thank you again for yet another awesome recipe. Wish I could post a picture here.
Nancy
I made this cake and let me tell you my family just loved it!
John
Wow! Golden layer cake looks delicious!
Lee
Thank you so so much!