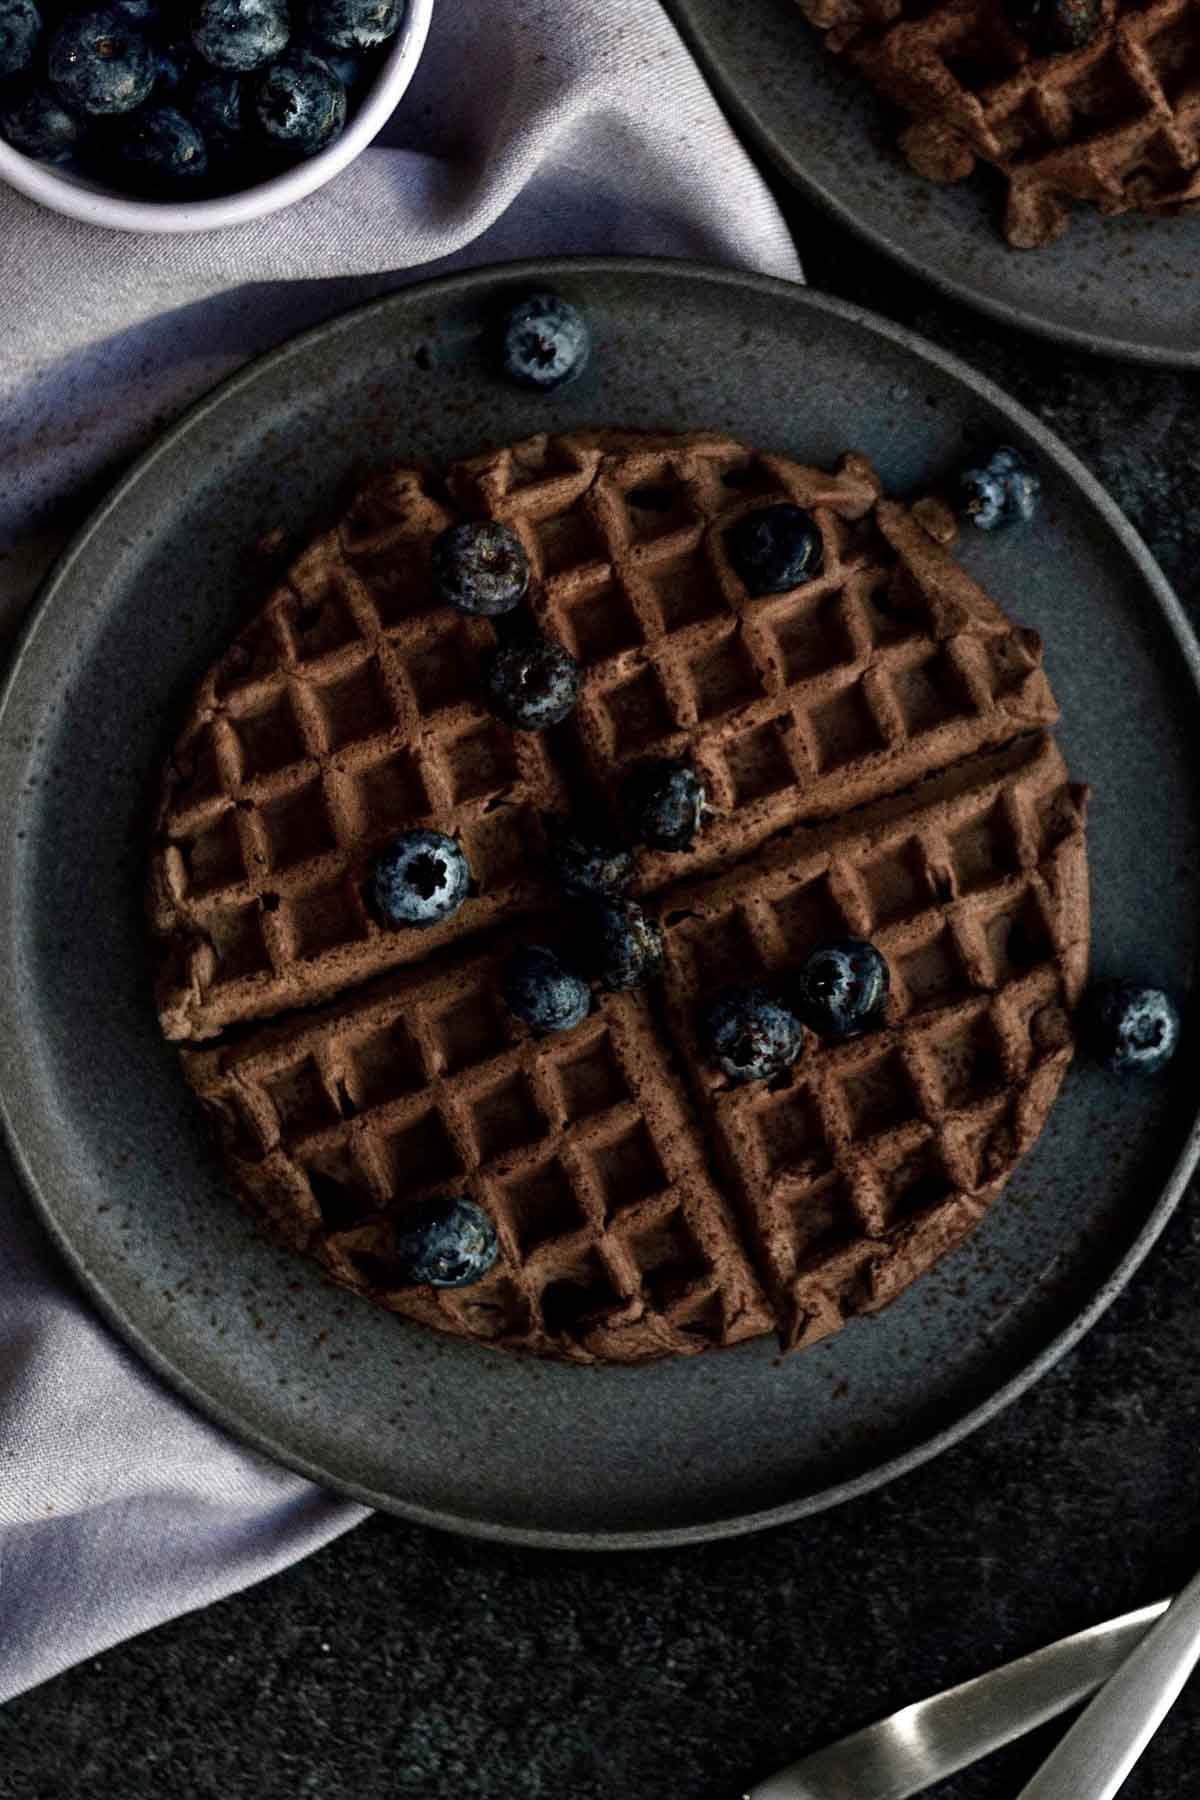
These Chocolate Waffles are rich yet light and are a great quick and easy early morning recipe! The waffle batter mixes up in minutes with a whisk and spatula and it takes minutes to cook in a waffle maker! They are delicious as is, but you can of course top them with maple syrup, fresh fruit, strawberry syrup or nut free chocolate spread! As always, they're gluten free, eggless, nut free and can easily be made vegan! If you're a chocolate lover, this is the breakfast recipe for you!
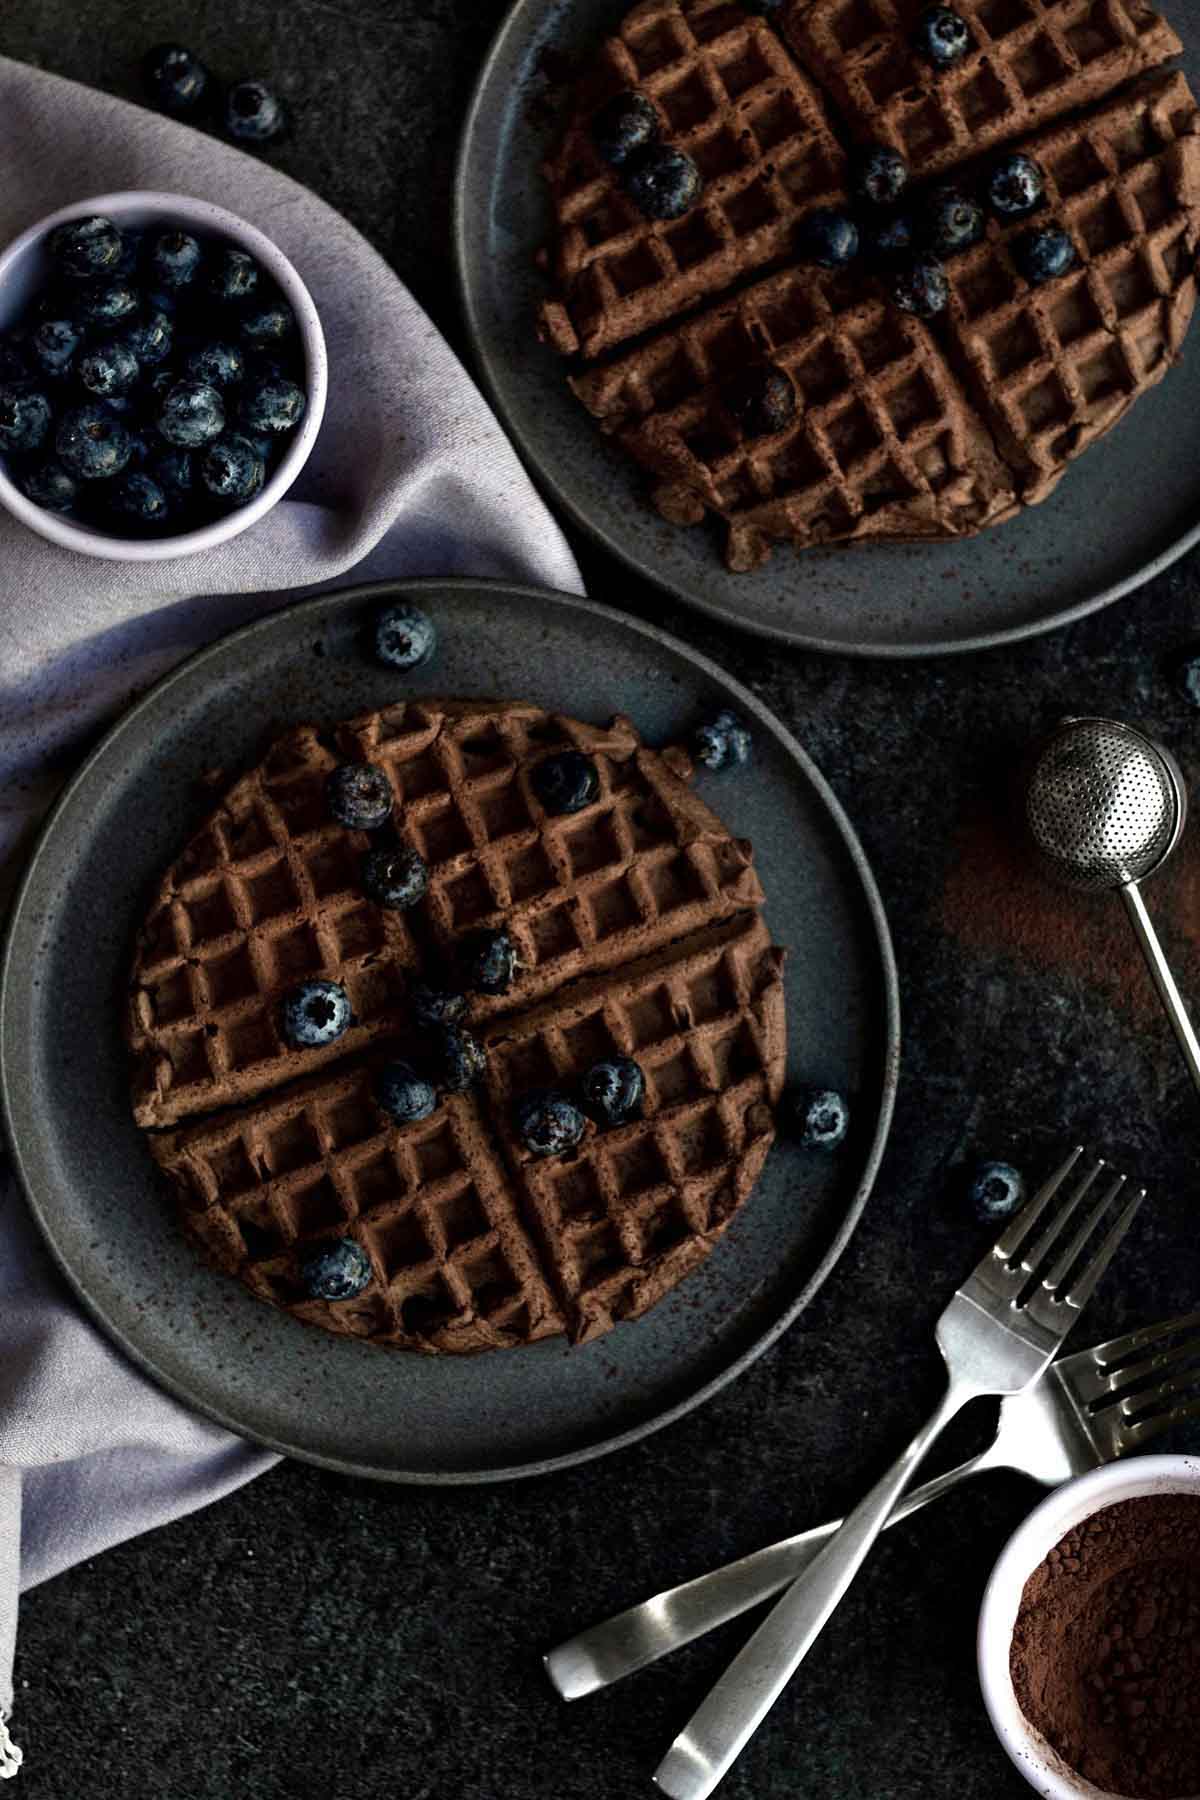
These Chocolate Waffles are a daily breakfast in our household! In the wonderful words of Leslie Knope, “We need to remember what’s important in life: friends, waffle, work. Or waffles, friends, work. Doesn’t matter, but work is third.” Yes, Leslie. I think we would all agree with that. At any rate, homemade waffles are amazing and these chocolate ones are no exception. “Everyone should love waffles. If they don’t, they’re crazy.” Leslie Knope.
For more breakfast recipes, check out my Mini Pancakes, my New York Chocolate Egg Cream, my Coffee Cake Muffins or my Chocolate and Cinnamon Rolls.
Reasons to Love These Chocolate Waffles
- Allergy Friendly- These homemade waffles are gluten free, nut free, egg free and can easily be dairy free (vegan)!
- Light & Fluffy- They're light and puff up beautifully!
- Chocolate- Thanks to cocoa powder, these waffles are deliciously rich without being heavy!
- Easy To Make- No mixer is needed to make this simple recipe!
Ingredient Notes
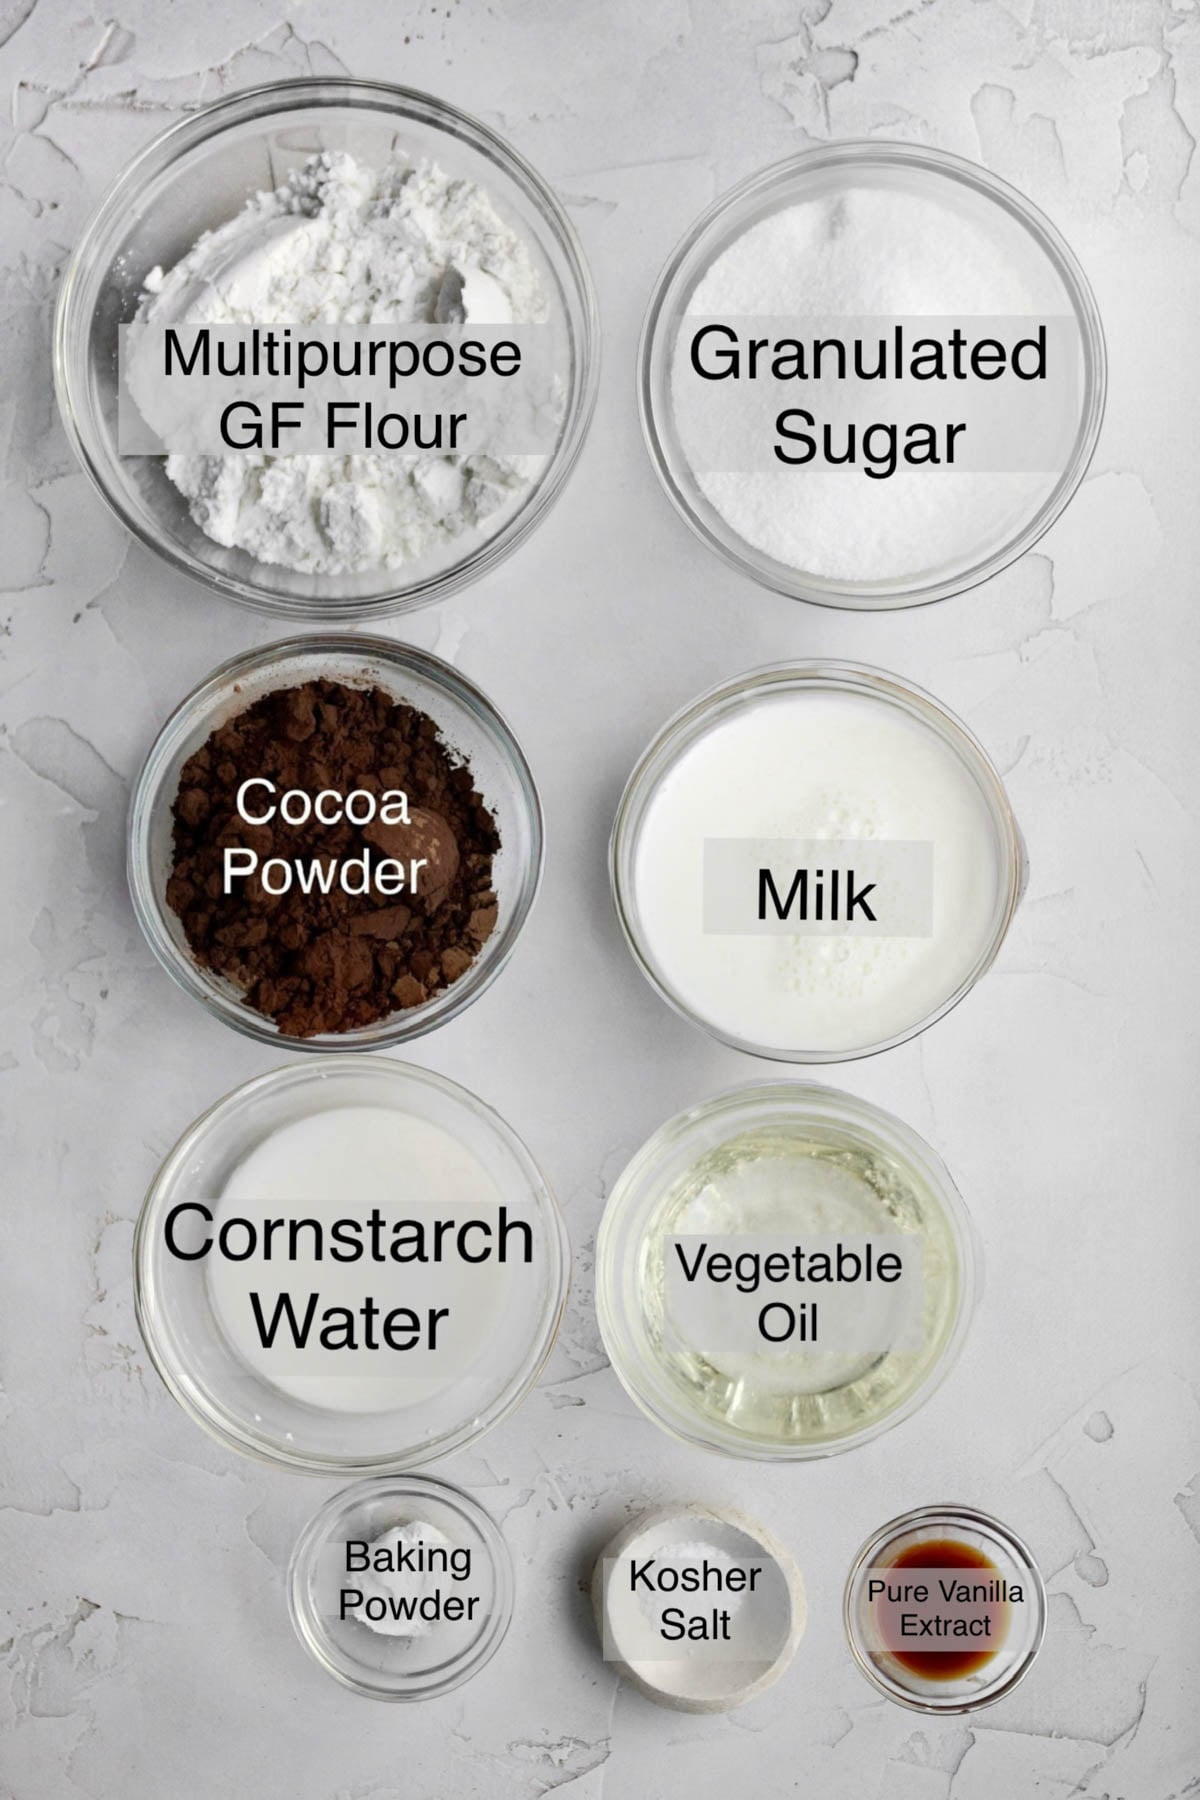
- Gluten Free Flour- If you also have nut allergies, make sure to use a brand that’s made in a nut free facility. I really love to use Cup4Cup Multipurpose Flour because it’s free of the top 9 allergens. It also contains xanthan gum which really helps give baked goods their bounce and prevents them from falling apart. Since all multipurpose gf flours are not the same, if you use a different gluten free flour, please understand the results will most likely be different.
- Granulated Sugar- I use this instead of brown sugar to keep the waffles light. Brown sugar will tend to make the waffles denser and chewier due to the added moisture content.
- Cocoa Powder- I like to use Natural Unsweetened or Dutch. Do not Dark as it will make the waffles too dry and chalky.
- Baking Powder- Helps the waffles be fluffy!
- Kosher Salt- Brings out all the flavor!
- Cornstarch Water- This helps bind everything together since the waffles are eggless.
- Milk- If there are no dairy allergies or if you’re not vegan, you can use regular whole milk. For non-dairy, use a dairy-free milk of your choosing.
- Vegetable Oil- The waffles use oil instead of butter to help to help them stay moist. But you can use 4 tablespoons of melted butter if you prefer.
- Vanilla- Make sure to only use pure vanilla extract that is gluten free and vegan. If you use one that is not pure, the waffles could have a chemical taste.
See my recipe card below for a complete list of the ingredients with measurements.
Substitutions and Variations
Make these into Vegan Waffles
- Use a gluten free flour that’s free from dairy.
- Make sure the brand of sugar you use is vegan.
- Only use a non-dairy milk of choice.
How to Make this Recipe with All Purpose Flour
- Use 1 cup packed AP flour (168 grams).
- Make sure to use ⅓ cup packed cocoa powder.
- Only use 1 ¼ cups of milk.
This recipe has not been tested with these some of substitutions and/or variations due to celiac disease and food allergies. If you change any of the ingredients, please let us know how the recipe turned out in the comments below!
How to Make Chocolate Waffles
Here are the step by step instructions to make this chocolate waffles recipe!
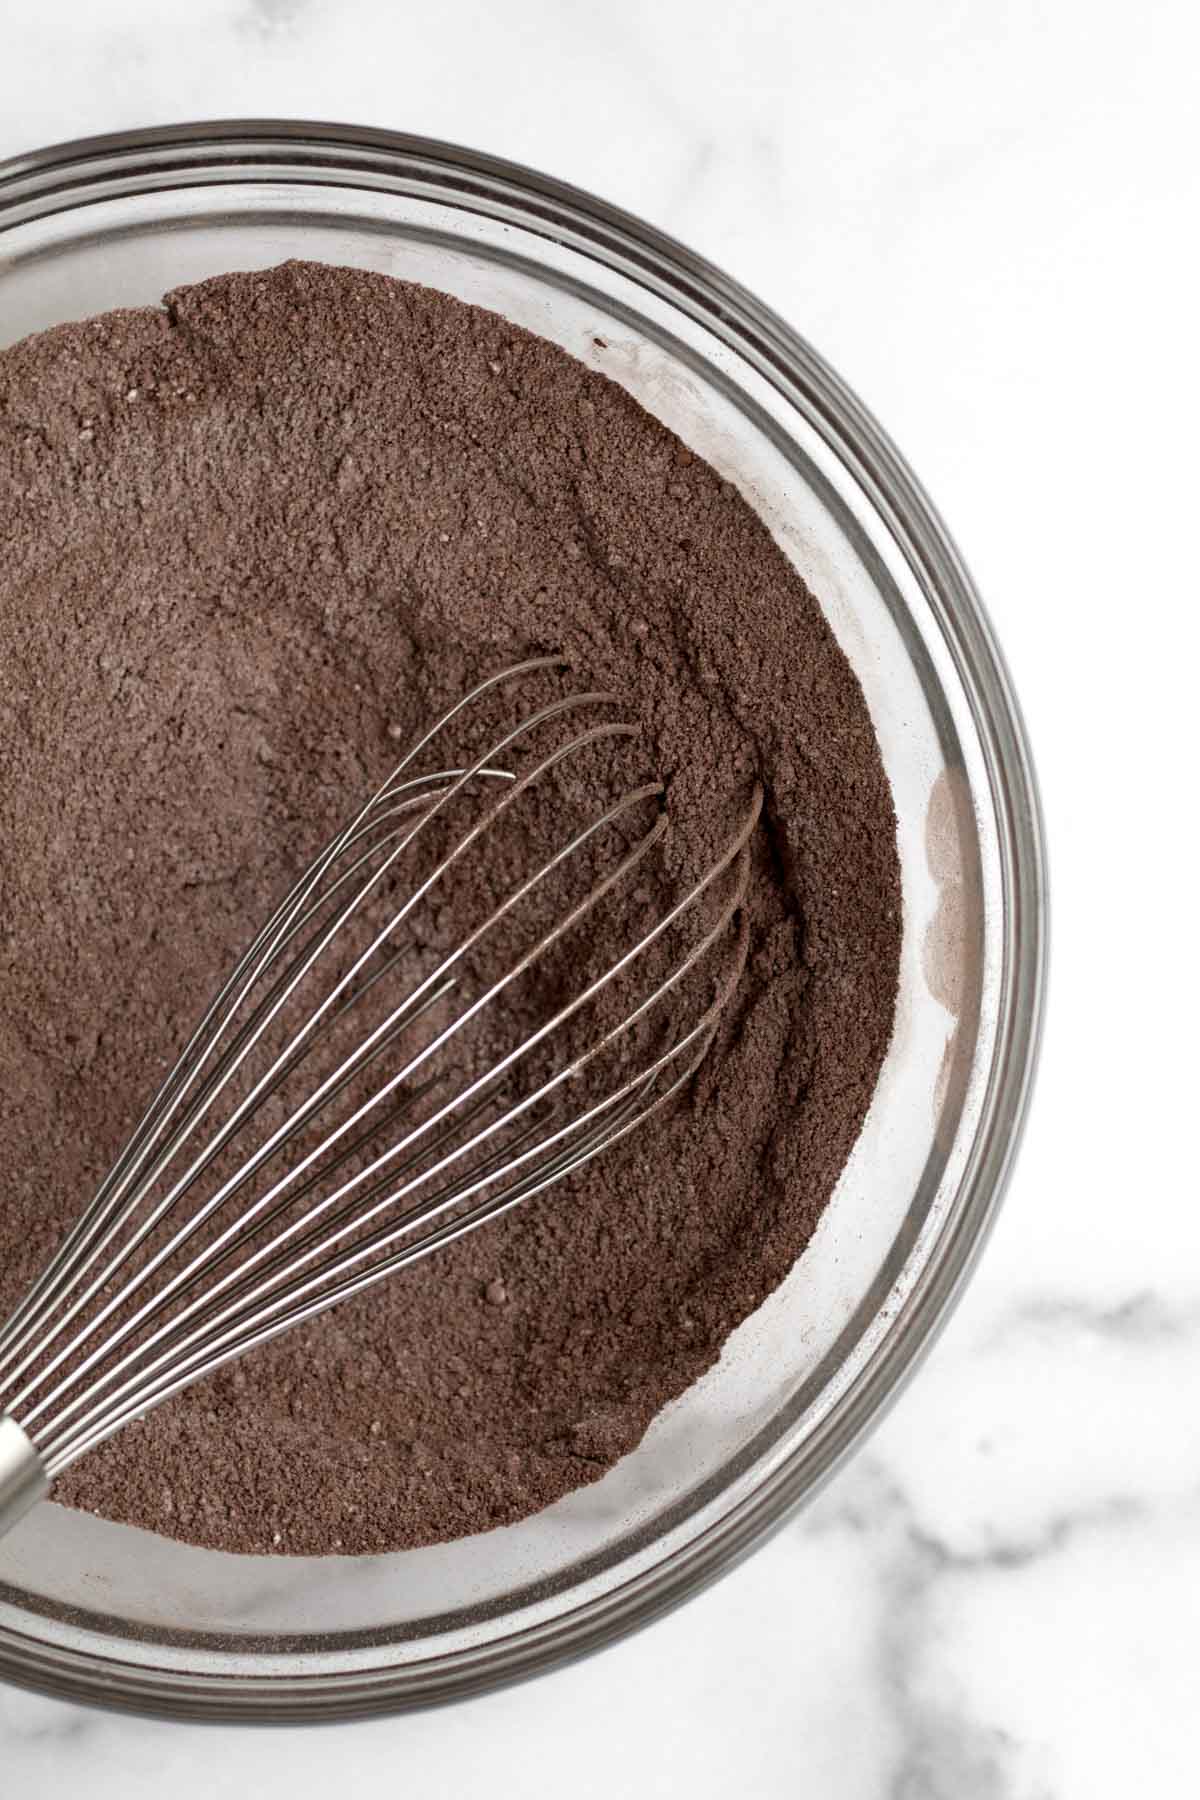
Step 1: Whisk Together the Dry Ingredients
In a medium bowl, whisk together the gluten free flour, granulated sugar, cocoa powder, baking powder and kosher salt. Set aside.
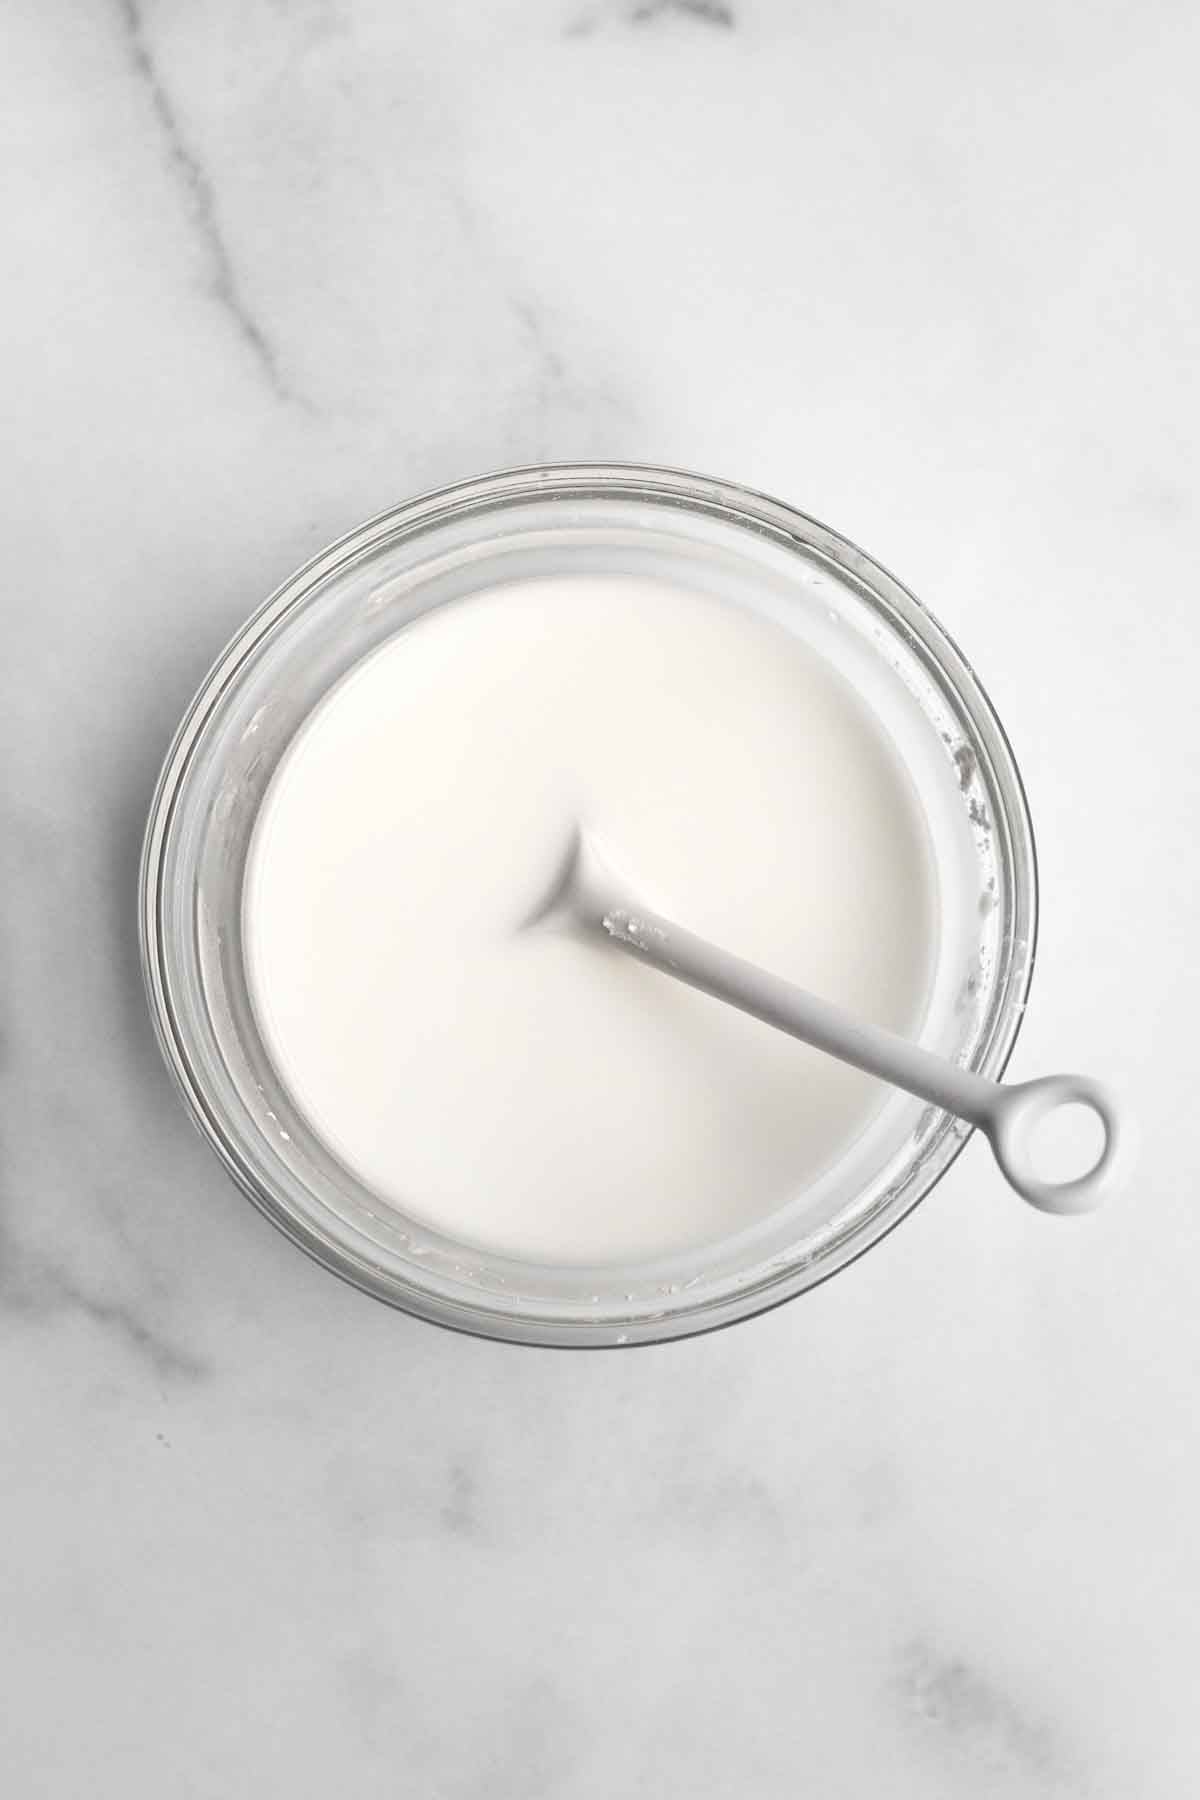
Step 2: Make the Cornstarch Water
In a small bowl, using a spoon, mix together the cornstarch and water until thin and watery. It will be thick and tacky at first.
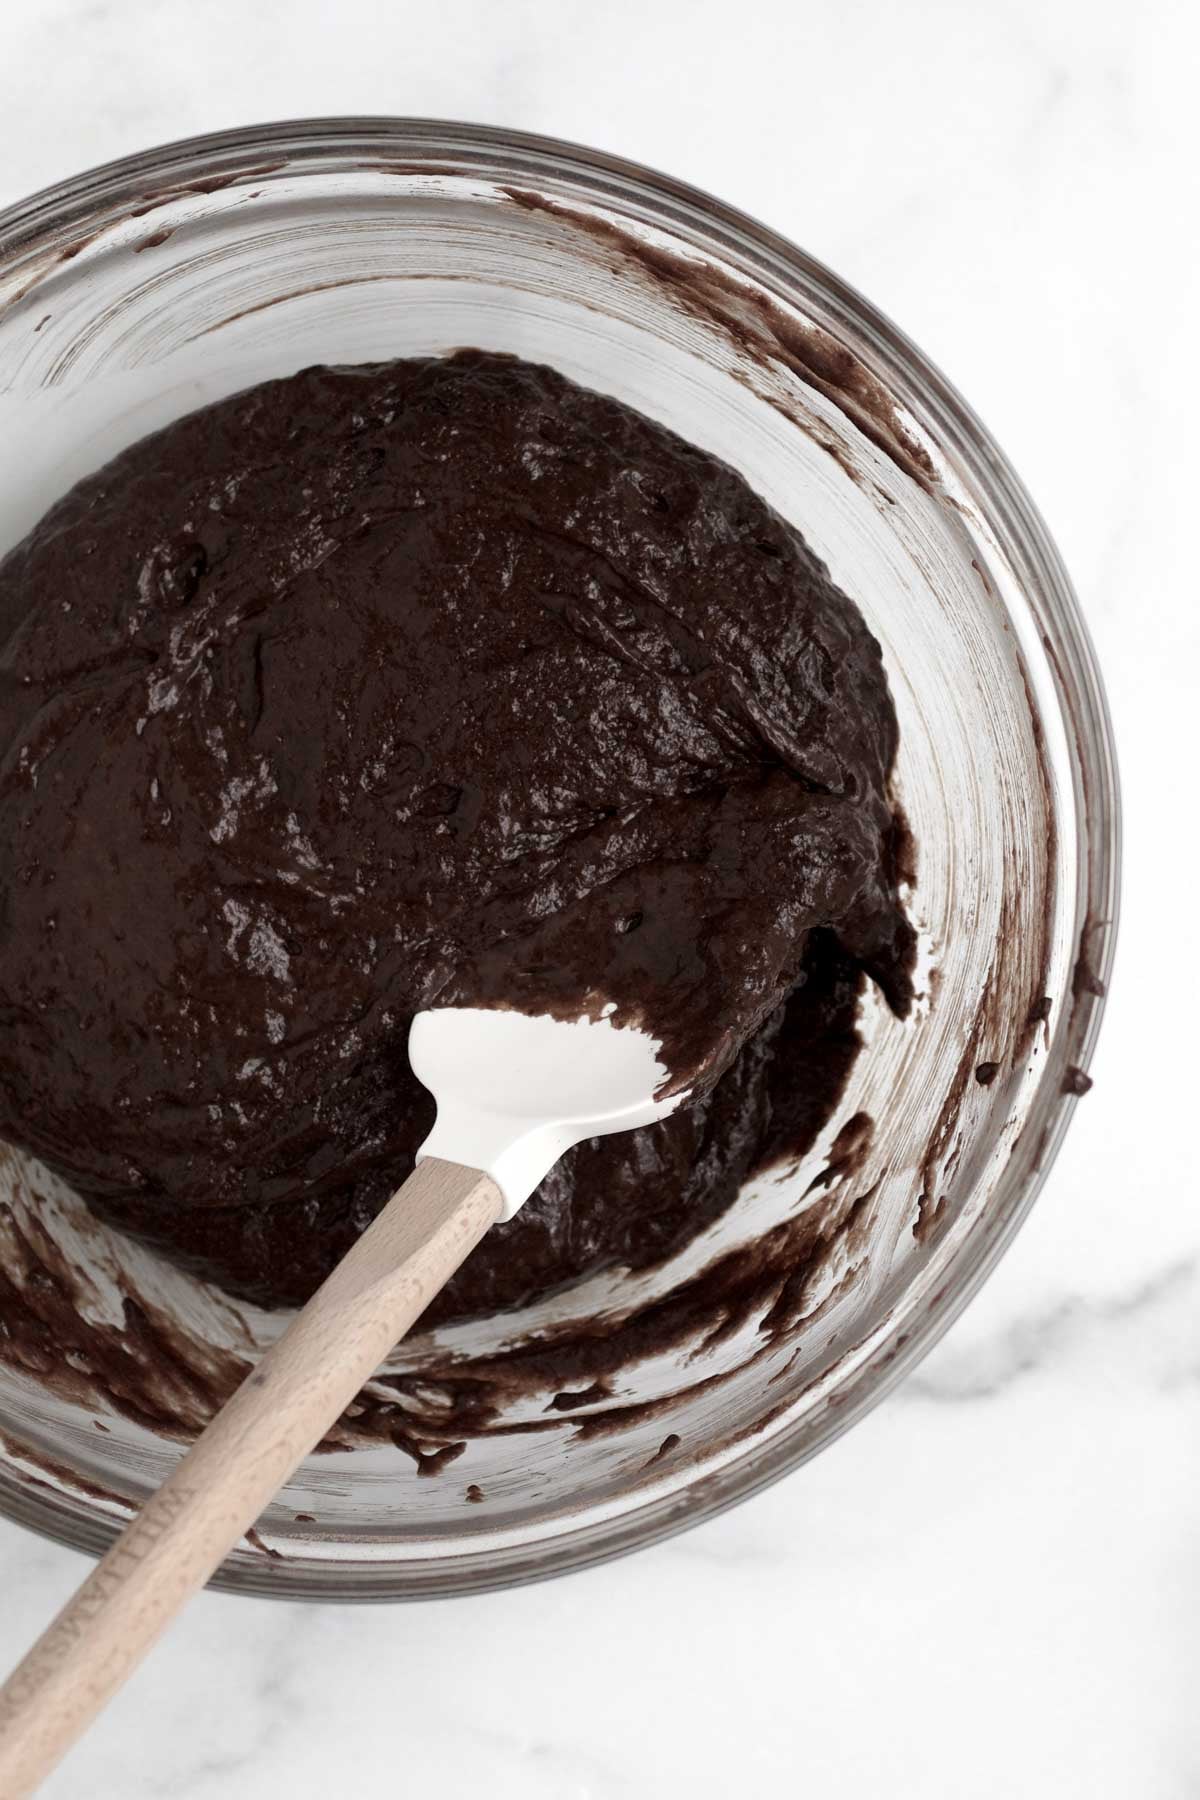
Step 3: Mix in the Wet Ingredients
Make a well in the center of the dry ingredients. Add in the milk, cornstarch water, vegetable oil and vanilla.
Whisk until smooth and combined. When it thickens, switch to using a spatula.
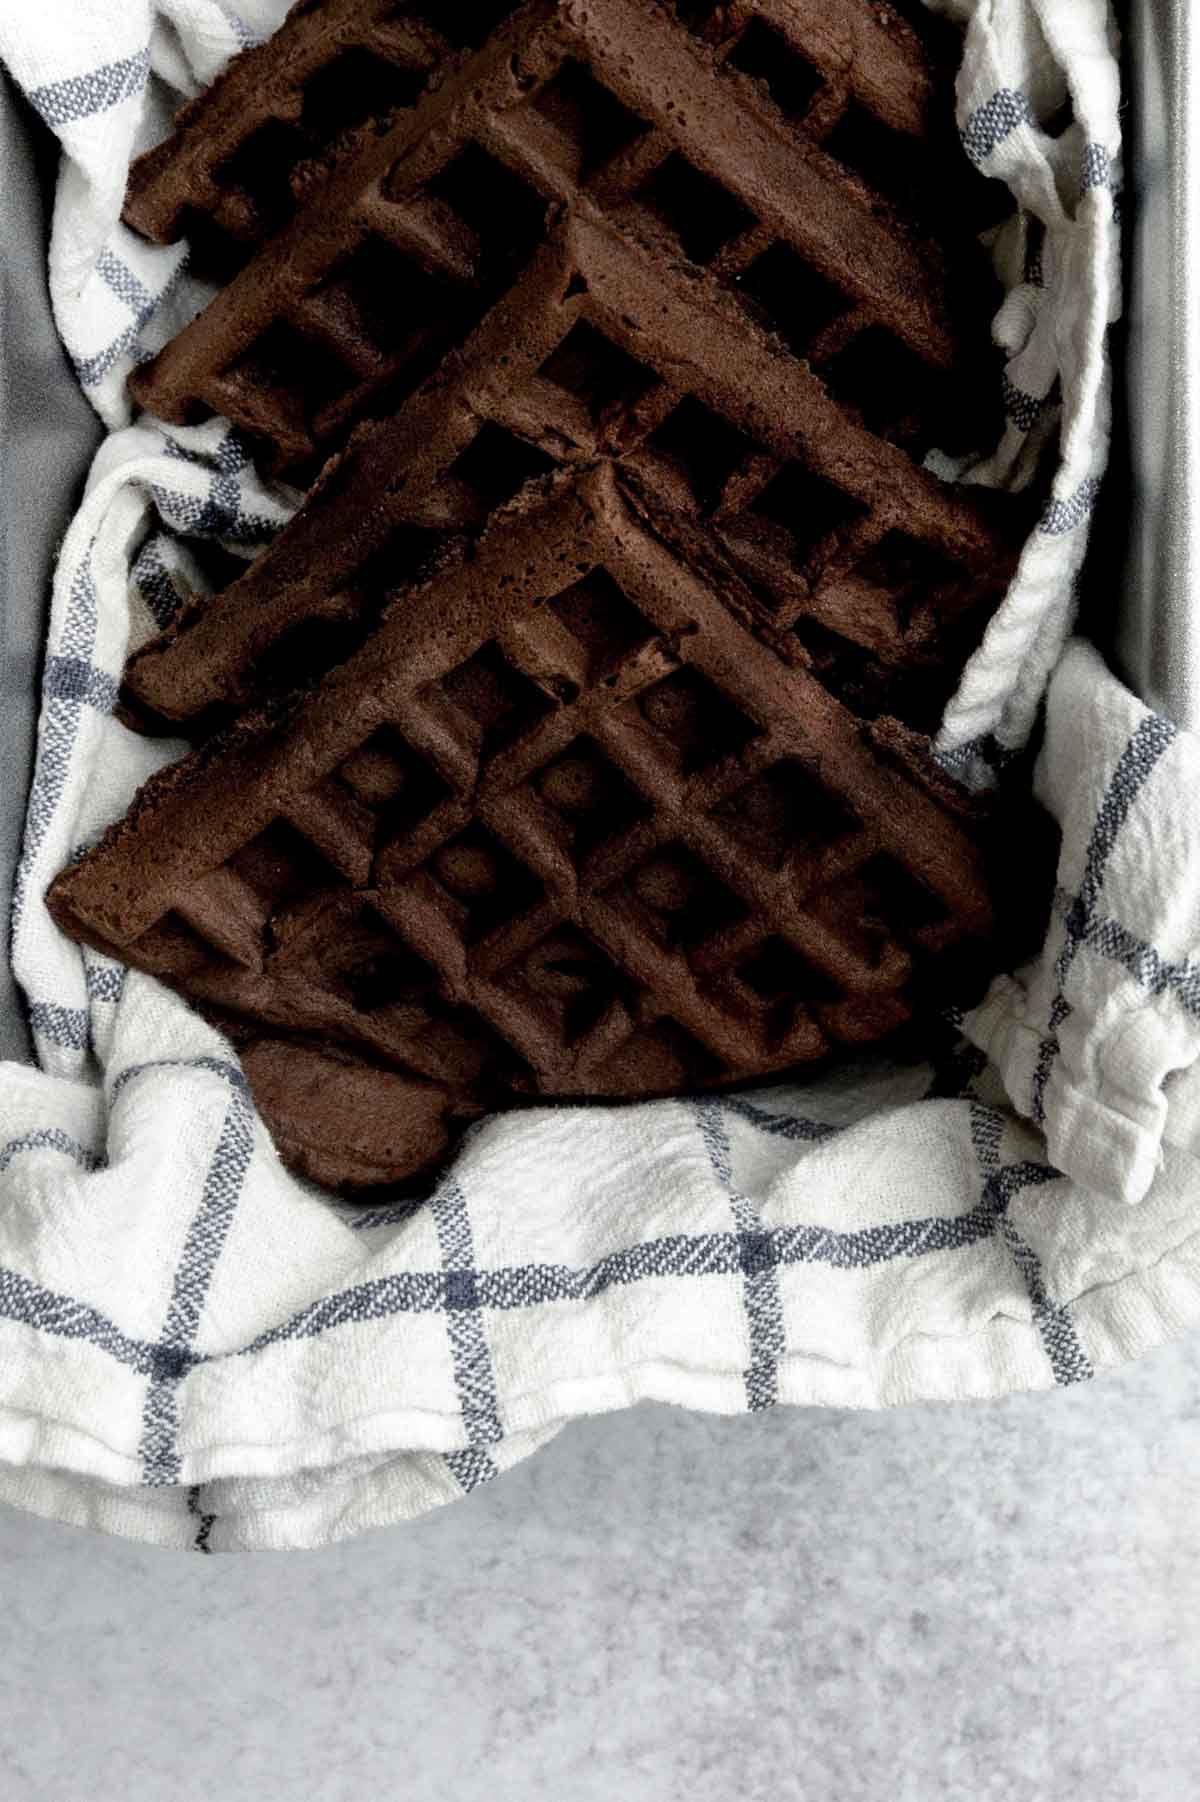
Set 4: Make the Waffles
Plug in your waffle iron. On mine the temperature goes from 1-5. I like to set it to a 2-3. Once it’s ready (on mine the light turns green), use an ice cream scoop to add the batter.
Plop about two scoops of batter into the center of the maker and spread it around with a butter knife.
Cook following the directions in your instruction book. With mine, once the light turns green, it’s ready to take out. Remove from maker and let cool on a cooling rack. Repeat this with the rest of the batter and enjoy!
Expert Baking Tips
- Let the Batter Sit- When you first mix the batter it may appear quite liquidy. After letting it sit about 5 minutes, it should thicken up.
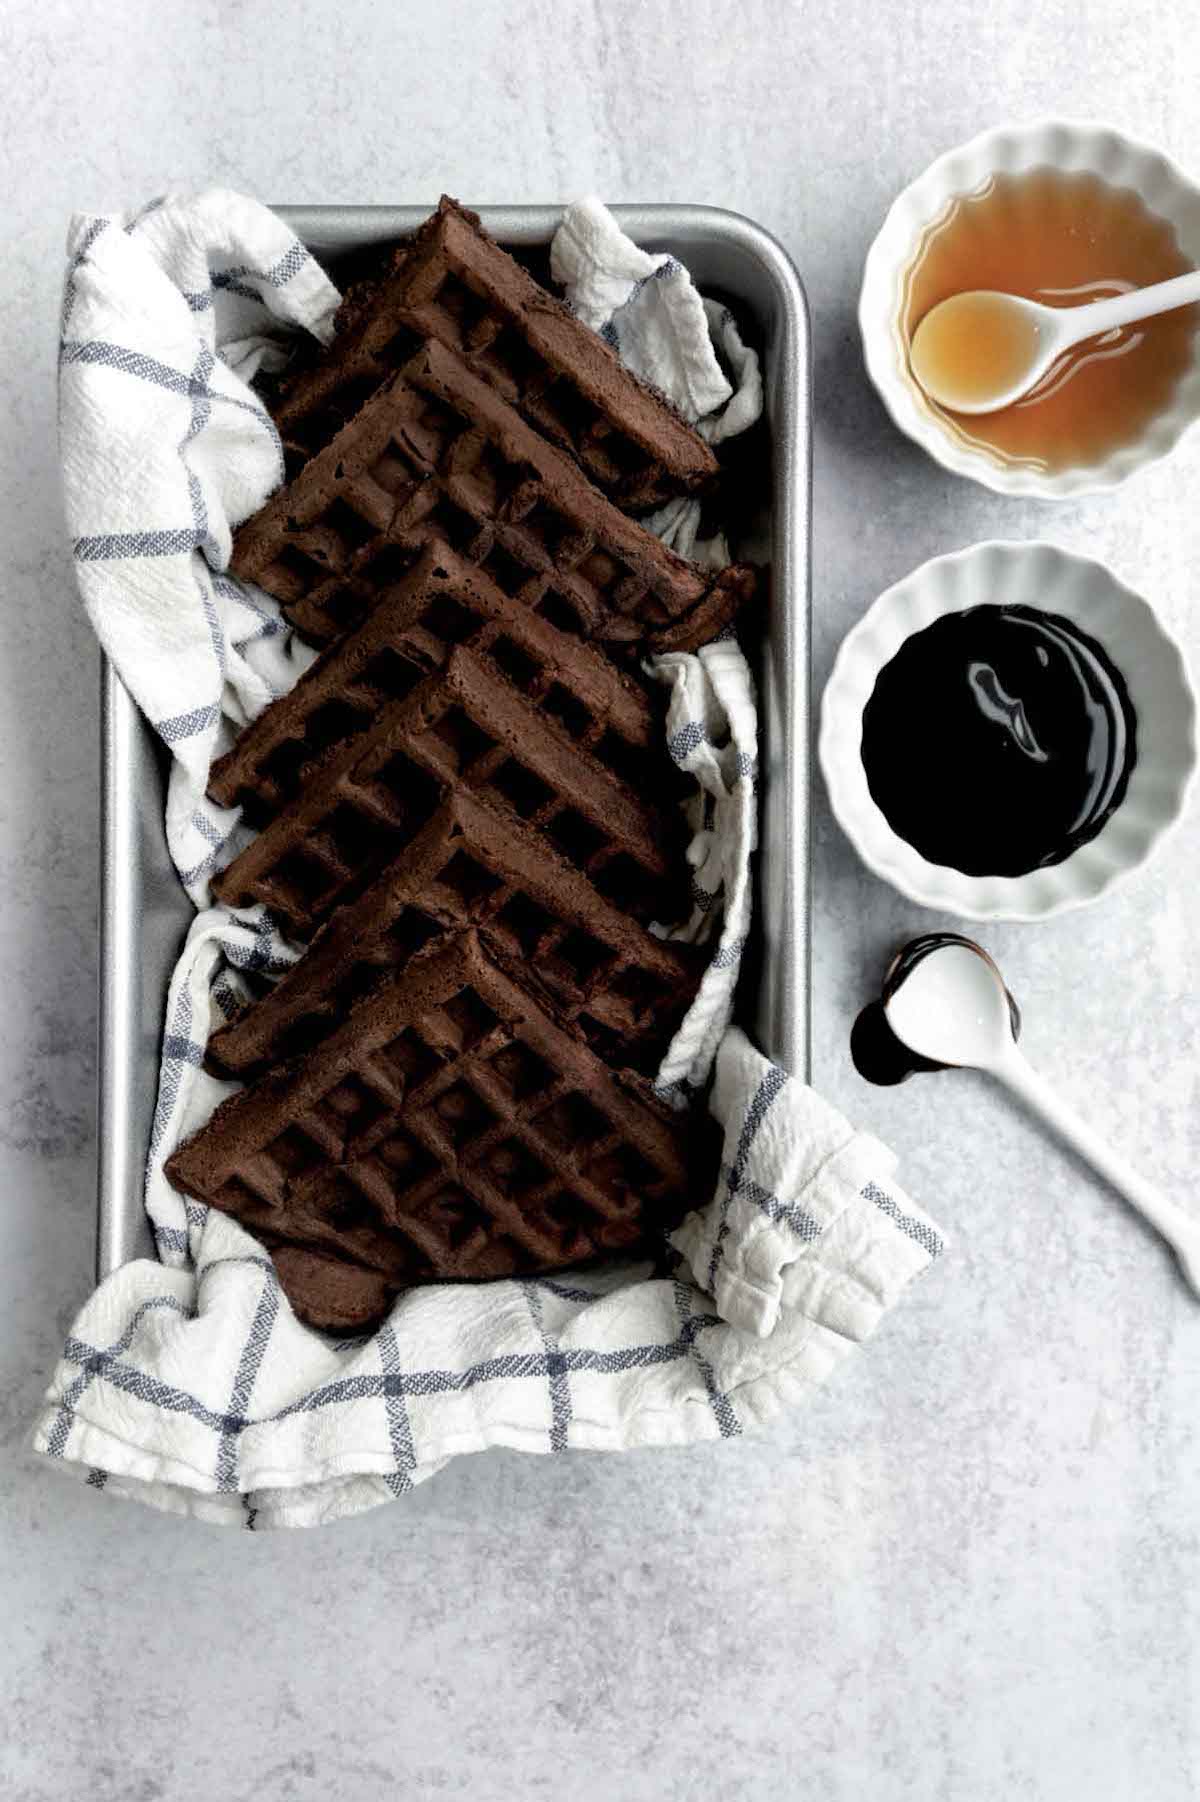
- Freeze the Waffles- The best tip I can give you for making these waffles is: make them ahead of time and freeze them. My daughter literally eats these every single day for bfast and all I have to do is quickly reheat them and they’re ready to go.
Recipe FAQs
You can make the batter the night before. Keep it in a bowl, cover the top in plastic and place in the fridge.
They are best fresh but you can make them ahead of time and freeze them.
Storing: Let the warm waffles cool on a cooling rack so they don't get soggy on the bottoms. Once completely cool, break each waffle apart into the 4 quarters.
Next, wrap them in foil (do not stack them...you can recreate the circle using 4 quarters and wrap the entire disk in foil) and put all the wrapped discs in a ziplock and freeze for up to 1 month.
Reheating: Microwave each waffle quarter for about 22-28 seconds each or until soft. Do not over heat or they can become tough. Be careful not to burn your mouth. Add toppings and enjoy!
More Breakfast Recipes You'll Love
Did you try this recipe? Please leave me a ⭐ review below!
Don’t forget to tag me on Instagram @laneandgreyfare and follow along on Pinterest, Facebook and YouTube! Enjoy!!!
📖 Recipe

Chocolate Waffles
Ingredients
- 1 cup multipurpose gluten free flour (I use Cup4Cup gluten free multipurpose flour which contains xanthan gum)
- ⅓ cup granulated sugar
- ⅓ cup cocoa powder
- 1.5 teaspoons baking powder
- ¼ teaspoon kosher salt
- 2 rounded tablespoons cornstarch mixed with 3 tablespoons of water
- 1 ⅓ cups milk
- 4 tablespoons vegetable oil
- ¾ teaspoon pure vanilla extract
Instructions
- In a medium bowl, whisk together the 1 cup gluten free flour, ⅓ cup granulated sugar, ⅓ cup cocoa powder, 1.5 teaspoons baking powder and ¼ teaspoon kosher salt. Set aside.
- In a small bowl, using a spoon, mix together the 2 rounded tablespoons cornstarch (26 grams) and 3 tablespoons of water. It should look thin and watery; it will be thick and tacky at first.
- Make a well in the center of the dry ingredients.Add in the 1 ⅓ cups milk, the cornstarch water, 4 tablespoons vegetable oil and ¾ teaspoon pure vanilla extract.Whisk until smooth and combined. When it thickens, switch to using a spatula.
- Plug in your waffle iron. On mine the temperature goes from 1-5. I like to set it to a 2-3. Once it’s ready (on mine the light turns green), use an ice cream scoop to add the batter. Plop about two scoops of batter into the center of the maker and spread it around. Don’t worry if it stays closer to the center, when you press the lid down, it will spread the batter out. Cook following the directions in your instruction book. With mine, once the light turns green, it’s ready to take out. Remove from maker and let cool on a cooling rack. Repeat this with the rest of the batter.
- Serve immediately with whatever toppings you desire or let cool completely and freeze.If freezing, break the waffles apart into the 4 quarters (otherwise they will be frozen together), wrap in foil, pop in a zip top bag and freeze.

Donna Dipaola says
These are soooo yummy. Love them.
Ginny says
I’ve made chocolate chip waffles but never thought to make the waffles themselves chocolate- genius!! These were amazing
Theresa says
We love waffles on the weekend. This is a great change of pace. Thanks also for the freezing tips.
Terry C says
This is a great idea for the Sunday brunch crowd. Maybe top them with some fresh fruit too.
Nancy DiPaola says
These chocolate waffles are nothing but perfect my family just loved them! i would recommend this wonderful recipe.
Steve says
I love waffles and chocolate. These do not disappoint!
Amanda says
My kids love waffles for breakfast and these are so good!!
Steve says
So easy! So delicious!
john says
These waffles make breakfast worth getting up for in the morning!