These Blackberry Cookies are soft and chewy gluten free sugar cookies that are topped with a blackberry frosting! This fruity cookie recipe has blackberry in 4 ways! There is a blackberry syrup mixed into the dough, chunks of blackberries in the cookies, they're iced with a stunning blackberry frosting and topped with fresh blackberries! The tartness from the blackberries and the sweetness from the frosting, create the perfect paring of flavors! Best yet, they're eggless, nut free and easily vegan!!! Unlike many eggless cookies that go stale very quickly, these beauties stay soft for days!
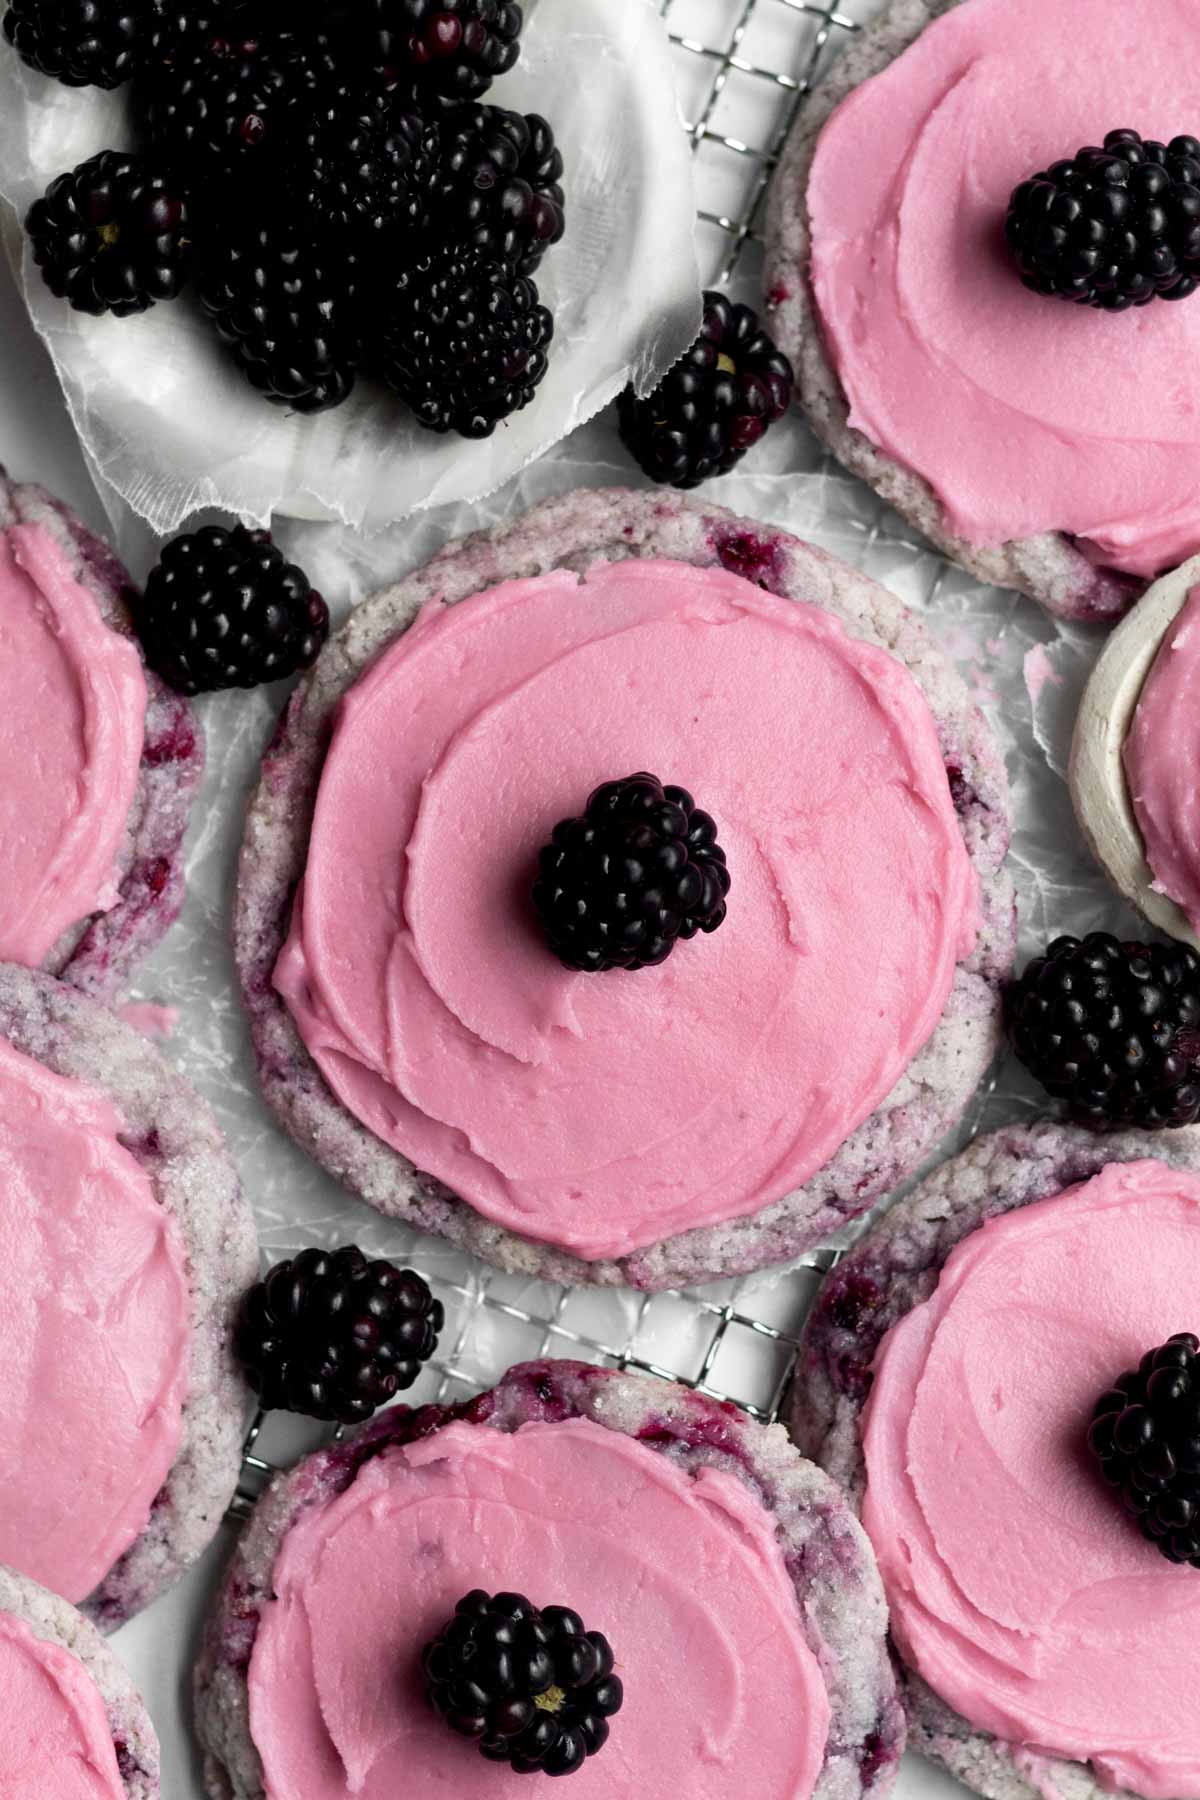
These blackberry cookies are so pretty and delicious! If you're a blackberry lover, these beauties are for you! They have a mild tart blackberry flavor throughout while still tasting sweet like my Small Batch Sugar Cookies! Thanks to all the moisture from the blackberries, these eggless sugar cookies stay soft for days! I love the frosting for added sweetness, but the cookies are delicious on their own too if frosting isn't your thing!
For more fruity sugar cookie recipes, try my super popular Strawberry Sugar Cookies, my Raspberry Cookies, my Blueberry Cookies, my Lemon Raspberry Cookies and my Lemon Blueberry Cookies.
Reasons to Love These Cookies
- Allergy Friendly- These cookies are gluten free, nut free, egg free and can easily be dairy free (vegan)!
- Soft & Chewy- These cookies are the most perfect texture.
- Covered in Sugar- The sugar coating gives a nice crunch and sweetness just like with our Fruity Pebbles Cookies!
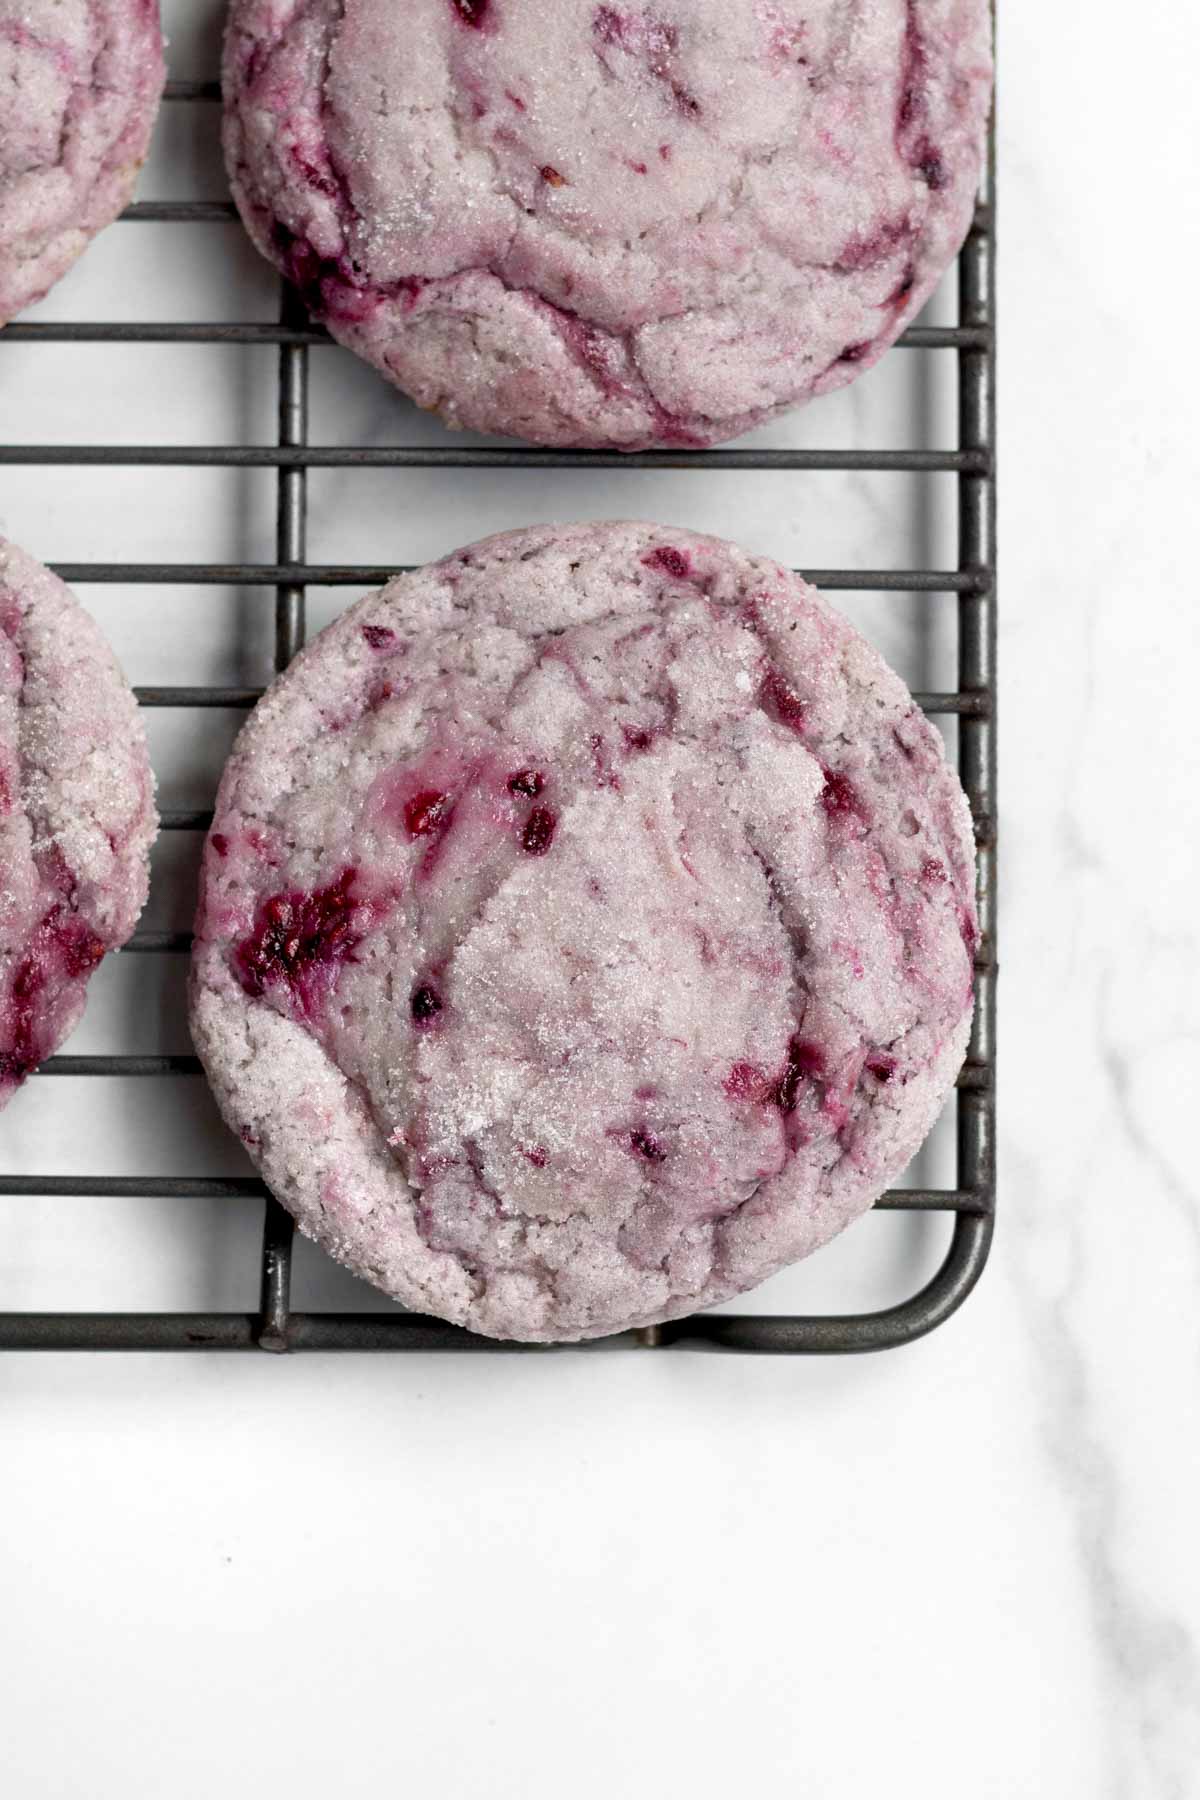
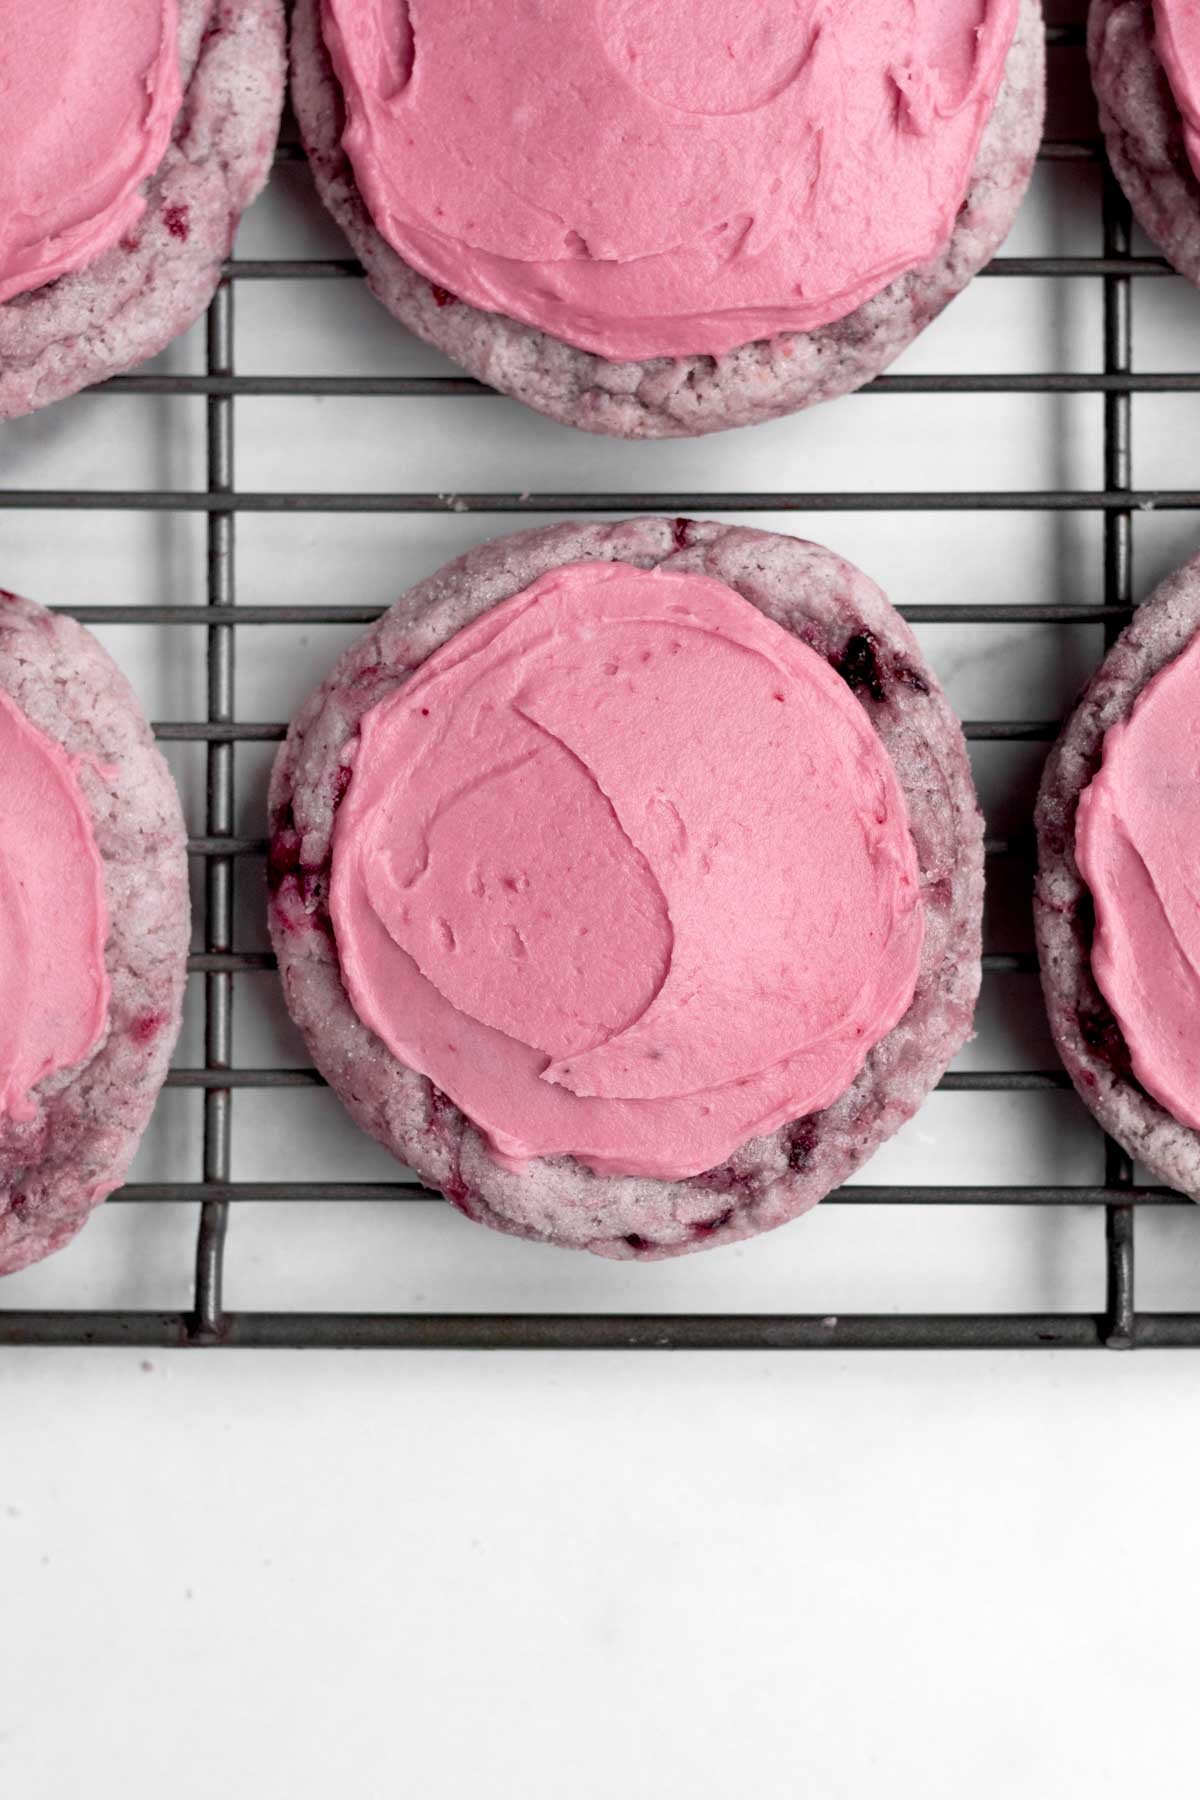
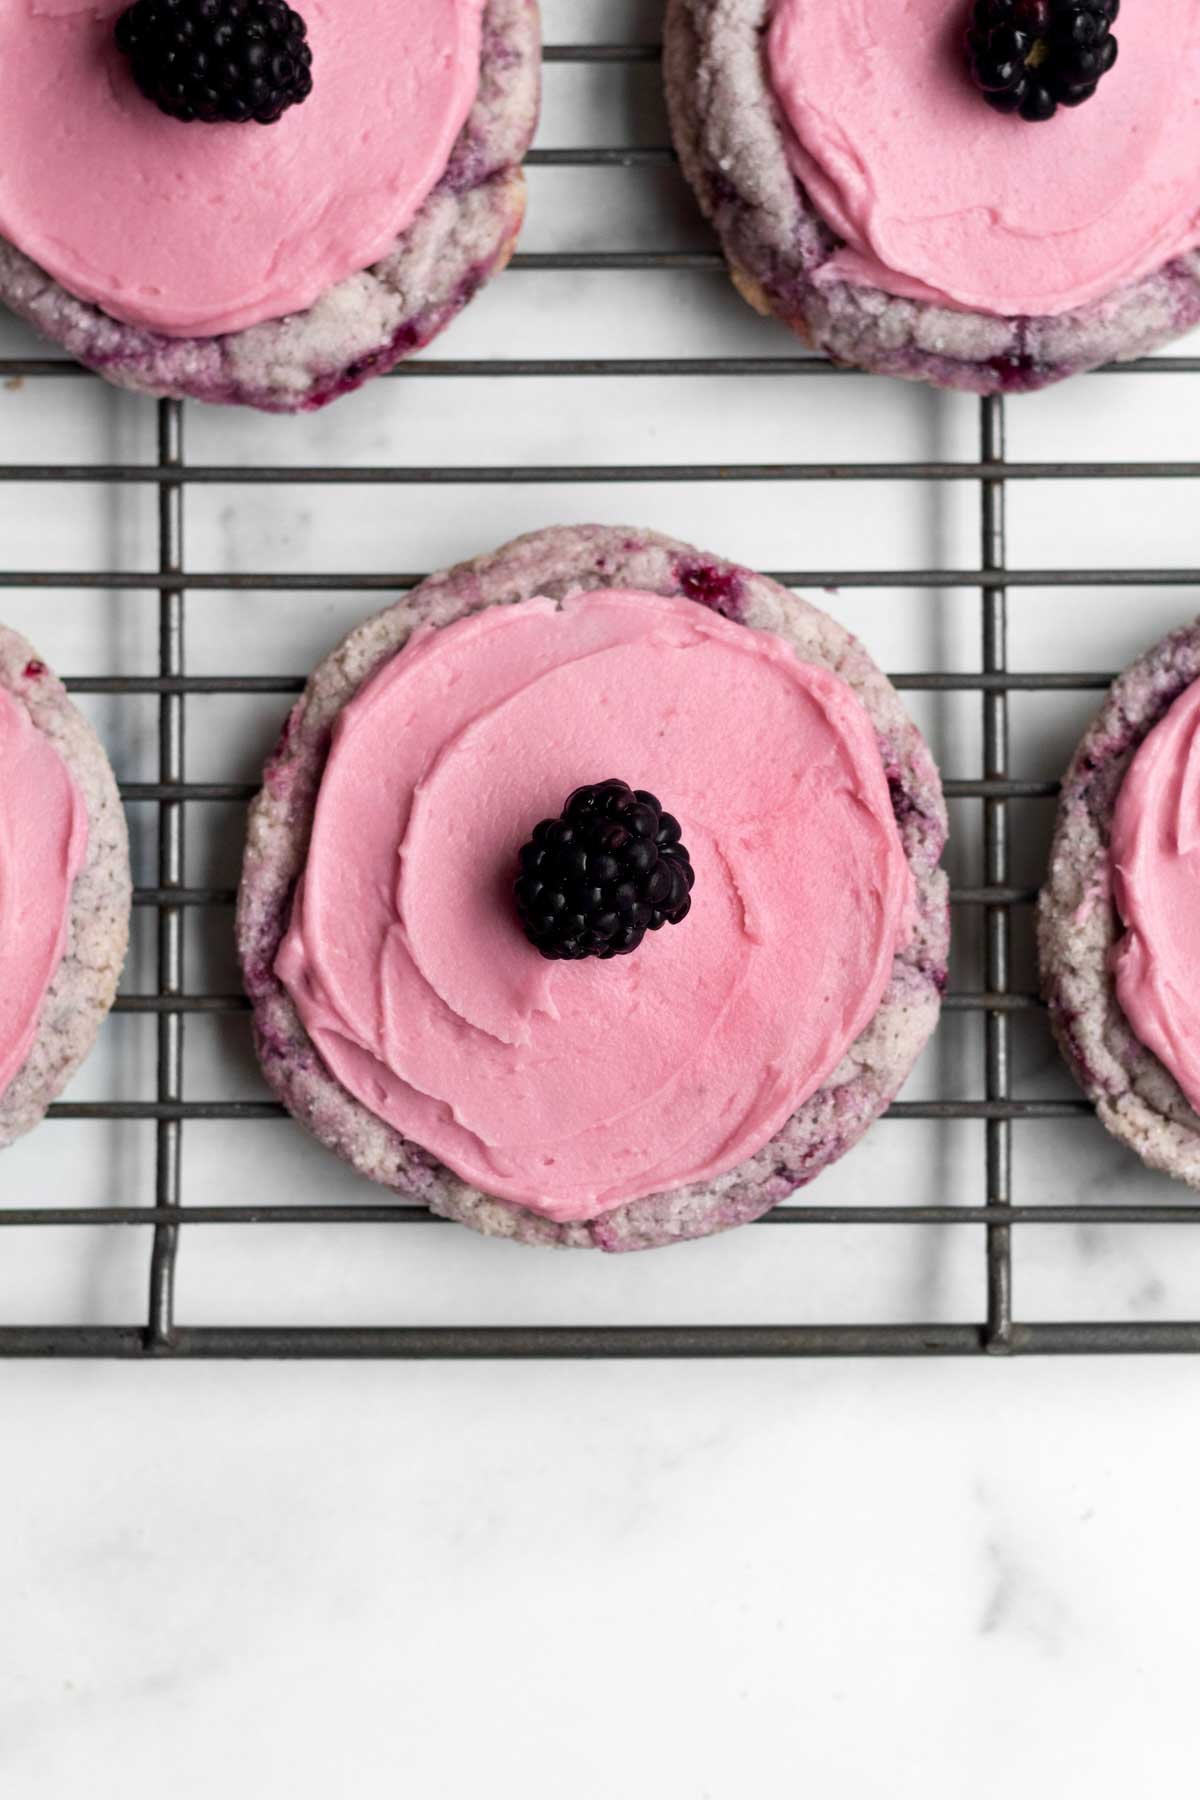
- Beautiful Color- The blackberry syrup in the dough gives the base a lovely light lavender/mauve color! The chopped frozen blackberries added into the dough create those gorgeous splashes of that dark magenta and the frosting is a gorgeous dark pink! The frozen blackberries I get have more of a redish tint. If your blackberries have a darker tone, keep in mind the color of your cookies will be different than mine.
Ingredient Notes
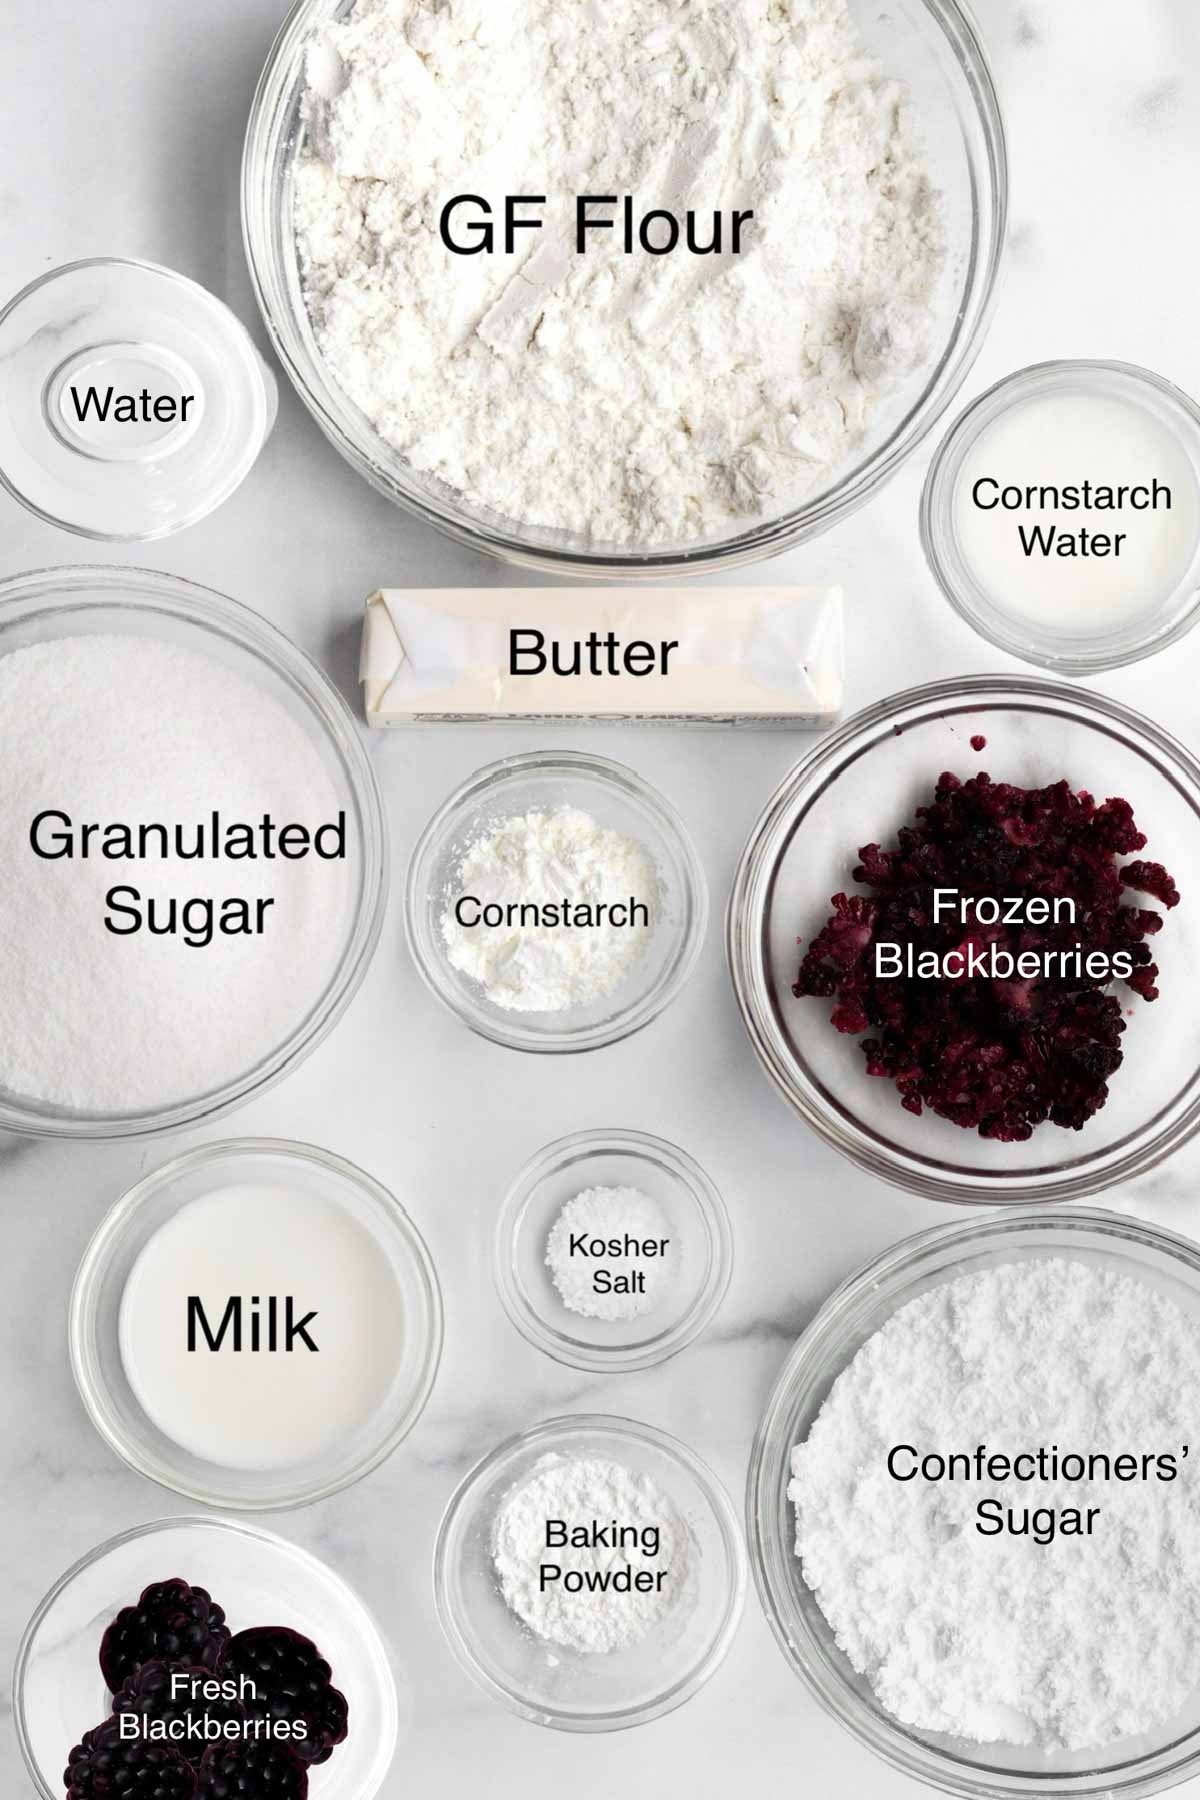
- Gluten Free Flour- If you also have nut allergies, make sure to use a brand that’s made in a nut free facility. I really love to use this gluten free flour because it’s nut safe but it does contain dairy. It also contains xanthan gum which really helps give baked goods their bounce.
- Cornstarch- This little bit of cornstarch mixed into the flour prevents the cookies from spreading. Without it, the cookies will spread out when baking due to all the moisture from the blackberries.
- Milk- If there are no dairy allergies or if you’re not vegan, you can use regular whole milk. For non dairy, use a non dairy milk of your choosing.
- Unsalted Butter or Vegan Baking Sticks- Don’t use melted; the cookies will spread into a giant mess.
- Cornstarch and Water- These cookies have no egg so this mixture helps bind everything together. Yes, you need this in addition to the cornstarch mixed into the gf flour.
- Blackberries- You must use frozen blackberries for when you add them into the batter and they must be chopped into tiny pieces. Eggless cookies want to spread and if you use fresh or (frozen blackberries that are not chopped), there will be too much moisture. The dough will become a slimy wet mess and will spread out into a liquid disaster when baking. For making the blackberry syrup, I also prefer to use frozen. The flavor is more concentrated.
See my recipe card below for a complete list of the ingredients with measurements.
Substitutions and Variations
How to Make these Vegan
- Use a gluten free flour that’s free from dairy.
- Make sure the brand of sugar you use is vegan.
- Use vegan baking sticks instead of butter.
- Only use a non dairy milk of choice.
How to Make this Recipe with All Purpose Flour
- Use 2 packed cups of regular flour (336 grams).
- You still need to freeze the dough due to the lack of eggs and moisture from the blackberries.
How to Make Smaller Cookies
- Use a small cookie scoop or roll the dough into 1 inch balls.
- Bake the cookies at the same temperature but for 13 minutes. Reshape as needed. Should make 24 cookies.
This recipe has not been tested with some of these substitutions and/or variations due to celiac disease and food allergies. If you change any of the ingredients, please let us know how the recipe turned out in the comments below!
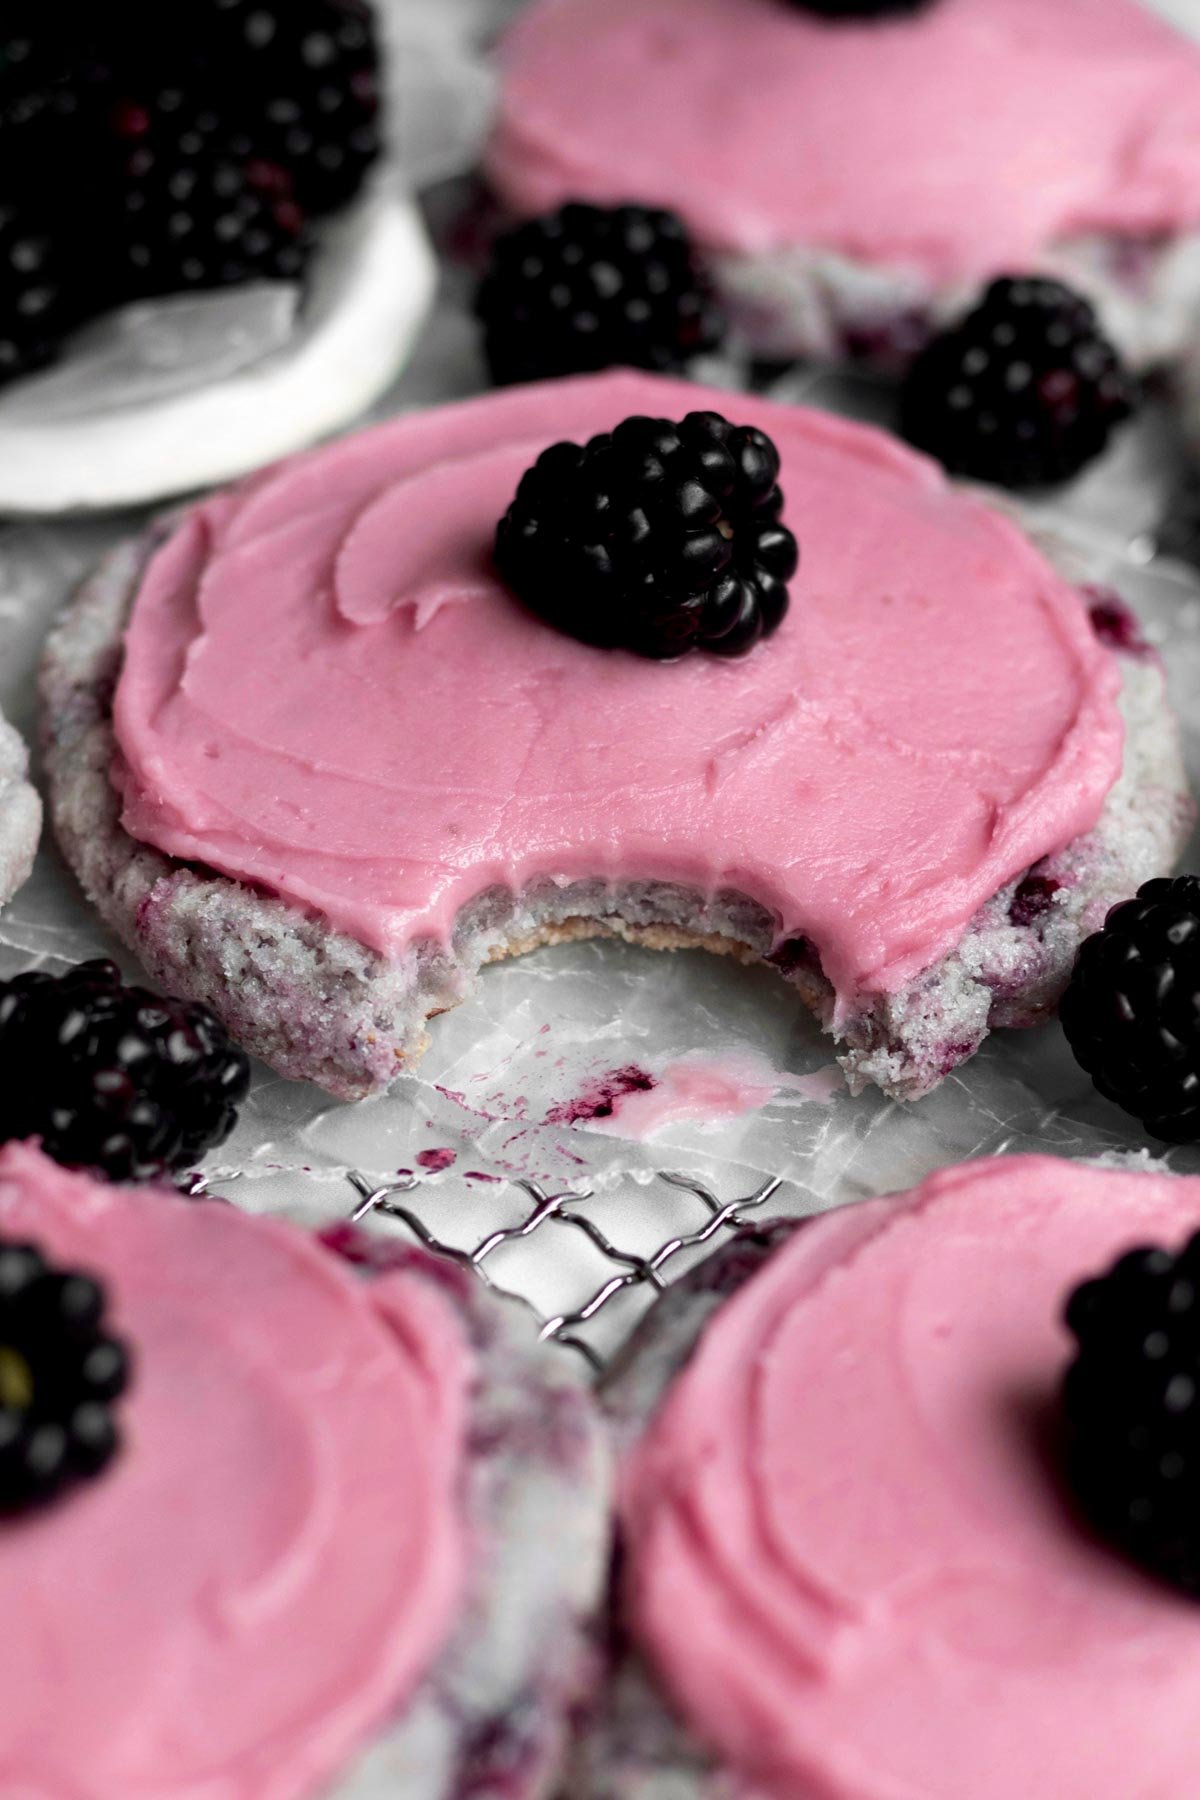
How to Make Blackberry Cookies
Here are the step by step instructions to make this blackberry cookie recipe!
Make the Blackberry Syrup and Chop the Extra Blackberries
Step 1: Heat the Blackberries and Granulated Sugar
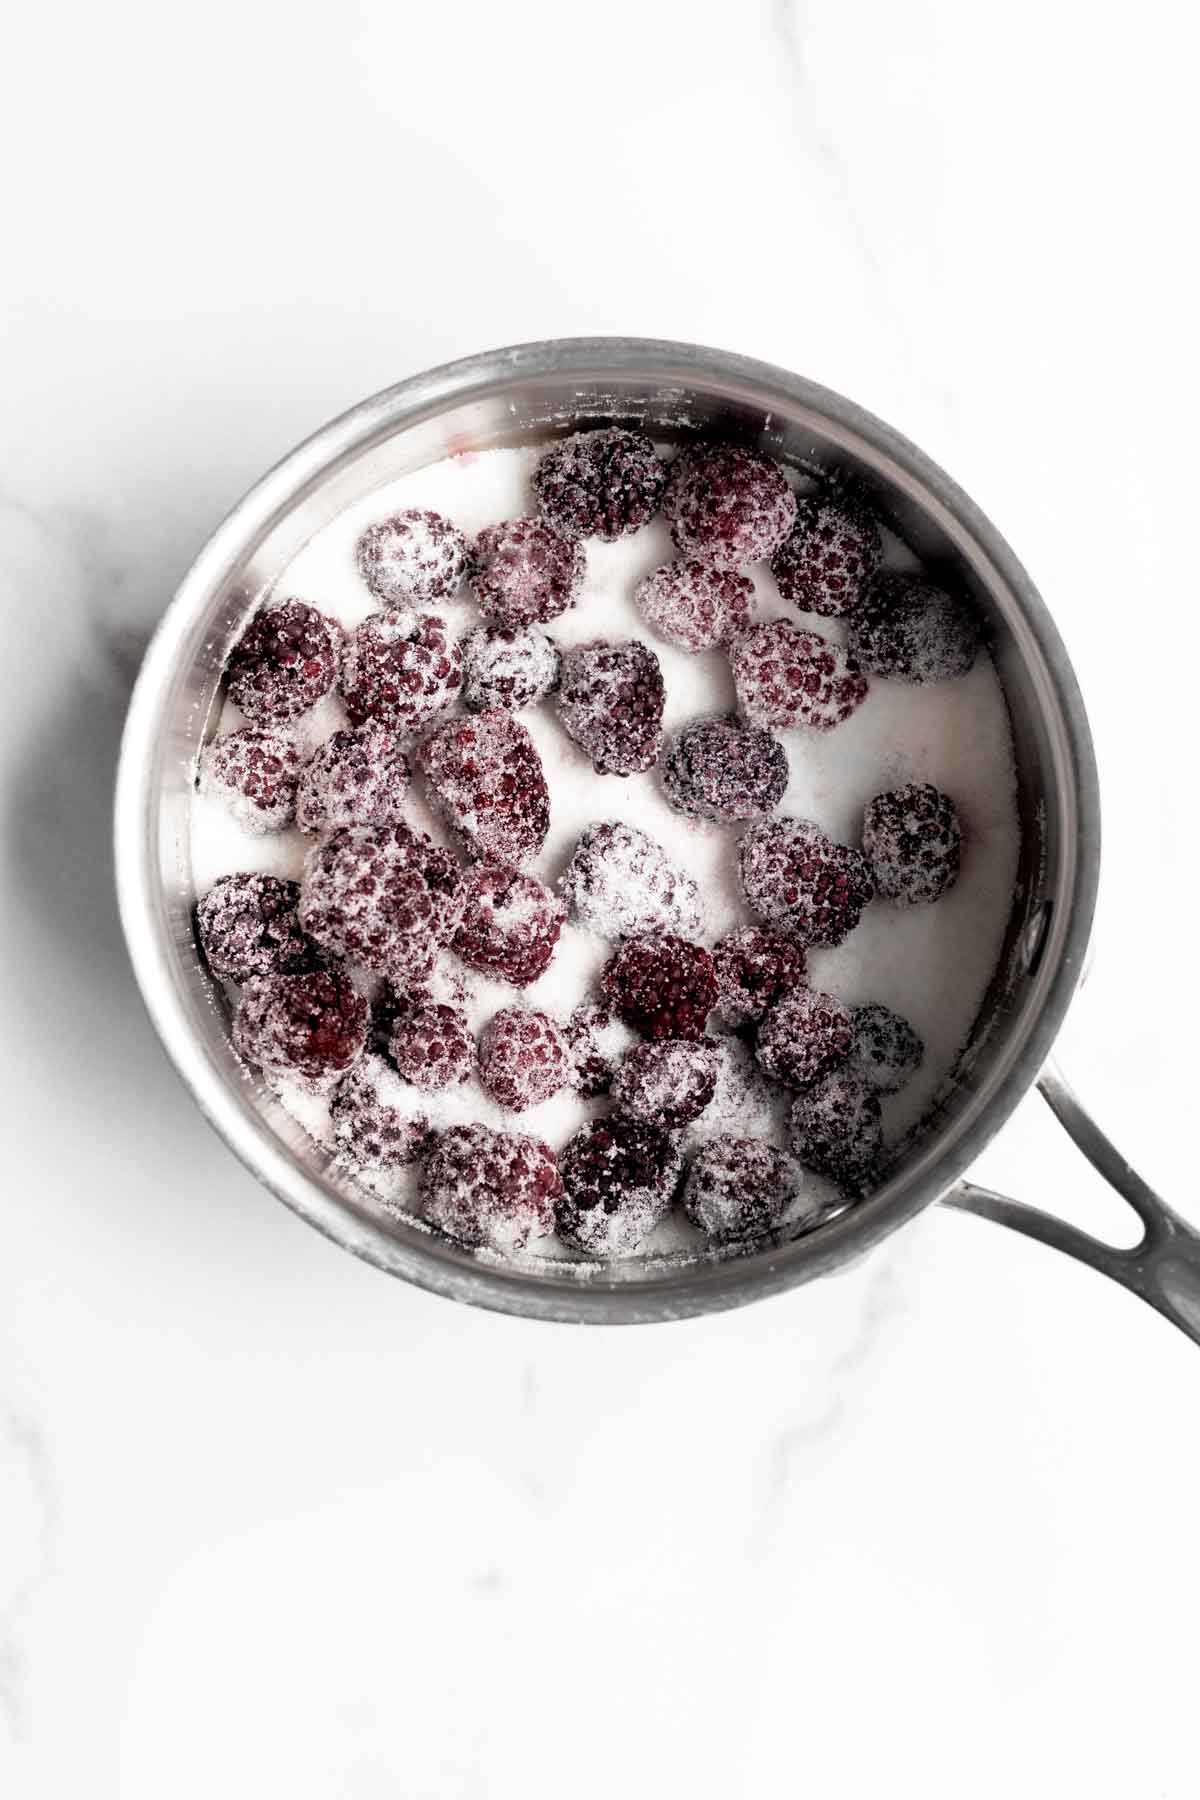
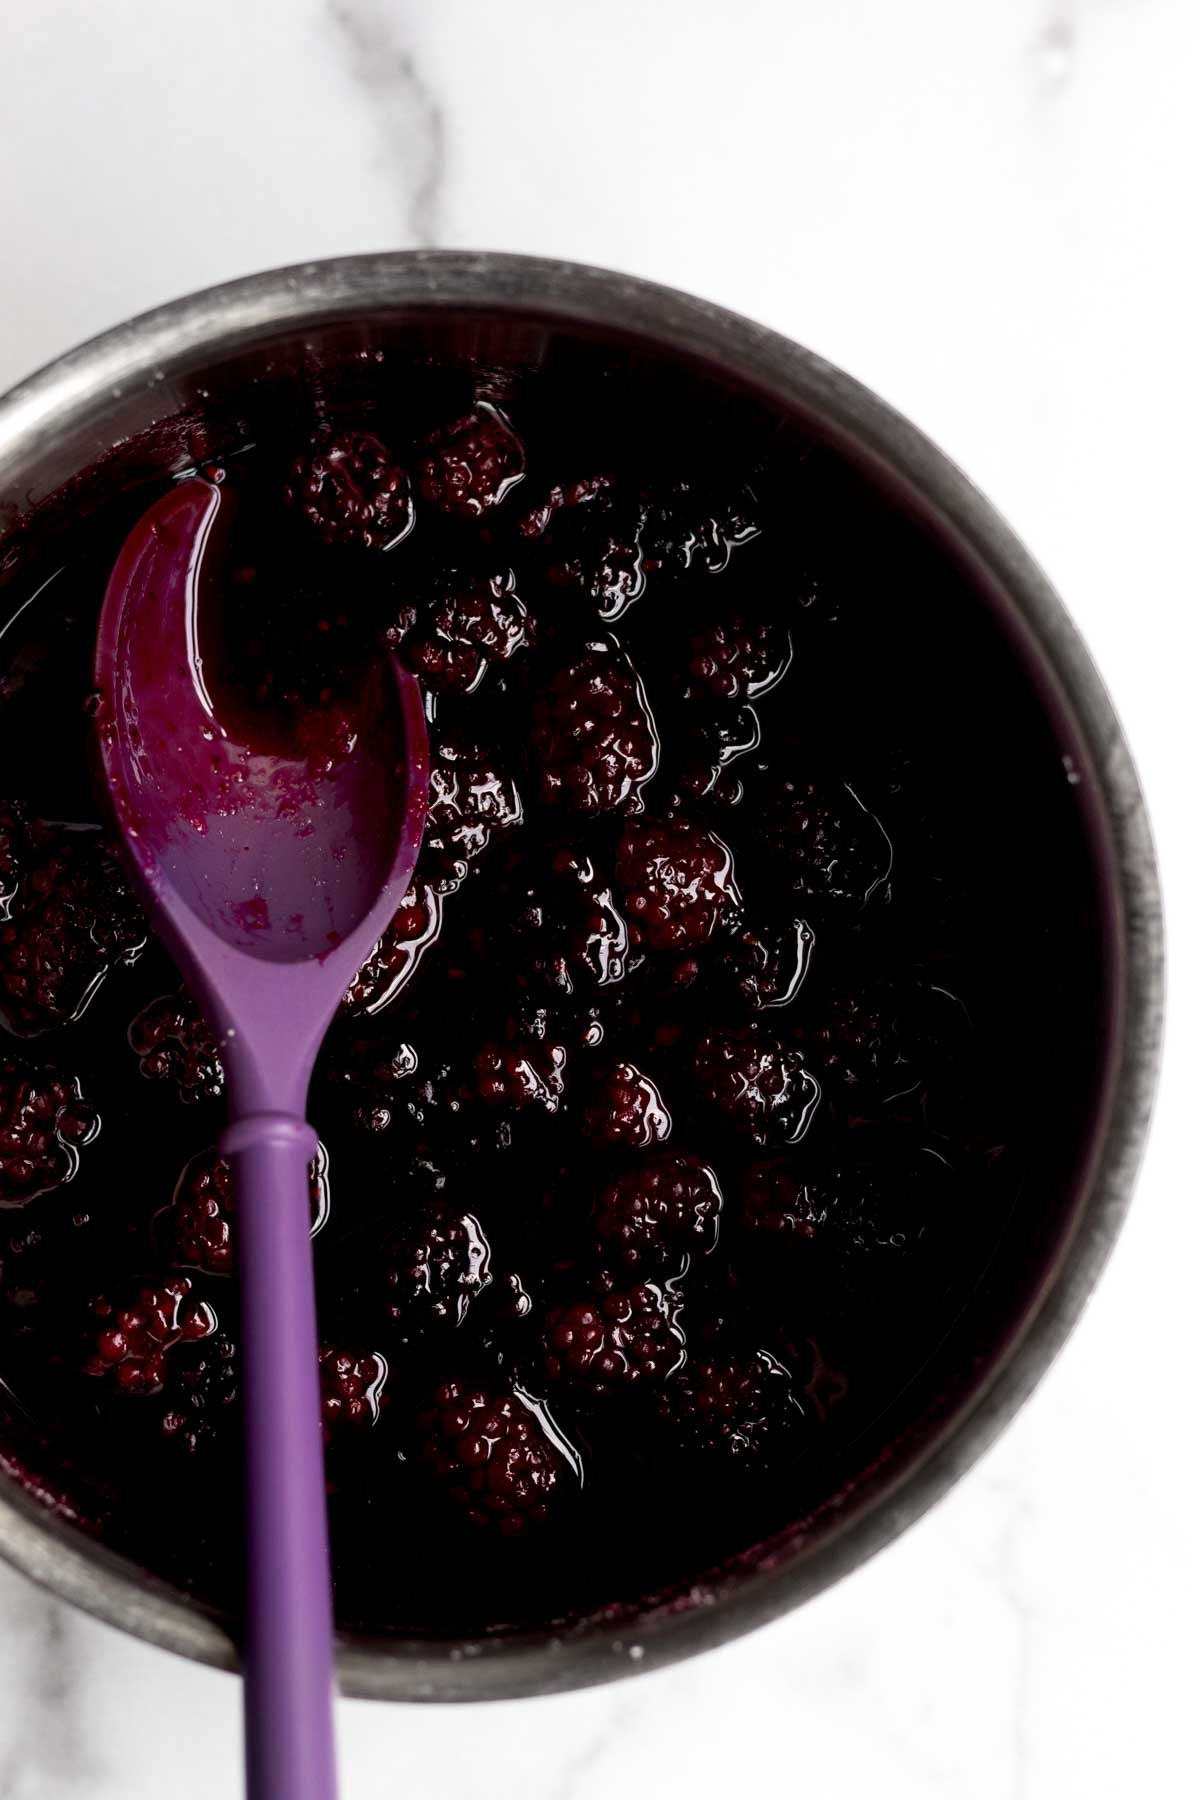
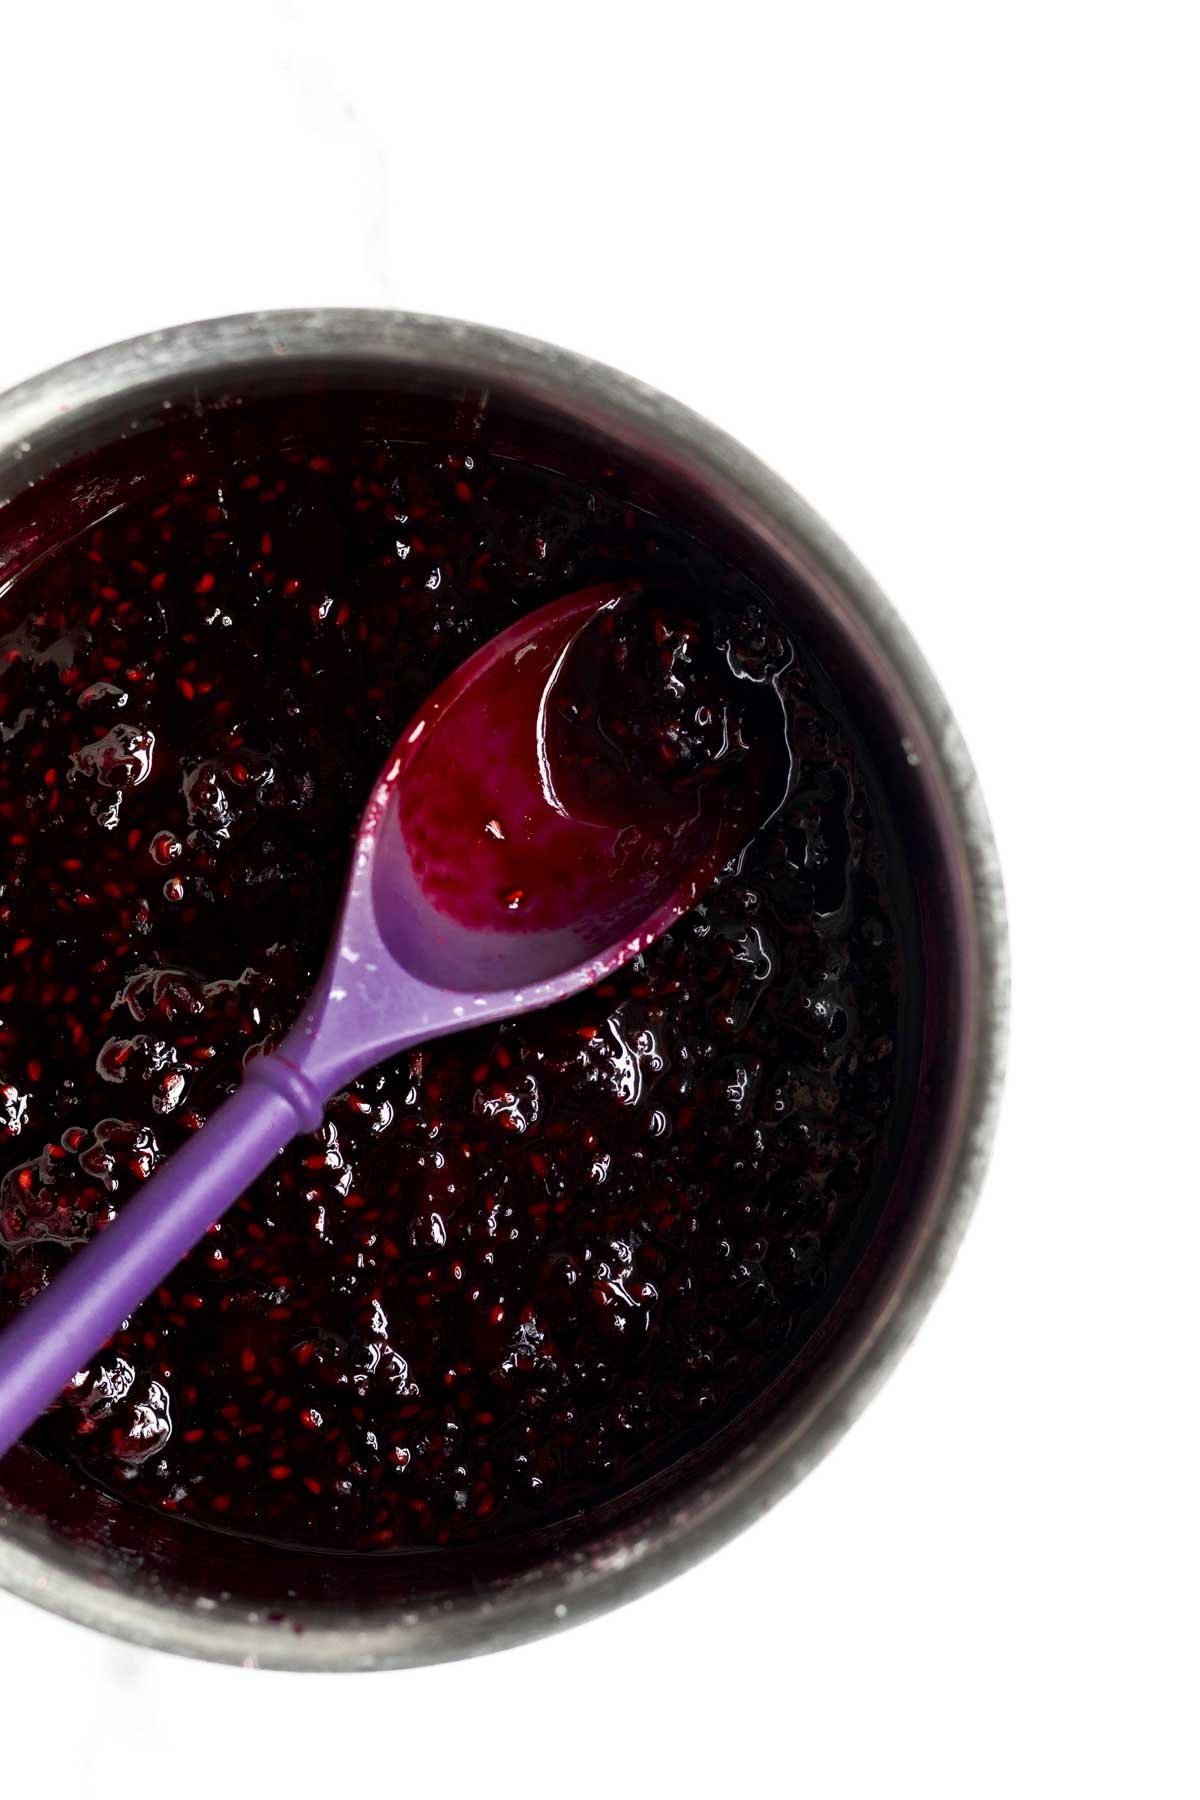
In a saucepan set over medium heat, cook the ¾ cup granulated sugar and 1 ¾ cups of blackberries, stirring constantly, and smashing the blackberries with your wooden spoon, until they are broken down and the mixture is thick. About 5-7 min.
You want the blackberries to be completely broken down. No whole pieces of fruit anymore. It will still appear a little chunky and that’s fine.
Step 2: Strain the Blackberry Mixture
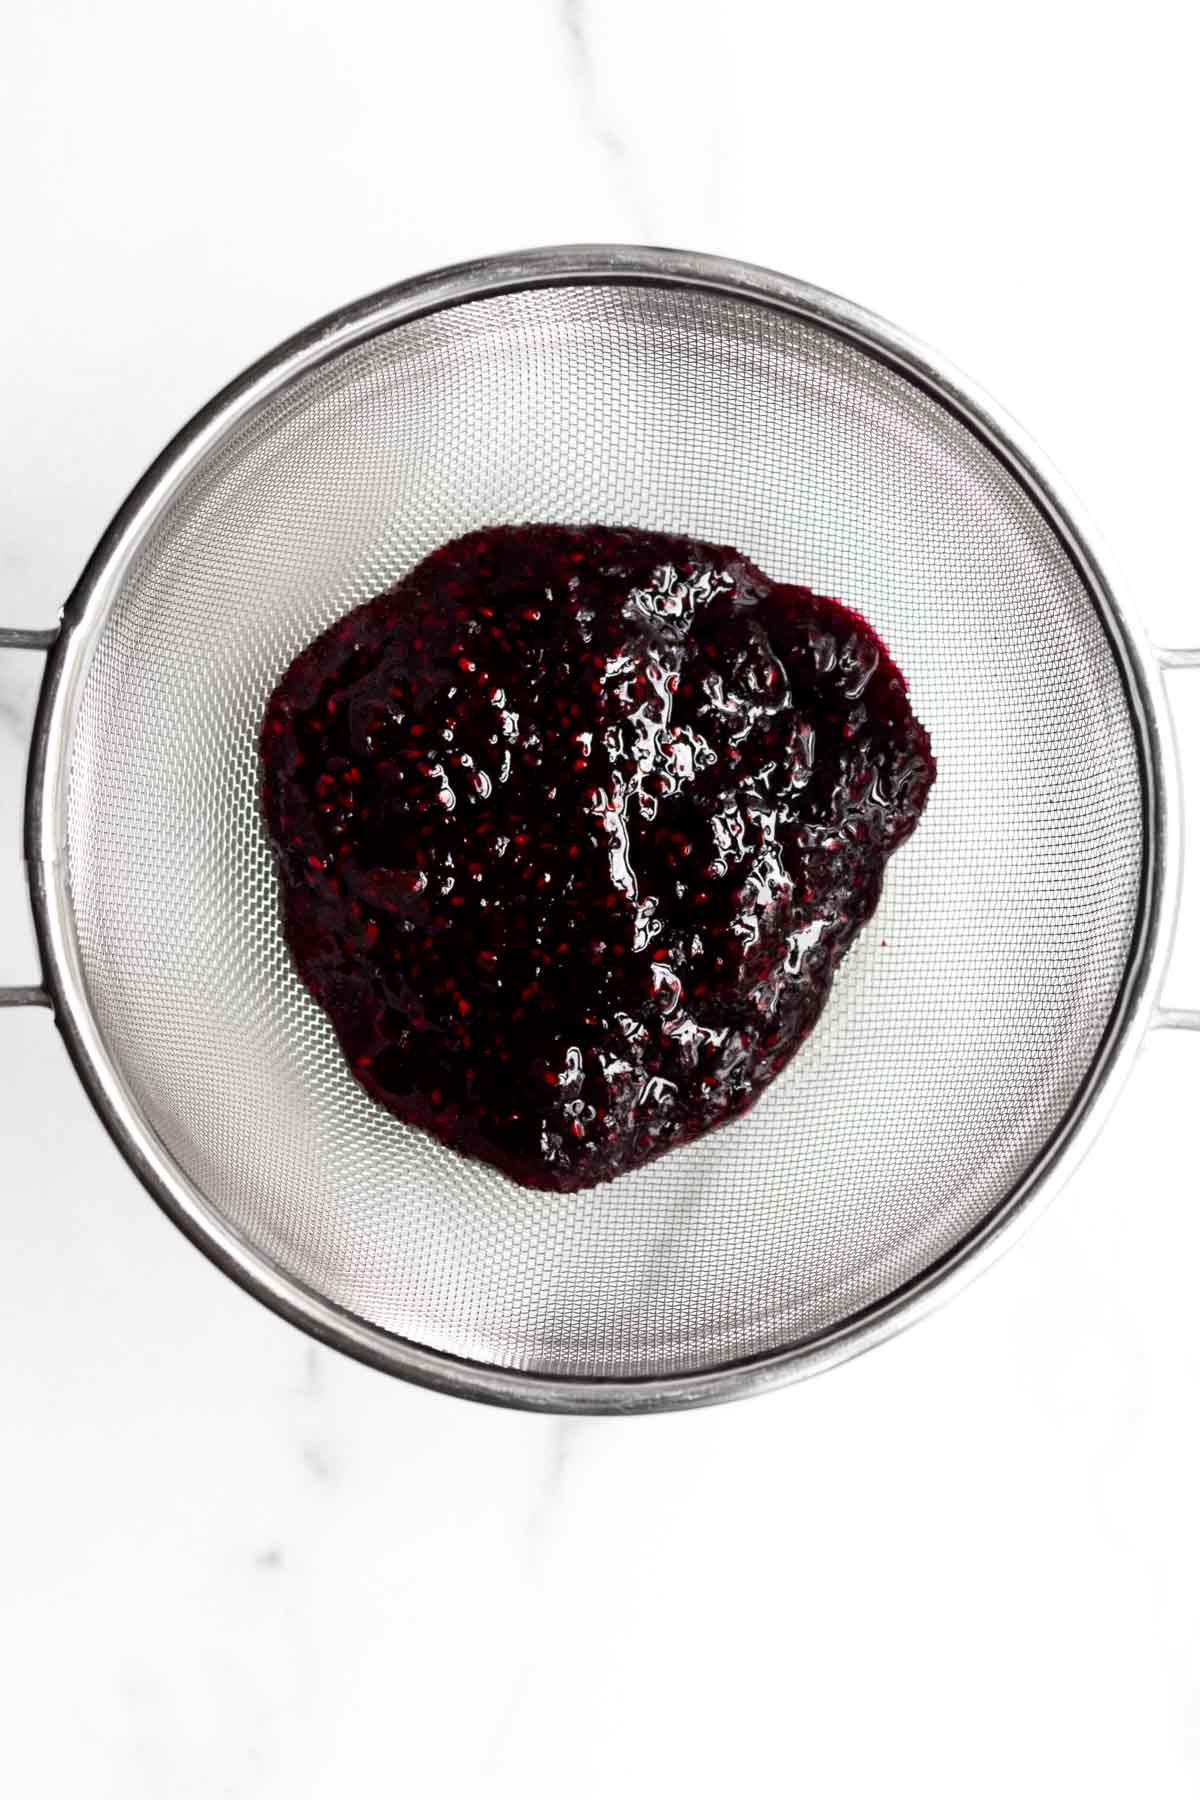
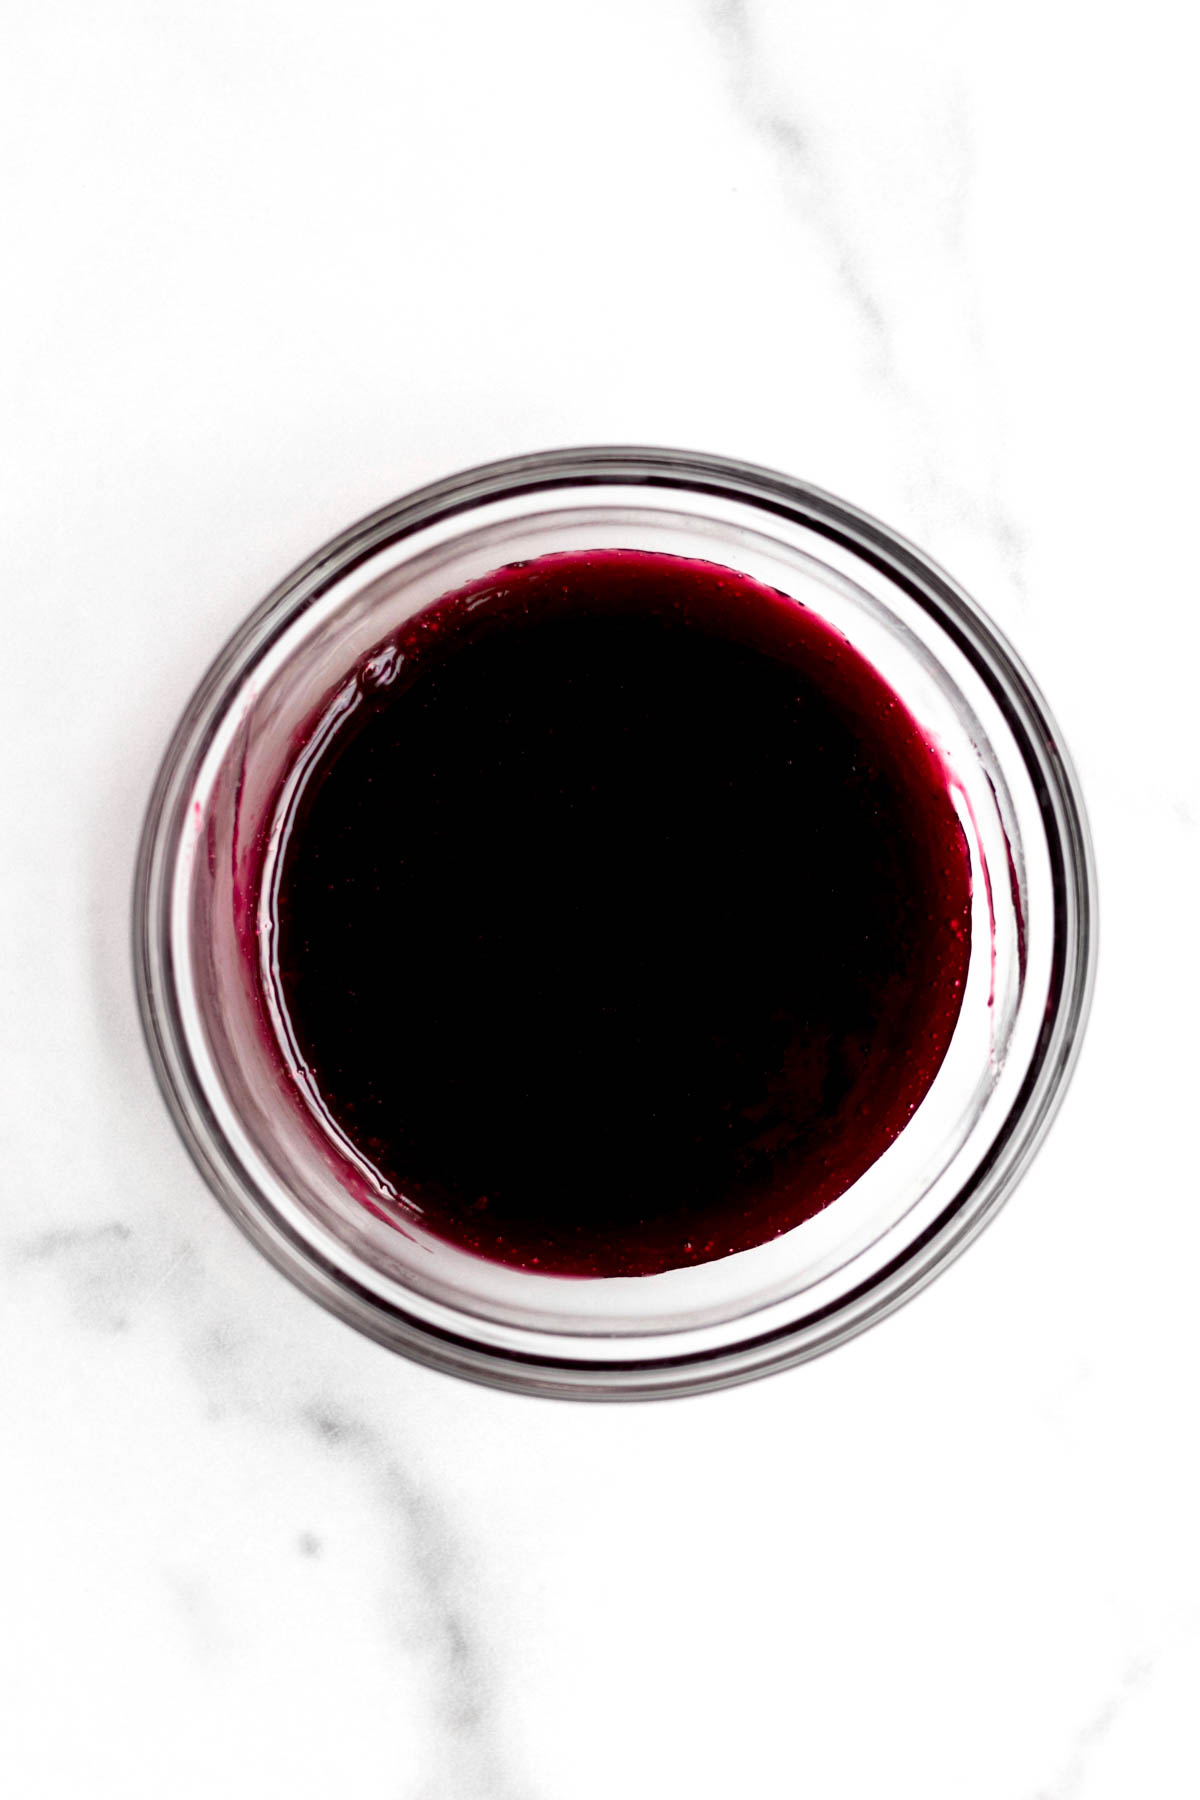
Set a mesh colander over a bowl. Pour the hot blackberry mixture carefully through the strainer and set aside to let cool. There should be about 4 tablespoons of blackberry syrup once it's strained. It will thicken as it cools.
Step 3: Chop the Frozen Blackberries
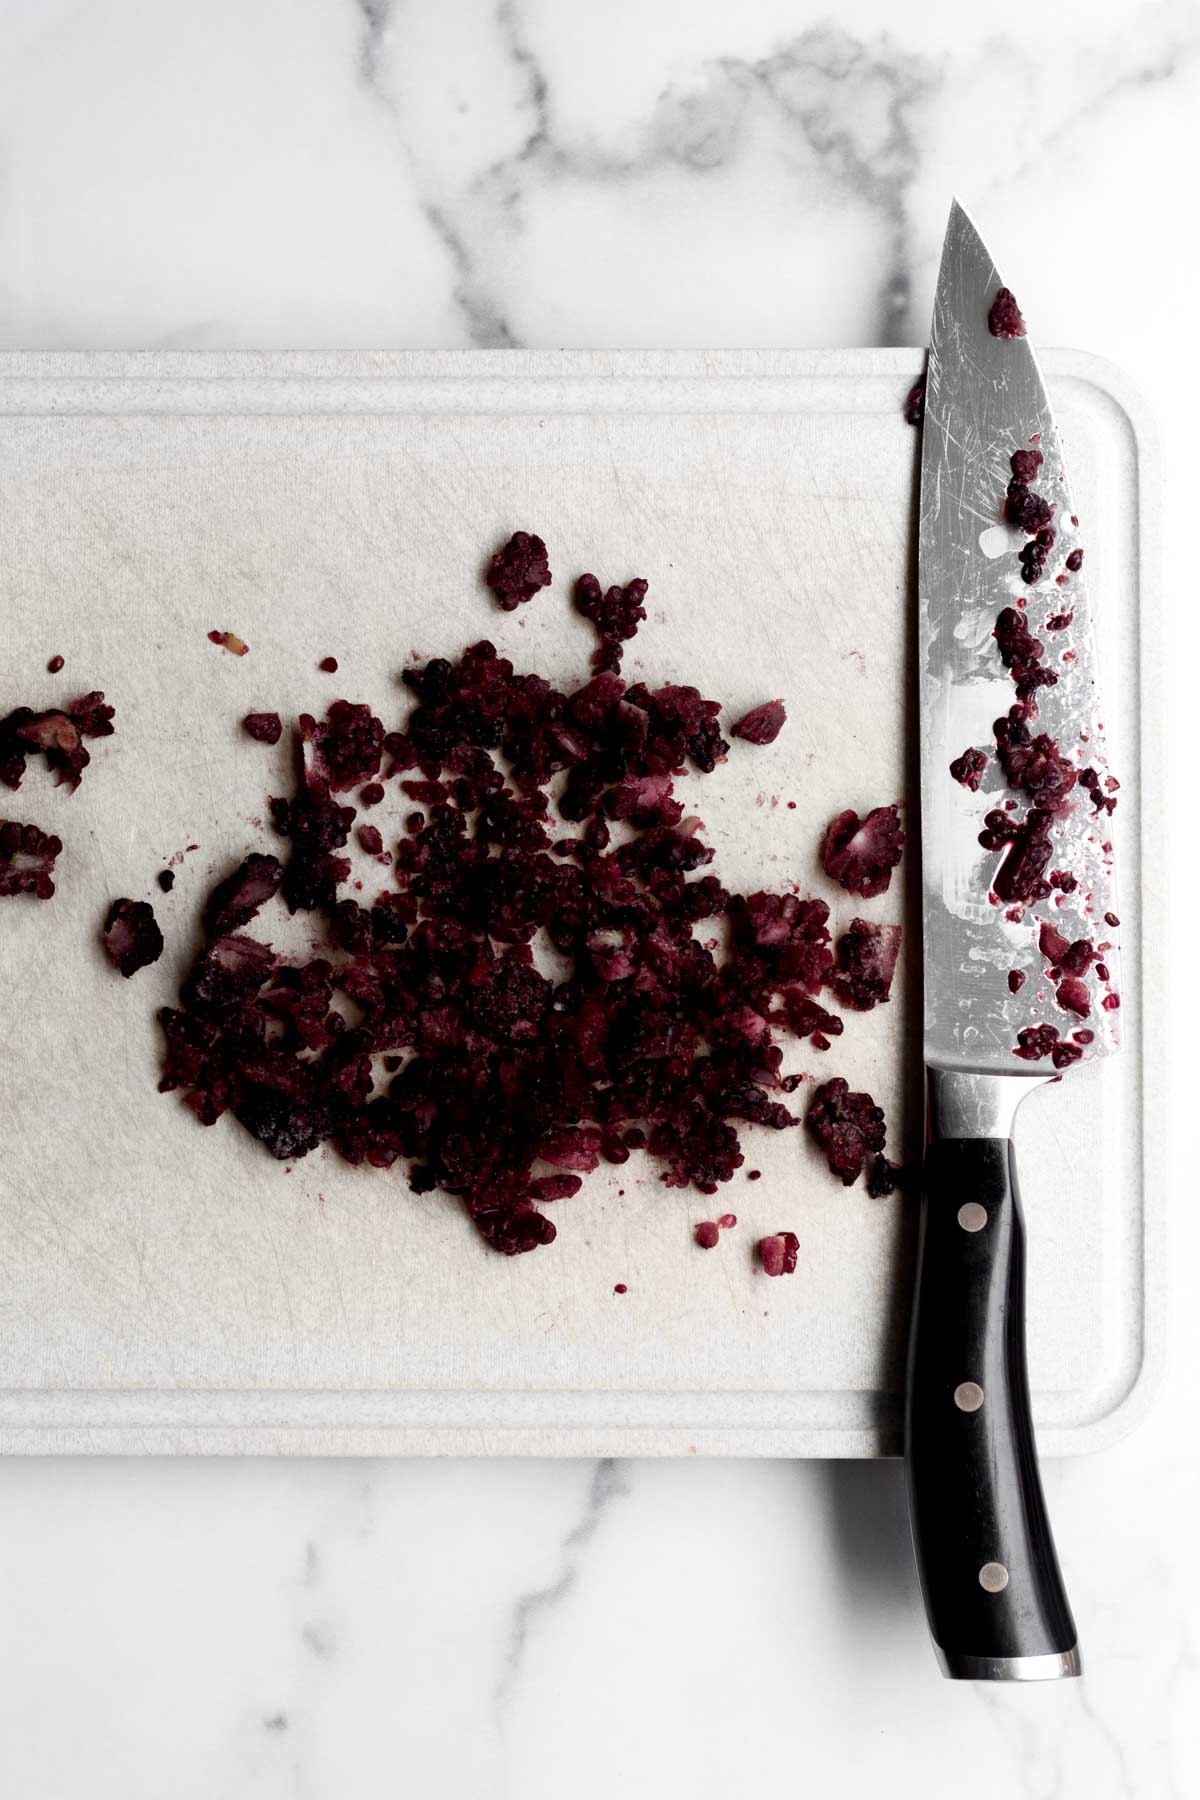
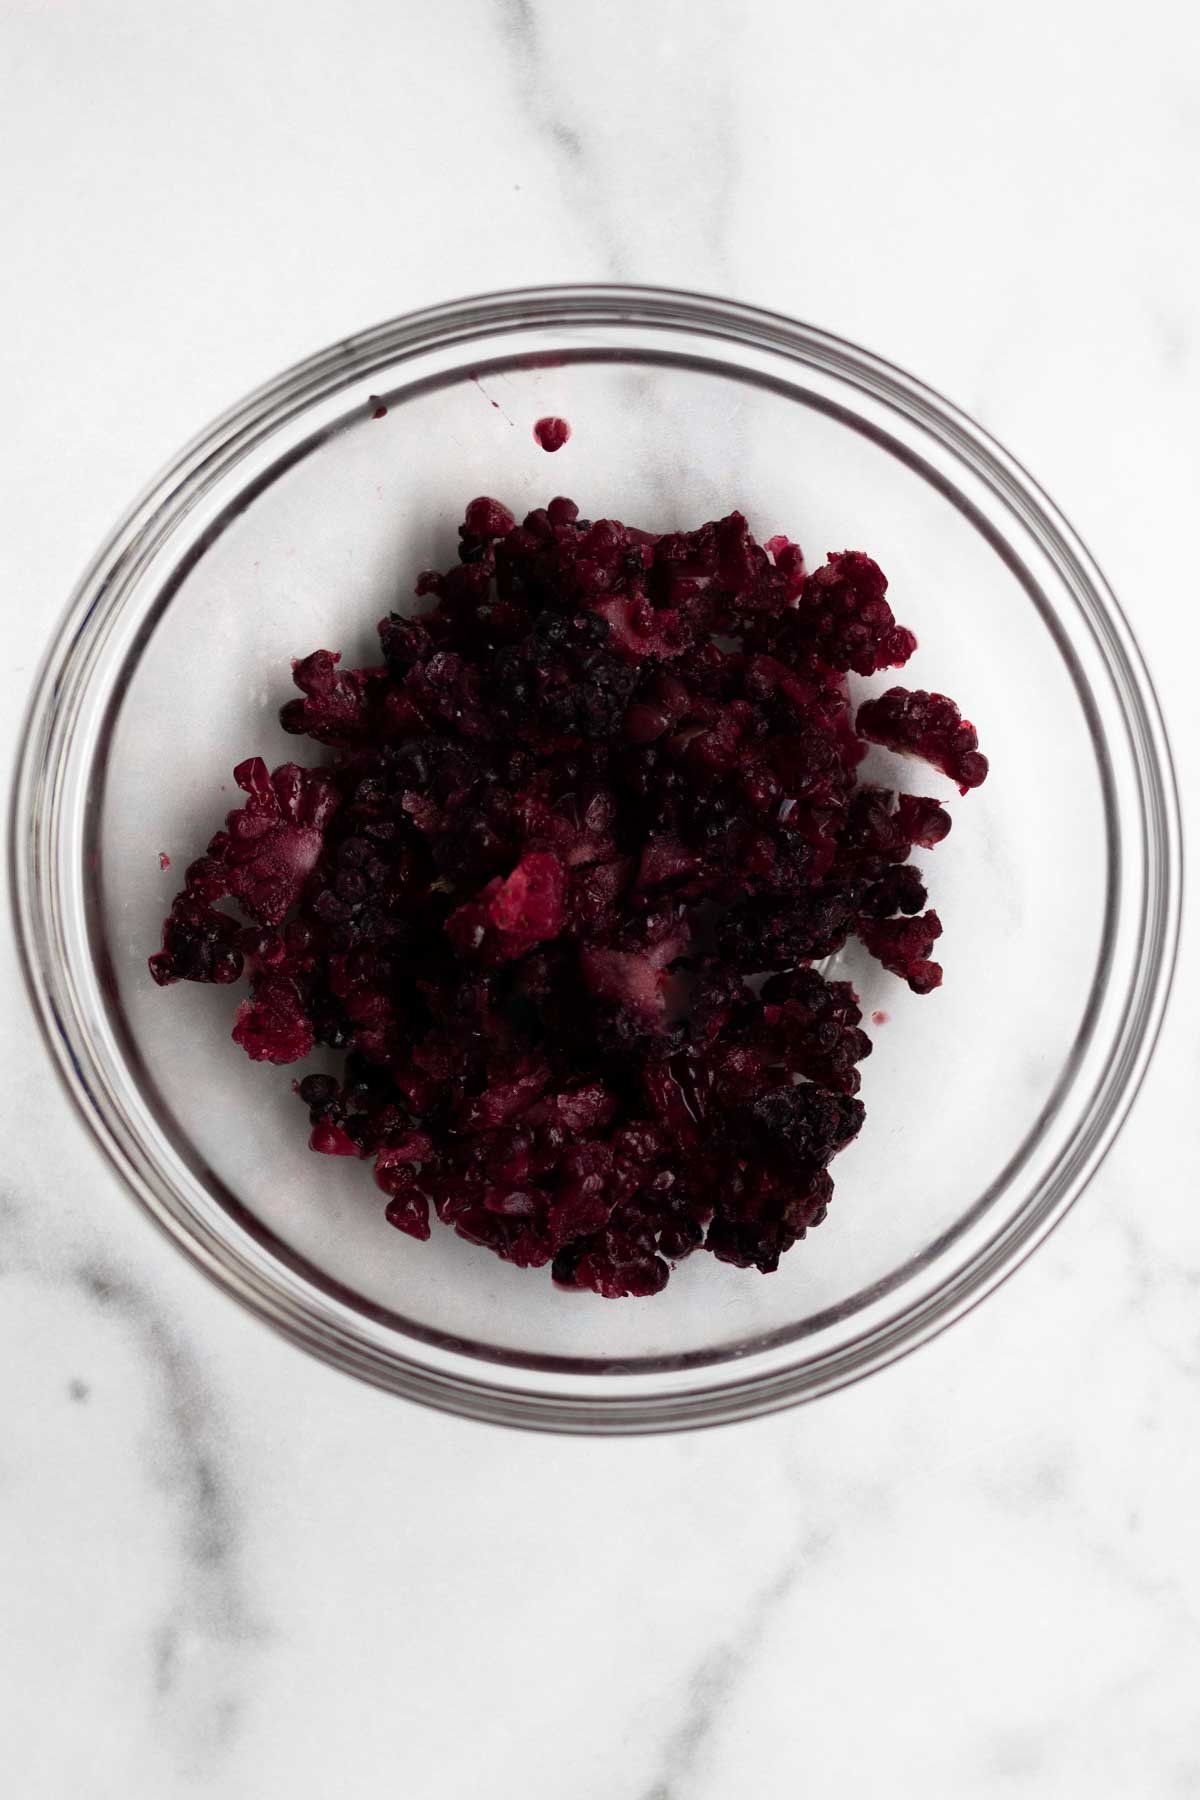
Measure out ½ cup frozen blackberries (yes, they must be frozen). Rough chop the blackberries into small pieces. Be careful not to over chop; you don't want a puddle of blackberry pulp. You can pick out the cores if desired.
Place the chopped blackberries into a freezer safe bowl and pop back into the freezer until you're ready to add them into the dough.
Make the Cookies
Step 1: Whisk Together the Dry Ingredients
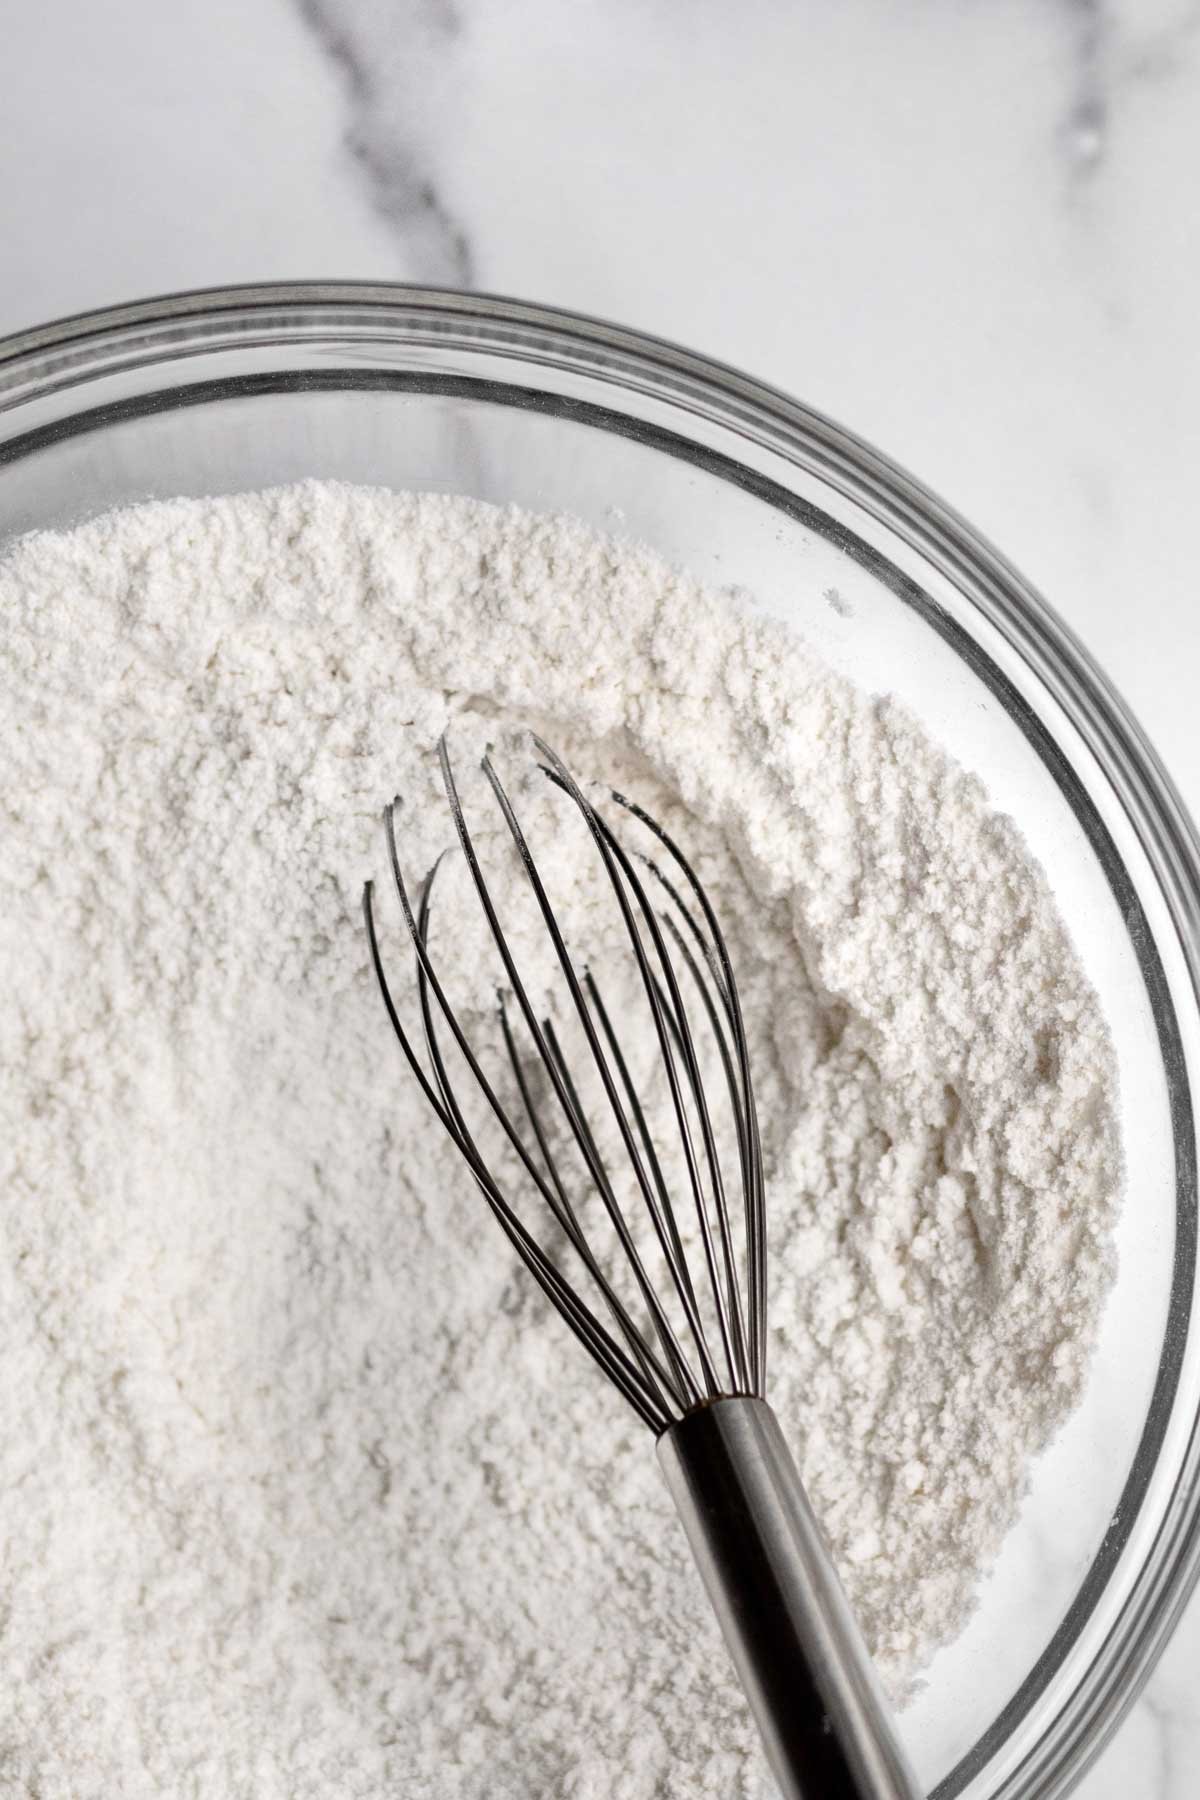
In a large bowl, whisk together the gluten free flour, baking powder, 1.5 tablespoons of cornstarch and salt. Set aside.
Step 2: Make the Cornstarch Water
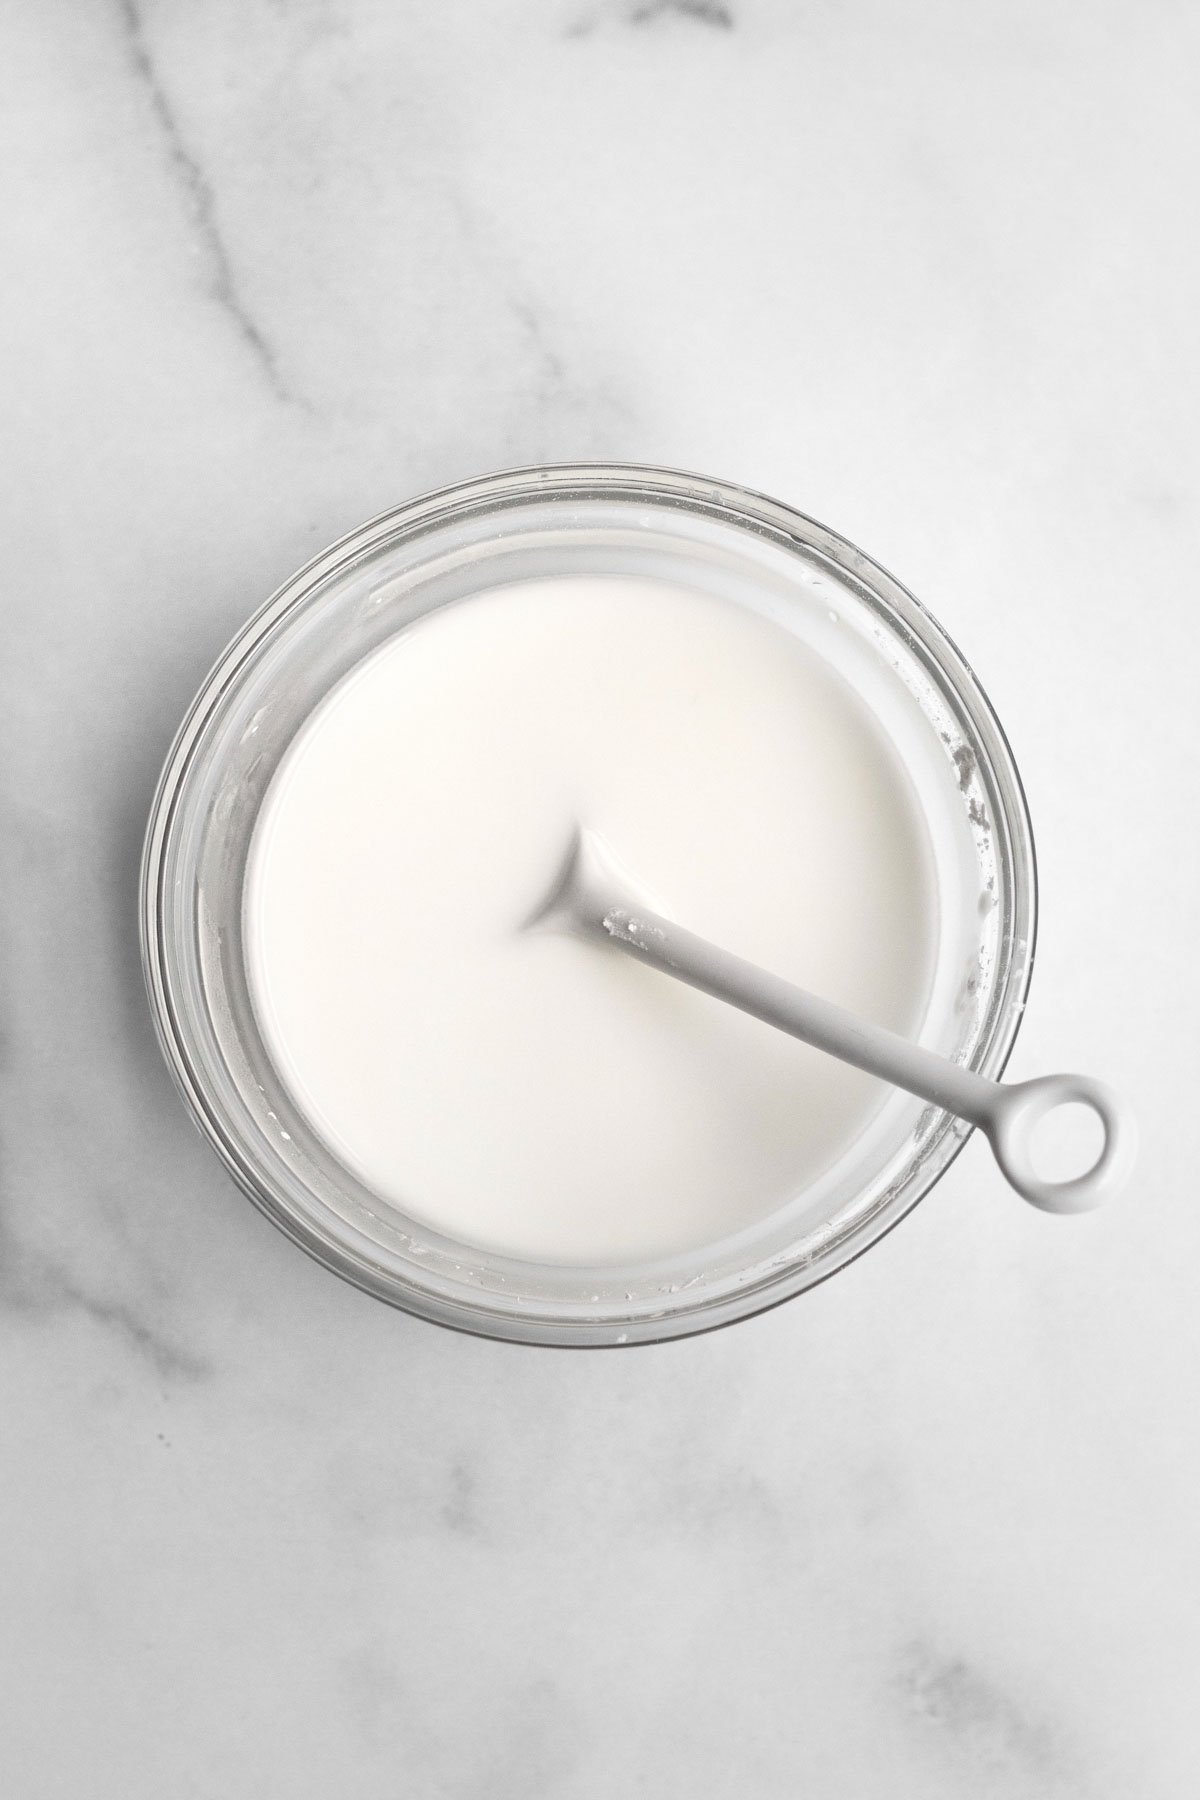
In a small bowl, using a spoon, mix together the remaining 2 heaping tablespoons of cornstarch with 3 tablespoons of water until thin and watery. It will be thick and tacky at first. Set aside.
Step 3: Cream the Sugar
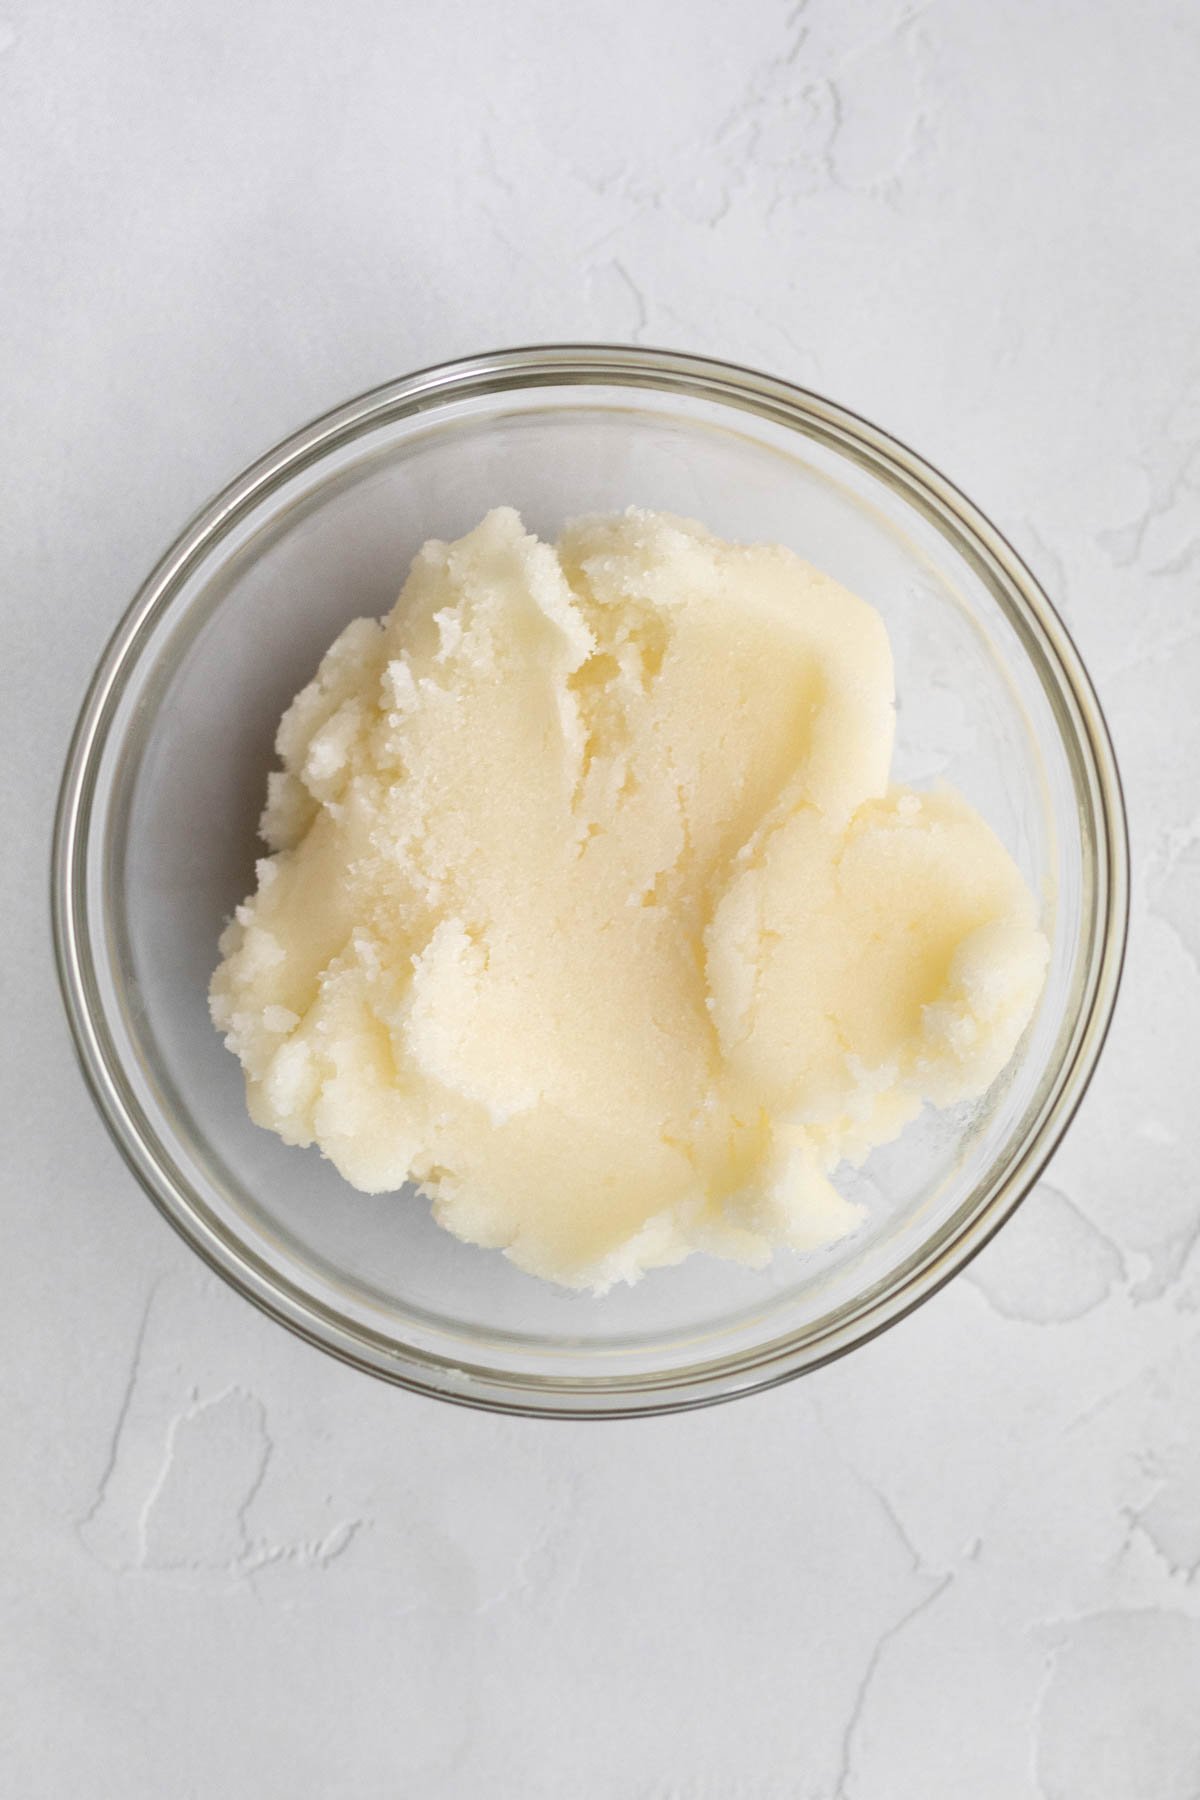
In a large bowl of an electric mixer fitted with the paddle attachment, beat the butter or vegan baking stick and 1 ¼ cups of the sugar until it is soft and creamy. About 2-3 minutes.
Step 4: Add in the other Wet Ingredients
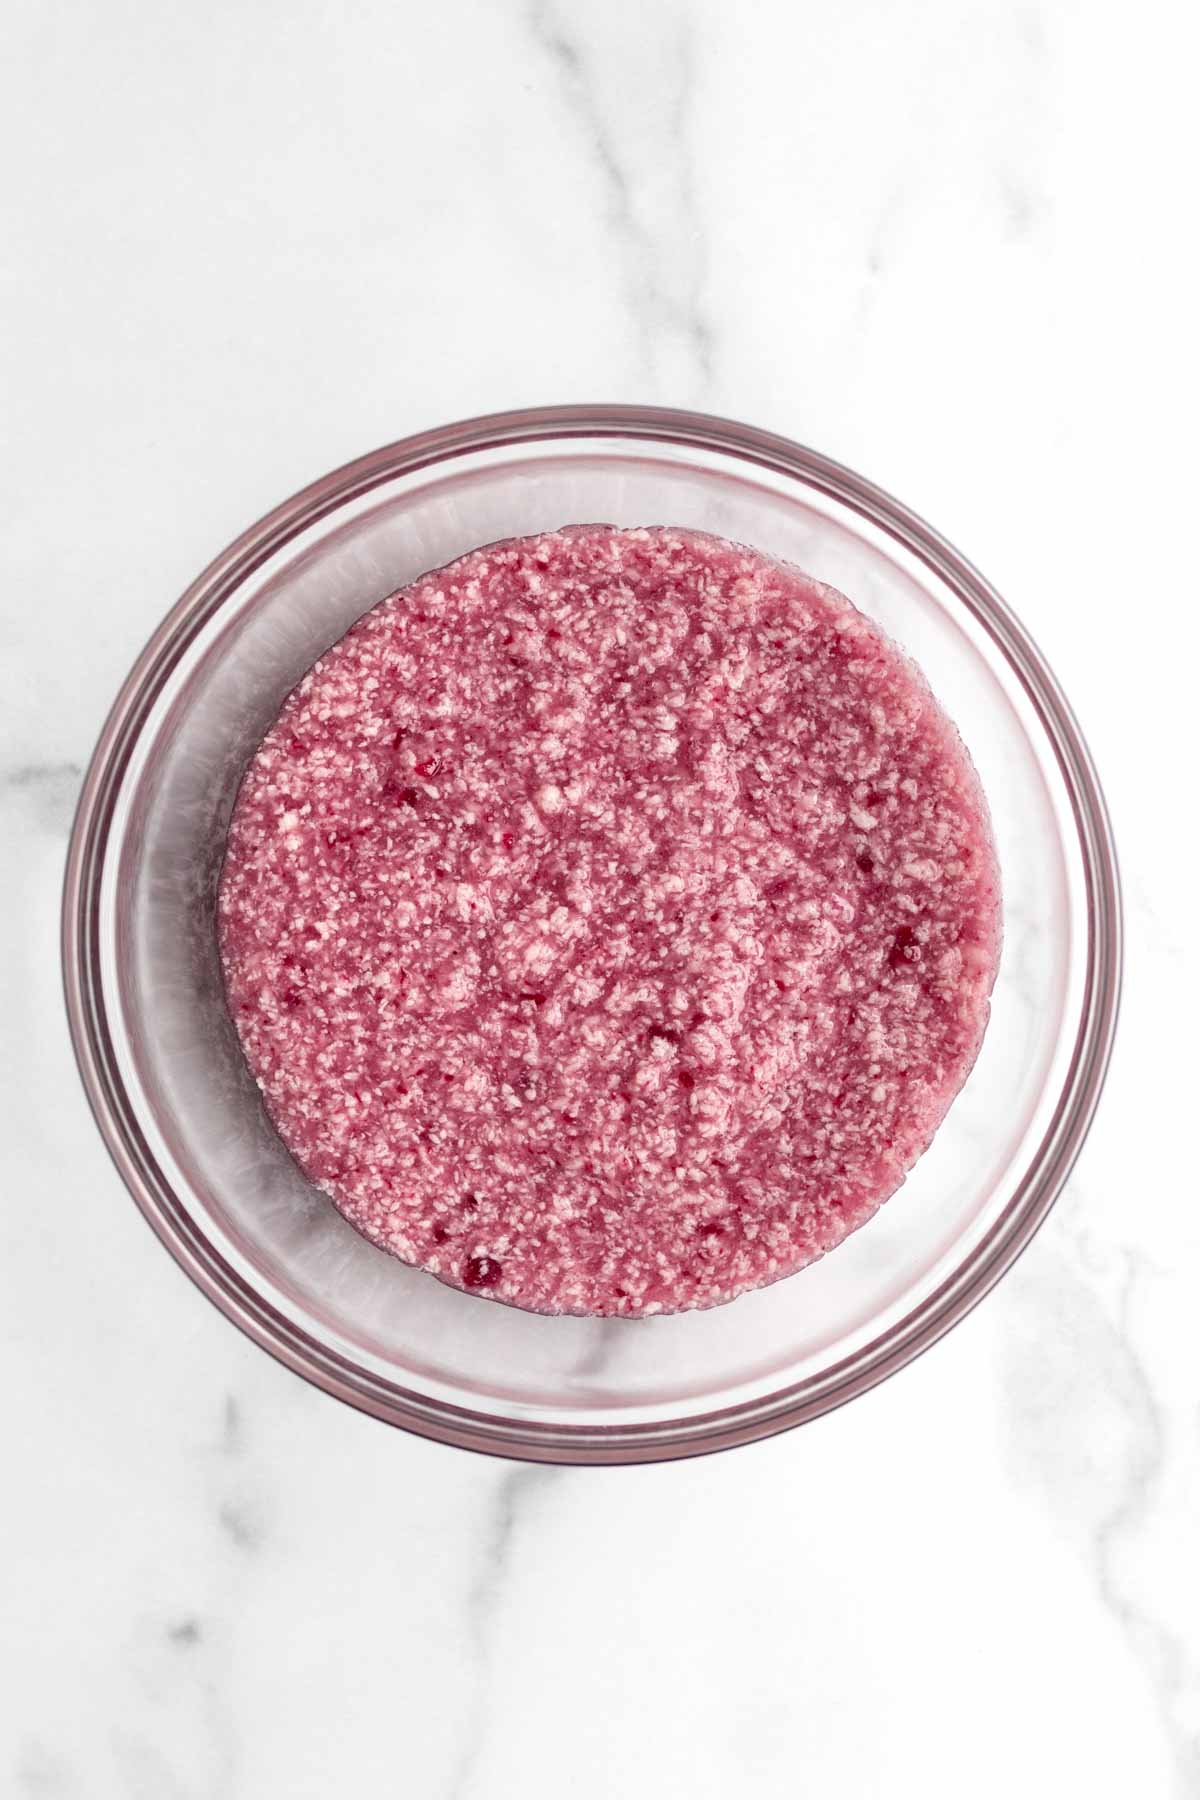
Slowly beat the cornstarch water mixture, milk, 2 tablespoons of the cooled strained blackberry syrup (it might be pretty thick) into the creamed butter and sugar. It will look dark mauve and chunky.
Step 5: Add in the Dry Ingredients, Chopped Blackberries and Freeze the Dough
Slowly beat in the gluten free flour mixture a little at a time until just combined.
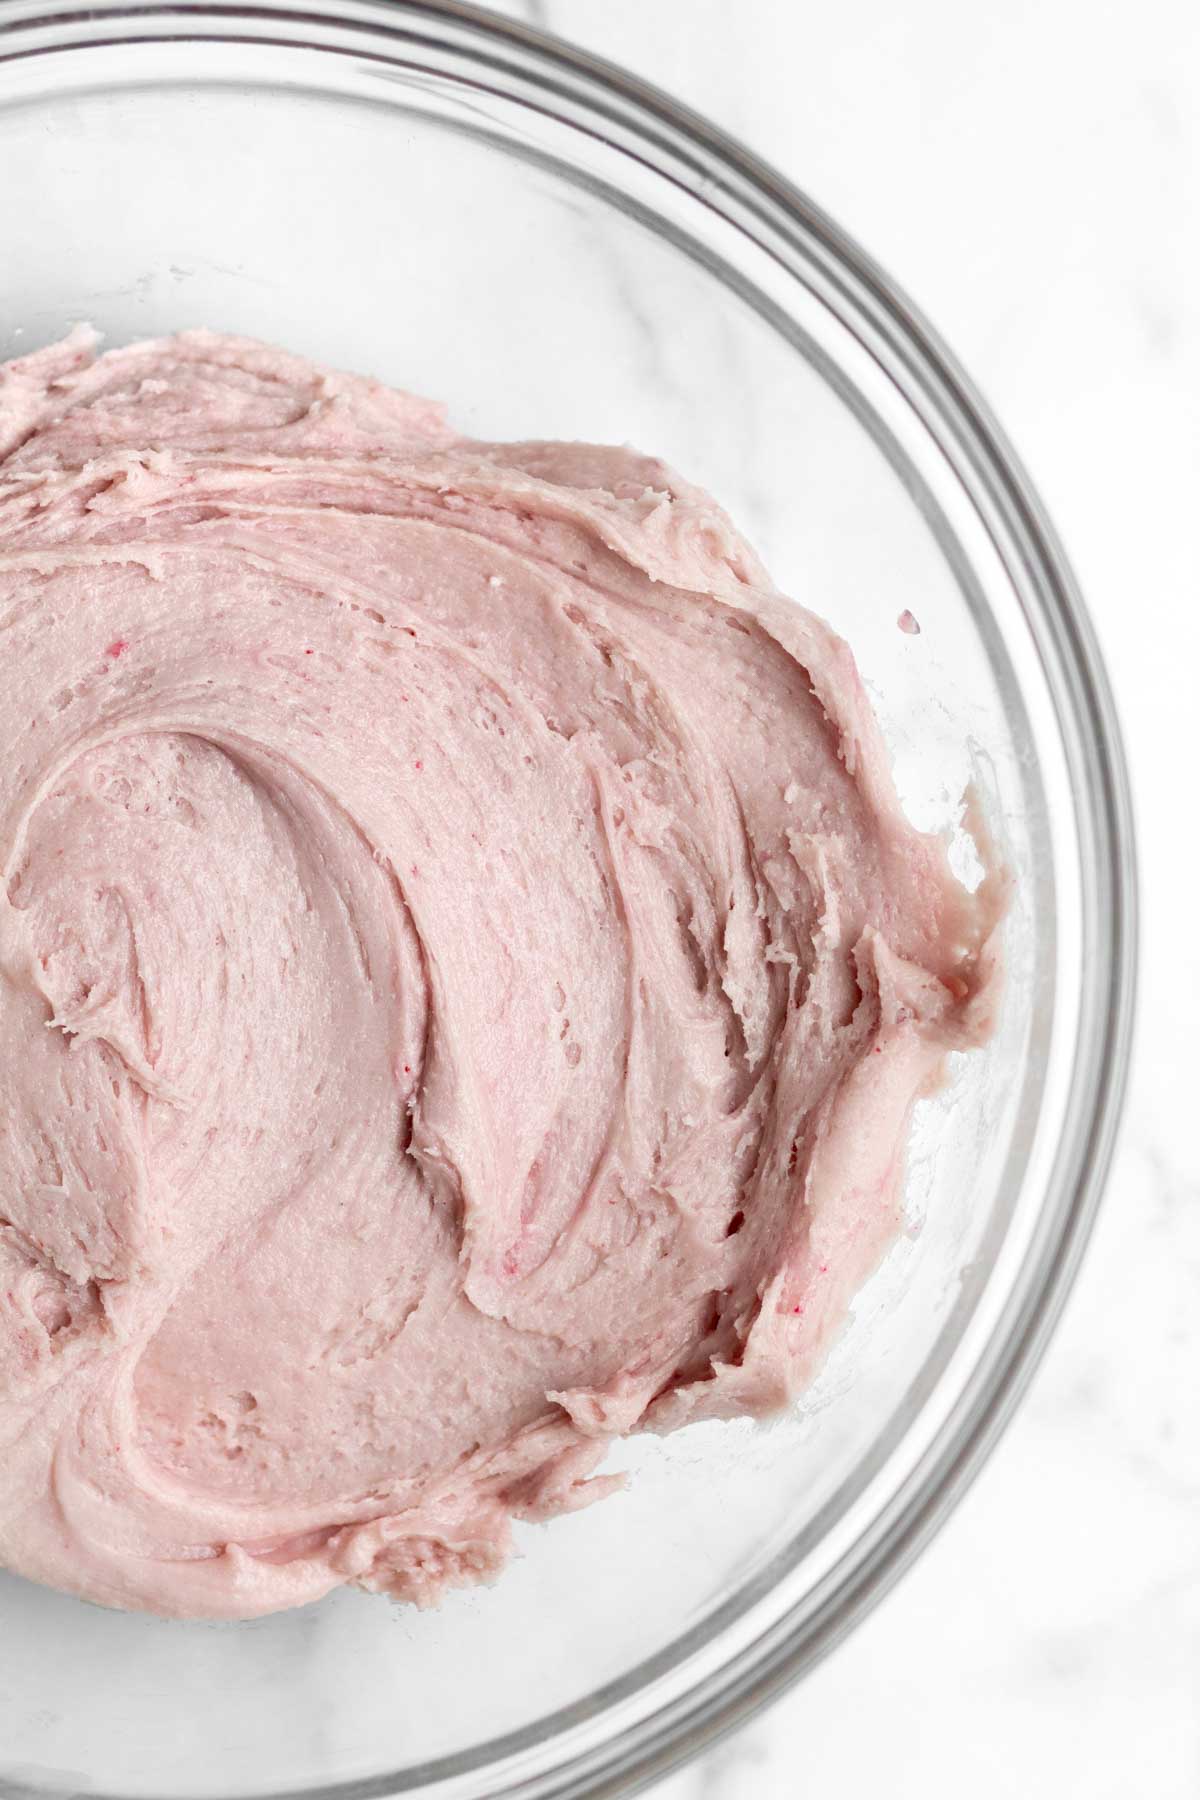
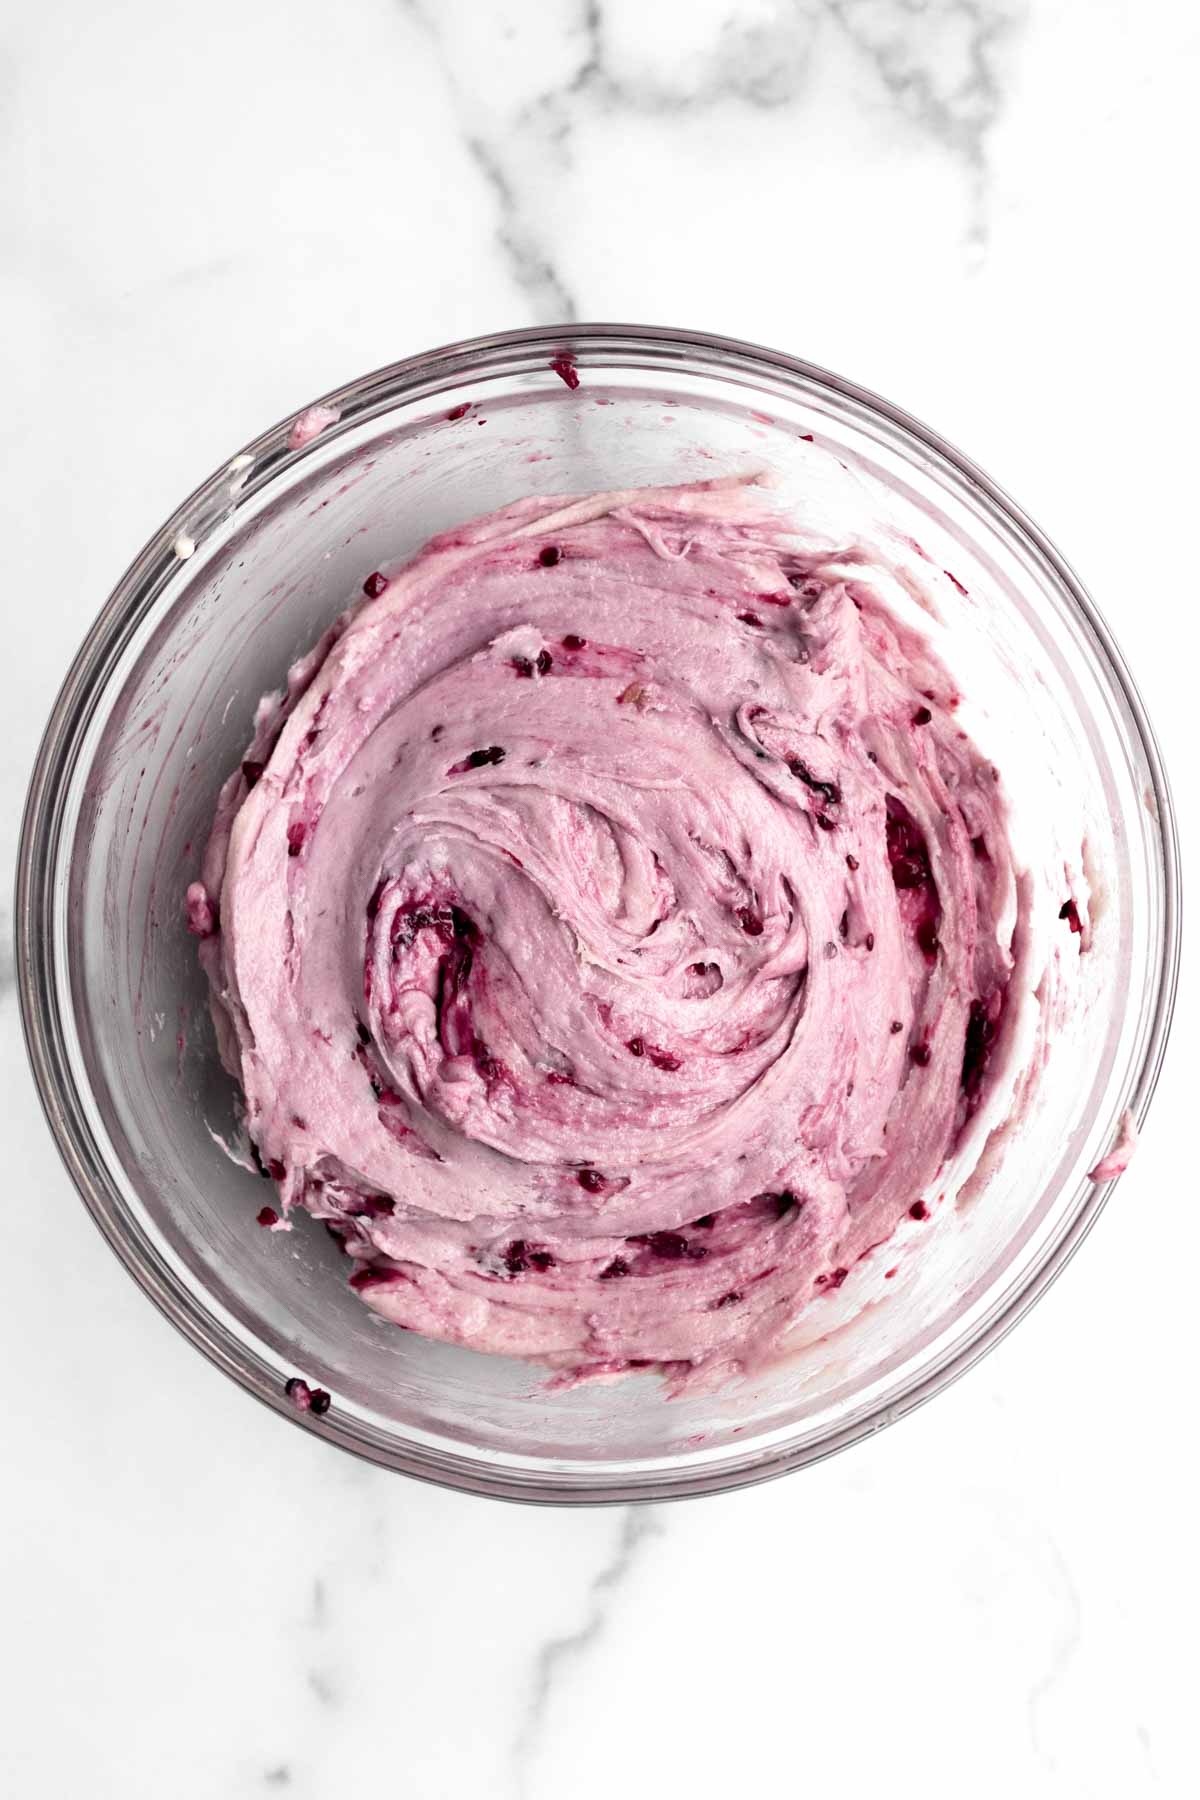
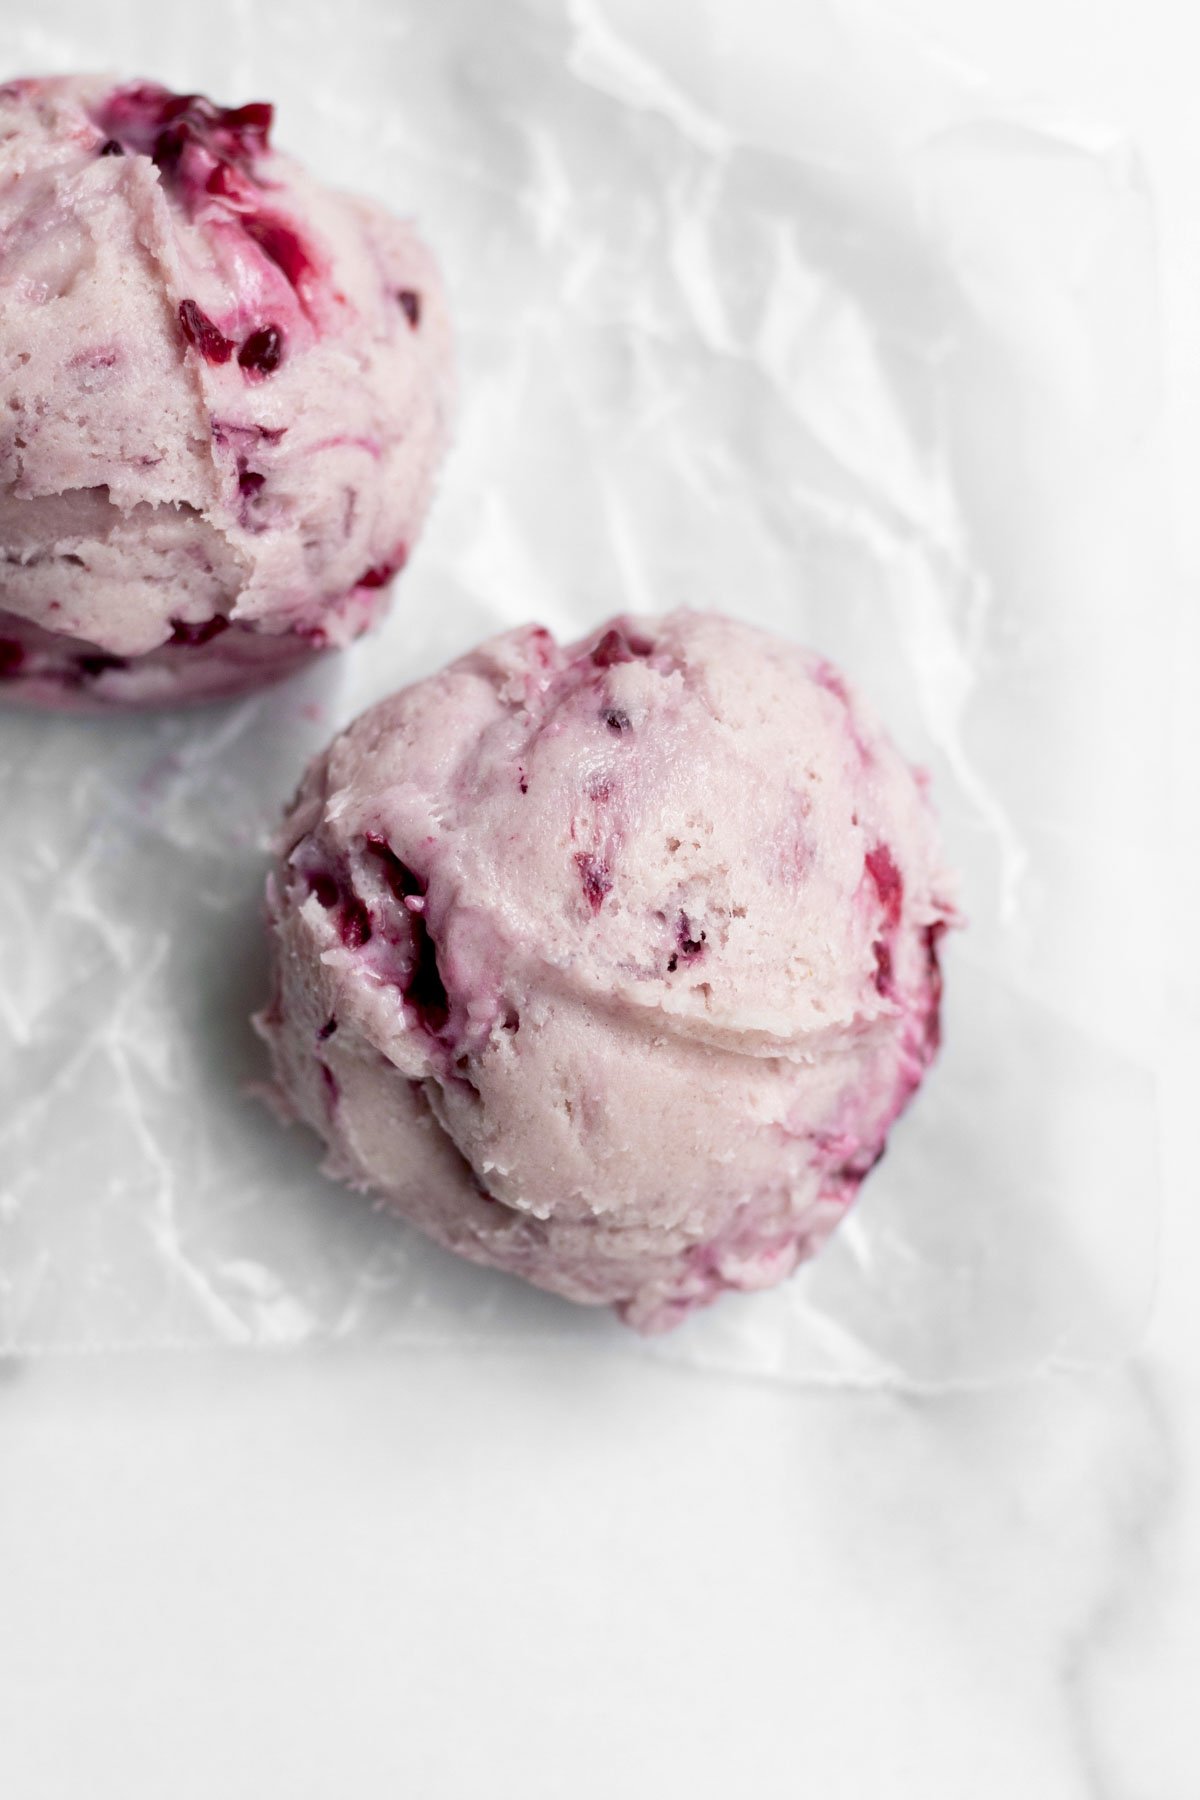
Gently using a spatula, fold in the frozen chopped blackberries. The dough will become a lovely marbled mauve/lavender color. Be careful not to mix too much or the dough will become slimy.
Keep the dough in the bowl, cover the top with plastic wrap and freeze for at least 1 hour. You must not skip this step or the cookies will spread everywhere and it must be frozen, not in the fridge.
Step 6: Scoop the Dough and Coat with Sugar
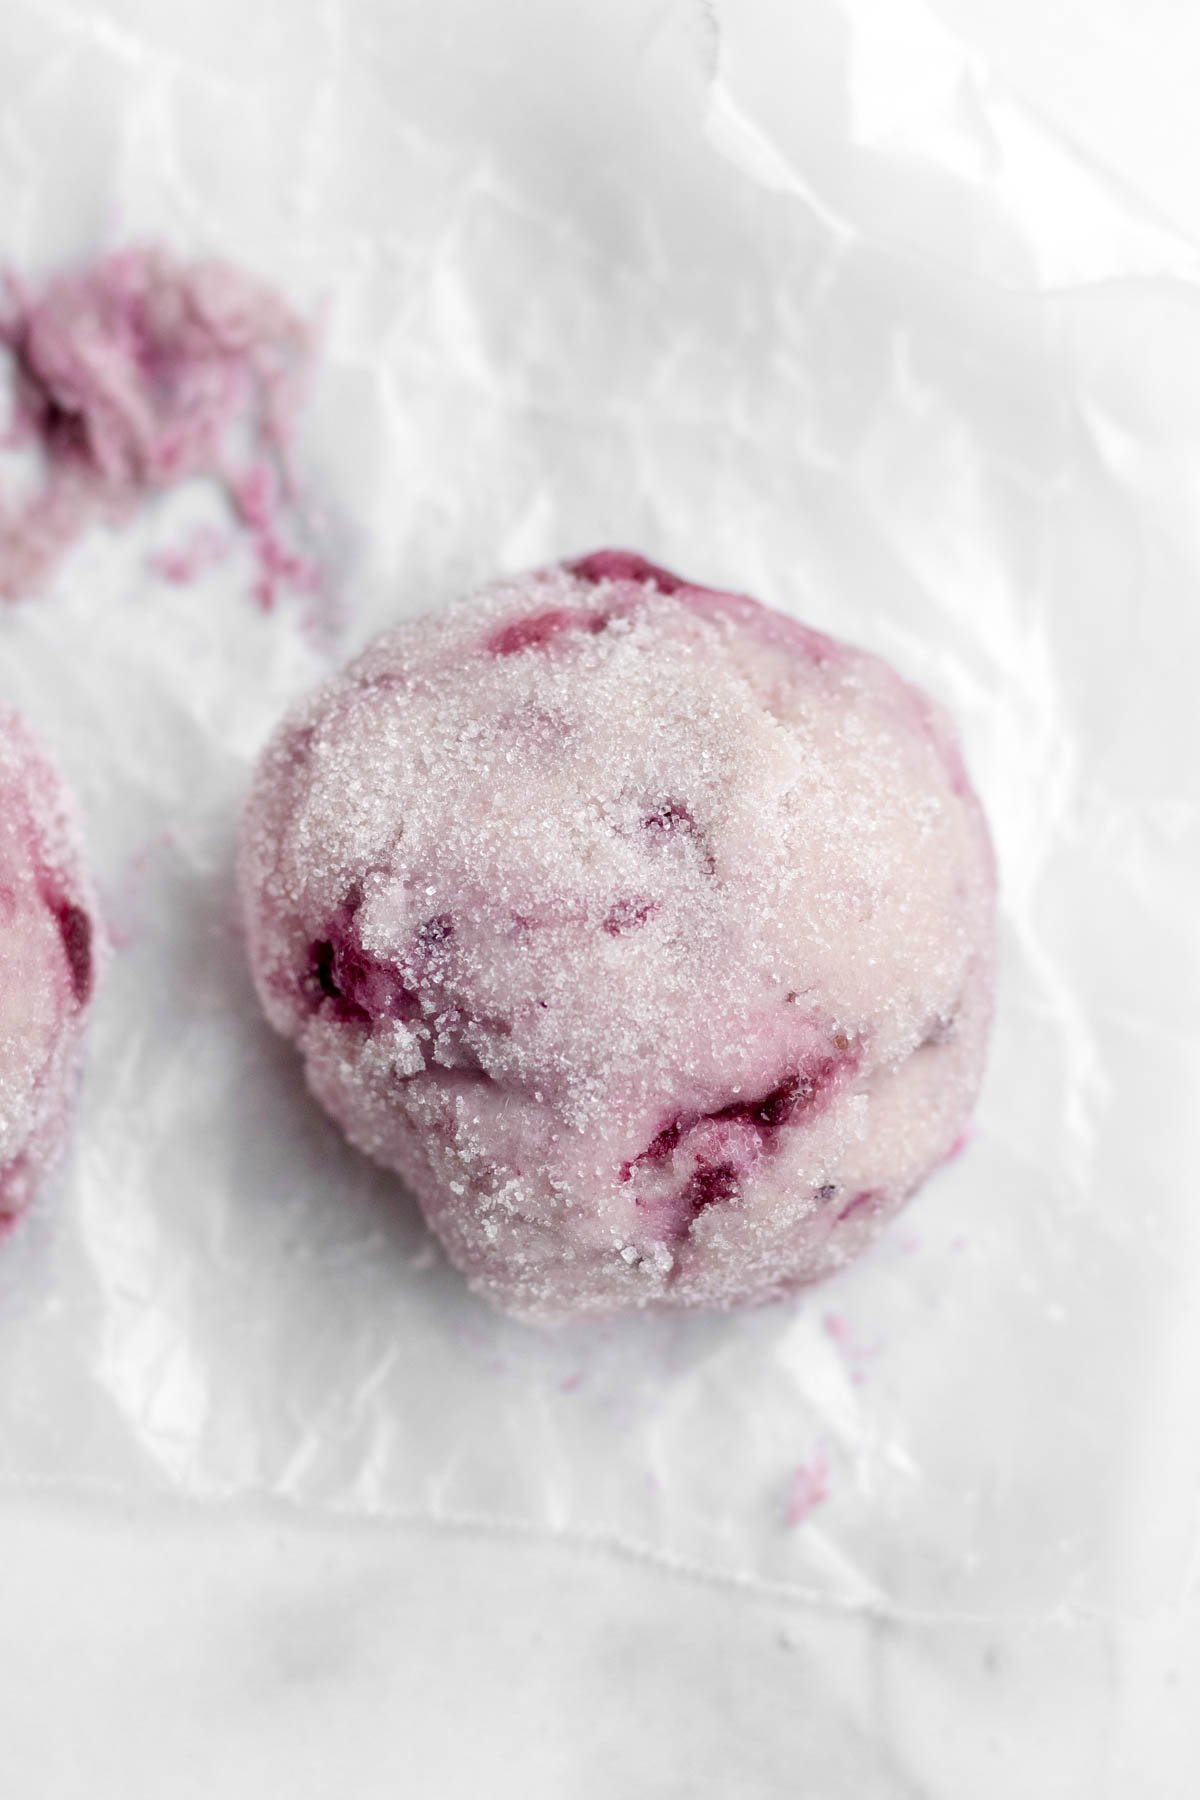
After the dough has been in the freezer for at least 1 hour, use an ice cream scoop or a large cookie scoop to make large cookies. It makes 12 scoops.
Roll each dough ball in the extra 2 tablespoons of granulated sugar to coat completely.
Step 7: Bake the Cookies
Place dough balls about 3-4 inches apart on the parchment lined baking sheet. Bake the cookies at 325 degrees Fahrenheit for 15 minutes.
Store extra dough balls in the freezer while the rest are baking if they don't all fit. I only bake 6 at a time.
Immediately reshape the cookies when they come out of the oven by using a spatula to push them into a circle shape and let cool on the baking sheet for 5 min before transferring to a cooling rack. If you don't do this, the cookies will break apart into a giant mess.
If adding the frosting, let the cookies cool completely before adding it, otherwise the frosting will turn into a liquid mess.
Make The Frosting (If Desired)
Step 1: Mix The Frosting Ingredients
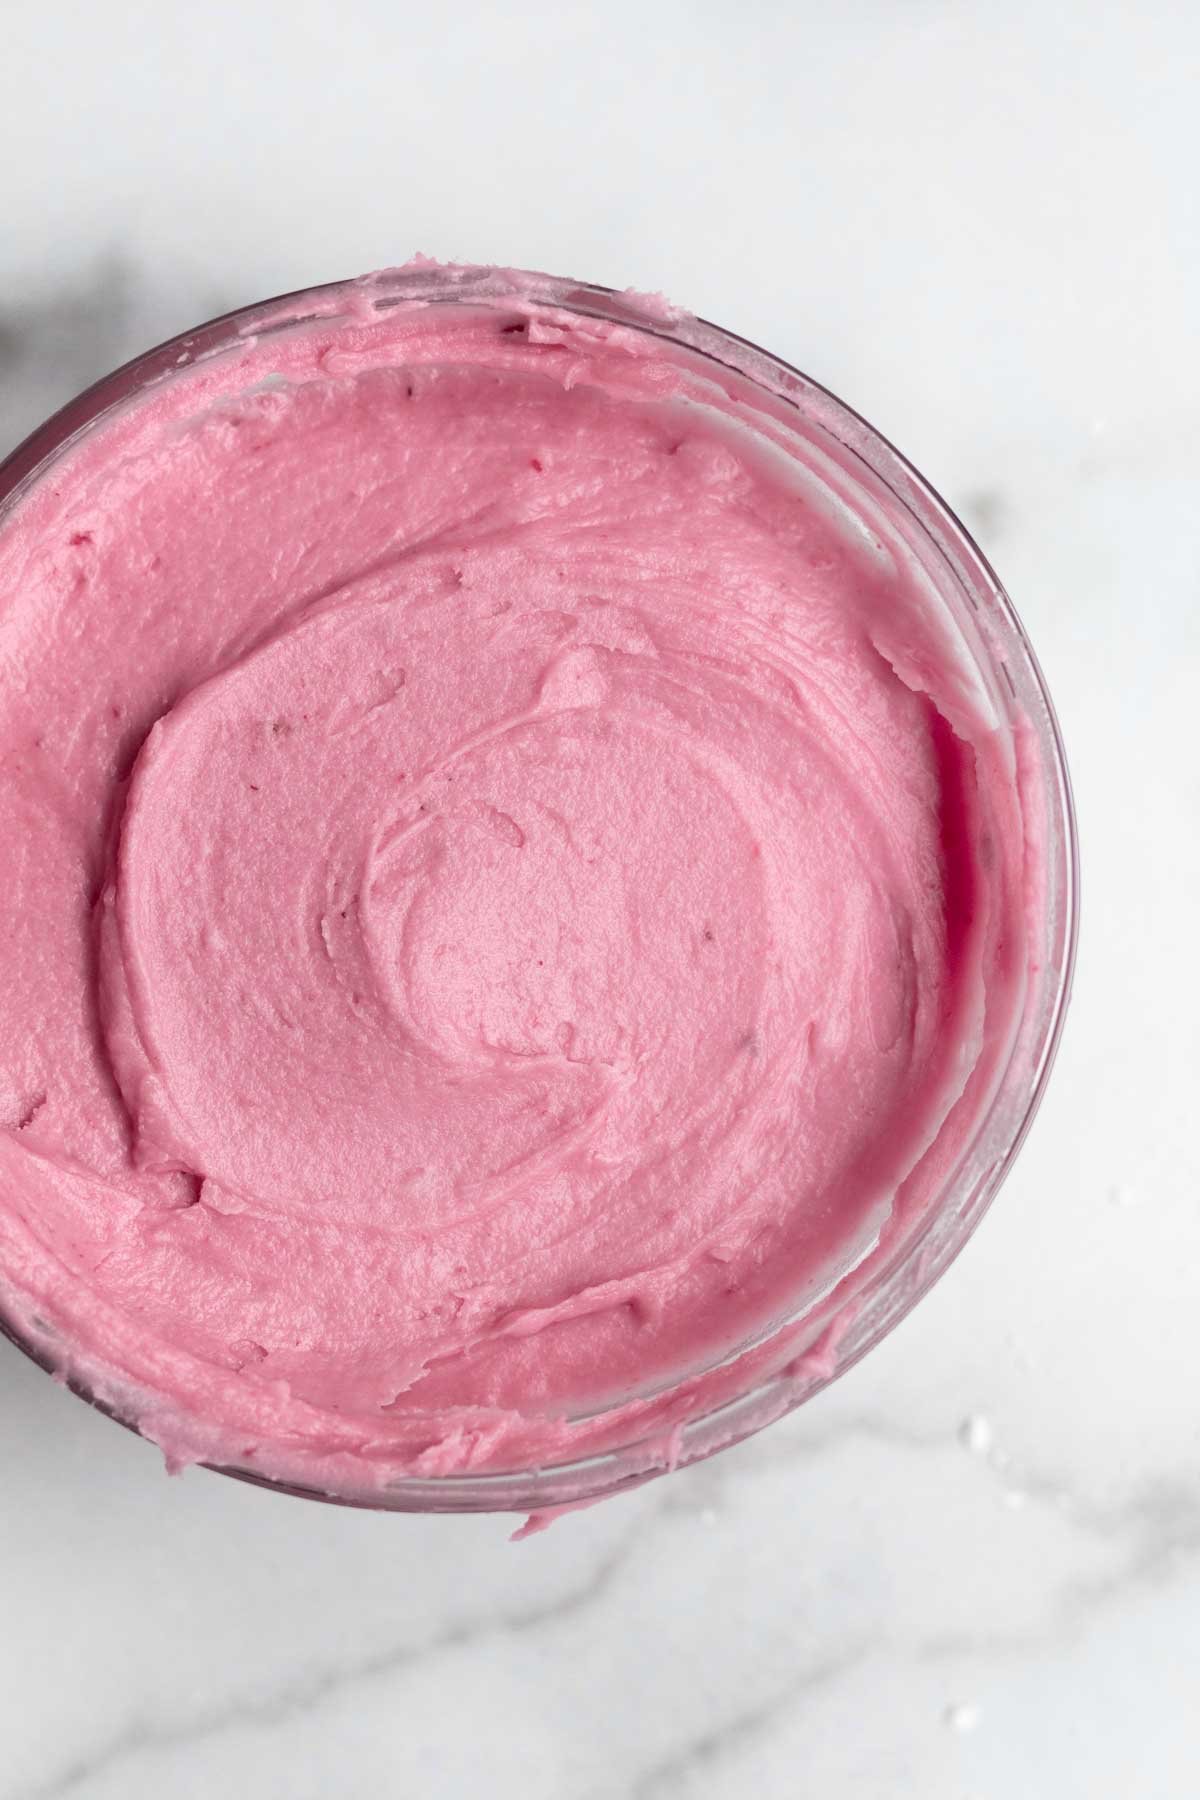
In a small bowl, using a spatula, mix together the 4 tablespoons of butter, 2 cups of confectioners' sugar, 2 tablespoons of blackberry syrup and a pinch of salt.
Slowly add in the 1 tablespoon plus 1 teaspoon of water a little at a time until you get the desired consistency. The frosting should be smooth and creamy. You may not need all the water.
Step 2: Frost the Cookies
Using an icing spatula or a butter knife, frost the tops of the cooled cookies. Don't go all the way to the edge of the cookie. Make sure you can see the pretty cookie on the edges.
Step 3: Top with Fresh Blackberries
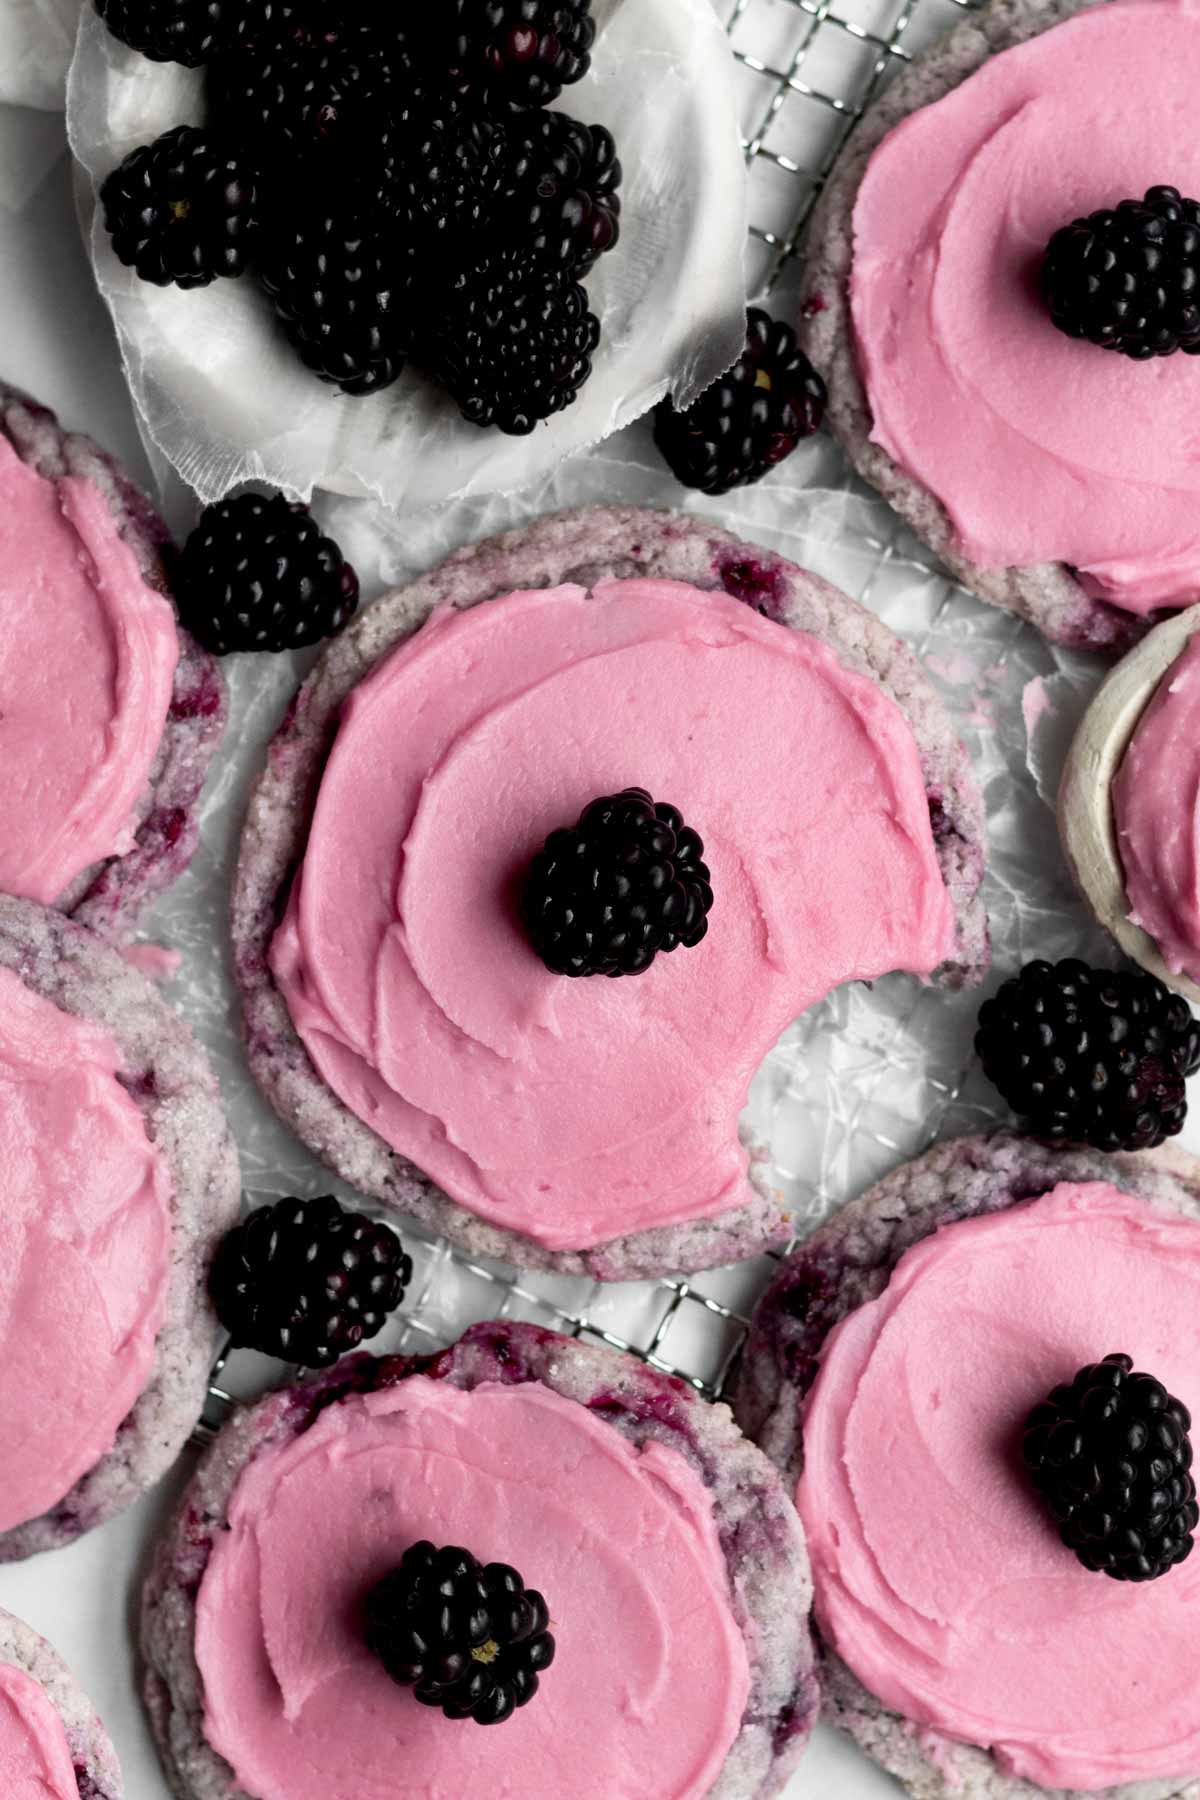
If desired, top the cookies with fresh blackberries. Make sure to use fresh in this step and not frozen. Frozen will create a puddle when they thaw.
Expert Baking Tips
For the Cookies
- Use Packed Cups of Flour- Normally in baking we do not use packed cups however, when working with gluten free, I've found using packed cups works best to help the baked goods keep their shape. Or read the gram measurement.
- Use Room Temperature Butter- Do not use softened or melted butter/vegan baking sticks. The cookies will spread out when baking into a giant mess.
- Do not use Fresh Blackberries- I tested the recipe with fresh blackberries. Using fresh makes the dough way too wet and causes the cookies to spread out everywhere and be very thin. Also make sure you chop the frozen blackberries that you fold into the dough, otherwise the cookies will spread out too. I wouldn't even use fresh in the syrup. It causes the flavor to be less concentrated and the cookie barely tasted like blackberry.
- Freeze the Dough- If you don’t freeze the dough for at least 1 hour, the cookies will spread and be flat and thin.
- Wash Your Cookie Scoop- If you noticed the dough is starting to get sticky, wash and dry your cookie scoop halfway through making the dough balls.
- Reshape the Cookies- If you want your cookies nice and round, reshape them as soon as they come out of the oven. Use a spatula to push them back into a circle shape.
For the Frosting and Decorating
- Making The Frosting- If the frosting appears too watery, add more confectioners’ sugar 1 tablespoon at a time. If it appears too thick, add more water ¼ teaspoon at a time. Make sure your butter isn't too soft. It should be room temperature, not softened. Also, only add the water a little bit at a time. You may not need it all.
- Decorating with Blackberries Tips- If using blackberries on the tops of the cookies, make sure to only use fresh. If you use frozen, the blackberries will become a slimy liquid mess.
Recipe FAQs
You can make the dough balls ahead of time and then freeze them. If doing this, there is no need to freeze them again, prior to baking.
Most gluten free baked goods are best made the same day, but you can make these cookies a day before! Just make sure the frosting has completely solidified prior to storing them in a single layer in the fridge. Do not stack.
In addition, you may not want to add the blackberry on top until ready to serve.
Yes! You can use a small cookie scoop.
Bake the cookies at the same temperature but for 13-14 minutes. Reshape as needed. Should make around 22 cookies.
No. Unfortunately due to the nature of the eggless cookies, that doesn't usually work. Other ingredients might need adjusting. For more cookies with fruit, you can check out my recipes for Lemon Blueberry Cookies, Strawberry Sugar Cookies, Raspberry Cookies or Blueberry Cookies.
Yes! But keep in mind, you'll need to make the blackberry syrup ahead of time as well. If making the frosting ahead of time, store the frosting in a bowl covered with plastic wrap in the fridge.
When ready to use, bring the frosting to room temperature and mix with a spatula to regain that creaminess.
Once the frosting has hardened a bit, store the cookies in a single layer, in an airtight container in the fridge for up to 3 days. Do not stack. Also, do not leave them at room temperature as they get very wet due to the blackberries.
They're still soft when in the fridge but you can leave let them come to room temperature before eating if desired. I prefer to eat them cold! They're so refreshing that way!
Other Fruity Desserts You'll Love
Did you try this recipe? Please leave me a ⭐ review below!
Don’t forget to tag me on Instagram @laneandgreyfare and follow along on Pinterest, Facebook and YouTube! Enjoy!!!
📖 Recipe
Blackberry Cookies
Ingredients
For the Blackberry Syrup
- 1 ¾ cups frozen blackberries
- ¾ cup granulated sugar
For the Cookies
- 2 cups gluten free flour (I use a 1:1 gluten free multipurpose flour with xanthan gum already in it)
- 1.5 tablespoons cornstarch
- 1.5 teaspoons baking powder
- ½ teaspoon kosher salt
- ½ cup unsalted butter or vegan baking stick, room temperature
- 1 ¼ cups plus 2 tablespoons granulated sugar (keep the 2 tablespoons separate for rolling)
- 2 heaping tablespoons cornstarch mixed with 3 tablespoons of water
- 3 tablespoons milk
- 2 tablespoons blackberry syrup
- ½ cup frozen blackberries , chopped into tiny pieces
For the Frosting
- 2 cups confectioners' sugar
- 4 tablespoons unsalted butter or vegan baking stick, room temperature
- 2 tablespoons blackberry syrup
- 1 tablespoon plus 1 teaspoon water (room temperature)
- pinch kosher salt
Decorating
- 12 fresh blackberries (to top the cookies if desired)
Instructions
For the Blackberry Syrup
- In a saucepan set over medium heat, cook the ¾ cup granulated sugar and 1 ¾ cups of blackberries, stirring constantly, and smashing the blackberries with your wooden spoon, until they are broken down and the mixture is thick. About 5-7 min. You want the blackberries to be completely broken down. No whole pieces of fruit anymore. It will still appear a little chunky and that’s fine.
- Set a mesh colander over a bowl. Pour the hot blackberry mixture carefully through the strainer and set aside to let cool. There should be about 4 tablespoons of blackberry syrup once it's strained. It will thicken as it cools.
- Measure out ½ cup frozen blackberries (yes, they must be frozen). Rough chop the blackberries into small pieces. Be careful not to over chop; you don't want a puddle of blackberry pulp. You can pick out the stems if desired.Place the chopped blackberries into a freezer safe bowl and pop back into the freezer until you're ready to add them into the dough.
For the Cookies
- In a large bowl, whisk together the gluten free flour, baking powder, 1.5 tablespoons of cornstarch and salt. Set aside.
- In a small bowl, using a spoon, mix together the remaining 2 heaping tablespoons of cornstarch with 3 tablespoons of water until thin and watery. It will be thick and tacky at first.
- In a large bowl of an electric mixer fitted with the paddle attachment, beat the butter or vegan baking stick and 1 ¼ cups of the sugar until it is soft and creamy. About 2-3 minutes.
- Slowly beat the cornstarch water mixture, milk, 2 tablespoons of the cooled strained blackberry syrup (it might be pretty thick) into the creamed butter and sugar. It will look dark mauve and chunky.
- Slowly beat in the gluten free flour mixture a little at a time until just combined.
- Gently using a spatula, fold in the frozen chopped blackberries. The dough will become a lovely marbled mauve/lavender color. Be careful not to mix too much or the dough will become slimy.
- Keep the dough in the bowl, cover the top with plastic wrap and freeze for at least 1 hour. You must not skip this step or the cookies will spread everywhere and it must be frozen, not in the fridge.
- After the dough has been in the freezer for at least 1 hour, preheat the oven to 325 degrees Fahrenheit. Line a baking sheet with parchment paper. Set aside.
- Use an ice cream scoop or a large cookie scoop to make large cookies. It makes 12 scoops. Roll each dough ball in the extra 2 tablespoons of granulated sugar to coat completely.
- Place dough balls about 3-4 inches apart on the parchment lined baking sheet. Bake the cookies at 325 degrees Fahrenheit for 15 minutes. Store extra dough balls in the freezer while the rest are baking if they don't all fit. I only bake 6 at a time.
- Immediately reshape the cookies when they come out of the oven by using a spatula to push them into a circle shape and let cool on the baking sheet for 5 min before transferring to a cooling rack. If you don't do this, the cookies will break apart into a giant mess. If adding the frosting, let the cookies cool completely before adding it, otherwise the frosting will turn into a liquid mess.
For the Frosting
- In a small bowl, using a spatula, mix together the 4 tablespoons of butter, 2 cups of confectioners' sugar, 2 tablespoons of blackberry syrup and a pinch of salt. Slowly add in the 1 tablespoon plus 1 teaspoon of water a little at a time until you get the desired consistency. The frosting should be smooth and creamy. You may not need all the water.
- Using an icing spatula or a butter knife, frost the tops of the cooled cookies. Don't go all the way to the edge of the cookie. Make sure you can see the pretty cookie on the edges.
- If desired, top the cookies with fresh blackberries. Make sure to use fresh in this step and not frozen. Frozen will create a puddle when they thaw.


Helena
These looked so good I had to try to make them. I don't have food allergies, so I made some modifications to make them "full strength", as we say in my family (we have some gluten free, dairy-free, and sugar free in my fam). This is what I did:
I Creamed the butter and sugar, added in 1 egg, and the blackberry syrup (I did 3 TBS just for color, as the egg made the mixture yellow). Then I added the dry ingredients- only 1 tsp baking powder and 2 1/4c flour. Dough was soft enough to not need to add milk. Then added in the chopped frozen Blackberries. Chilled for about 2 hours. Rolled into 1 1/2" balls and baked at 325 for about 20 minutes (could probably do 350 for 12-15). They didn't spread too much, and they look like drop cookies, a little lumpy and unique, not like perfectly round cookies. The blackberry flavor is amazing! They are soft, yet a little chewy. Thanks for the recipe! I will be sharing with my family that has food allergies!
Helena
Forgot to add, I omitted the cornstarch and had eaten enough of the cookies before making frosting that I did not make the frosting. The cookies alone were enough.
Ginny
So great! The frosting is such a gorgeous shade of pink, and I love that the color is all natural from the fruit!
John
What a great looking cookie! This recipe came out perfect!