These Gluten Free Gingerbread Cookies are soft, chewy and loaded with ginger, cinnamon and molasses! They are the perfect addition to your holiday cookie list! The perfect blend of spices with a sweet icing, no one would ever guess they’re gluten free, nut free, seed free, egg free and easily vegan!
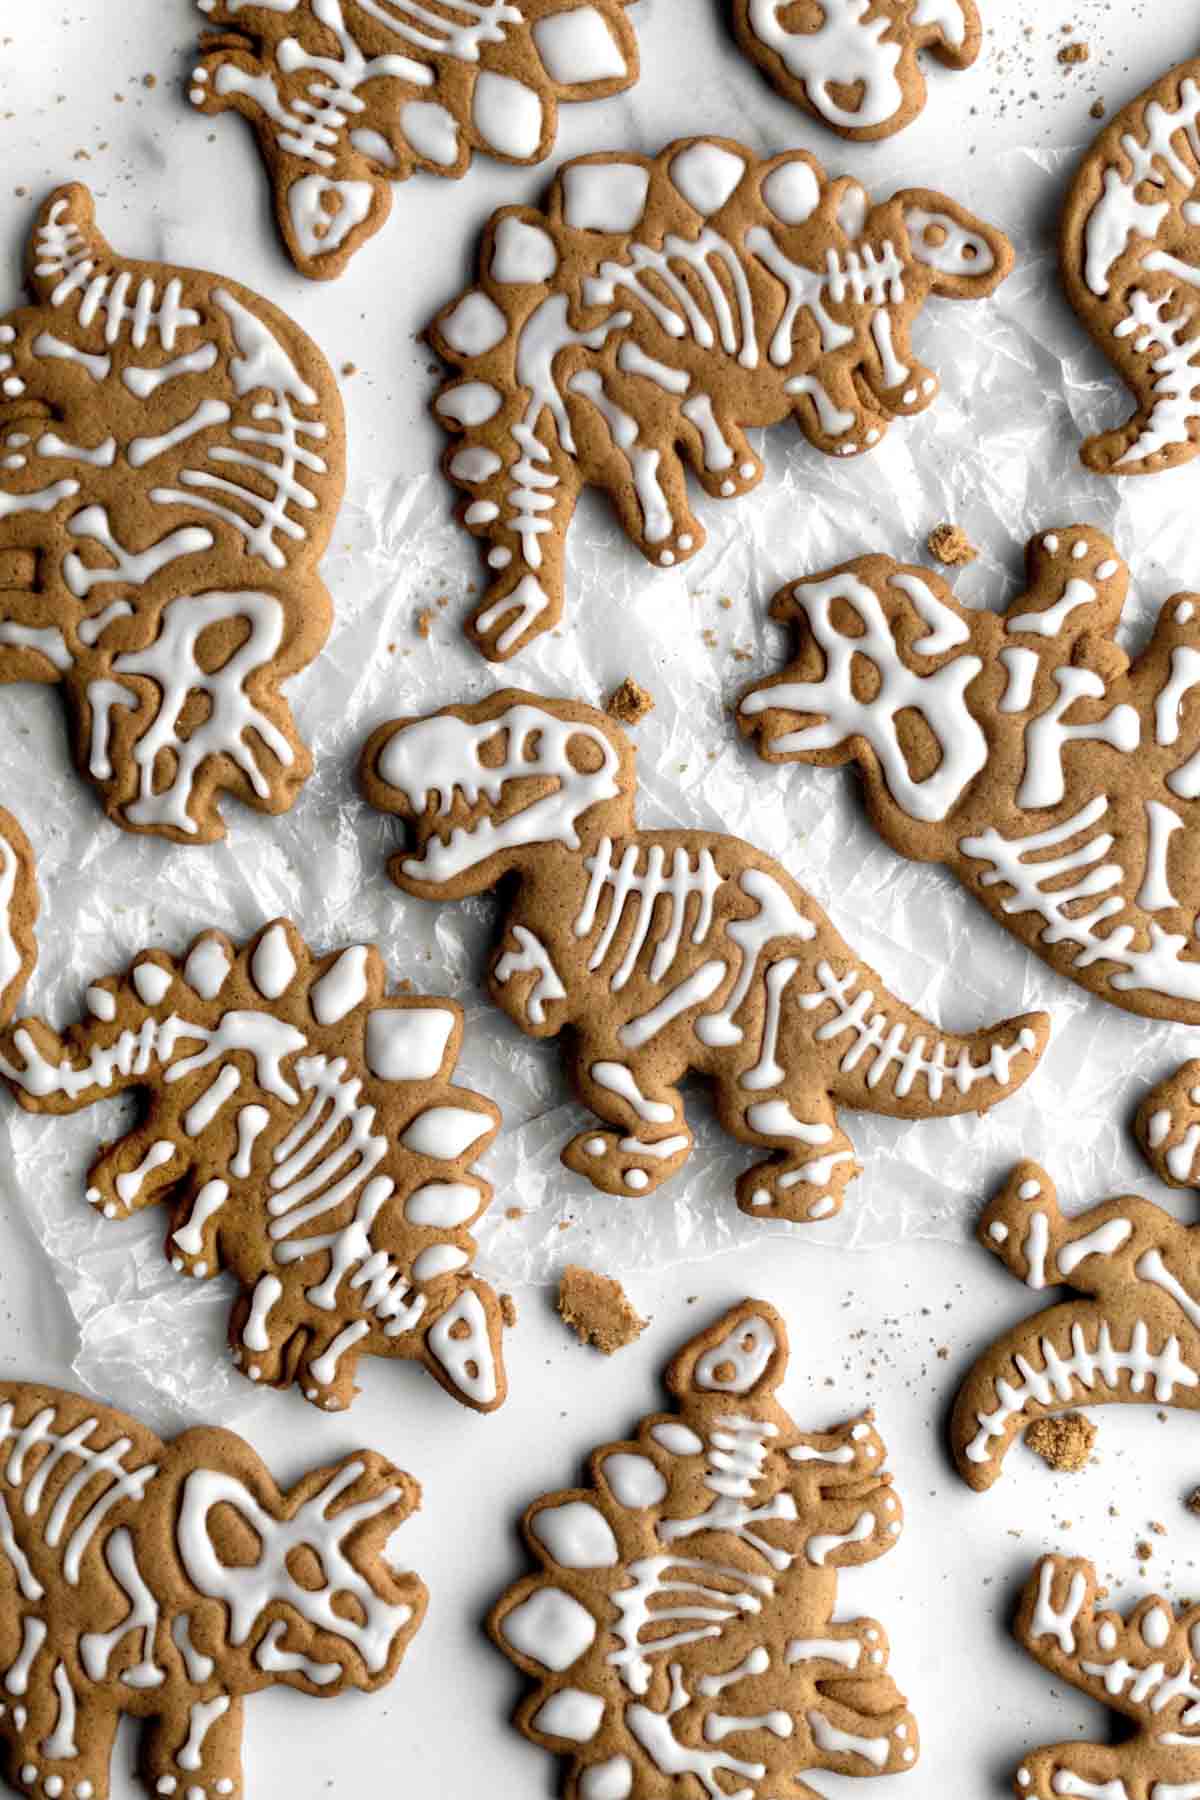
These Gluten Free Gingerbread Cookies are the perfect classic holiday cookie! They roll out perfectly and hold their shape without spreading! These cookies make you feel all warm and cozy and are so fun to decorate! You of course don’t need to use dinosaur cookie cutters (these are the exact ones that I use), but quite frankly I don’t know why you wouldn’t. I’m obsessed! For regular cut out cookies, check out my Cut Out Sugar Cookies!
For other ginger recipes, try my Gluten Free Ginger Cookies, my Chocolate Ginger Cookies and my Ginger Muffins!
Reasons to Love These Cookies
- Allergy Friendly- These cookies are gluten free, nut free, seed free, egg free and can easily be dairy free (vegan)!
- Soft and Chewy- These cookies are the most perfect texture!
- Sweet Icing- The icing gives a nice sweetness to the spices!
- Classic Flavors- The ginger, cinnamon and molasses remind us of the cold months!
Ingredient Notes
- Gluten Free Flour- If you also have nut allergies, make sure to use a brand that’s made in a nut free facility. I really love to use this gluten free flour because it’s free of the top 9 allergens! It also contains xanthan gum which really helps give baked goods their bounce and stay together.
- Butter/ Vegan Baking Stick- Only use room temperature. If you use melted, the cookies will spread too much while baking. If using vegan butter, make sure it's more on the cold side versus room temperature.
- Light Brown Sugar- Using light brown gives the cookies the softness we need to offset the dryness from the spices and lack of eggs.
- Cinnamon- This sweet yet woodsy ingredient helps give the cookies those cozy flavors that remind us of the cooler months!
- Ginger- They wouldn't be gingerbread cookies without the main ingredient! This recipe calls for 1 tablespoon!
- Molasses- Makes these beauties have that old fashioned molasses cookies flavor profile! Make sure to use unsulphured. I like Grandma's brand.
See my recipe card below for a complete list of the ingredients with measurements.
Substitutions and Variations
How to Make these into Vegan Gingerbread Cookies
- Use a gluten free flour that’s free from dairy.
- Make sure the brand of sugar you use is vegan.
- Use vegan baking sticks instead of butter.
- Make sure to use gluten free unsulphured molasses that's also vegan.
To Make this Recipe with All Purpose Flour
- Use 3 ½ packed cups of AP flour (588 grams).
- You still need to chill the dough due to the lack of eggs.
This recipe has not been tested with all of these substitutions and/or variations due to celiac disease and food allergies. If you change any of the ingredients, please let us know how the recipe turned out in the comments below!

How to Make Gluten Free Gingerbread Cookies
Here are the step by step instructions to make these soft gingerbread cookies!
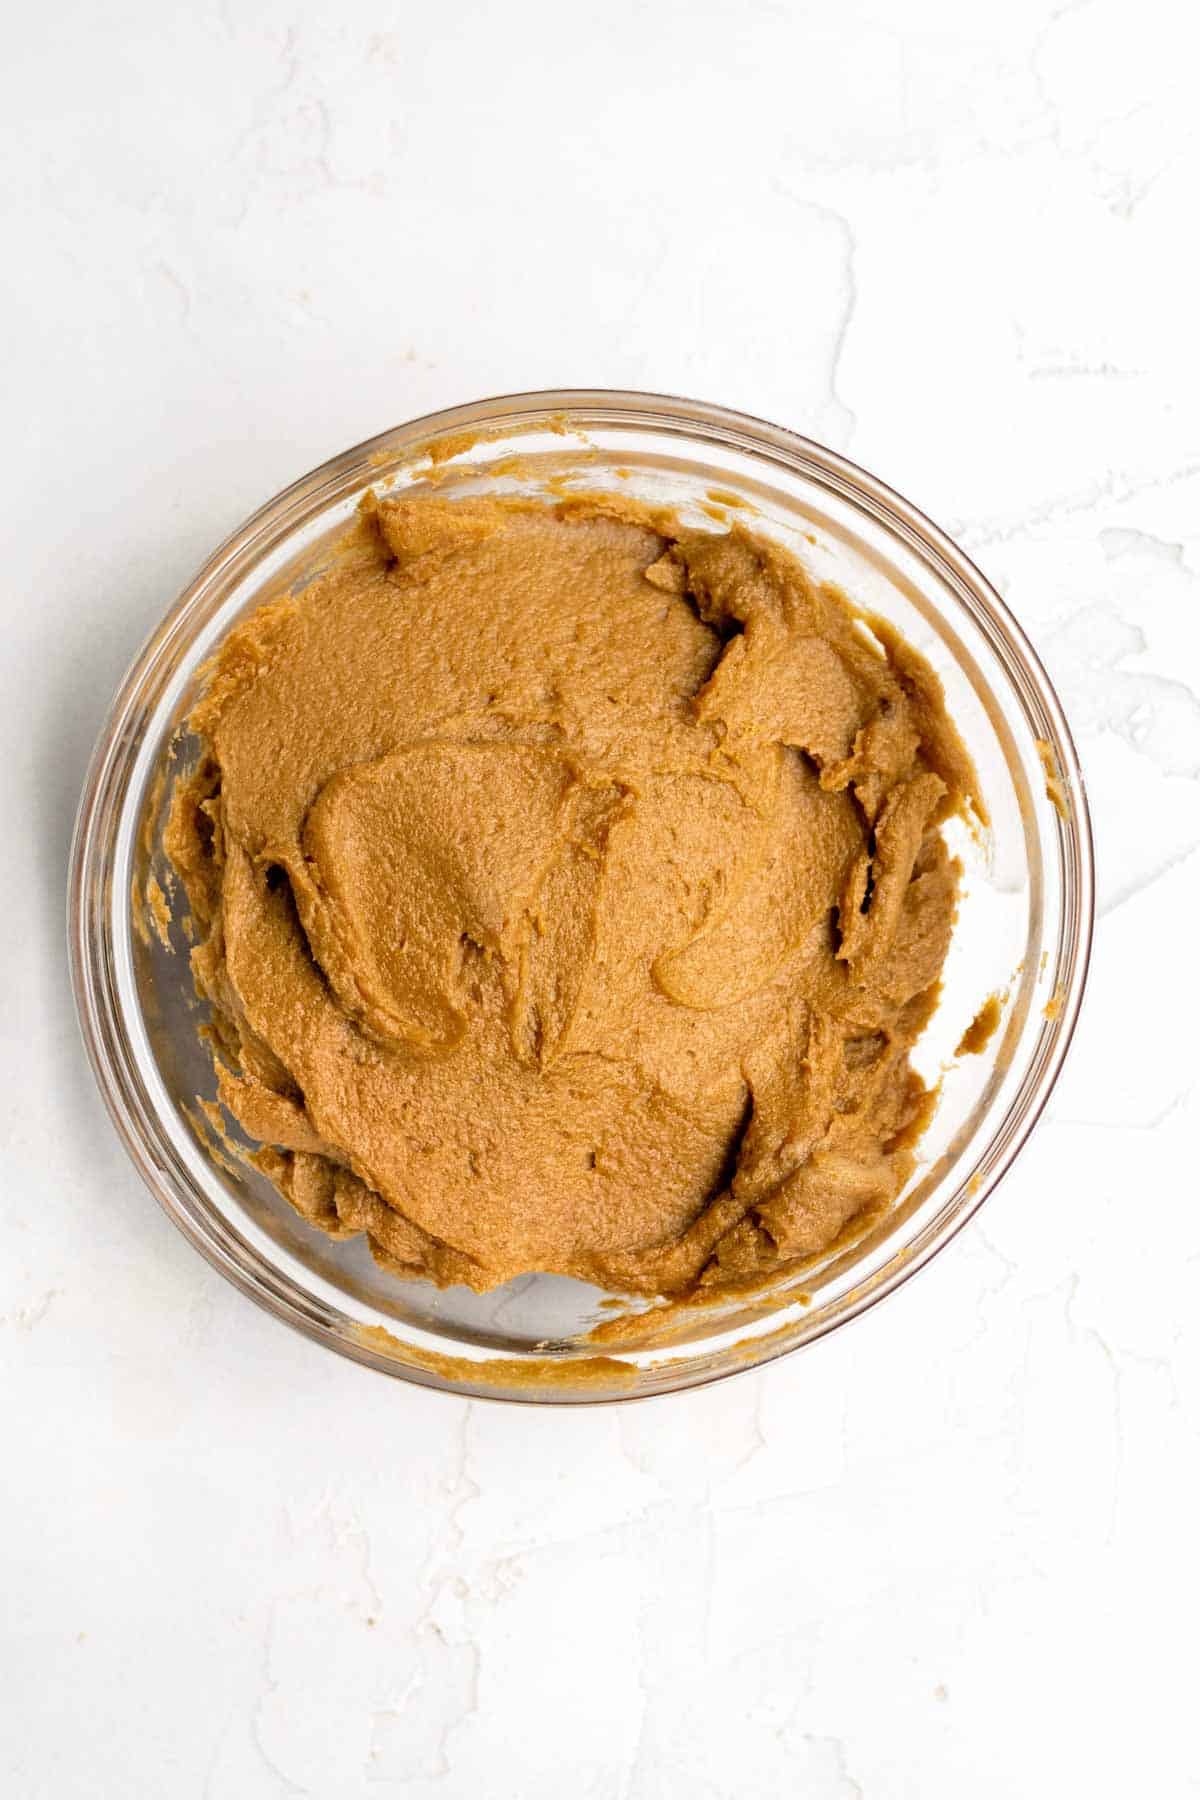
Step 1: Cream The Butter and Sugar
In a large bowl or an electric mixer or a large bowl using a hand mixer, beat the butter, brown sugar and molasses until soft and creamy. About 2 minutes.

Step 2: Make the Cornstarch Water
In a small bowl, using a spoon, mix the cornstarch and water together until it is thin and watery. It will be thick and tacky at first.
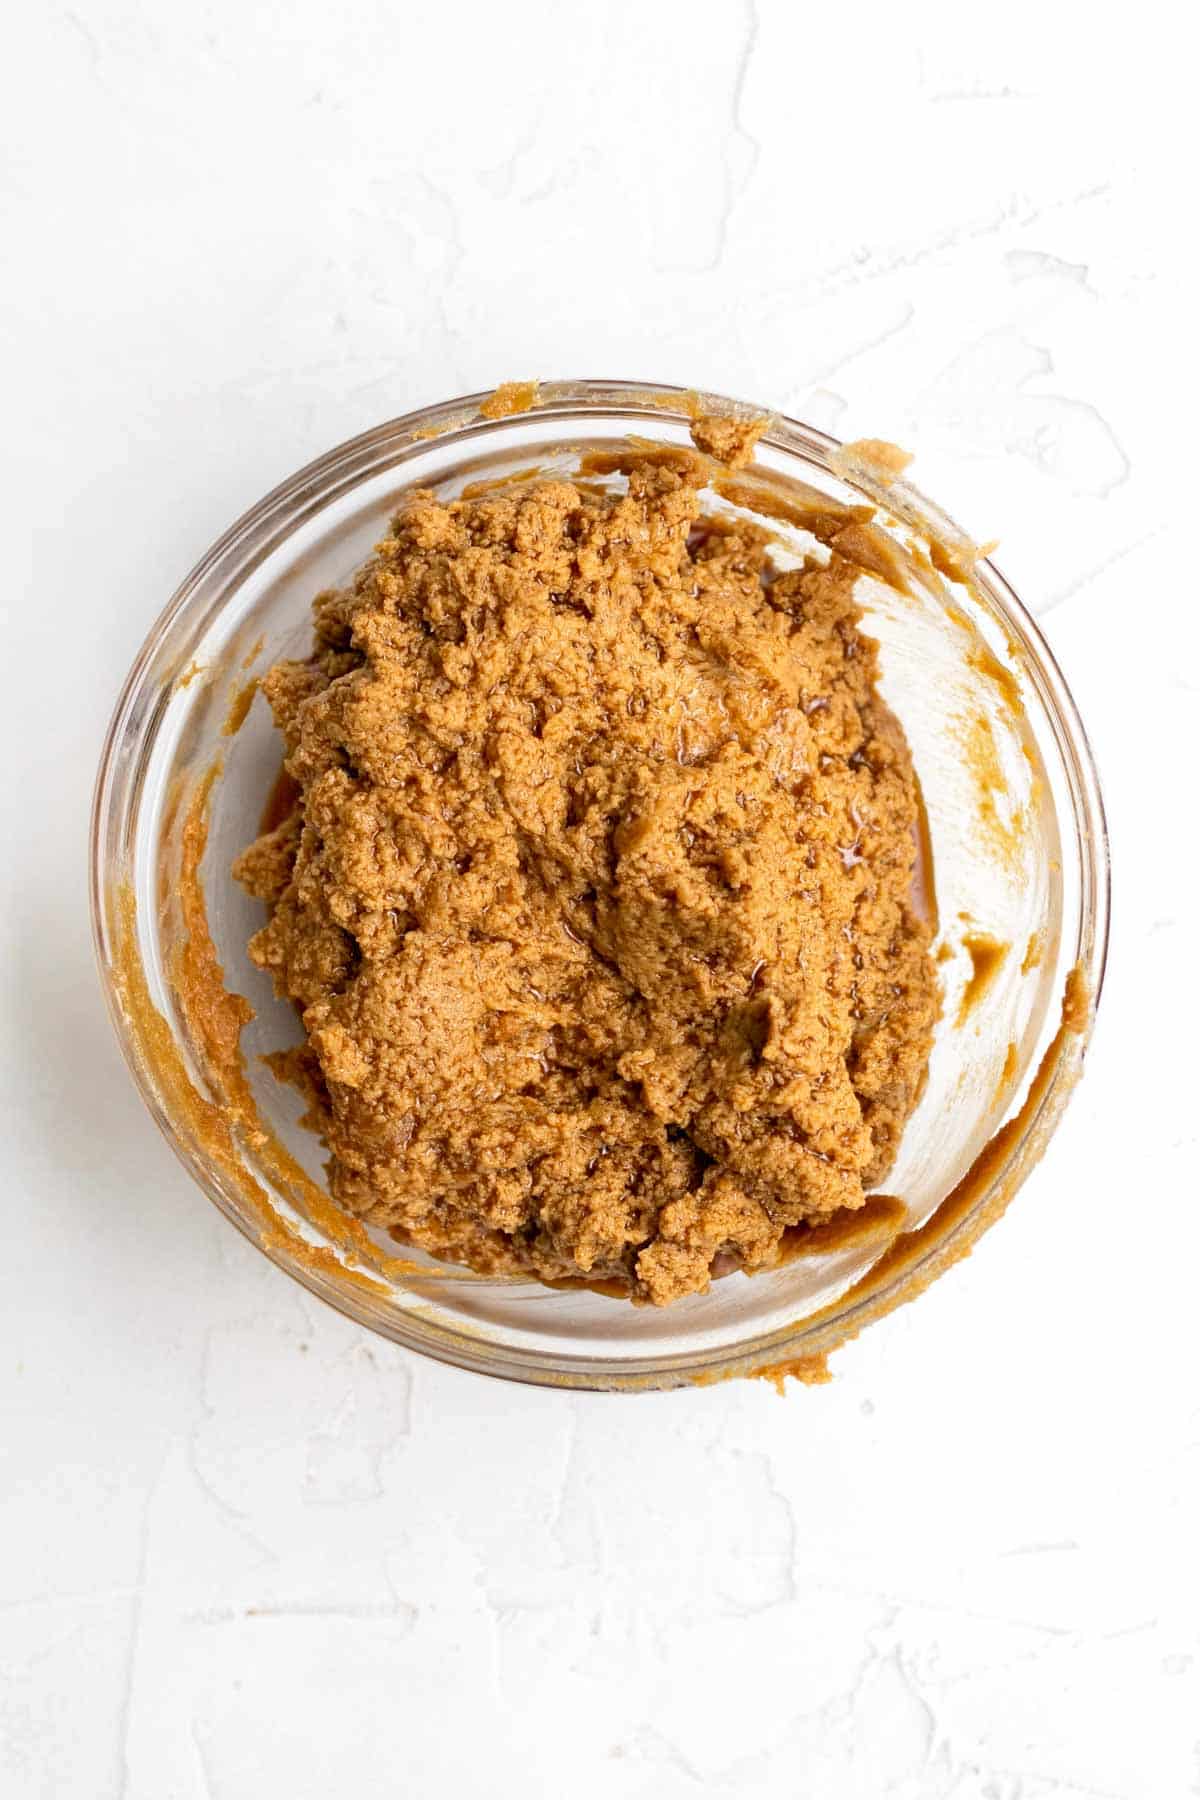
Step 3: Mix the Wet Ingredients
Add the cornstarch water mixture and the vanilla to the wet ingredients and beat on high for 2 minutes.
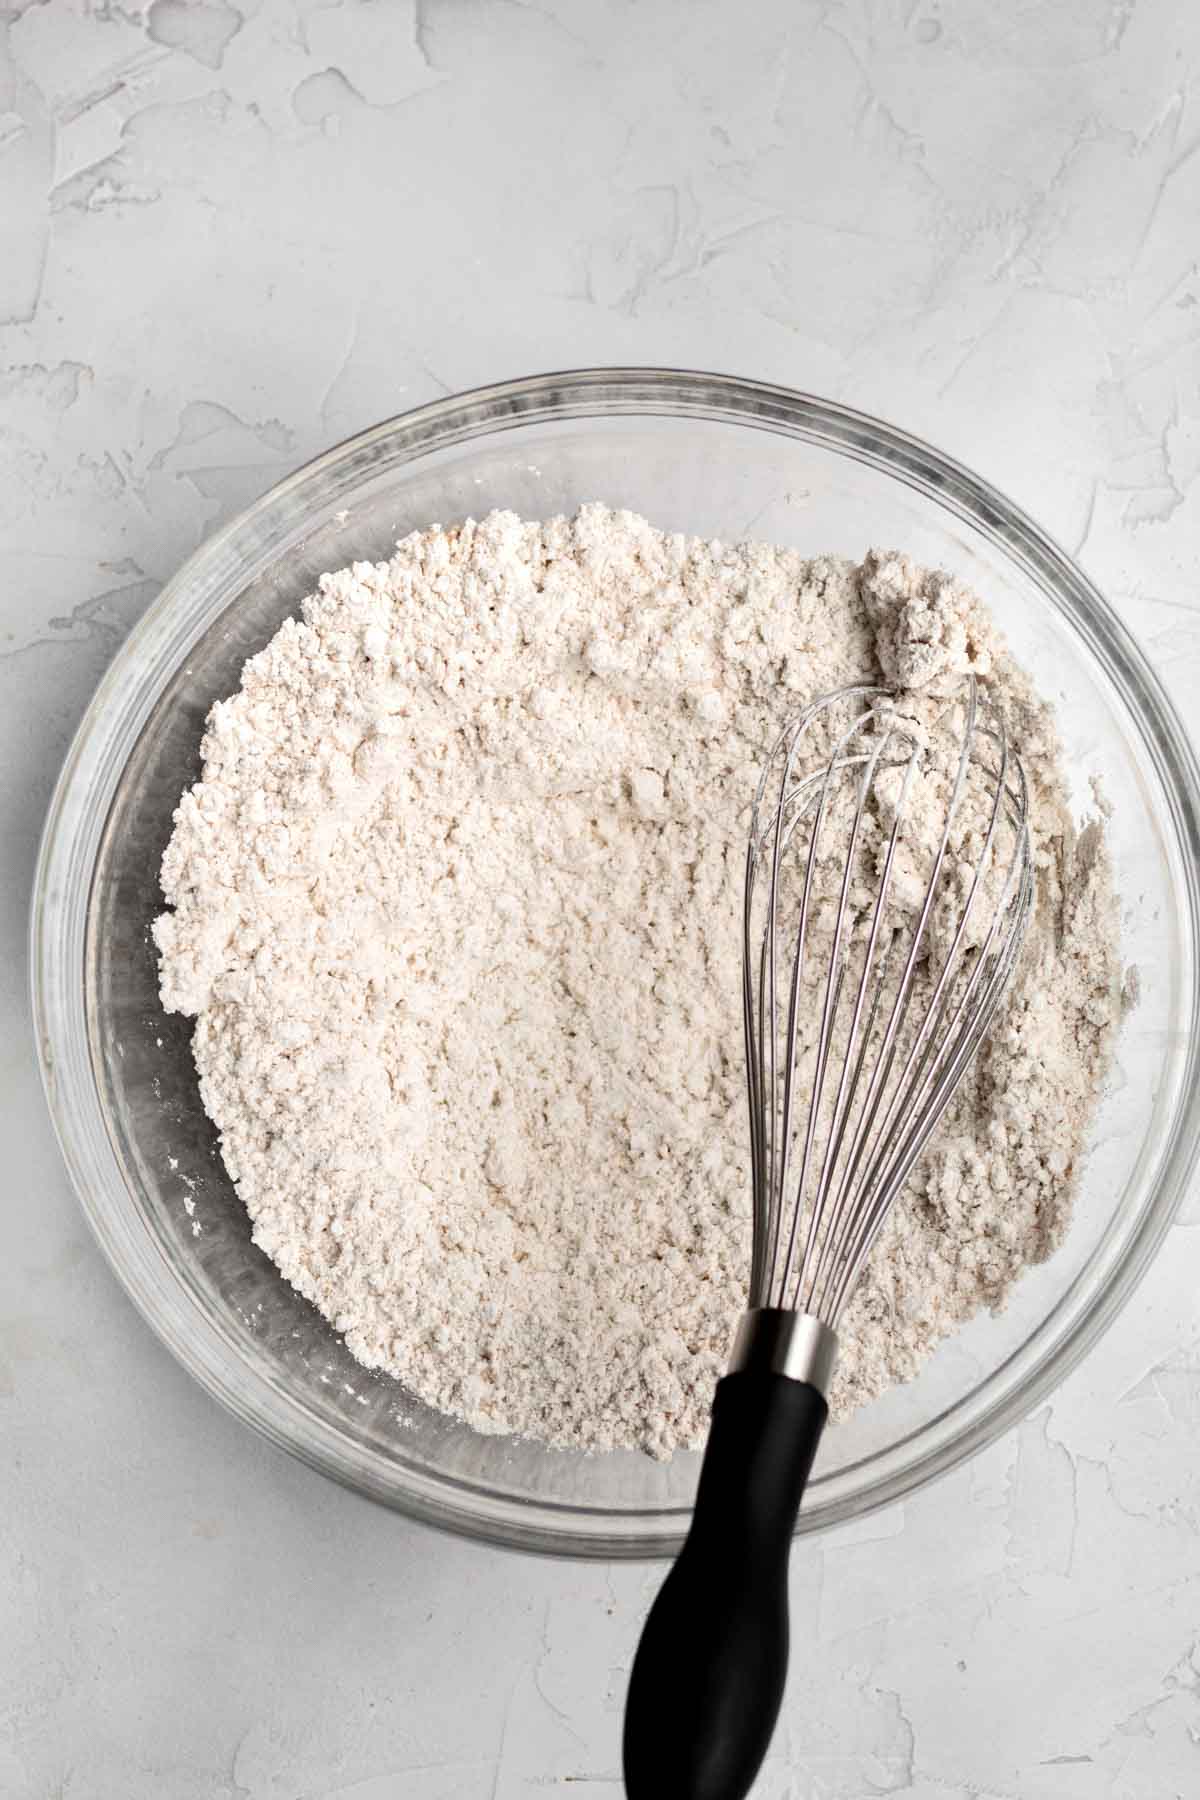
Step 4: Whisk the Dry Ingredients
In a separate large bowl, whisk together the gluten free flour, baking soda, salt, ginger and cinnamon.
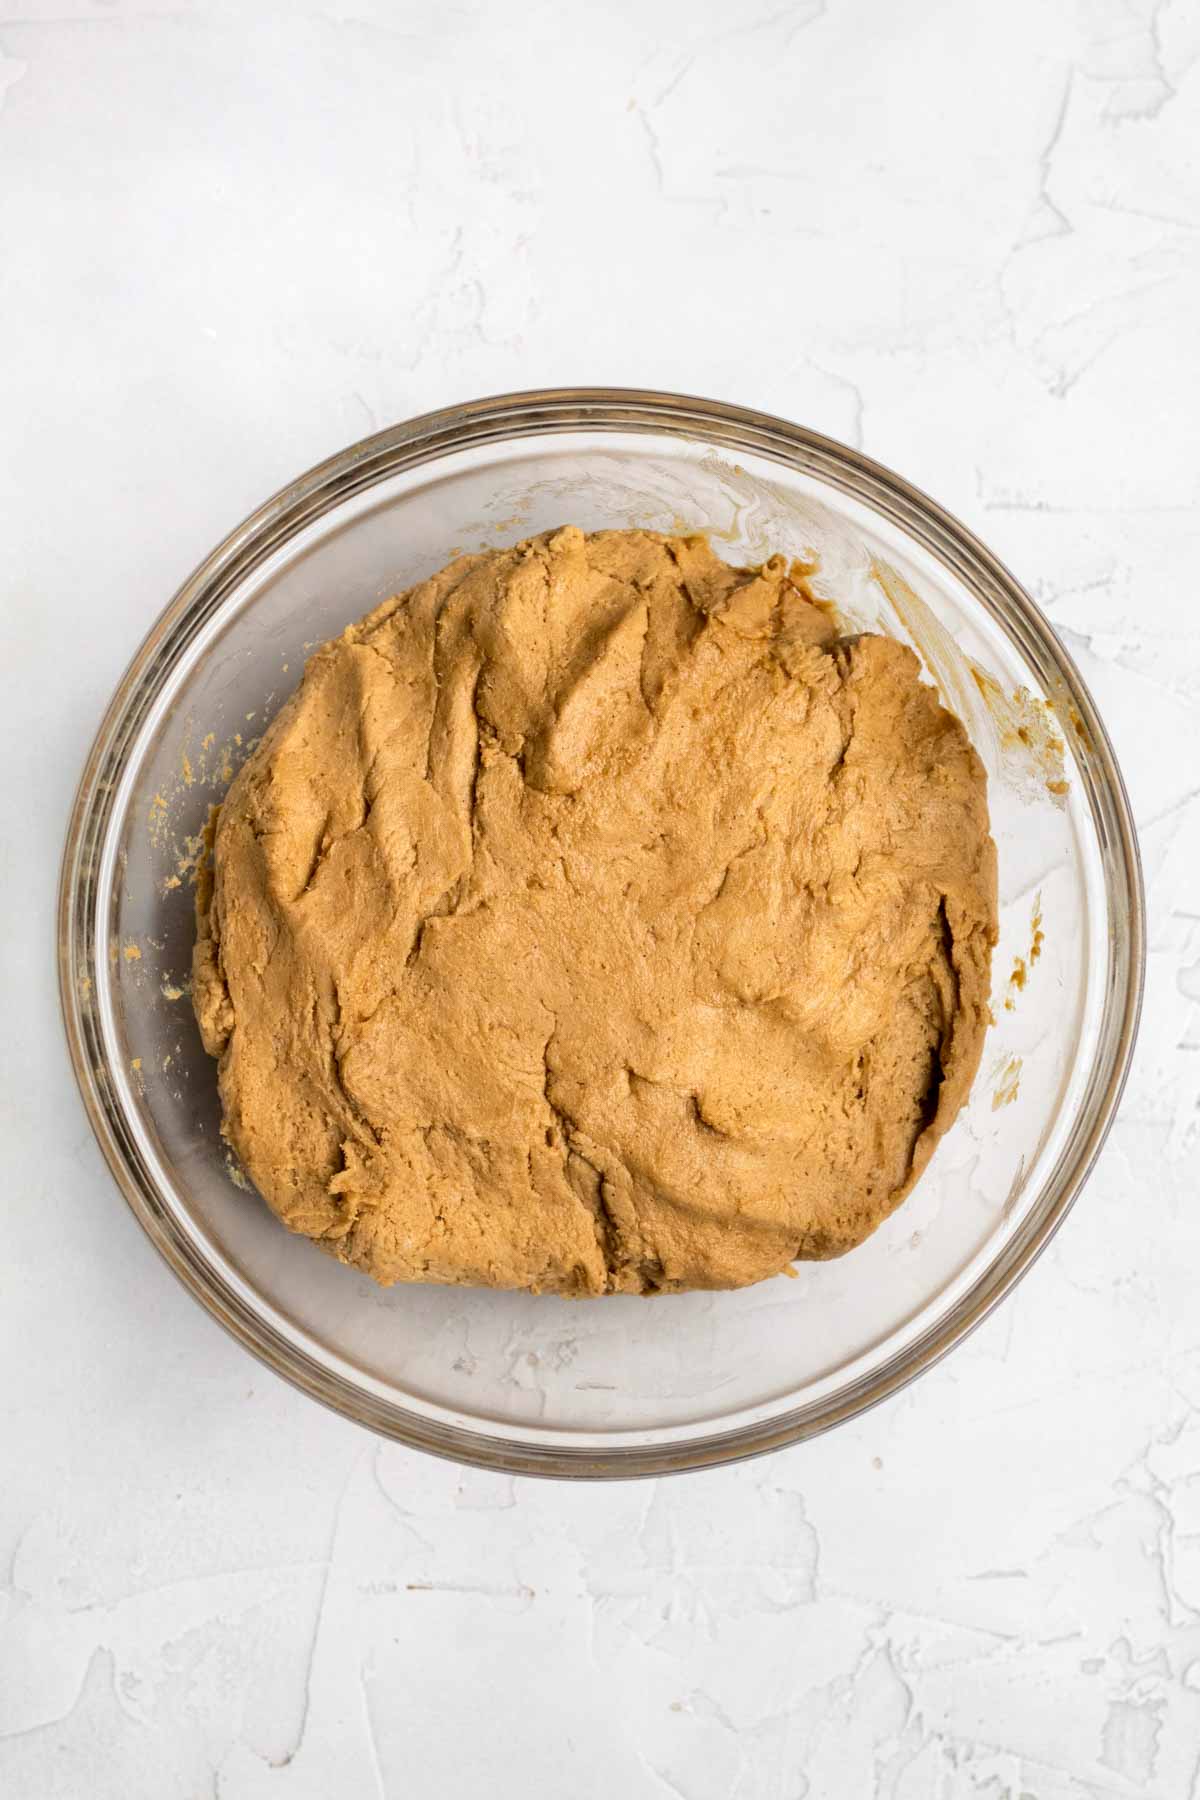
Step 5: Add the Dry Ingredients into Wet
On low speed, slowly add the dry ingredients into the wet and beat until just combined. The dough will be thick and a bit sticky.
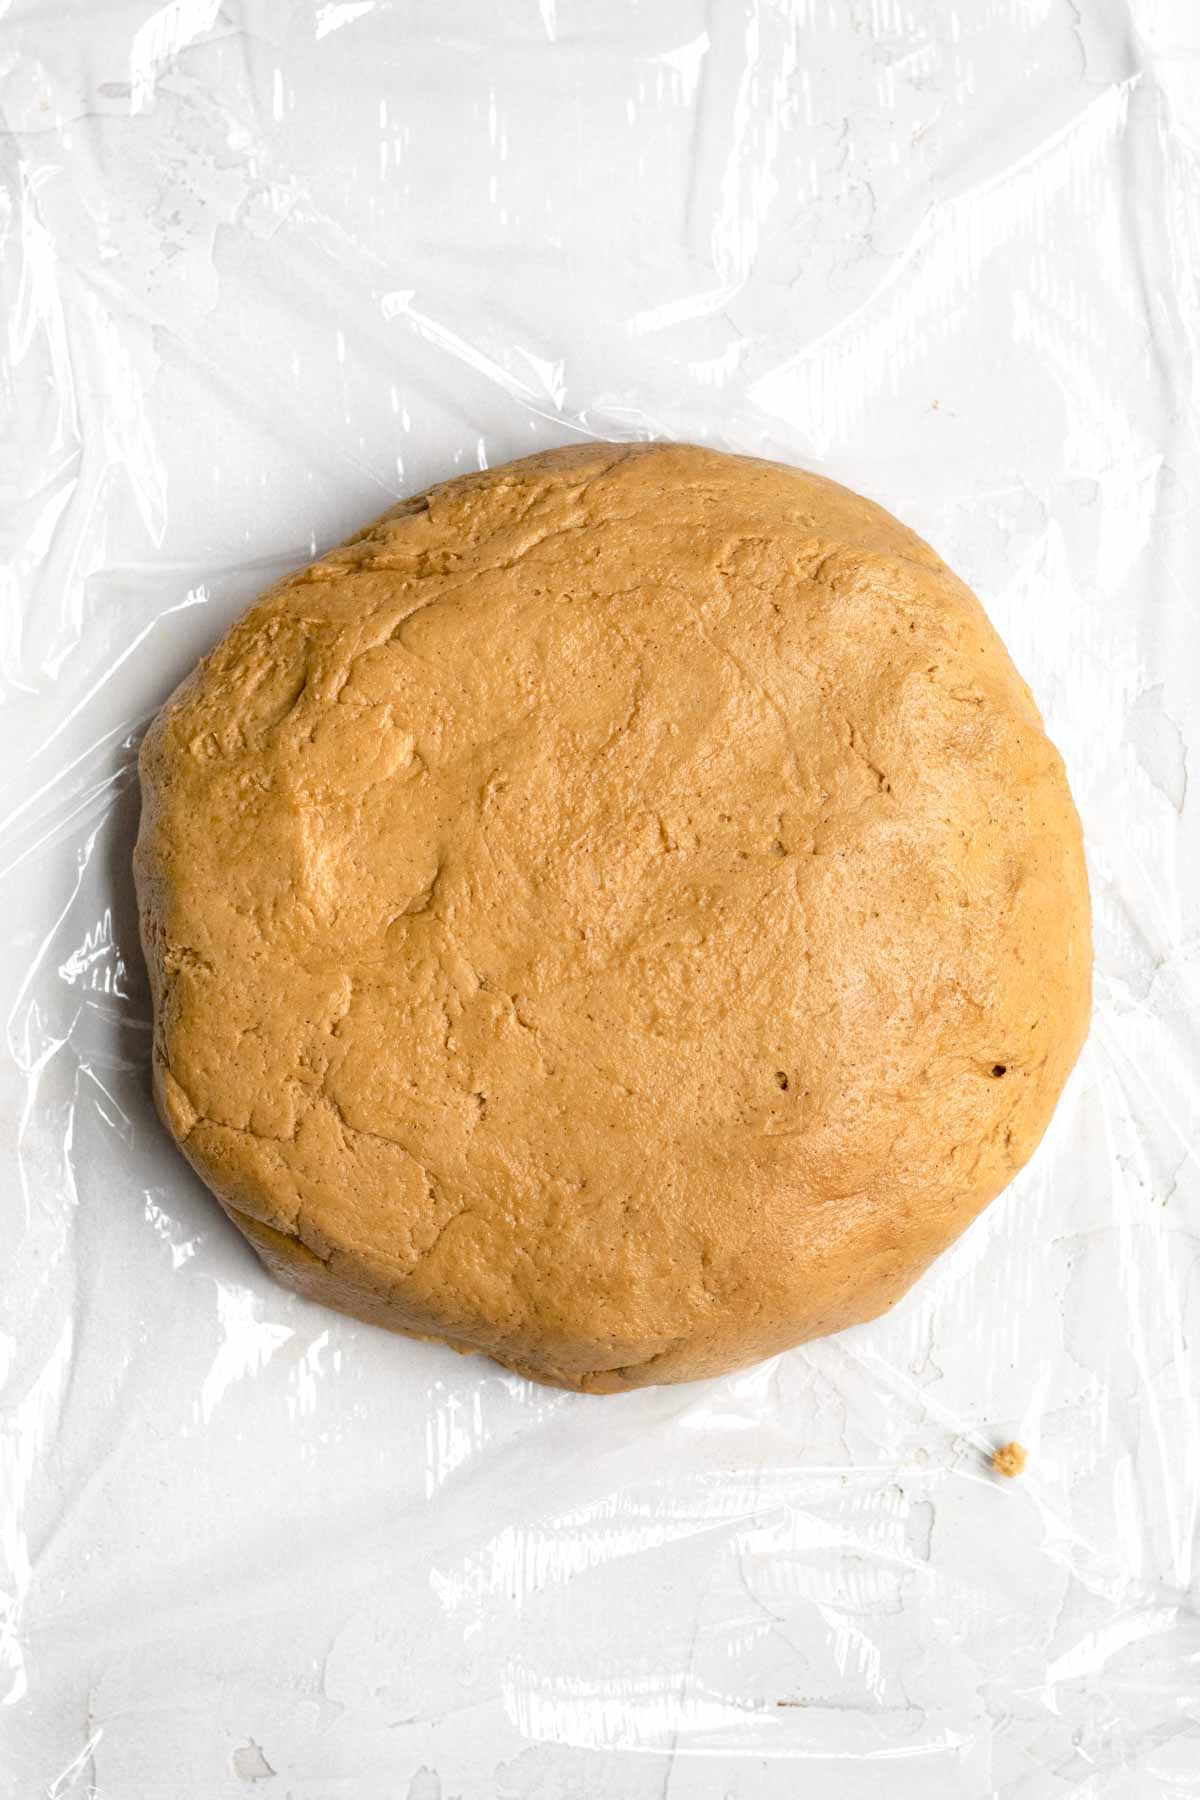
Step 6: Make Discs and Chill
Make two disks with the dough, wrap each one in plastic wrap and chill them for a minimum of 3 hours.

Step 7: Roll the Dough and Cut the Shapes and Bake
Unwrap one of the disks and lightly flour a clean work surface with gluten free flour, as well as your rolling pin and hands. If the dough feels hard and seems to be cracking, I like to work it in sections. Break a piece off and work it in your hands until it is soft. Once it is soft, roll it out till it is ¼ inch thick. Press cookie cutters into the dough. Repeat this with the rest of the dough.
Place the cookies about an inch apart on the baking sheet and bake for 9 minutes.
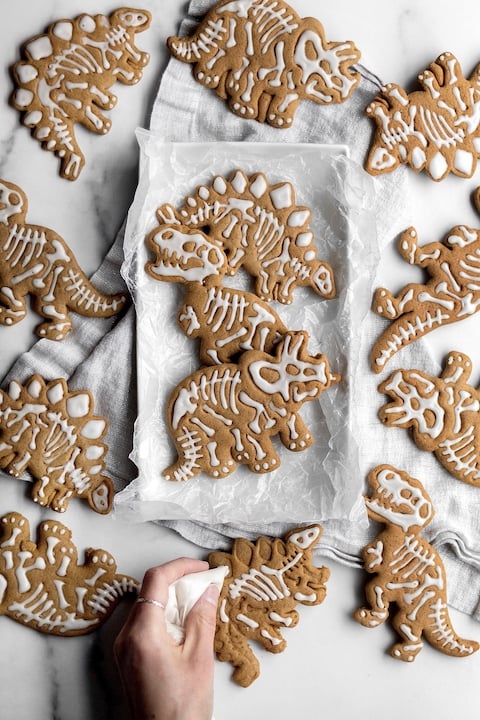
Step 8: Whisk the Icing Ingredients and Decorate
Whisk all the ingredients together in a medium bowl. If the icing seems too thick, add half a tablespoon more water. If it’s too thin, add 2 more tablespoons of confectioners’ sugar.
Spoon icing into a zip top bag, snip the bottom corner and squeeze the icing out. Decorate your cookies as desired. The icing does take almost a full 24 hours to set so don't stack the cookies on top of one another until they have hardened completely.
Expert Baking Tips
- Use Packed Cups of Flour- Normally in baking we do not use packed cups however, when working with gluten free, I've found using packed cups works best to help the baked goods keep their shape. For this recipe use packed cups (588 grams).
- Only use Room Temperature Butter/ Vegan Baking Stick- Do not use softened butter. Since these cookies have no eggs, if you use softened or melted butter they will spread into a giant mess while baking. If using vegan butter, I would have it be more on the colder side vs room temperature.
- Refrigerate the dough- This is a must with egg free cookies. The dough needs to be chilled for at least 3 hours so that it doesn’t spread all over the place once they bake. Once you shape the dough into a disc and wrap it in plastic, pop it in the fridge for 3 hours.
- Work the dough in your hands- After the dough is done chilling, if it is too hard to work with and is breaking apart, simply break off a section and work it in your hands until it is soft and you can roll it out. You want to roll it out to about ¼ inch in thickness.
- Use a zip top bag for the icing- You don’t need any fancy equipment for decorating these babies! I snipped a tiny corner off of a zip top bag. You can use that and a toothpick if you like to help spread it.
- Let the cookies cool before decorating- If you put the icing on a hot cookie, it will melt into a giant puddle.
- Don’t stack the cookies- The icing takes a while to set, make sure you don’t stack them until the icing is dry.
Recipe FAQs
Yes! You can make the dough the night before. Form into a disc and wrap with plastic and store it in the fridge.
If doing this, there is no need to chill it again, prior to baking.
Or you can wrap the dough in plastic and freeze the dough for up to 30 days. Thaw the dough in the fridge the night prior to using.
Yes. Most gluten free baked goods are best made the same day, but you can make these cookies a day before! Store them in an airtight container at room temperature.
Do not stack them until they are dry!
Once the cookie icing has dried, store them in an airtight container at room temperature for up to 3 days.

Other Cookie Recipes You'll Love
Did you try this recipe? Please leave me a ⭐ review below!
Don’t forget to tag me on Instagram @laneandgreyfare and follow along on Pinterest, Facebook and YouTube! Enjoy!!!
📖 Recipe

Gluten Free Gingerbread Cookies
Ingredients
For the cookies:
- 10 tablespoons unsalted butter or vegan baking stick, room temperature
- ¾ cup packed light brown sugar
- ⅔ cup unsulphured molasses
- 2 heaping tablespoons cornstarch mixed with 3 tablespoons of water
- 1 teaspoon pure vanilla extract
- 3.5 cups gluten free 1:1 flour (I use a 1:1 gf flour with xanthan gum)
- 1 teaspoon baking soda
- ½ teaspoon salt
- 1 tablespoon ground ginger
- 1 tablespoon plus ½ teaspoon ground cinnamon
For the icing:
- 1.5 cups confectioners’ sugar
- ½ teaspoon pure vanilla extract
- 1 teaspoon light corn syrup
- 2 tablespoons room temperature water
- Pinch of salt
Instructions
- In a large bowl or an electric mixer or a large bowl using a hand mixer, beat the softened butter or vegan baking stick until smooth and creamy. Add the brown sugar and molasses and beat until creamy again.
- In a small bowl, using a spoon, mix the cornstarch and water together until it is thin and watery. It will be thick and tacky at first.
- Add the cornstarch water mixture and the vanilla to the wet ingredients and beat on high for 2 minutes.
- In a separate large bowl, whisk together the gluten free flour, baking soda, salt, ginger and cinnamon. On low speed, slowly add the dry ingredients into the wet and beat until just combined. The dough will be thick and a bit sticky.
- Make two disks with the dough, wrap each one in plastic wrap and chill them for a minimum of 3 hours. I actually froze one of the disks and made the second batch about a week later. If you’re going to freeze one batch, wrap in plastic wrap and then put in a zip top bag. Also it’s a good idea to write the date on the bag of when you made the dough.
- Once the dough is done chilling, preheat your oven to 350 degrees Fahrenheit. Line a baking sheet with parchment paper.
- Unwrap one of the disks and lightly flour a clean work surface with gluten free flour, as well as your rolling pin and hands. If the dough feels hard and seems to be cracking, I like to work it in sections. Break a piece off and work it in your hands until it is soft. Once it is soft, roll it out till it is ¼ inch thick. Use your dinosaur cookie cutters (these are the exact ones I use) or whatever cookie cutters you like and press into the dough. Repeat this with the rest of the dough.
- Place the cookies about an inch apart on the baking sheet and bake for 9 minutes.
- Take them out of the oven and allow them to cool on the baking sheet for about 5 min or so before removing them. Once they have cooled completely, you can decorate them with icing.
- To make the icing: Whisk all the ingredients together in a medium bowl. If the icing seems too thick, add half a tablespoon more water. If it’s too thin, add 2 more tablespoons of confectioners’ sugar.
- Once the icing is made, spoon it into a zip top bag. Make a very tiny snip at the bottom corner of the bag to squeeze the icing out. Decorate your cookies as desired. The icing does take almost a full 24 hours to set so don't stack the cookies on top of one another until they have hardened completely. Enjoy!
Nutrition
This Dinosaur Gingerbread Cookie recipe was adapted from Sally's Baking Addiction's Favorite Gingerbread Cookies.



Ahbra
this recipe was amazing!! I made these cookies into footballs for the Superbowl and they were a huge hit - soft, chewy, icing for laces was perfect, just delish!!
Lee
That's such an amazing idea!!! Thanks so much!
John
Dinosaur Gingerbread Cookies? What will you think of next?!
Lee
Haha thank you!!!