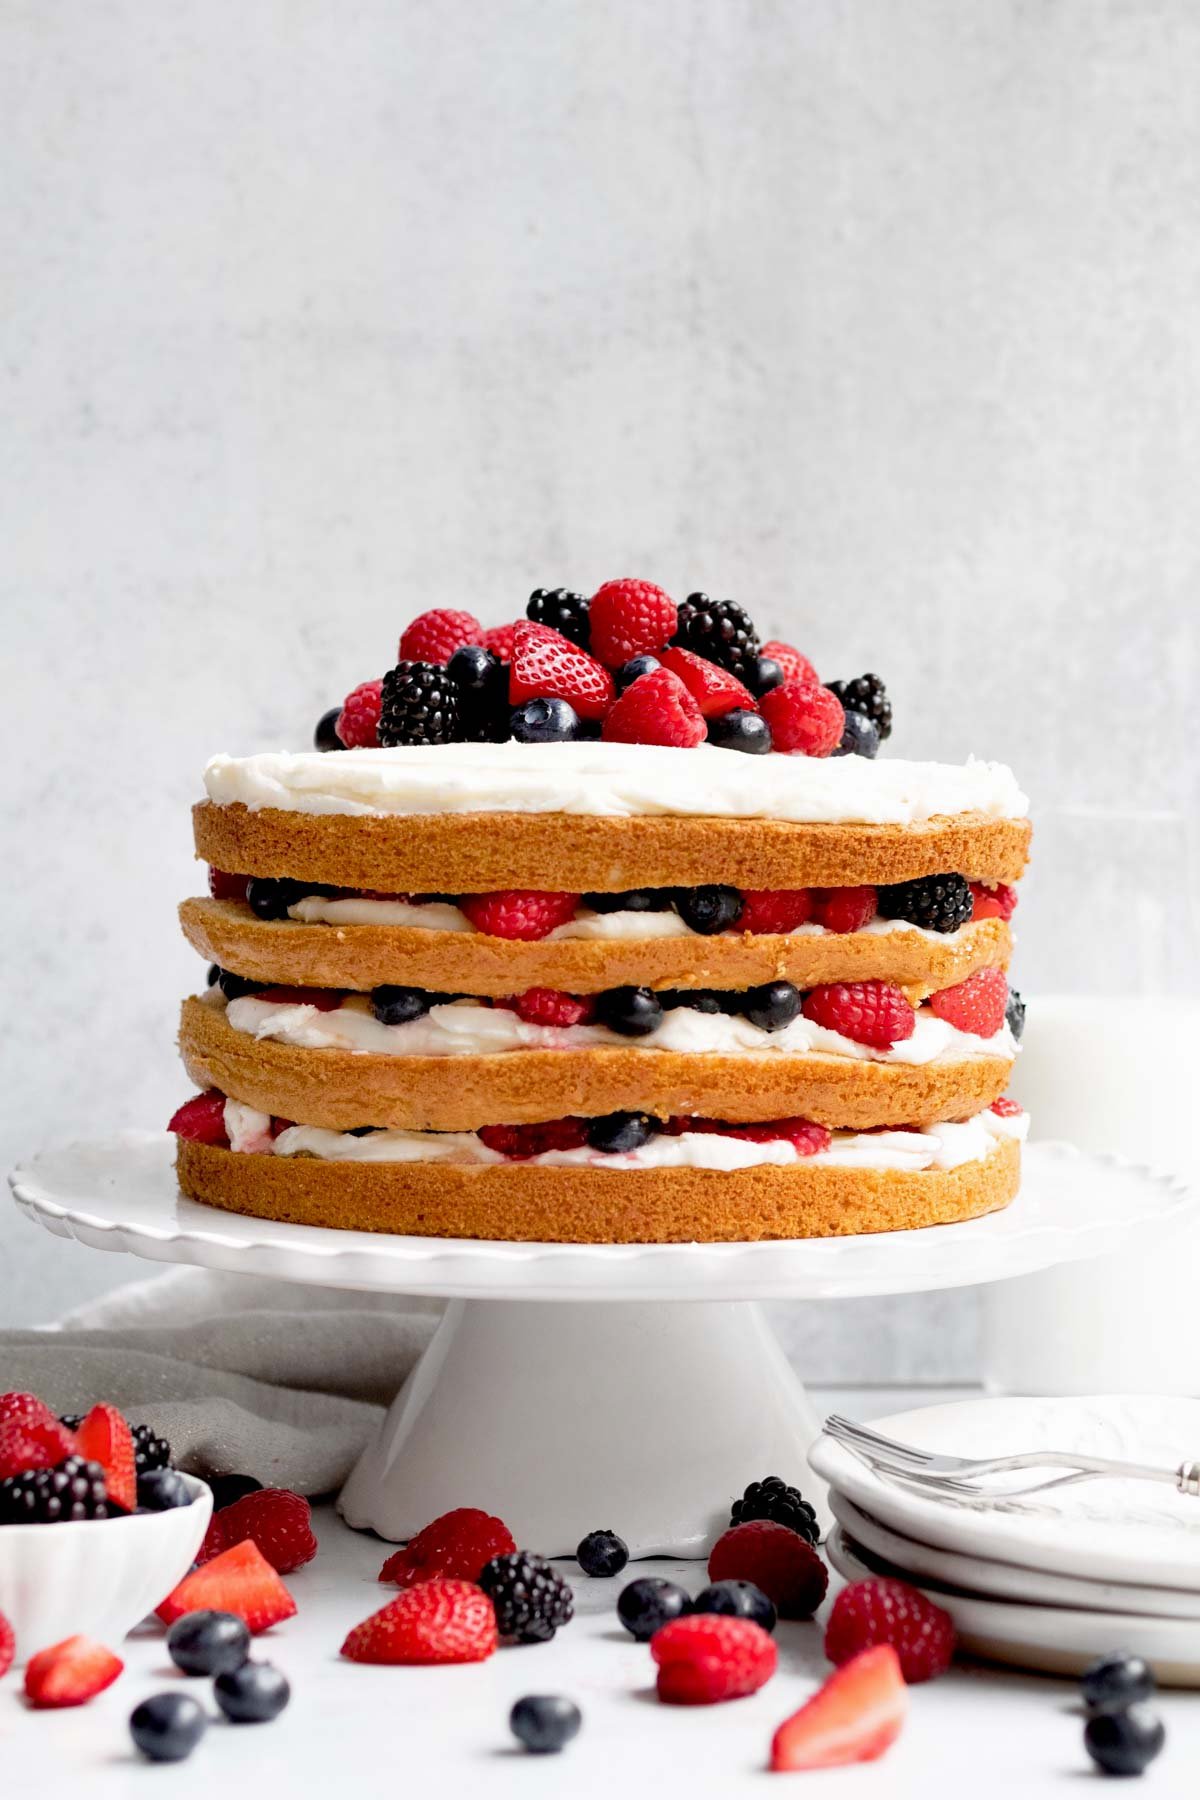
This gorgeous Mixed Berry Cake has layers of soft vanilla cake, an assortment of juicy fresh berries and creamy vanilla frosting! Not only is this showstopper sweet and delicious but it’s so simple to make! If that wasn't enough, it's gluten free, nut free, egg free and easily vegan! The most perfect berry cake for your summertime BBQS!
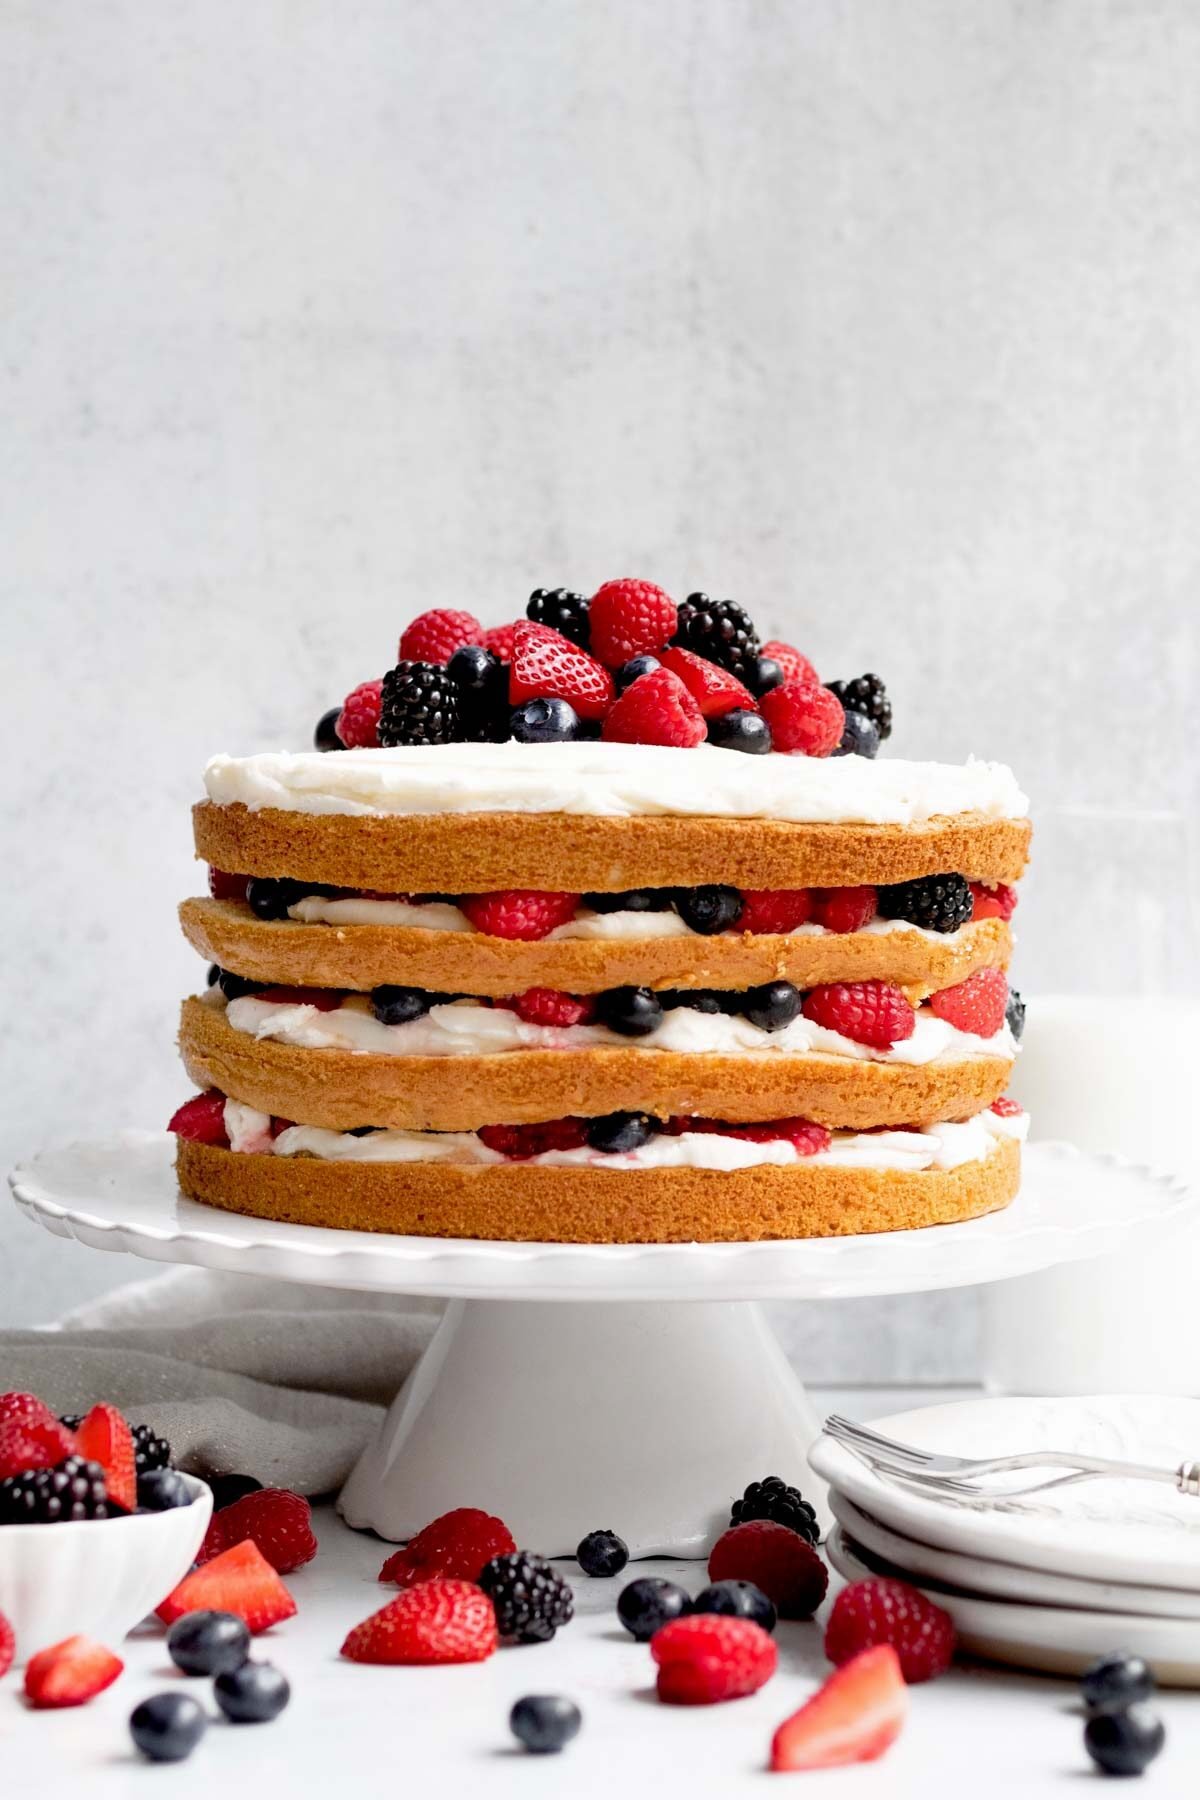
This Mixed Berry Cake contains strawberries, blueberries, raspberries and blackberries! I got all the berries at my local farm because it’s berry season! But don’t worry...you don’t have to wait till berry season to make this beauty. You can use the fresh berries that are sold at your local grocery store! It's so festive for summer just like my 4th of July Sugar Cookies!
For more berry recipes, try my No Bake Strawberry Pie, my Strawberry Red Velvet Cake, Eggless Strawberry Cake and Blueberry Crumb Cake!
Reasons to Love this Cake
- Allergy Friendly- This cake is gluten free, nut free, egg free and can easily be dairy free (vegan)!
- Soft & Fluffy- This berry cake is super soft and delicious.
- Fresh Berries- 6 cups of juicy fresh berries go into this cake!
- Vanilla Frosting- Most cakes like this use whipped cream instead of vanilla buttercream but using frosting allows the cake last longer.
Ingredient Notes
- Gluten Free Flour- If you also have nut allergies, make sure to use a brand that’s made in a nut free facility. I really love to use this gluten free flour because it’s nut safe but it does contain dairy. It also contains xanthan gum which really helps give baked goods their bounce.
- White Vinegar- Used with the baking soda to help the cake rise.
- Milk- If there are no dairy allergies or if you’re not vegan, you can use regular whole milk. For non dairy, use a non dairy milk of your choosing.
- Pure Vanilla Extract- Make sure the vanilla you use is pure and gf or the cake will have a chemical taste.
- Vegetable Oil- This cake with oil recipe adds moisture into this cake; there is no butter or vegan baking stick in the batter.
See my recipe card below for a complete list of the ingredients with measurements.
Substitutions and Variations
How to Make this Recipe Vegan
- Use a gluten free flour that’s free from dairy.
- Make sure the brand of sugar you use is vegan.
- Only use a non dairy milk of choice.
- Make sure to use vegan baking sticks in the frosting instead of butter.
How to Make this Recipe with All Purpose Flour
- Use 2 ¼ packed cups of AP flour (378 grams).
- Only use 1 ½ cups of milk.
- Use ½ cup vegetable oil.
Making the Berry Cake into Cupcakes
- This recipe makes 16 cupcakes.
- Bake the cupcakes for 25 minutes or until the tops are golden and spring back at you when carefully poked.
This recipe may not have been tested with all of these substitutions and/or variations due to celiac disease and food allergies. If you change any of the ingredients, please let us know how the recipe turned out in the comments below!

How to Make Mixed Berry Cake
Here are the step by step instructions to make this berry cake!
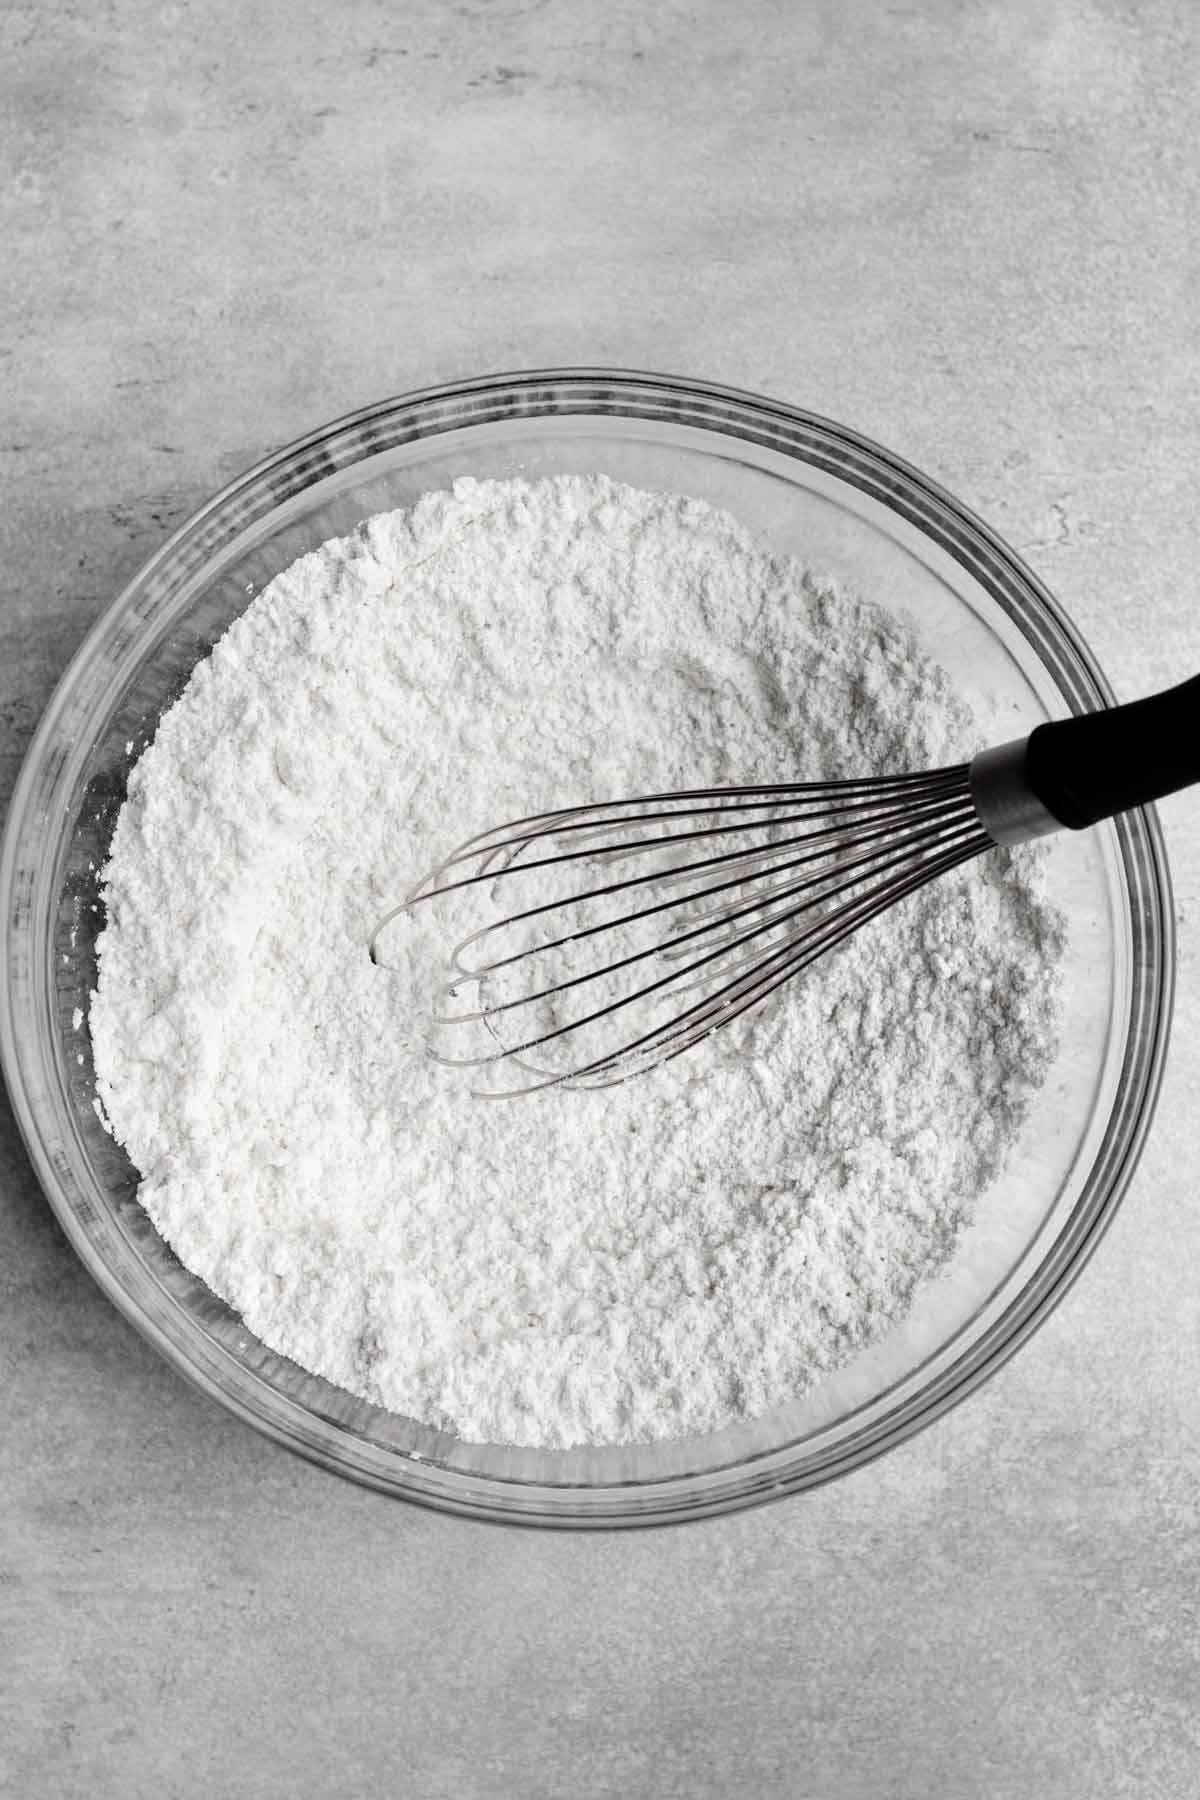
Step 1: Whisk Together the Dry Ingredients
In a large bowl whisk together the gluten free flour, granulated sugar, baking powder, baking soda and salt. Set aside.
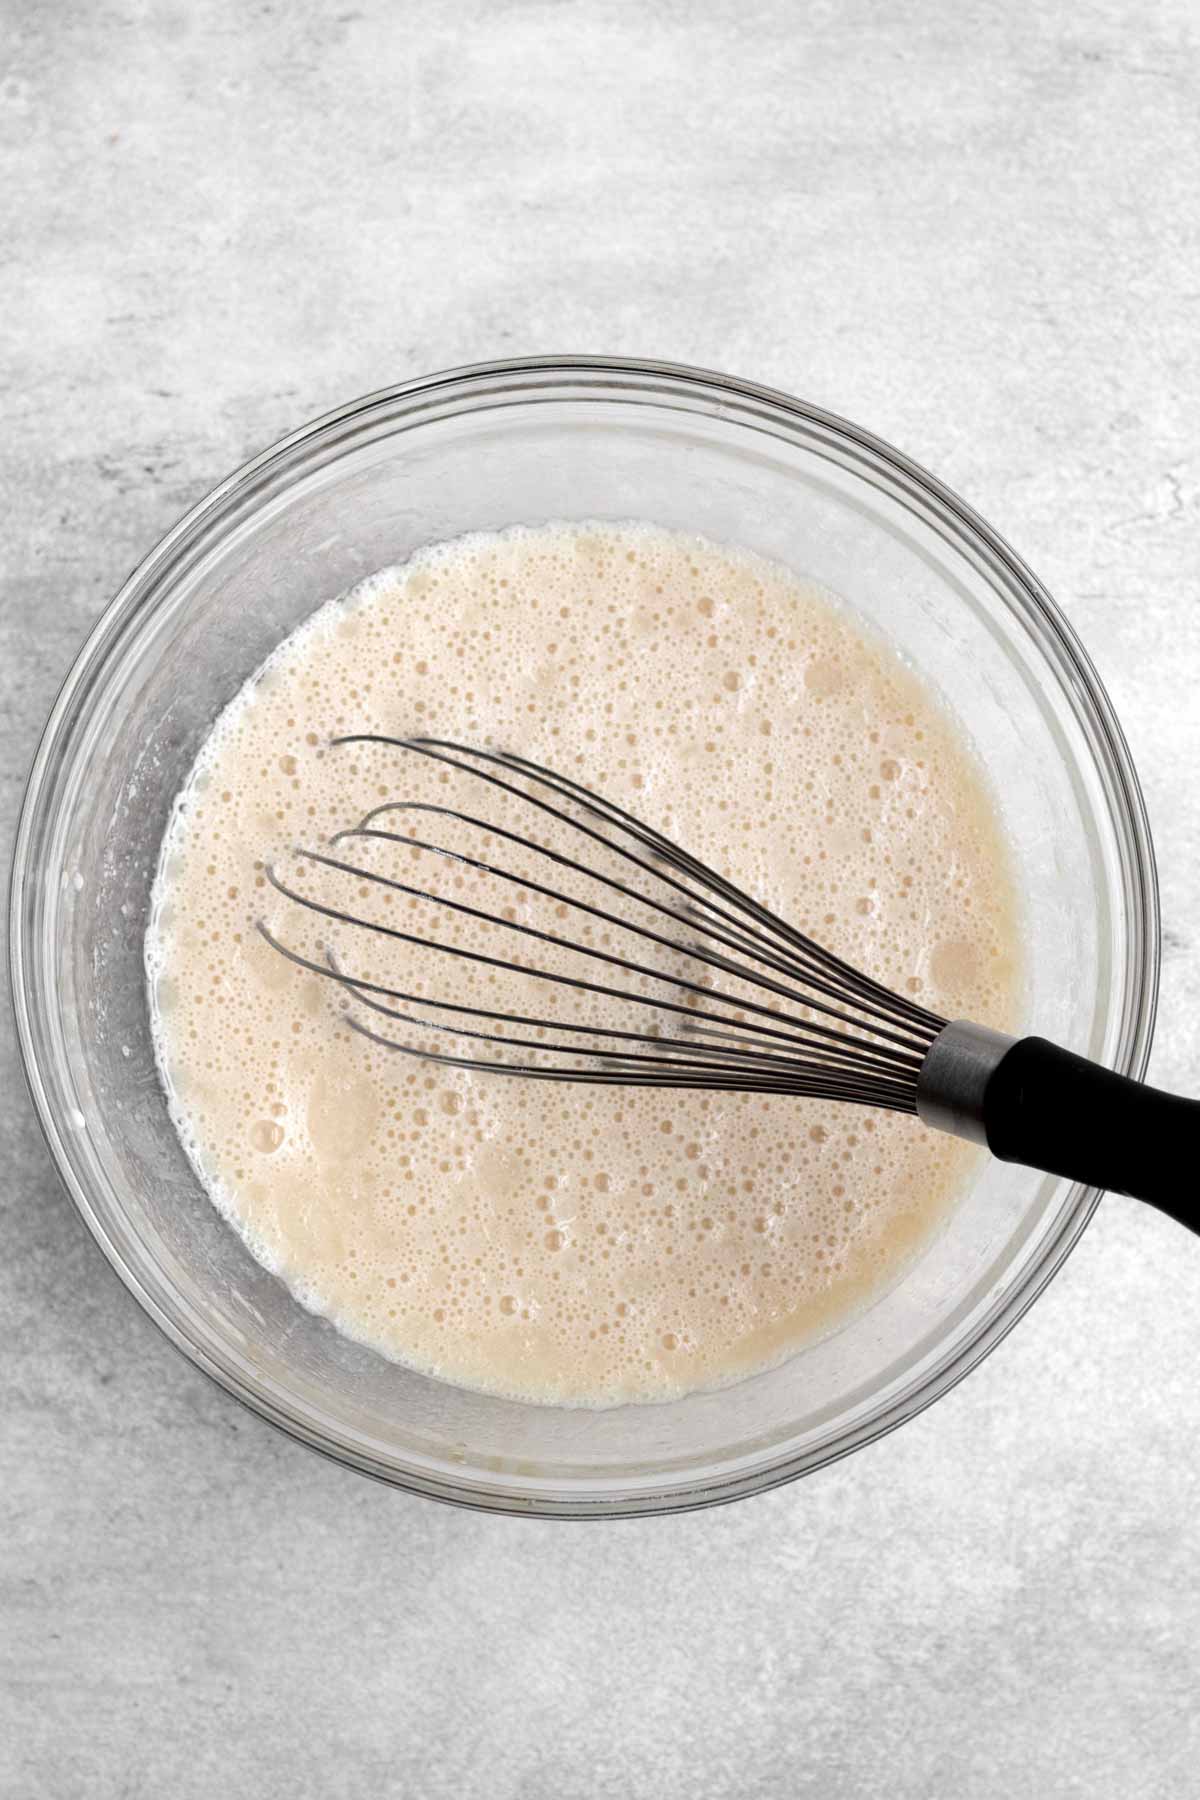
Step 2: Mix Together the Wet Ingredients and Brown Sugar
In a medium bowl, whisk together the milk, light brown sugar, vegetable oil, white vinegar and the vanilla.
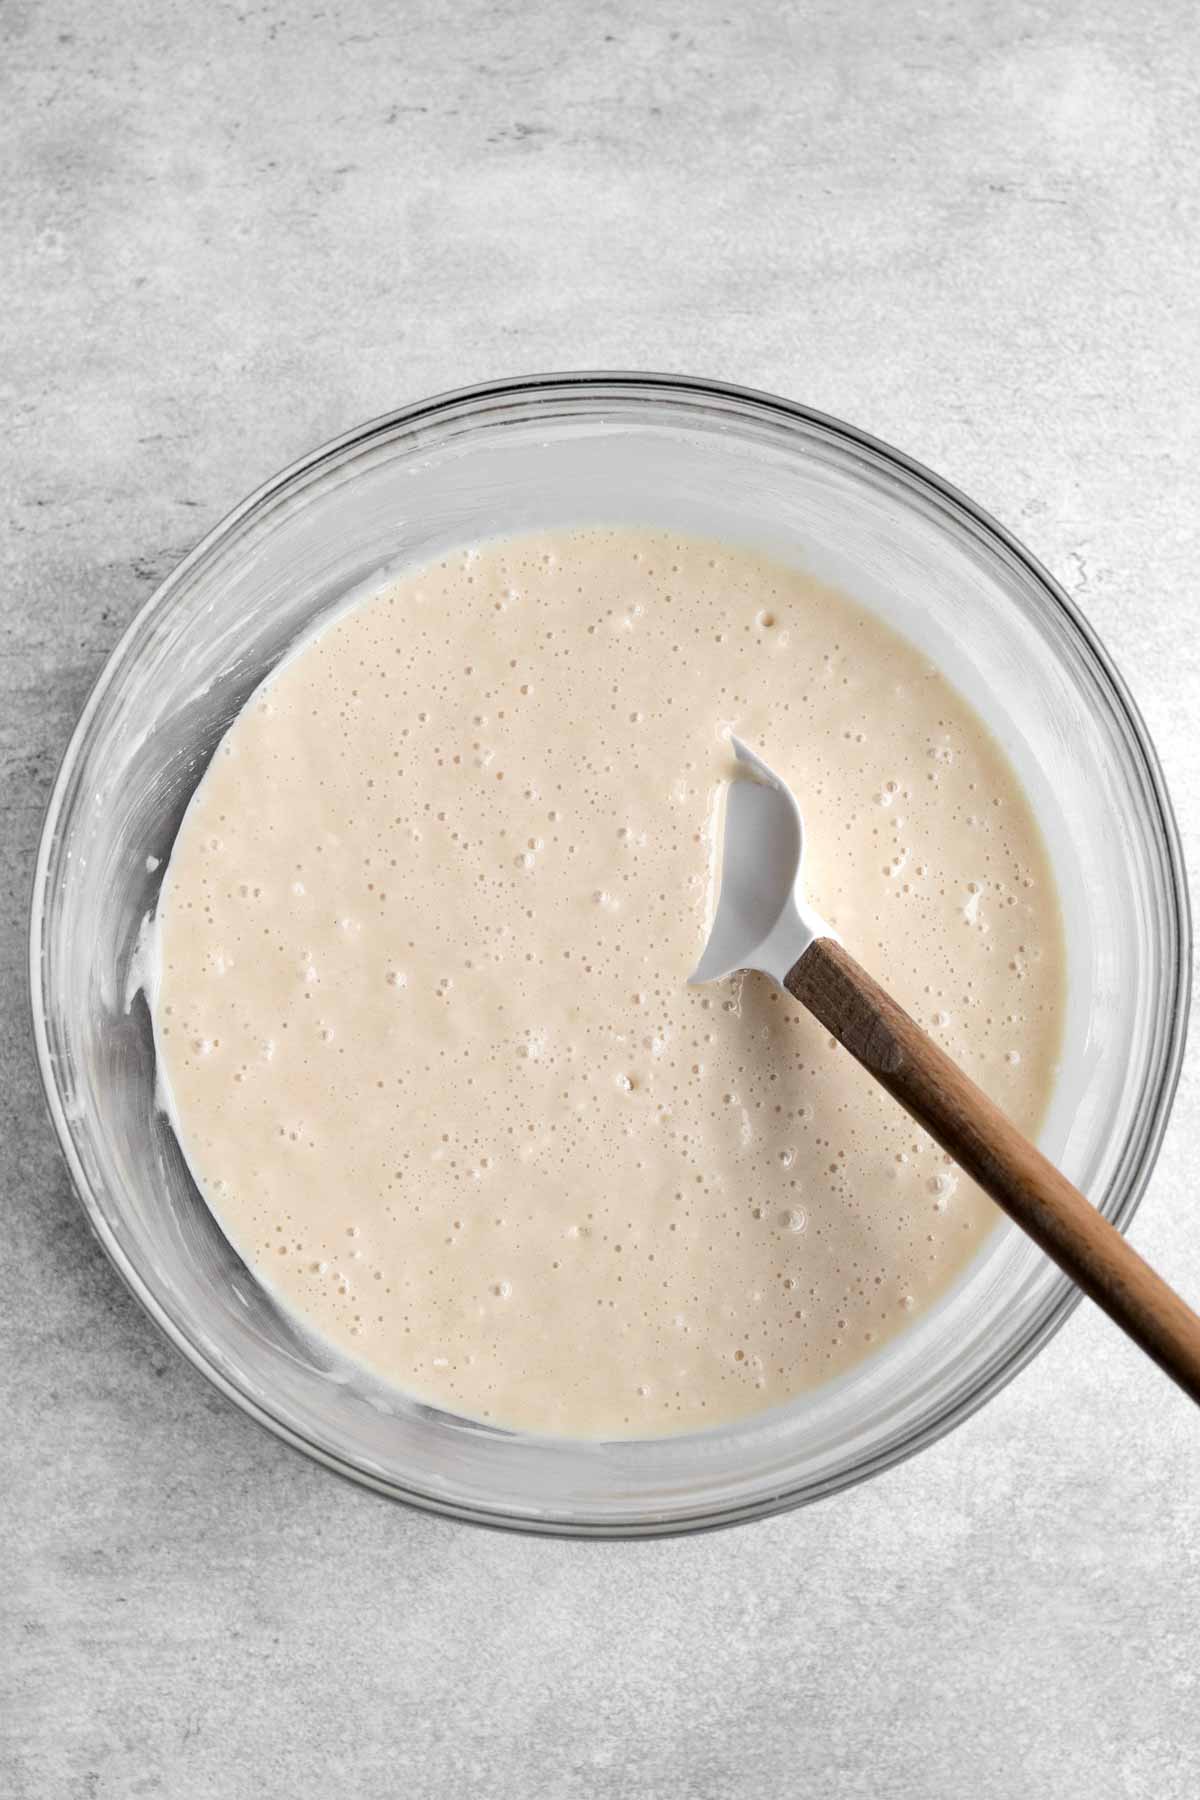
Step 3: Add the Wet Ingredients into the Dry
Slowly add the milk mixture into the dry ingredients and whisk to combine.
It if gets too thick, switch to a spatula but it should be fairly liquidy.
Step 4: Scoop the Batter and Bake
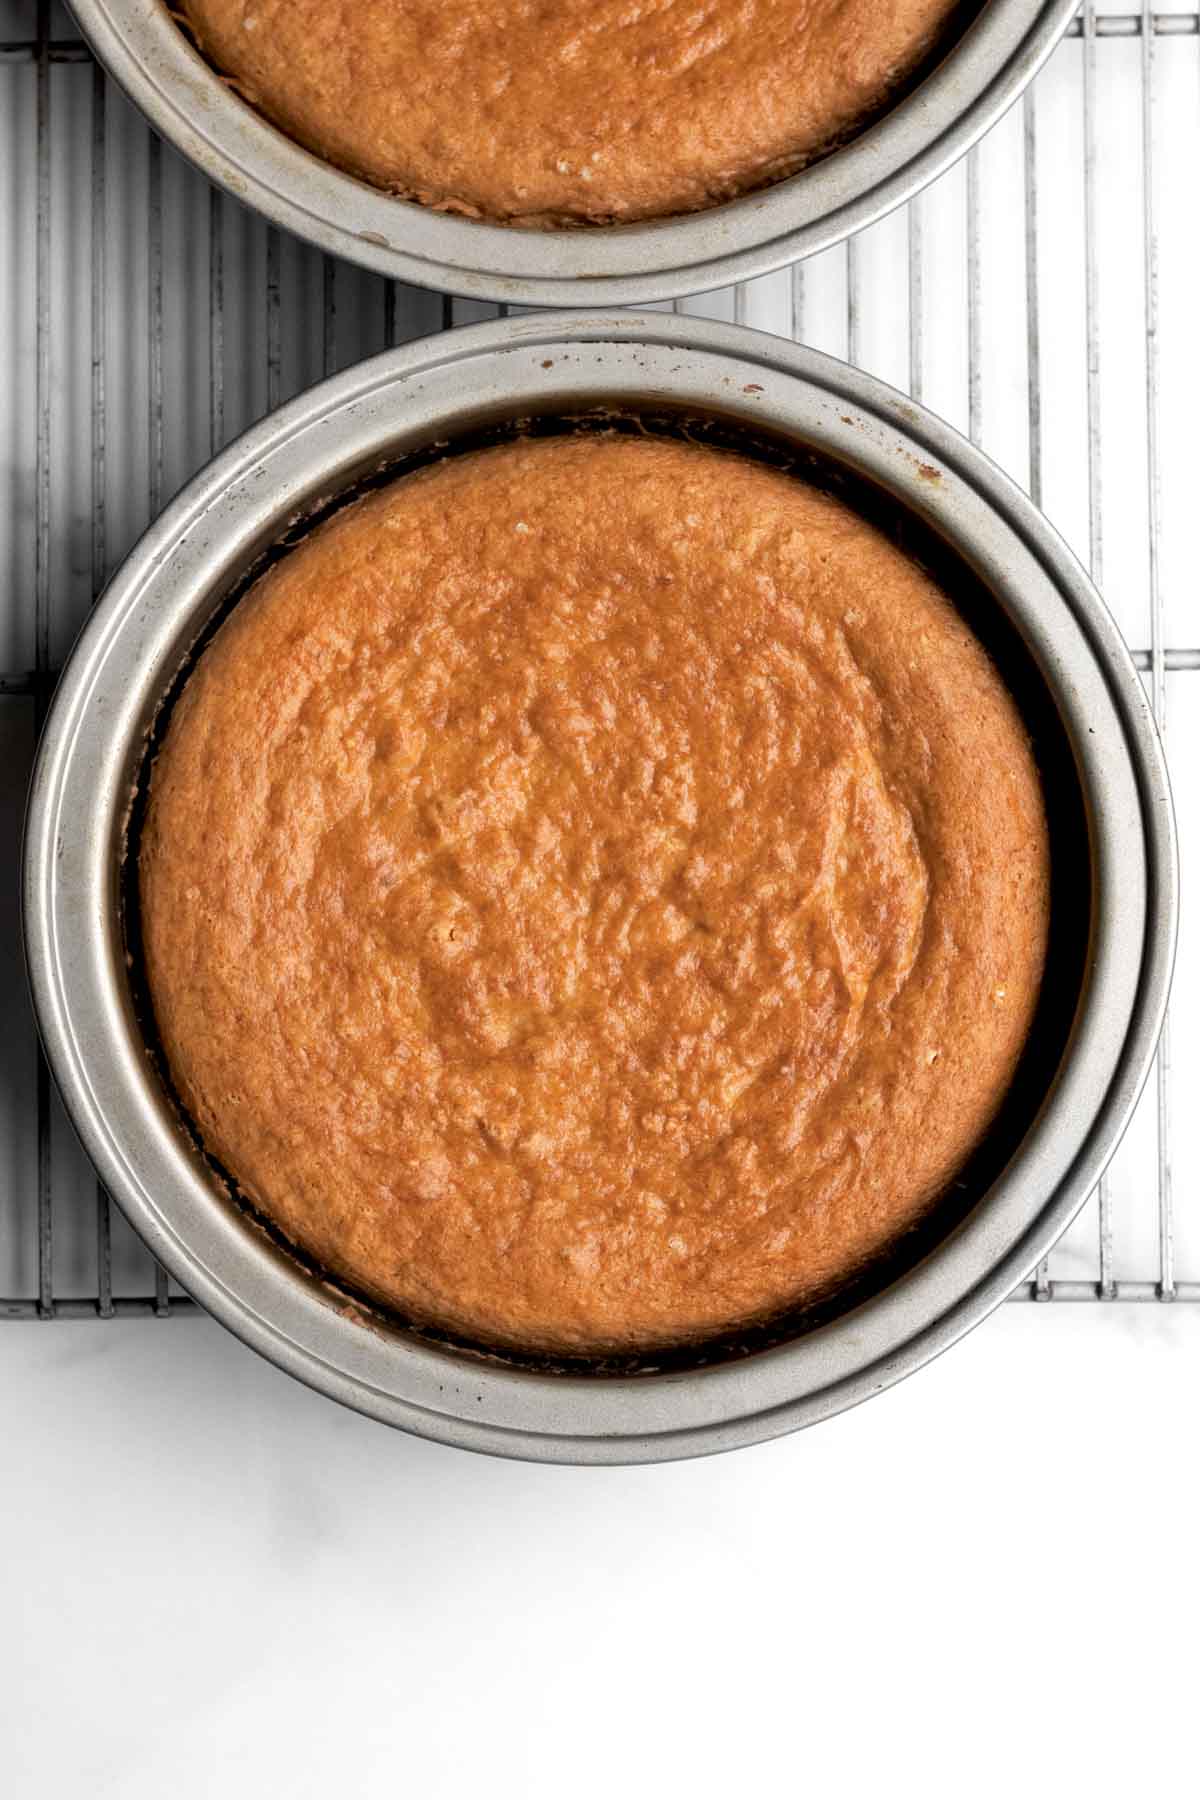
Divide the batter equally between two greased and parchment lined 8 inch cake pans; smooth the tops with a butter knife.
Bake the cakes in the center rack at 350 degrees Fahrenheit for 35 minutes until golden on top and slightly springy when carefully touched.
Step 5: Cut the Cakes
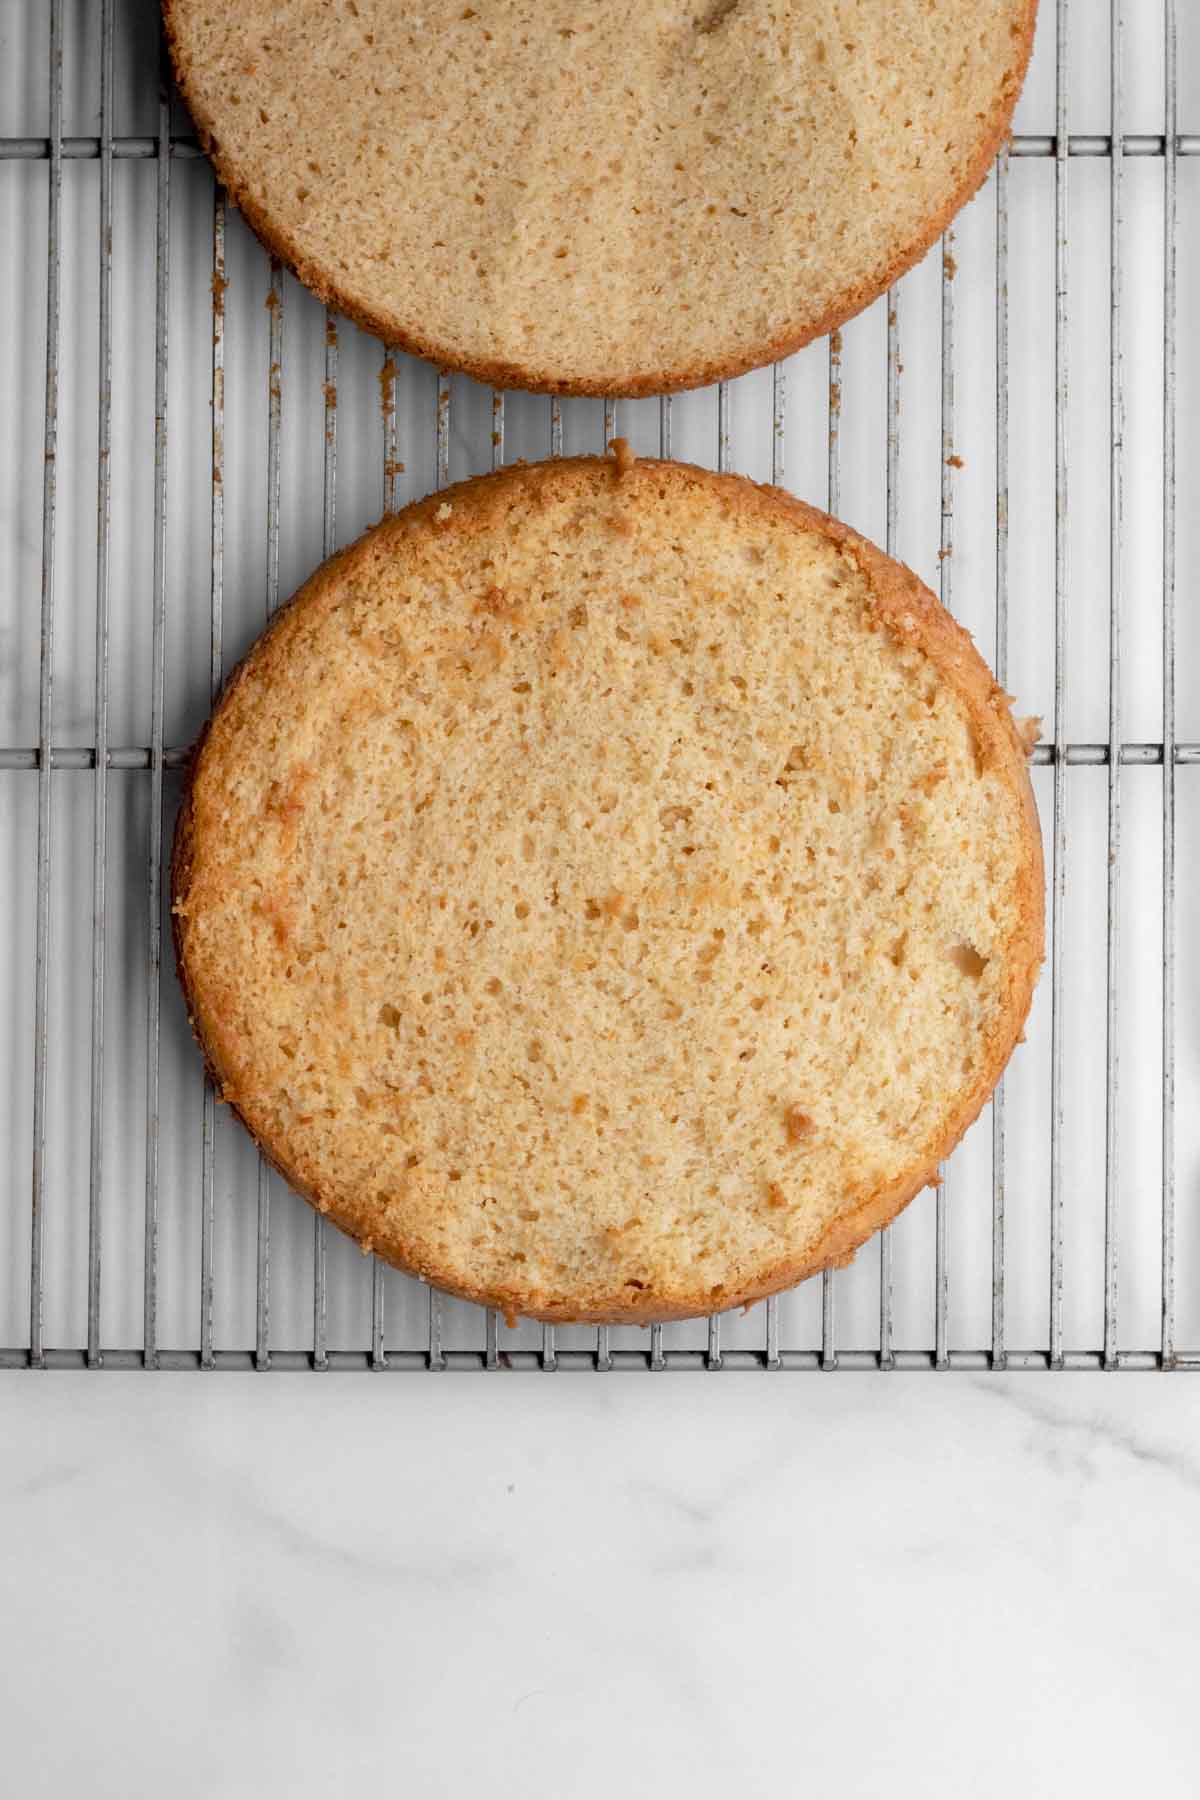
Once the cakes have cooled completely, slice them in half horizontally to create 4 thinner layers of cake.
If the tops of your cakes have domes, you can very carefully slice them off to make the tops flat.
Step 6: Mix The Frosting Ingredients
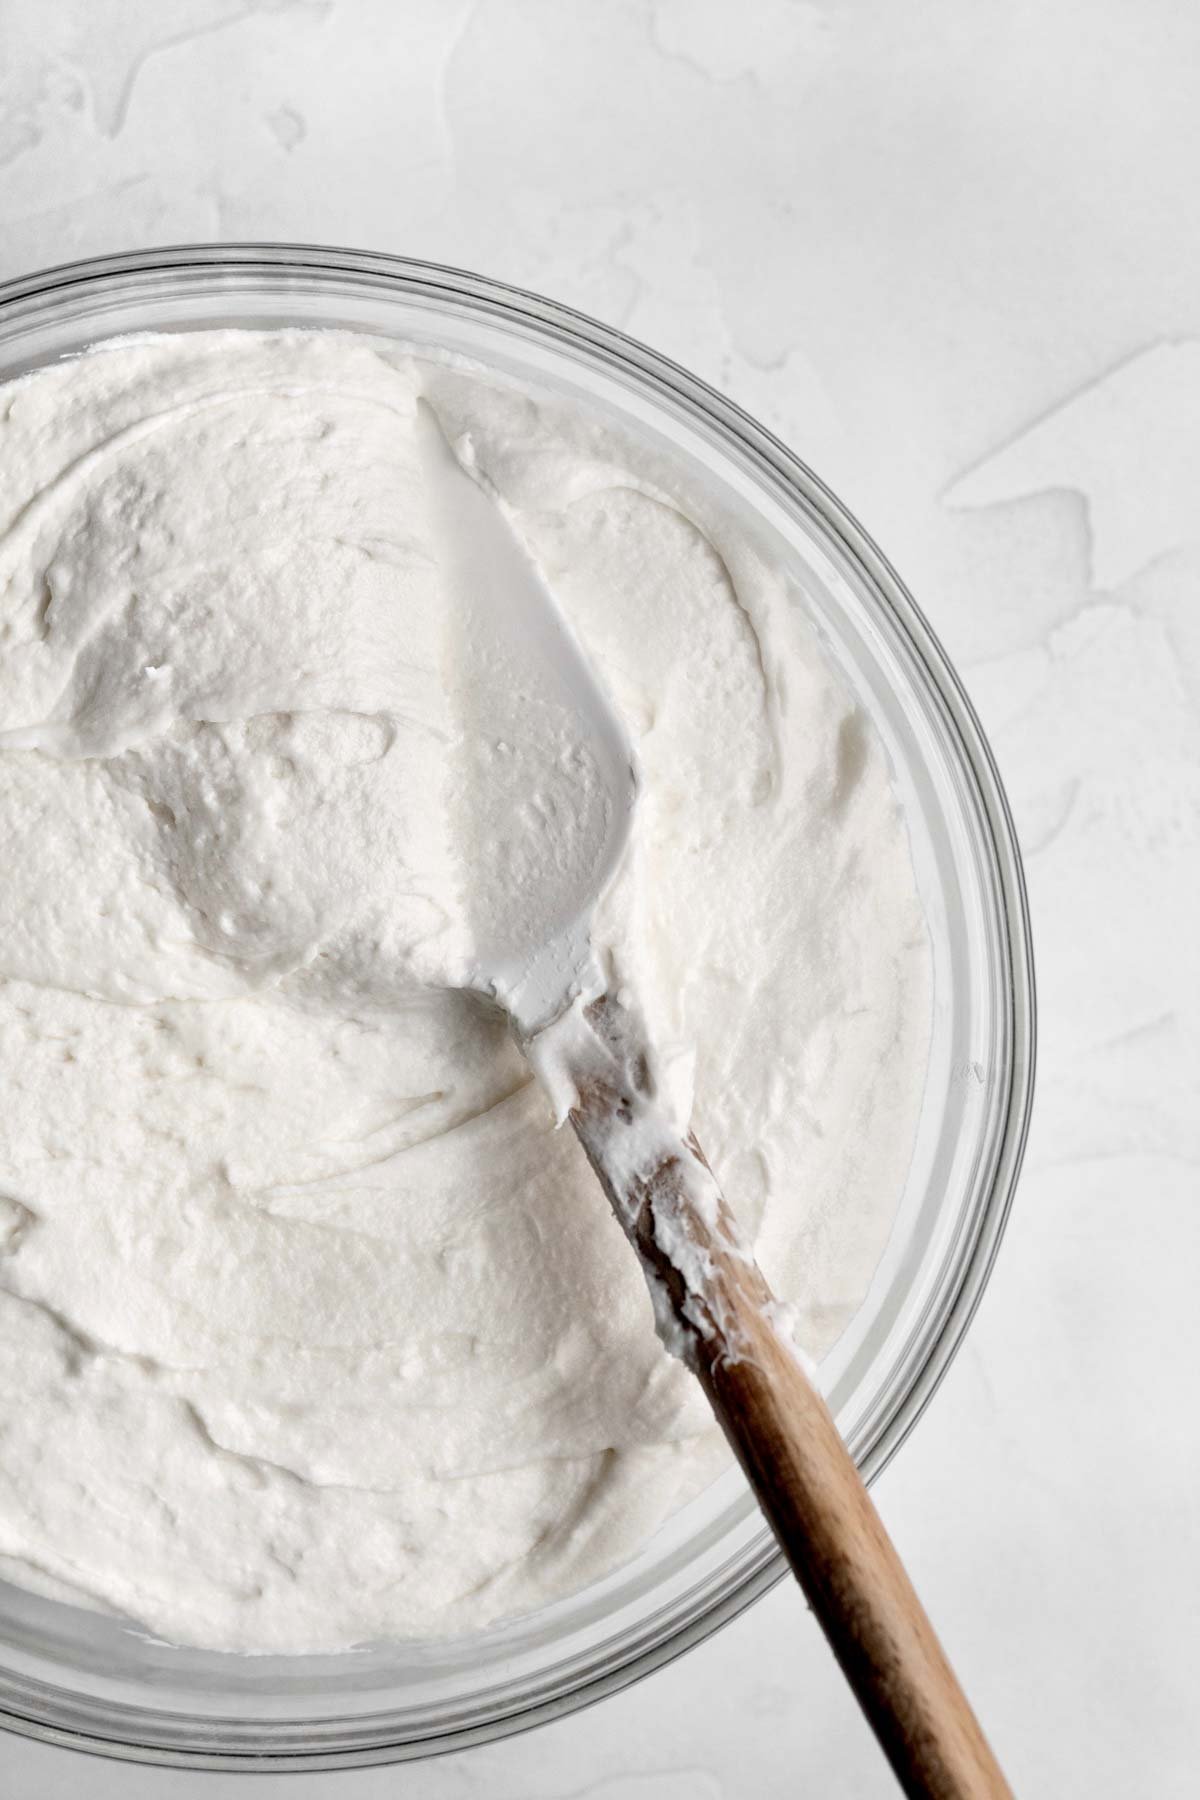
Beat the unsalted butter until it is smooth and creamy. About 2-3 minutes.
Beat in the confectioners' sugar, vanilla and kosher salt.
Slowly add in the water a little at a time until you get the desired consistency. You may not need to use all the water.
Divide the frosting into 4 equal servings.
Step 7: Assemble the Cake
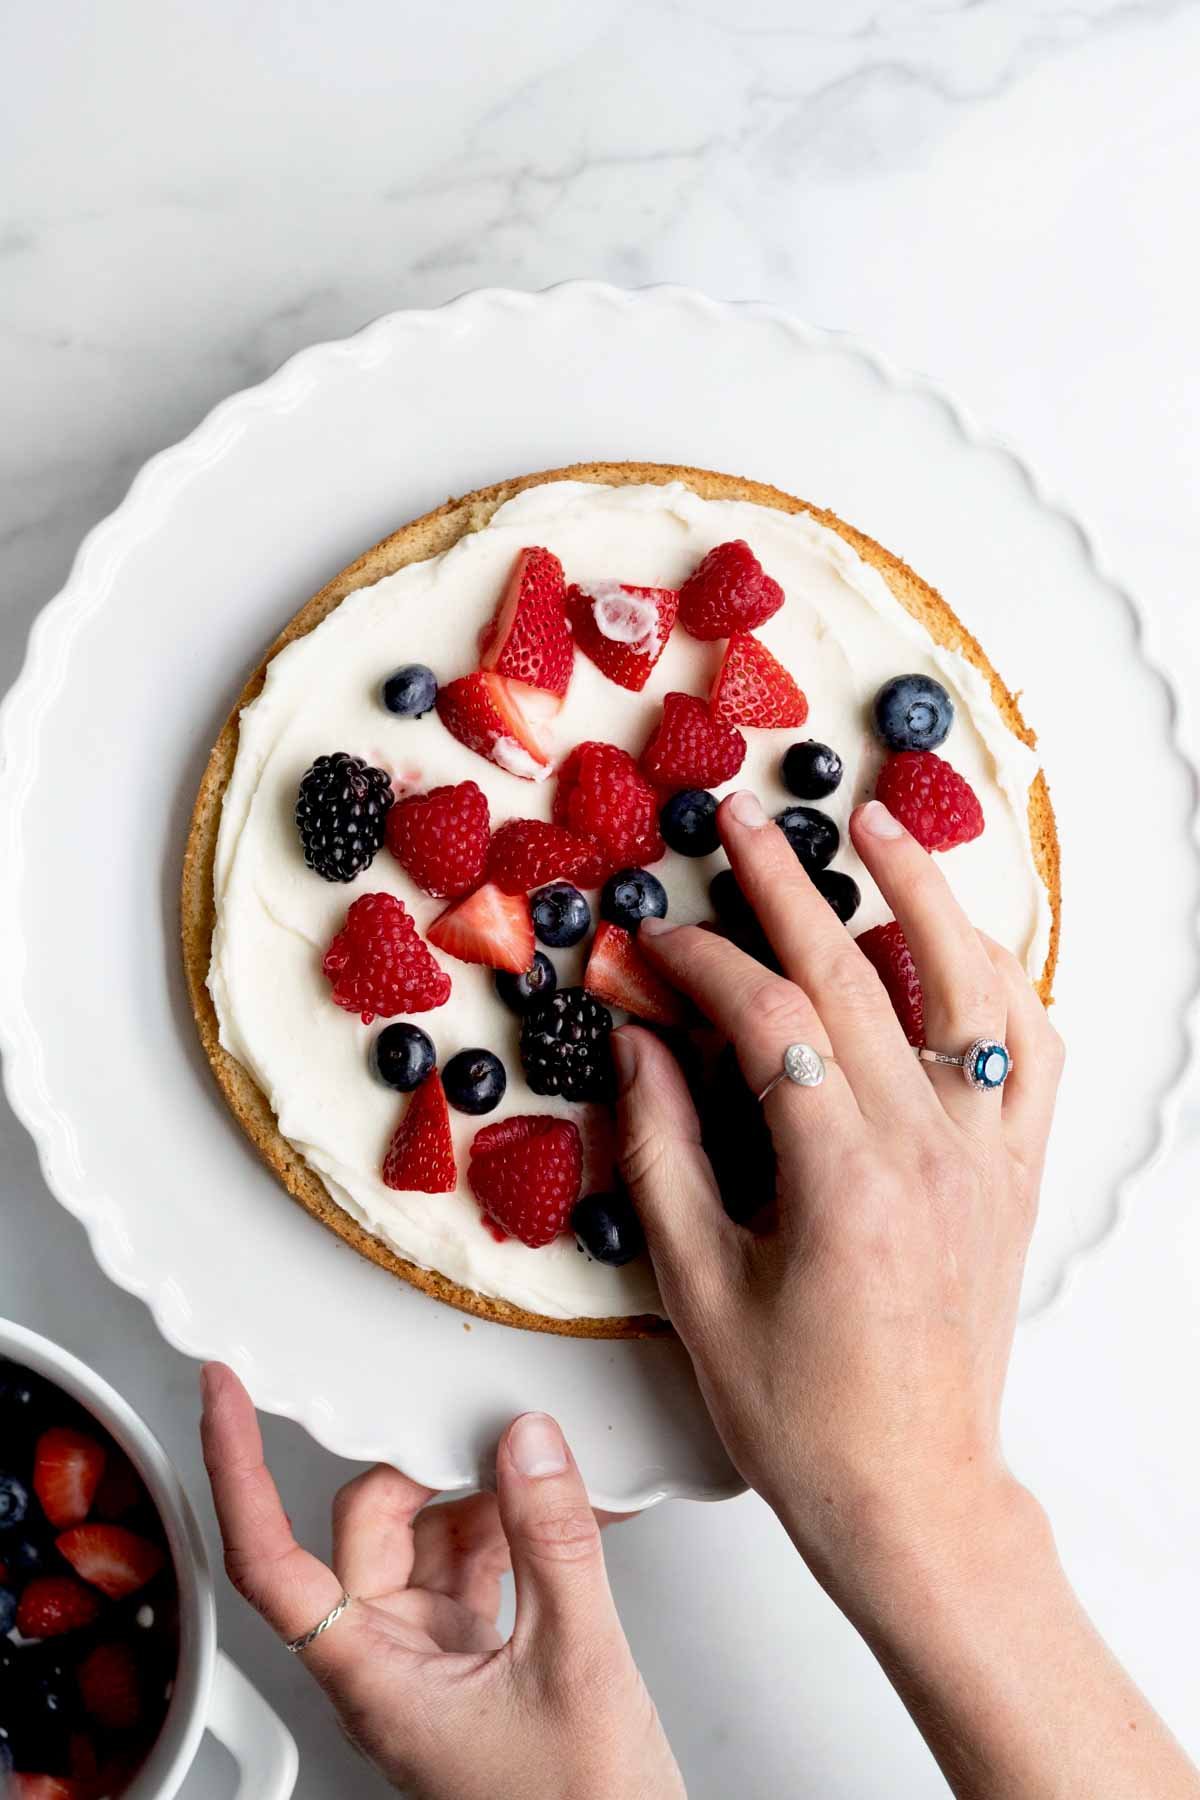
Frost one of the layers with ¼ of frosting. Take 1 cup of all the mixed berries and scatter them all over the top of the buttercream. Gently press them down so they stick.
Place another layer of cake on top; repeat this same process. Do this with 3 layers of cake.
Step 8: Decorate the Top
Place the last layer bottom (or flat) side up so the top of the cake is nice and flat.
Frost the top with the last of the frosting.
Place 1 cup of berries in the center of the cake.
Expert Baking Tips
- Wash and Dry The Berries- Make sure you pick through your berries, wash and dry them. You want them to be as dry as possible because the raspberries will ooze liquid. Only Use Fresh Berries. Do not use frozen berries for this recipe because frozen berries contain more liquid and the cake will be even more wet as the fruit thaws.
- Only Cut The Strawberries- Leave the other berries whole. Depending on the size of the strawberries you have, cut them into quarters if they’re small, or eighths. You basically want the strawberry slices close in size to the other berries.
- Mix the Berries Ahead of Time- Combine the 4 cups of mixed berries with the 2 cups of chopped strawberries before assembly.
- Use Packed Cups of Flour- Normally in baking we do not use packed cups however, when working with gluten free, I've found using packed cups works best to help the baked goods keep their shape. Or read the gram measurement.
- Smoothing the Batter- Many gluten free flour batters have a way of staying exactly as they are placed, when baked. When the batter is in the cake tins, gently smooth the tops with a butter knife.
- Place the Berry Layer on Top of the Frosting Layer- This way the berries stick and won’t fall out. The 3 buttercream layers use about 1 cup of the mixed berries per layer. As for the top of the cake, you can do another cup of berries or as much as you would like. You will have some leftover berries if you only decide to put a cup of berries onto the top of the cake.
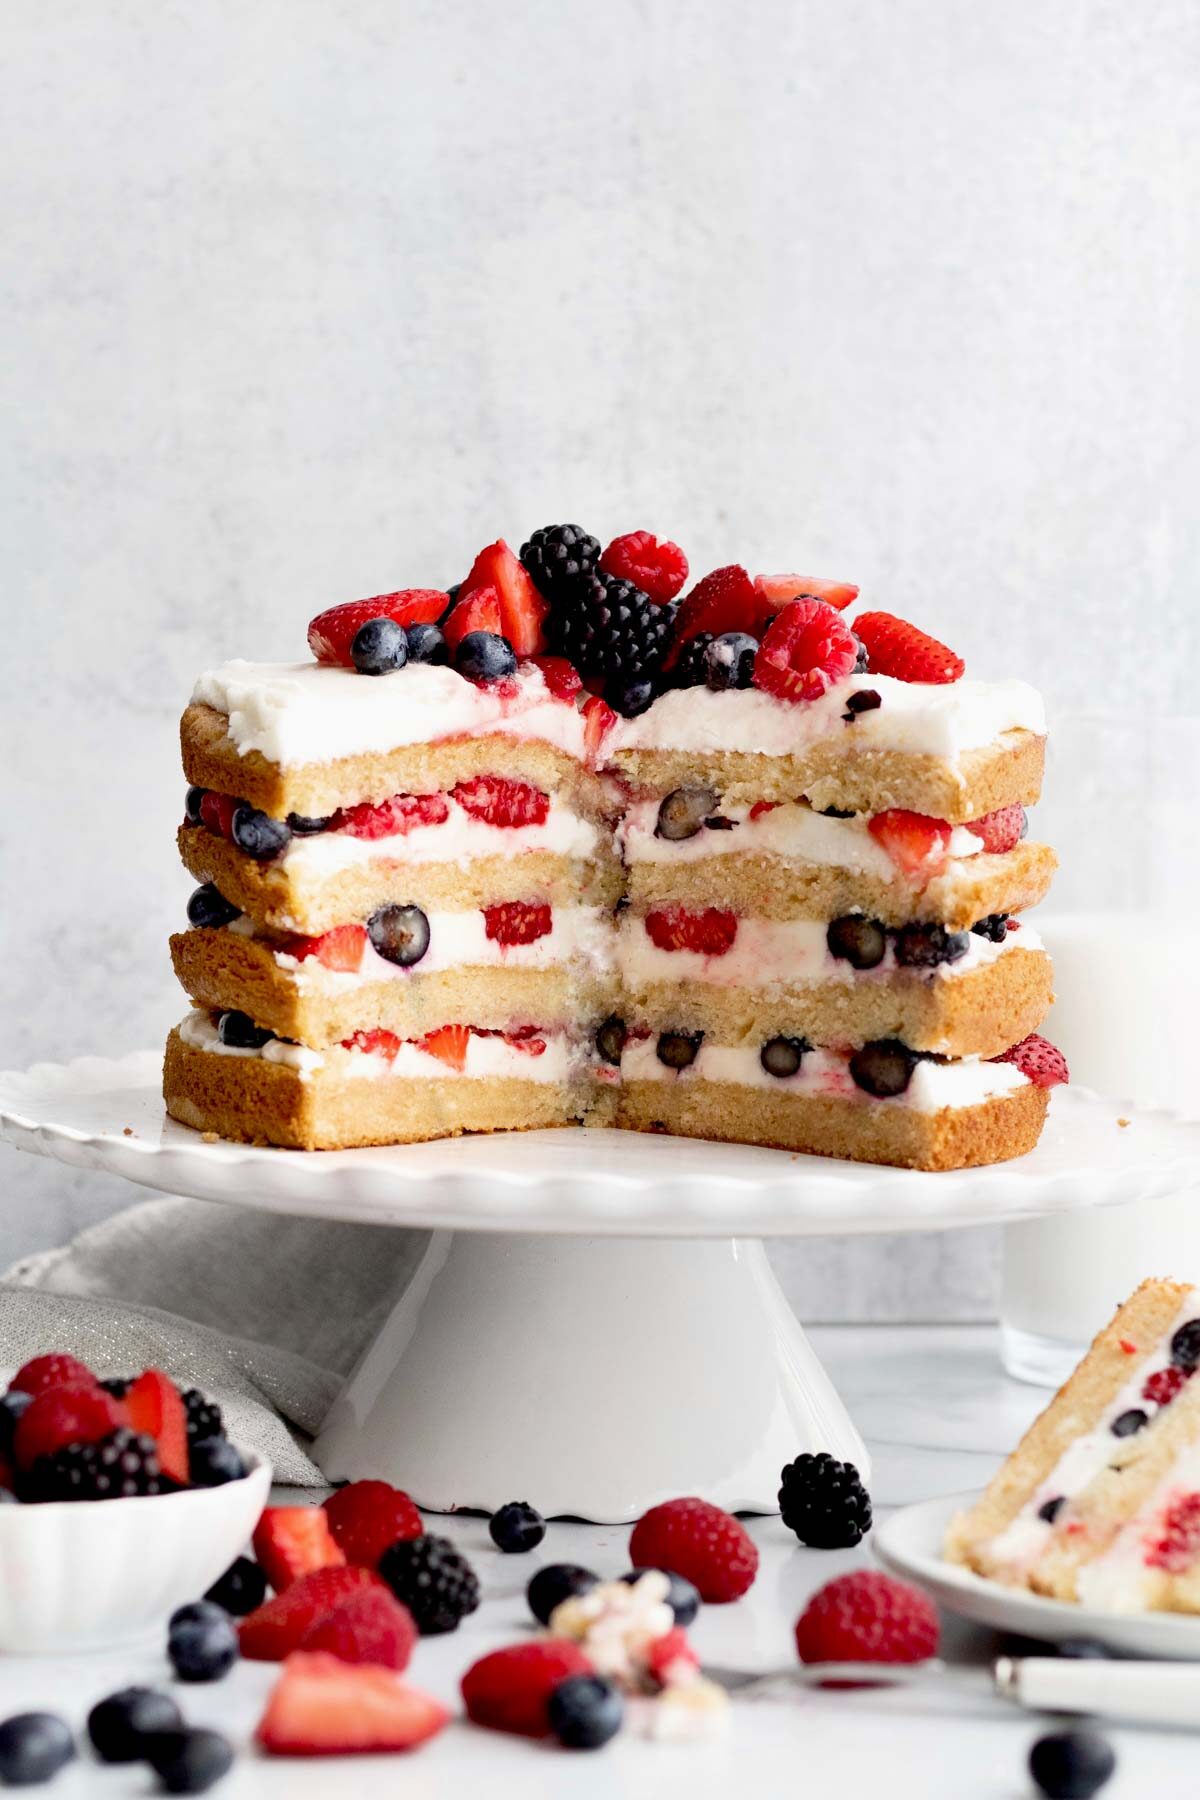
- Keep the Cake Cool- After you assemble the cake, store it in the fridge. If you serve it right away, the berries bleed when you slice into the cake. That will turn your white buttercream, red. Once the cake has completely chilled in the fridge, the berries don’t run as much when it’s sliced.
Recipe FAQs
I suggest making this cake the morning that you need it. The longer the cake sits, the more berry juices drip into the cake layers making them very wet.
If you want to make anything ahead of time, you can make the cake layers the night before, then wrap them in plastic and store them in the fridge.
Yes! You can make the frosting the night before. Store it in a bowl covered with plastic wrap in the fridge.
When ready to use, bring the frosting to room temperature and rewhip if you want to regain that creaminess.
No! You can use all of one berry!
Absolutely! Just remember for vegan, use a vegan heavy cream to make the whipped cream. But keep in mind the cake will not store well with whipped cream.
Before Slicing: After you assemble the mixed berry cake, store it in the fridge until ready to eat. When the cake is room temperature, the berries bleed when you slice into it.
After Slicing: Once the cake is cut into, cut the entire cake into slices, wrap each slice in foil and store in a zip top bag in the fridge. Eat extra slices within 1 day. The will start to get wet by the next day due to the moisture from the fruit.
When ready to eat, let the slices sit on the counter to soften.
I do not recommend freezing this cake as the fruit gets very wet when defrosting.
Other Cake Recipes You'll Love
Did you try this recipe? Please leave me a ⭐ review below!
Don’t forget to tag me on Instagram @laneandgreyfare and follow along on Pinterest, Facebook and YouTube! Enjoy!!!
📖 Recipe
Mixed Berry Cake
Ingredients
For the Mixed Berries:
- 4 cups fresh mixed berries , blueberries, raspberries and blackberries
- 2 cups fresh strawberries , cut to the size of the other fruit
For the Cake:
- 2 ¼ cups multipurpose gluten free flour (I use a gluten free multipurpose flour with xanthan gum already in it)
- 1 cup granulated sugar
- 1 ½ teaspoons baking powder
- ½ teaspoon baking soda
- ½ teaspoon kosher salt
- 1 ¾ cups milk
- ½ cup light brown sugar , packed
- ½ cup plus 2 tablespoons, vegetable oil
- 1 teaspoon white vinegar
- 2 teaspoons pure vanilla extract
For the buttercream:
- ¾ cup unsalted butter or vegan baking sticks, room temperature
- 6 ¾ cups confectioners’ sugar
- 3 teaspoons pure vanilla extract
- 1 pinch kosher salt
- ¼ cup water plus 2 tablespoons , room temperature
Instructions
- Preheat the oven to 350 degrees Fahrenheit. Grease two 8 inch round cake pans with vegetable oil, line bottoms with parchment paper and then grease the parchment paper with vegetable oil as well.
- Make sure you pick through your 4 cups of mixed berries, wash and dry them. You want them to be as dry as possible because the raspberries will ooze liquid.
- Wash the strawberries and dry them. Depending on the size of the 2 cups of strawberries you have, cut them into quarters if they’re small, or eighths. You basically want the strawberry slices close in size to the other berries.
- In a large bowl, whisk together the 2 ¼ cups of multipurpose gluten free flour, 1 cup granulated sugar, 1 ½ teaspoons baking powder, ½ teaspoon baking soda and ½ teaspoon kosher salt. Set aside.
- In a medium bowl, whisk together the 1 ¾ cups of milk , the ½ cup light brown sugar, the ½ cup plus 2 tablespoons vegetable oil, the 1 teaspoon white vinegar and the 2 teaspoons pure vanilla extract.
- Slowly add the milk mixture into the flour mixture and use a spatula to combine as it gets thicker. It will still be fairly liquidy.
- With a spatula, scoop half the batter into one pan and the other half into the other pan. Smooth the tops with a butter knife.
- Bake the cakes in the center rack at 350 degrees Fahrenheit for 35 minutes until golden on top and slightly springy when carefully touched.Let them cool in the pan and then transfer to a cooling rack.
- Once the cakes have cooled completely, we are going to cut them in half horizontally. Now we will have 4 thin layers of cake.If the tops of your cakes have domes, you can very carefully slice them off to make the tops flat.
Make The Frosting
- In a large bowl of an electric mixer or using a hand held mixer, beat the ¾ cup of unsalted butter until it is smooth and creamy. About 2-3 minutes.
- Beat in the 6 ¾ cups confectioners' sugar, 3 teaspoons of vanilla and 1 pinch of kosher salt.
- Slowly add in the water a little at a time until you get the desired consistency. You may not need to use all the water.Divide the frosting into 4 equal servings.
Assemble The Cake
- Place one layer of cake on a cake plate/stand. Scoop ¼ (about 1 cup) of frosting on top of the layer and use an icing spatula to spread it around.
- Take 1 cup of all the mixed berries and scatter them all over the top of the buttercream.Place another layer of cake on top; repeat this same process. Do this with 3 layers of cake.
- Once you get to the top layer of cake, place it bottom (or flat) side up so the top of the cake is nice and flat.
- Use an icing spatula to frost the top with the last 1 cup of frosting. Add another cup of mixed berries all over the top or you can put a mound of berries in the center of the cake as I did.
- Refrigerate the cake immediately so the berries don’t ooze as much liquid.
- Keep the cake in the fridge until about 5-10 min prior to serving. If you serve it right away, the berries bleed when you slice into the cake.

Hilci
Super delicious!!! Made mine dairy free also and instead of buttercream frosting I used Italian meringue frosting. I made a three layer 6” inch cake, wish I could post a picture.
Lee
Sounds wonderful!!! Thanks!
Terry
So easy. A perfect summer desert
Lee
Thanks!
Elaine Adamo
Love this recipe! I am not nearly the baker you are but I wanted to try this recipe. I used the 2 cake pans and put icing and berries in middle. Not nearly as pretty as yours but was delicious
Lee
I'm sure it was beautiful! Thank you!
Alene
I just got Cup4Cup Ancient Grains flour, 2 bags of it on Ebay, and I can't wait to use it. I think I will use this recipe with that flour and try cupcakes. Wish me luck!
Nancy DIPaola
This cake look so amazing! I can't wait to make it for the Fourth of July.
Lee
Hope you love it!
john
What a perfect cake to incorporate the berries i collect whilst foraging!