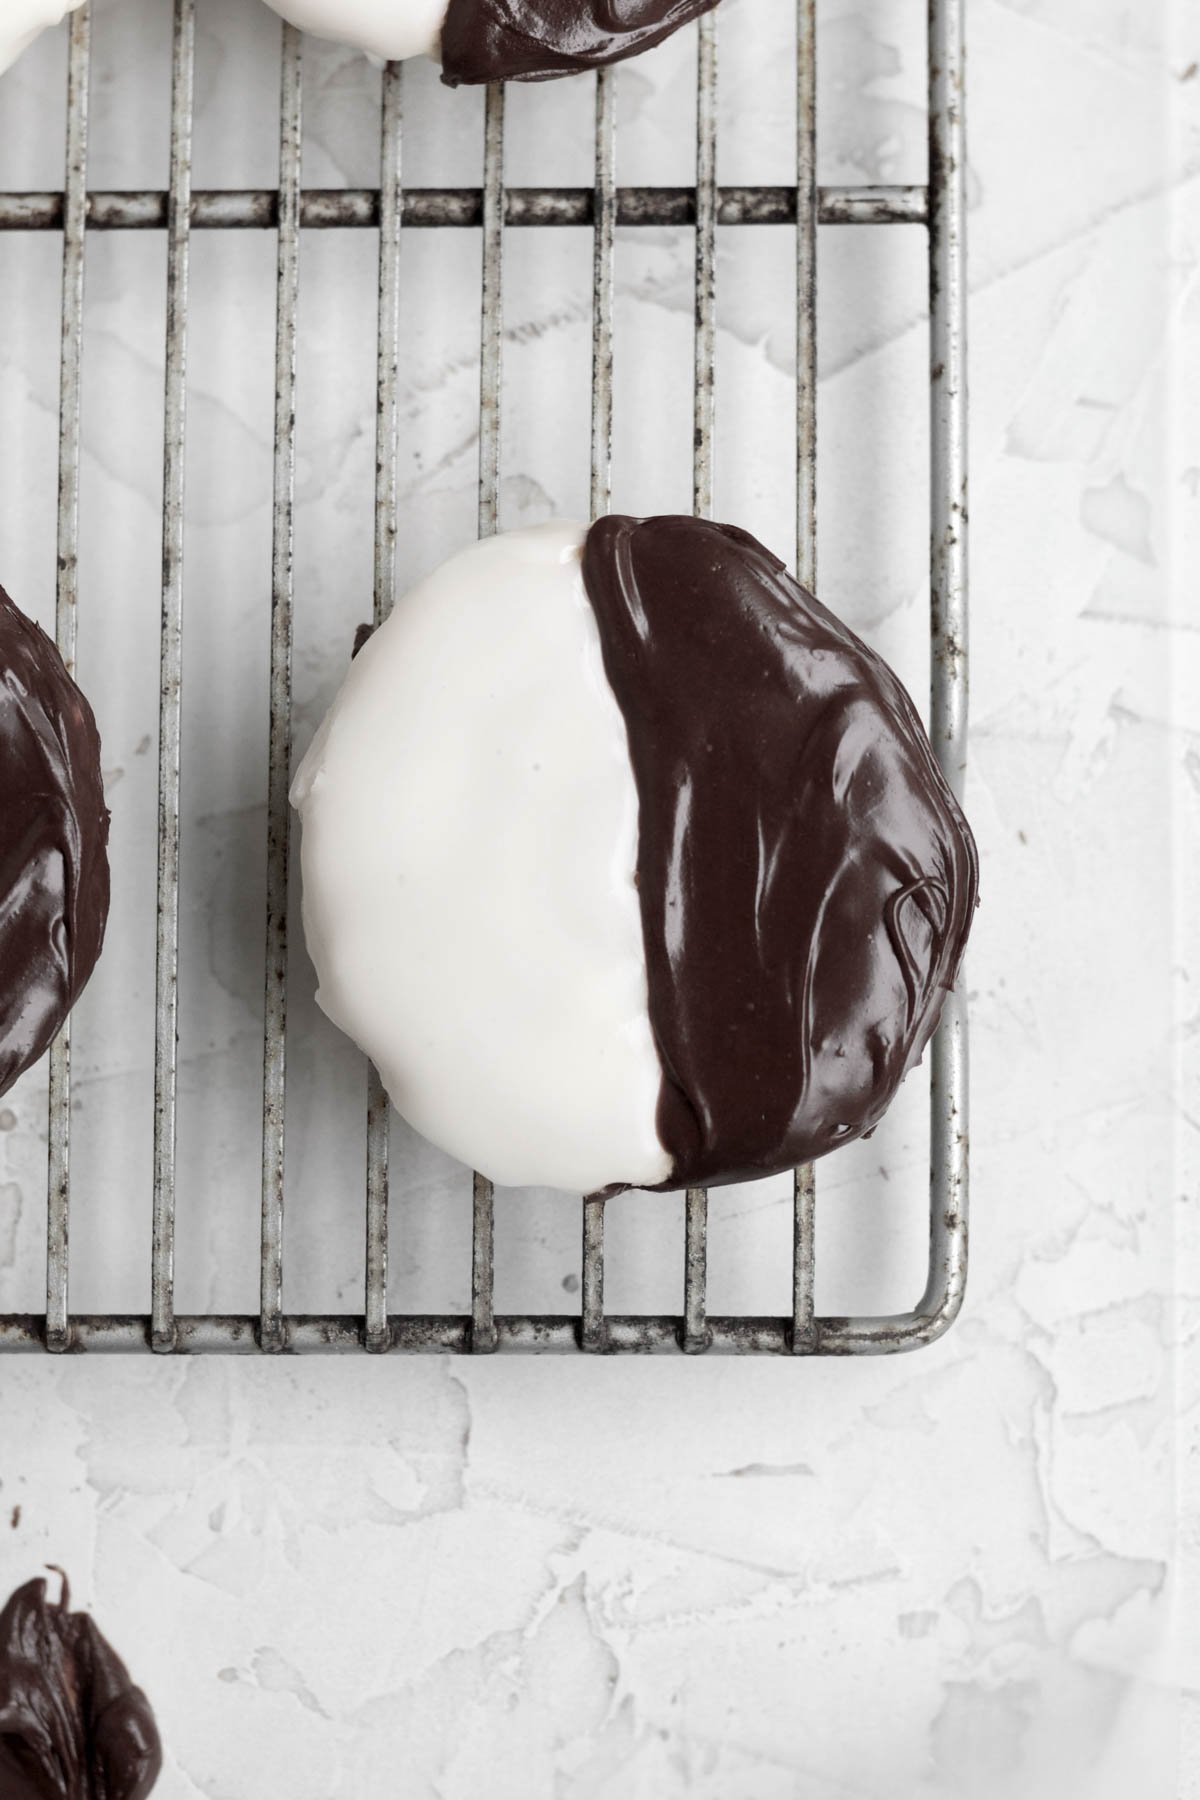
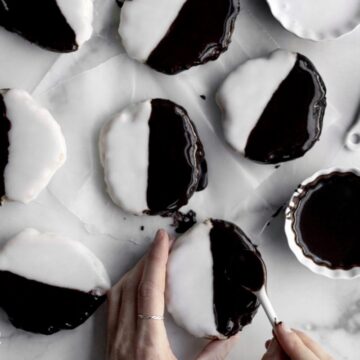
These classic NYC Black and White Cookies are the best of both worlds! They have a soft cake-like cookie base that's topped with both vanilla and chocolate icing! These New York City staples are soft, light, sweet and utterly delicious. If that wasn't enough, they're gluten free, nut free, eggless and can easily be vegan!
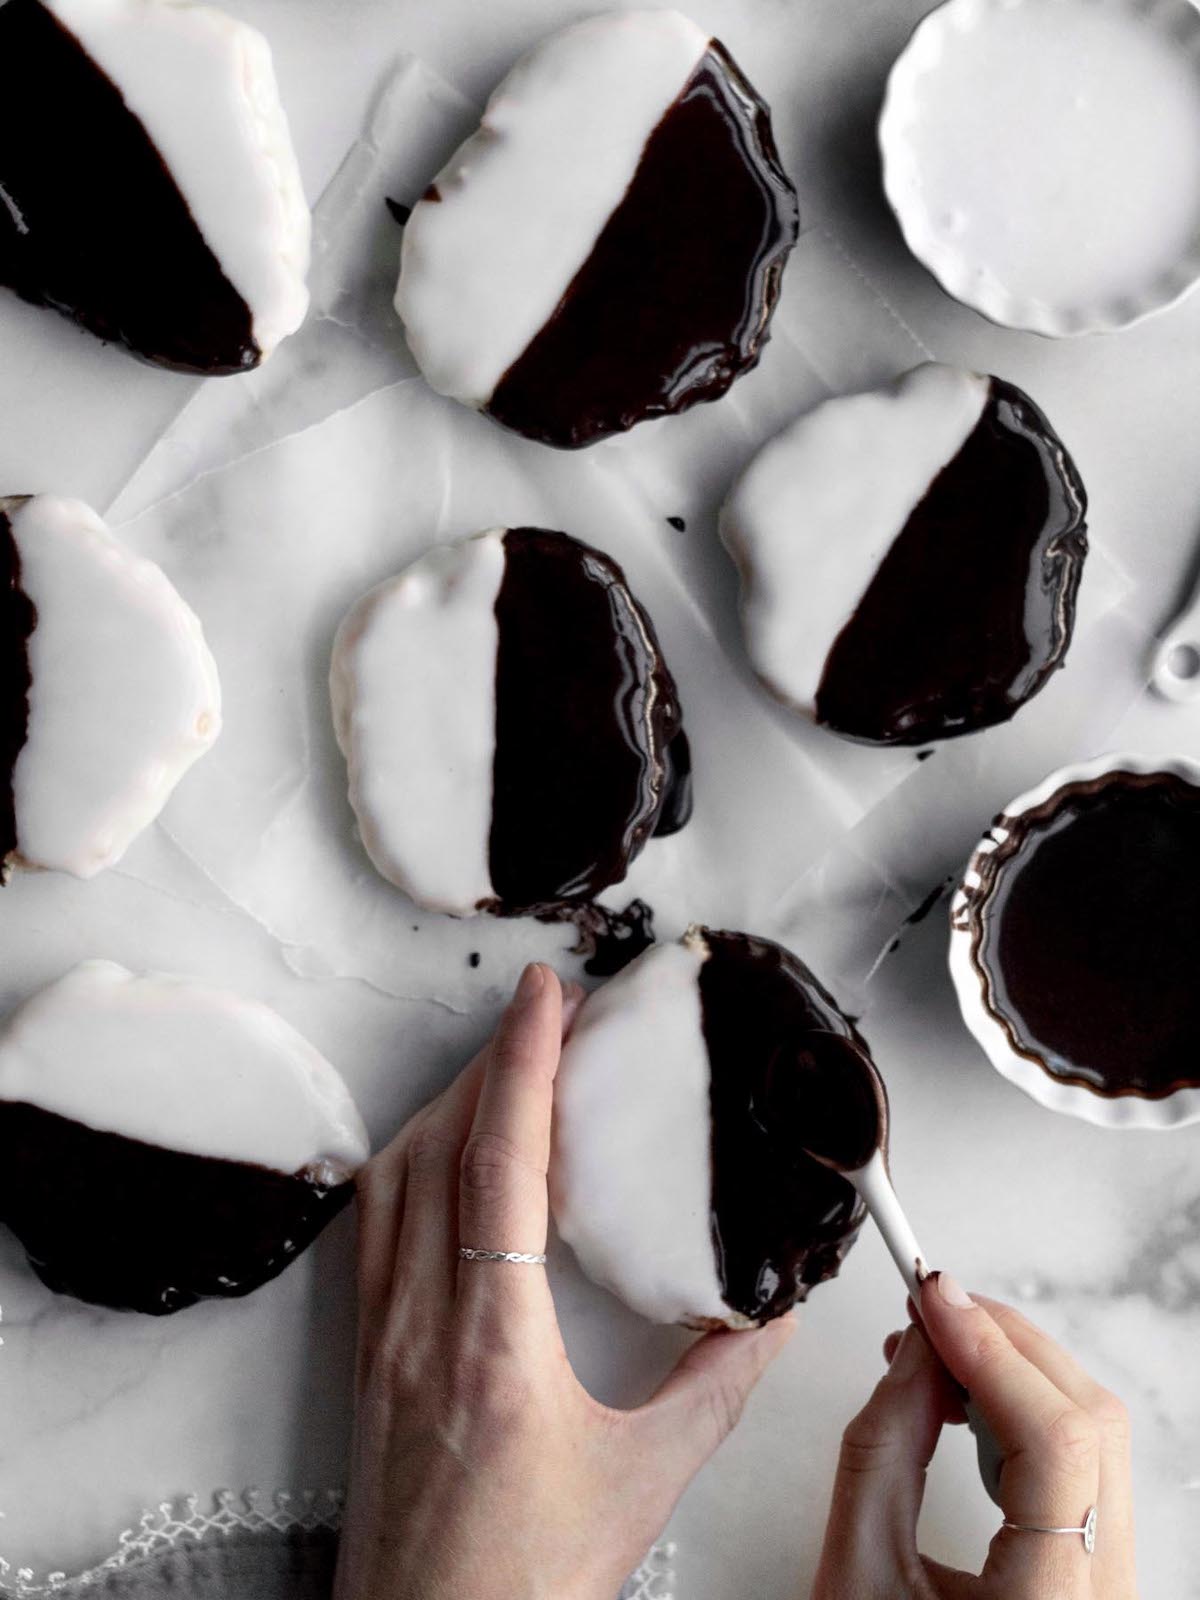
These Black and White Cookies are like biting into sweet frosted clouds! I grew up eating these beauties but so many bakeries I went to made their black & white cookies so incredibly dry that they were hard to chew and swallow; basically inedible. This recipe is so fluffy and delicious! The cookies are soft and buttery; everything a little tiny cake should be!
Not to mention, I have never seen an eggless and gluten free black and white cookie out in the wild. This recipe is so special to me because I cannot imagine my kids having to miss out on something that was such a huge part of my childhood!
For more cookie recipes, try my Cookies and Cream Cookies, my Eggless Chocolate Cookies, my Small Batch Chocolate Chip Cookies and my Olive Oil Cookies.
Reasons to Love These Black and White Cookies
- Allergy Friendly- These cookies are gluten free, nut free, egg free and can easily be dairy free (vegan)!
- Soft & Fluffy- The vanilla cake-like cookie base is super soft, buttery and delicious.
- Sweet Icings- The vanilla and chocolate icings are so perfect and the best of both worlds! They're sweet and harden nicely with a lovely sheen!
- Easy to Make- The cookies and icings don't take a long time to make. The most time consuming part is waiting for the icings to harden!
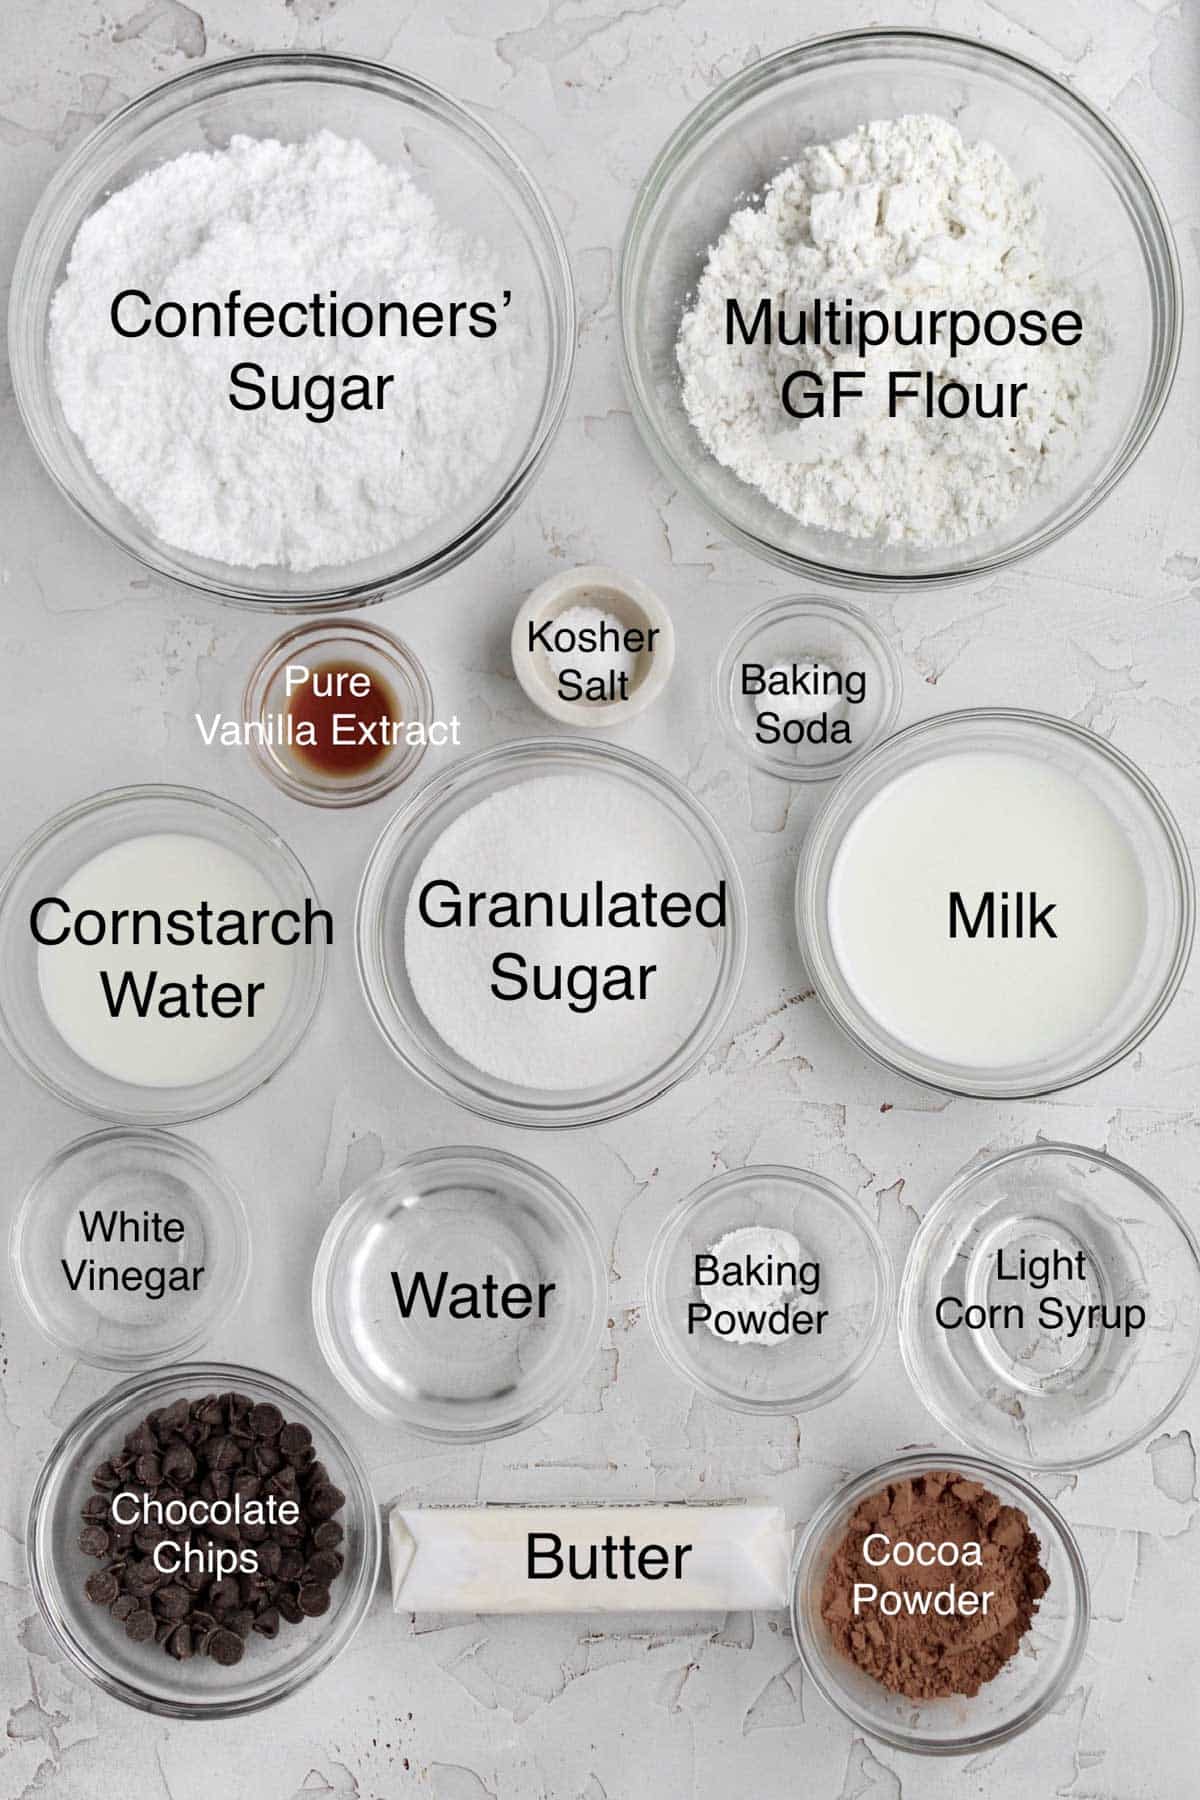
Ingredient Notes
- Gluten Free Flour- Gluten Free Flour- If you also have nut allergies, make sure to use a brand that’s made in a nut free facility. I really love to use Cup4Cup Multipurpose Flour because it’s free of the top 9 allergens. It also contains xanthan gum which really helps give baked goods their bounce and prevents them from falling apart. Since all multipurpose gf flours are not the same, if you use a different gluten free flour, please understand the results will most likely be different.
- Cocoa Powders- I like to use two types to give the icing a dark color, but if you only want to use one, use Dutch or Natural Unsweetened. Do not only use Dark.
- Granulated Sugar- We use granulated so the cookies kept their white color.
- Butter/ Vegan Baking Stick- Only use room temperature. If you use melted, the cookies will spread too much while baking. If using vegan butter, make sure it's more on the cold side versus room temperature.
- Cornstarch Water- This helps bind everything together since the cookies are eggless.
- Milk- If there are no dairy allergies or if you’re not vegan, you can use regular whole milk. For non-dairy, use a dairy-free milk of your choosing.
- White Vinegar- We use this along with the milk to make a homemade buttermilk.
- Light Corn Syrup- Make sure to only use light, not dark. Light has a vanilla-like flavor white dark has a molasses taste. If you don't like corn syrup, you can omit it, however, your icings will not have the same sheen as mine do.
- Chocolate Chips- To keep vegan, make sure to use gluten free/vegan chocolate chips. I love these allergy friendly chocolate chips.
See my recipe card below for a complete list of the ingredients with measurements.
Substitutions and Variations
How to Make These into Vegan Black and White Cookies
- Use a gluten free flour that’s free from dairy.
- Make sure the brand of sugar you use is vegan.
- Use vegan baking sticks instead of butter.
- Only use a non-dairy milk of choice.
- Use vegan chocolate chips.
Make this Recipe with All Purpose Flour
- Use 1 ¼ packed cups of AP Flour (210 grams).
This recipe has not been tested with all of these substitutions and/or variations due to celiac disease and food allergies. If you change any of the ingredients, please let us know how the recipe turned out in the comments below!

How to Make NYC Black and White Cookies
Here are the step by step instructions to make this black and white cookies recipe!
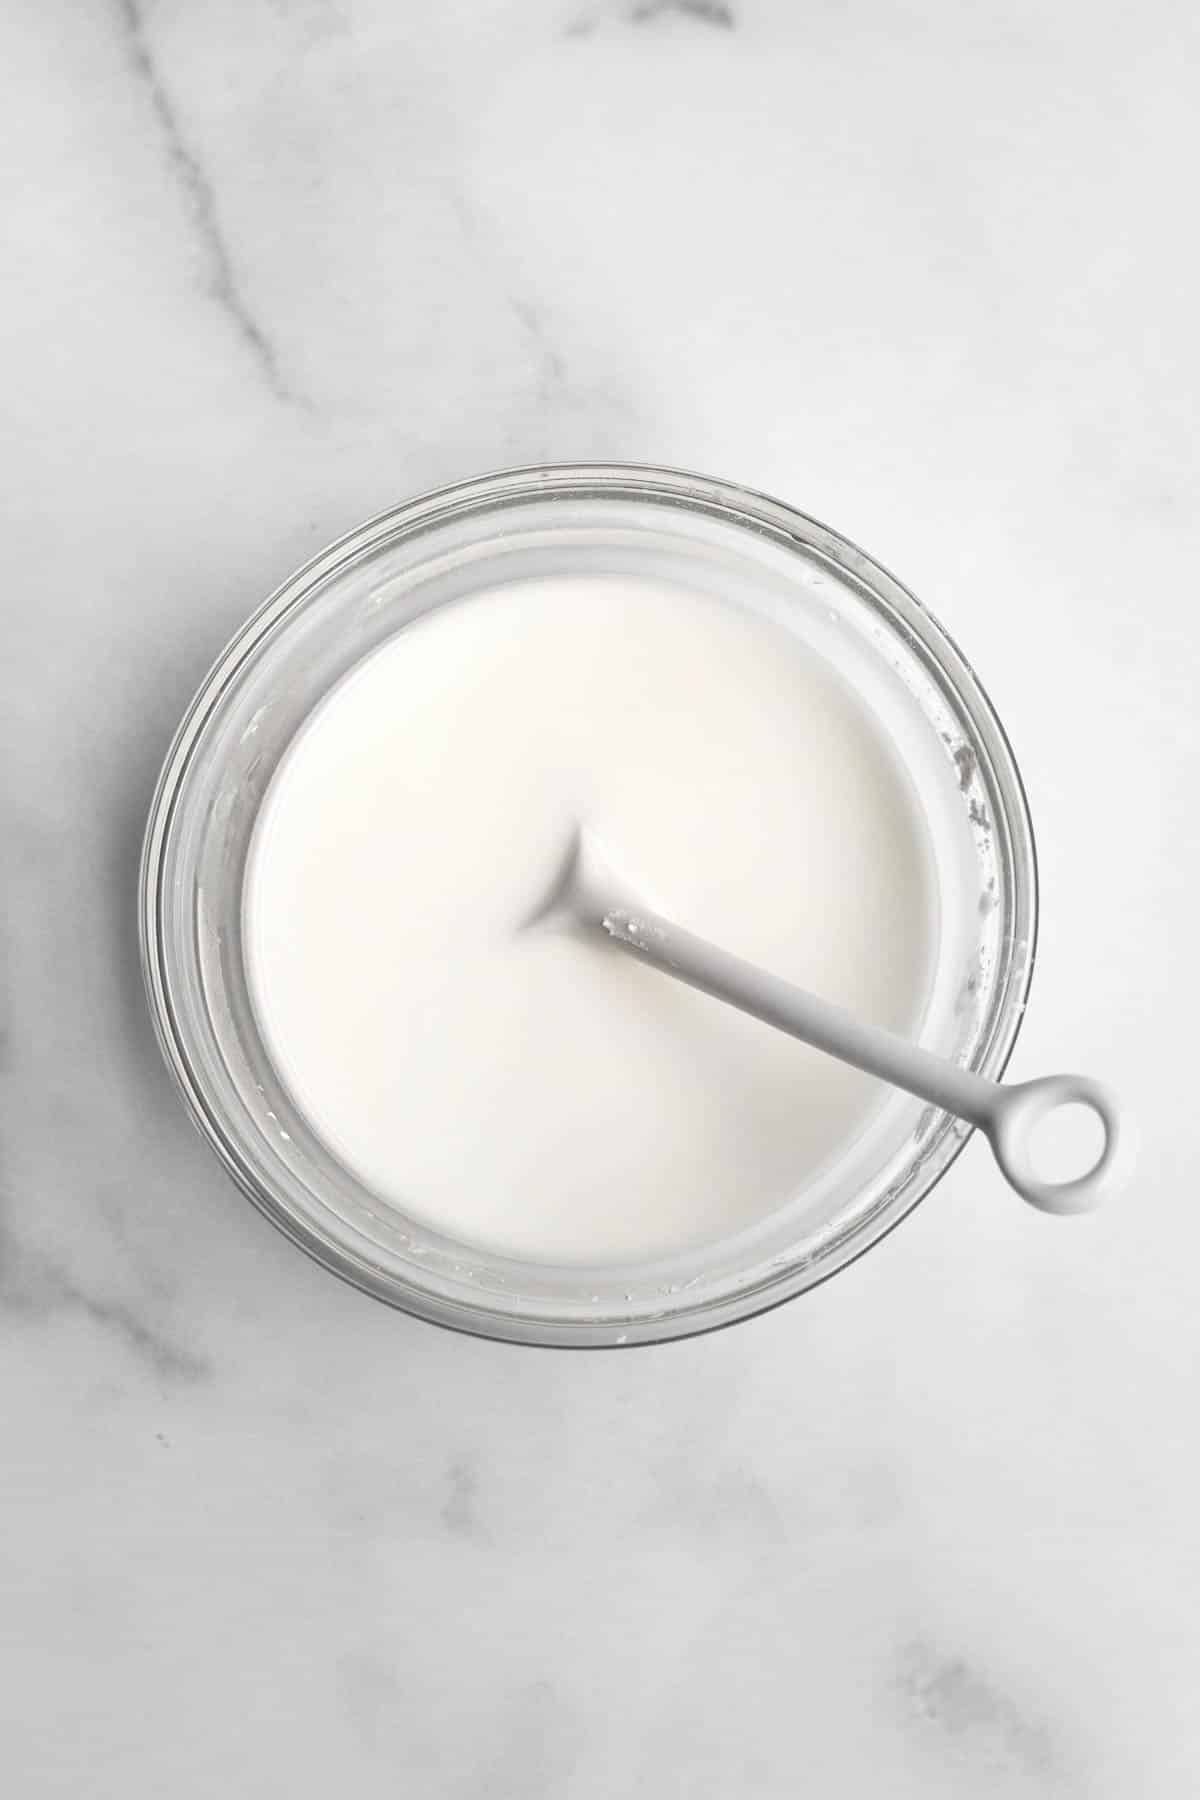
Step 1: Make the Homemade Buttermilk
Measure out the milk and stir in the white vinegar. Let sit for 5-10 min then stir again. The milk will appear chunky; that’s normal.
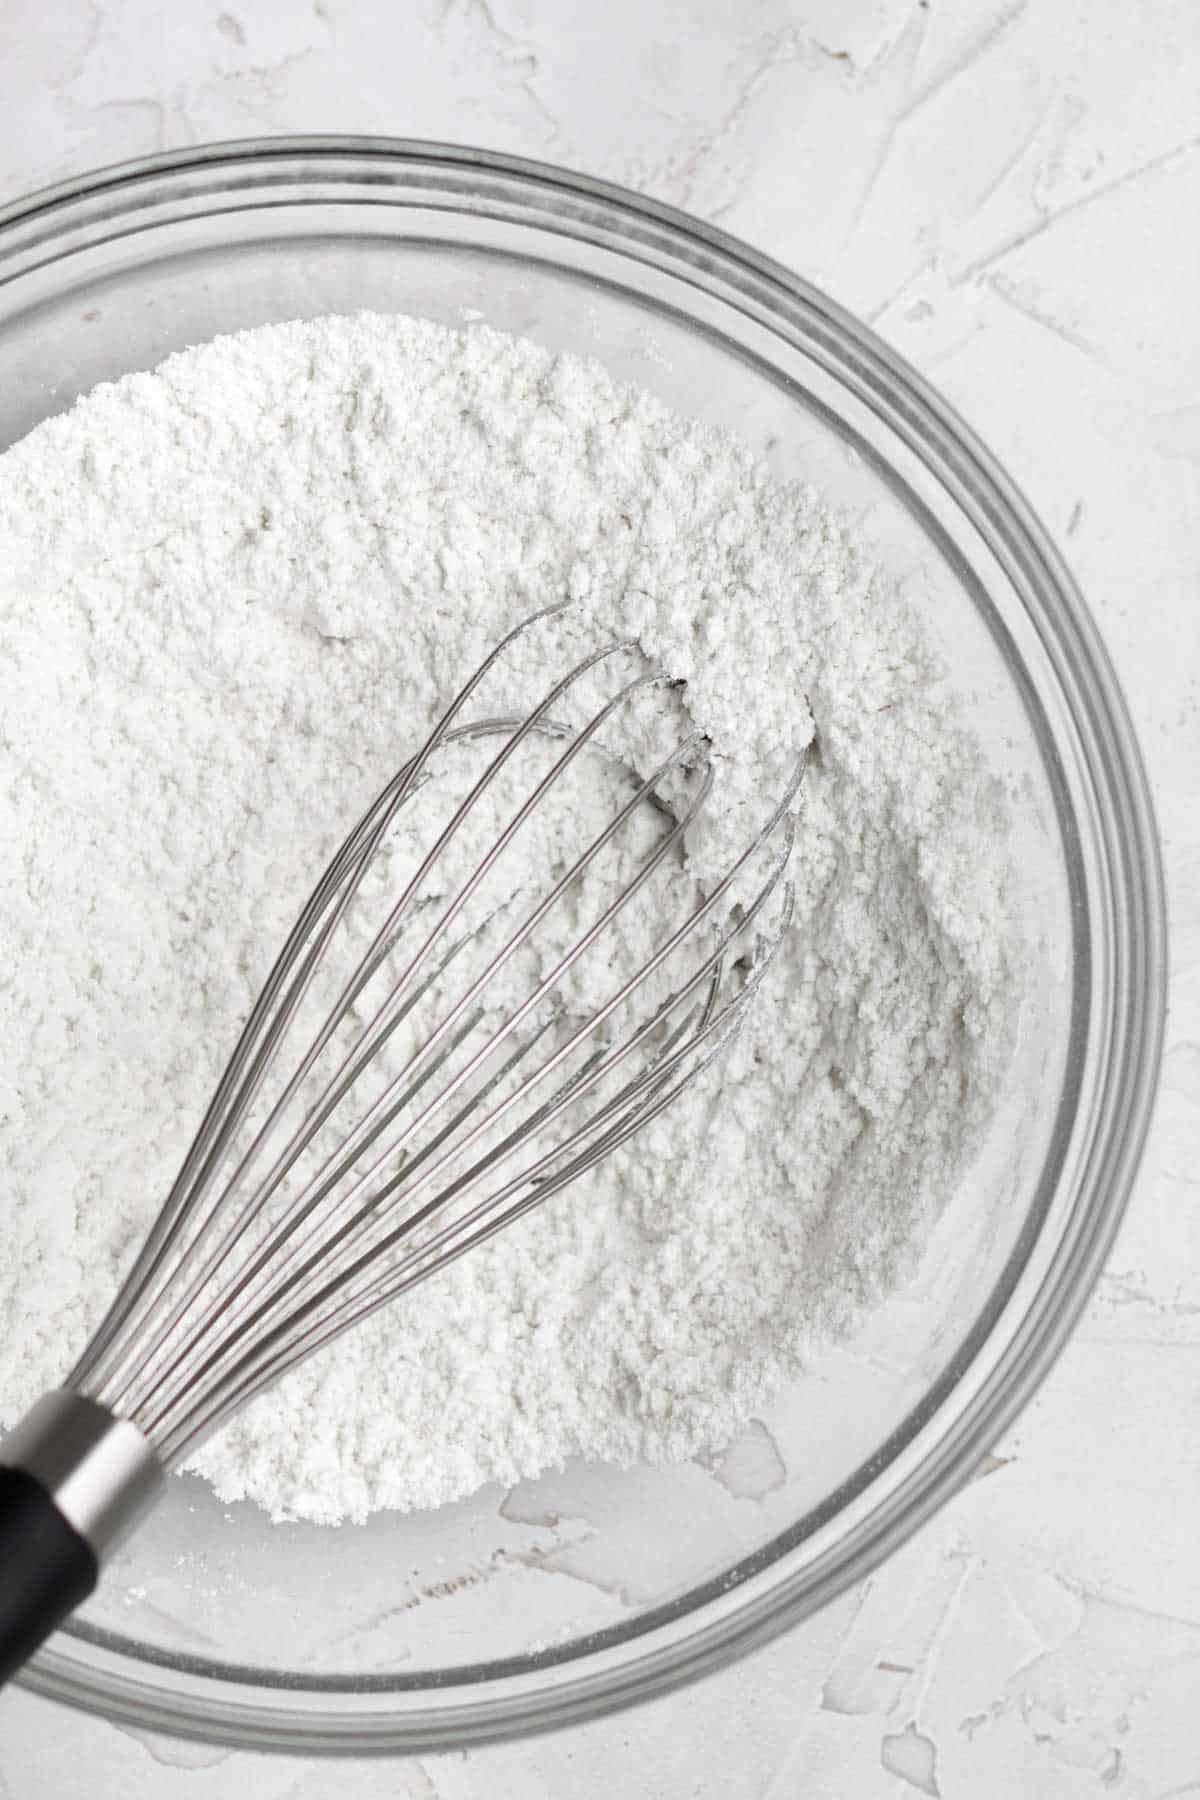
Step 2: Whisk Together the Dry Ingredients
In a medium bowl, whisk together the gluten free flour, baking powder, baking soda and salt. Set aside.
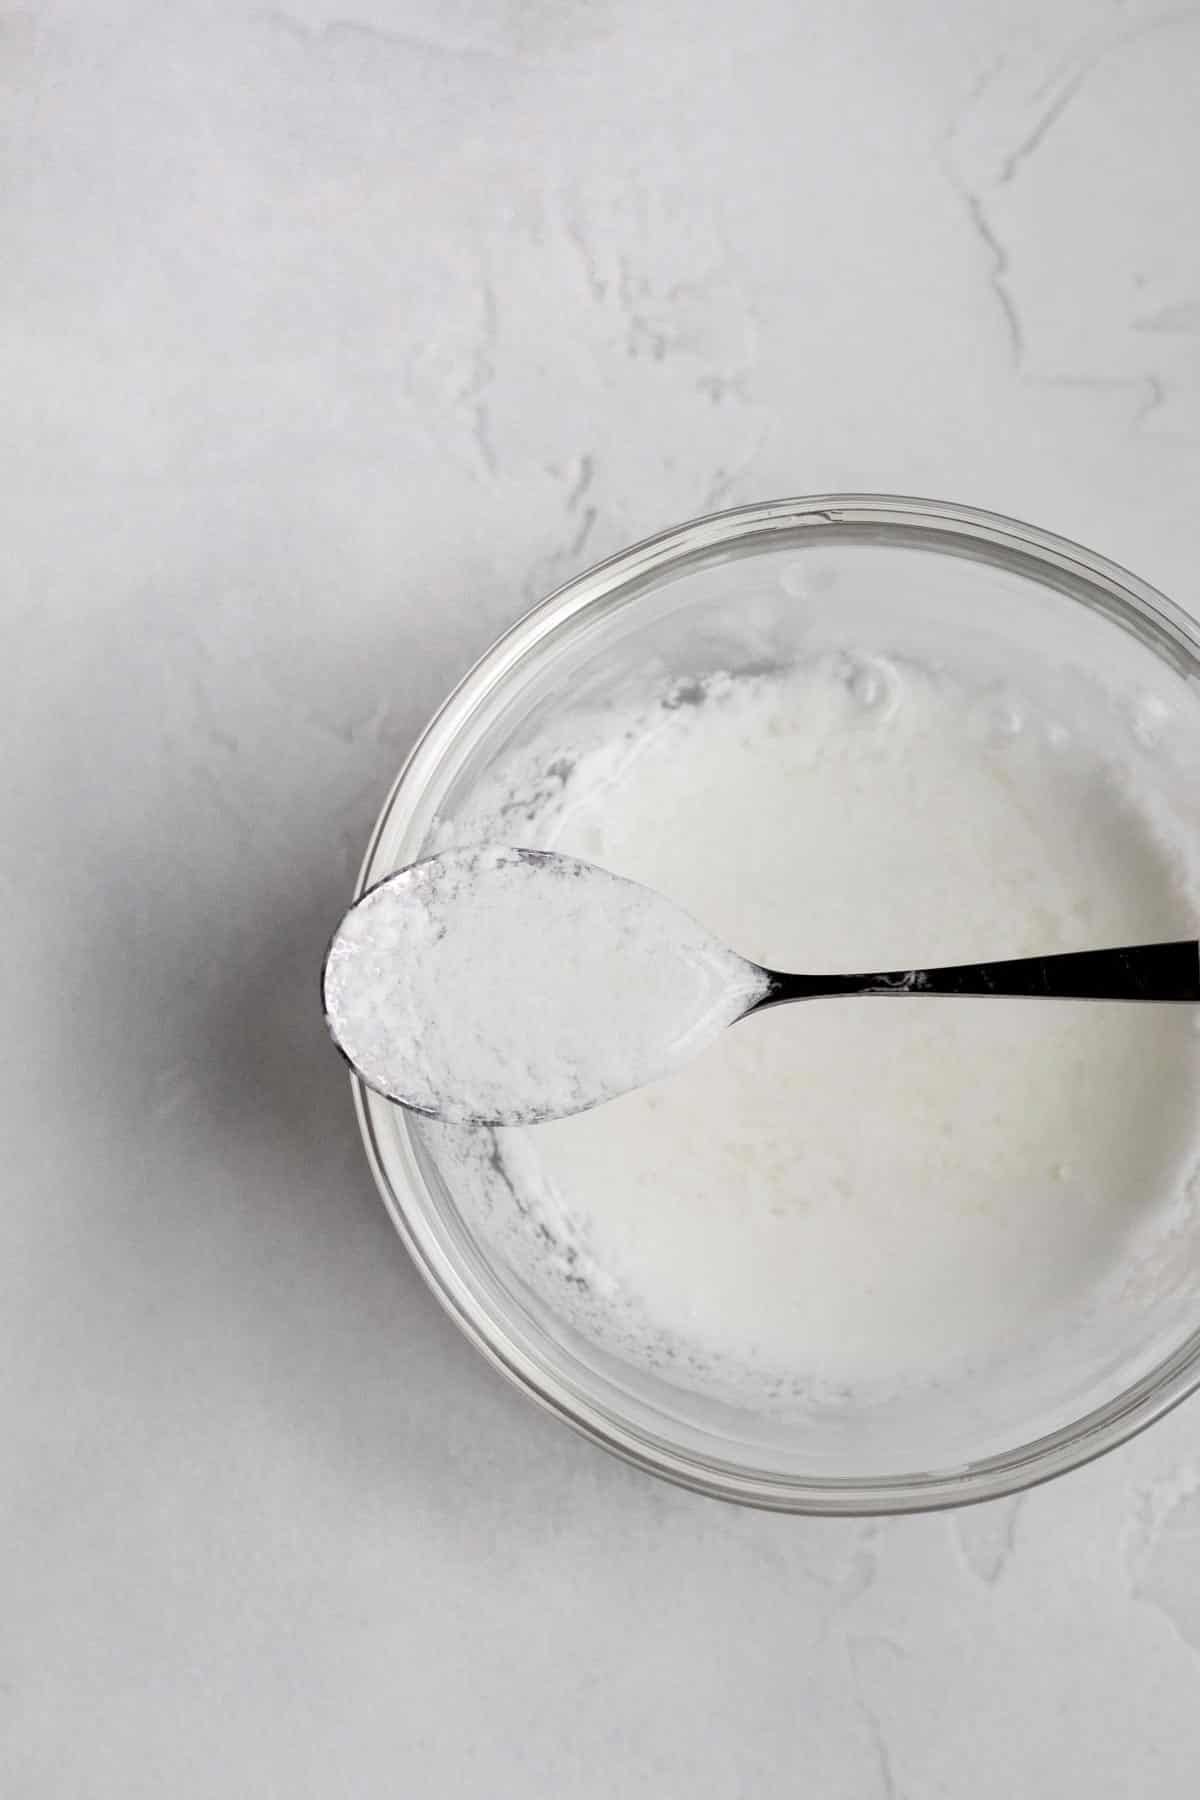
Step 3: Make the Cornstarch Water
In a small bowl, using a spoon, mix together the cornstarch and water until thin and watery. It will be thick and tacky at first. Set aside.
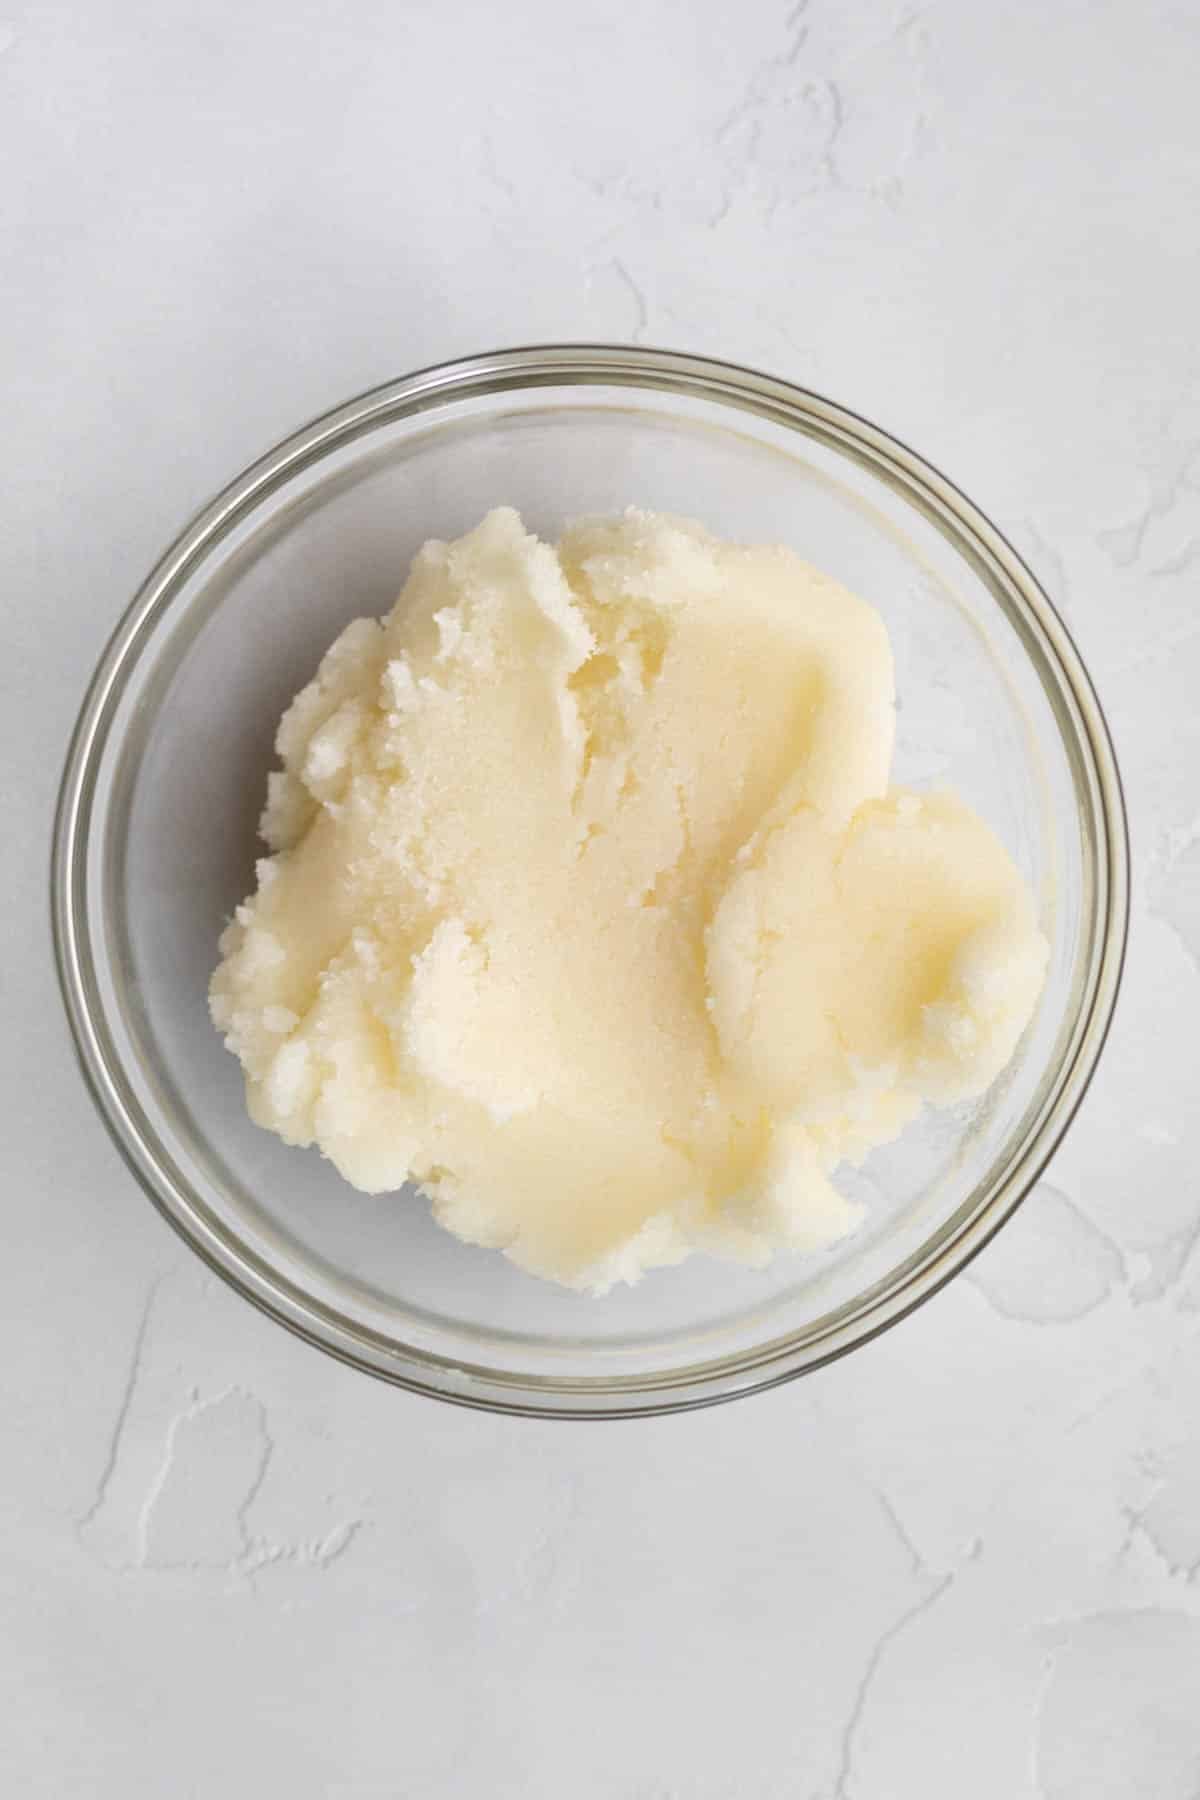
Step 4: Cream the Butter and Sugar
Beat the unsalted butter and granulated sugar together until soft and creamy. About 2 minutes.
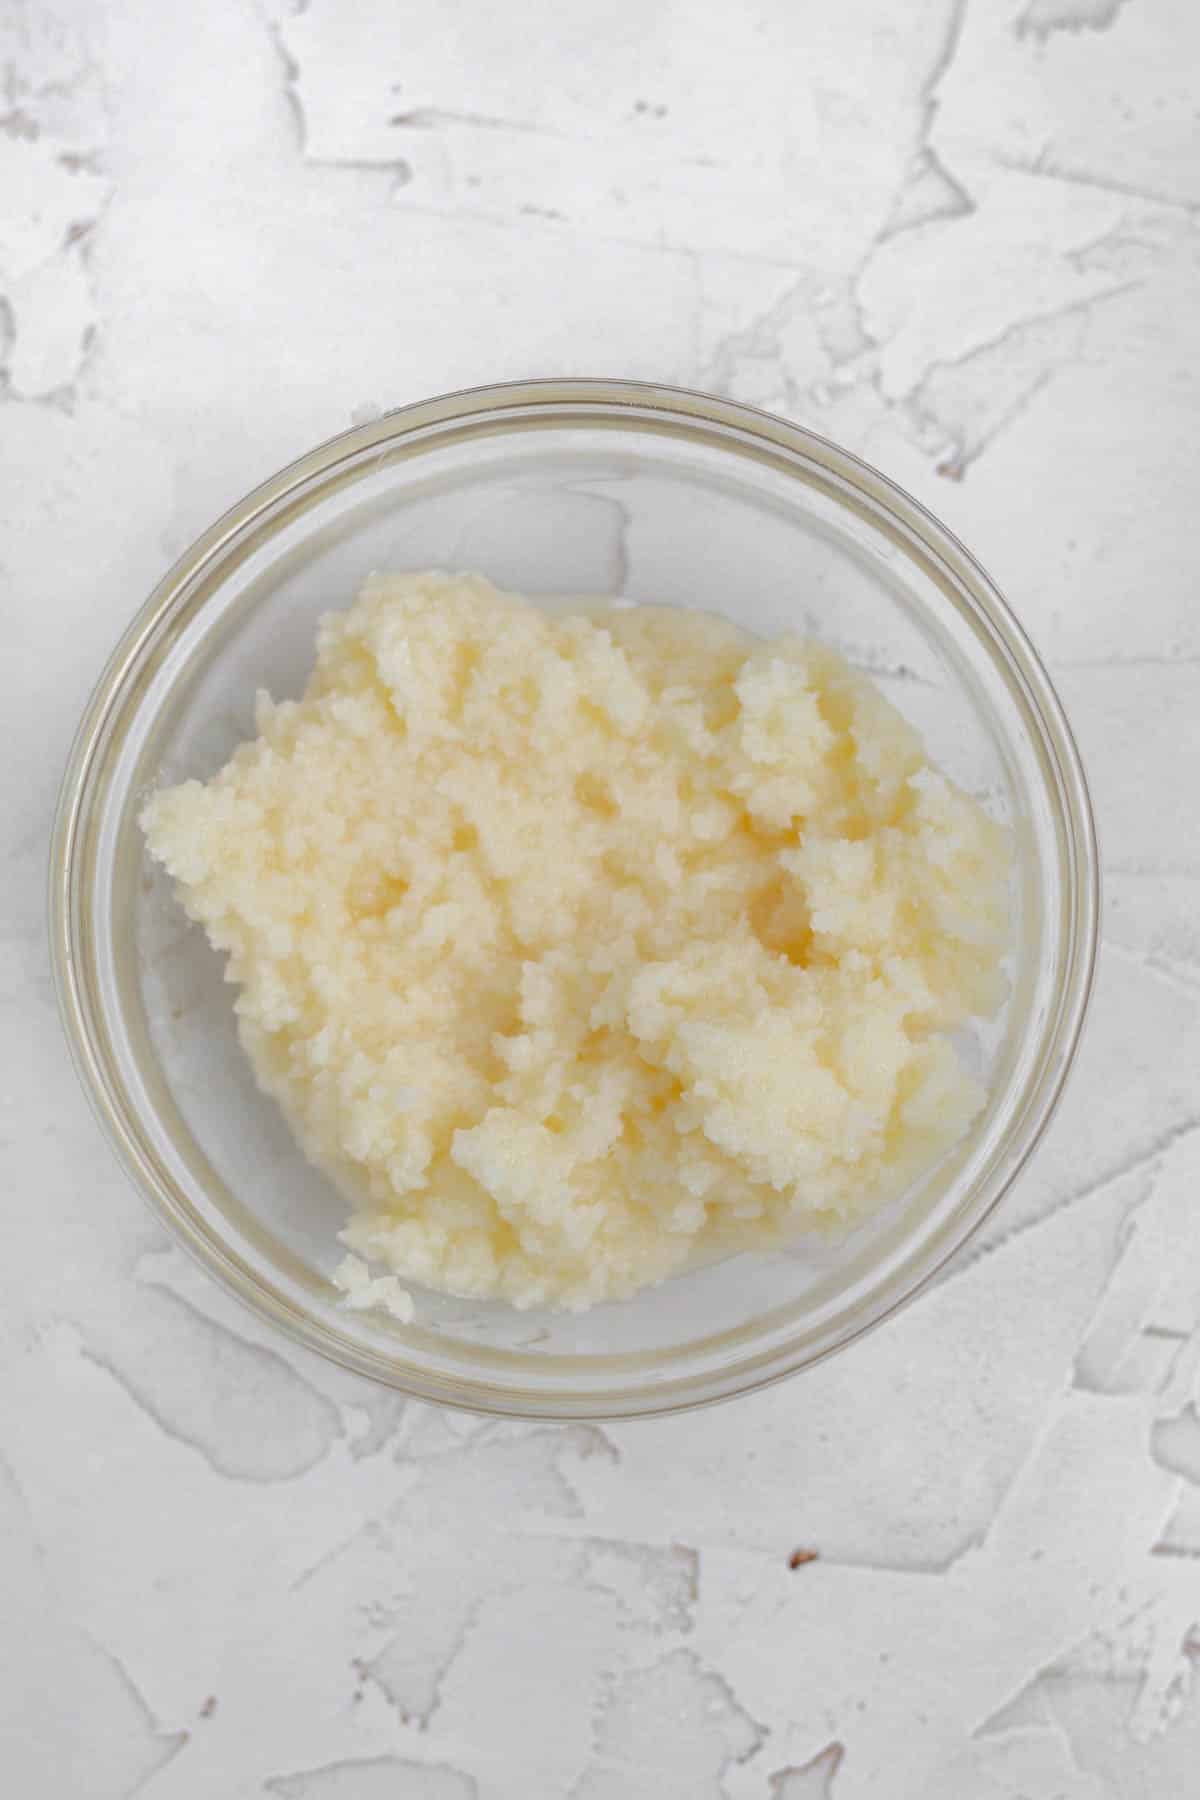
Step 5: Add in the Cornstarch Water and Vanilla
Slowly beat the cornstarch water mixture and the vanilla into the creamed butter and sugar. It will look chunky; that's normal.

Step 6: Add in the Dry Ingredients and Milk
Starting and ending with the gluten free flour mixture, with the mixer on low...pour in some flour then some buttermilk then some flour. You want to start and end with the flour mixture.
Once combined, use a spatula to scrape the sides of the bowl.
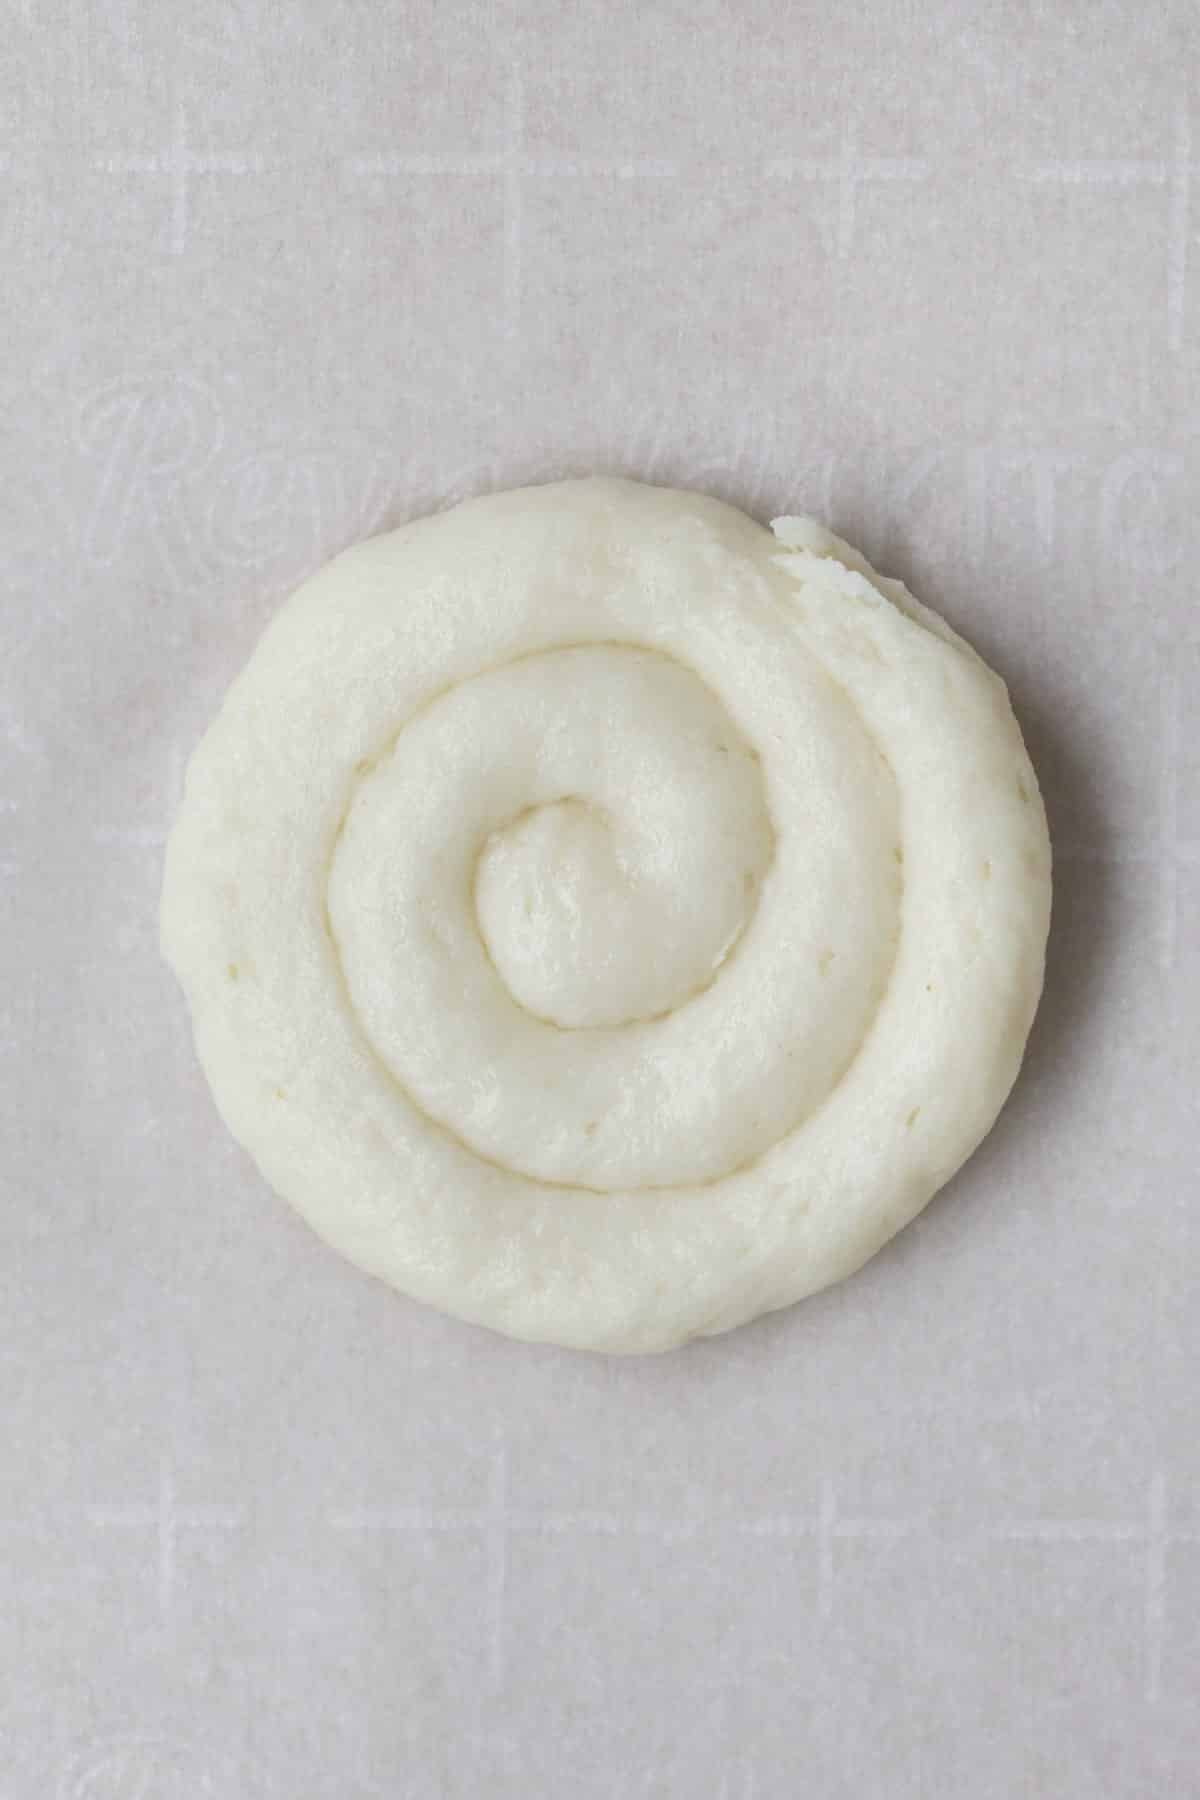
Step 7: Pipe the Batter
If you have piping bags, put the batter into the bag with a Wilton 2A piping tip.
If you don’t have piping bags, put the batter into a zip top bag and snip the corner off.
Slowly pipe a tight 3-4 inch spiral on the parchment lined baking sheet starting with the center of the cookie and moving outward. Pipe no more than 5 to 6 cookies at a time.
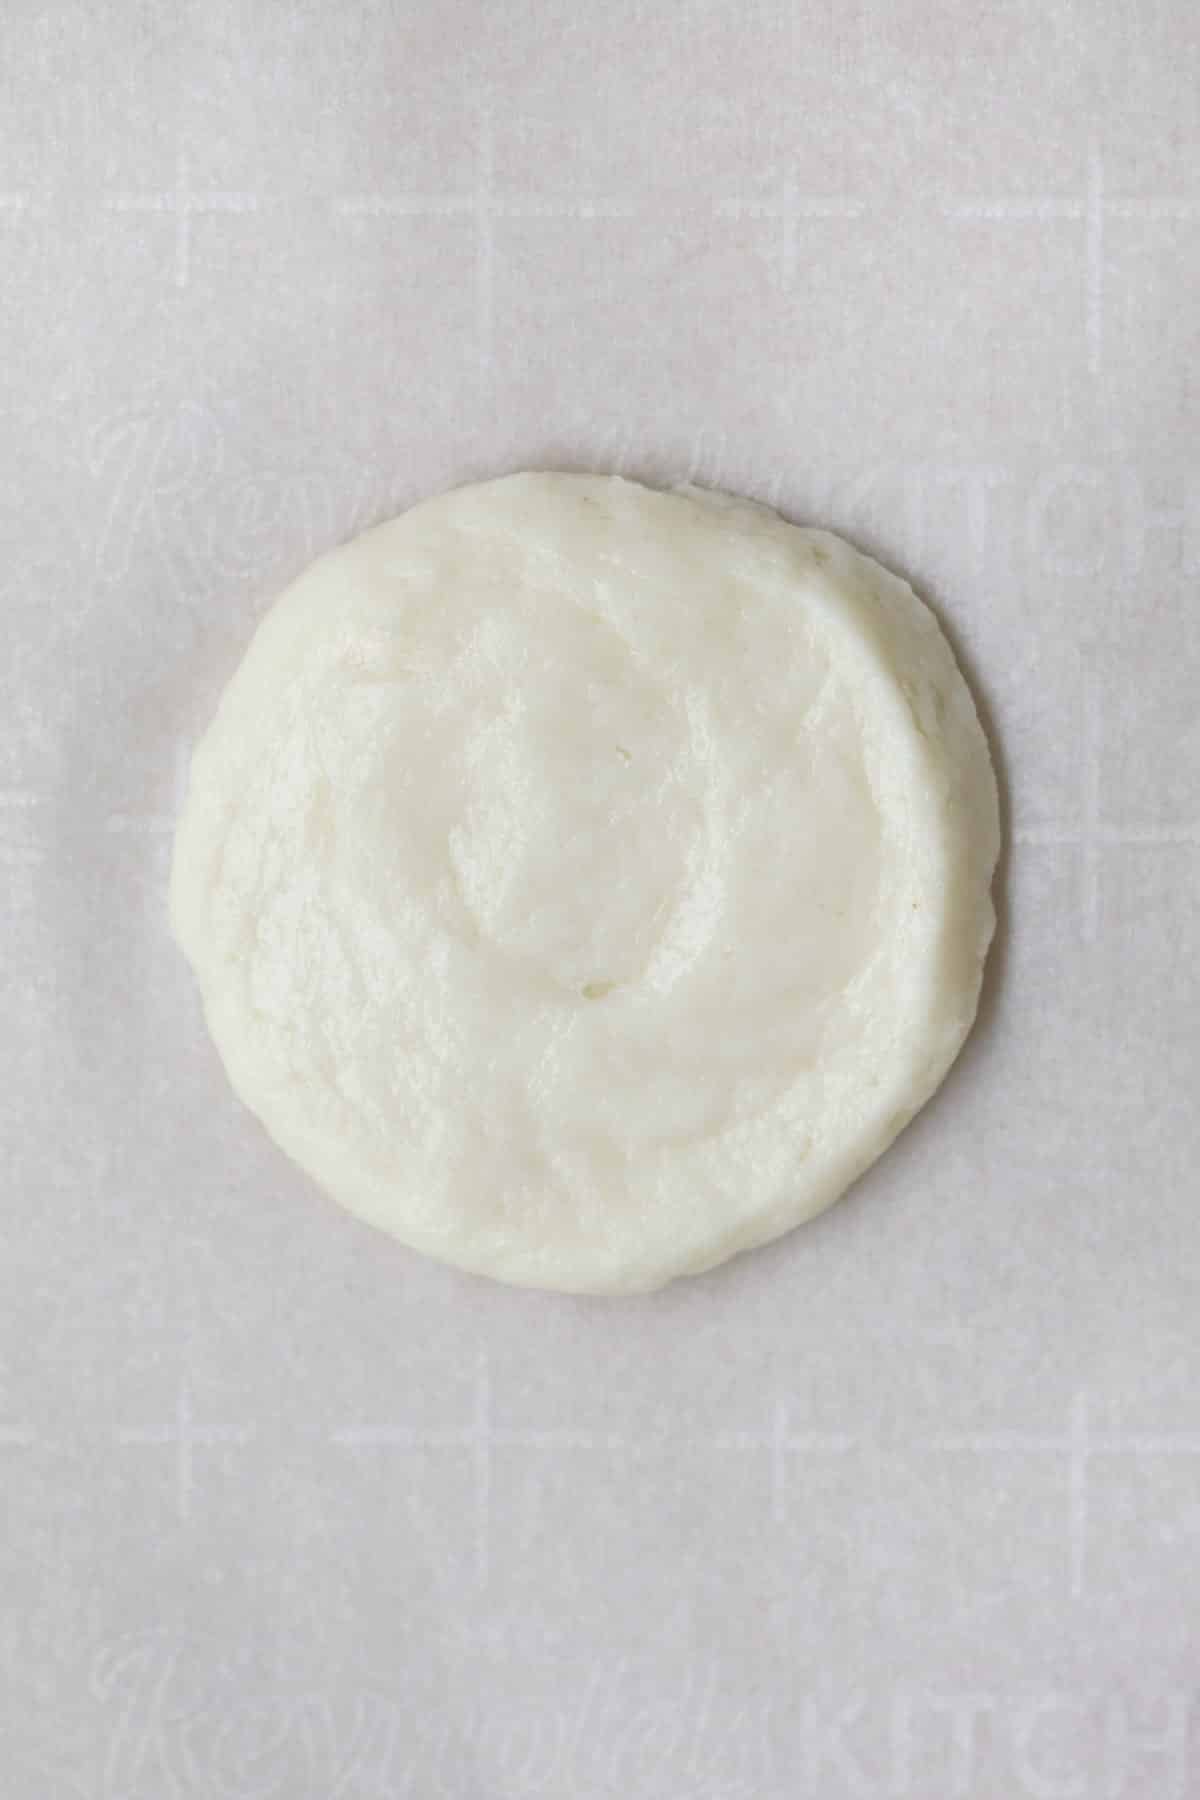
Step 8: Smooth the Cookies
Once the cookies are piped, take a tiny knife, dip it in a glass of water and then shake it off. You want the knife a tiny bit wet to help smooth the sticky batter.
Smooth the cookie so you can't see the spiral anymore.
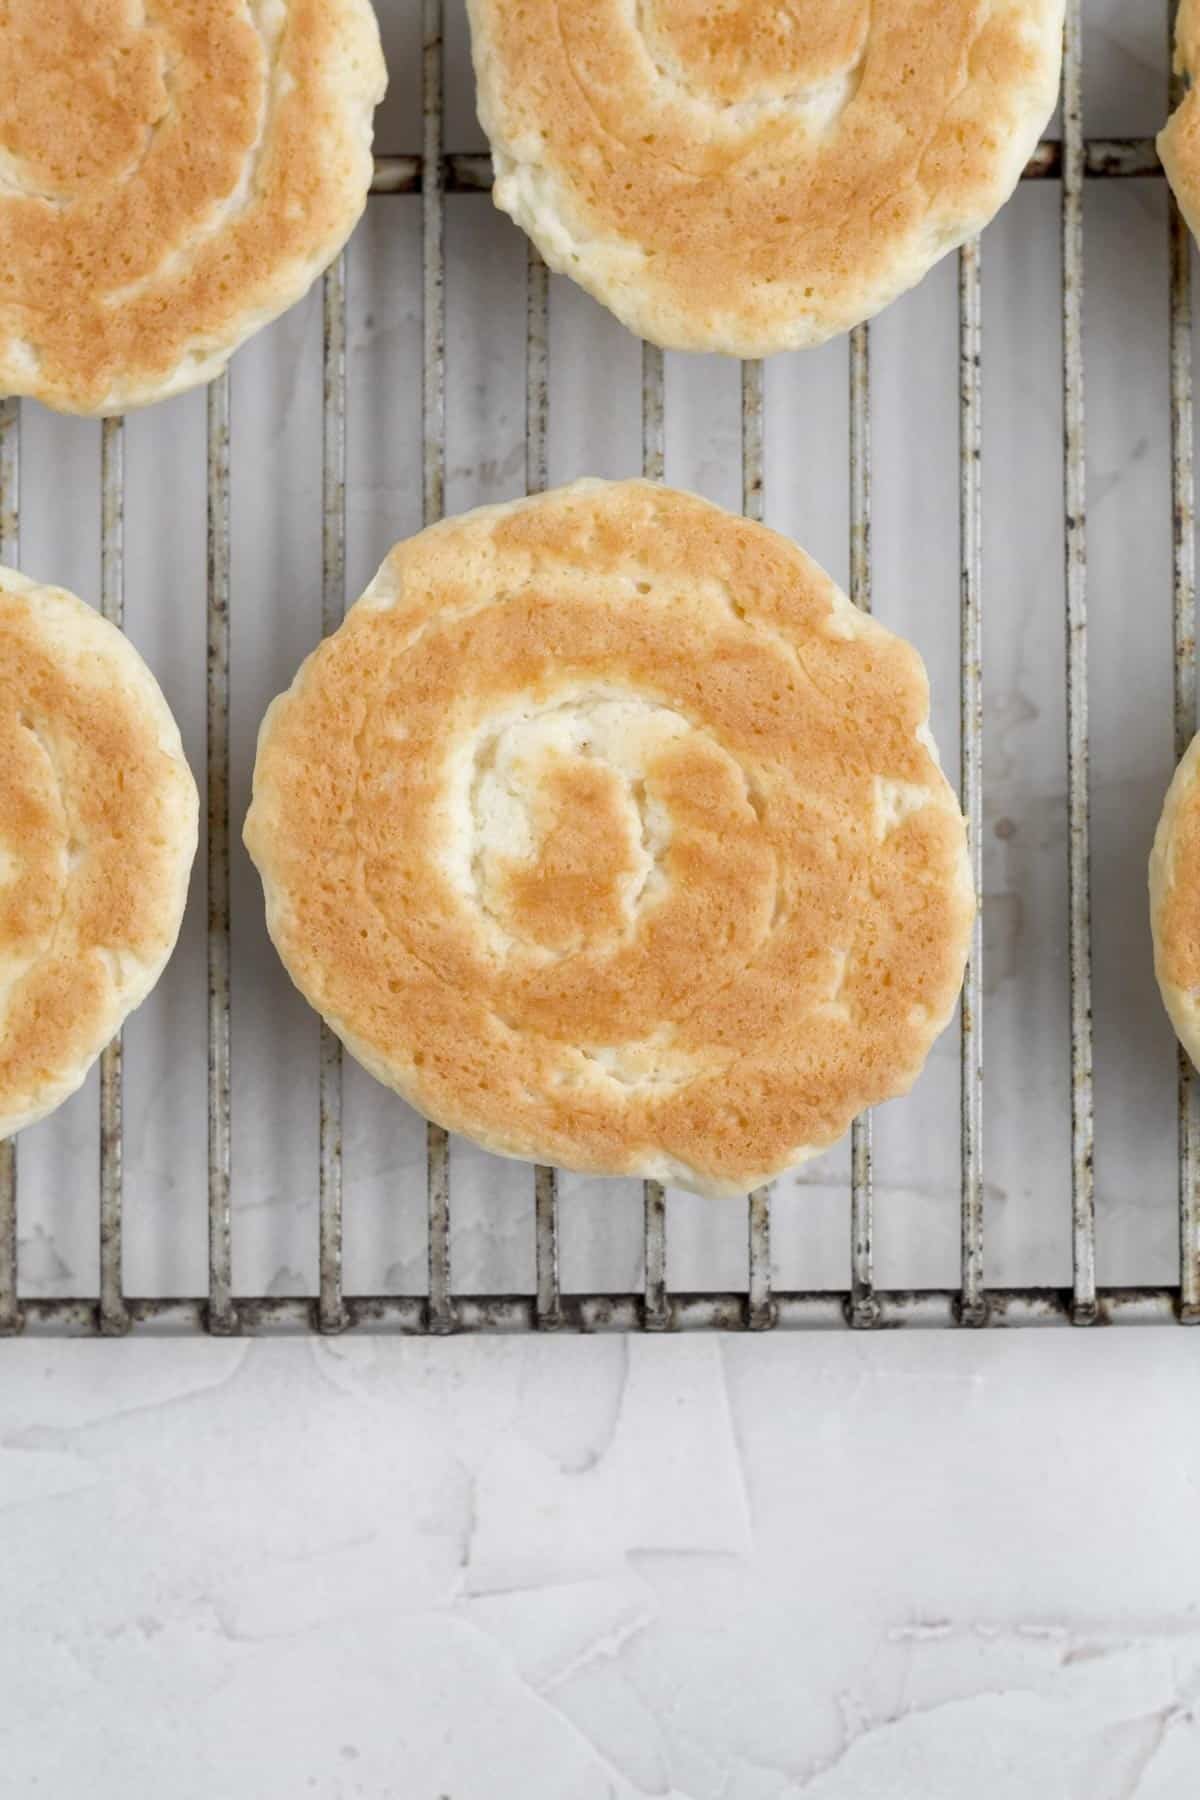
Step 9: Bake, Transfer to a Cooling Rack and Flip
Bake the cookies for 15 minutes at 350 degrees. The tops of the cookies will puff up into nice domes and the bottoms will be golden brown.
Once out of the oven, immediately transfer the cookies to a cooling rack. Let cool completely and then flip upside down so the flat side is on top.
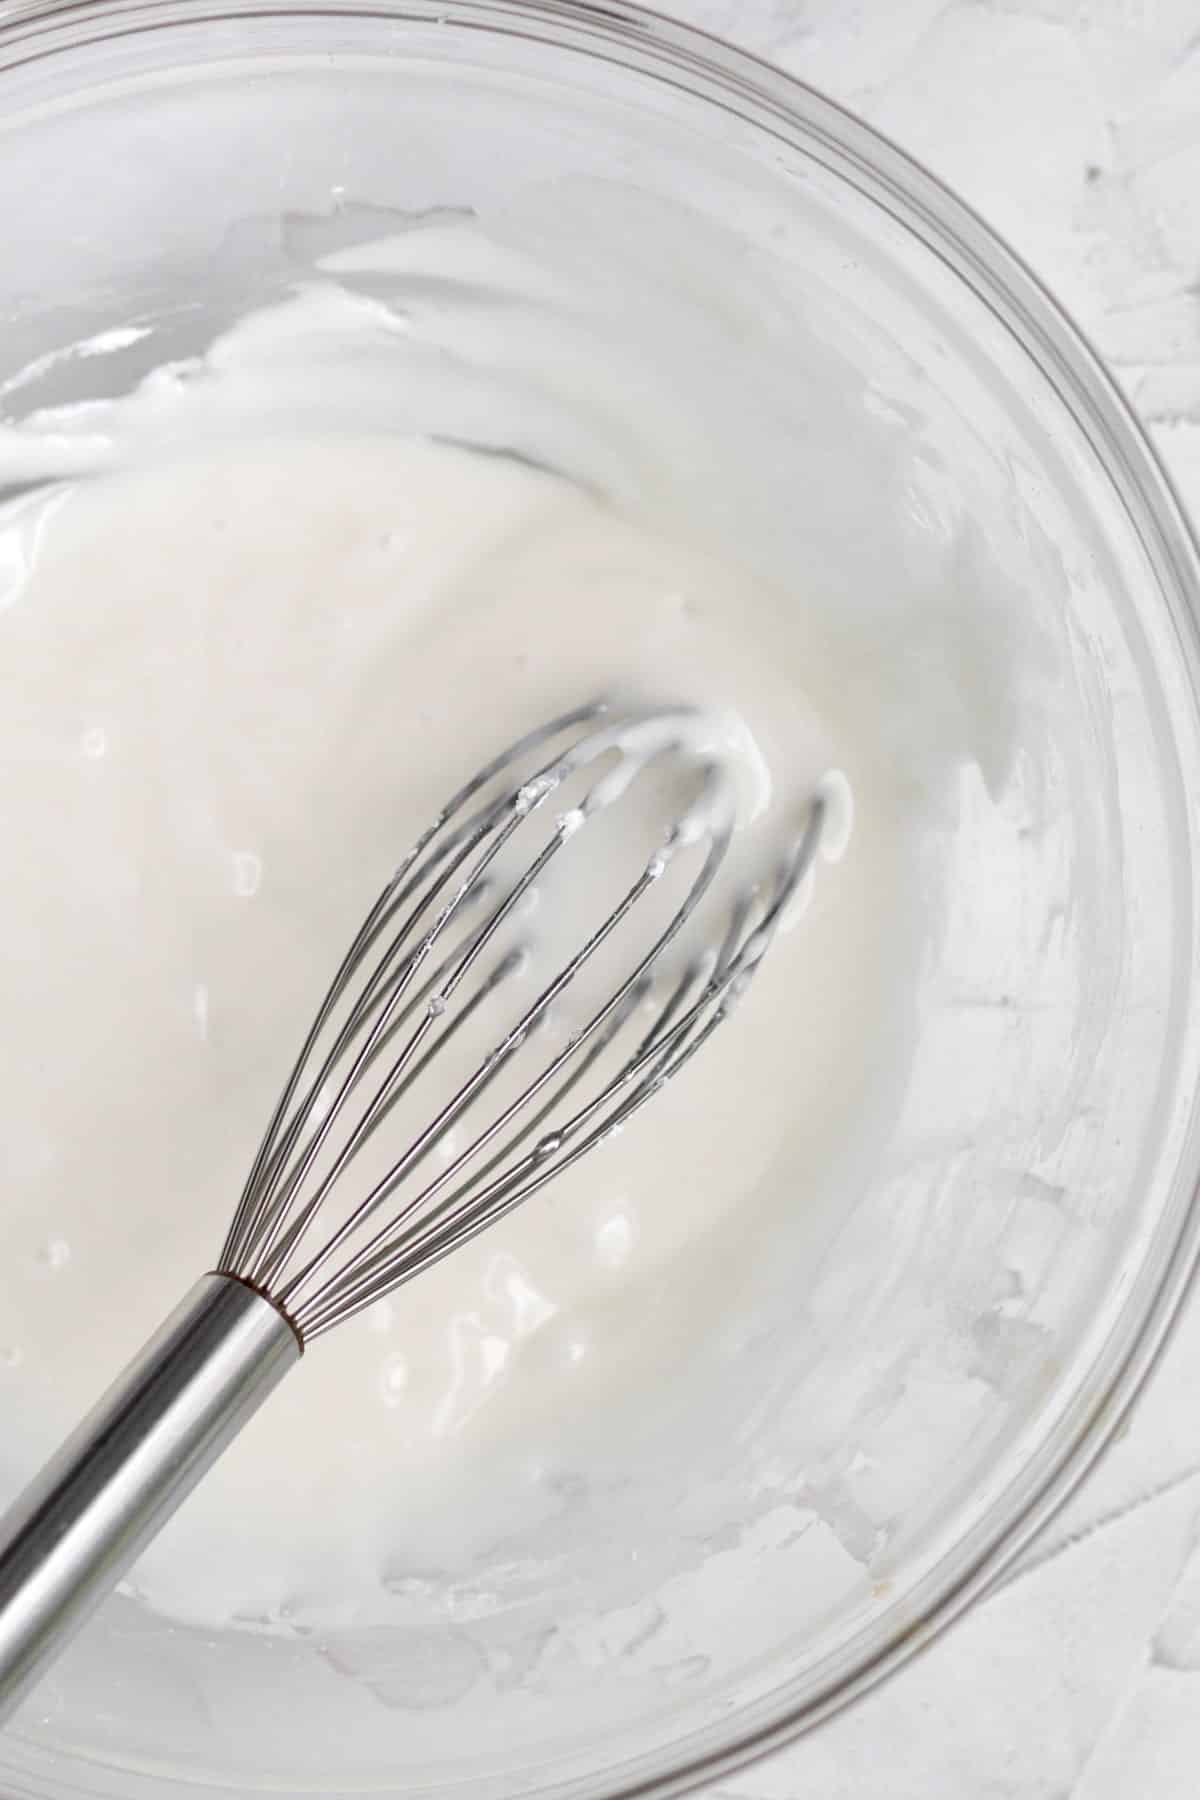
Step 10: Make the Vanilla Icing
In a medium bowl, whisk together the confectioners' sugar, corn syrup, vanilla, pinch of salt and water until smooth.
Separate the vanilla icing equally into two bowls.
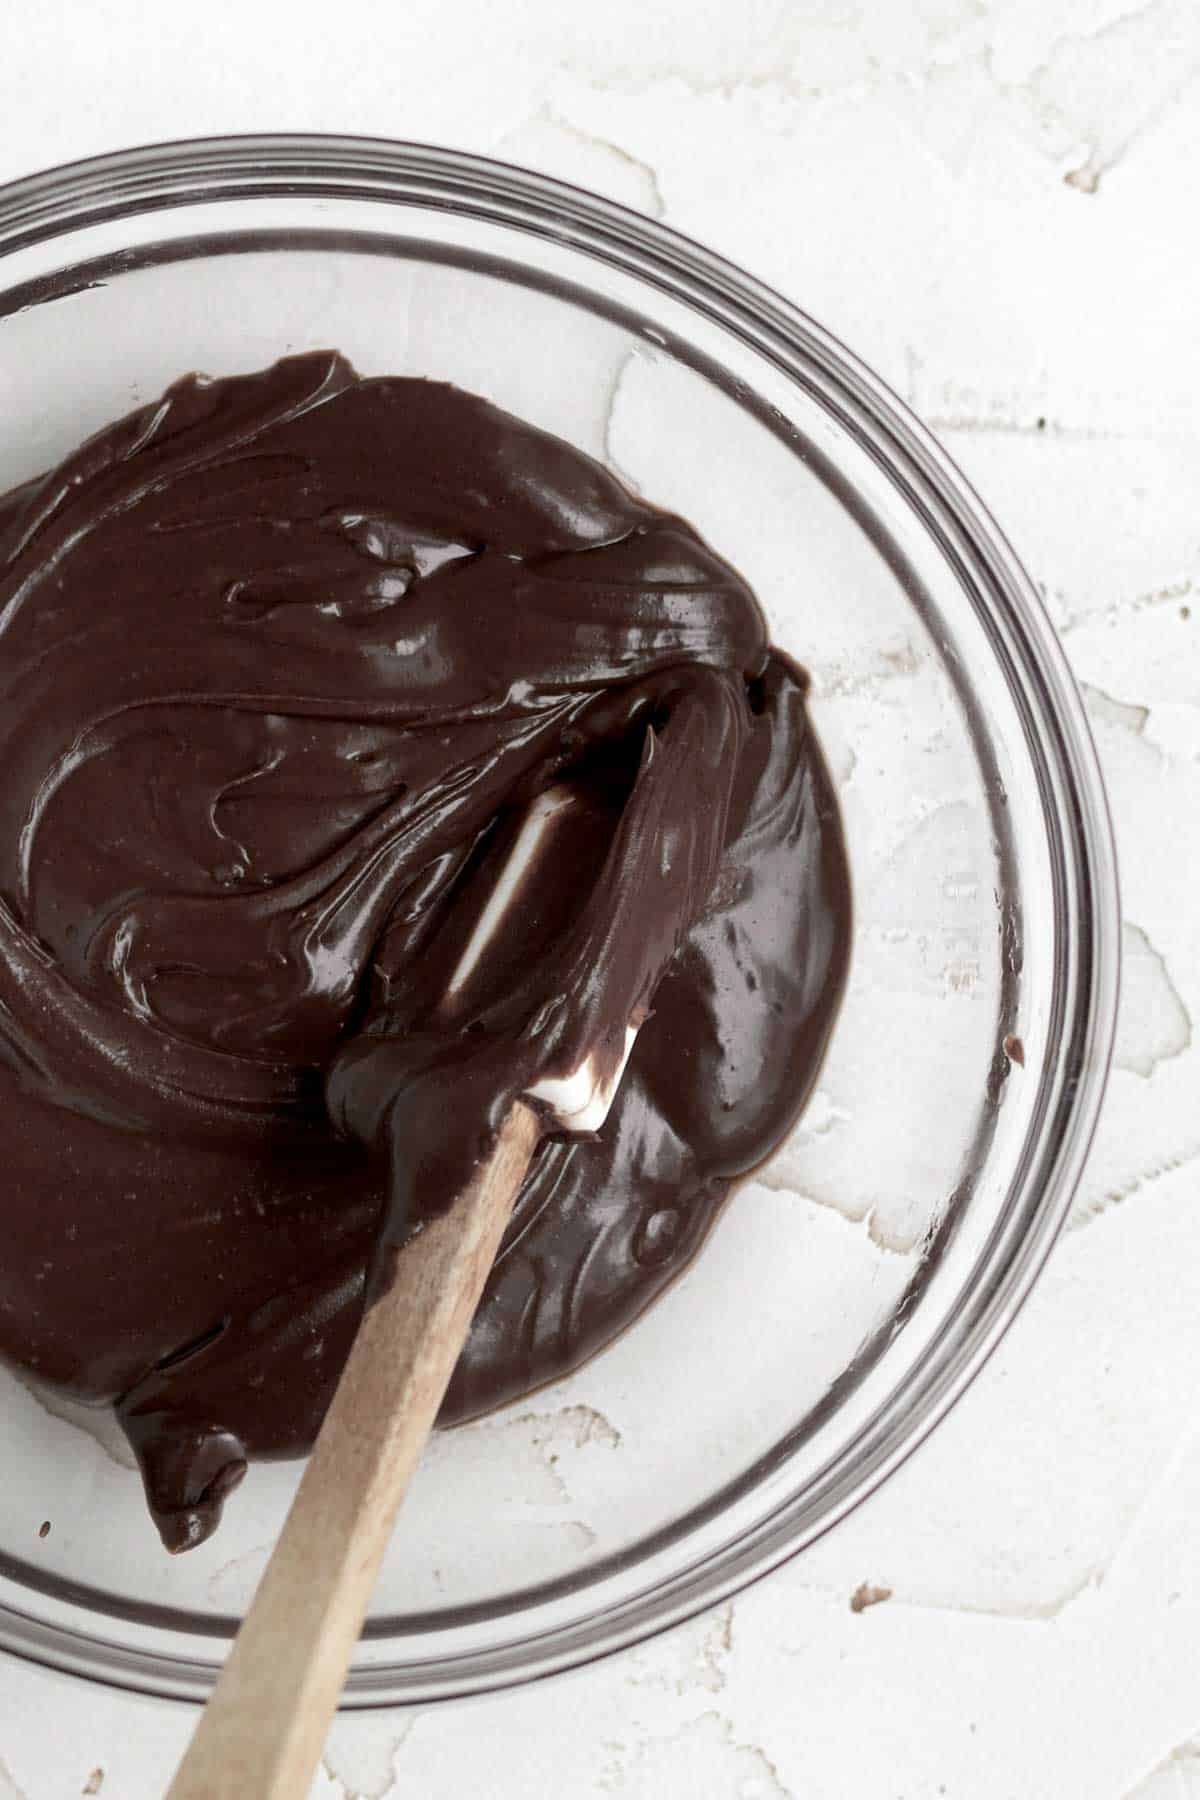
Step 11: Make the Chocolate Icing
In one of the vanilla icing bowls, whisk in the cocoa powder and more water, (½ teaspoon at a time) until the chocolate icing is the same consistency as the white icing.
Place the chocolate chips in a microwave safe bowl. Heat in 11 second increments, stirring after each time until completely melted.
Whisk the melted chocolate chips into the chocolate icing and add more water, (¼ teaspoon at a time) until once again the chocolate icing is the same consistency as the vanilla icing.
If the chocolate icing is too thick, microwave it 5 seconds at a time until it's workable.

Step 12: Spread on the Vanilla Icing
Spread the vanilla icing on half the flat portion of the cooled cookies. Refrigerate for 5 minutes to harden.
Step 13: Spread on the Chocolate Icing
Once the vanilla icing has hardened, spread on the chocolate icing on the other half of the cookies. Once again, microwave the chocolate icing if it is too thick to work with.
Pop the cookies in the fridge again for 5 minutes to let the icing set.
Expert Baking Tips
- Use Packed Cups of Flour- Normally in baking we do not use packed cups however, when working with gluten free, I've found using packed cups works best to help the baked goods keep their shape. For this recipe use packed cups (210 grams).
- Make the Homemade Buttermilk- Measure out ½ cup of milk. Add in ½ tablespoon of white vinegar and stir to combine. Let it sit for 5-10 minutes and then stir again. It will appear chunky and that’s normal.
- Use Room Temperature Butter/ Vegan Baking Stick- Do not use melted butter. Since these cookies have no eggs, if you use melted butter they will spread into a giant mess while baking. If using vegan butter, I would have it be more on the colder side vs room temperature.
- Smooth the Batter- Many gluten free batters have a way of staying exactly as they are placed, when baked. Make sure to smooth the batter with the little knife prior to baking.
- Use 2 Types of Cocoa Powder- The 2 types of cocoa powders give the icing, its dark hue. If you only have one type on hand, use natural unsweetened or dutch...just know the color will not be as dark as mine. Do not use dark alone; it will make your icing too dry and bitter.
- Melt the Chocolate Slowly- Make sure to melt the chocolate chips in a heat safe bowl in the microwave in 11 second increments, stirring after each time. I know it takes way longer this way but if you put the chips in for 30 seconds, the chocolate will seize up and not be a liquid.
- Making The Icings- If the icing appears too watery, add more confectioners’ sugar 1 tablespoon at a time. If it appears too thick, add more water ¼ teaspoon at a time. You want the icings thin enough to spread but thick enough to solidify on the cookies. If the chocolate icing gets too thick, microwave it in 5 second increments, stirring after each time, until workable and thin.
- Cool the Cookies- Popping the cookies in the fridge for 5 minutes after each icing will help prevent the icings from blending into one another.
Recipe FAQs
No. Because it is a batter more like that of a cake and not a dough, I would not make it ahead of time. You want the cookies to puff up and if the batter sits too long, the cookies won't.
Most gluten free baked goods are best made the same day, but you can make these cookies a day before!
Unlike most gluten free cookies, they’re actually so soft they stay fresh for several days. Just make sure the icing has completely solidified prior to storing them.
The cookies seem to have originated here in the states at Glaser's Bake Shop in Manhattan which was owned by Bavarian immigrants in 1902. Sadly the bakery closed in 2018.
Others say the cookies began as half moon cookies in Utica New York at Hemstrought's Bakery. However, half moon cookies have more of a buttercream frosting vs the icing we see on black and white cookies.
Either way, these cookies became a major part Jewish and Italian American Bakeries in New York and became super popular in the 1940s-1950s. While these cookies are still New York staples, today they can be found in bakeries everywhere and even in your local grocery stores!
Storing: Once the icing has hardened, store the cookies in an airtight container (in a single layer) at room temperature for up to 2 days.
Freezing: Place cookies (not stacked) on a parchment lined baking sheet and pop in the freezer uncovered. Freeze for 10-15 minutes or until the cookies are completely frozen. Once frozen, you can store them in a freezer safe airtight container or zip top bag in the freezer for up to 1 month. To defrost, take the container out and leave at room temperature until soft. 1-2 hours.
Make sure the cookies are not stacked when defrosting.

More Classic NYC Recipes You'll Love
Did you try this recipe? Please leave me a ⭐ review below!
Don’t forget to tag me on Instagram @laneandgreyfare and follow along on Pinterest, Facebook and YouTube! Enjoy!!!
📖 Recipe
NYC Black and White Cookies
Ingredients
For the Black and White Cookies
- 1 ¼ cups multipurpose gluten free flour (I use Cup4Cup gluten free multipurpose flour which contains xanthan gum)
- ½ teaspoon baking powder
- ¼ teaspoon baking soda
- ½ teaspoon kosher salt
- ½ cup milk
- ½ tablespoon white vinegar
- 2 rounded tablespoons cornstarch mixed with 3 tablespoons of water
- ⅓ cup unsalted butter or vegan baking stick , room temperature (5 ⅓ tablespoons)
- ½ cup plus 2 tablespoons granulated sugar
- ¾ teaspoon pure vanilla extract
For the Chocolate and Vanilla Icing
- 1 ½ cups confectioners' sugar
- 1 tablespoon light corn syrup
- ½ teaspoon pure vanilla extract
- 4 plus tablespoons of water
- 2 tablespoons cocoa powder (I use 1 tablespoon of Dutch and 1 tablespoon of dark)
- 2 ounces semi sweet chocolate chips , melted
Instructions
For the Black and White Cookies
- Preheat your oven to 350 degrees Fahrenheit and line a baking sheet with parchment paper. Set aside.
- In a medium bowl, whisk together the 1 ¼ cups gluten free flour, ½ teaspoon baking powder, ¼ teaspoon baking soda and ½ teaspoon kosher salt. Set aside.
- In a large measuring cup, measure out ½ cup of milk. Add in ½ tablespoon of the white vinegar and stir. Let sit 5-10 minutes and it will appear chunky. That's normal.
- In a small bowl, using a spoon, mix together the 2 rounded tablespoons of cornstarch and the 3 tablespoons water until thin and watery. It will be thick and tacky at first. Set aside.
- In a large bowl of an electric mixer fitted with the paddle attachment, cream the ½ cup plus 2 tablespoons granulated sugar and ⅓ cup unsalted butter or vegan baking stick together until soft and creamy. About 2 minutes.
- Slowly beat the cornstarch water mixture and the ¾ teaspoon vanilla into the creamed butter and sugar. It will look chunky and that's normal.
- Starting and ending with the gluten free flour mixture, with the mixer on low...pour in some flour then some buttermilk then some flour. You want to start and end with the flour mixture.Once it is all combined, turn off the mixer and use a spatula to scrape the sides of the bowl. You don’t want to over mix this. Just make sure everything is fully combined. Mix until combined and smooth.
- If you have piping bags, put the batter into the bag with a Wilton 2A piping tip. If you don’t have piping bags, put the batter into a zip top bag and snip the corner off.Slowly pipe a tight 3-4 inch spiral on the baking sheet starting with the center of the cookie and moving outward. Pipe no more than 5- 6 cookies about 3-4 inches apart on the parchment lined baking sheet.
- Once the cookies are piped, take a tiny knife, dip it in a glass of water and then shake it off. You want the knife a tiny bit wet to help smooth the sticky batter. Smooth the cookie so you can't see the spiral anymore.
- Bake the cookies for 15 minutes at 350 degrees. The tops of the cookies will puff up into nice domes and the bottoms will be golden brown. Once out of the oven, immediately transfer the cookies to a cooling rack. Once cool, flip the cookies over so the flat side is up.You can pop the cookies in the fridge for 15 minutes to cool and then flip them over when you take them out.
For the Chocolate and Vanilla Icing
- In a medium bowl, whisk together the 1.5 cups confectioners sugar, 1 tablespoon light corn syrup, ½ teaspoon vanilla, the 1 pinch of salt and 1-2 tablespoons water until smooth. Separate the vanilla icing equally into two bowls.
- Whisk in the 2 tablespoons of cocoa powder and more water, (½ teaspoon at a time) until the chocolate icing is the same consistency as the white icing.
- Place the 2 ounces of chocolate chips in a microwave safe bowl. Heat in 11 second increments, stirring after each time until completely melted.Whisk the melted chocolate chips into the chocolate icing and add more water, (¼ teaspoon at a time) until once again the chocolate icing is the same consistency as the vanilla icing.
Assemble the Cookies
- Spread the vanilla icing on half the flat side of the cooled cookie. Repeat with all the cookies and place cookies on a cooling rack. Pop in the fridge for 5 minutes until icing is set.
- Once the vanilla icing has hardened, spread on the chocolate frosting. Pop the cookies in the fridge again for another 5 minutes or until the icing is set.
john says
The icing on these cookies came out perfect!