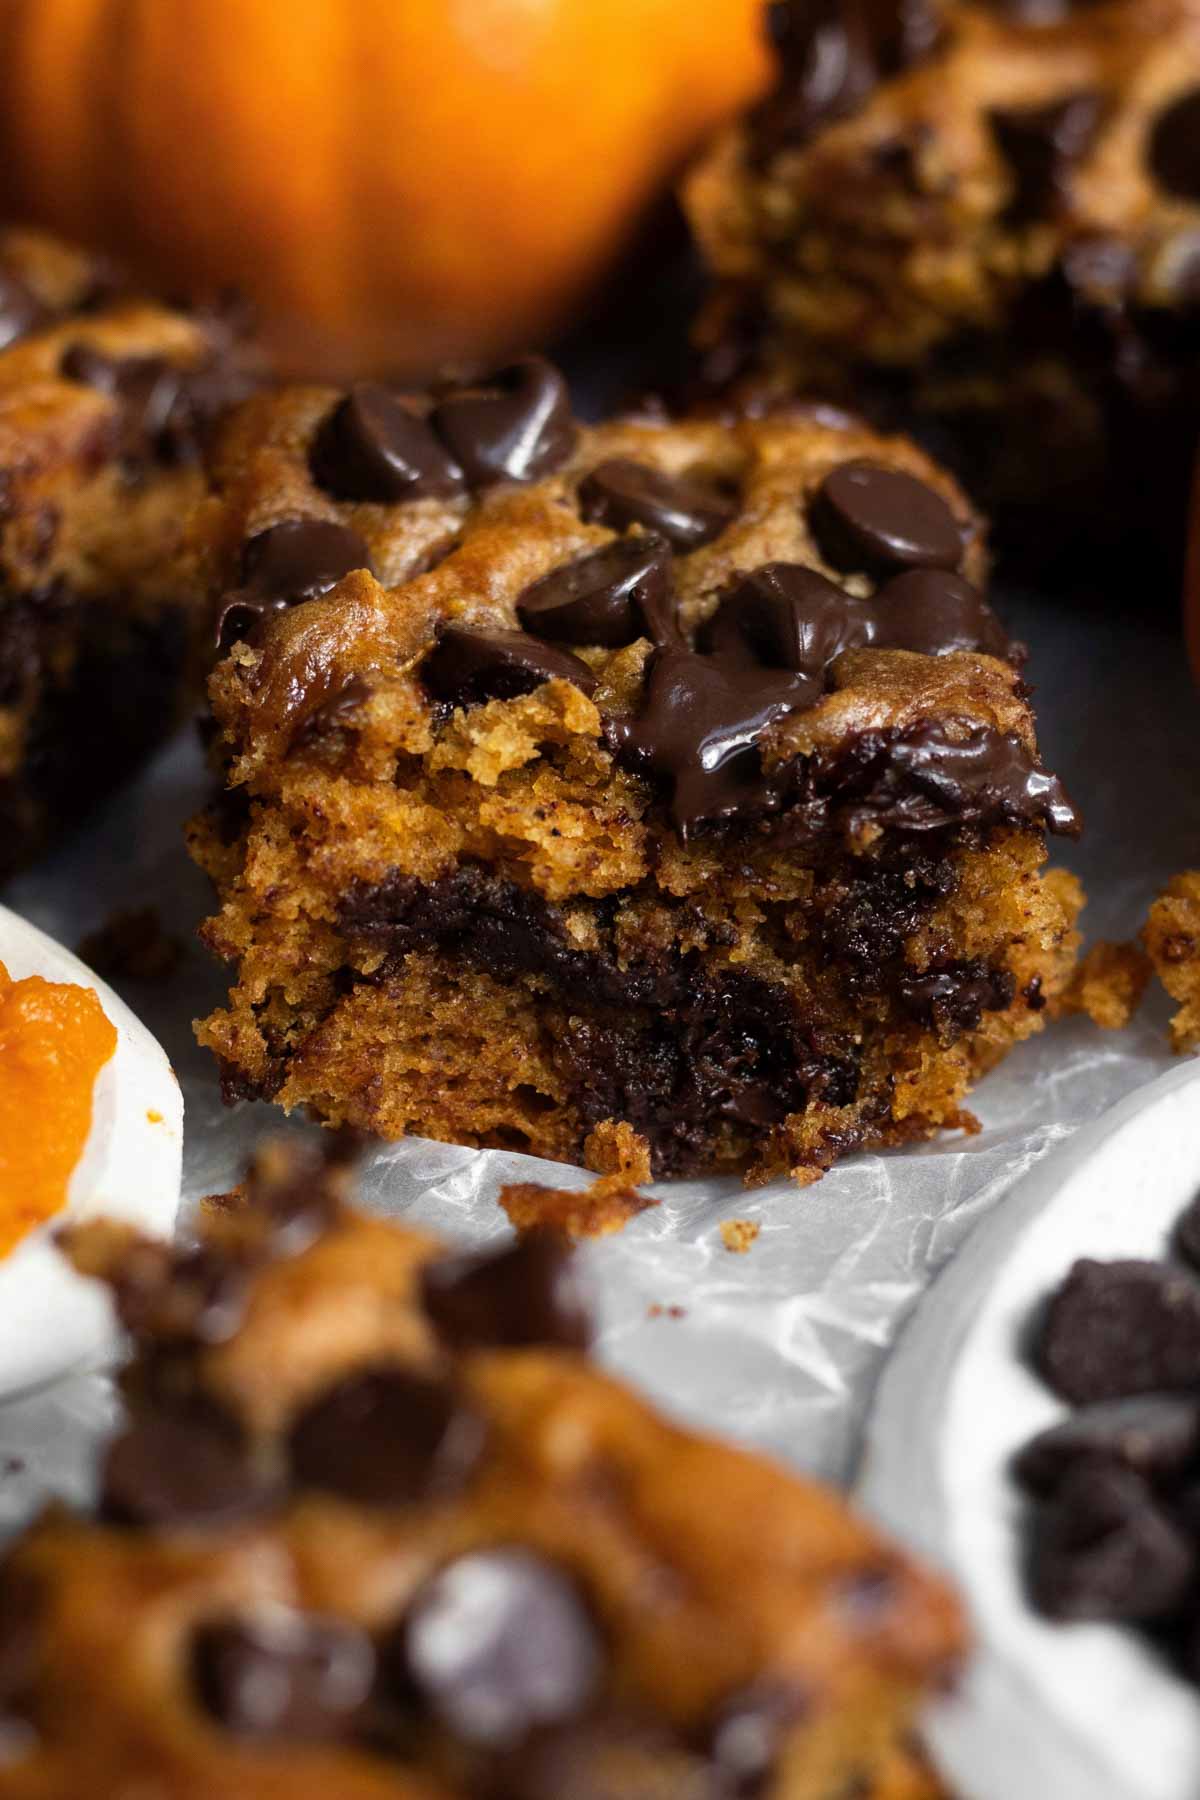
These Chocolate Chip Pumpkin Bars are loaded with pumpkin, cinnamon and chocolate! They're like a blondie texture and are the perfect blend of spice and richness! Even better, these cozy beauties are gluten free, nut free, eggless and can easily be vegan! Cut them into tiny squares, long rectangles or large squares; whatever your heart desires!
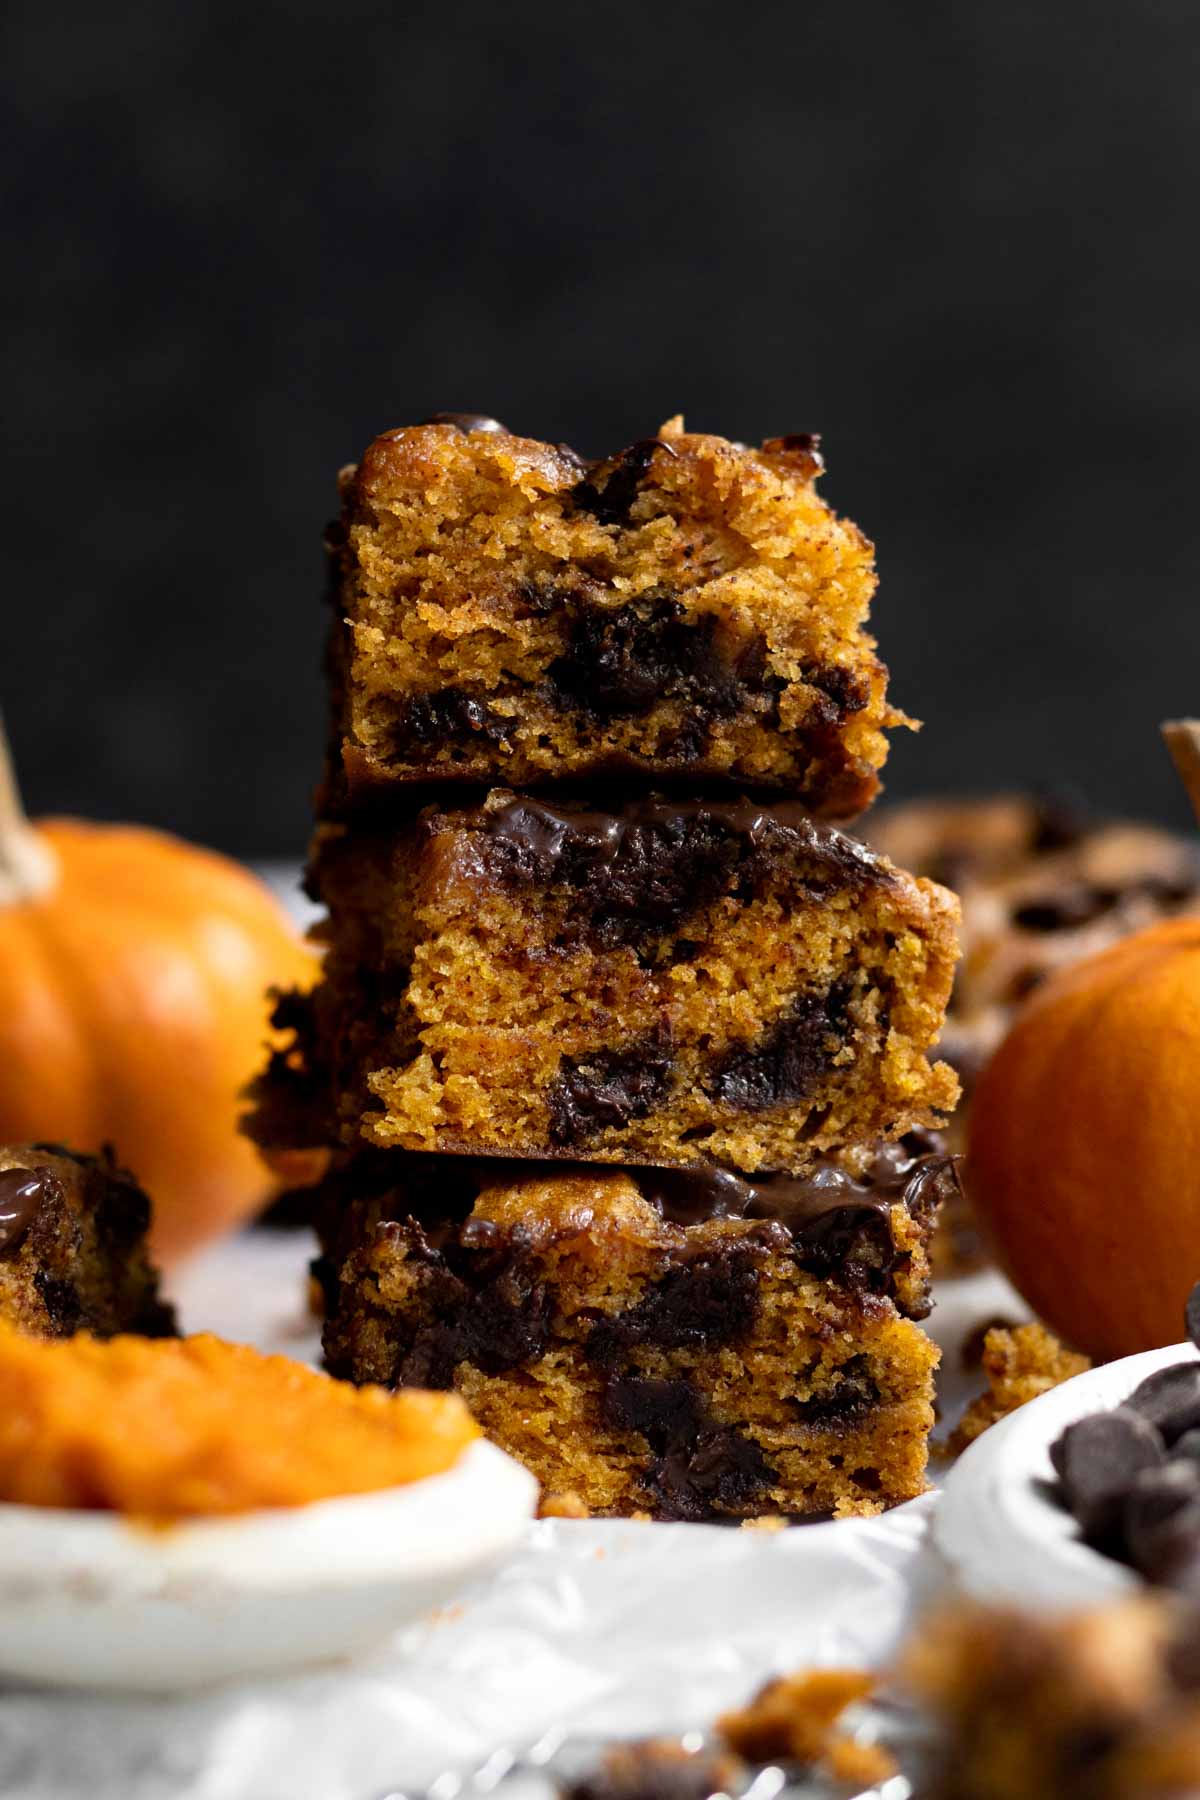
These Chocolate Chip Pumpkin Bars may be my new favorite thing to eat! They are so simple to make and are the most perfect cozy snack or dessert! This recipe makes 28 small gluten free pumpkin bars and my kids and I ate them in 2 days!
For more pumpkin recipes, try my Pumpkin Cupcakes, my Pumpkin Snickerdoodle Cookies, my Pumpkin Chocolate Chip Cookies or my Pumpkin Sugar Cookies.
Reasons to Love These Bars
- Allergy Friendly- These bars are gluten free, nut free, egg free and can easily be dairy free (vegan)!
- Soft & Fluffy- The pumpkin chocolate chip bars are super soft and delicious.
- Easy to Make- The batter mixes up in less than 20 minutes like my Eggless Brownies!
- Loaded with Chocolate Chips- Each bite of these bars is full of chocolate chips just like in my Bakery Style Chocolate Chip Muffins.
- Autumn Flavors- The cinnamon mixed with the pumpkin remind us of fall!
Ingredient Notes
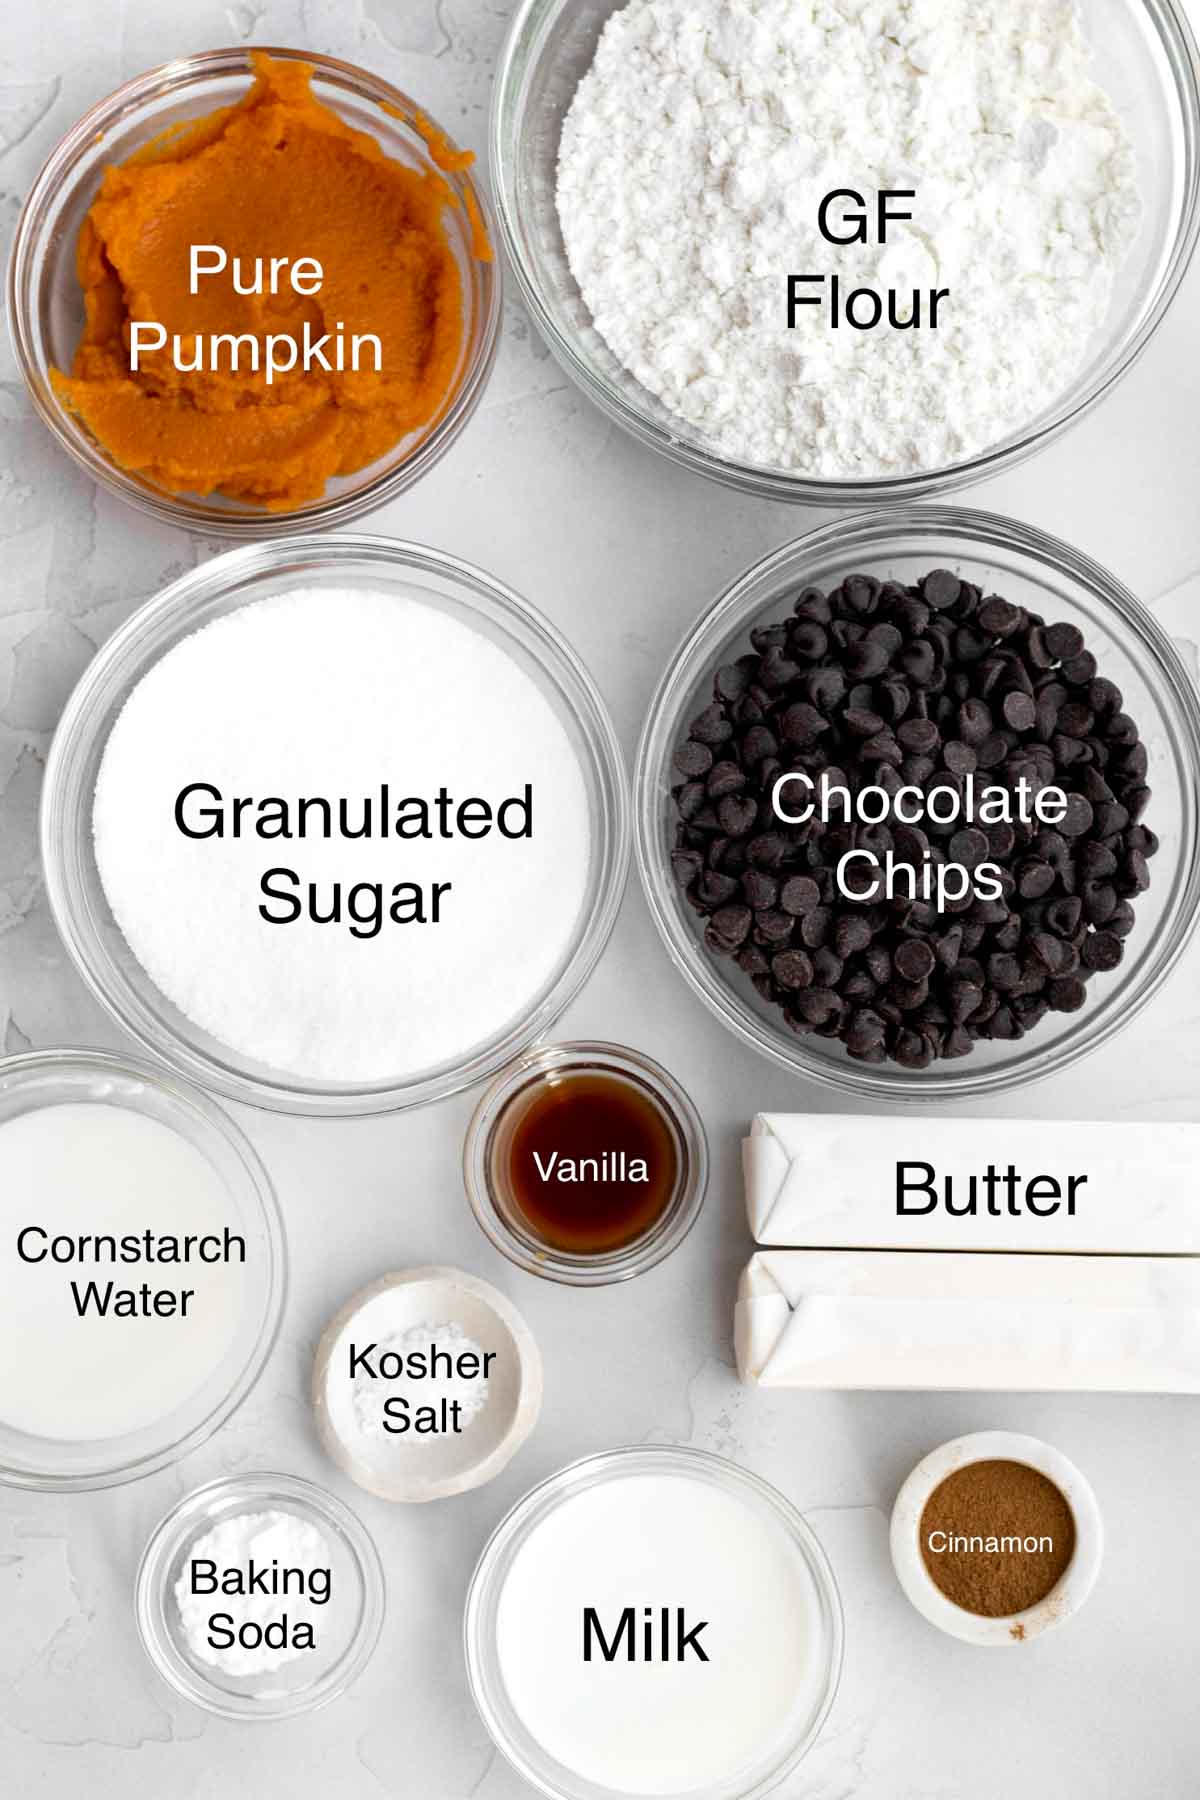
- Gluten Free Flour- If you also have nut allergies, make sure to use a brand that’s made in a nut free facility. I really love to use this gluten free flour because it’s free of the top 9 allergens. It also contains xanthan gum which really helps give baked goods their bounce and prevents them from falling apart.
- Cinnamon- Brings out those amazing fall flavors!
- Unsalted Butter or Vegan Baking Stick- Don’t use melted or softened; we want to cream it together with the sugar. Only use room temperature. If using vegan butter, make sure it's more on the cold side versus room temperature.
- Cornstarch and Water- These are eggless bars so this mixture helps bind everything together.
- Granulated Sugar- I would not use light brown sugar; the granulated sugar helps the bars keep that orange hue. Also, there is enough moisture in the bars due to the pumpkin.
- Pure Pumpkin- Make sure to use only canned pure pumpkin, not pumpkin pie filling. I like Libby's brand and also use it in my Gluten Free Pumpkin Muffins!
- Milk- If there are no dairy allergies or if you’re not vegan, you can use regular whole milk. For non dairy, use a non dairy milk of your choosing.
- Pure Vanilla Extract- Make sure you only use pure extract. A vanilla extract that isn't pure will give each pumpkin bar a chemical taste.
- Chocolate Chips- To keep vegan, make sure to use gluten free/vegan chocolate chips. I love these allergy friendly chocolate chips. Or you can use white chocolate chips like in my Chocolate Chip and White Chocolate Chip Cookies.
See my recipe card below for a complete list of the ingredients with measurements.
Substitutions and Variations
How to Make these Vegan
- Use a gluten free flour that’s free from dairy.
- Make sure the brand of sugar you use is vegan.
- Use vegan baking sticks instead of butter.
- Only use a non dairy milk of choice.
Make this Recipe with All Purpose Flour
- Use 1 ¾ packed cups of regular flour (294 grams).
This recipe has not been tested with all of these substitutions and/or variations due to celiac disease and food allergies. If you change any of the ingredients, please let us know how the recipe turned out in the comments below!

How to Make Chocolate Chip Pumpkin Bars
Here are the step by step instructions to make these pumpkin bars!
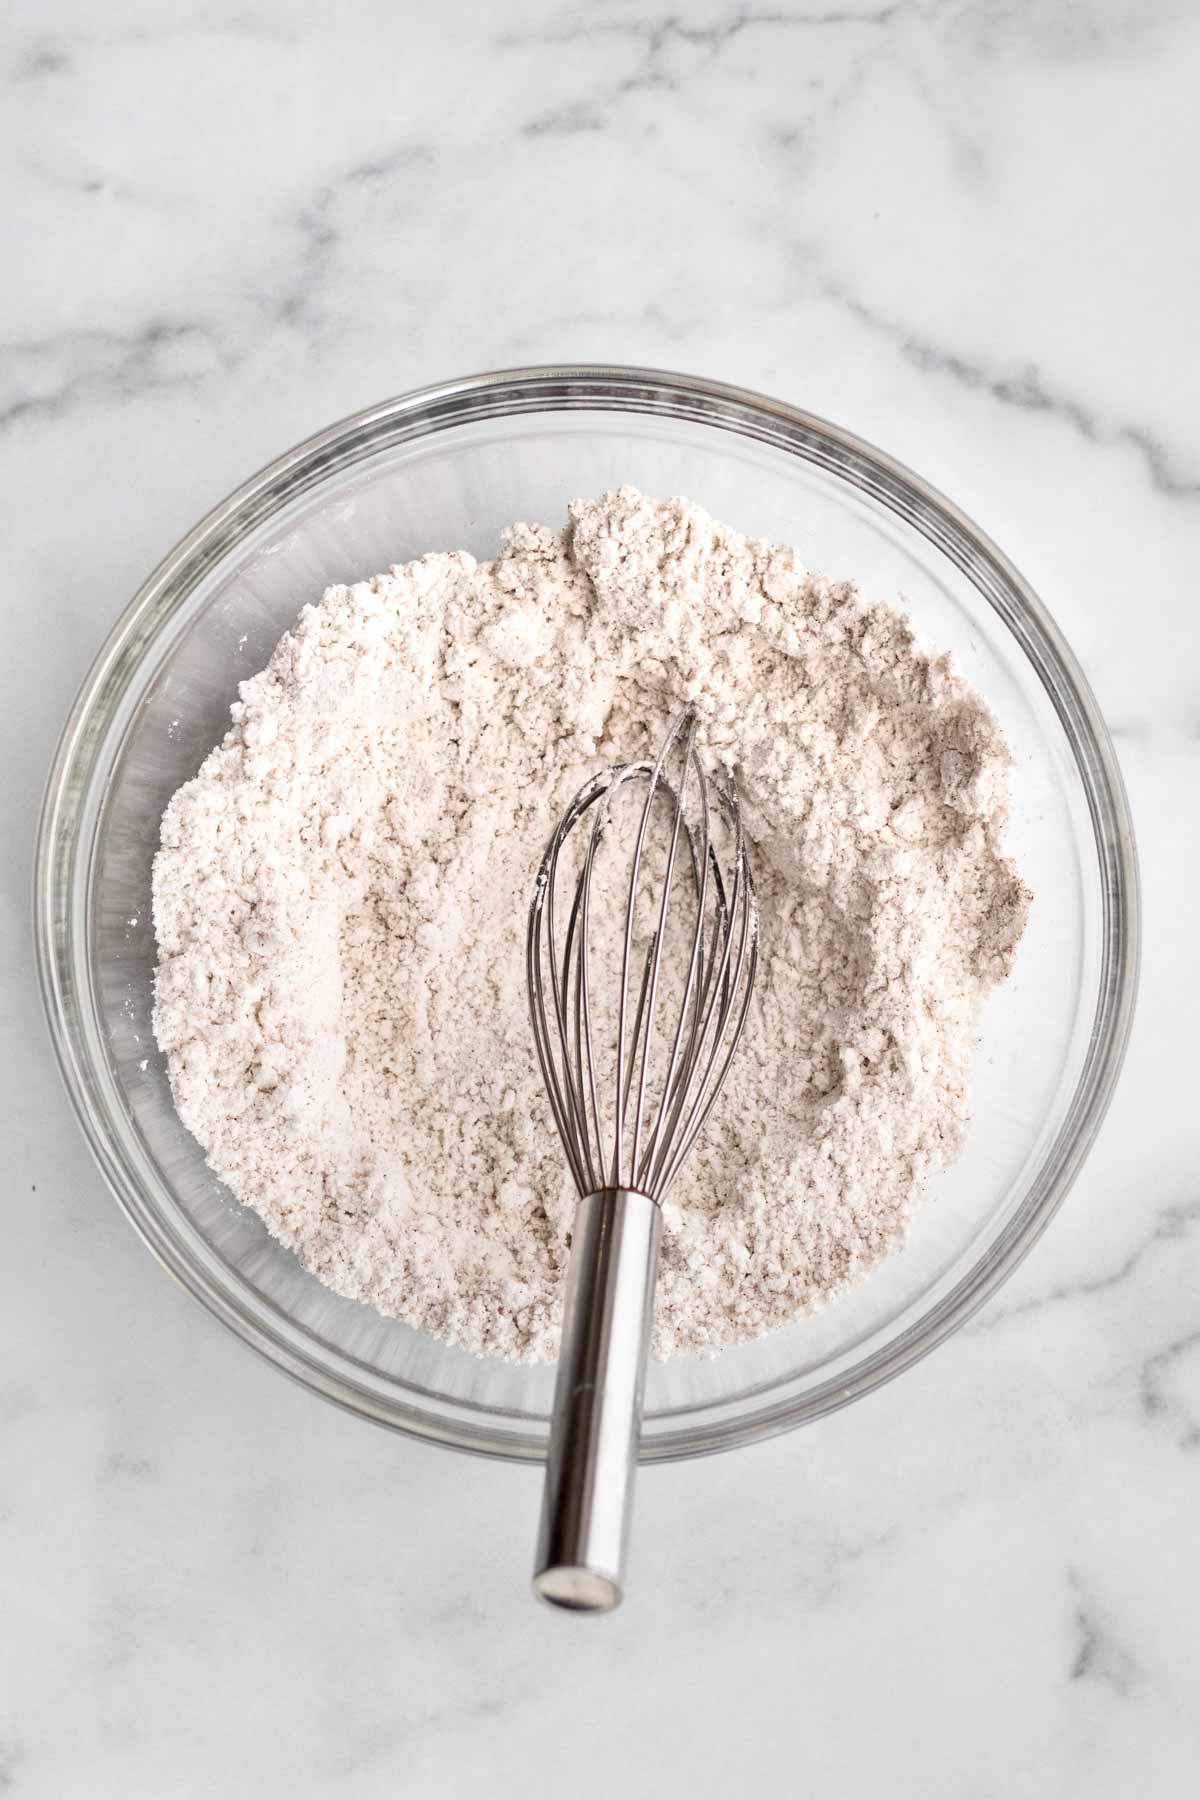
Step 1: Whisk Together the Dry Ingredients
In a large bowl, whisk together the gluten free flour, the baking soda, cinnamon and salt. Set aside.
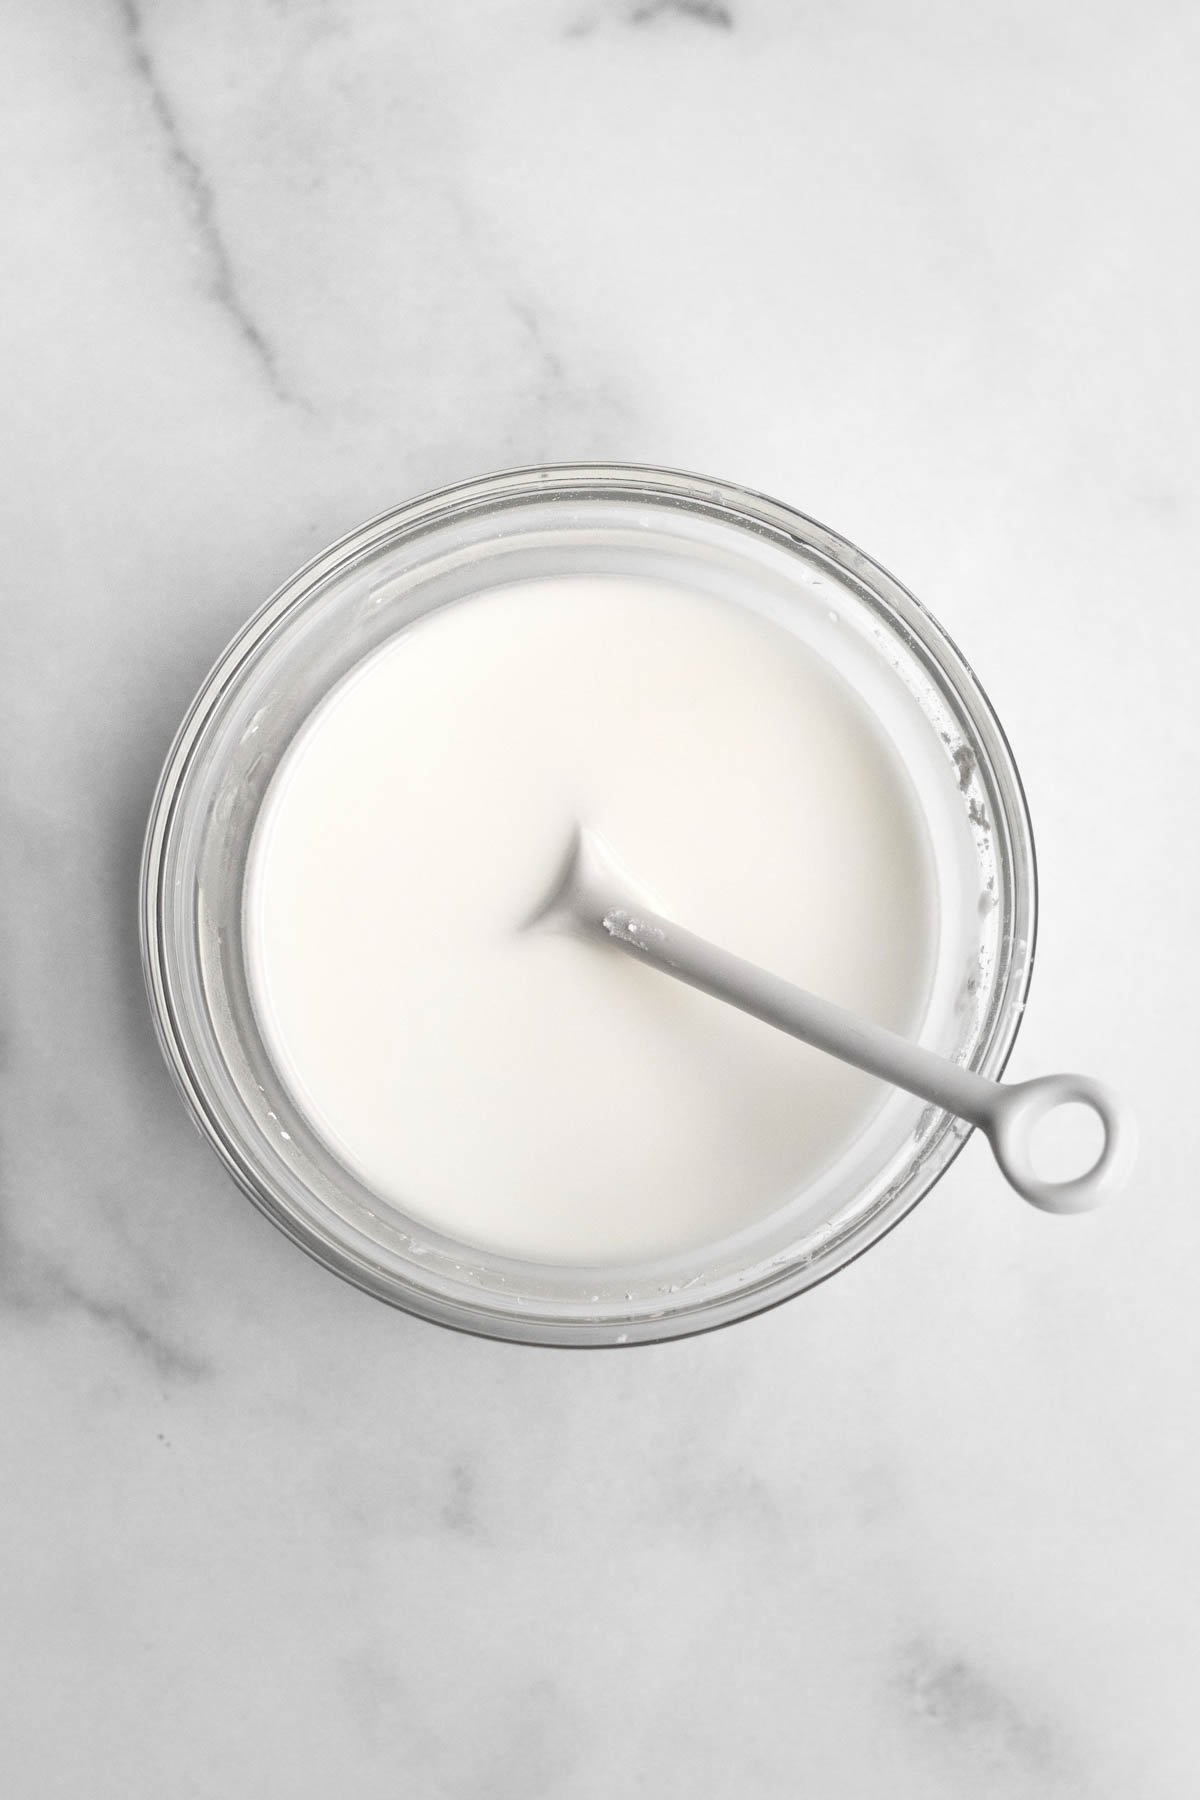
Step 2: Make the Cornstarch Water
In a small bowl, using a spoon, combine the cornstarch and water until it is thin and watery. It will be thick and tacky at first. Set aside
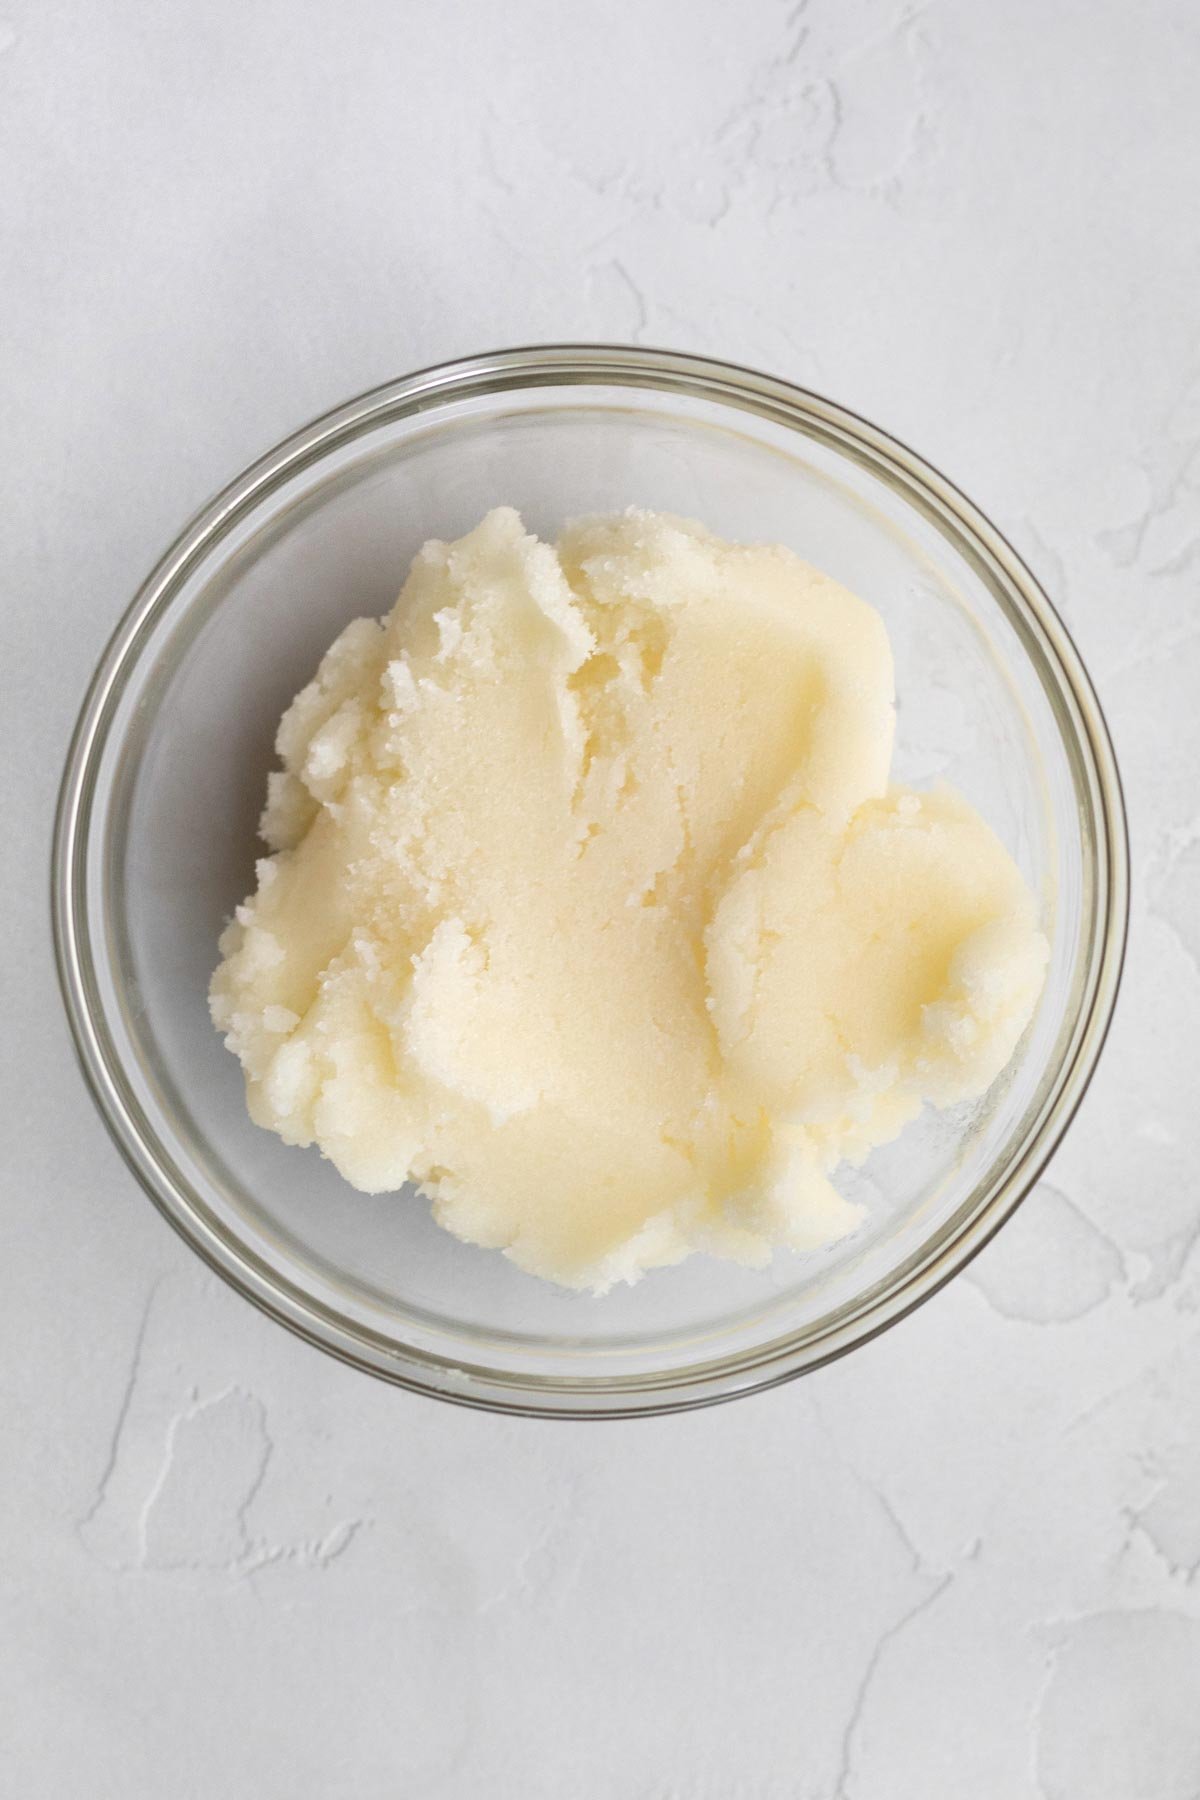
Step 3: Cream the Butter and Sugar
In a large bowl of an electric mixer fitted with the paddle attachment, beat the butter and the sugar until it is soft and creamy. About 2 minutes.
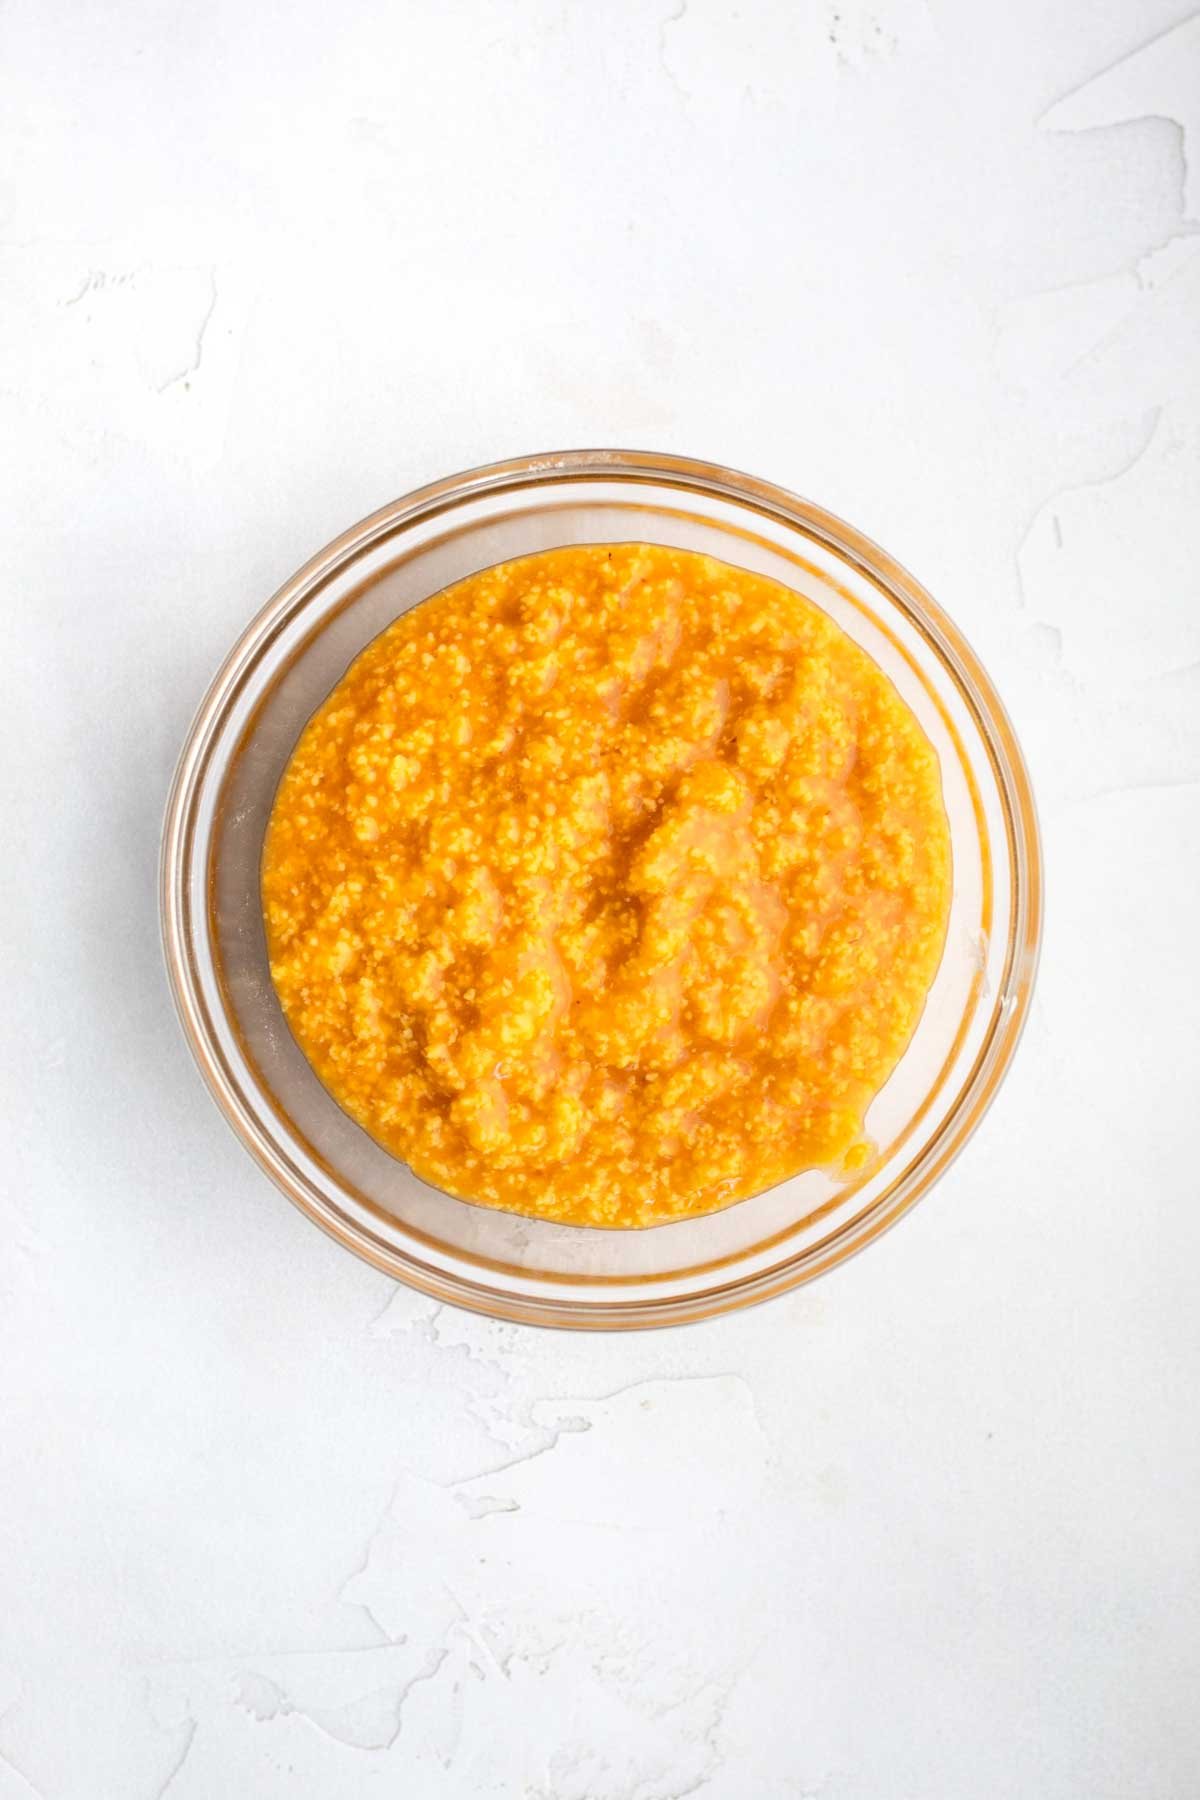
Step 4: Add in Wet Ingredients
Slowly beat the pumpkin into the creamed butter and sugar.
With the mixer still on low speed, add in cornstarch water, milk and vanilla. The mixture will look chunky; that's normal.
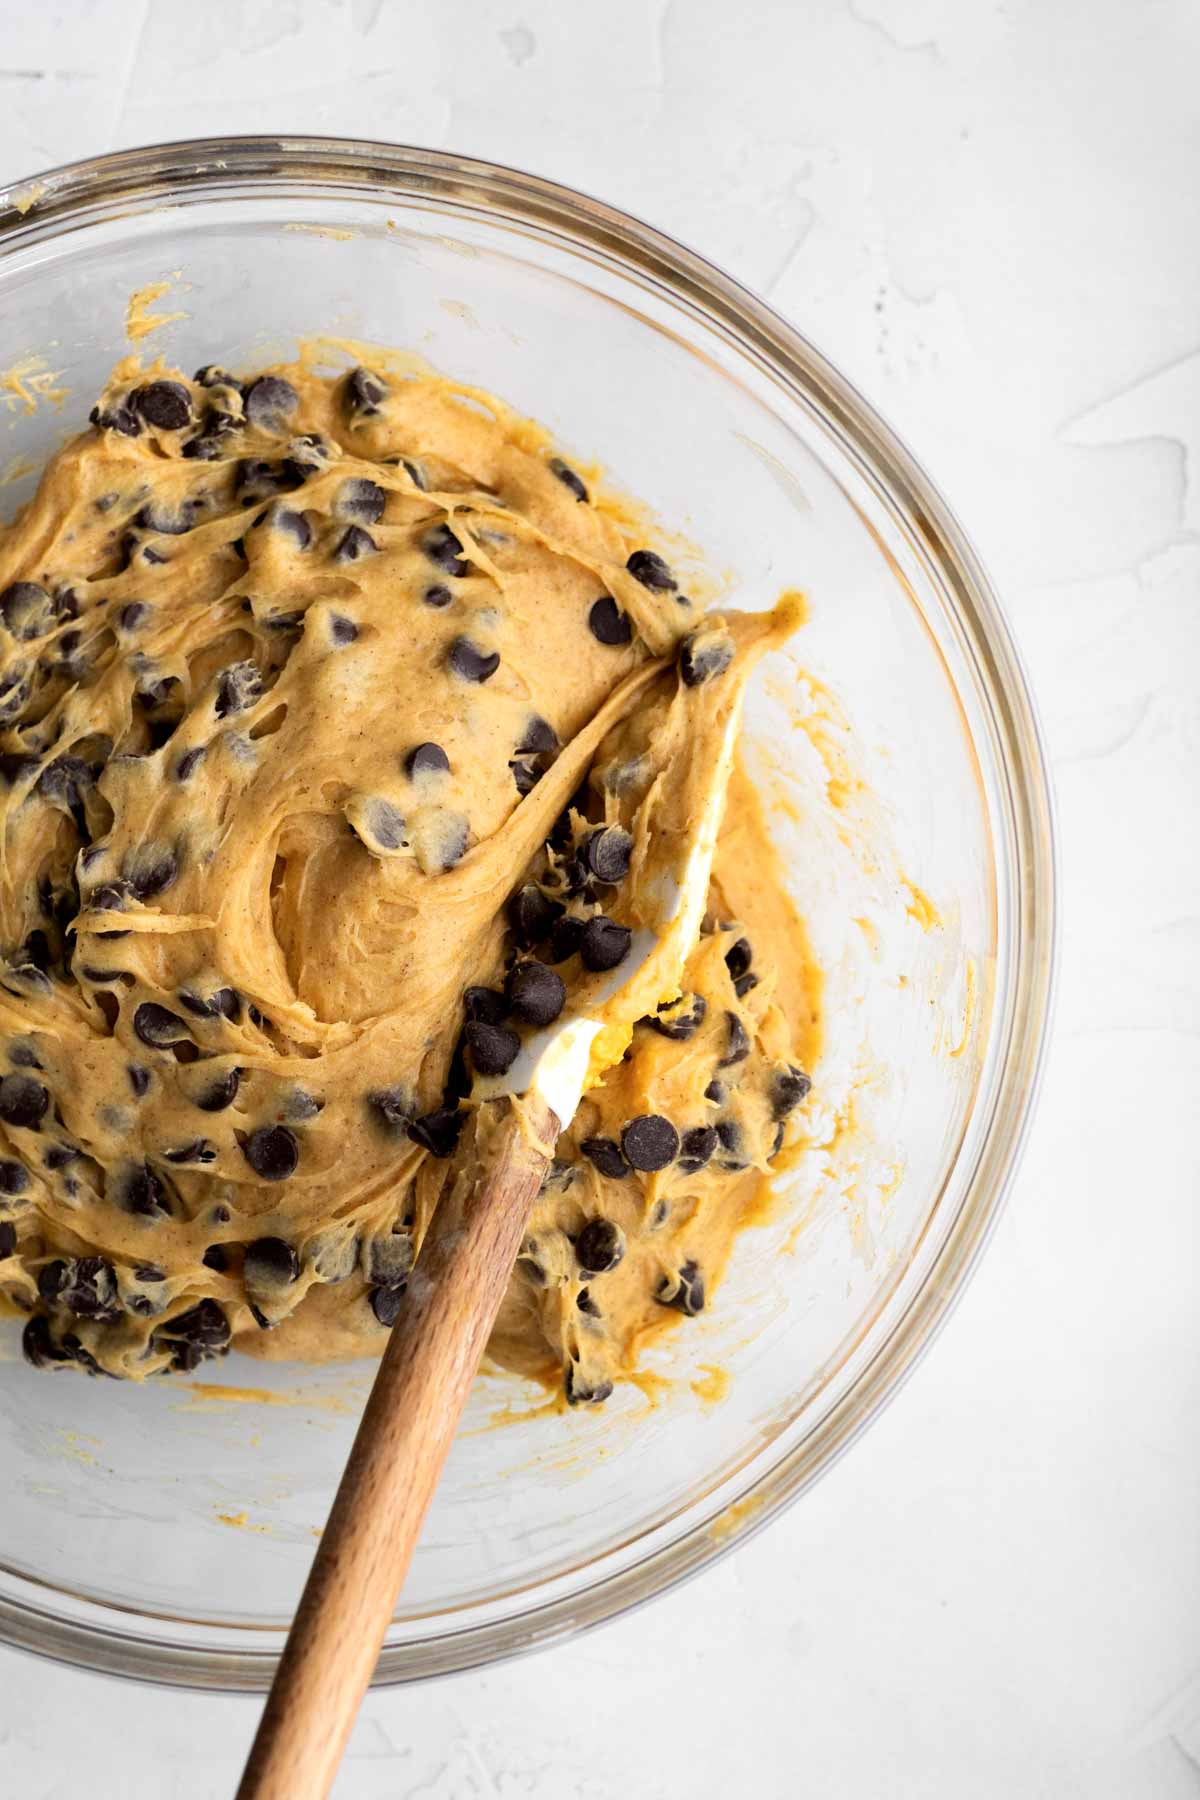
Step 5: Add in the Dry Ingredients and Chocolate Chips
Slowly mix in the gluten free flour mixture a little at a time until all combined.
Once it is combined, turn off the mixer and use a spatula to scrape the sides of the bowl and fold in the chocolate chips.
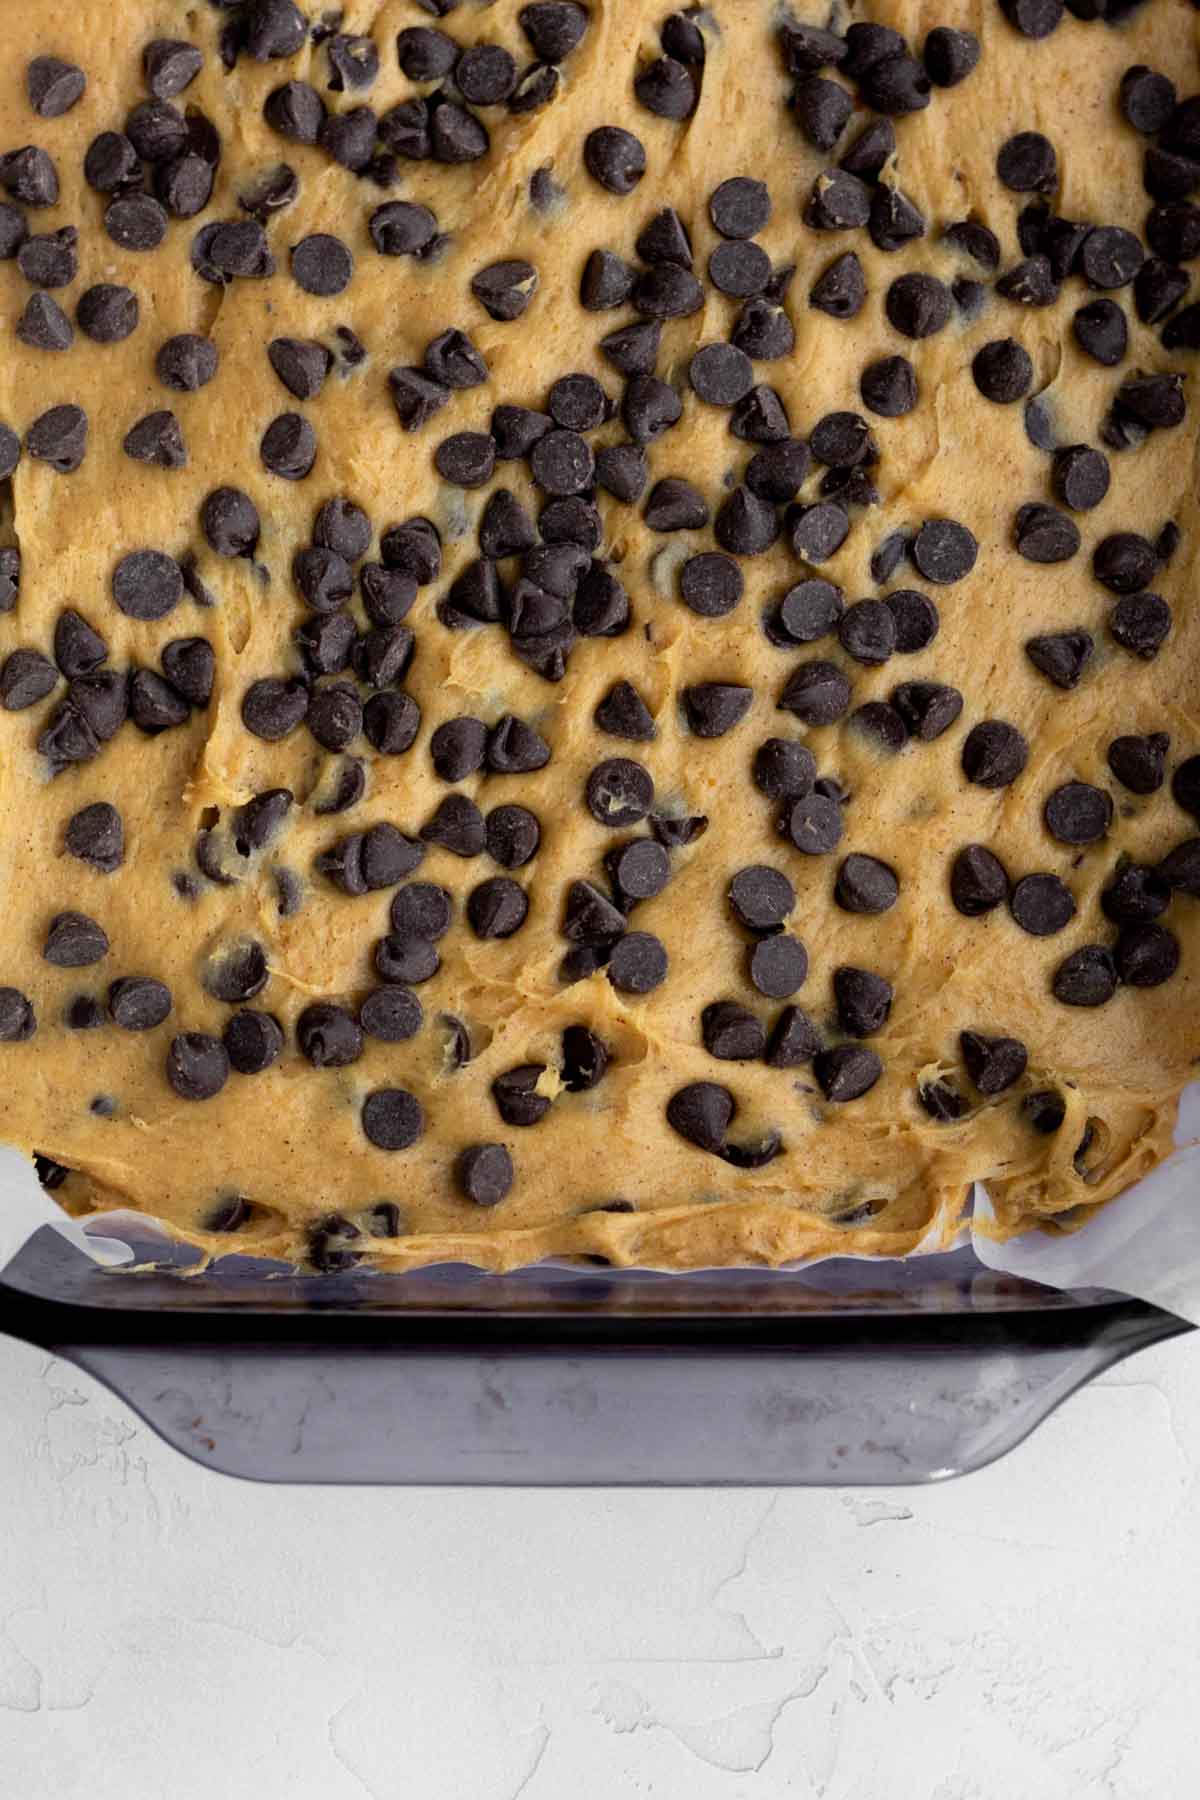
Step 6: Scoop the Batter into the Pan and Top with More Chocolate Chips
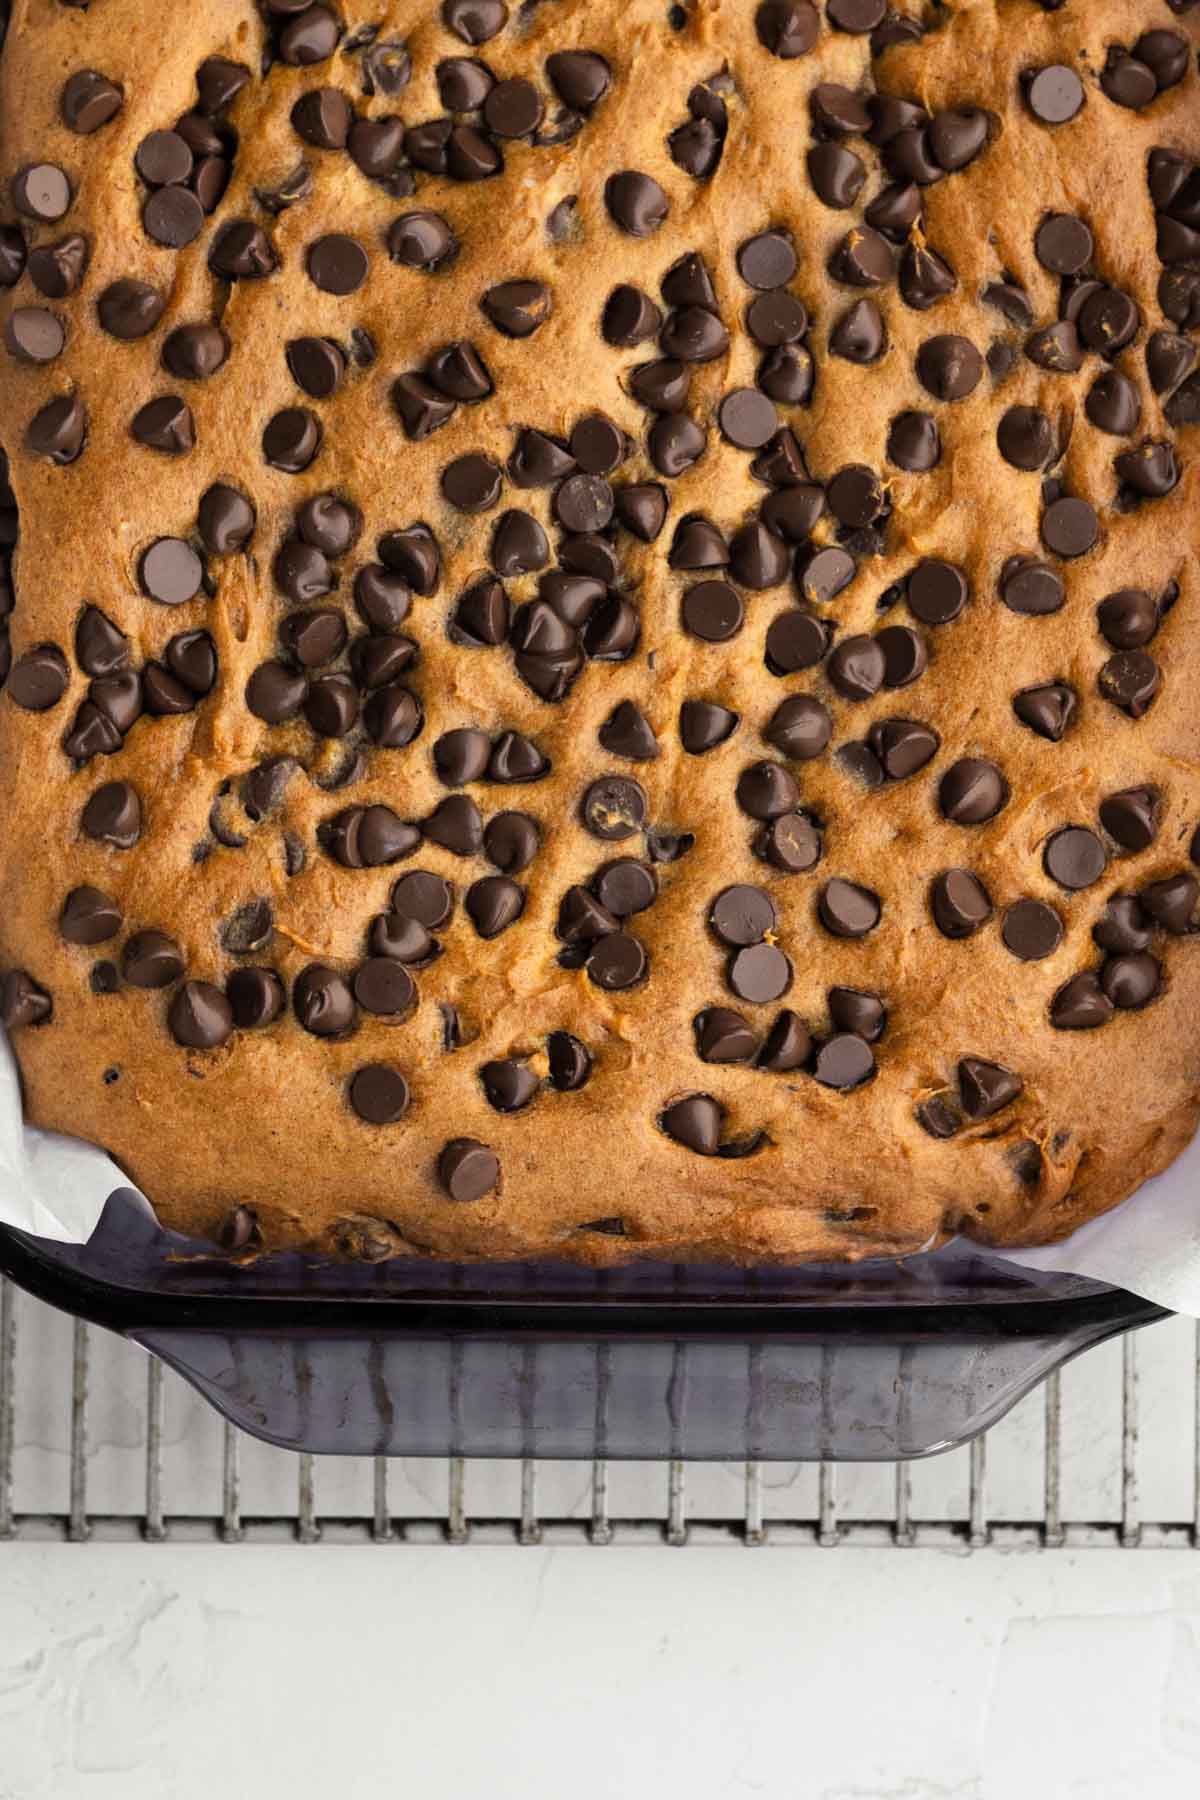
Spoon the batter into your parchment lined and greased 9 x 13 baking dish and use a spatula to press the batter down into the shape of the pan. Then use a butter knife or a small icing spatula to spread the batter around. You should end up with a smooth even layer of batter.
Sprinkle the remaining chocolate chips on top of the batter. Gently push down on the chips to make sure they stick to the batter.
Step 7: Bake and Let Cool
Bake the bars in the center rack of the oven at 350 degrees Fahrenheit for 37 minutes.
Cool almost completely in the pan before trying to remove them.
After they cool, use the parchment overhang to lift onto a cooling rack and let them cool completely before slicing.

Step 8: Slice
Slice the bars into big squares, tiny squares, large rectangles or small rectangles...whatever your heart desires. I slice them into 28 squares.
Expert Baking Tips
- Use Packed Cups of Flour- Normally in baking we do not use packed cups however, when working with gluten free, I've found using packed cups works best to help the baked goods keep their shape. Or read the gram measurement.
- Use Parchment Paper- Make sure to use enough parchment paper so there is about a ½ inch overhang on either long side of the 9 x 13 inch pan. You will use the overhang to lift the bars out of the pan once they have cooled. Eggless pumpkin bars can be crumbly and this helps prevent them from getting stuck in the pan.
- Use a Butter Knife- The batter is so super thick that it appears almost as though it is a wet cookie dough. Use a butter knife or small icing spatula to spread it into the pan. You should end up with a smoother layer of batter.
- Let Them Cool- When the bars come out of the oven, allow the them to cool completely before lifting them out of the pan using the parchment paper tabs. If you try to lift them out too soon, I promise the entire thing will fall apart into a messy (yet still delicious) pile.
Recipe FAQs
You can, but they are freshest the first day. If making them ahead of time, make them the night before and store them in an airtight container or wrapped in foil and then placed in a ziptop bag at room temperature.
Even though pumpkin bars may taste like pumpkin cake, these are not the same. Mine are more like a blondie consistency than a cake or cookie consistency. For this recipe I took my pumpkin chocolate chip cookie recipe and made some changes to make it sturdier but it's much different than my pumpkin cupcakes or pumpkin bread recipe.
Keep the extra bars in an airtight container at room temperature. If you don’t have an airtight container that fits them all, wrap any extras in aluminum foil and place in a zip top bag, for up to 3 days.
If you want the chocolate all gooey, warm each pumpkin bar in the microwave for 5-10 seconds prior to eating; be careful not to burn your mouth.
Wrap each individual pumpkin chocolate chip bar in aluminum foil and then place them all in a zip top bag for up to 30 days.
Thaw on the counter for about 2 hours before eating or until the bars are room temperature and soft.
If you want them warmer and softer, heat each bar for 5-10 seconds in the microwave after taking them out of the foil. Be careful not to burn your mouth.
Other Pumpkin Recipes You'll Love
Did you try this recipe? Please leave me a ⭐ review below!
Don’t forget to tag me on Instagram @laneandgreyfare and follow along on Pinterest, Facebook and YouTube! Enjoy!!!
📖 Recipe
Chocolate Chip Pumpkin Bars
Ingredients
- 1 ¾ cups gluten free flour (I use a gluten free multipurpose flour with xanthan gum already in it)
- 1 teaspoon baking soda
- 1.5 teaspoons ground cinnamon
- ½ teaspoon kosher salt
- ¾ cup unsalted butter or vegan baking sticks, room temperature
- 1 ¼ cups granulated sugar
- ¾ cup pure pumpkin
- 2 heaping tablespoons cornstarch mixed with 3 tablespoons water
- 4 tablespoons milk
- 1.5 teaspoons pure vanilla extract
- 2 cups semi sweet chocolate chips , ½ cup kept separate for sprinkling
Instructions
- Preheat the oven to 350 degrees. Lightly grease a 9 x 13 inch baking pan with vegetable oil. Line with parchment paper and lightly grease again. Make the parchment paper long enough so there is about a ½ inch overhang on each side so that you can lift the bars out easily once they have cooled.
- In a large bowl, whisk together the 1 ¾ cups gluten free flour, the 1 teaspoon baking soda, 1.5 teaspoons cinnamon and ½ teaspoon kosher salt. Set aside.
- In a small bowl, using a spoon, combine the 2 heaping tablespoons (26 grams) cornstarch and 3 tablespoons water until it is thin and watery. It will be thick and tacky at first. Set aside.
- In a large bowl of an electric mixer fitted with the paddle attachment, beat the ¾ cup unsalted butter or vegan baking stick and the 1 ¼ cups granulated sugar until it is soft and creamy. About 2-3 minutes.
- Slowly beat the ¾ cup pumpkin into the creamed butter and sugar. With the mixer still on low speed, add in cornstarch water, the 4 tablespoons milk and 1.5 teaspoons vanilla. The mixture will look chunky. That's normal.
- Slowly mix in the gluten free flour mixture a little at a time until all combined.Once it is combined, turn off the mixer and use a spatula to scrape the sides of the bowl.
- Use a spatula to fold in 1.5 cups of chocolate chips. You don’t want to over mix this. Just make sure everything is fully combined. The batter will be sticky.
- Spoon the batter into your parchment lined and greased 9 x 13 baking dish and use a spatula to press the batter down into the shape of the pan. Then use a butter knife or a small icing spatula to spread around. You should end up with a smooth even layer of batter.
- Sprinkle the remaining chocolate chips on top of the batter. I use an additional ½ cup but feel free to use much less. Gently push down on the chips to make sure they stick to the batter.
- Bake the bars in the center rack of the oven at 350 degrees Fahrenheit for 37 minutes. Let the pumpkin chocolate chip bars cool almost completely in the pan before trying to remove them, otherwise they will break apart into a giant mess.After they cool, use the parchment overhang to lift onto a cooling rack and let them cool completely before slicing.
- Slice the bars into big squares, tiny squares, large rectangles or small rectangles...whatever your heart desires. I slice them into 28 squares.

Gabi says
These pumpkin bars were so good and convenient! They lasted me a couple days too which was so nice! Do you have any other breakfast bar type recipes because these were wonderful!!:)
Lee says
Hi Gabi! Thank you so much! So glad you liked them! I don't have any other bfast bars yet but I do have breads/loafs and lots of muffin recipes! They're super simple and most don't require a mixer of any kind! Hope that helps!
Taylor says
These came out perfectly. Your recipes are the best!
Heather says
What do you substitute for milk to make it dairy free? I’d love to make these for my friend but she has a dairy allergy. I read the vegan/butter substitution but didn’t see one for milk, or did I miss it?
Lee says
Hi there! I would ask her what dairy free milk she uses! Or if she doesn't have a nut allergy, I used to use original almond breeze almond milk in my recipes before my son was born (he has a nut allergy). That always worked really well for me. Hope that helps!
John says
These pumpkin bars are so dense and delightful!