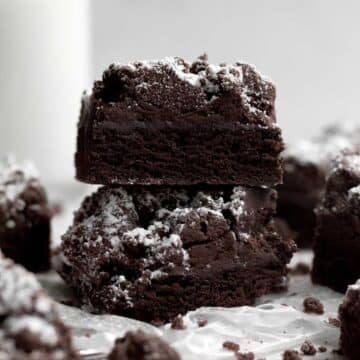
This Chocolate Crumb Cake has all the amazing qualities of New York Crumb Cake: the light cake, the buttery mountain of crumbs, the top layer of confectioners’ sugar...except this time both the cake and the crumbs have cocoa powder added! It could not be more incredible! If that wasn't enough, this mini chocolate cake is gluten free, nut free, eggless and can easily be vegan!
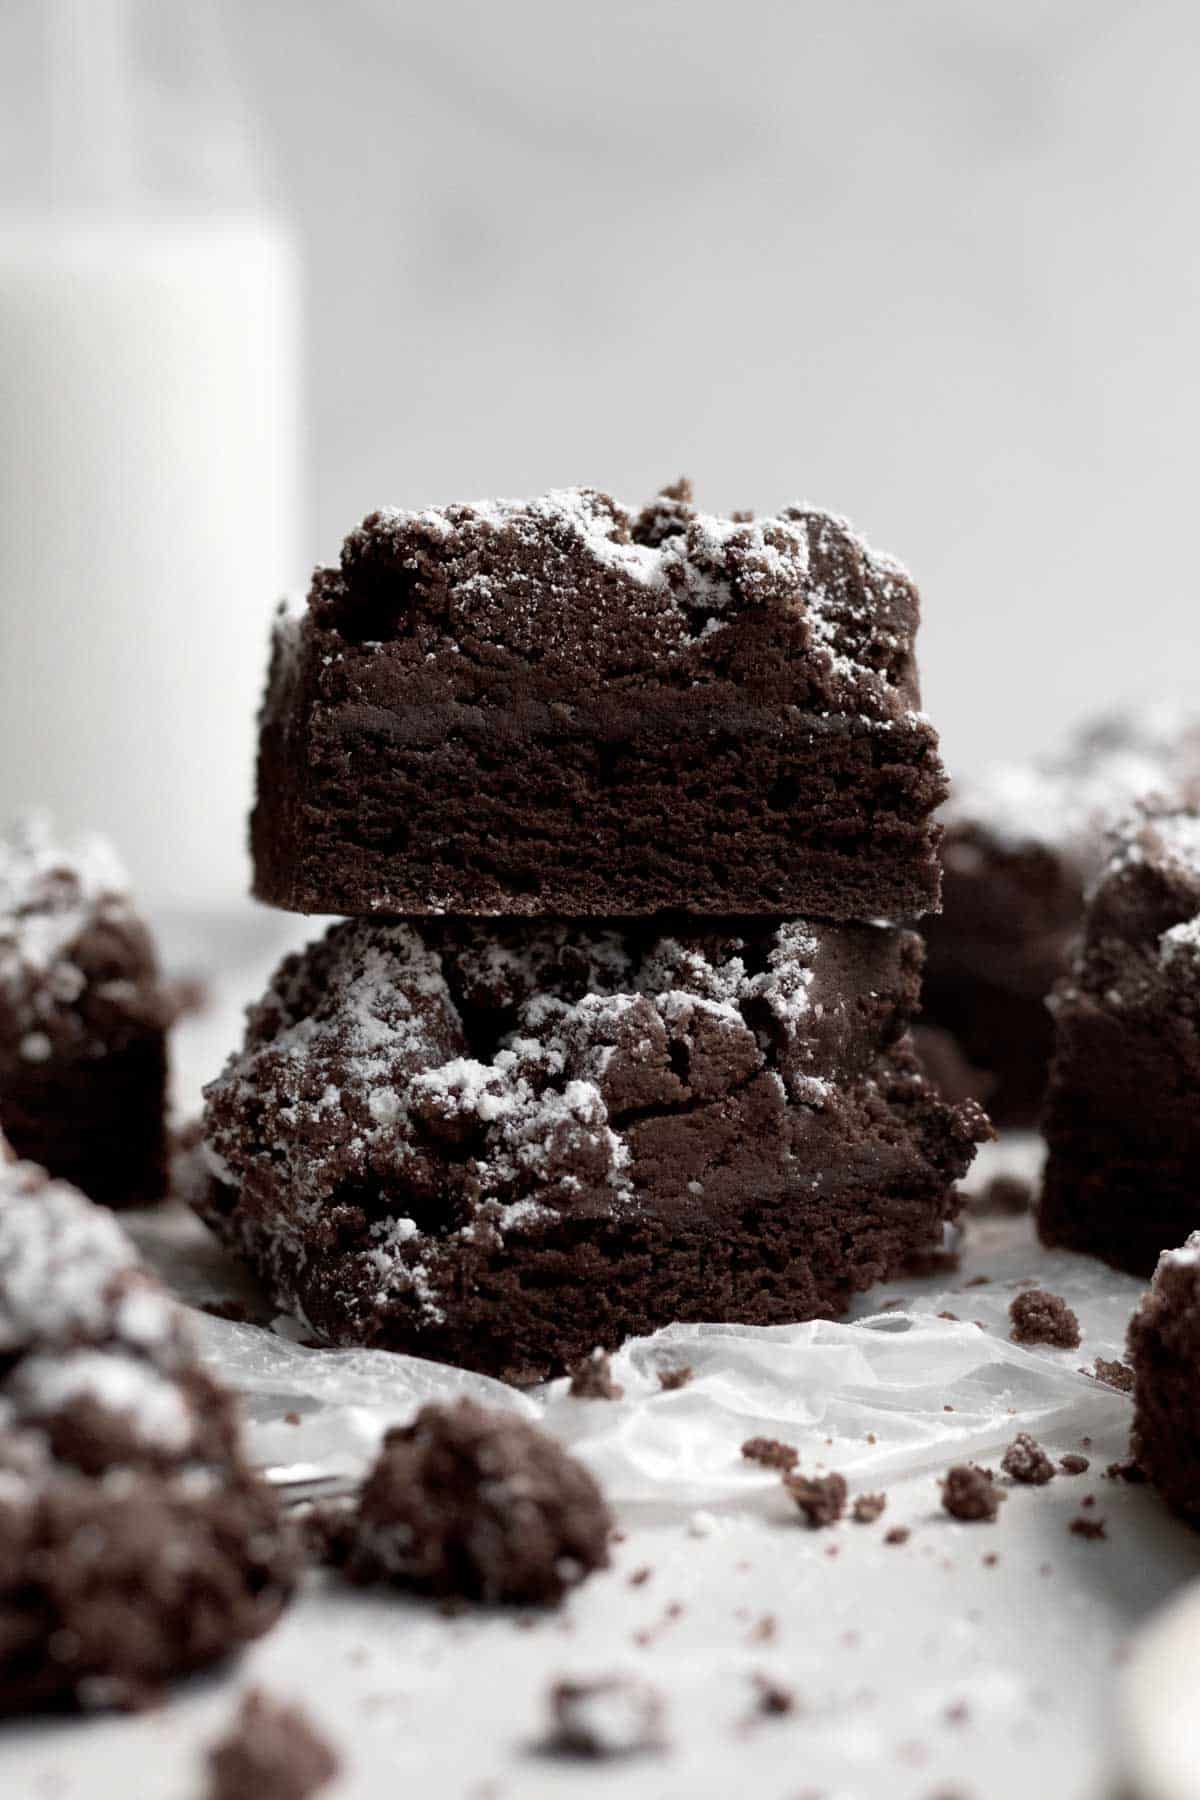
Chocolate Crumb Cake is perfect for all you chocolate lovers! If you love New York Style Crumb Cake, and chocolate...this is the recipe for you! Crumb cake is one of my favorite treats and this recipe can be made in just over an hour with no mixer! Those giant sky high crumbs are so rich, sweet and actually soften overnight; so delicious!. Most gluten free baked goods taste best the first day, but this small chocolate cake is even better the second day; making it the night before is the perfect option!
For more cake recipes with crumb toppings, try my New York Crumb Cake, my Chocolate Chip Loaf Cake, my Blueberry Crumb Cake and my Peach Cobbler Cake.
Reasons to Love this Cake
- Allergy Friendly- This cake is gluten free, nut free, egg free and can easily be dairy free (vegan)!
- Soft Cake Base- The rich chocolate cake under the crumbs is super soft and delicious.
- Chocolate Crumb Topping- The topping of crumb cakes is the best part and these crumbs are chocolate!
- Easy To Make- This cake is so simple to make. No mixer needed!
Ingredient Notes
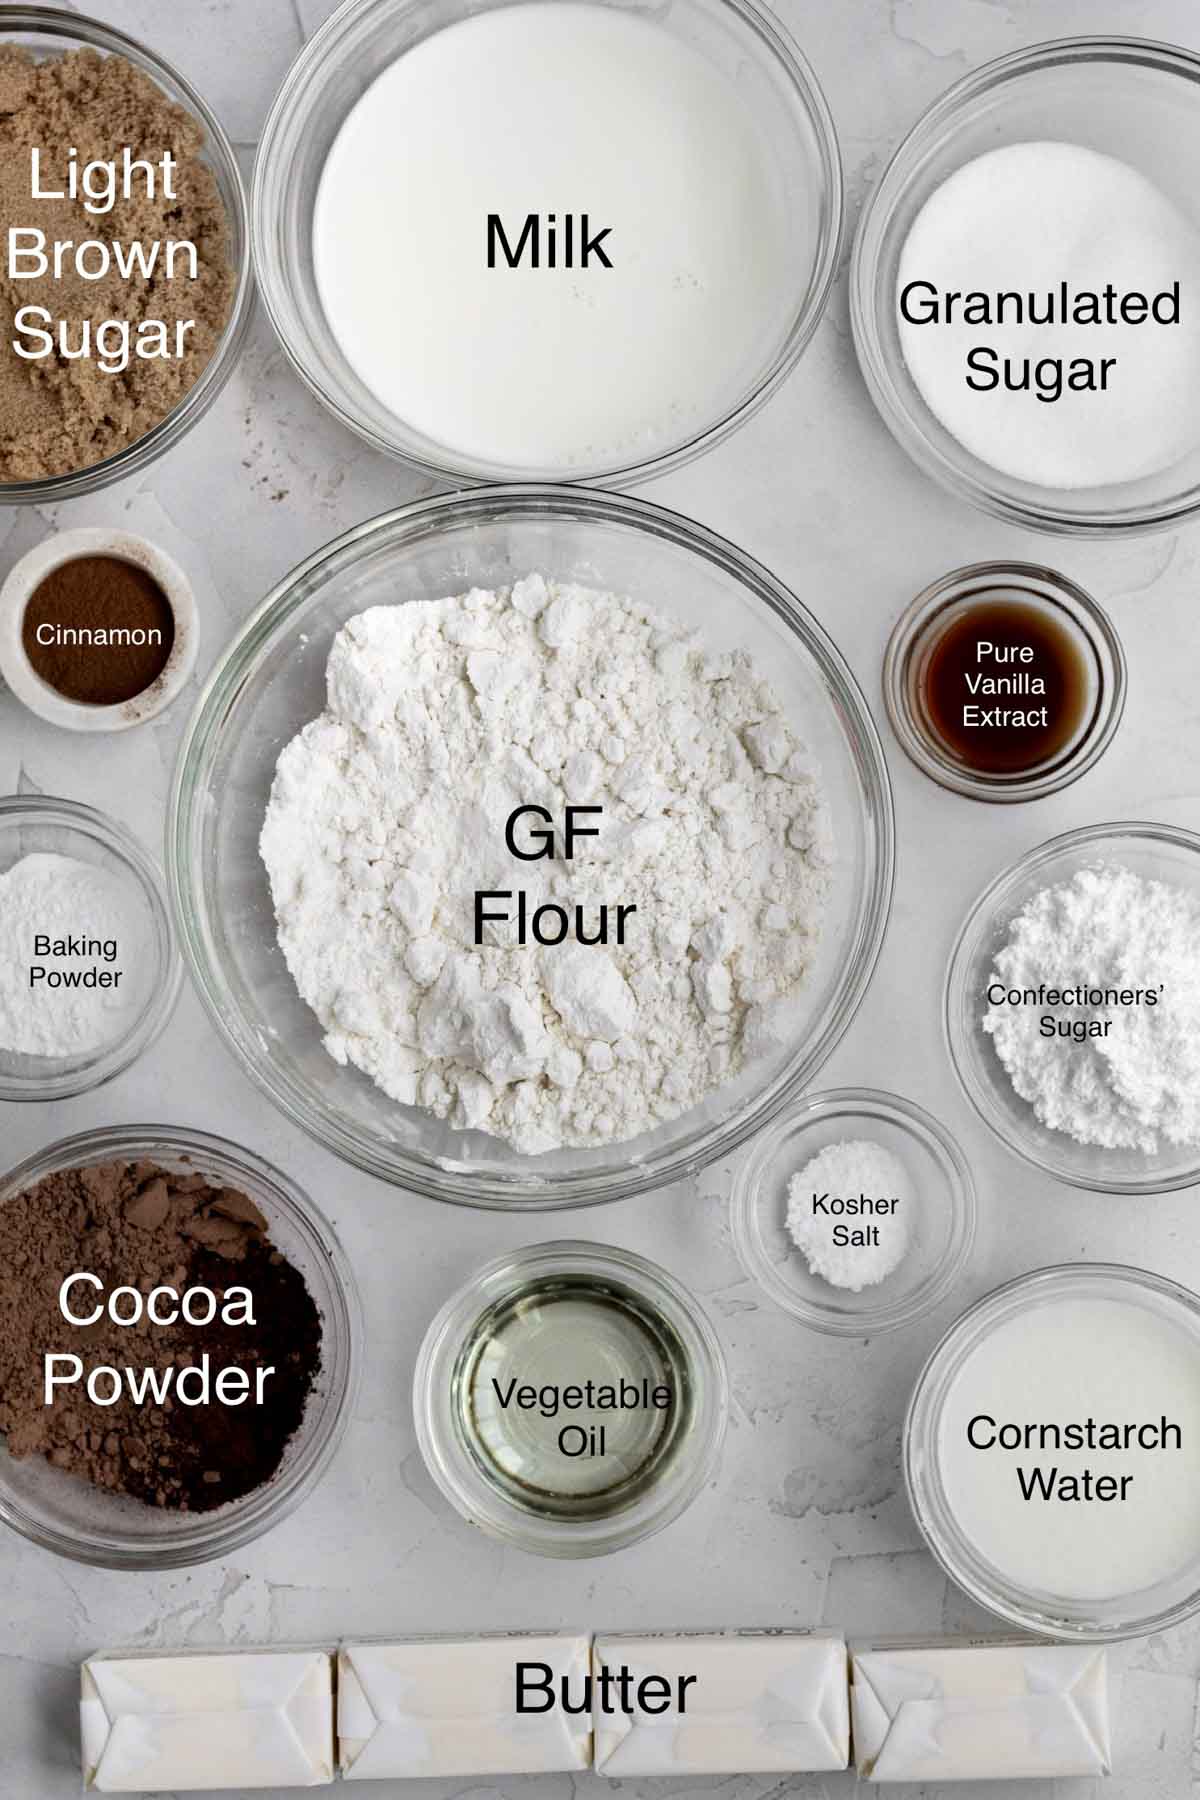
For The Cake
- Gluten Free Flour- If you also have nut allergies, make sure to use a brand that’s made in a nut free facility. I really love to use this gluten free flour because it’s nut safe but it does contain dairy. It also contains xanthan gum which really helps give baked goods their bounce.
- Cocoa Powders- I like to use both Natural Unsweetened and Dark to give the cake a dark color, but if you only want to use one, use Dutch or Natural Unsweetened.
- Cornstarch and Water- This is an eggless cake so this mixture helps bind everything together.
- Milk- If there are no dairy allergies or if you’re not vegan, you can use regular whole milk. For non dairy, use a non dairy milk of your choosing.
- Vegetable Oil- The cake of this recipe uses oil instead of butter/vegan baking stick to help it stay moist.
- Pure Vanilla Extract- Make sure the vanilla you use is pure and gluten free. Using a vanilla that isn't pure will give the cake a chemical-like flavor.
For The Crumb Topping
- Light Brown Sugar- It makes the crumbs softer due to the added moisture.
- Unsalted Butter or Vegan Baking Sticks- After you melt it, let it cool.
- Cinnamon- Helps give this crumb cake it's classic flavor.
- Cocoa Powders- Once again, I use both Natural Unsweetened and Dark to give the crumbs a dark color, but if you only want to use one, use Dutch or Natural Unsweetened. Otherwise the chocolate crumbs will be too bitter and dry.
See my recipe card below for a complete list of the ingredients with measurements.
Substitutions and Variations
How to Make This Vegan
- Use a gluten free flour that’s free from dairy.
- Make sure the brand of sugar you use is vegan.
- Use vegan baking sticks instead of butter.
- Only use a non dairy milk of choice.
How to Make this with All Purpose Flour
- Use 1 ¼ cups packed cups of AP flour (210 grams) in the cake and 2 ½ packed cups for the crumbs (420 grams).
- Use 4 packed tablespoons of cocoa powder (29 grams) in the cake and 5 packed tablespoons (36.25 grams) in the crumbs.
This recipe has not been tested with all of these substitutions and/or variations due to celiac disease and food allergies. If you change any of the ingredients, please let us know how the recipe turned out in the comments below!
How to Make Chocolate Crumb Cake
Here are the step by step instructions to make these chocolate cake squares!
Step 1: Whisk Together the Dry Ingredients
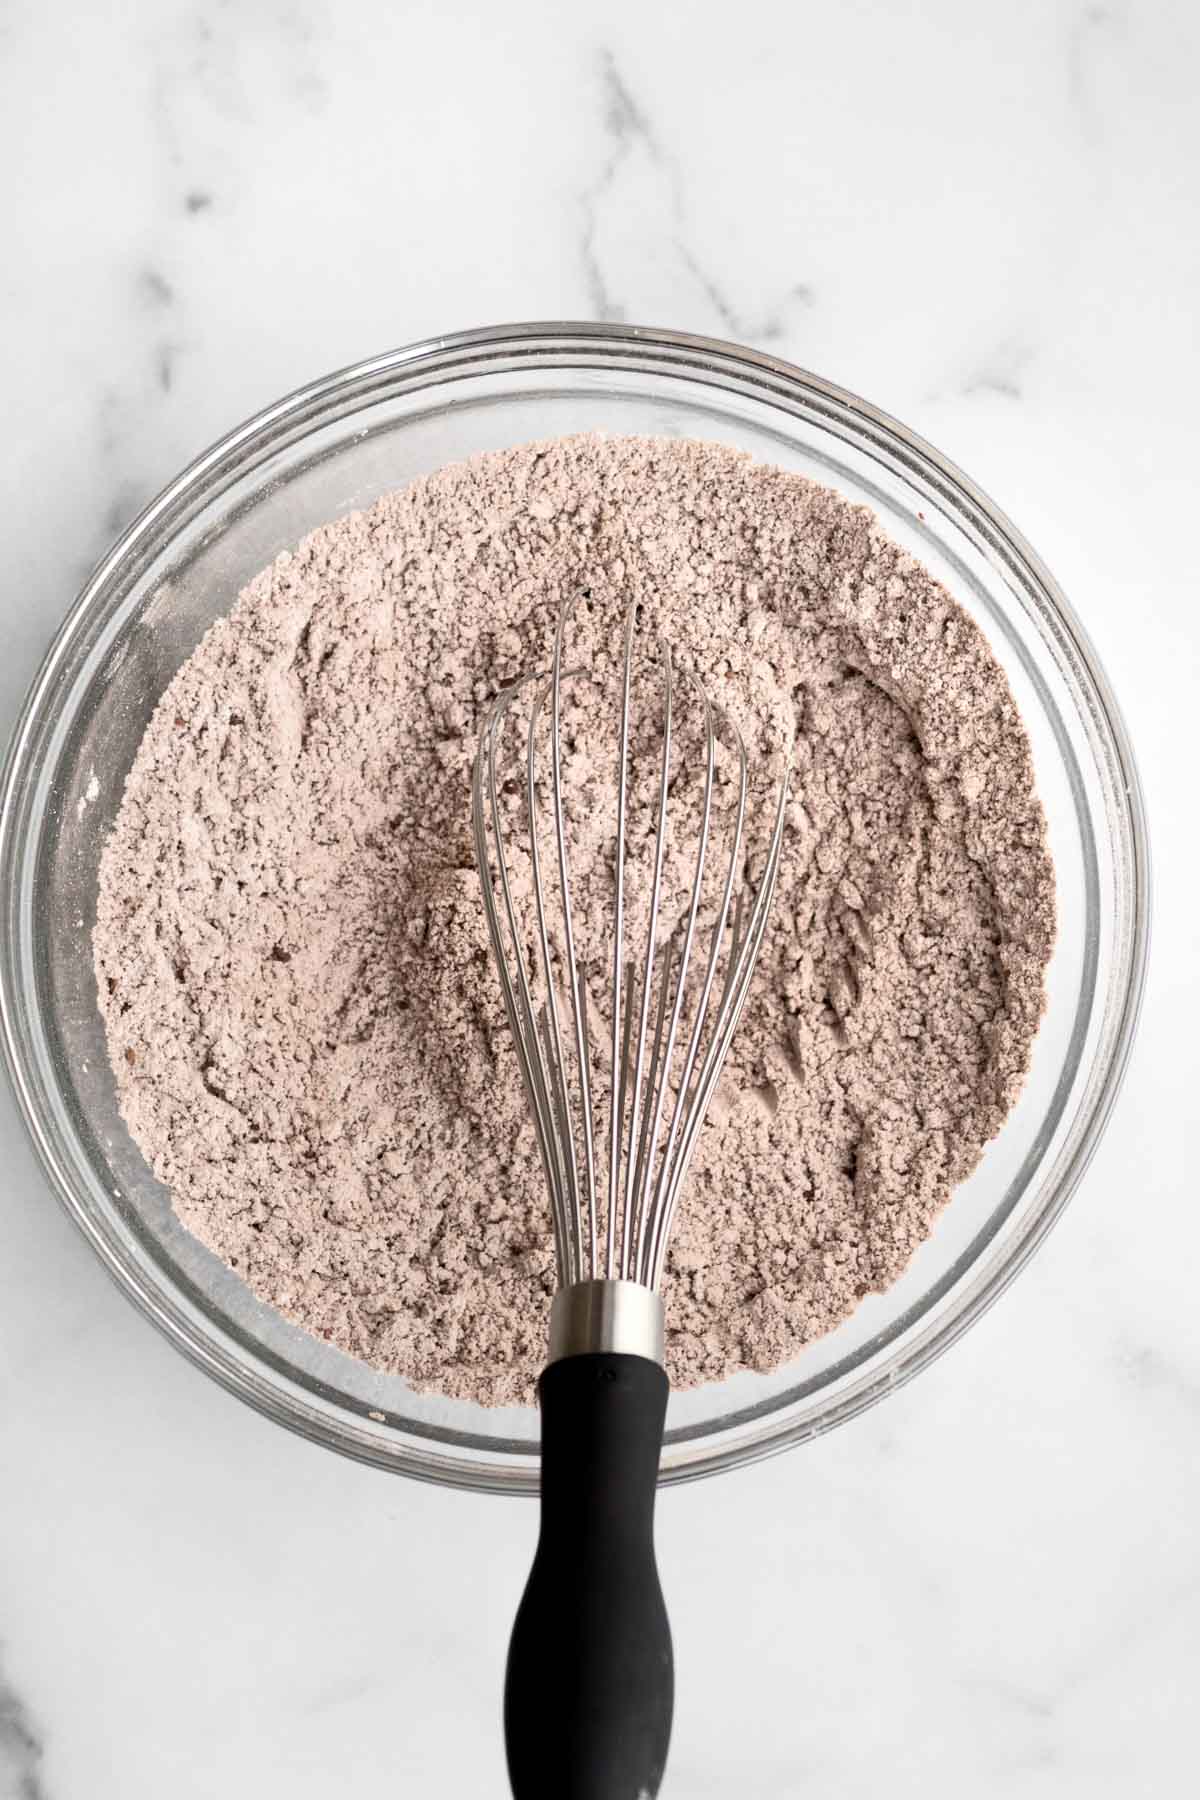
In a large bowl, whisk together the gluten free flour, the cocoa powders, the granulated sugar, the baking powder and salt. Set aside.
Step 2: Make the Cornstarch Water
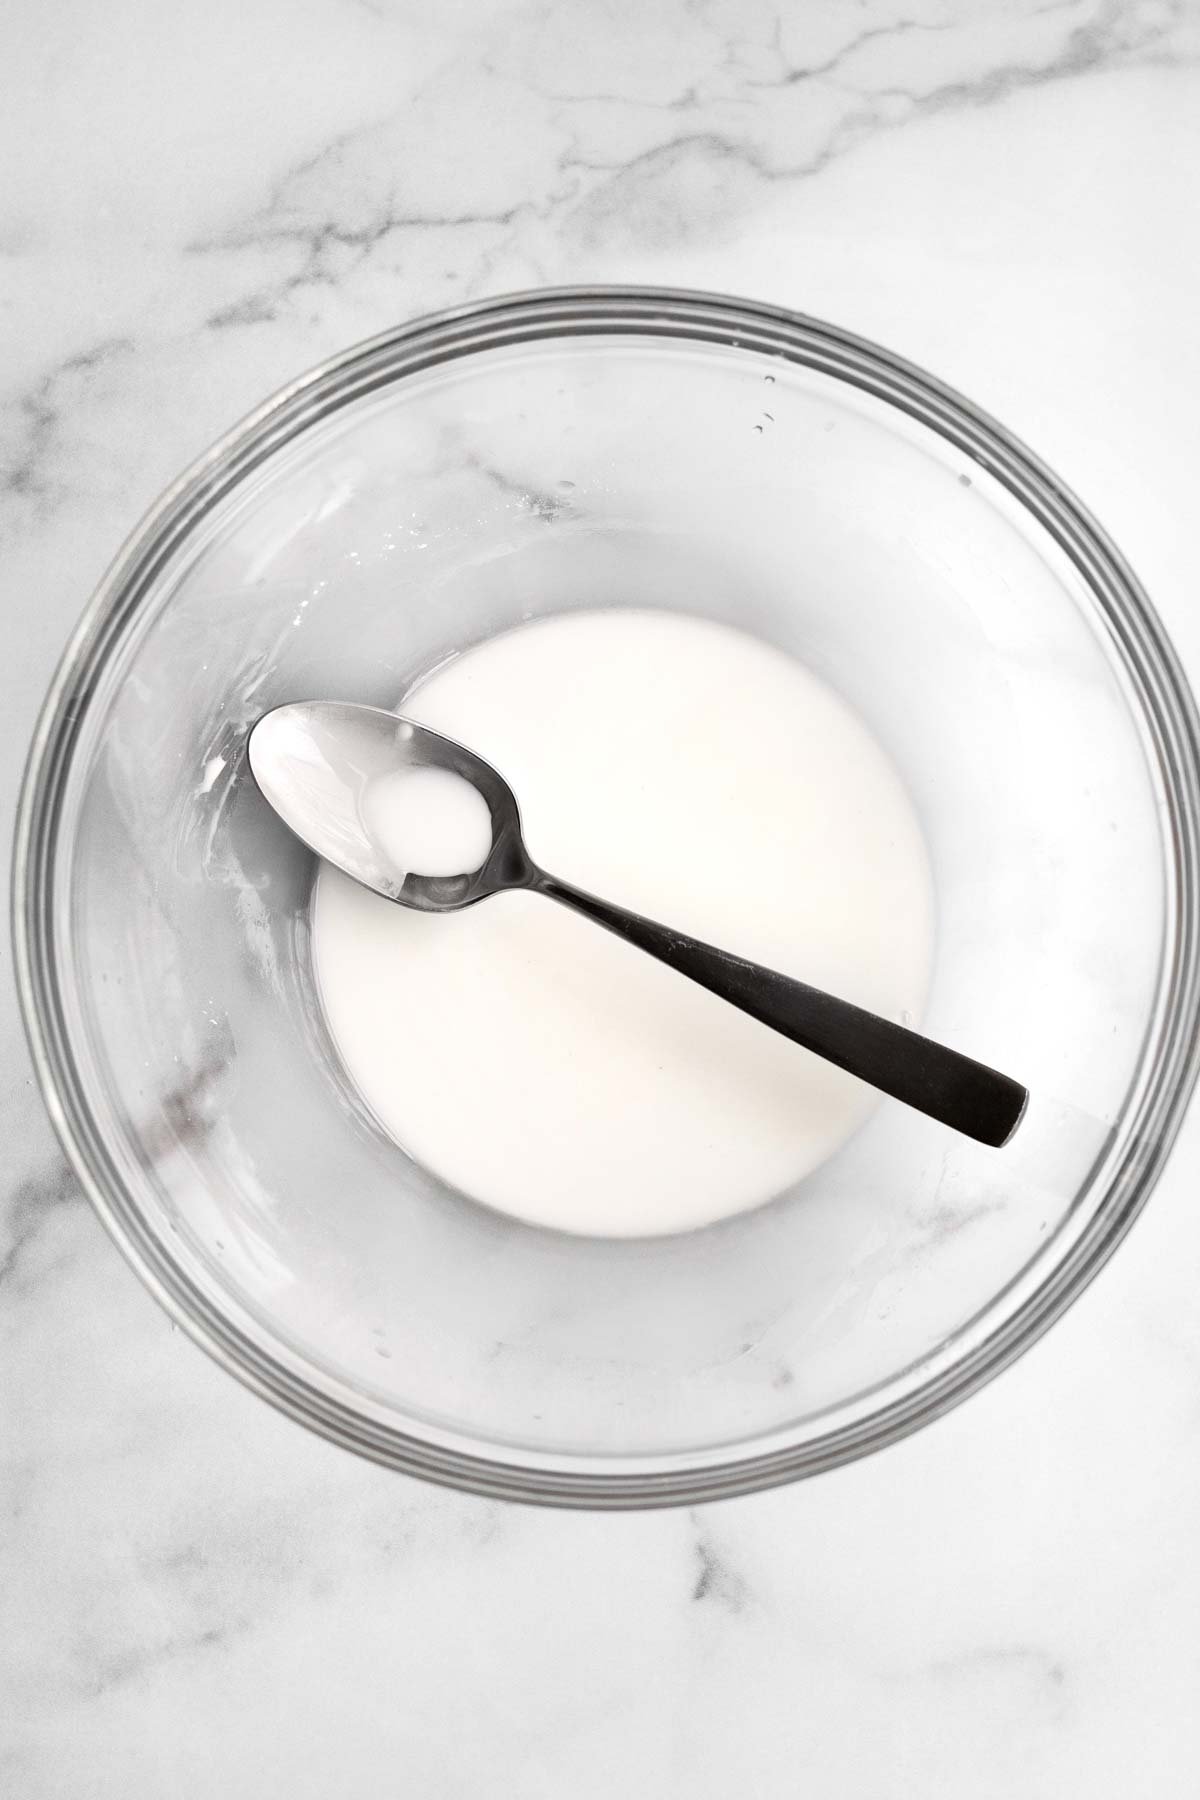
In a large bowl, using a spoon, mix together the cornstarch and water until thin and watery. It will be thick and tacky at first.
Step 3: Add in the Wet Ingredients
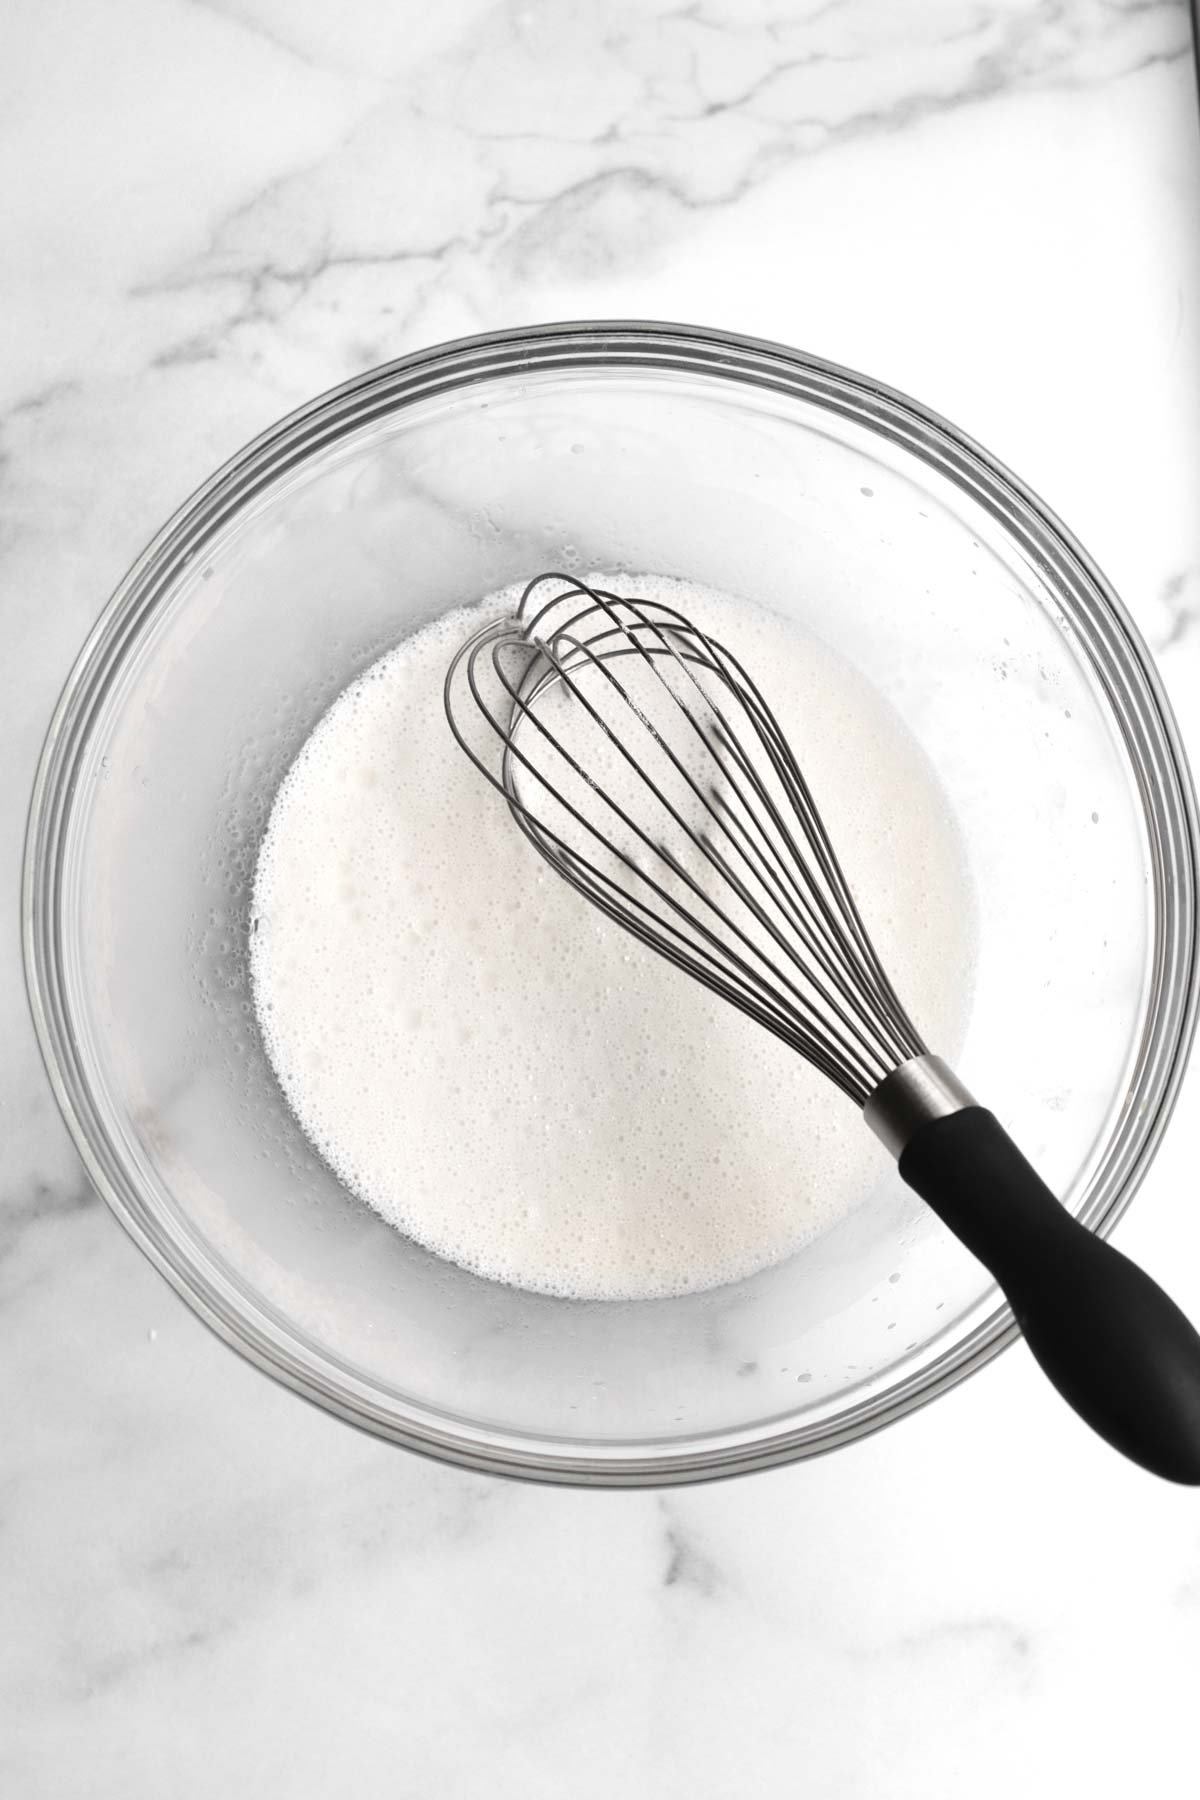
Into the cornstarch water, whisk in the milk, vegetable oil and vanilla until combined.
Step 4: Add in the Dry Ingredients
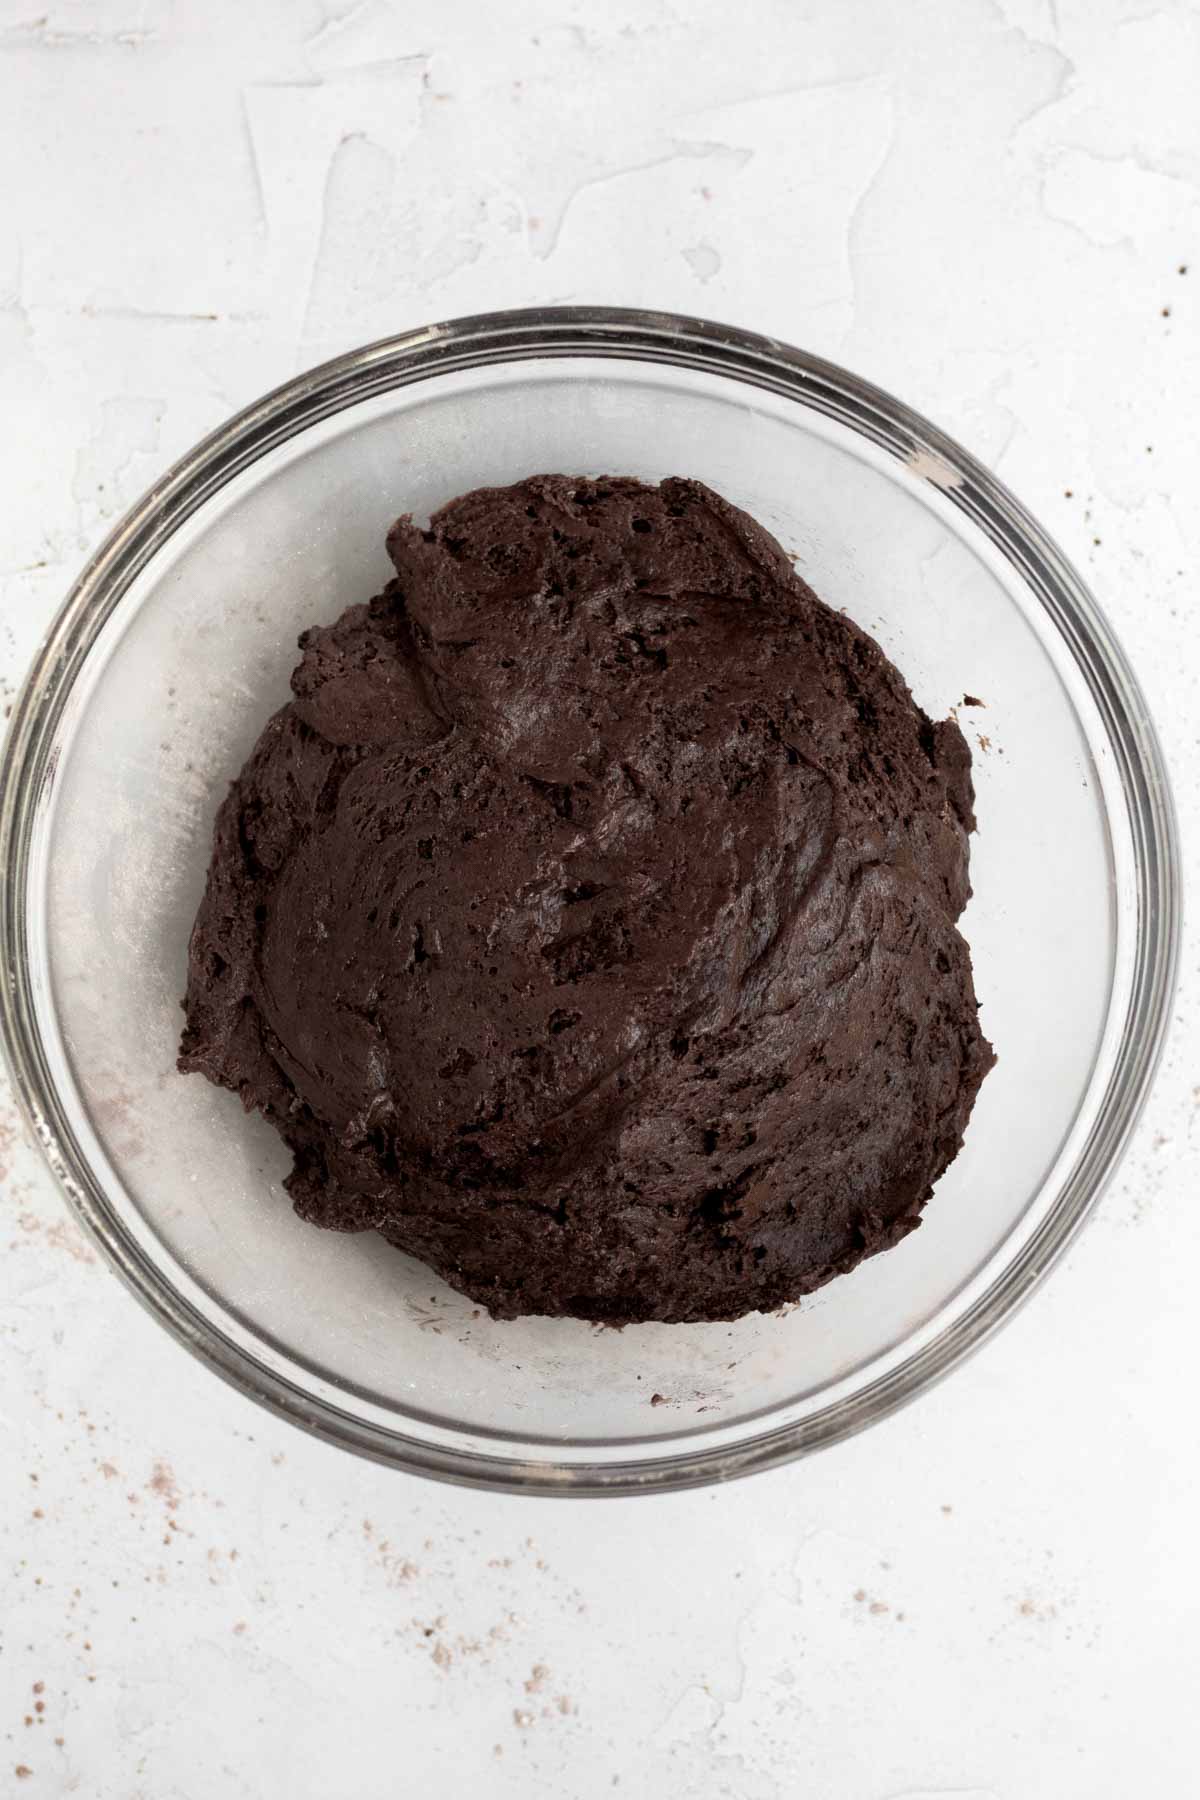
Pour the dry ingredients into the wet a little bit at a time. Once it gets too thick to whisk, switch to using a spatula.
Step 5: Scoop the Batter into the Pan
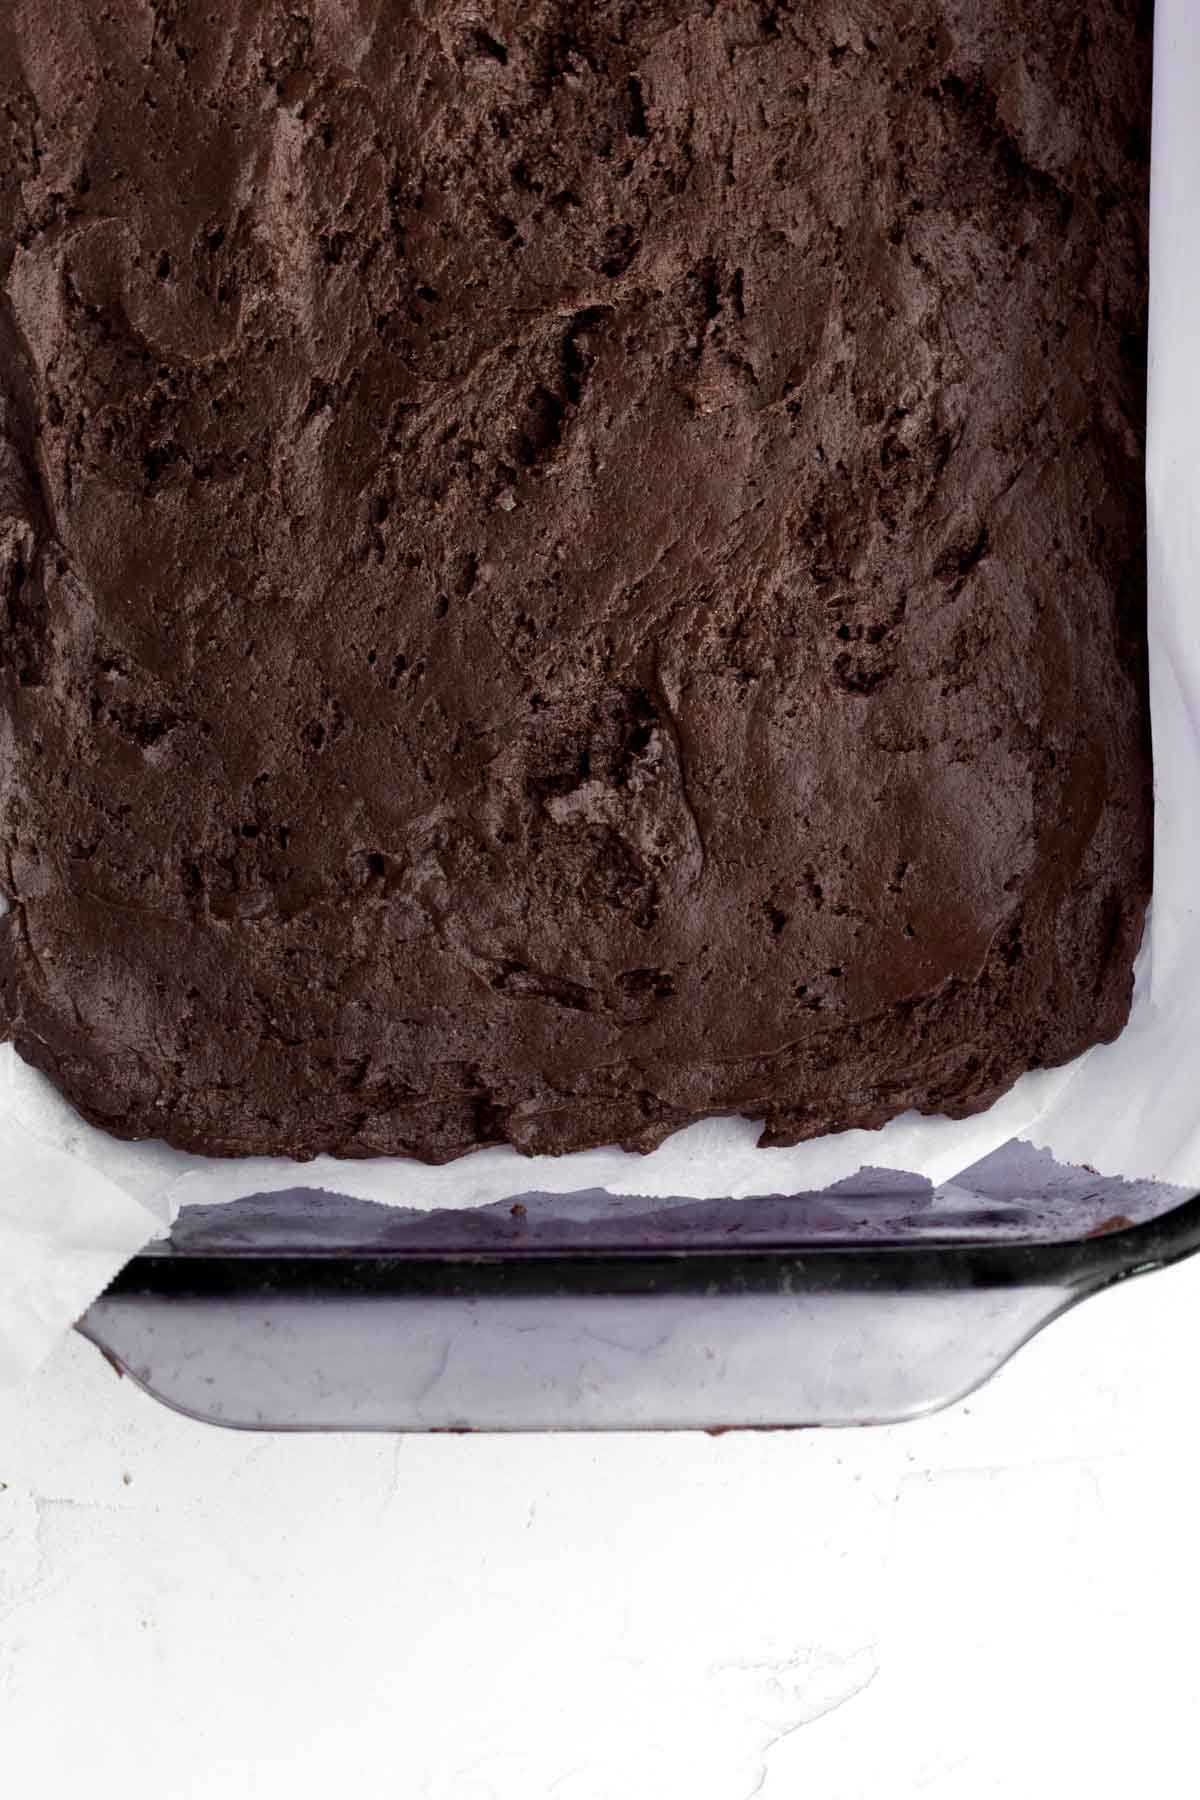
Spoon the batter into your parchment lined and greased 9 x 13 baking dish and use a spatula to press the batter down into the shape of the pan. Then use a butter knife or a small icing spatula to spread the batter around.
The batter will be super sticky and may stick to the parchment or the icing spatula. Rinse the icing spatula and then shake off any excess water. You want it slightly wet but not dripping wet. This will help prevent the dough from sticking. You may need to repeat this a few times.
It might appear as though there isn’t enough batter, but it’s fine. You just need to really spread it out. Just be patient. You should end up with a smooth even thin layer of batter.
Step 6: Melt the Butter
Cut the butter into pieces and place them a heat safe bowl. Microwave in 20 second increments, stirring after each time until melted. Set aside and let cool.
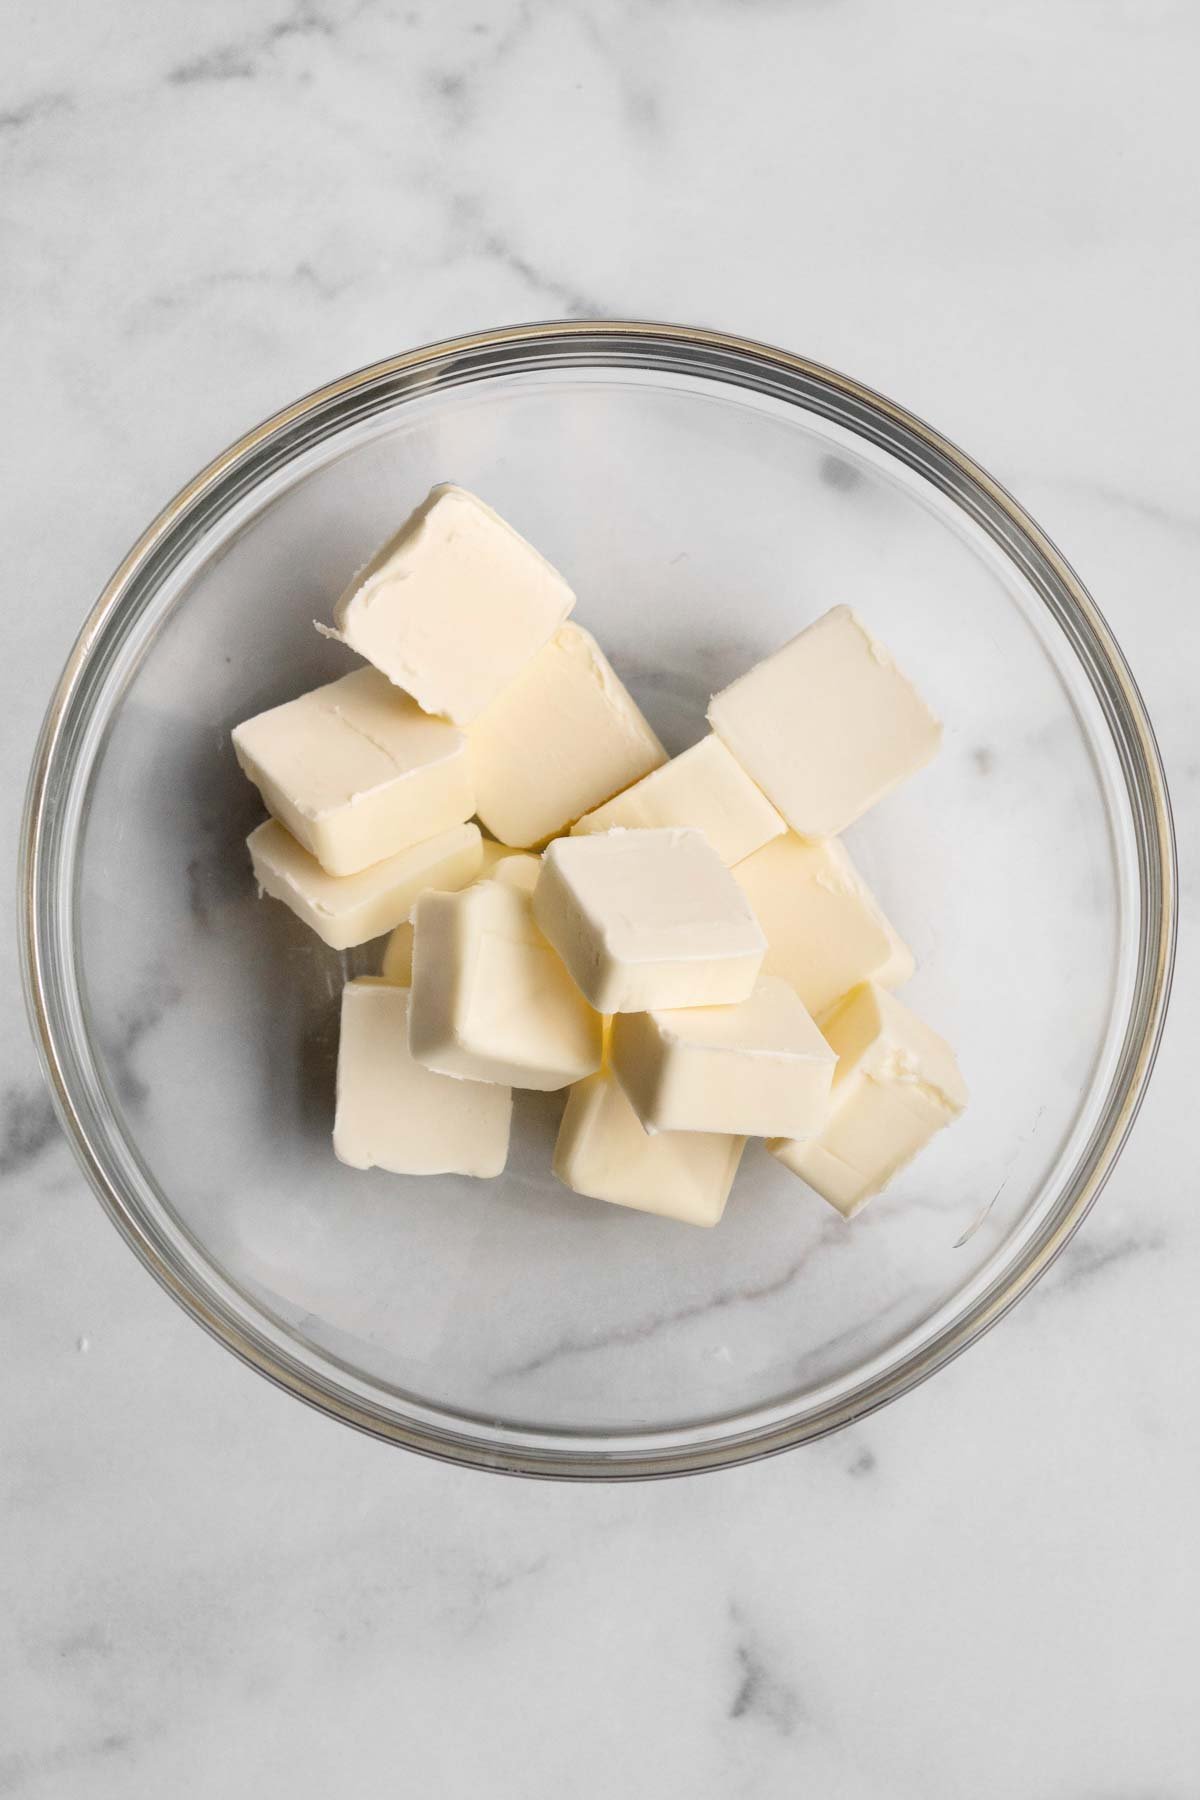
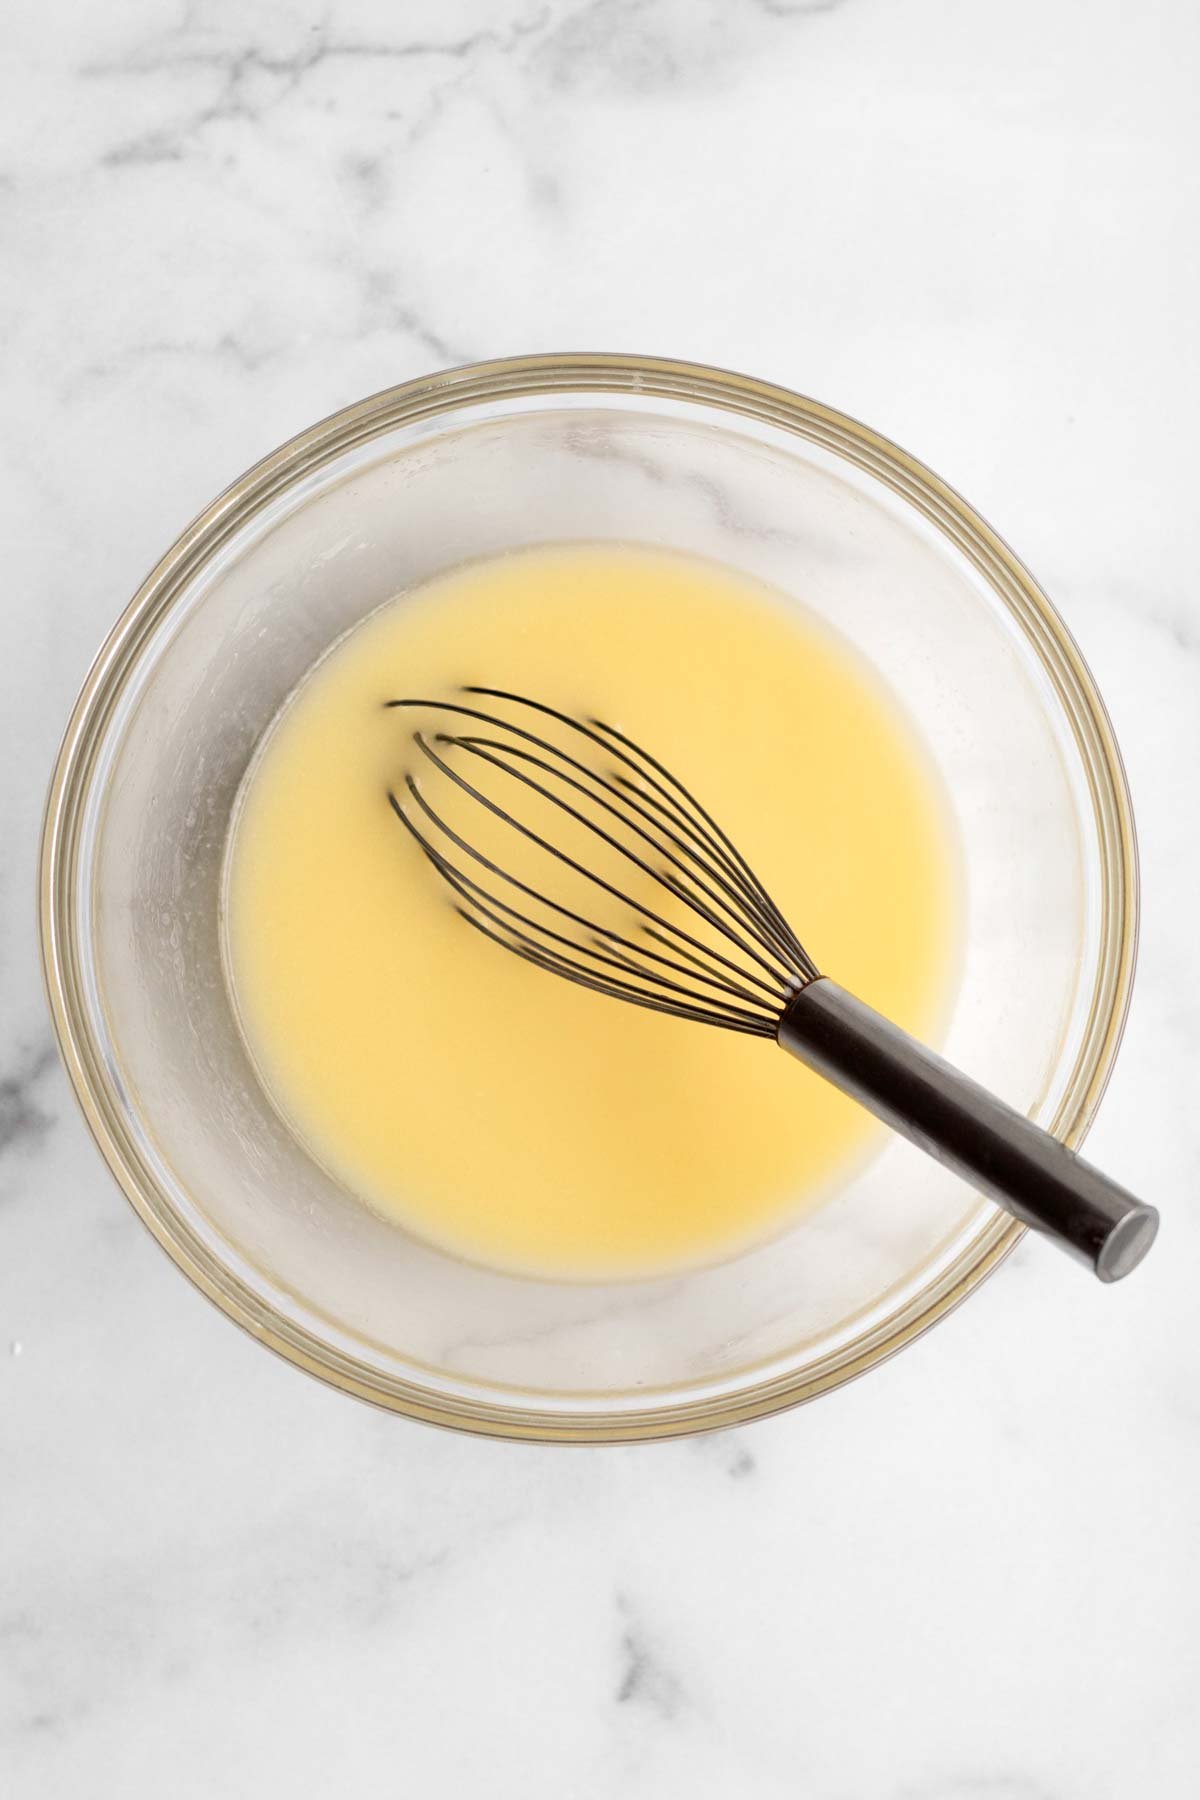
Step 7: Mix the Crumb Ingredients and Add the Melted Butter
In a medium bowl, whisk together the gluten free flour for the crumb topping, the cocoa powders for the crumb topping, the light brown sugar and the cinnamon.
After it's all combined, pour in the melted butter and stir with a spatula until large crumbs form.
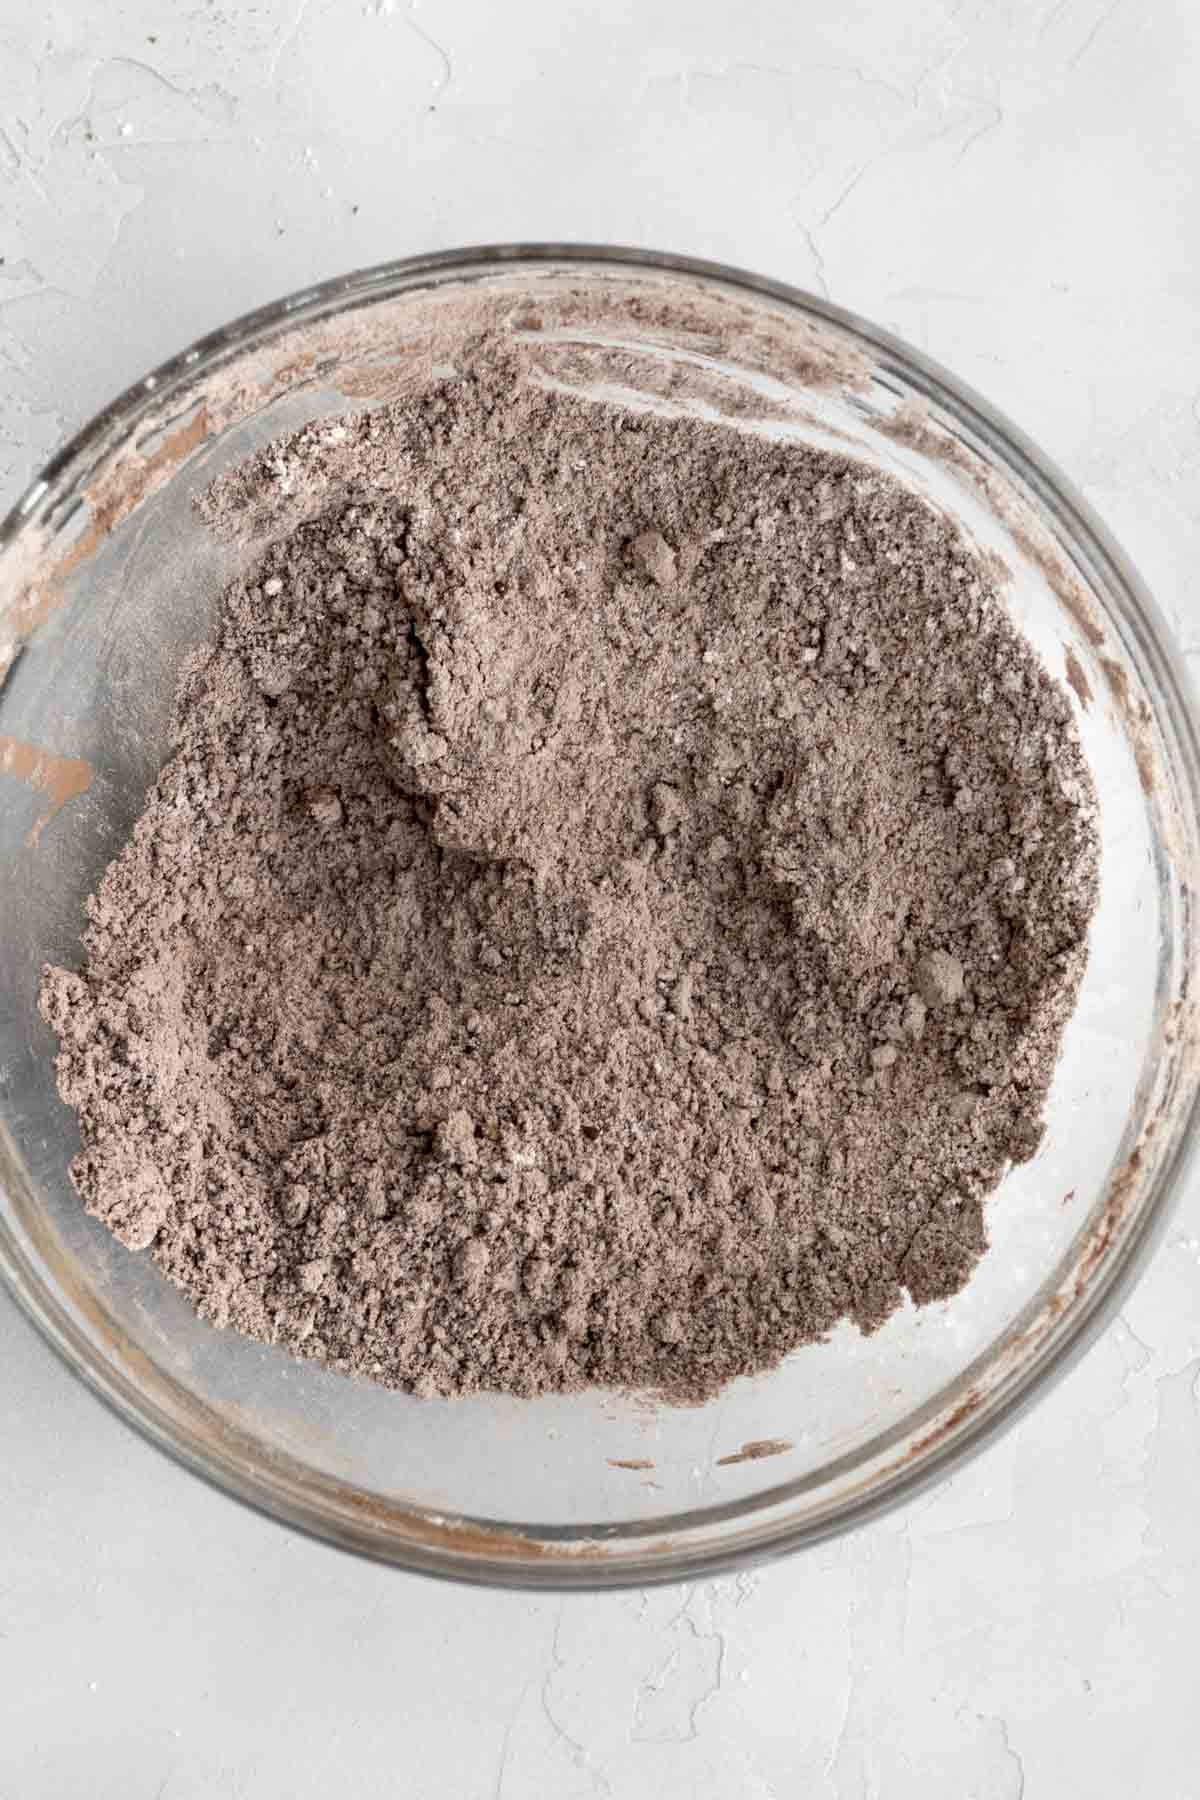
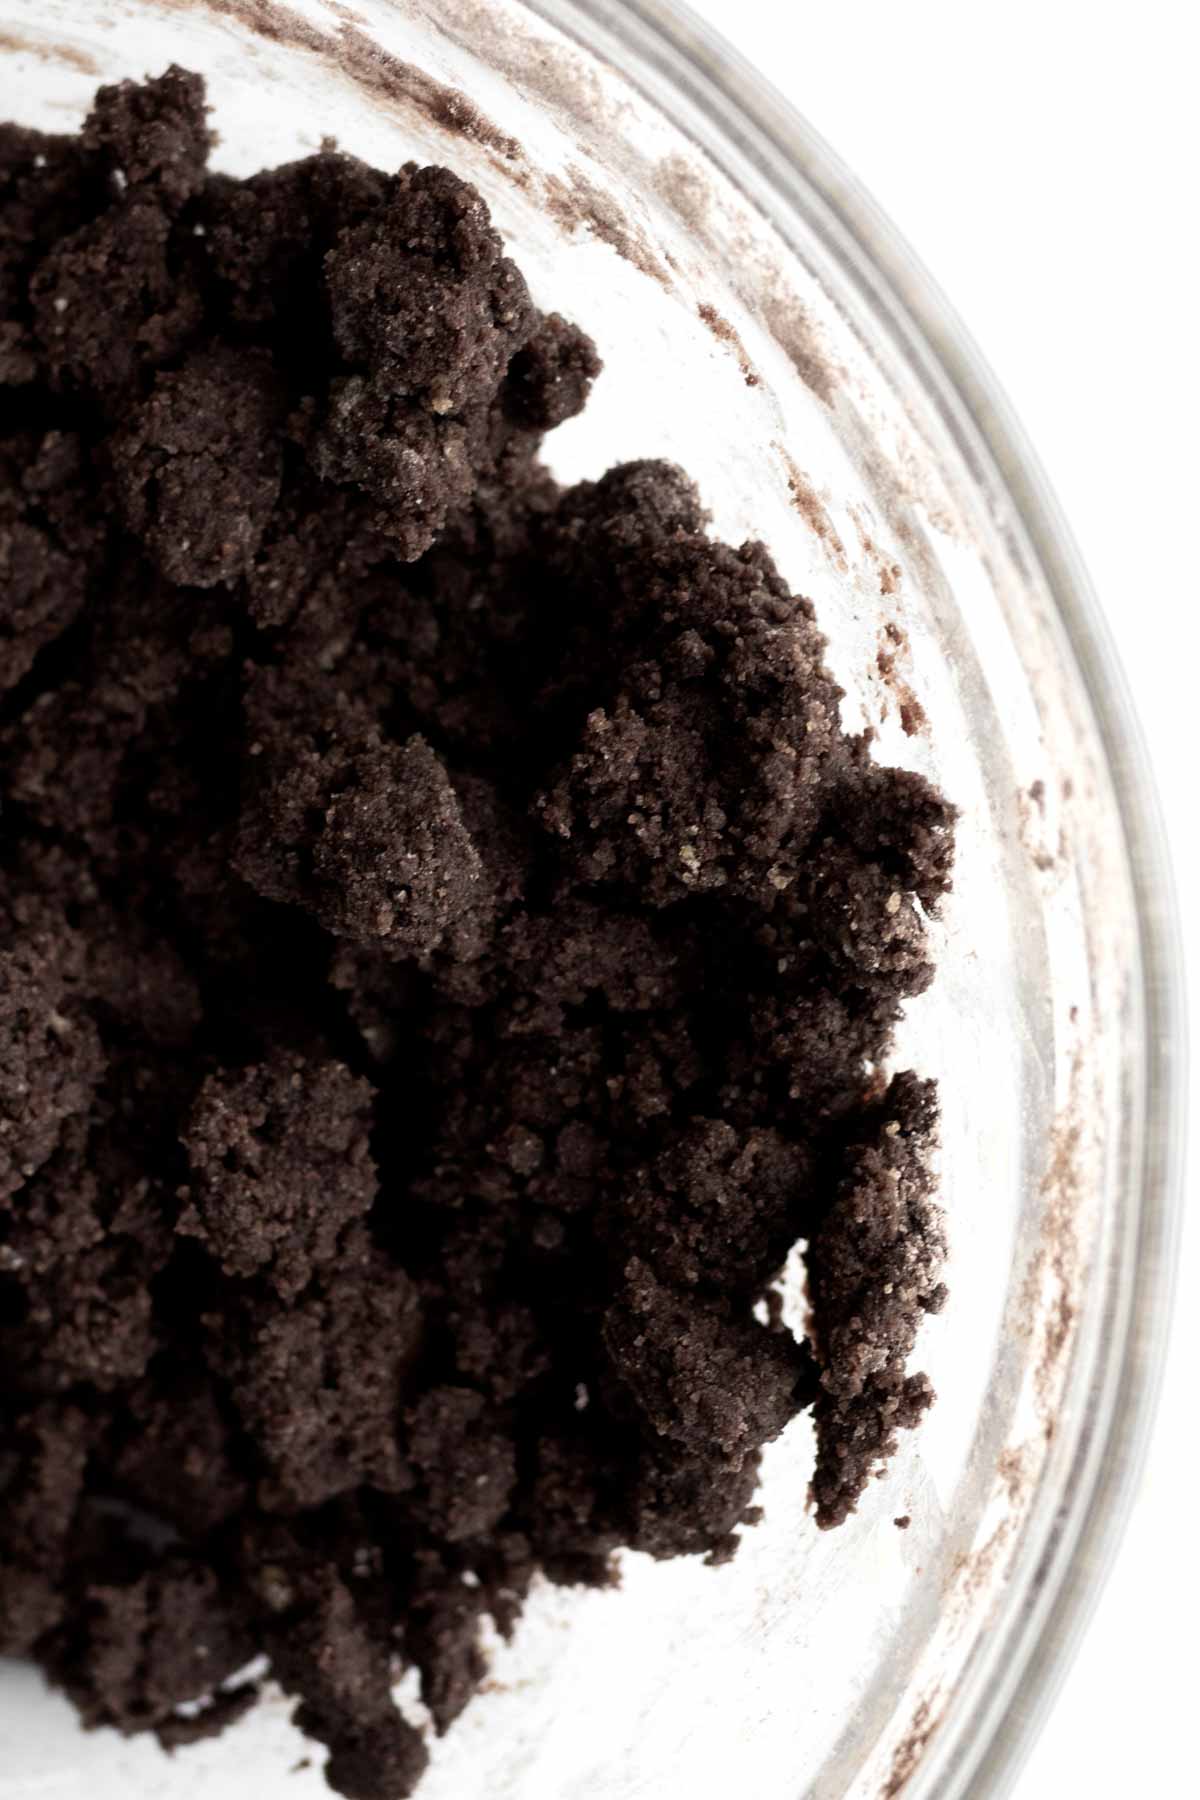
Step 8: Sprinkle On the Crumbs
Sprinkle the crumbs all over the batter. There are lots of crumbs...make sure to use them all and cover every inch of batter.
The crumbs will end up going on top of one another. That's normal.
Step 9: Bake and Let Cool
Bake the cake in the center rack of the oven at 325 degrees Fahrenheit for 30 minutes.
Let the cake cool almost completely in the pan before trying to remove it, otherwise it will break apart into a giant mess.
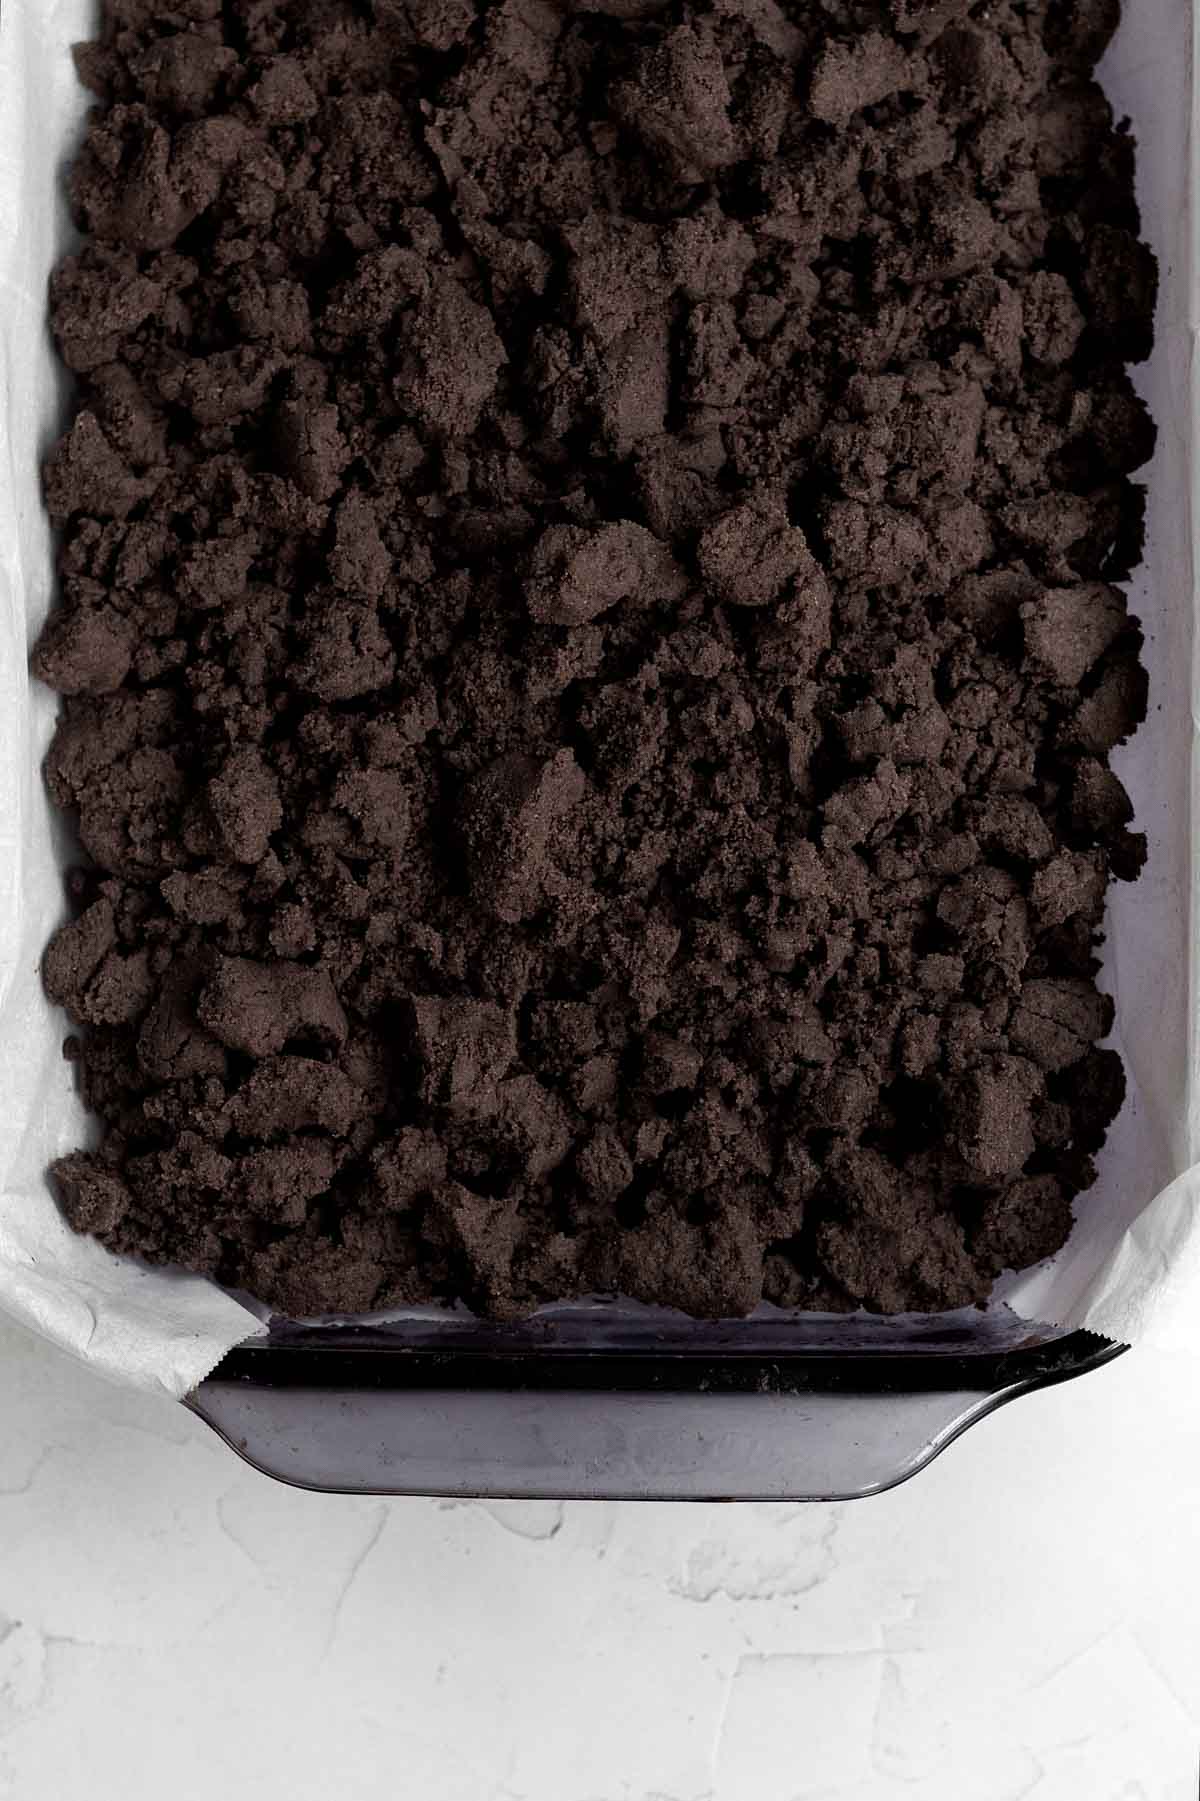
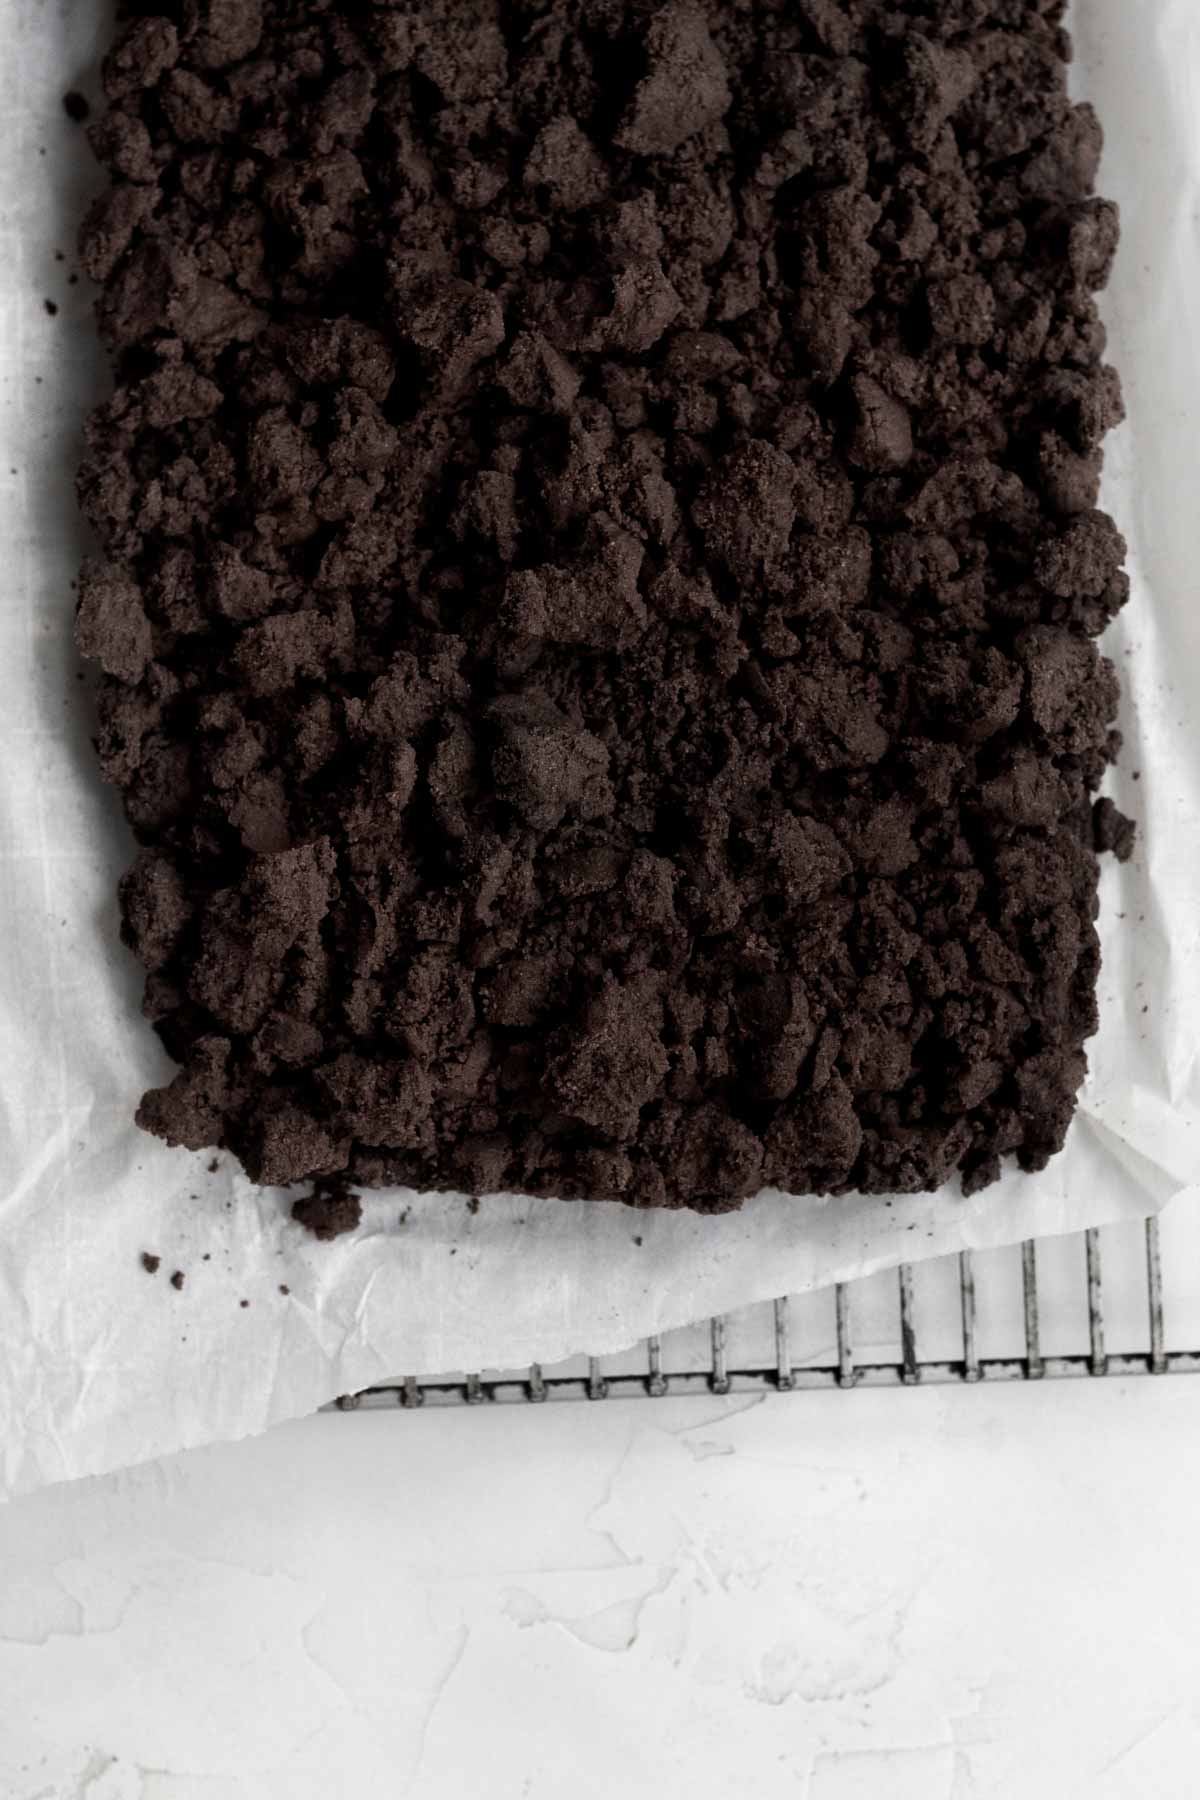
Step 10: Top With Sugar and Slice
After the chocolate cake is cool, use the parchment overhang to lift onto a cooling rack and let it cool completely before adding the sugar otherwise the sugar will melt.
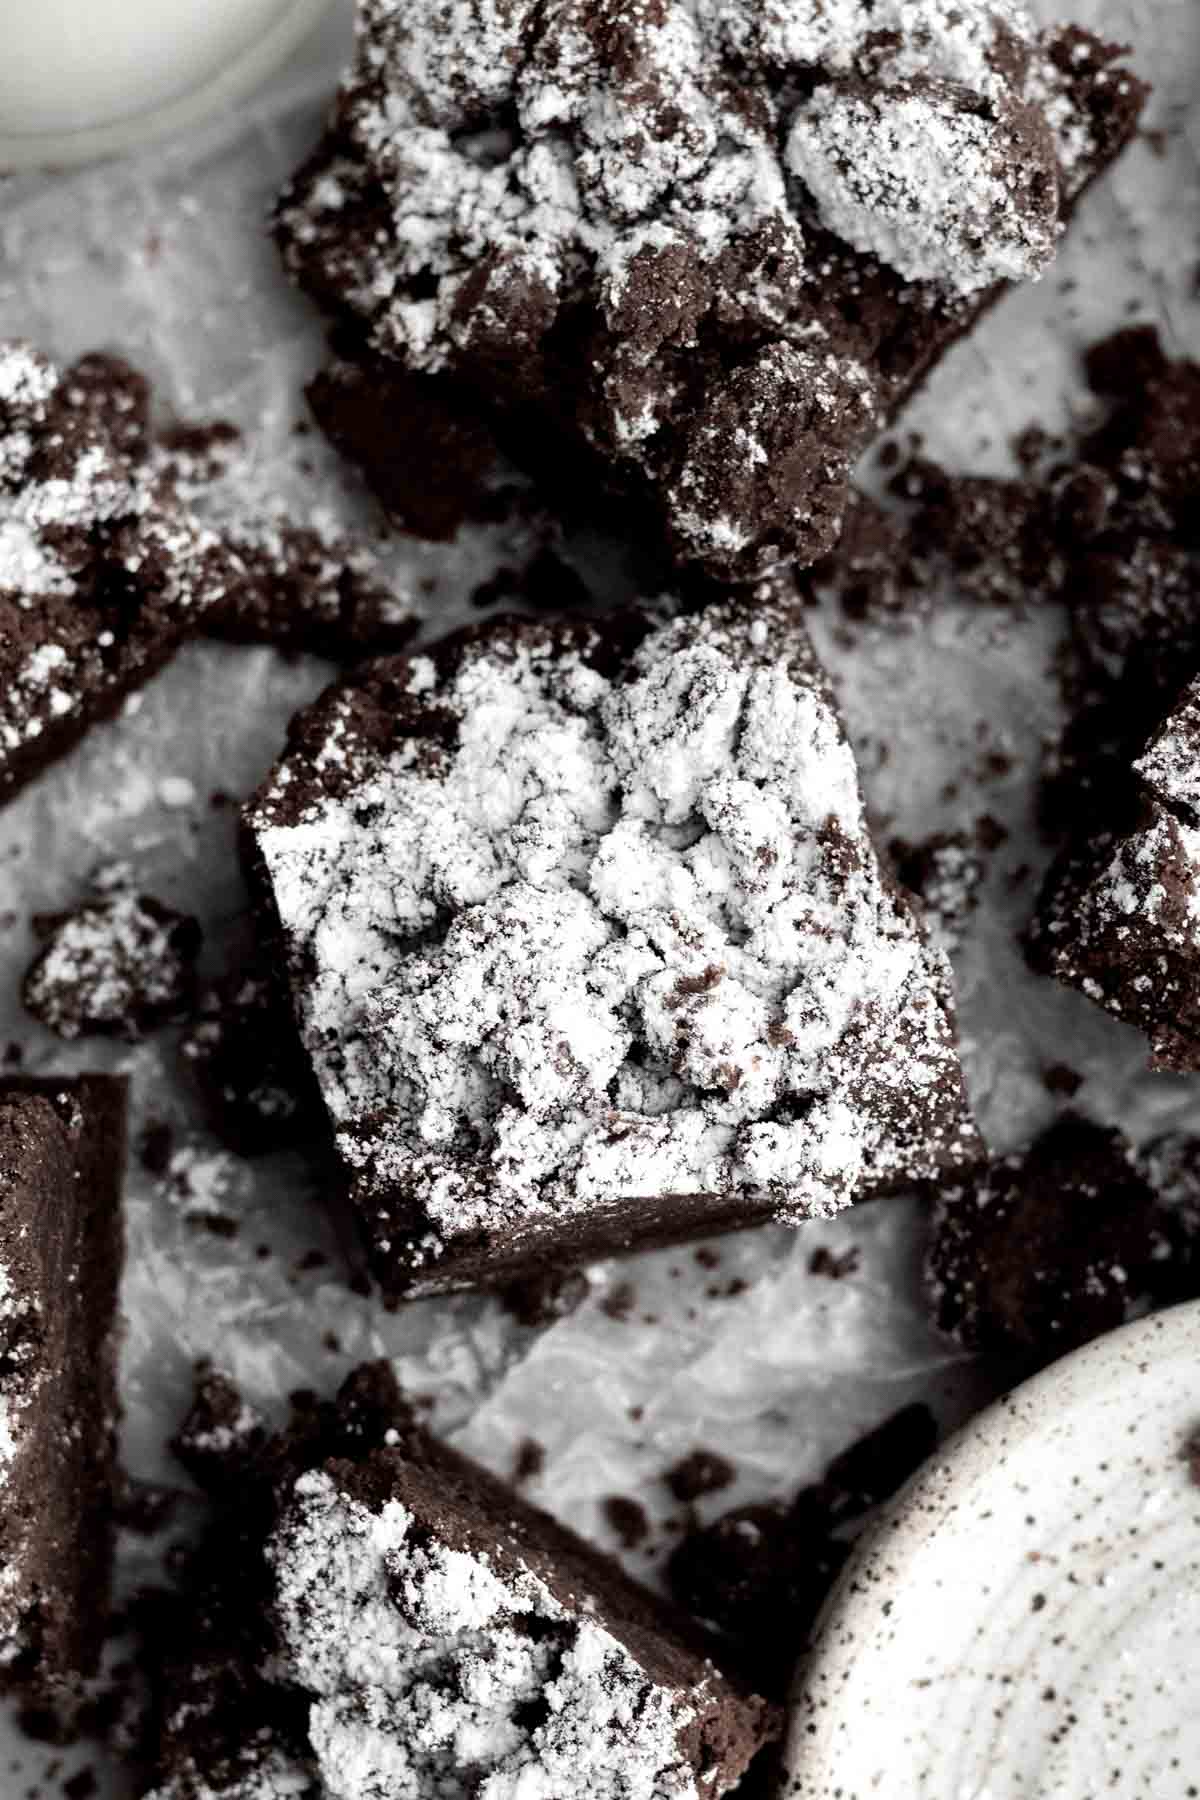
Dust the entire cake with confectioners' sugar and then slice the chocolate crumble cake into big squares, tiny squares, large rectangles or small rectangles...whatever you prefer! I slice mine into 16 squares.
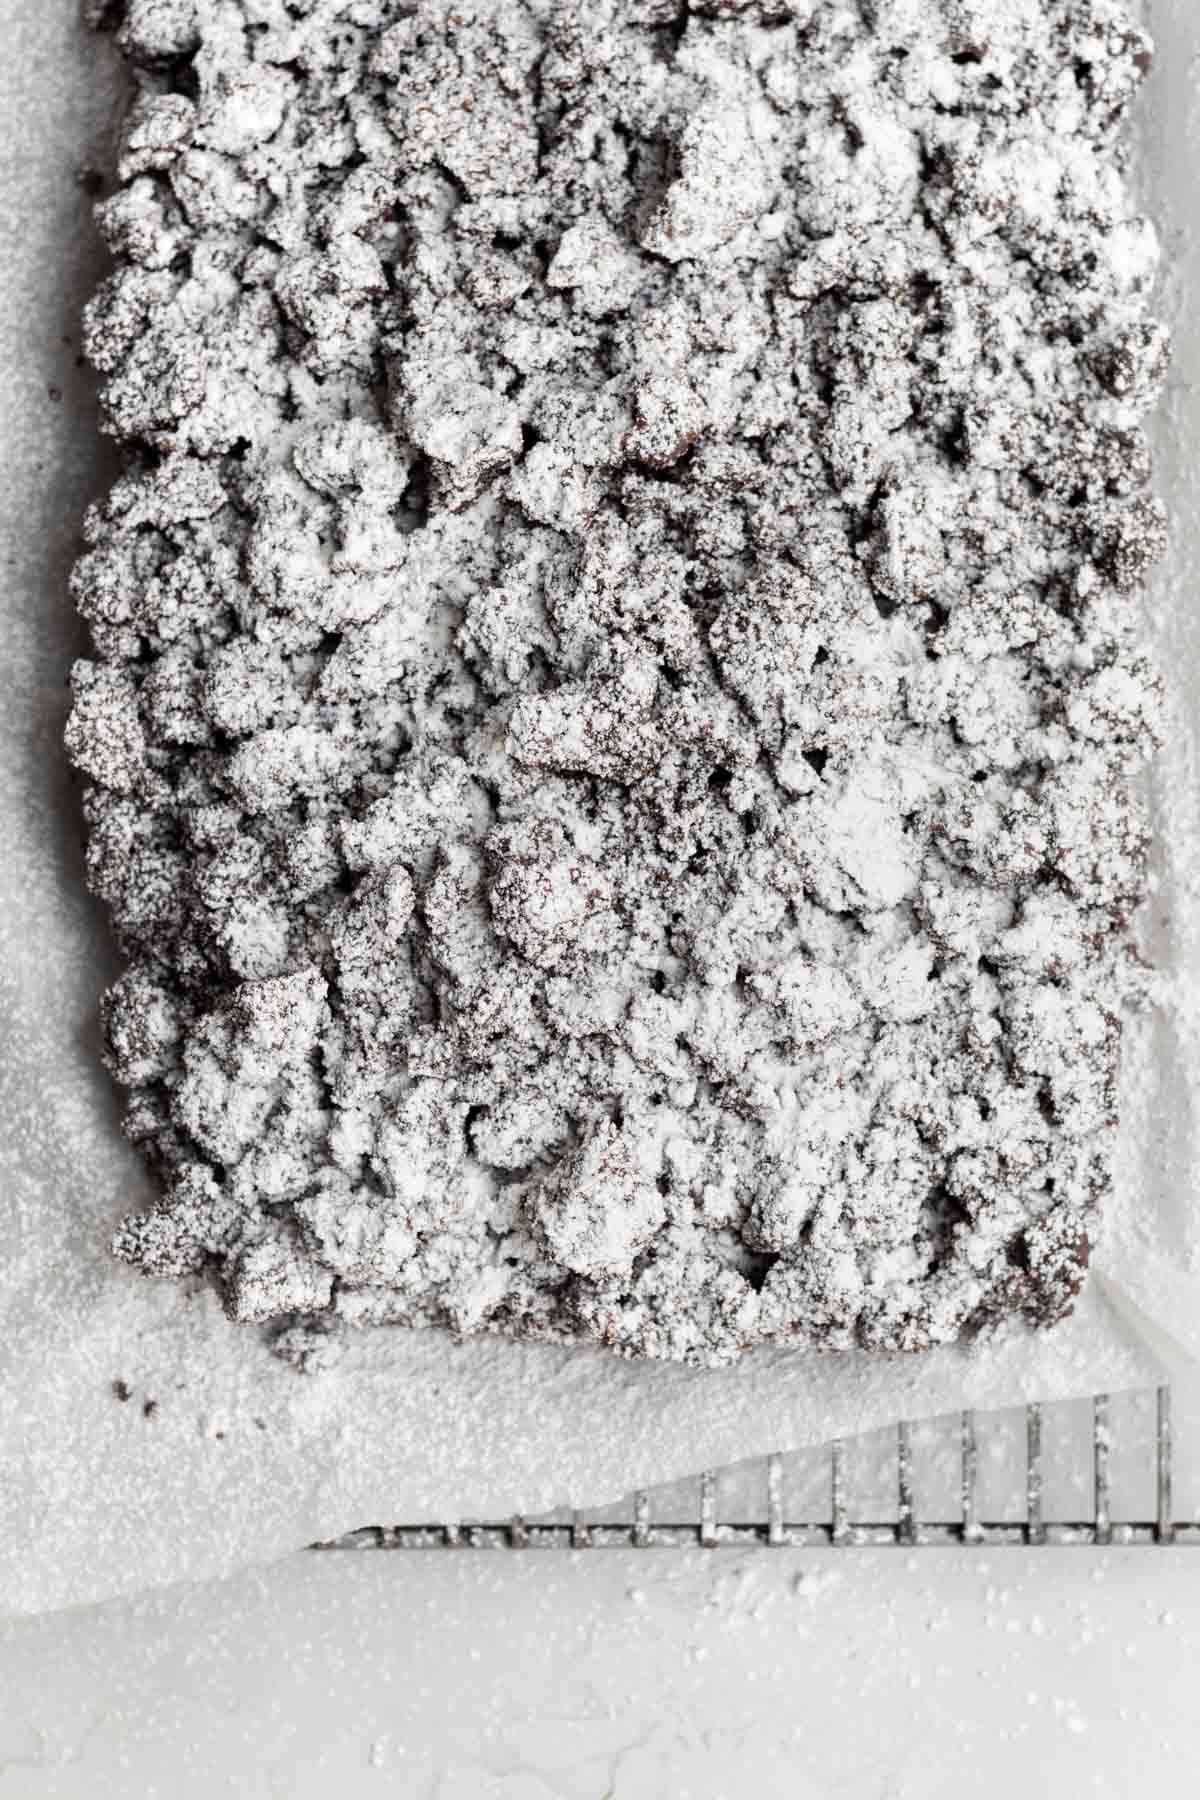
Expert Baking Tips
- Use Parchment Paper- Make sure to use enough parchment paper so there is about a ½ inch overhang on either long side of the 9 x 13 inch pan. You will use the overhang to lift the cake out of the pan once it has cooled.
- Use 2 Types of Cocoa Powder- The combination of Natural Unsweetened and Dark cocoa powders give the cake and crumbs a richer flavor. If you only have one type on hand, use natural unsweetened or dutch...just know the color of the cake and crumbs will not be as dark as mine. Do not use dark alone; it will make your cake and crumbs too dry and bitter.
- Use an Icing Spatula- The batter is so super thick that it can be difficult to spread. Use a butter knife or small icing spatula to spread it into the pan. You should end up with a smooth, thin layer of batter. If you noticed the dough is starting to get sticky, rinse the icing spatula and shake off any excess water. You want it slightly wet but not dripping wet. This will help the batter spread easier.
- Make Large Crumbs- Try to keep the crumbs on the larger side. In a crumb cake, the crumbs should be large enough for you to pick up with your hands. I like to vary mine in size, with some of the large ones being around 1 inch in length.
- Use all the Crumbs- You'll notice when sprinkling on the crumbs that the chocolate batter will be completely covered and you'll still have tons of crumbs left. Keep adding crumbs! They will pile on top of one another. Remember, the crumb layer is super high.
- Let It Cool- When the cake comes out of the oven, allow it t to cool completely before lifting it out of the pan using the parchment paper tabs. If you try to lift the cake out too soon, I promise the entire thing will fall apart into a messy (yet still super yummy) pile.
Recipe FAQs
Yes! Most gluten free baked goods are best made the same day, but you can make this cake the night before. I actually prefer this cake the second day!
If making the night before, cut the cake into squares and wrap each square in aluminum foil. If you put them in an airtight container, the bottoms of the cakes will be wet and soggy.
When you just bake the cake, the crumbs may have a bit of a crunchy texture on top.
After you store the cake squares in the foil at room temperature overnight, the chocolate crumbs will be buttery soft.
Cut the entire cake into squares. Store the extra squares individually wrapped in foil and then pop them in a zip top bag at room temperature for up to 3 days.
Do not put them in an airtight container. It makes the bottoms of the chocolate cake squares get very wet.
Wrap each individual chocolate crumb cake square in aluminum foil and then place them all in a zip top bag for up to 30 days.
Thaw on the counter for about 2 hours before eating or until the cake is room temperature and soft.
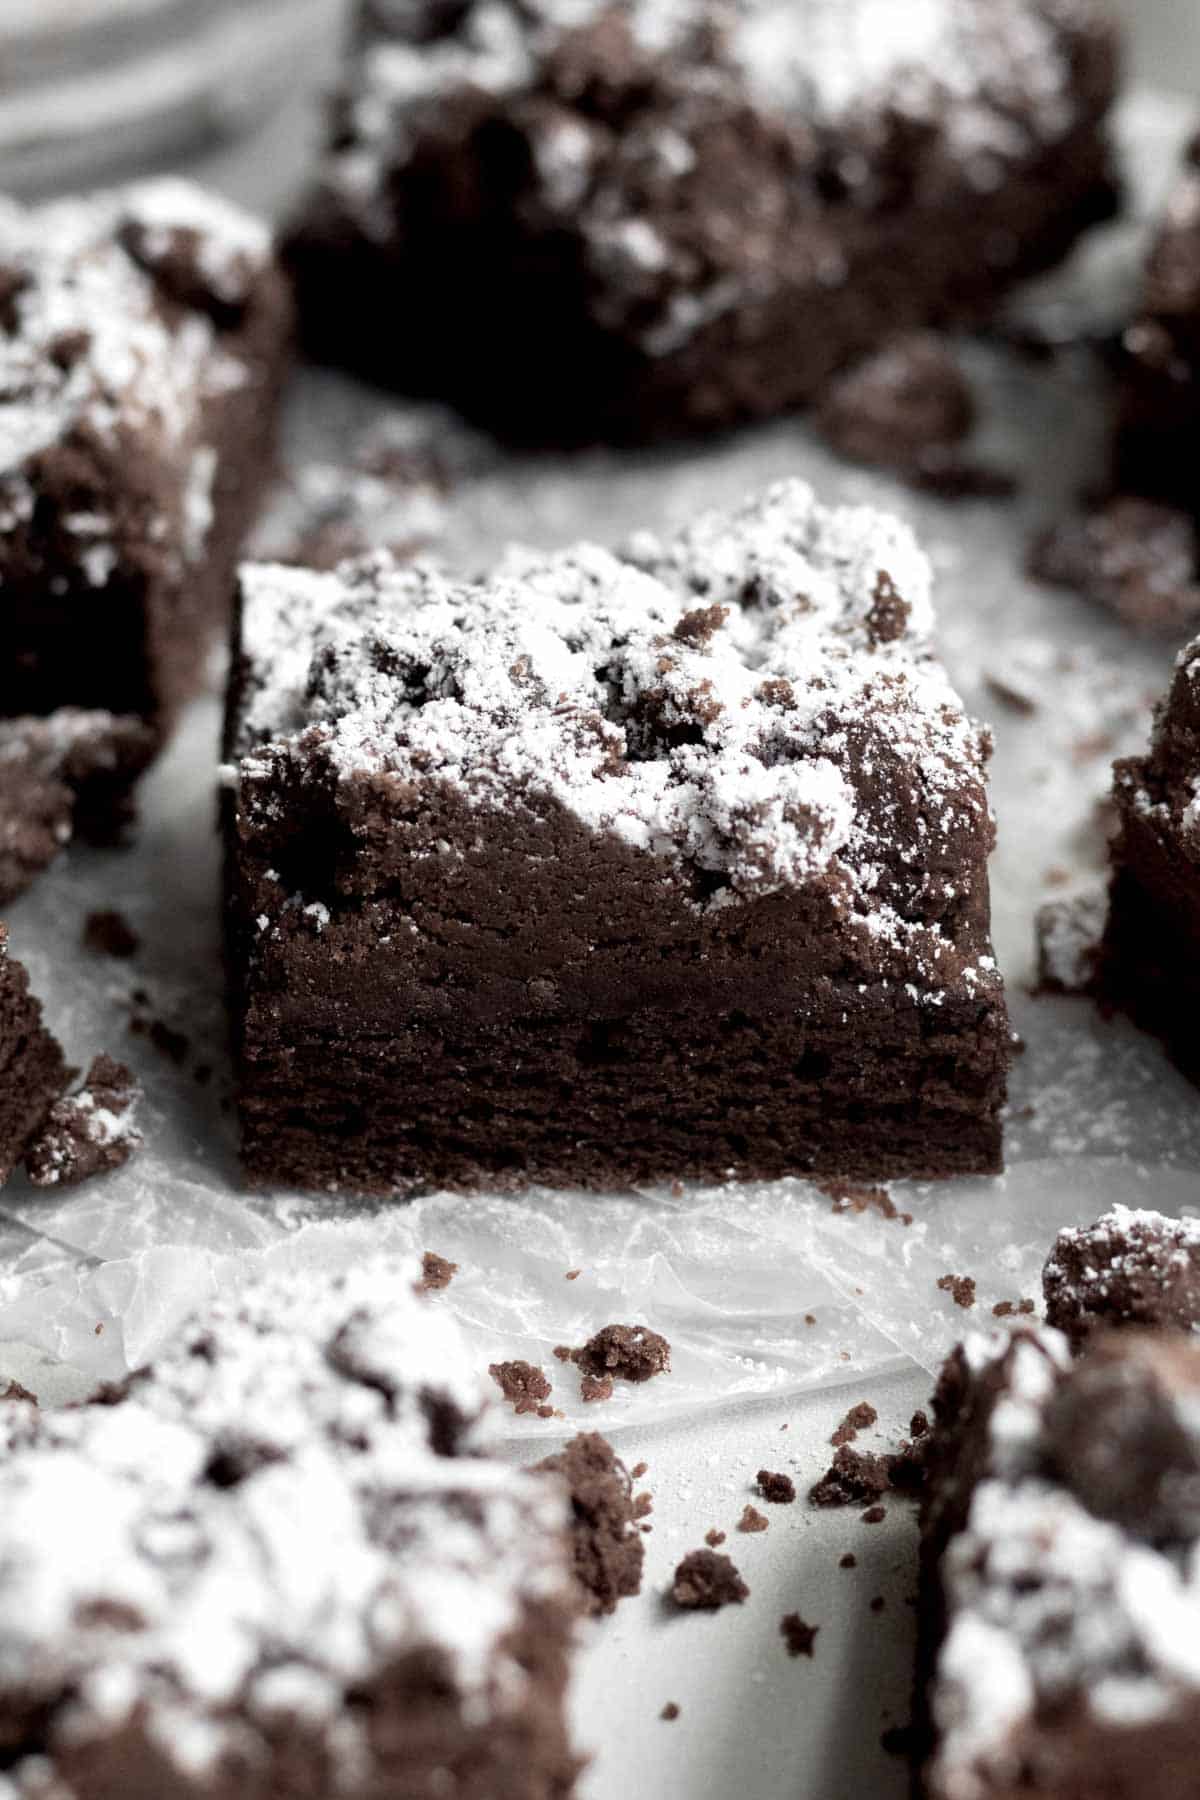
Other Easy Cake Recipes You'll Love
Did you try this recipe? Please leave me a ⭐ review below!
Don’t forget to tag me on Instagram @laneandgreyfare and follow along on Pinterest, Facebook and YouTube! Enjoy!!!
📖 Recipe
Chocolate Crumb Cake
Ingredients
For the Cake
- 1 ¼ cups gluten free flour (I use a gluten free multipurpose flour with xanthan gum already in it)
- ¼ cup cocoa powder (I use 2 tablespoons Natural Unsweetened and 2 tablespoons Dark)
- ½ cup granulated sugar
- 2.5 teaspoons baking powder
- ½ teaspoon kosher salt
- 2 heaping tablespoons cornstarch mixed with 3 tablespoons water
- ¾ cup milk
- 2 tablespoons vegetable oil
- 2 teaspoons pure vanilla extract
For the Crumb Topping
- 2.5 cups gluten free flour (I use a gluten free multipurpose flour with xanthan gum already in it)
- 5 tablespoons cocoa powder (I use 2.5 tablespoonsNatural Unsweetened and 2.5 tablespoons Dark)
- 1 cup light brown sugar , packed
- 1.5 teaspoons ground cinnamon
- 1 cup unsalted butter or vegan baking stick, melted and cooled
- Confectioners’ sugar for dusting
Instructions
- Preheat your oven to 325 degrees Fahrenheit. Lightly grease a 9 x 13 inch baking pan with vegetable oil. Line with parchment paper and lightly grease again. Make the parchment paper long enough so there is about a ½ inch overhang on each side so that you can lift the cake out easily once it has cooled.
- In a large bowl, whisk together the 1 ¼ cups of gluten free flour, the ¼ cup cocoa powder, the ½ cup granulated sugar, the 2.5 teaspoons of baking powder and the ½ teaspoon kosher salt. Set aside.
- In a large bowl, using a spoon, mix together the 2 heaping tablespoons cornstarch (26 grams) and the 3 tablespoons water until thin and watery. It will be thick and tacky at first.
- Into the cornstarch water, whisk in the ¾ cup of milk, the 2 tablespoons vegetable oil and the 2 teaspoons pure vanilla extract until combined.
- Pour the dry ingredients into the wet a little bit at a time. Once the batter gets too thick to whisk, switch to using a spatula.
- Spoon the batter into your parchment lined and greased 9 x 13 baking dish and use a spatula to press the batter down into the shape of the pan. Then use a butter knife or a small icing spatula to spread the batter around. The batter will be super sticky and may stick to the parchment or the icing spatula. Rinse the icing spatula and then shake off any excess water. You want it slightly wet but not dripping wet. This will help prevent the dough from sticking. You may need to repeat this a few times. It might appear as though there isn’t enough batter, but it’s fine. You just need to really spread it out. Just be patient. You should end up with a smooth even thin layer of batter.
- Cut the 1 cup of unsalted butter into pieces and place them a heat safe bowl. Microwave in 20 second increments, stirring after each time until melted. Set aside and let cool.
- In a medium bowl, whisk together the 2.5 cups gluten free flour for the crumb topping, the 5 tablespoons cocoa powders for the crumb topping, the 1 cup light brown sugar and the 1.5 teaspoons ground cinnamon. After it's all combined, pour in the melted butter and stir with a spatula until large crumbs form.
- Sprinkle the crumbs all over the batter. There are lots of crumbs...make sure to use them all and cover every inch of batter.The crumbs will end up going on top of one another. That's normal.
- Bake the cake in the center rack of the oven at 325 degrees Fahrenheit for 30 minutes. Let the cake cool almost completely in the pan before trying to remove it, otherwise it will break apart into a giant mess.
- After the chocolate cake is cool, use the parchment overhang to lift onto a cooling rack and let it cool completely before adding the sugar otherwise the sugar will melt.Dust the entire cake with confectioners' sugar and then slice the chocolate crumble cake into big squares, tiny squares, large rectangles or small rectangles...whatever you prefer! I slice mine into 16 squares.

Tara
I absolutely LOVE this recipe! I'm not gluten free, but follow a modified keto lifestyle and prefer to avoid grains wherever possible. That being said, I use keto flour for the crumb portion because any other substitute will impact flavor. I use a mixture of almond and lupin (sweet) flours for the base. Substitute sugar with monkfruit. The key is DO NOT OVERBAKE. If you're going to err on the side of ingredients in the crumb, go with more butter and less flour. This is a hit every time.
Lee
Thank you so much and thanks for sharing how you made them keto!
Hayley
Made this recipe this weekend and was so delicious, I’ll be making it again for Thanksgiving! I also added a teaspoon almond extract which tasted even better!
Estefanía
How much wheat flour would be used in the ingredients? Would the rest of the ingredients be the same when using regular wheat flour?
Thank you! I'm looking forward to trying it ^^
Lee
Hi there! If you scroll up in the post under "substitutions and variations", I explain how to make it with AP flour, although I cannot test it due to celiac disease. In addition I list it in the notes of the recipe card so it's there if you print it out. I say for this recipe, just use 1 ¼ cups packed cups of AP flour (210 grams) in the cake and 2 ½ packed cups for the crumbs (420 grams).
Use 4 packed tablespoons of cocoa powder (29 grams) in the cake and 5 packed tablespoons (36.25 grams) in the crumbs. Hope it helps!
Bridget McGinnis
Absolutely delicious and addicting! I made it exactly as written, it tastes just as good as any other recipe with regular flour or dairy. My only change would be less vanilla extract. Two teaspoons left a strong vanilla/alcohol flavor even after baking so I would probably do one next time. But that hasn’t stopped me from eating half the pan!
Rikki
can I make the crumbs a day ahead
Lee
I think that would be fine! Since they have butter, store them in a bowl, covered with plastic wrap, in the fridge.
Arty
What kind/brand of GF flour do you use. I have never used or bought
Lee
Sent you an email!
Judy Schell
Love this recipe but I’m not gluten challenged. I know the difficulty gf folks go thru. Can it be made with regular flour?
Lee
Yes it can! Sadly I cannot test it due to celiac disease, but if using regular flour, make sure to use packed cups of flour since the gf flour I use tends to be very thick. Also only use 1/2 cup of milk. Hope this helps!
John
Nothing crummy about this crumb cake! Two spoons up!