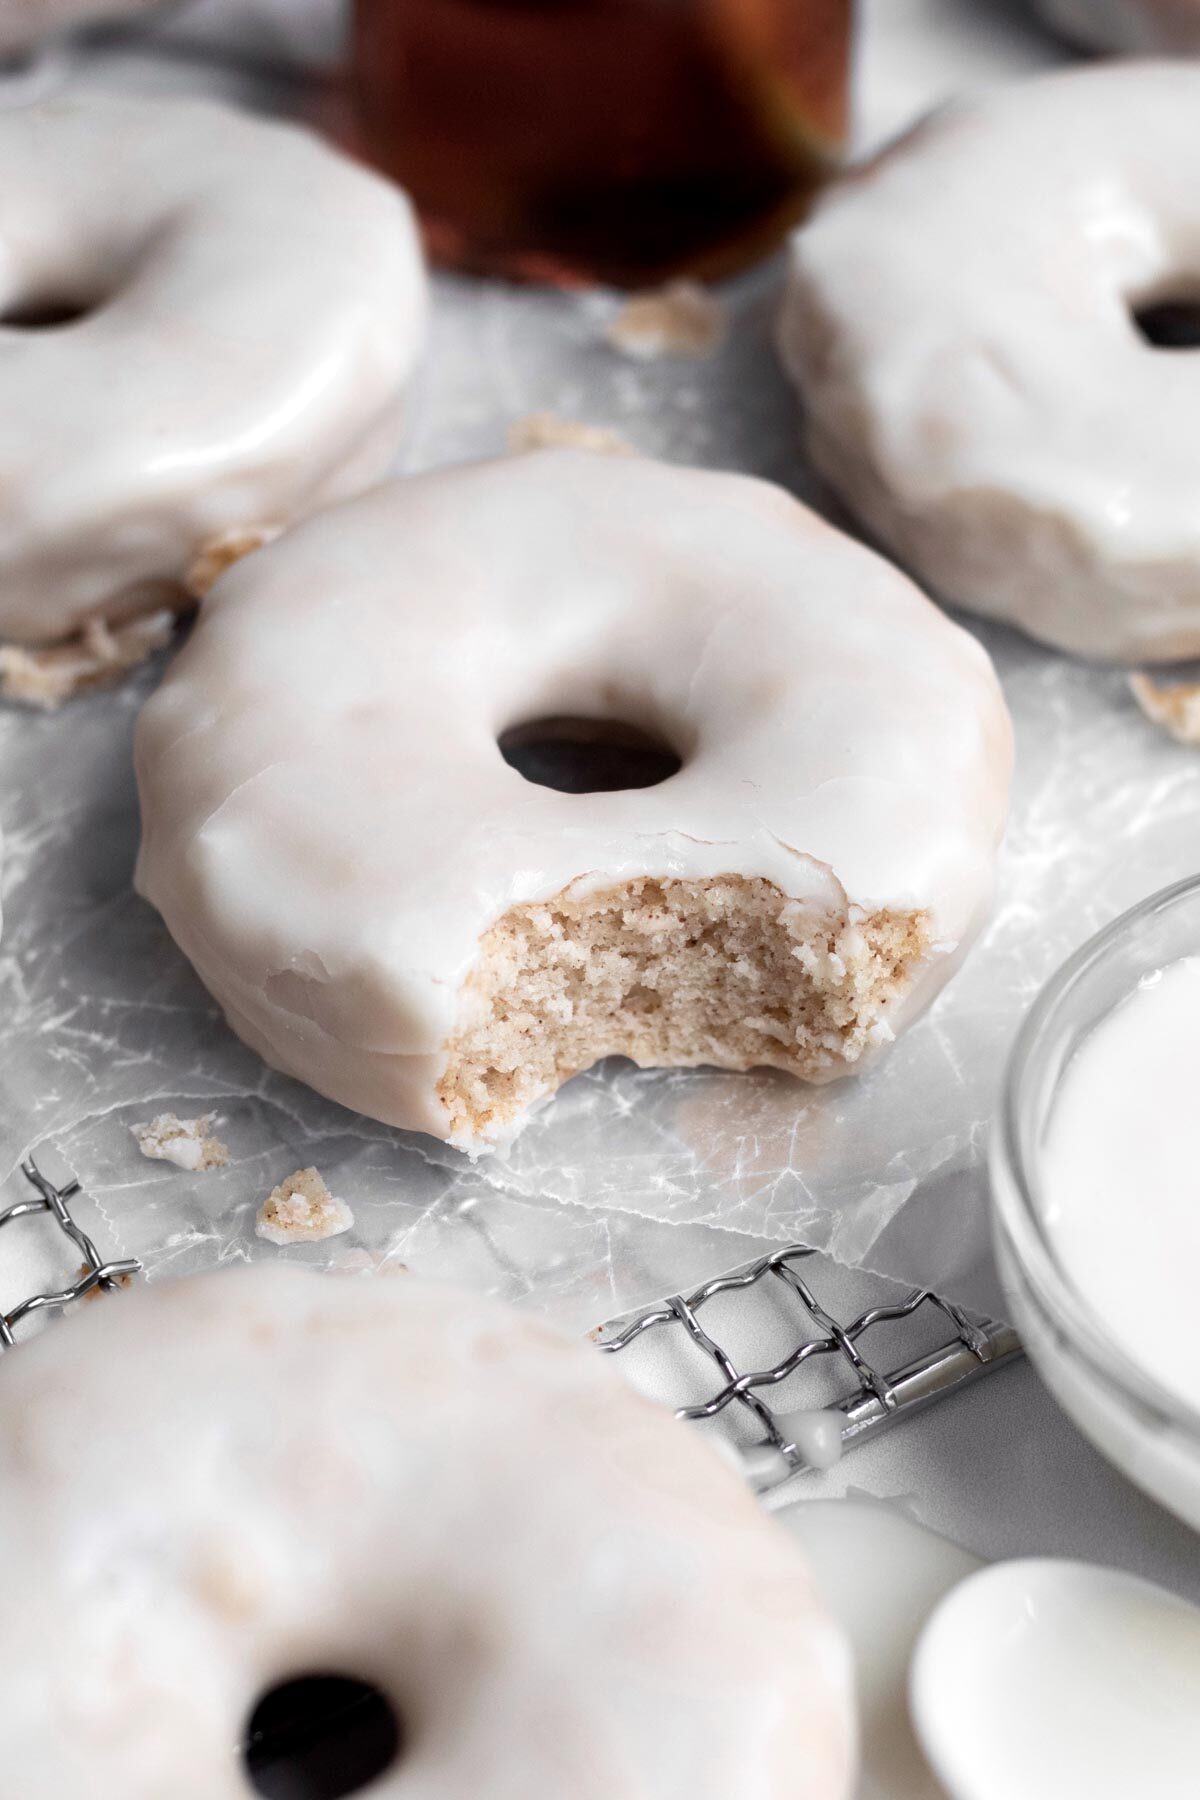
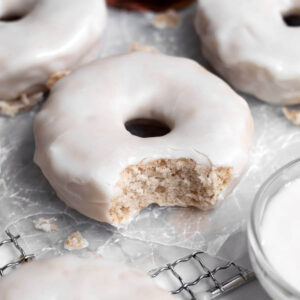
These Maple Donuts are soft, sweet and full of rich maple syrup. They have Grade A maple syrup in the batter itself and are coated in a dreamy maple glaze. Best yet, these maple glazed donuts are gluten free, nut free eggless and easily can be vegan!
Not only are these Maple Donuts sweet and soft, but they're simple to make! Just like my Powdered Sugar Donuts, no mixer is required and these autumn donuts are baked, not fried!
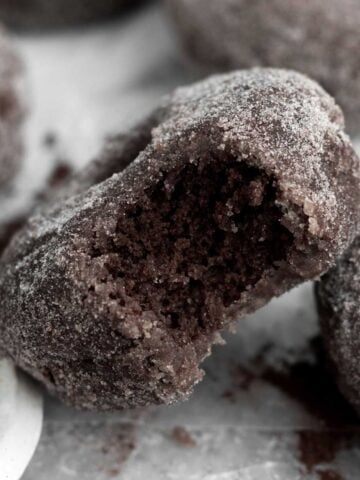
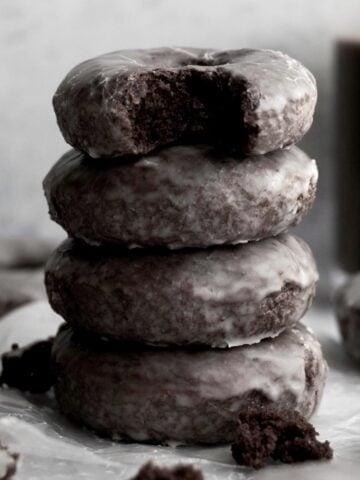
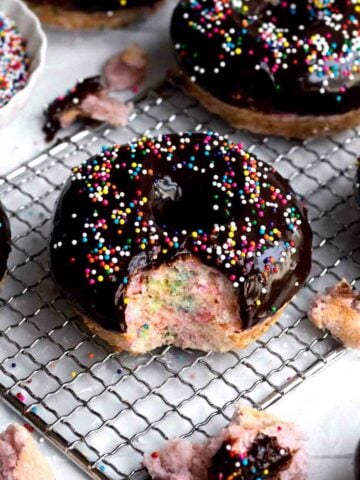
For more donut recipes, check out my Chocolate Sugared Donuts, my Baked Apple Cider Donuts, Cinnamon Sugar Donuts, Cookies and Cream Donuts and Funfetti Donuts.
Reasons to Love These Maple Donuts
- Allergy Friendly- These donuts are gluten free, nut free, egg free and can easily be dairy free (vegan)!
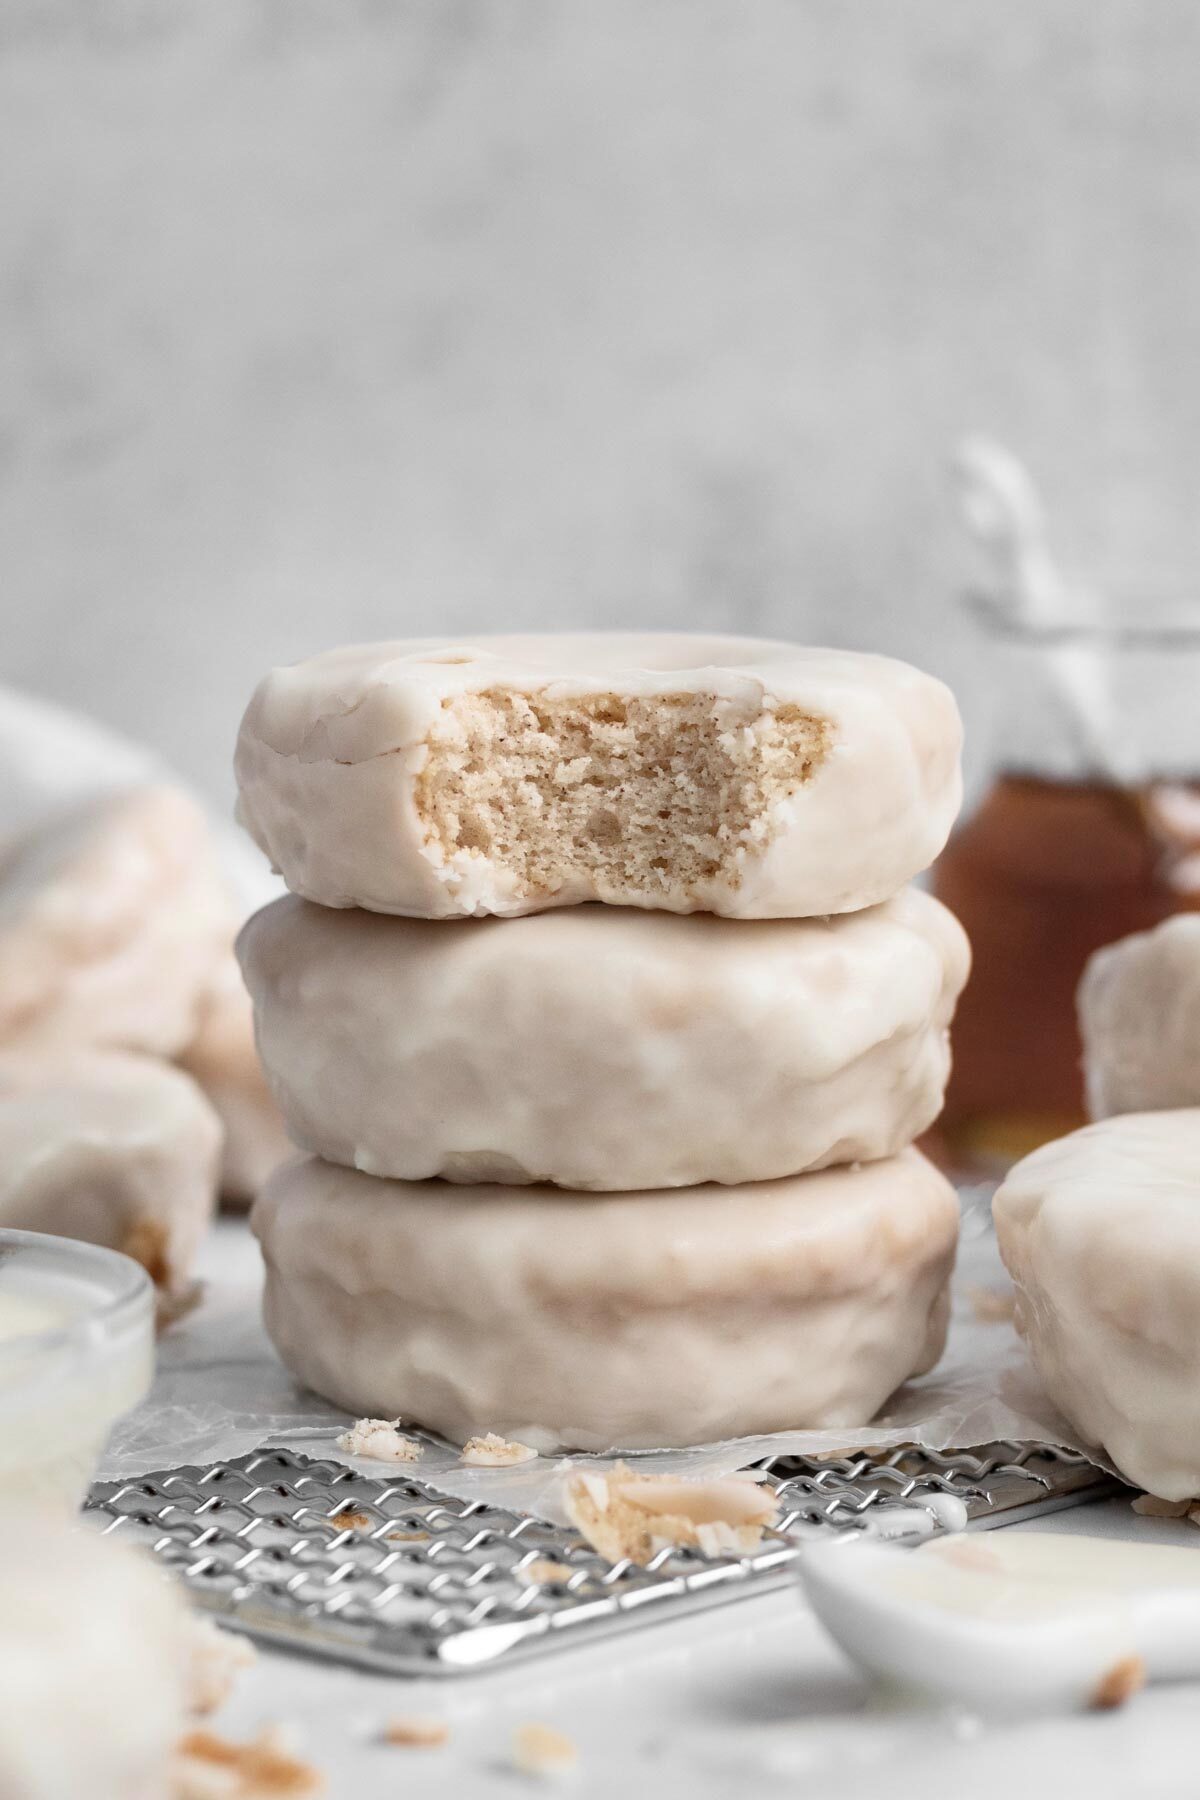
- Soft & Fluffy- The donuts are so super soft and delicious; like biting into a cozy cloud!
- Pure Maple Syrup- These babies are dipped in a maple syrup glaze and have maple syrup in the batter as well like with my Brown Sugar Maple Cookies and Maple Cake!
- Easy to Make- No mixer is need for these super simple donuts! Just a whisk and a spatula!
Ingredient Notes
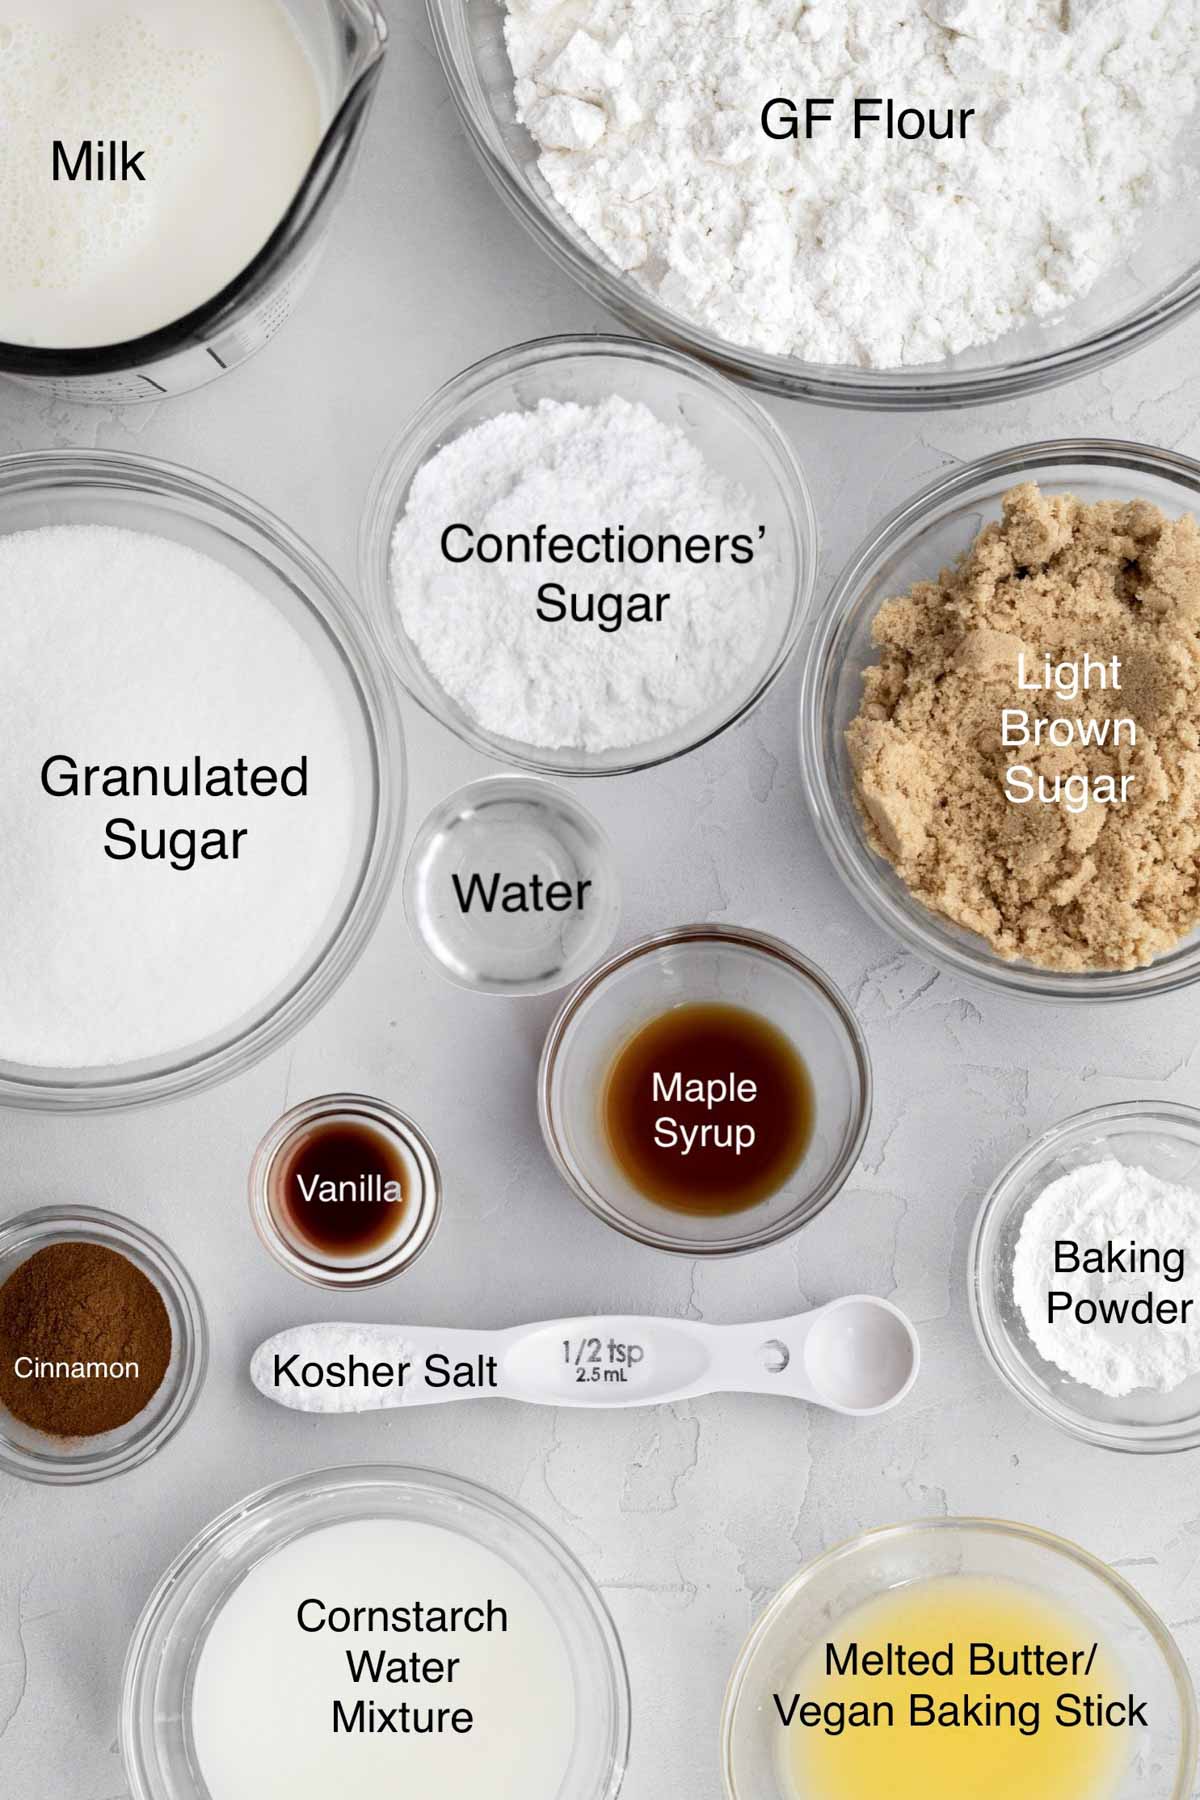
- Gluten Free Flour- If you also have nut allergies, make sure to use a brand that’s made in a nut free facility. I really love to use this gluten free flour because it’s free of the top 9 allergens. It also contains xanthan gum which really helps give baked goods their bounce and prevents them from falling apart.
- Cornstarch and Water- These are eggless donuts so this mixture helps bind everything together.
- Milk- If there are no dairy allergies or if you’re not vegan, you can use regular whole milk. For non-dairy, use a dairy-free milk of your choosing.
- Butter/Vegan Baking Sticks- In this recipe we actually used melted!
- Maple Syrup- I use pure grade A maple syrup in both the donuts and glaze. But, you can use store bought like I do in my Chocolate Chipless Cookies. Keep in mind, if you use a store brand such as Pearl Milling Company, the donuts will be more dense than if you use pure maple syrup as the store brands tend to be much thicker.
See my recipe card below for a complete list of the ingredients with measurements.
Substitutions and Variations
How to Make These into Vegan Donuts
- Use a gluten free flour that’s free from dairy.
- Make sure to use vegan baking sticks instead of butter.
- Only use a non-dairy milk of choice.
For Regular All Purpose Flour
- Use 2 cups of packed AP Flour (336 grams).
This recipe has not been tested with these some of these substitutions and/or variations due to celiac disease and food allergies. If you change any of the ingredients, please let us know how the recipe turned out in the comments below!
How to Make Maple Donuts
Here are the steps to make these maple iced donuts!
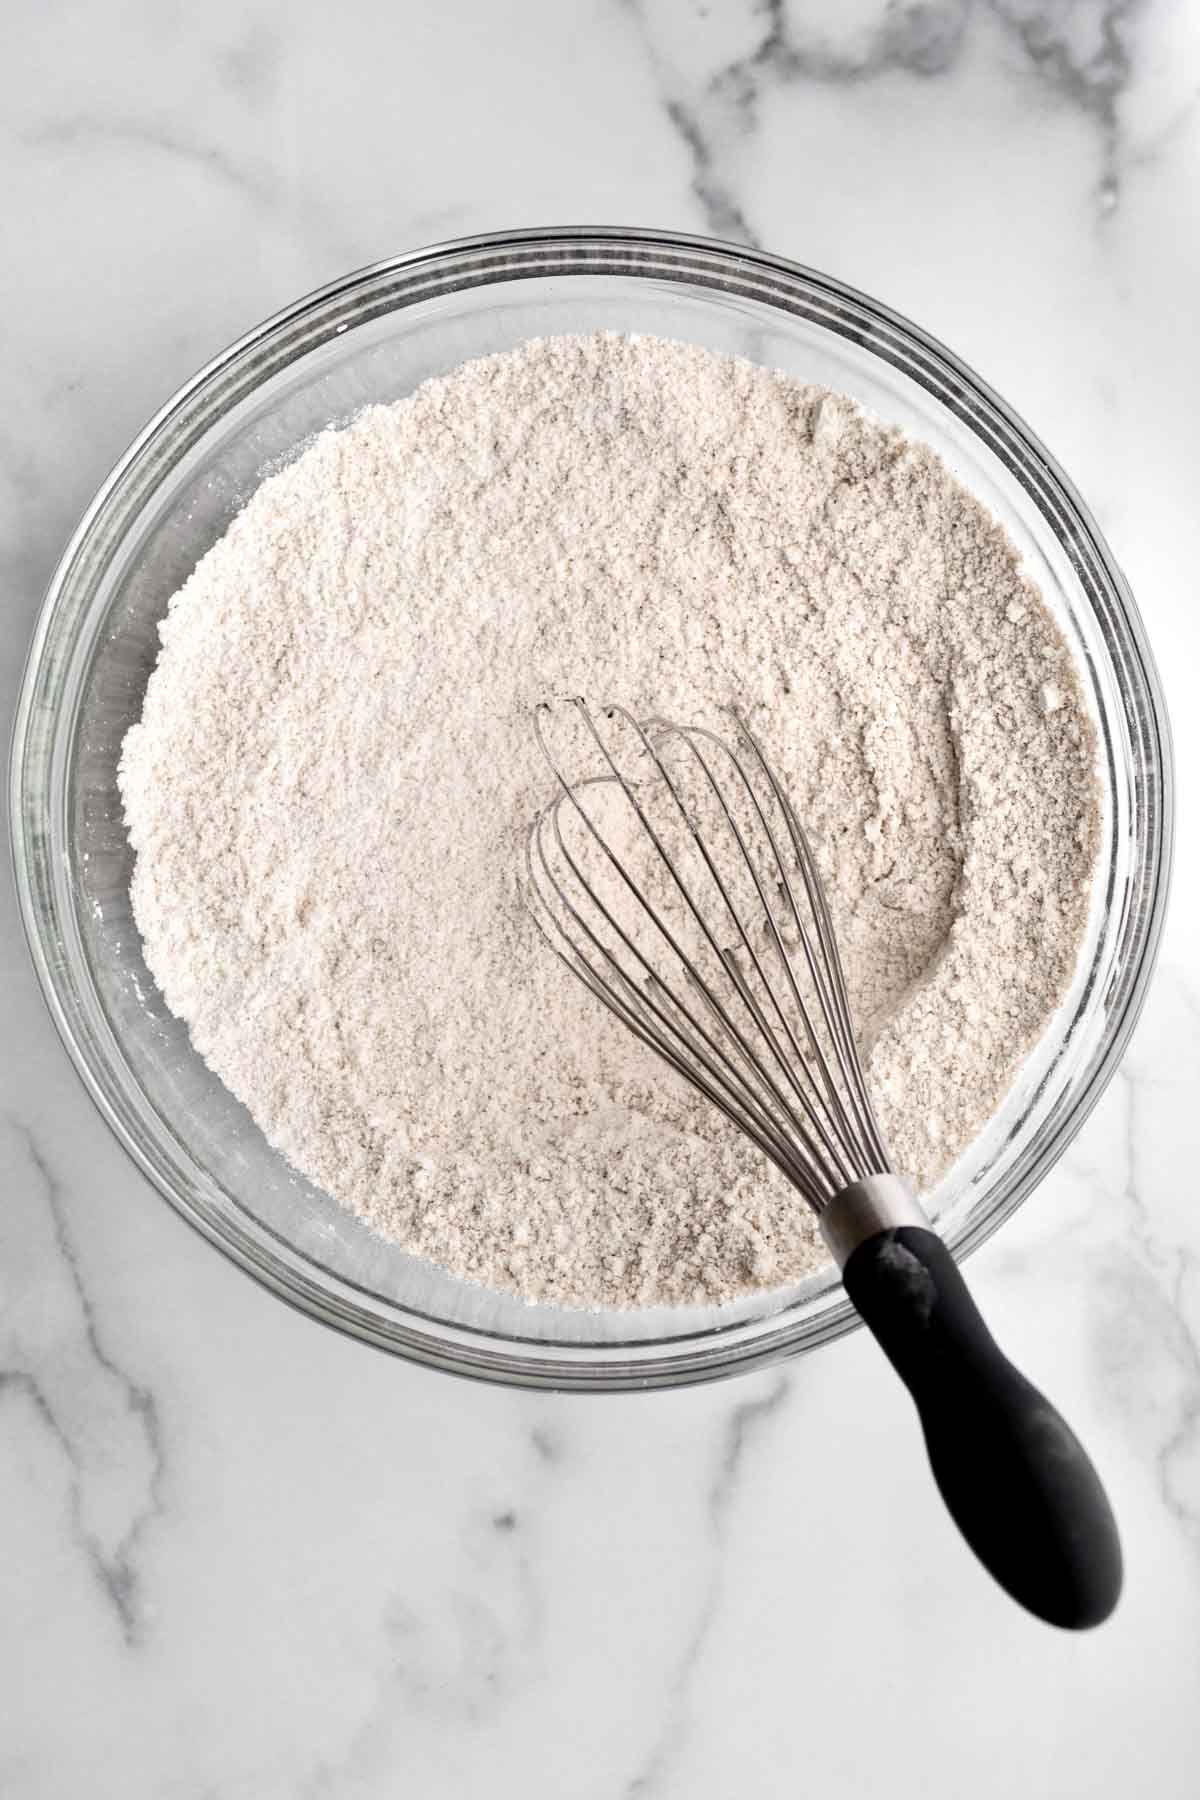
Step 1: Mix the Dry Ingredients
In a large bowl, whisk together the gluten free flour, granulated sugar, baking powder, cinnamon and the salt. Set aside.

Step 2: Melt the Butter
Put the butter in a small heat safe bowl. Microwave in 10 second increments until melted. Set aside to cool.

Step 3: Make the Cornstarch Water
In a small bowl, using a spoon, mix together the cornstarch and water until thin and watery. It will be thick and tacky at first.
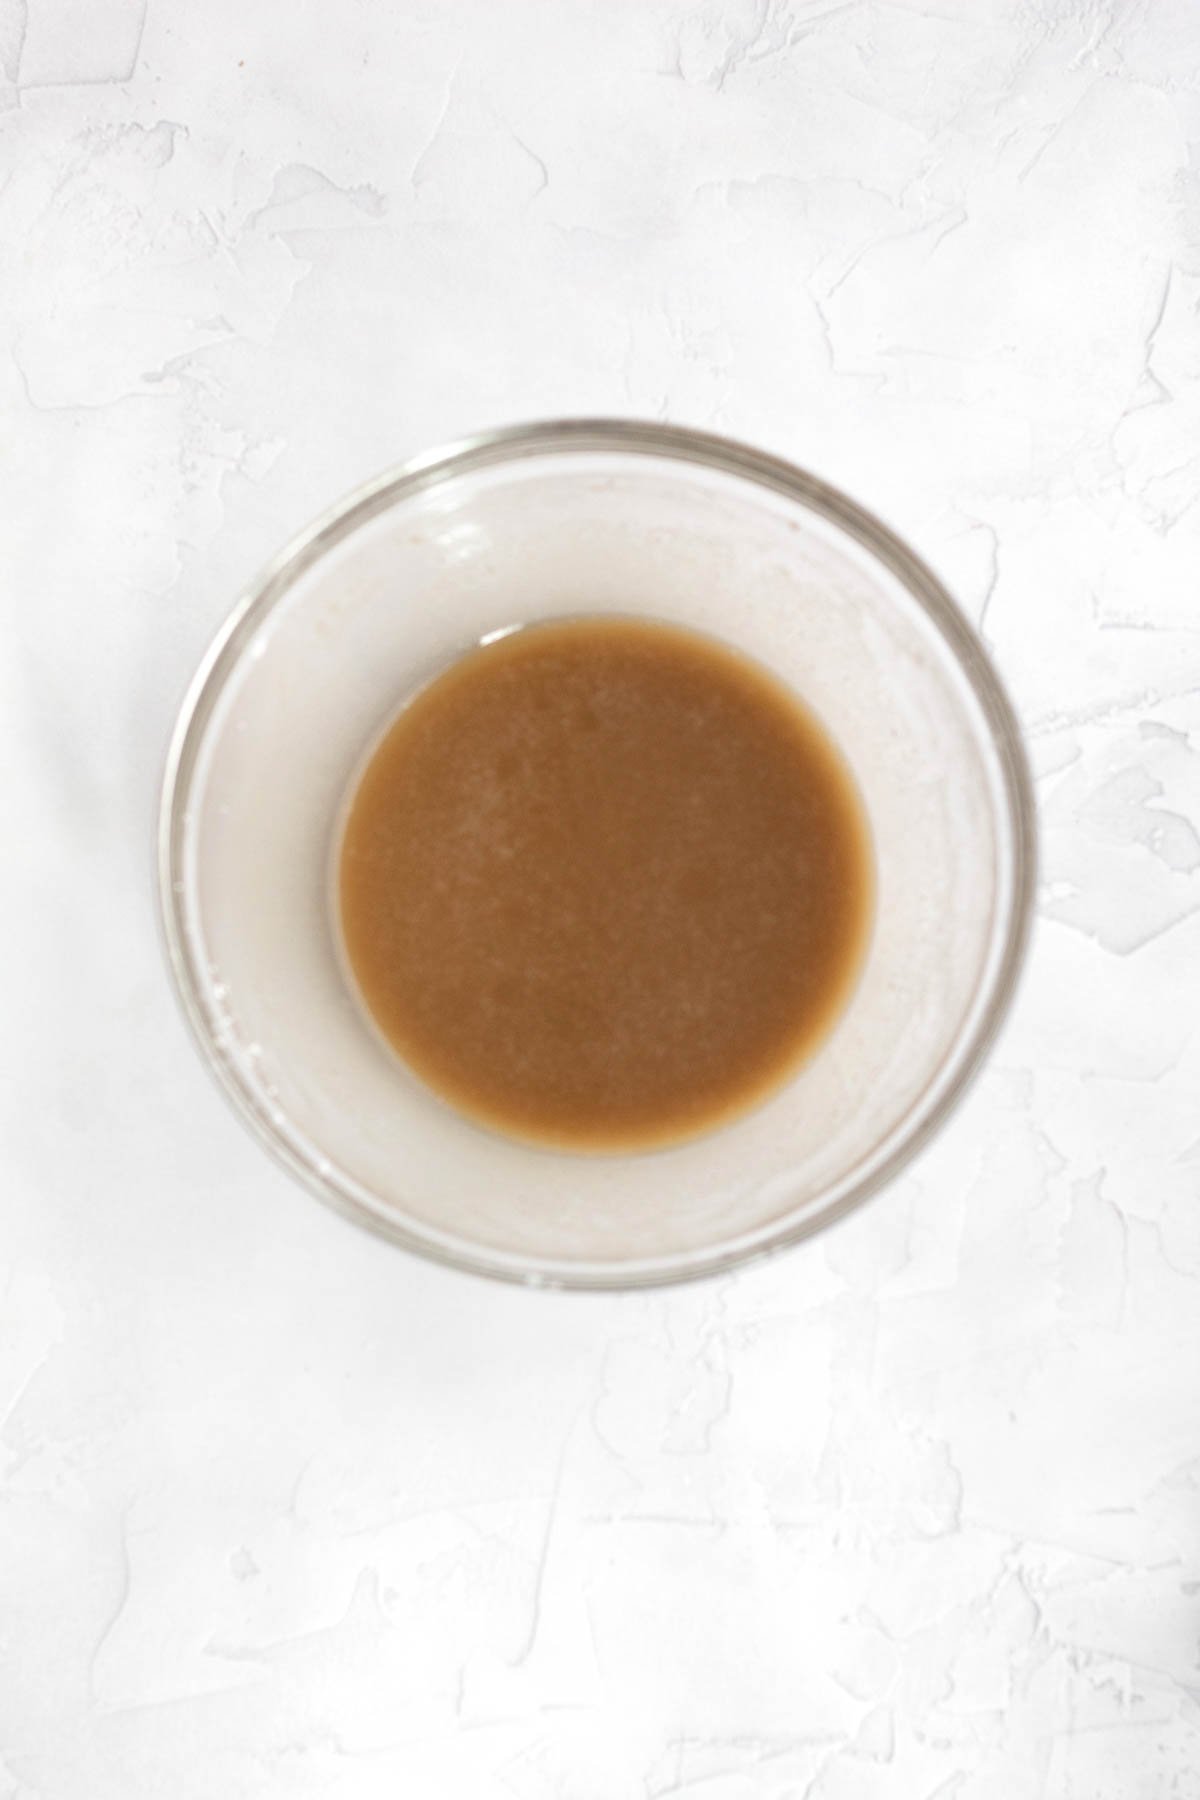
Step 4: Mix The Brown Sugar and Cornstarch Water
In a medium bowl, whisk the brown sugar into the cornstarch water mixture until fully combined.
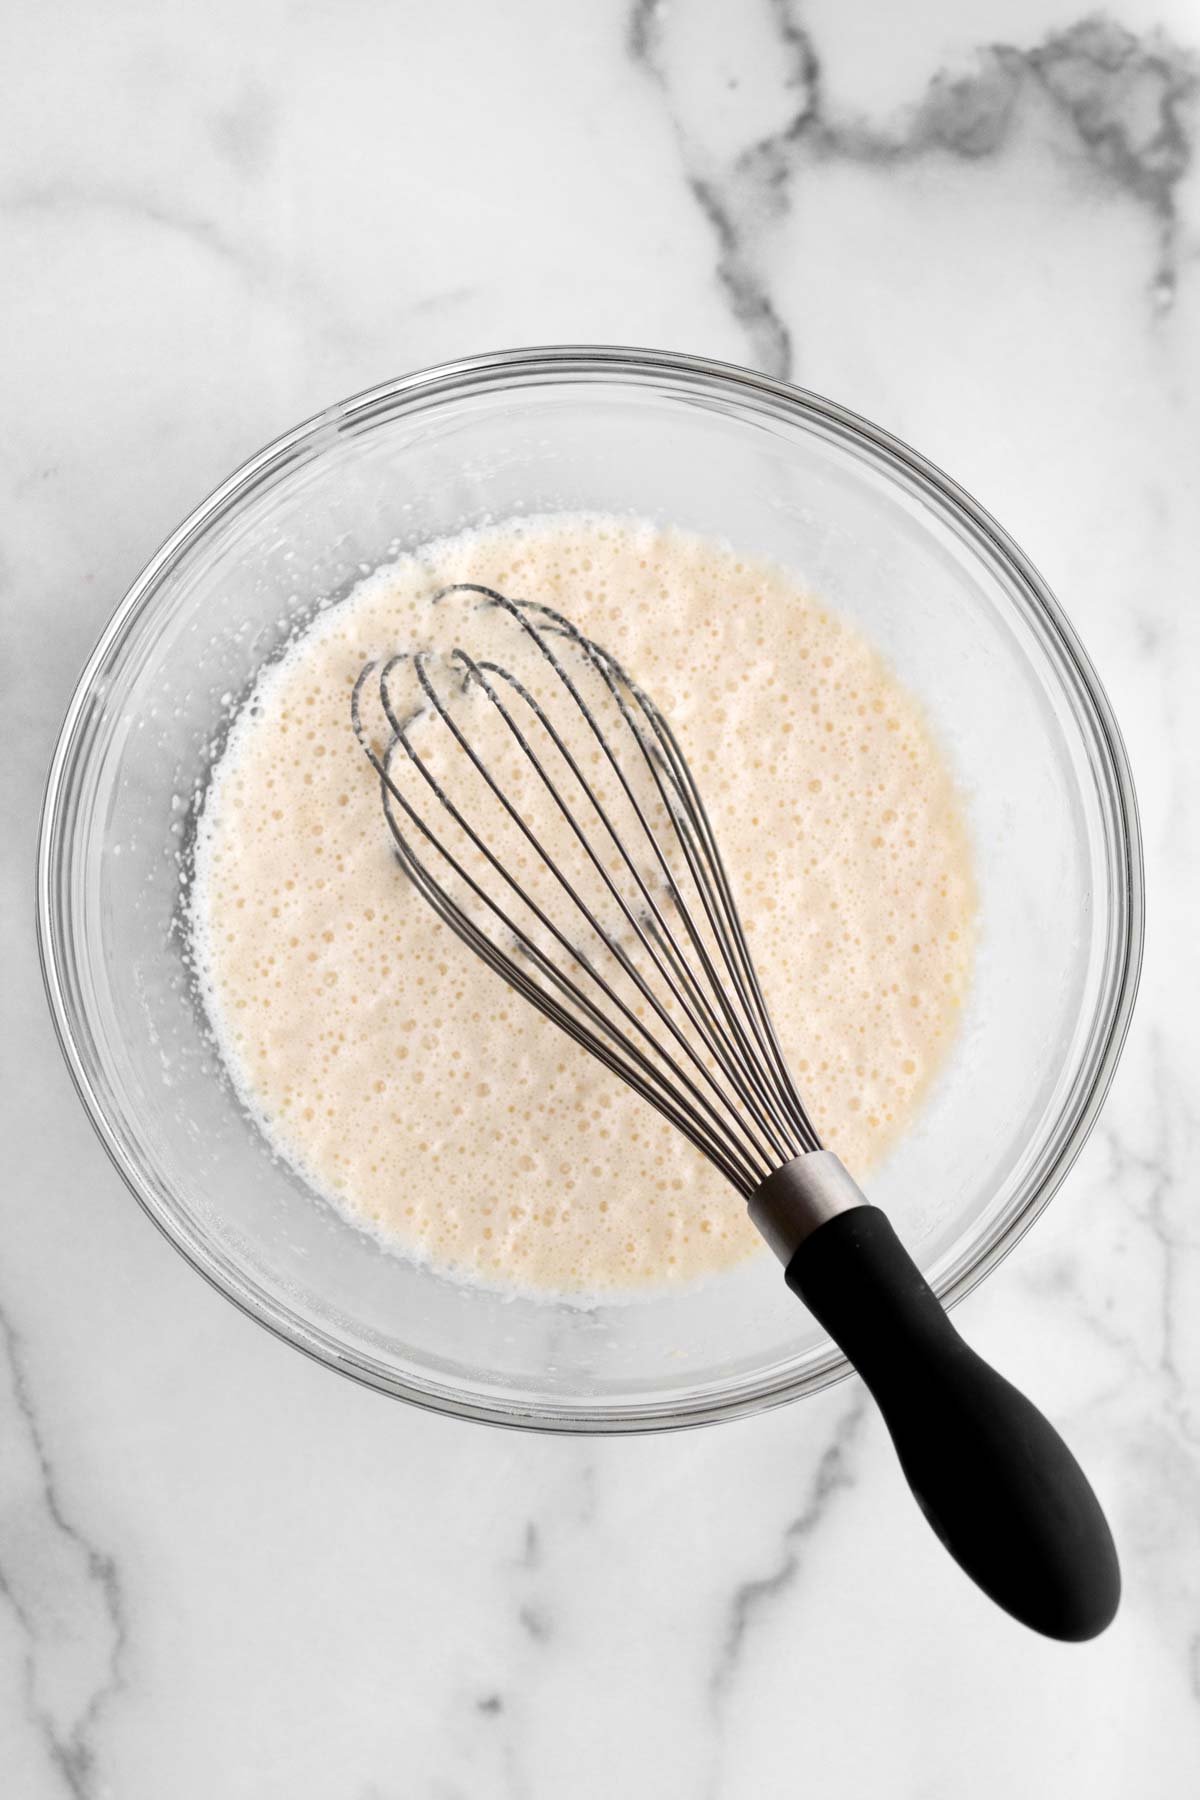
Step 5: Mix in the Other Wet Ingredients
Whisk in the milk, cooled melted butter, vanilla and maple syrup until combined.
Make sure the melted butter isn't hot otherwise the mixture will be chunky.
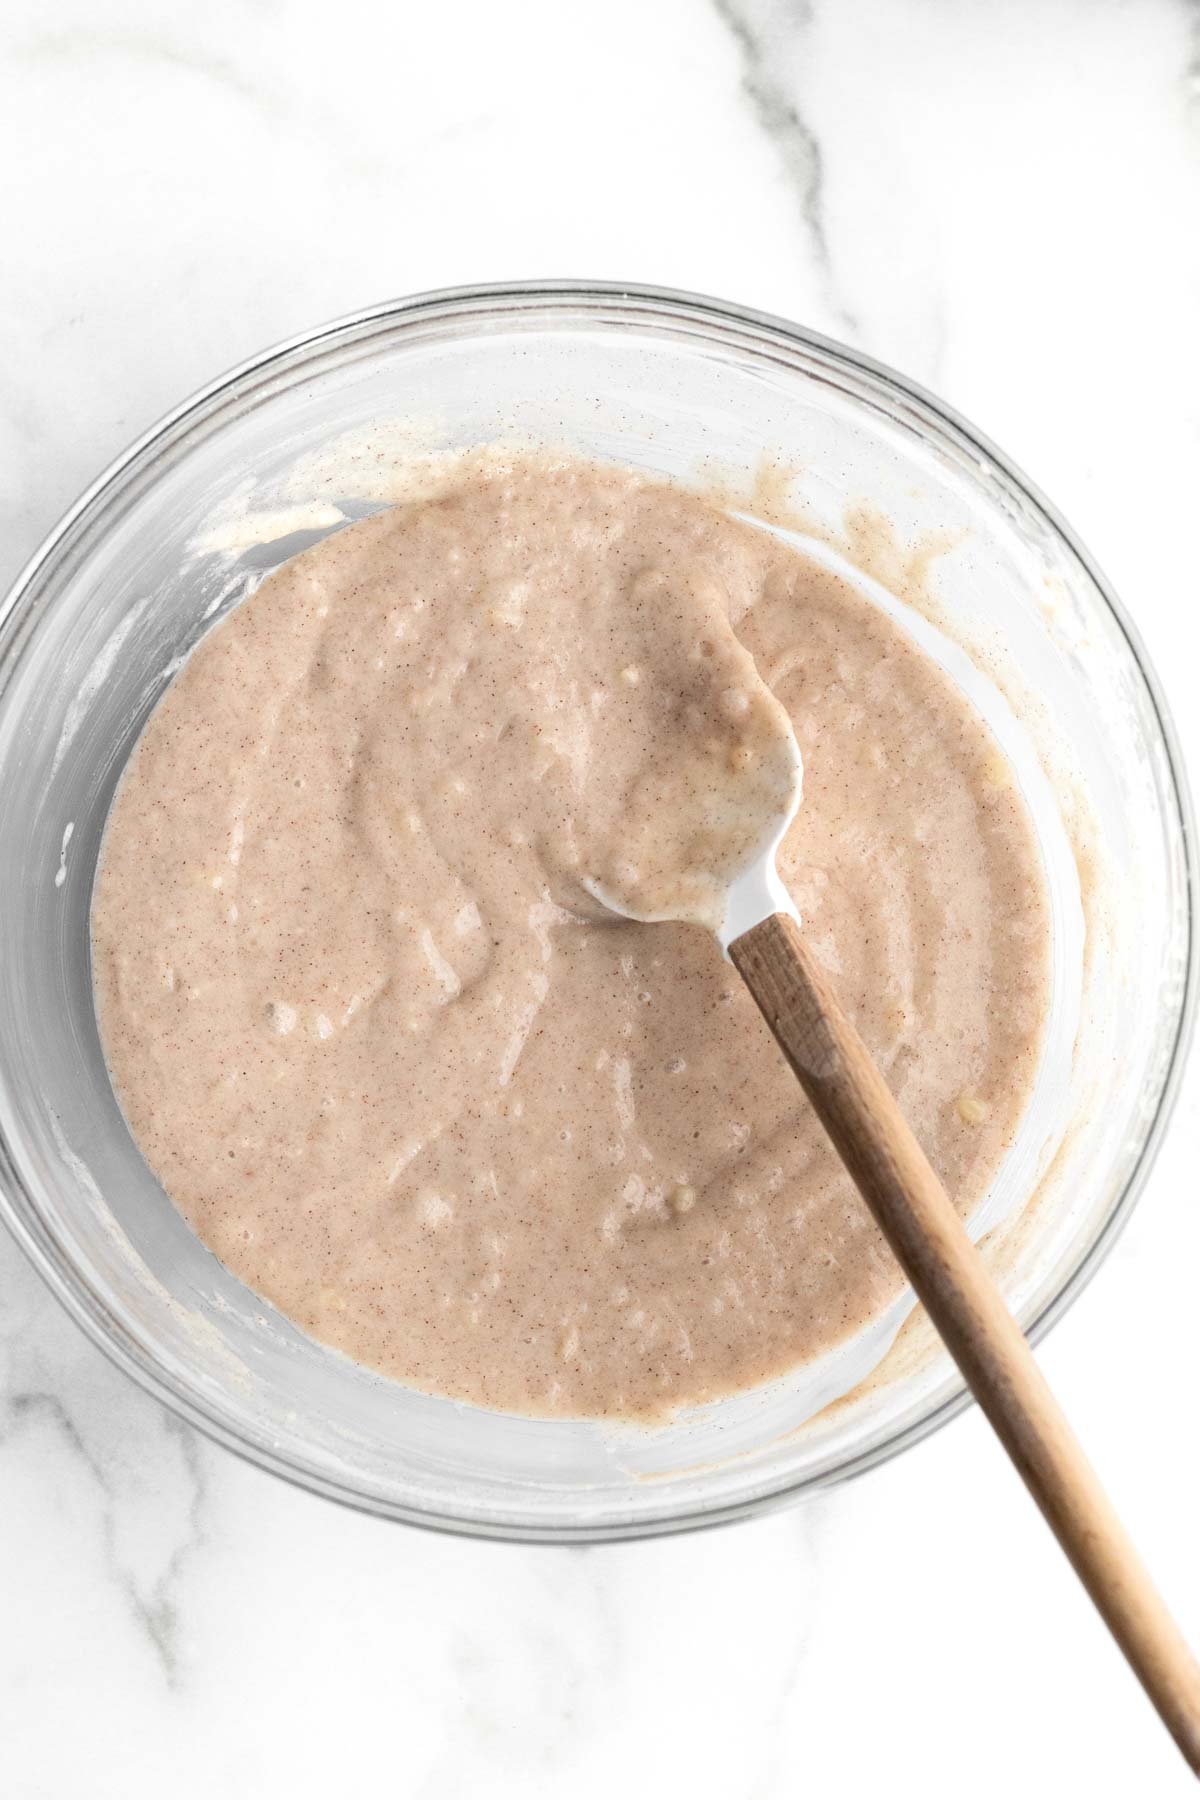
Step 6: Mix the Wet Ingredients into the Dry
Slowly pour the wet ingredients into the dry and use a whisk to combine. If it gets too thick, switch to using a spatula.
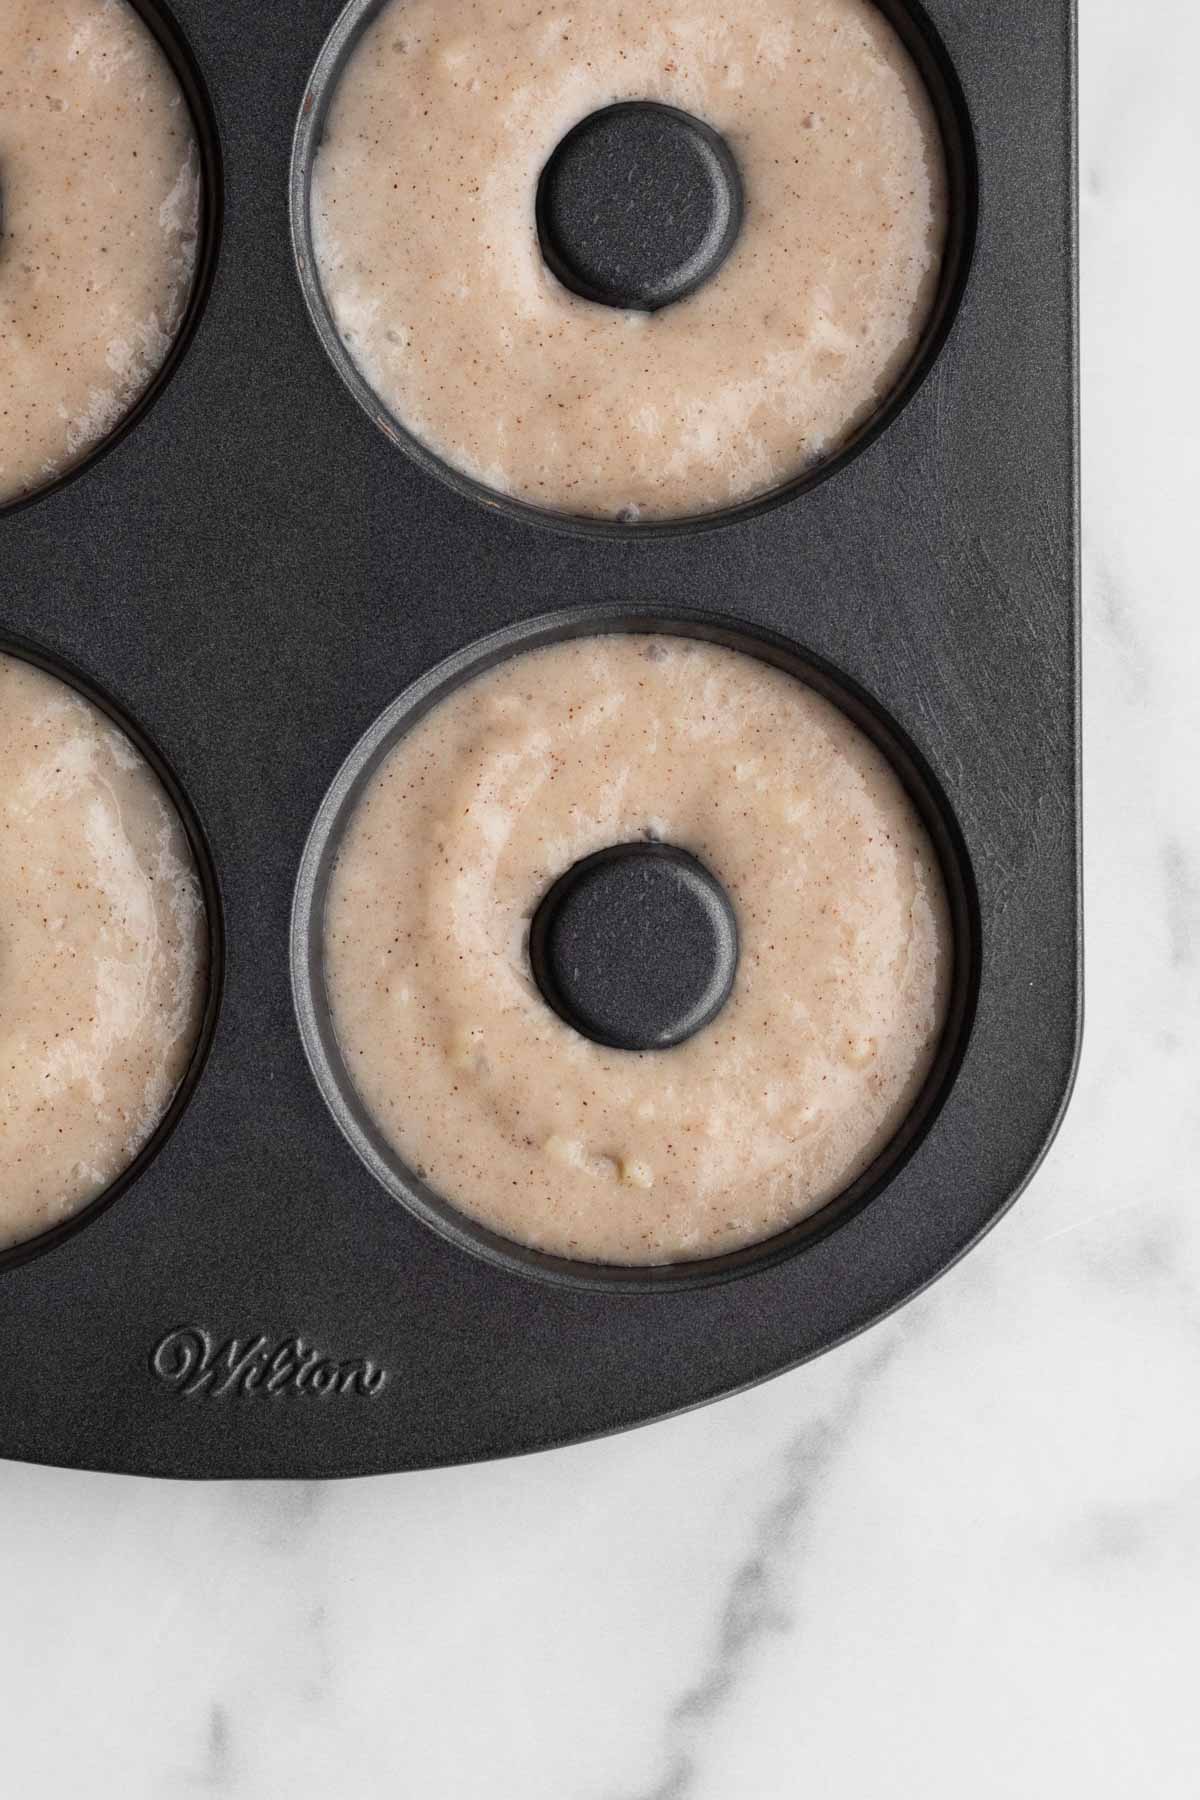
Step 7: Fill the Donut Pans
Either spoon the batter into the greased donut pans and fill ¾ way the top or put all the batter into a piping bag or a zip top bag with the corner snipped off and pipe the batter into the donut pans.
Smooth the batter with a tiny knife or the back of a small spoon.
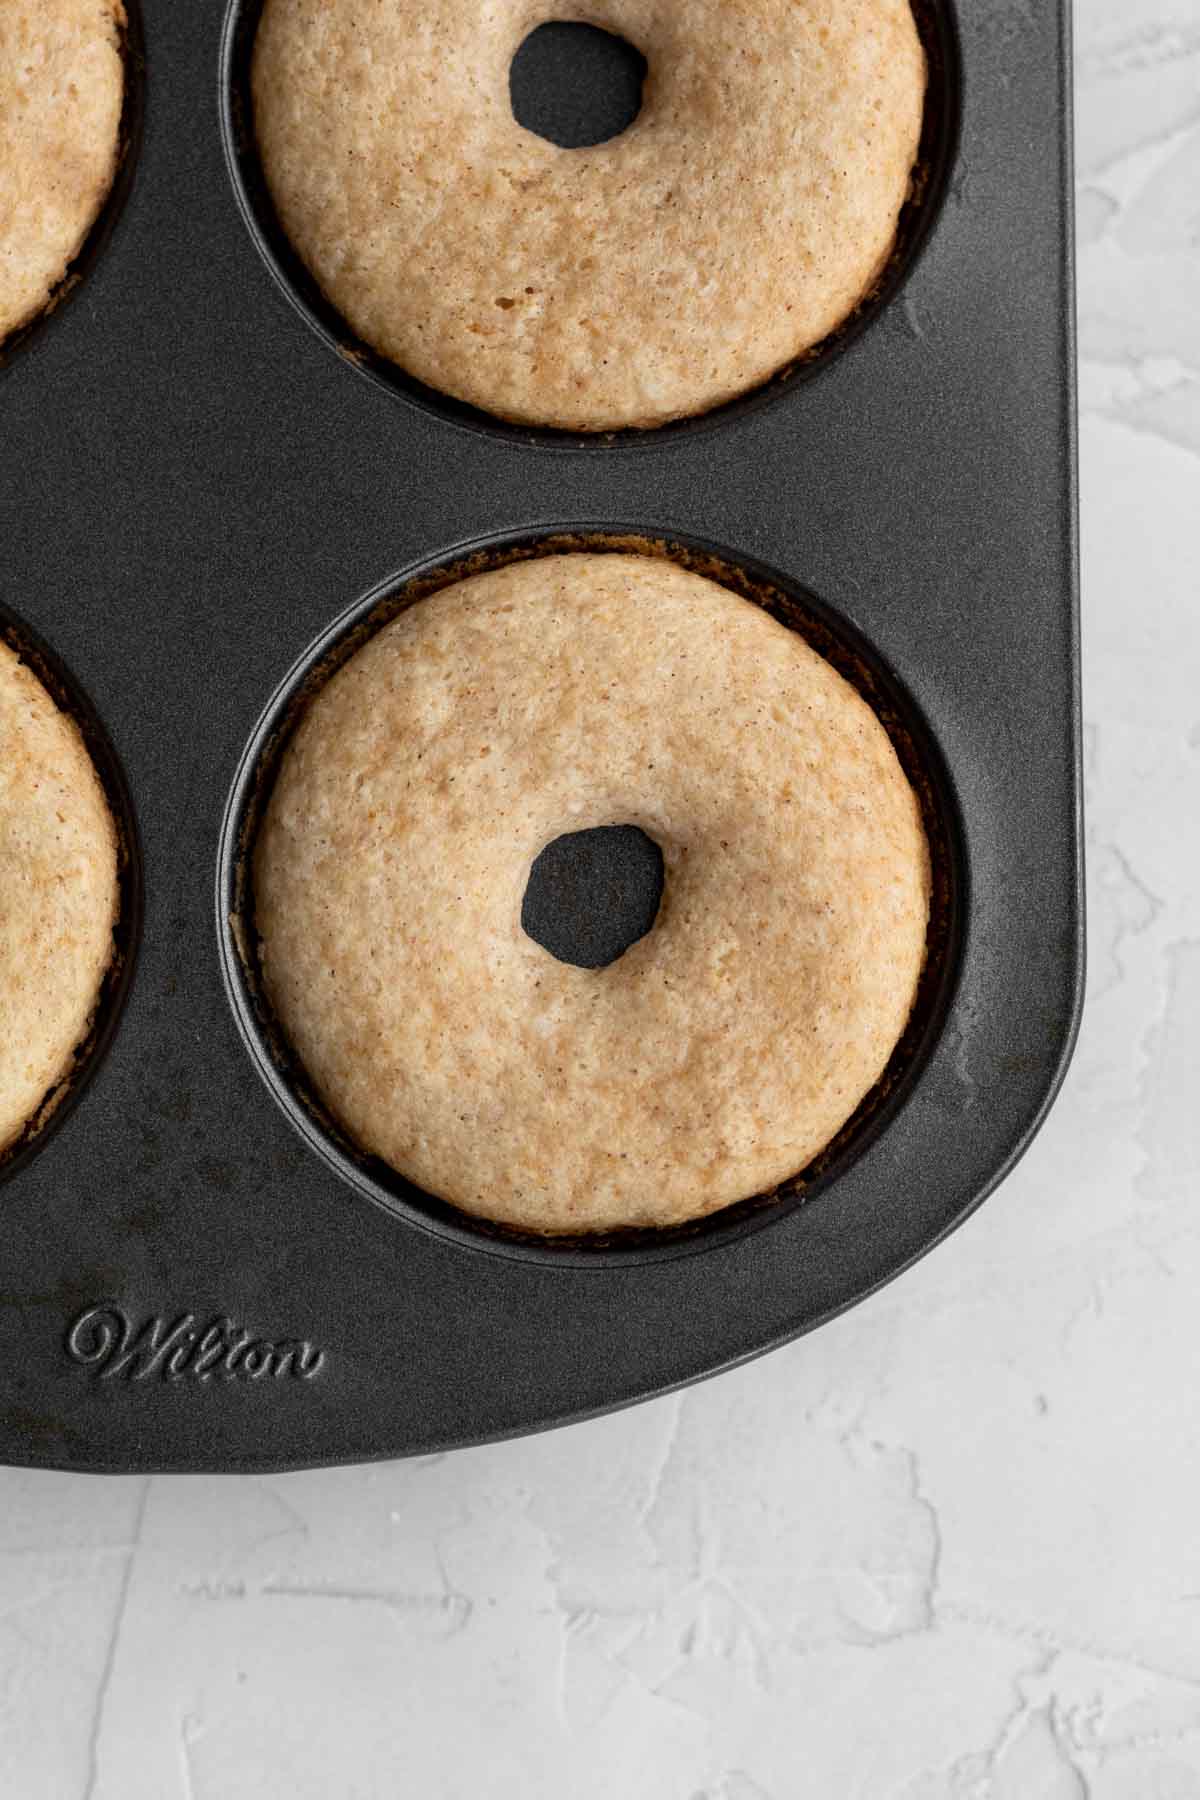
Step 8: Bake and Cool
Bake the donuts in the center rack of the 350 degree oven for 20 minutes. The donuts should be risen and spring back at you when gently touched.
Let the donuts cool in the pans for at least 5 minutes then place the donuts on a cooling rack with a baking sheet or wax paper underneath.
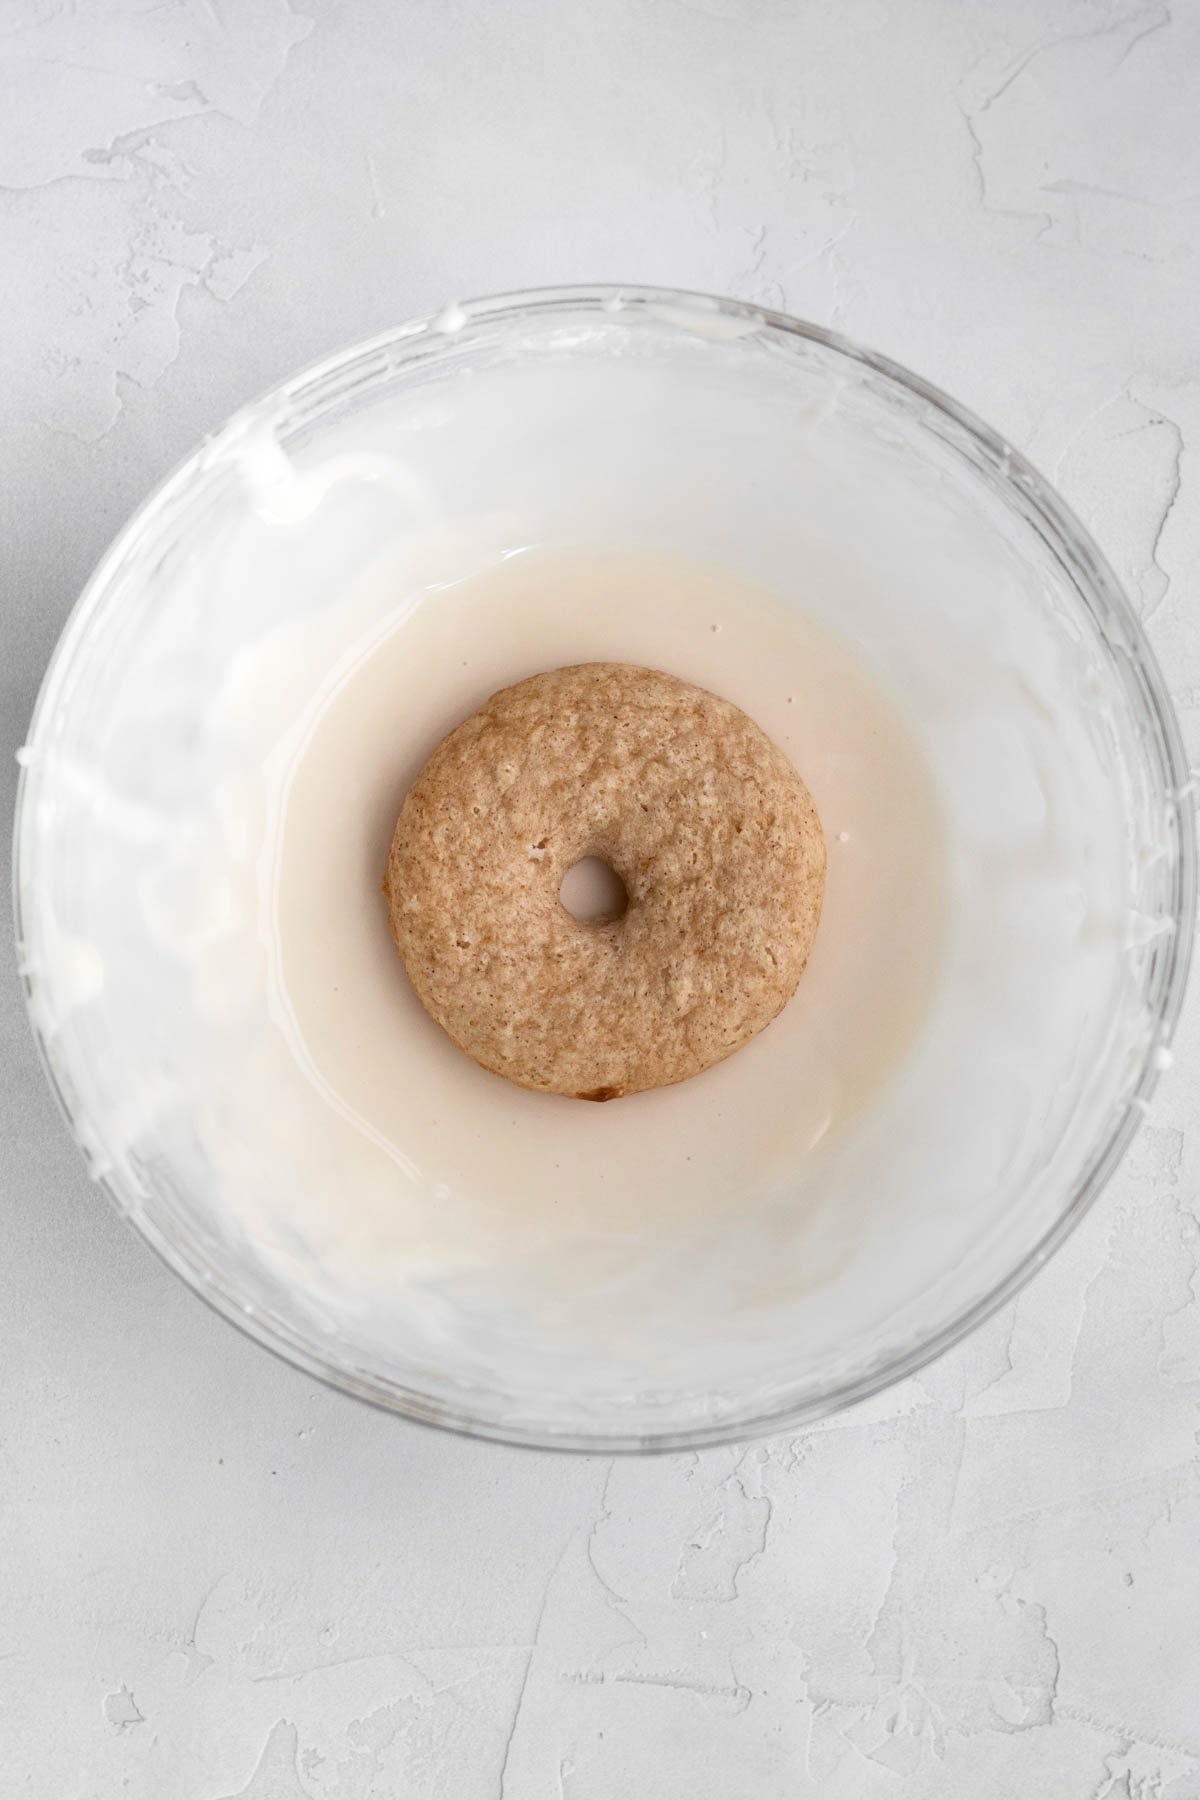
Step 9: Make The Glaze and Dip the Donut Bottoms
Combine all the glaze ingredients in a bowl and use a whisk to combine.
Take one donut and dip the bottom of it in the glaze.
Immediately put the donut, wet glaze side up, on the cooling rack with wax paper or baking sheet underneath. Let it dry completely.
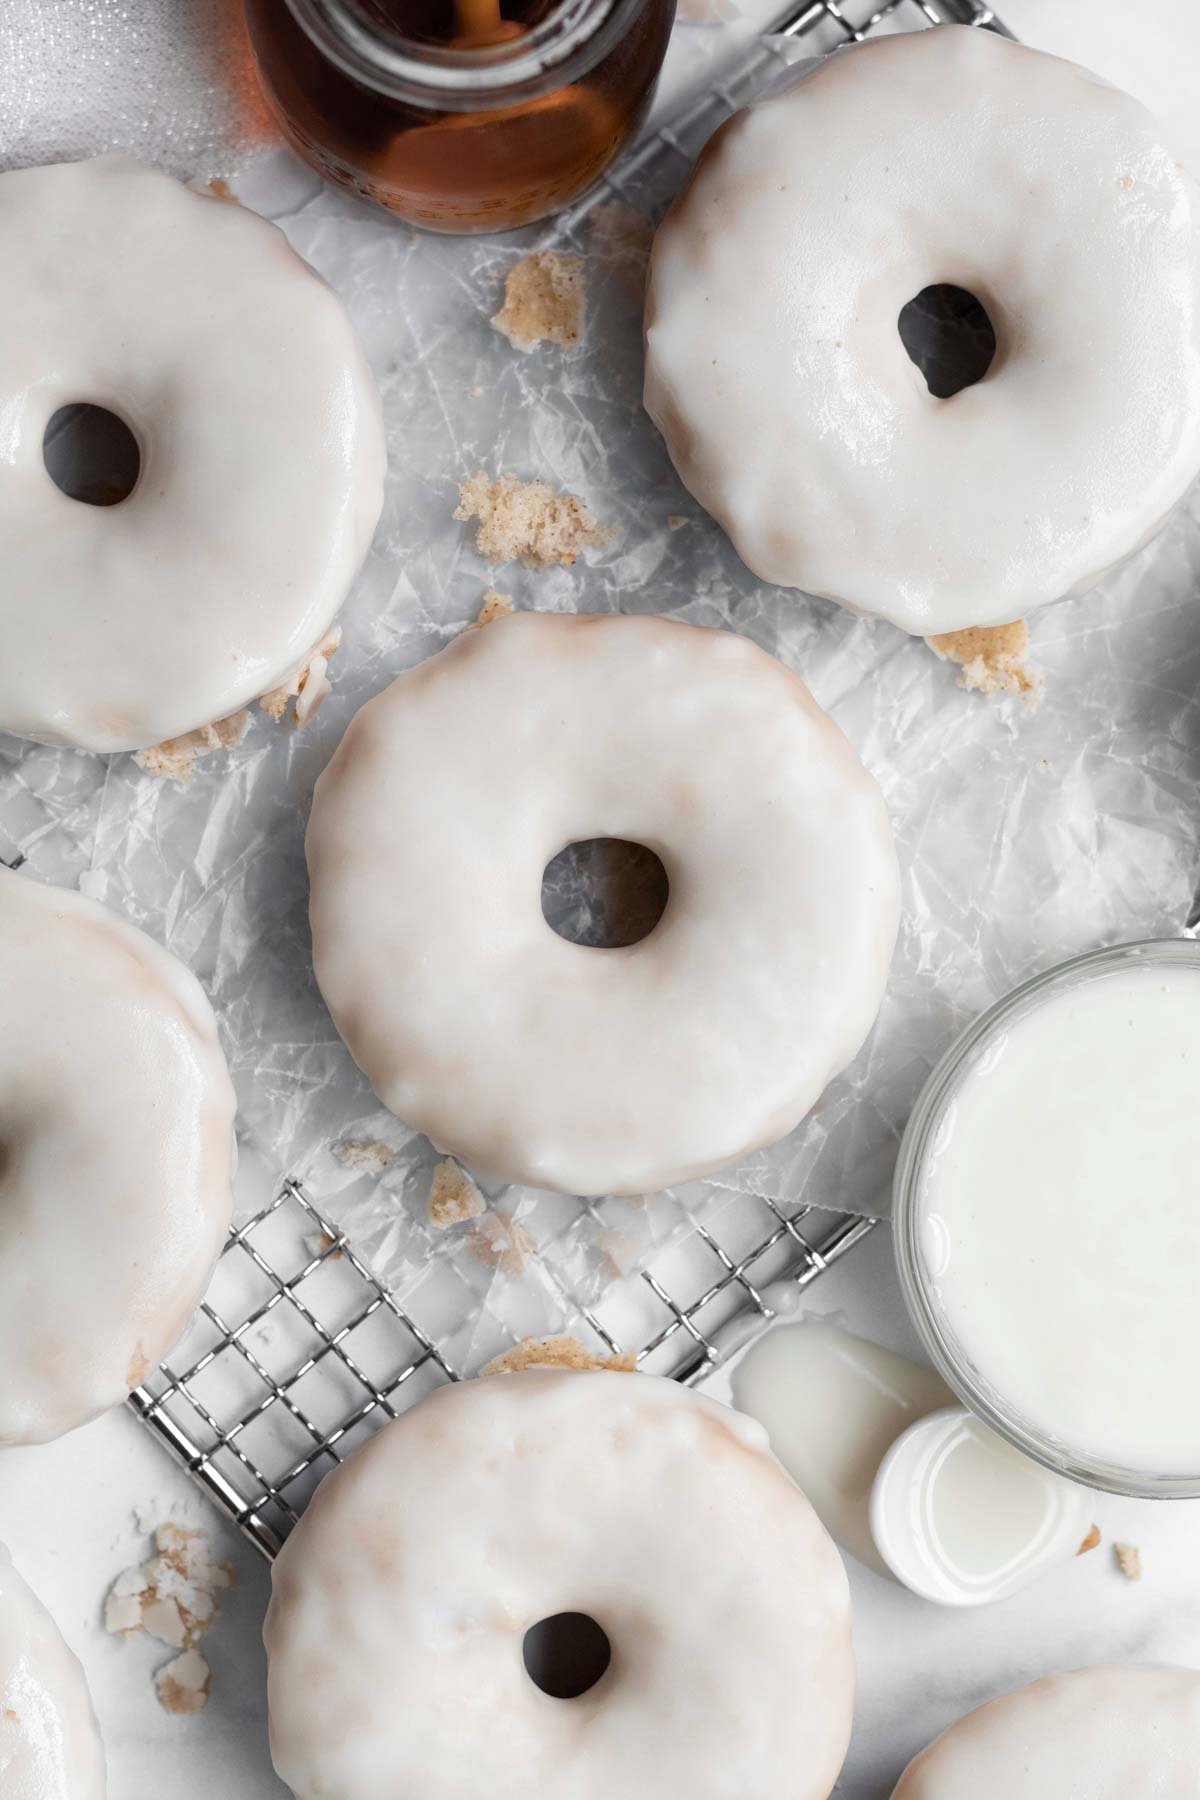
Step 10: Dip The Donut Tops
Take one donut and dip the top of it in the glaze.
Immediately put the donut, wet glaze side up, on the cooling rack with wax paper or baking sheet underneath.
Let the glaze harden completely prior to eating or it will have a strong confectioners' sugar flavor.
Expert Baking Tips
- Use Packed Cups of Flour- Normally in baking we do not use packed cups however, when working with gluten free, I've found using packed cups works best to help the baked goods keep their shape. For this recipe make sure to use packed cups or please read the gram amount.
- Smoothing the Batter-Many gluten free flour batters have a way of staying exactly as they are placed, when baked. If you leave it misshapen after put it into the donut pans, that’s how they will remain when baked. When the batter is in the donut pans, gently smooth the top with a butter knife or the back or a small spoon.
- Pipe the Batter- You could use a spoon to put the batter in the greased donut pans but it is much easier to pipe the batter in. No piping bag? No worries! Simply put all the batter in a gallon size zip top bag and snip off a corner. Pipe the batter into the donut wells and fill ¾ of the way to the top.
- Making The Glaze- Add all glaze ingredients in a medium size bowl and whisk until combined and smooth. If the glaze is too thick, add more water, 1 tablespoon at a time until you reach the desired consistency. The glaze should be thick enough to coat the back of a spoon. If the glaze is too thin, add more confectioners' sugar, 1 tablespoon at a time, until you reach the desired consistency.
- Let the Donuts Cool Prior to Glazing- If the donuts are not totally cool, the glaze will run off the donuts completely and the donut will be a liquidy mess.
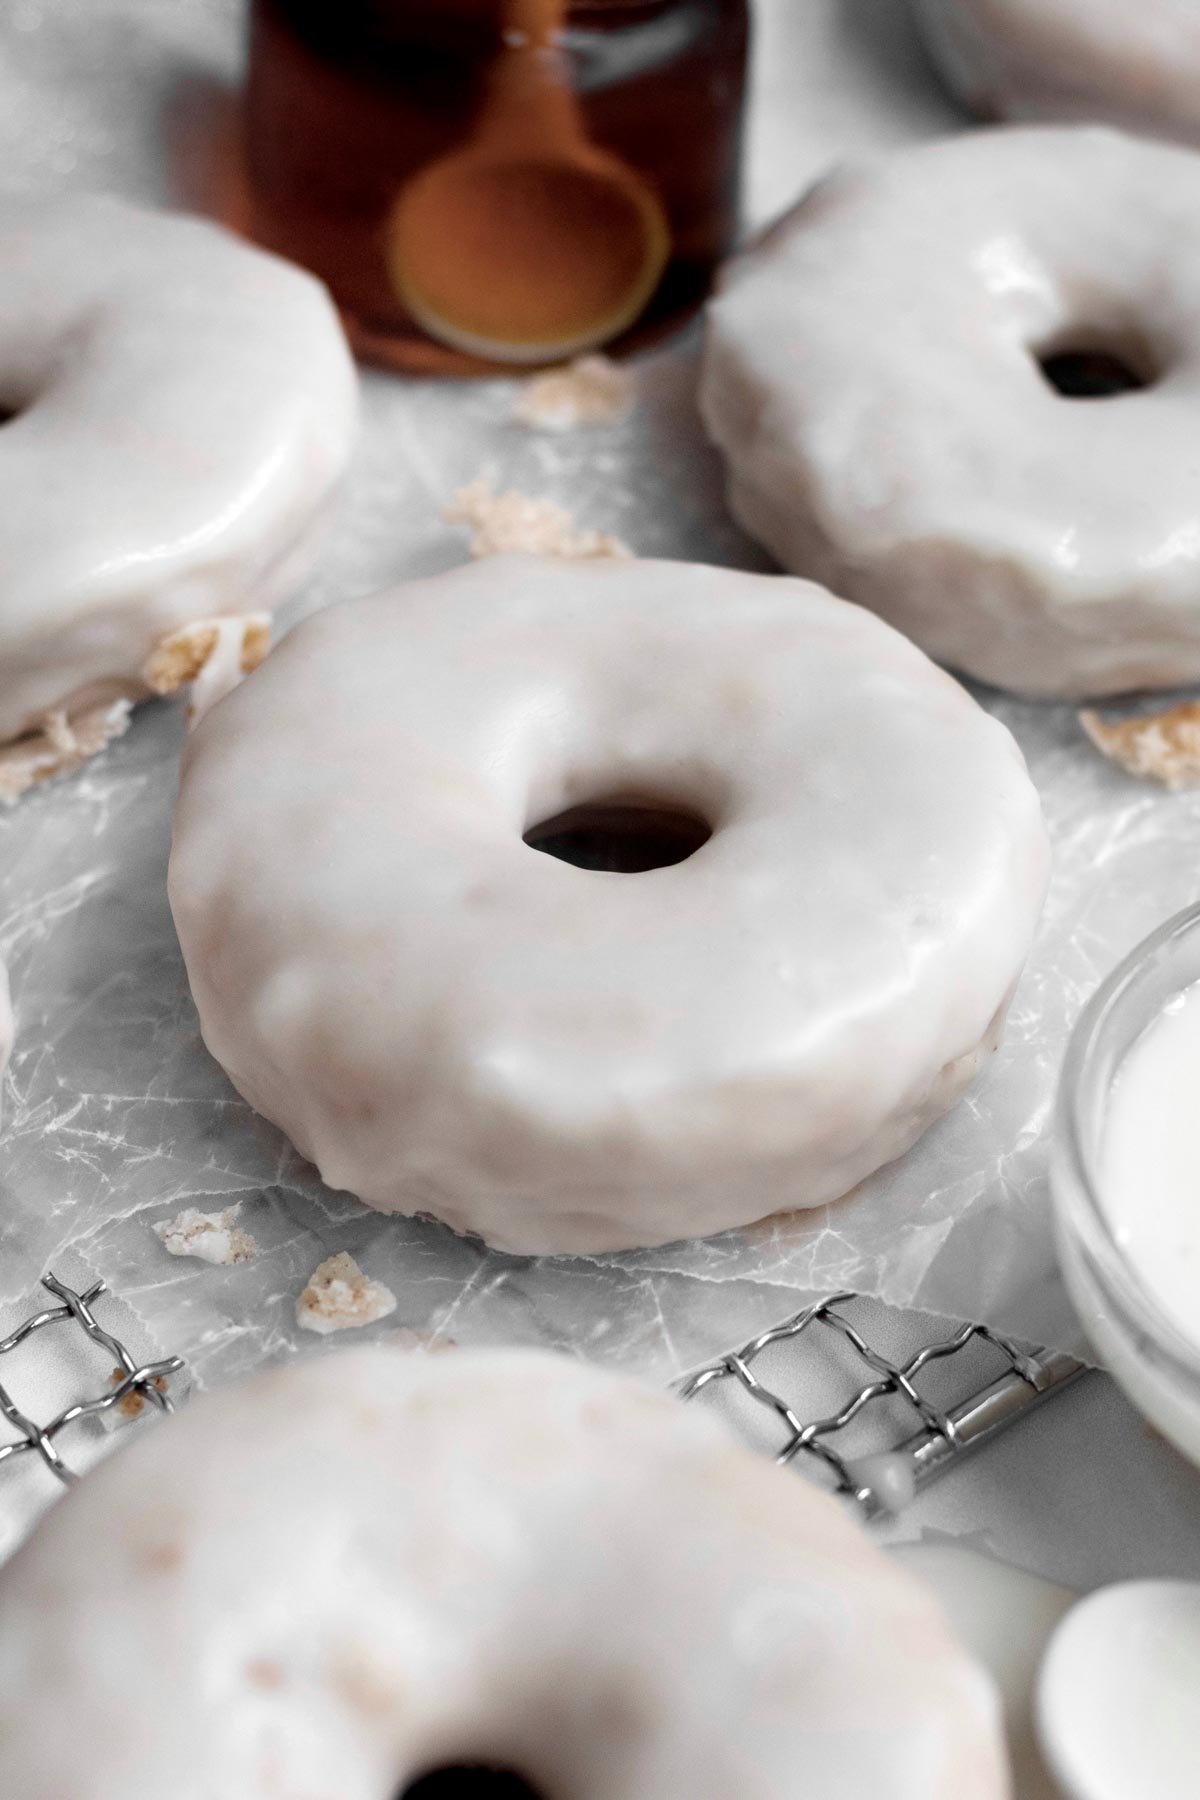
- Let The Glaze Harden- Before storing, make sure the glaze hardens completely otherwise the maple doughnuts will be a mess. In addition, make sure you let the glaze harden completely before eating. When wet, the glaze has a very strong confectioners' sugar taste and when hardened, it has a lovely mild maple flavor.
Recipe FAQs
Most gluten free baked goods are best made the same day, and these donuts are no exception.
They still taste good on day 2, but they really are best fresh.
No you don't! If only dipping one side, make sure to dip the top not the bottom.
However, I think they taste best fully coated in the glaze.
Simply divide the glaze recipe in half:
- 3 cups confectioners' sugar
- ¼ cup pure maple syrup
- ¼ cup water, room temperature
Storing: Once the glaze on the donuts has completely hardened, individually wrap them each in aluminum foil. Try to create a teepee with the top of the foil so it isn't touching the maple glaze as much. Store them wrapped in foil at room temperature for up to two days.
Freezing: Once the glaze on the donuts has completely hardened, individually wrap them each in aluminum foil. Try to create a teepee with the top of the foil so it isn't touching the maple glaze as much.
Pop them in a zip top bag and freeze the donuts for up to 30 days. To defrost, take out of the freezer and leave at room temperature until soft; about 2 hours.
More Donut Recipes You'll Love
Did you try this recipe? Please leave me a ⭐ review below!
Don’t forget to tag me on Instagram @laneandgreyfare and follow along on Pinterest, Facebook and YouTube! Enjoy!!!
📖 Recipe
Maple Donuts
Ingredients
For The Maple Donuts
- 2 cups multipurpose gluten free flour (I use a gluten free multipurpose flour with xanthan gum already in it)
- 1 cup granulated sugar
- 2 teaspoons baking powder
- 1.5 teaspoons ground cinnamon
- ½ teaspoon kosher salt
- 2 rounded tablespoons of cornstarch mixed with 3 tablespoons of water
- ½ cup light brown sugar , packed
- 1 ¼ cups milk
- 3 tablespoons Grade A maple syrup
- 2 tablespoons unsalted butter or vegan baking stick, melted and cooled
- 1.5 teaspoons pure vanilla extract
For The Maple Glaze
- 6 cups confectioners' sugar
- ½ cup Grade A maple syrup
- ½ cup water , room temperature
Instructions
For The Donuts
- Preheat your oven to 350 degrees Fahrenheit. Grease 2 donut pans well with vegetable oil.
- In a large bowl, whisk together the 2 cups gluten free flour, 1 cup granulated sugar, 2 teaspoons baking powder, 1 ½ teaspoons ground cinnamon and ½ teaspoon kosher salt. Set aside.
- Put the 2 tablespoons of butter or vegan baking stick in a small heat safe bowl.
- Microwave in 10 second increments until melted. Set aside to cool.
- In a small bowl, using a spoon, mix together the 2 rounded tablespoons cornstarch and the 3 tablespoons water until thin and watery. It will be thick and tacky at first.
- In a medium bowl, whisk the ½ cup light brown sugar into the cornstarch water mixture until fully combined.
- Then whisk in the 1 ¼ cups milk, the cooled melted butter, the 1 ½ teaspoons pure vanilla extract and the 3 tablespoons of maple syrup until combined. Make sure the melted butter isn't hot because if you pour hot butter into the cold milk, it will be chunky.
- Slowly pour the wet ingredients into the dry and use a whisk to combine. If it gets too thick, switch to using a spatula.
- Either spoon the batter into the greased donut pans and fill ¾ way to the top or put all the batter into a piping bag or a zip top bag with the corner snipped off and pipe the batter into the donut pans.
- Smooth the batter with a tiny knife or the back of a small spoon.
- Bake the donuts in the center rack of the 350 degree oven for 20 minutes. The donuts should be risen and spring back at you when gently touched.If you gently poke the donuts and a dent forms, they're not done baking. You can also insert a toothpick and make sure it comes out clean.
- Let the donuts cool in the pans for at least 5 minutes before taking them out of the pan or they will stick and break apart into a giant mess. Once 5 minutes is up, use a small spatula to loosen them from the pan.
- Place the donuts on a cooling rack with a baking sheet underneath. The next part is a bit messy. But let the donuts cool completely before the next step.
For The Maple Glaze
- In a large bowl whisk together the 6 cups confectioners' sugar, ½ cup pure maple syrup and ½ cup water until combined and smooth. If the glaze is too thick, add more water 1 tablespoon at a time until you reach the desired consistency. If the glaze is too thin, add more confectioners' sugar, 1 tablespoon at a time, until you reach the desired consistency.
- Take one donut and dip the bottom of it in the glaze. Do it quickly, you don't want it submerged too long but you do want the entire bottom coated.
- Immediately put the donut, wet glaze side up, on a cooling rack with wax paper or baking sheet underneath and let the glaze dry completely. The glaze will drip so the wax paper is to lessen the mess on your counter.
- Once dry, take one donut and dip the unglazed top of it in the glaze. Do it quickly, you don't want it submerged too long but you do want the entire donut coated.
- Let the glaze dry completely and harden before eating otherwise the glaze will have a strong confectioners' sugar flavor.

nancy says
thses donuts are amazing absolutely perfect for the fall!
nancy says
now that fall is around the corner i made these donut and they were abslutely amazing, my whole family loved them!
Laura Thompson says
I'm really struggling to find a donut pan. Most of the ones I see are pretty shallow. Which one do you use it, can you recommend a brand and dough capacity? Thanks!
Lee says
Hi Laura! I like to use Wilton's Non Stick 6 Cavity Donut Baking Pans. The donut pans are 12.5 x 8 inches and the cavity is 3.25 inches in diameter. They make standard size donuts. I bought them off amazon. They come in a two pack! Hope this helps!
John says
These donuts are delicious and so easy to make!
Lee says
Thanks so much!