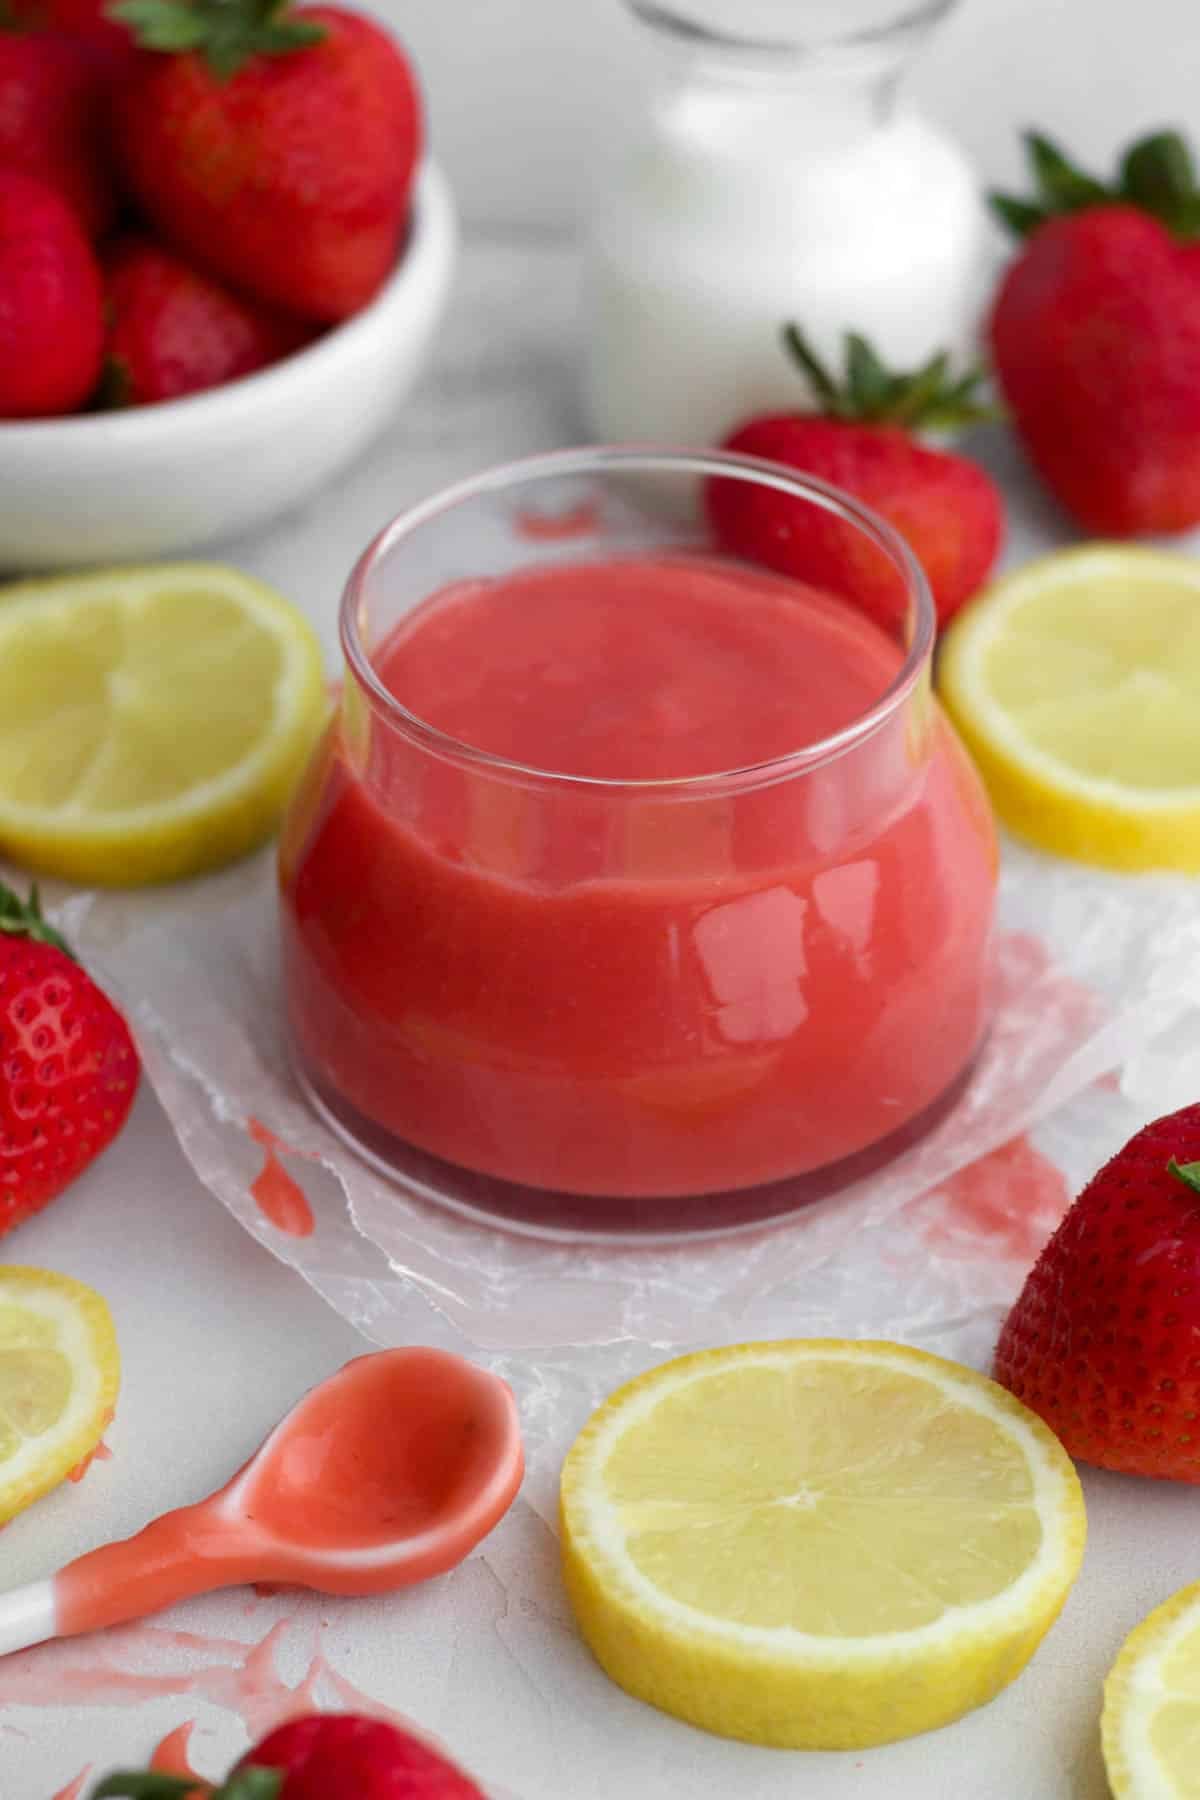
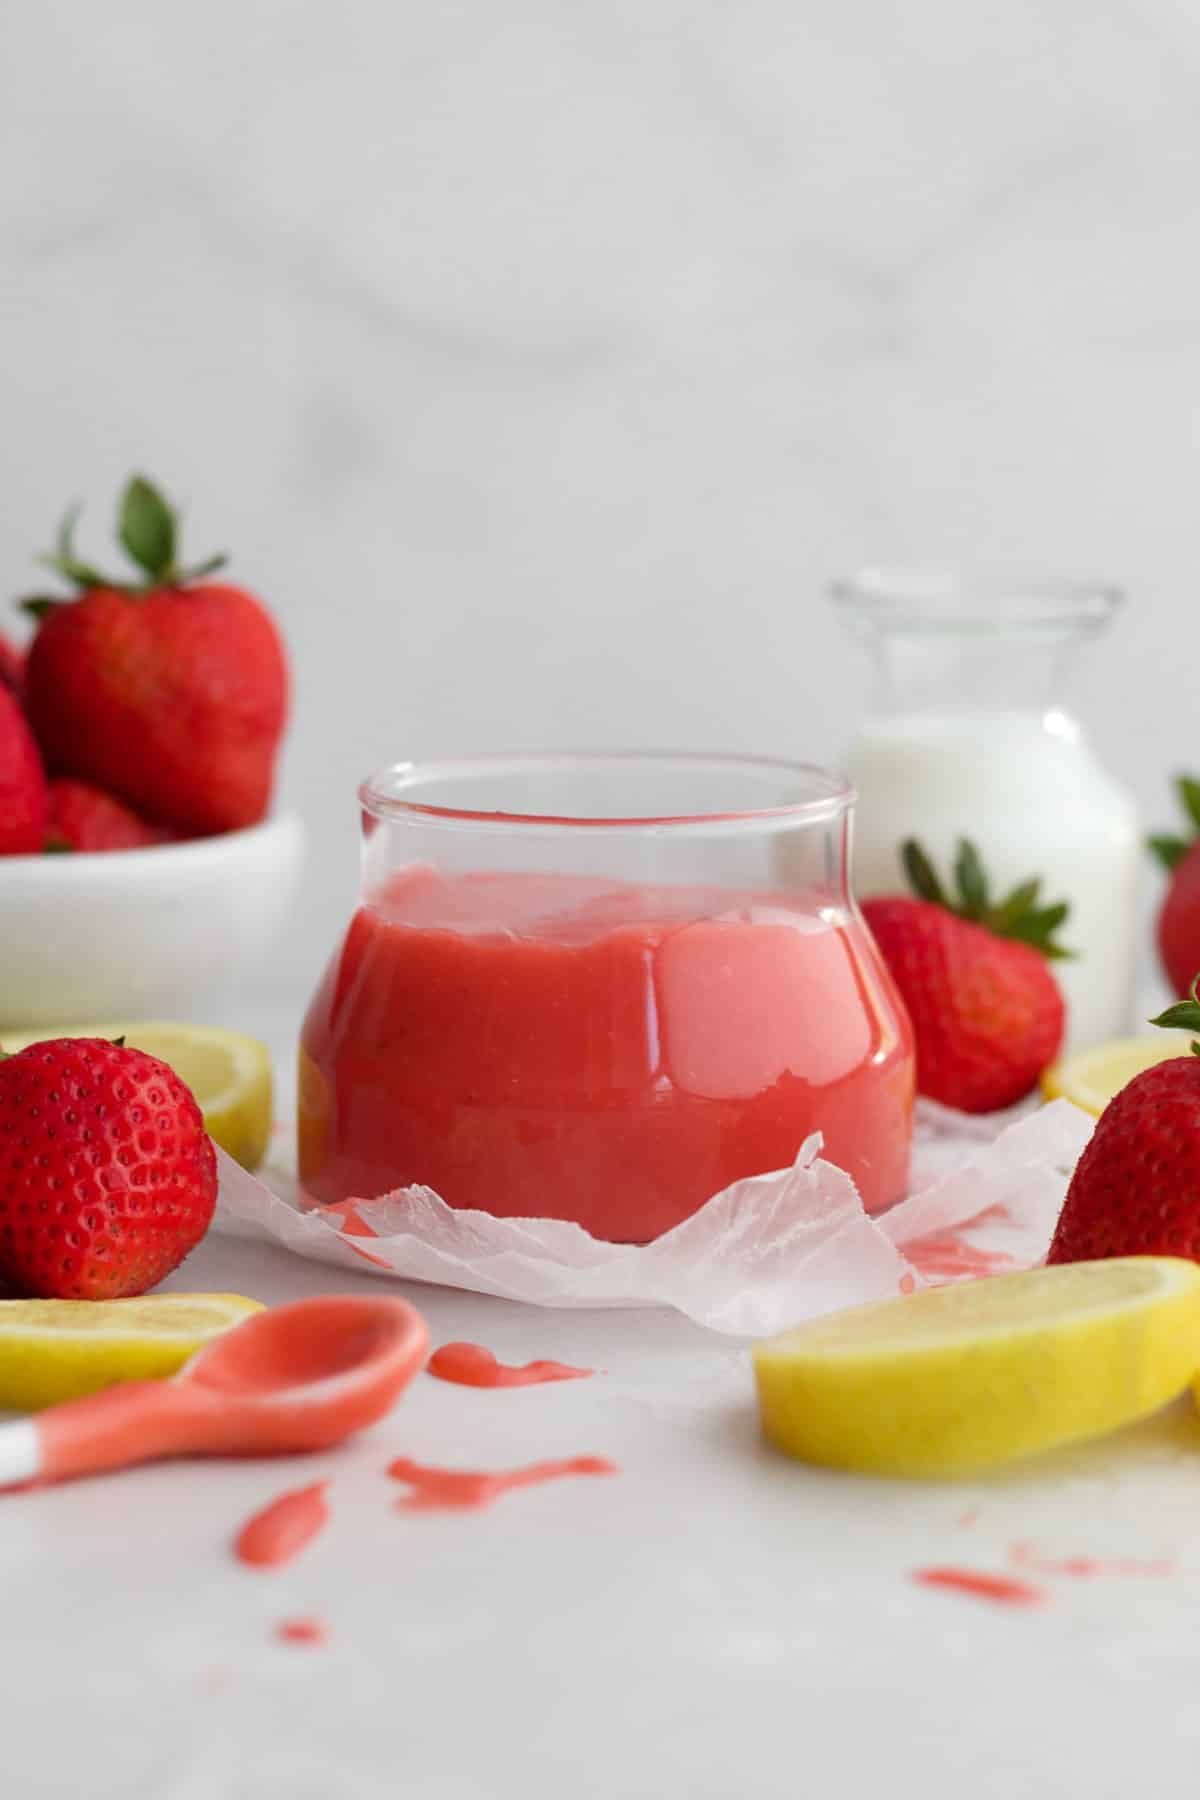
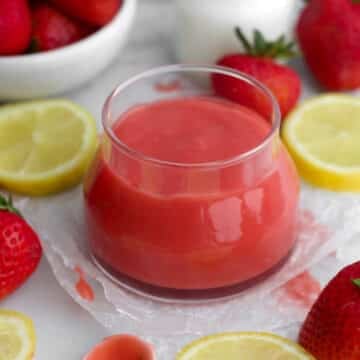
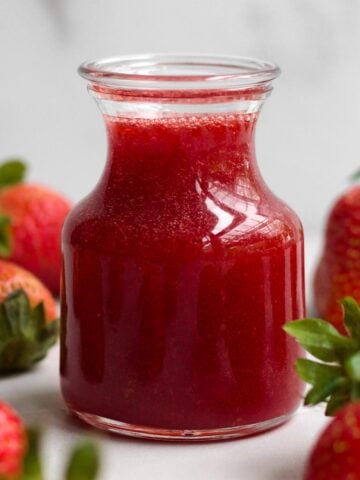
This Strawberry Curd is light and smooth, tart and sweet and loaded with strawberry flavor! The berry color is gorgeous and all natural! With only a handful of ingredients, this curd recipe is so simple to make. It only cooks for 6 minutes before coming off the heat! Best yet, it's completely egg free, gluten free, nut free and can easily be made vegan with a few tweaks!
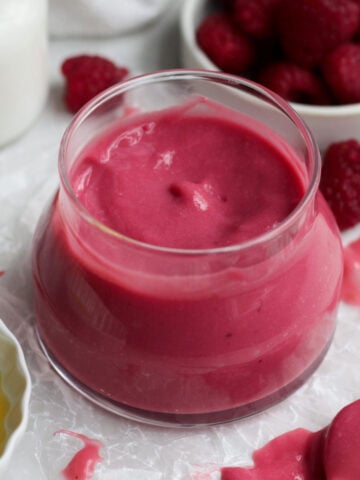
Much like my Raspberry Curd, this Strawberry Curd is so incredible! It only cooks for 5-6 minutes prior to straining and then sets up beautifully in the fridge! According to my strawberry loving daughter, this curd is the perfect fruity addition to so many recipes! As fillings in thumbprint cookies, in cakes, cupcakes and muffins! It can be spread on pancakes, muffins, scones and toast. Used in our Strawberry Swirl Ice Cream! You can even make a strawberry curd pie like my Lemon Curd Pie! The possibilities are endless.
For more strawberry recipes, try my Strawberry Sugar Cookies, my No Bake Strawberry Pie, my Eggless Strawberry Cake and my Strawberry Filled Cupcakes.
Reasons to Love this Strawberry Curd
- Allergy Friendly- This curd is gluten free, nut free, egg free and can easily be dairy free (vegan)!
- Silky Smooth- We strain the curd so there are no crunchy seeds and it's smooth and creamy!
- Gorgeous Berry Color- The beautiful color of this curd is all natural just like the stunning colors in my Raspberry Cheesecake Cookies!
- Super Simple to Make- Using only a few ingredients, this recipe only takes about 5-6 minutes to cook and about an hour and a half to set!
Ingredient Notes
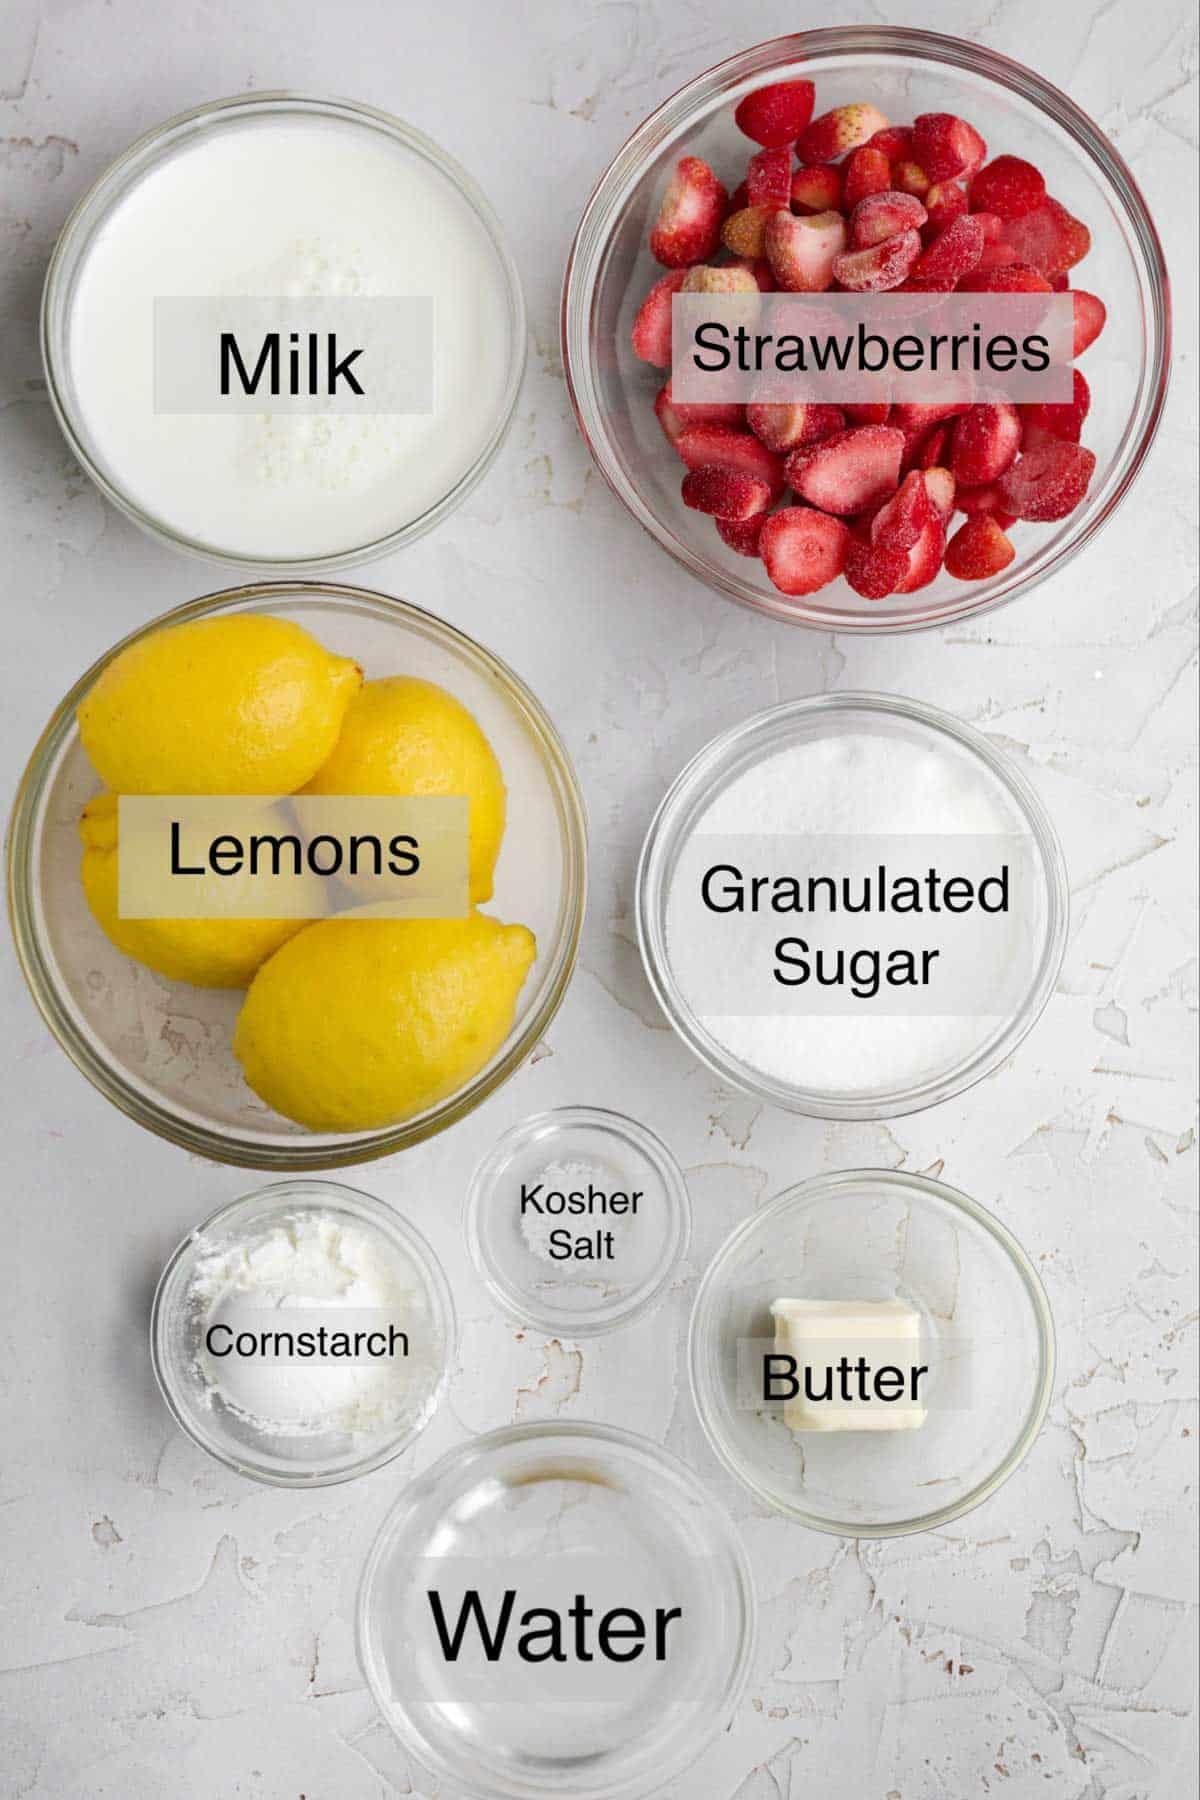
- Granulated Sugar- Gives the curd that lovely sweetness!
- Cornstarch- Since this is an eggless curd, we need the cornstarch to thicken the curd. This is needed otherwise the curd will not set.
- Kosher Salt- Helps to draw out all the flavors.
- Milk- If there are no dairy allergies or if you’re not vegan, you can use regular whole milk. For non-dairy, use a dairy-free milk of your choosing.
- Water- We use water in this recipe as well for added moisture. If we only used milk, the color of this curd would be a dusty mauve color which is not what we're going for.
- Lemon Juice- Lemon juice helps add some tartness into this recipe, but also is needed for thickening the curd. Make sure you used fresh squeezed, otherwise the curd may not thicken the right way.
- Frozen Strawberries- I used frozen strawberries in this recipe to save time, but I've also made it with fresh. If using fresh, make sure you dice the strawberries after washing and drying them. Also, make sure to use the same amount of grams (288 grams).
- Butter- We need two tablespoons of unsalted butter or vegan baking stick to help add to the curd's creaminess after it comes off the heat.
See my recipe card below for a complete list of the ingredients with measurements.
Substitutions and Variations
Make this into Vegan Curd
- Make sure the brand of sugar you use is vegan.
- Use vegan baking sticks instead of butter.
- Only use a non-dairy milk of choice.
This recipe has not been tested with all of these substitutions and/or variations due to celiac disease and food allergies. If you change any of the ingredients, please let us know how the recipe turned out in the comments below!
How to Make Strawberry Curd
Here are the step by step instructions for making this eggless curd!

Step 1: Combine the Dry Ingredients
In a medium saucepan whisk together the granulated sugar, cornstarch and salt.
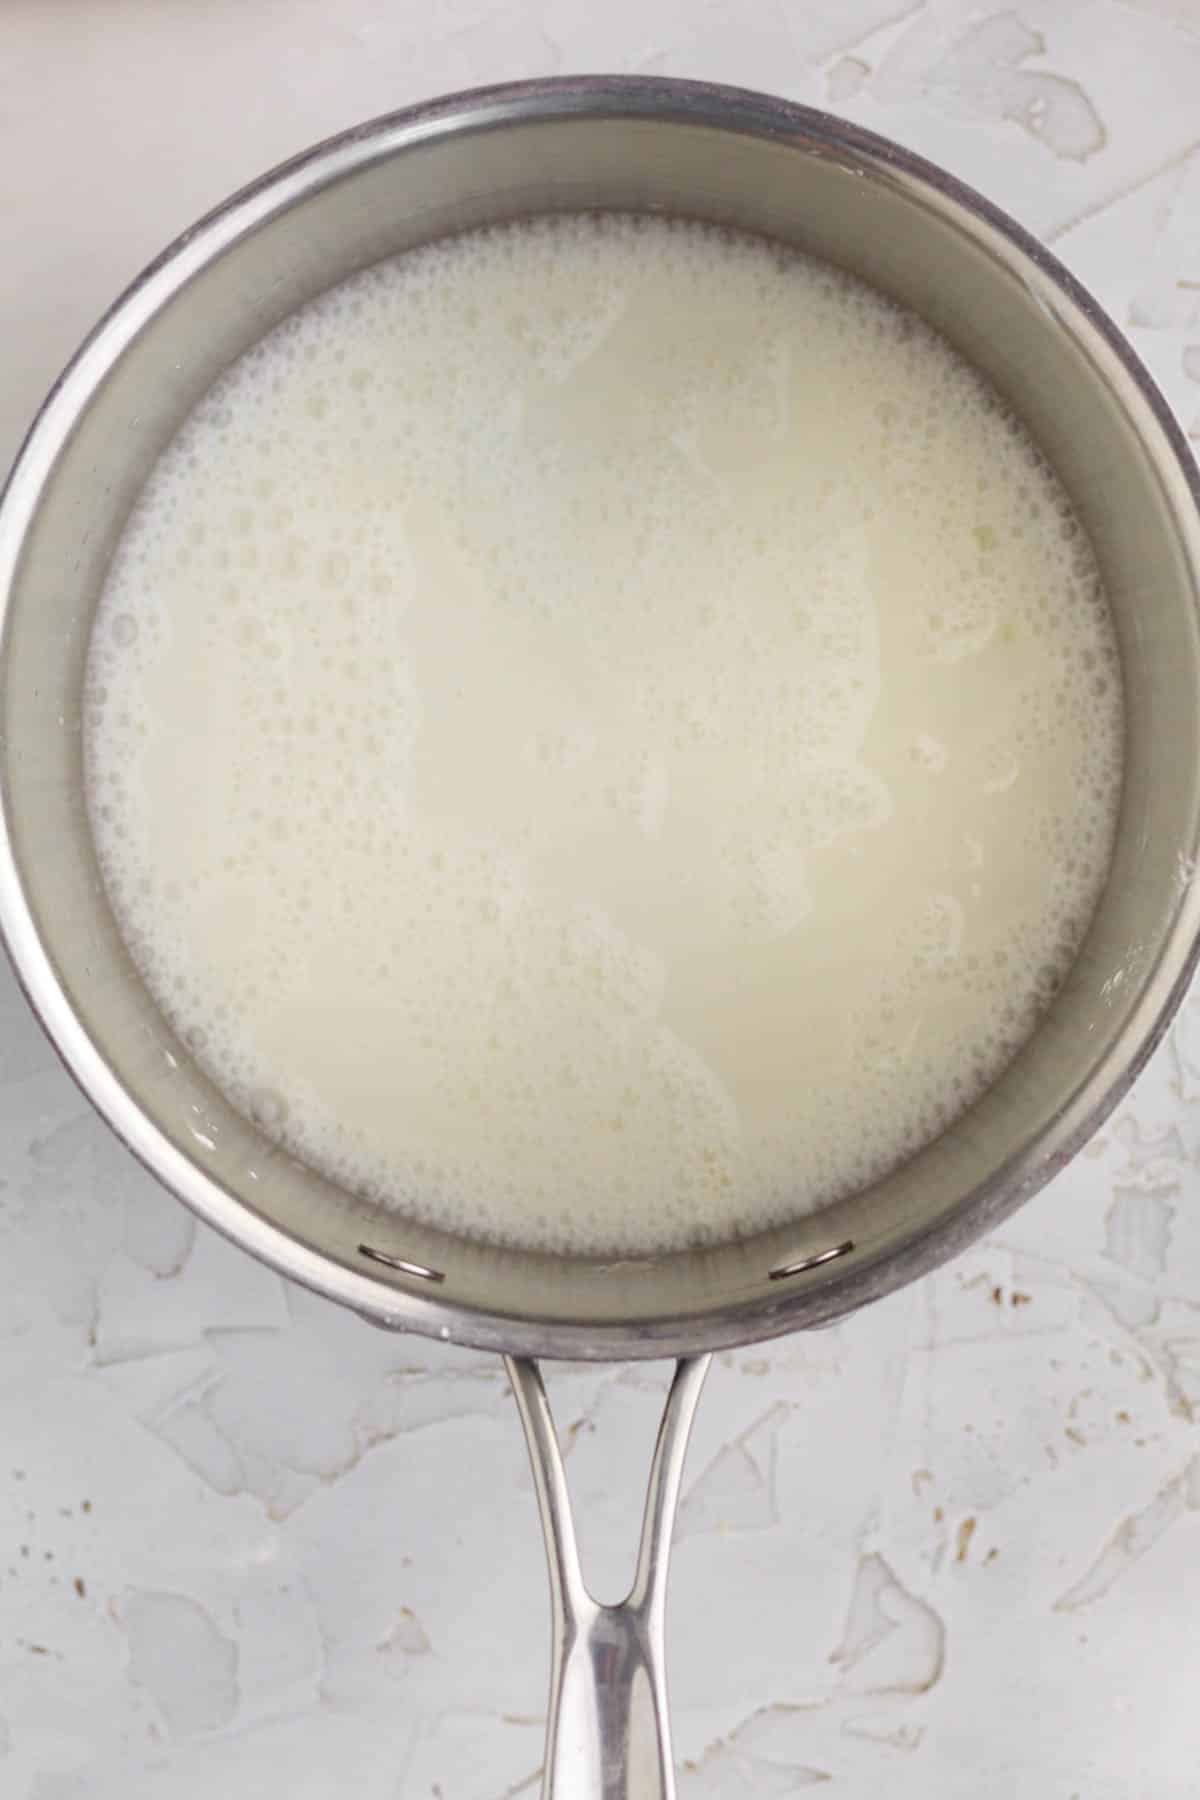
Step 2: Add the Milk, Water and Lemon Juice
Add in the milk, water and lemon juice. Whisk until everything is combined.
It may take a minute for the cornstarch to be blended in.
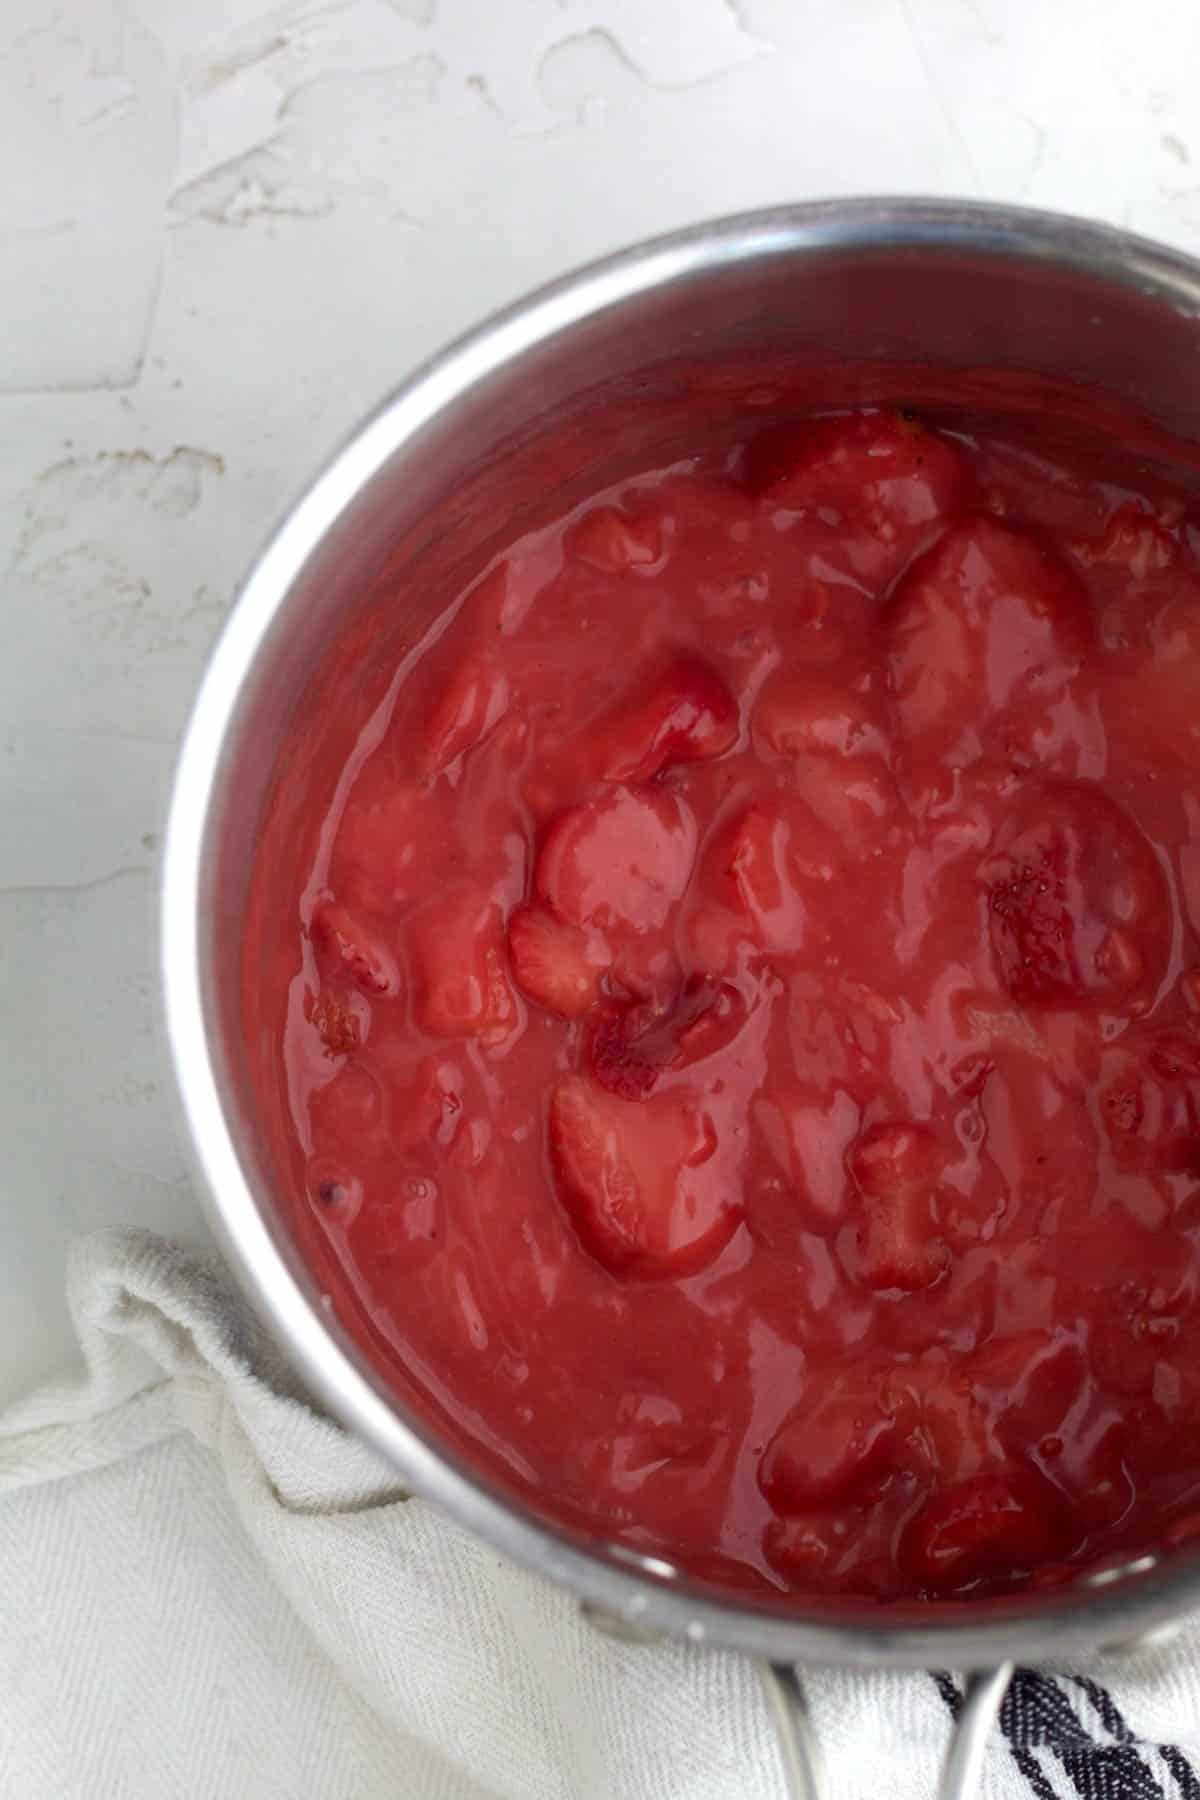
Step 3: Add in the Strawberries, Cook and Add in Butter
Add in the strawberries and cook everything over medium heat, stirring frequently and mashing the strawberries with the back of a spoon. Cook until the mixture begins to bubble and becomes thick like pudding. About 4-6 minutes.
Once bubbling, continue to cook for an additional 30 seconds.
Remove from heat and immediately whisk in the butter.
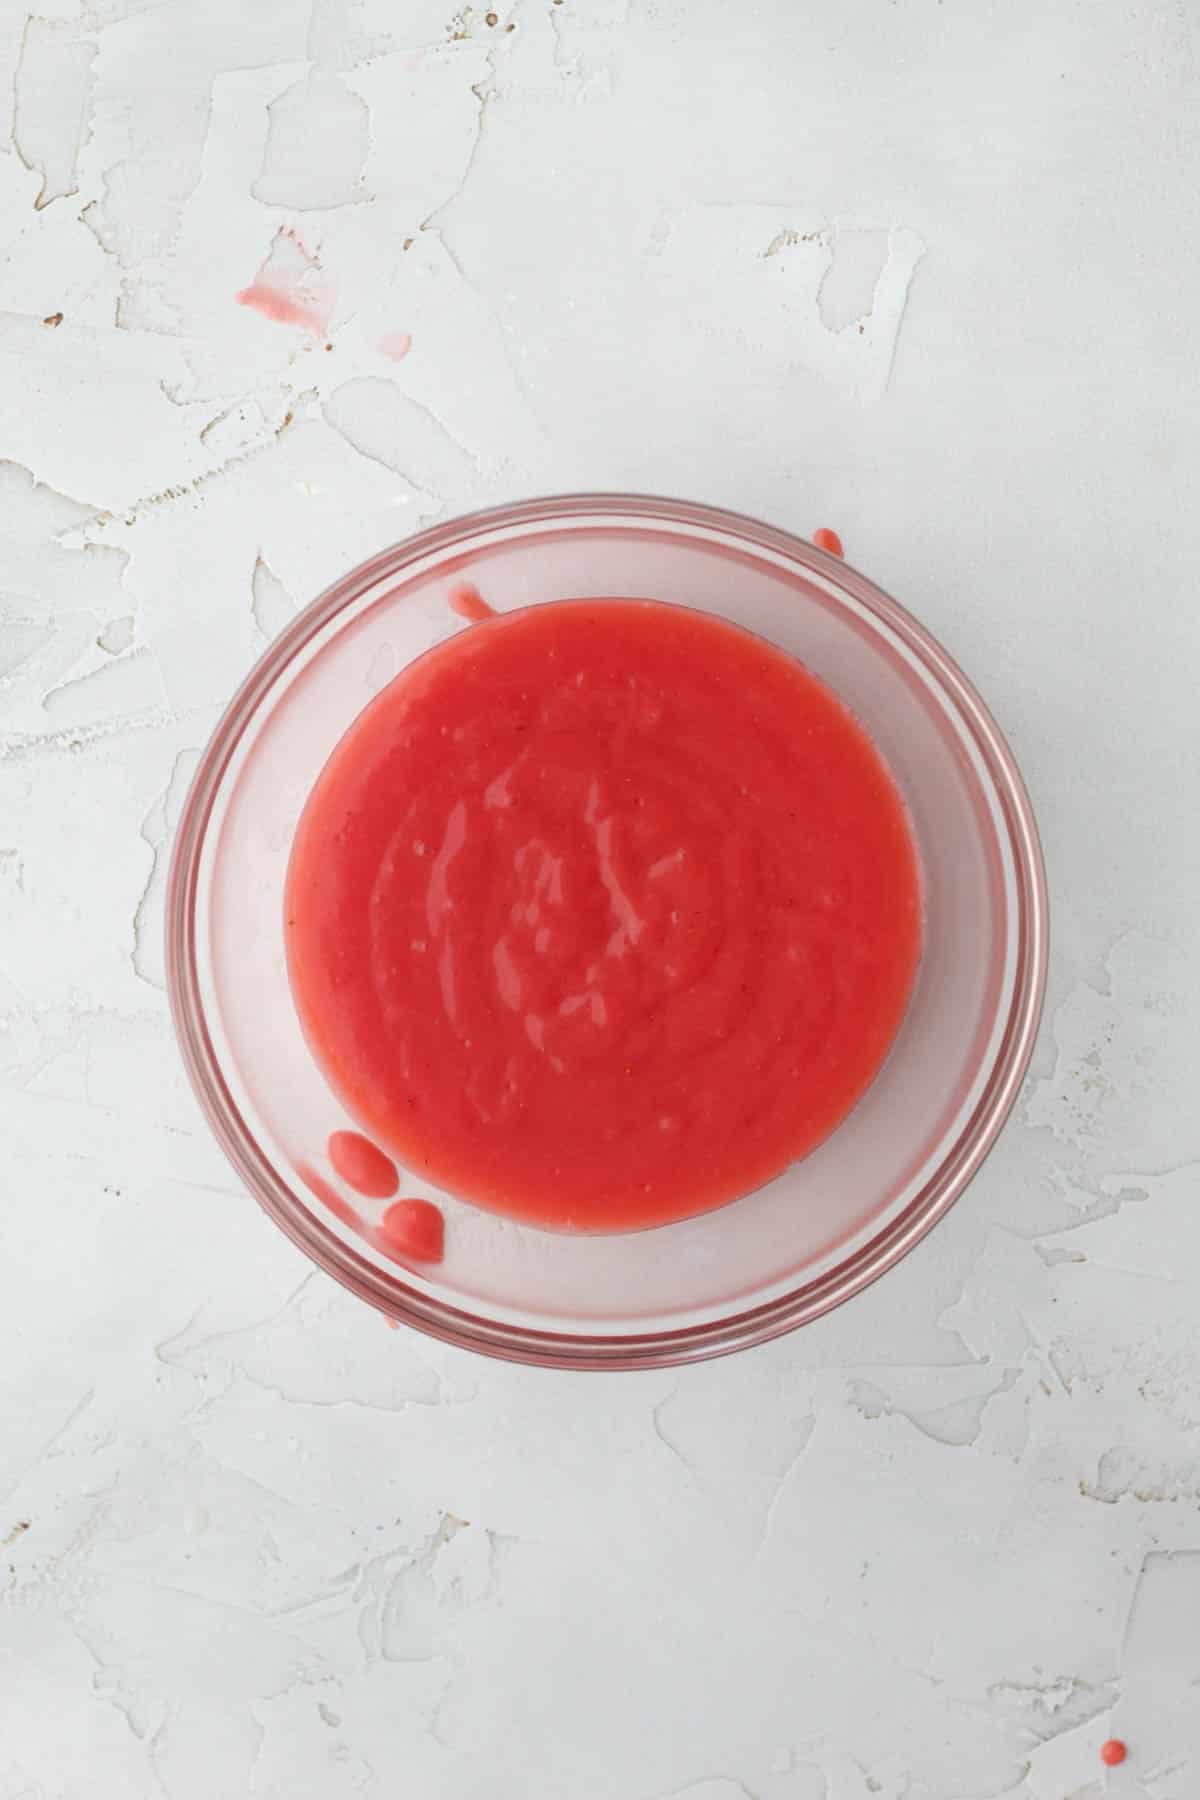
Step 4: Strain the Strawpberry Curd and Cool
Place a mesh colander over a heat proof bowl and pour the curd through the colander to strain it. Make sure not to press down on the strawberries too hard or the seeds will push through into the curd.
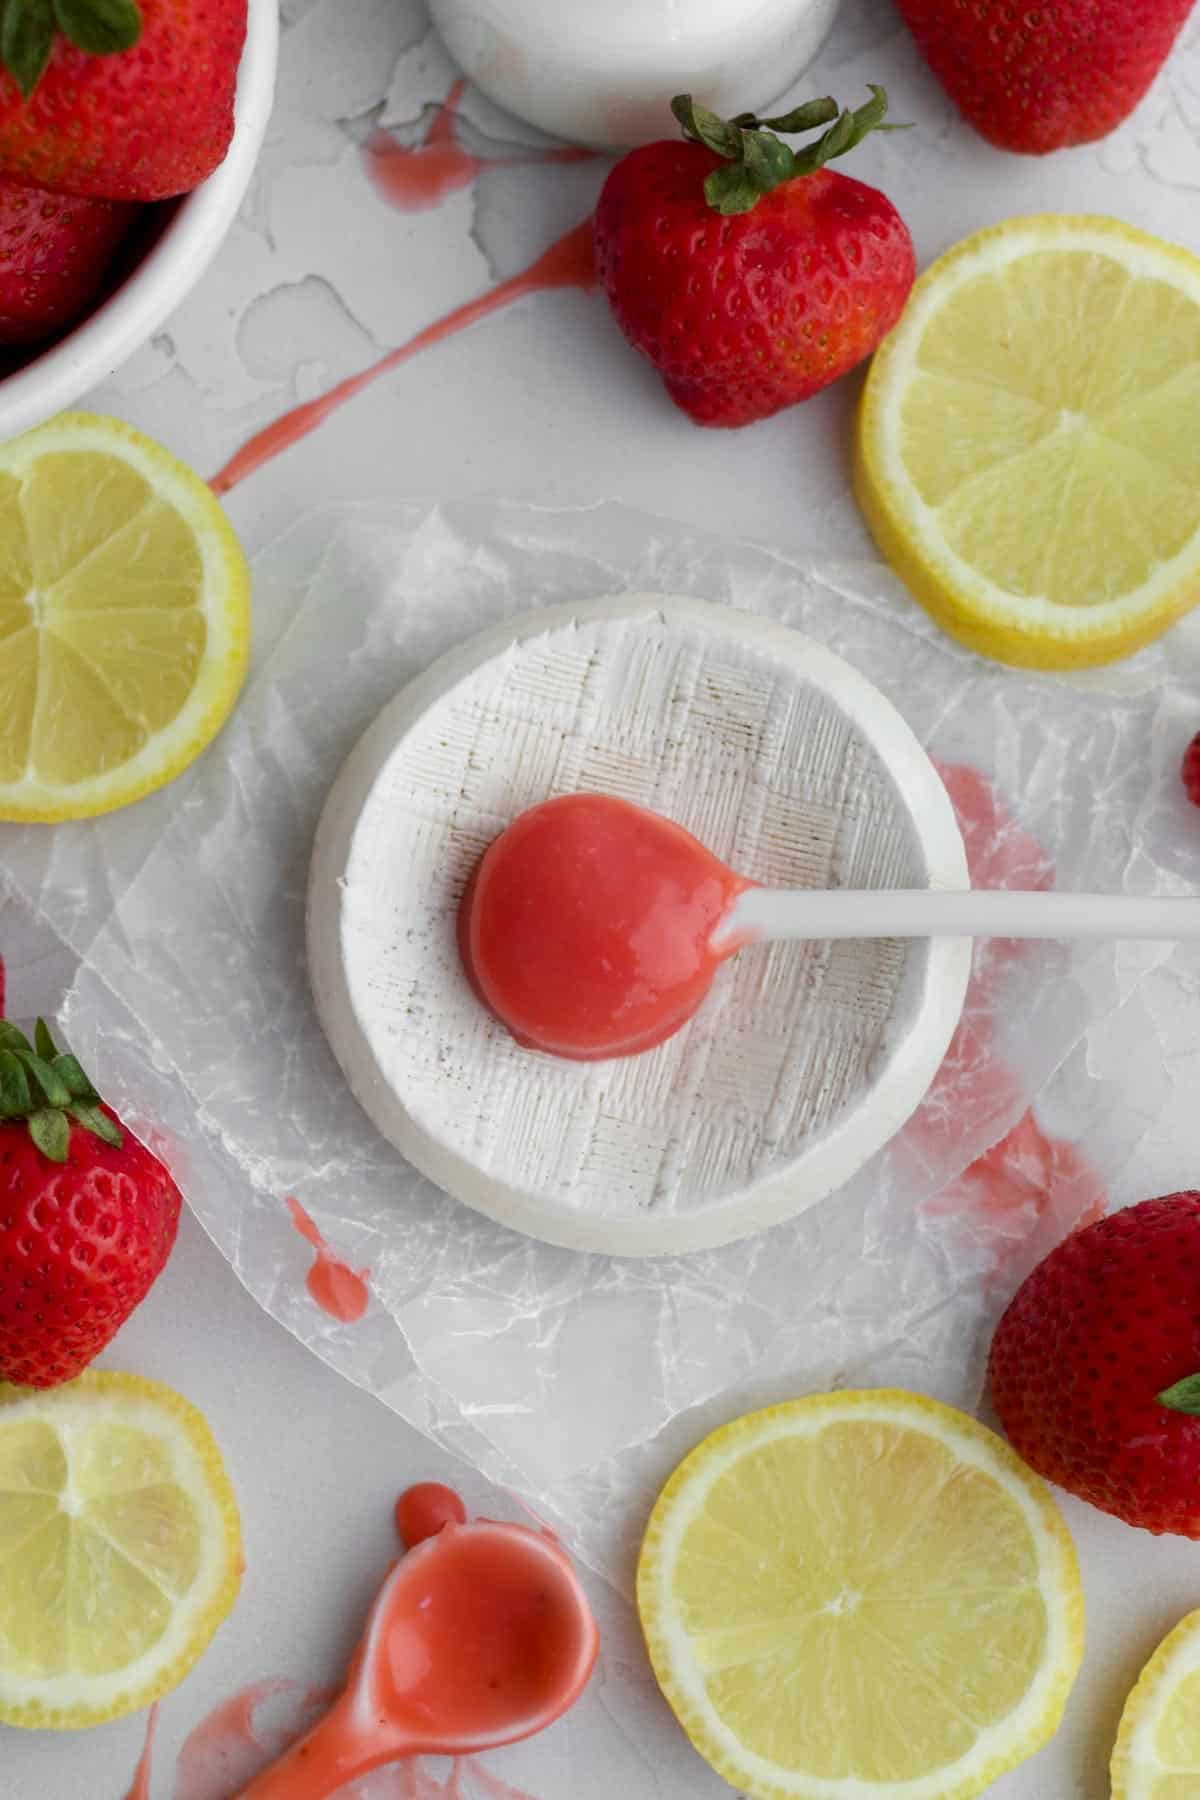
After straining, whisk the curd. It will now be silky smooth with a pudding texture.
Eat as is or let it sit at room temperature for about 30 minutes then chill in fridge for at least 30 additional minutes to an hour for fillings.
Expert Tips
- Stir Frequently- Make sure to frequently stir the mixture as it's cooking for the 5-6 minutes. You don't want it to burn.
- Do Not Over Strain- When straining, do not push down on the strawberries too hard or the seeds will go through the holes in the mesh into the curd.
- Let it Set- Make sure to let it sit on the counter for 30 minutes before popping in the fridge for another 30 min to an hour. It will be super thick like a pudding once it has set and great for fillings for cakes, etc!
- Reheating- If the curd gets too thick in the fridge, stir with a spoon until smooth. If it's still too thick, scoop some curd into a microwave safe bowl and heat in 5 second increments until you get the desired consistency. Be careful not to burn your mouth!
Recipe FAQs
Yes! The curd thickens once it is cold and is the perfect filling for cakes etc.
This recipe makes 1 cup of strawberry curd.
Simply stir the strawberry curd with a spoon or whisk and it will regain its creamy texture.
If you want the curd even thinner, scoop some into a microwave safe bowl and heat in 5 second increments until the desired consistency. Be careful not to burn your mouth.
Once completely cooled, store the Strawberry Curd in the fridge in an airtight container for up to 3 days.
Mix with a spoon prior to serving in case it began to separate and to regain creamy texture.
To warm the curd up and to make it liquid again, spoon the desired amount into a heat safe bowl and microwave in 5-10 second increments, stirring after each time, until the desired consistency. Be careful not to burn your mouth.
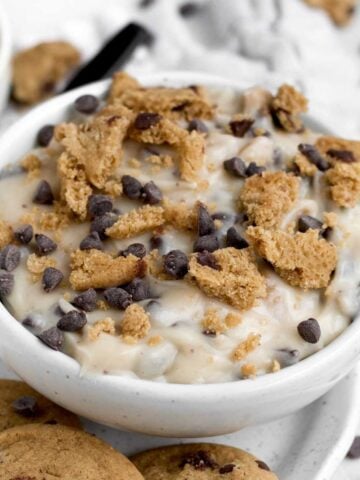
More No-Bake Desserts You'll Love

Did you try this recipe? Please leave me a ⭐ review below!
Don’t forget to tag me on Instagram @laneandgreyfare and follow along on Pinterest, Facebook and YouTube! Enjoy!!!
📖 Recipe
Strawberry Curd
Ingredients
- ½ cup granulated sugar
- 2 rounded tablespoons cornstarch
- 1 pinch kosher salt
- ¼ cup milk
- ¼ cup water
- 2 tablespoons lemon juice (fresh squeezed)
- 2 cups sliced frozen strawberries (If using fresh strawberries, you can dice the strawberries)
- 2 tablespoons unsalted butter or vegan baking stick
Instructions
- In a medium saucepan whisk together the ½ cup granulated sugar, 2 rounded tablespoons cornstarch (26 grams) and the 1 pinch kosher salt.
- Add in the ¼ cup milk, ¼ cup water and 2 tablespoons lemon juice. Whisk until everything is combined. It may take a minute for the cornstarch to be blended in.
- Add in the 2 cups frozen sliced strawberries (288 grams) and cook everything over medium heat, stirring frequently and mashing the strawberries with the back of the spoon. Cook until the mixture begins to bubble and becomes thick like pudding. About 4-6 minutes.Once bubbling, continue to cook for 30 more seconds.
- Remove from heat and immediately whisk in the 2 tablespoons butter.
- Place a mesh colander over a heat proof bowl and pour the curd through the colander to strain it. Make sure not to press down on the strawberries too hard or the seeds will push through into the curd.After straining, whisk the curd. It will now be silky smooth with a pudding texture.
- You can eat as is but for fillings for cakes, let it sit at room temperature for about 30 minutes then chill in fridge for at least 30 additional minutes to an hour or until thick.Store in the fridge in an airtight container.
terry crawford says
I put this on my icecream. Perfect!
Ginny says
This strawberry curd is easy to make and adds a little something special to my kids’ breakfast!
Donna Dipaola says
I am going to make this and try it on graham crackers like one of your followers, Theresa suggested!
Theresa says
I enjoy this as a dip for graham crackers.
Lee says
Love this idea! Thanks for sharing!!!
Ronnie H says
This strawberry curd is so easy to make. It’s perfect for the summer. So light and delicious! You should definitely give it a try!
Lee says
So kind, thanks so much!
Nancy DiPaola says
Wow your strawberry curd is out of this world! I tried it on toast and it was absolutely delicious. The recipe is so easy to make i just might make every week.
Lee says
Thank you so much!
Steve says
Beautiful color! This looks great on my table and it’s delicious! Strawberry is the best.
mark dipaola says
So delicious, and the recipe was really easy to follow. Definitely adding this to my summer dessert list!
John says
What a perfect curd for the summer! It's light and sweet and so easy to make!