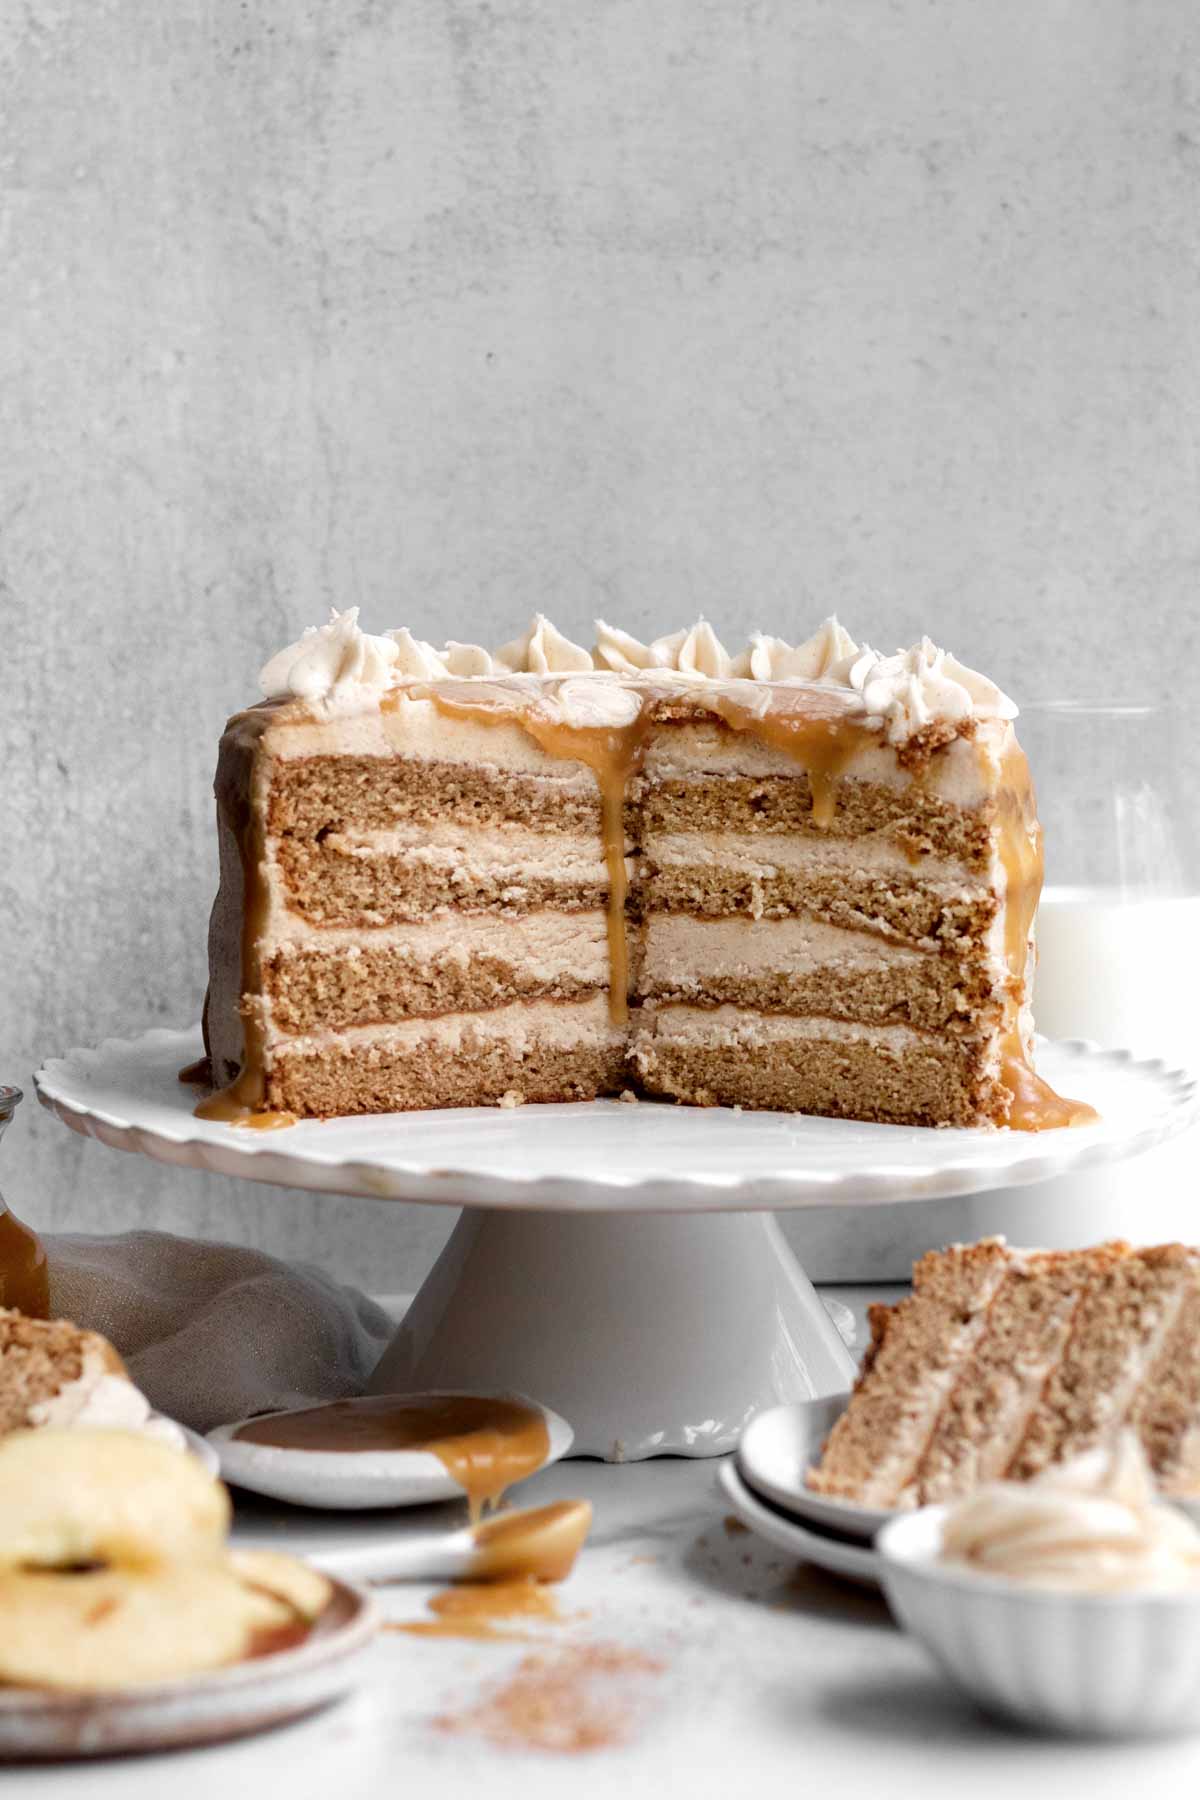
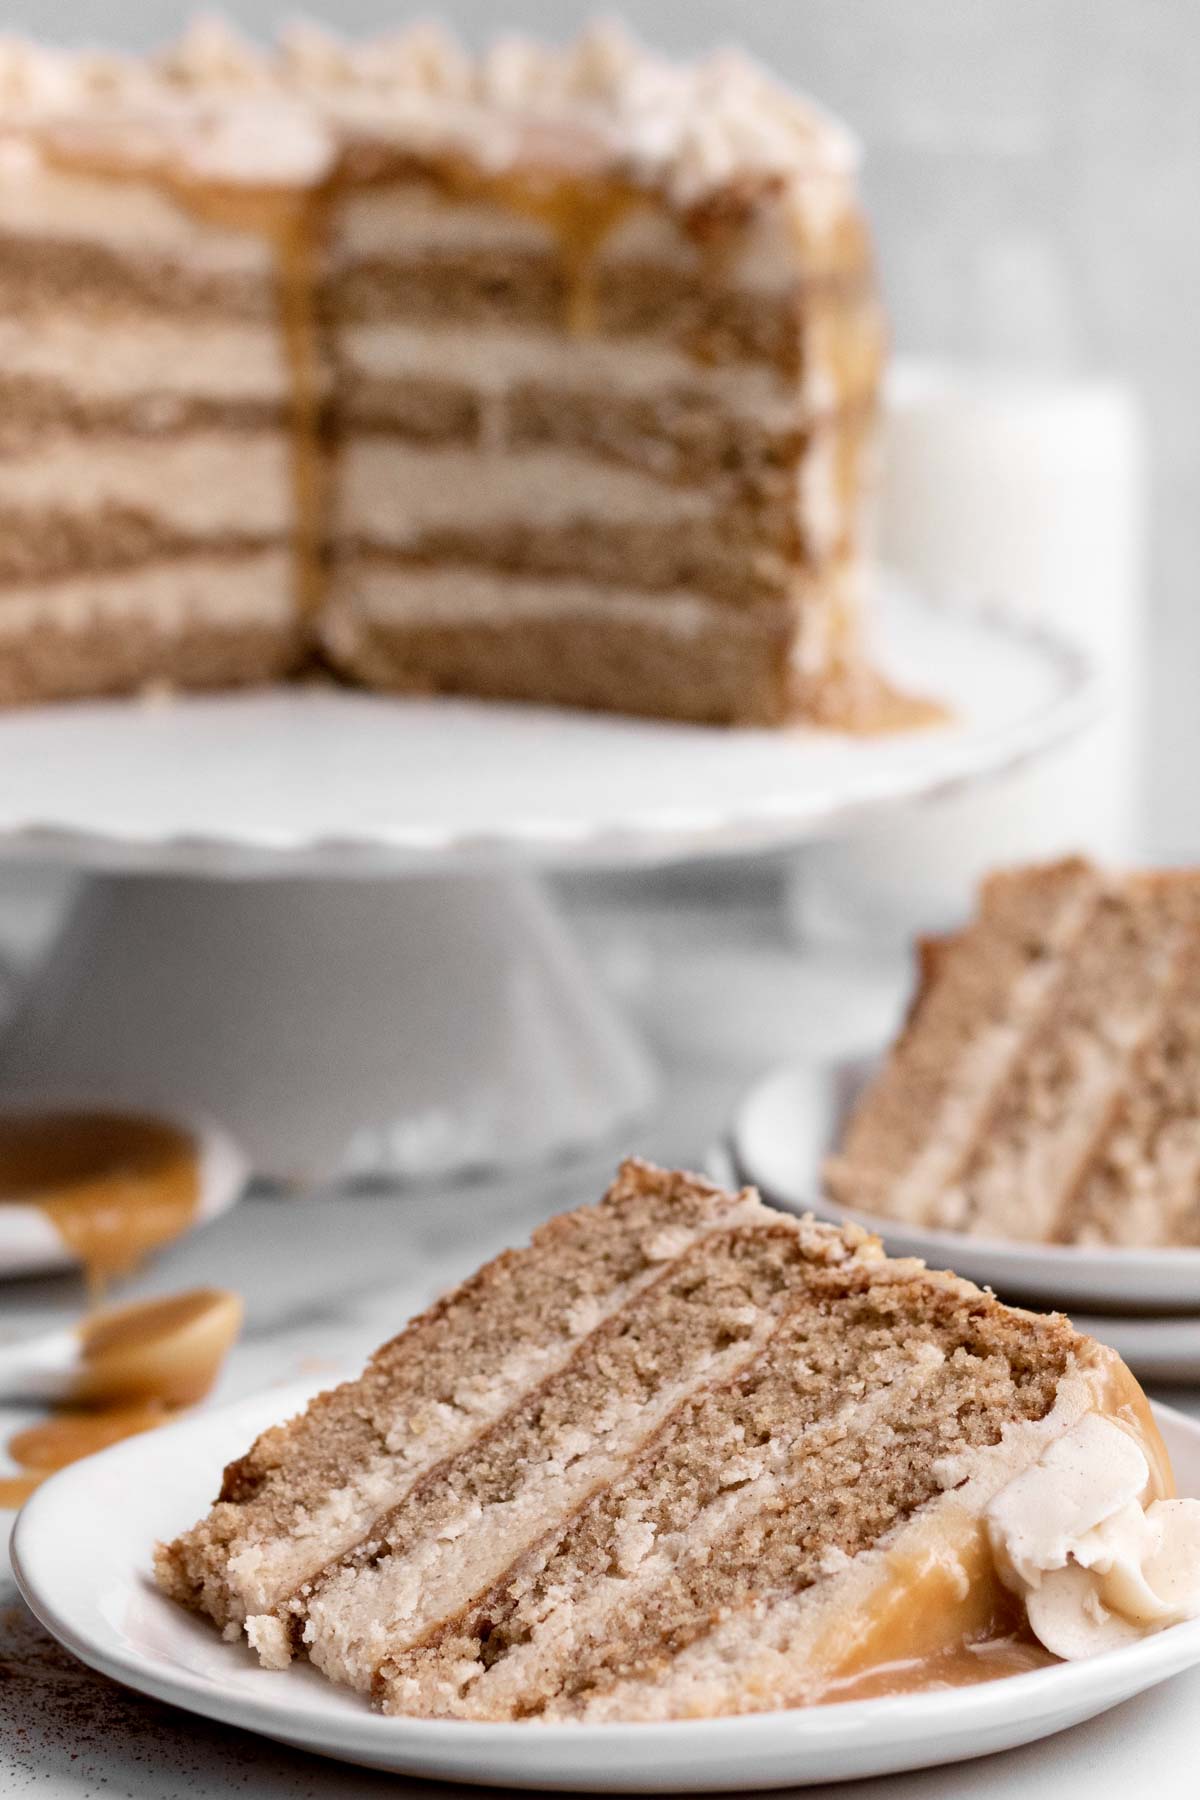
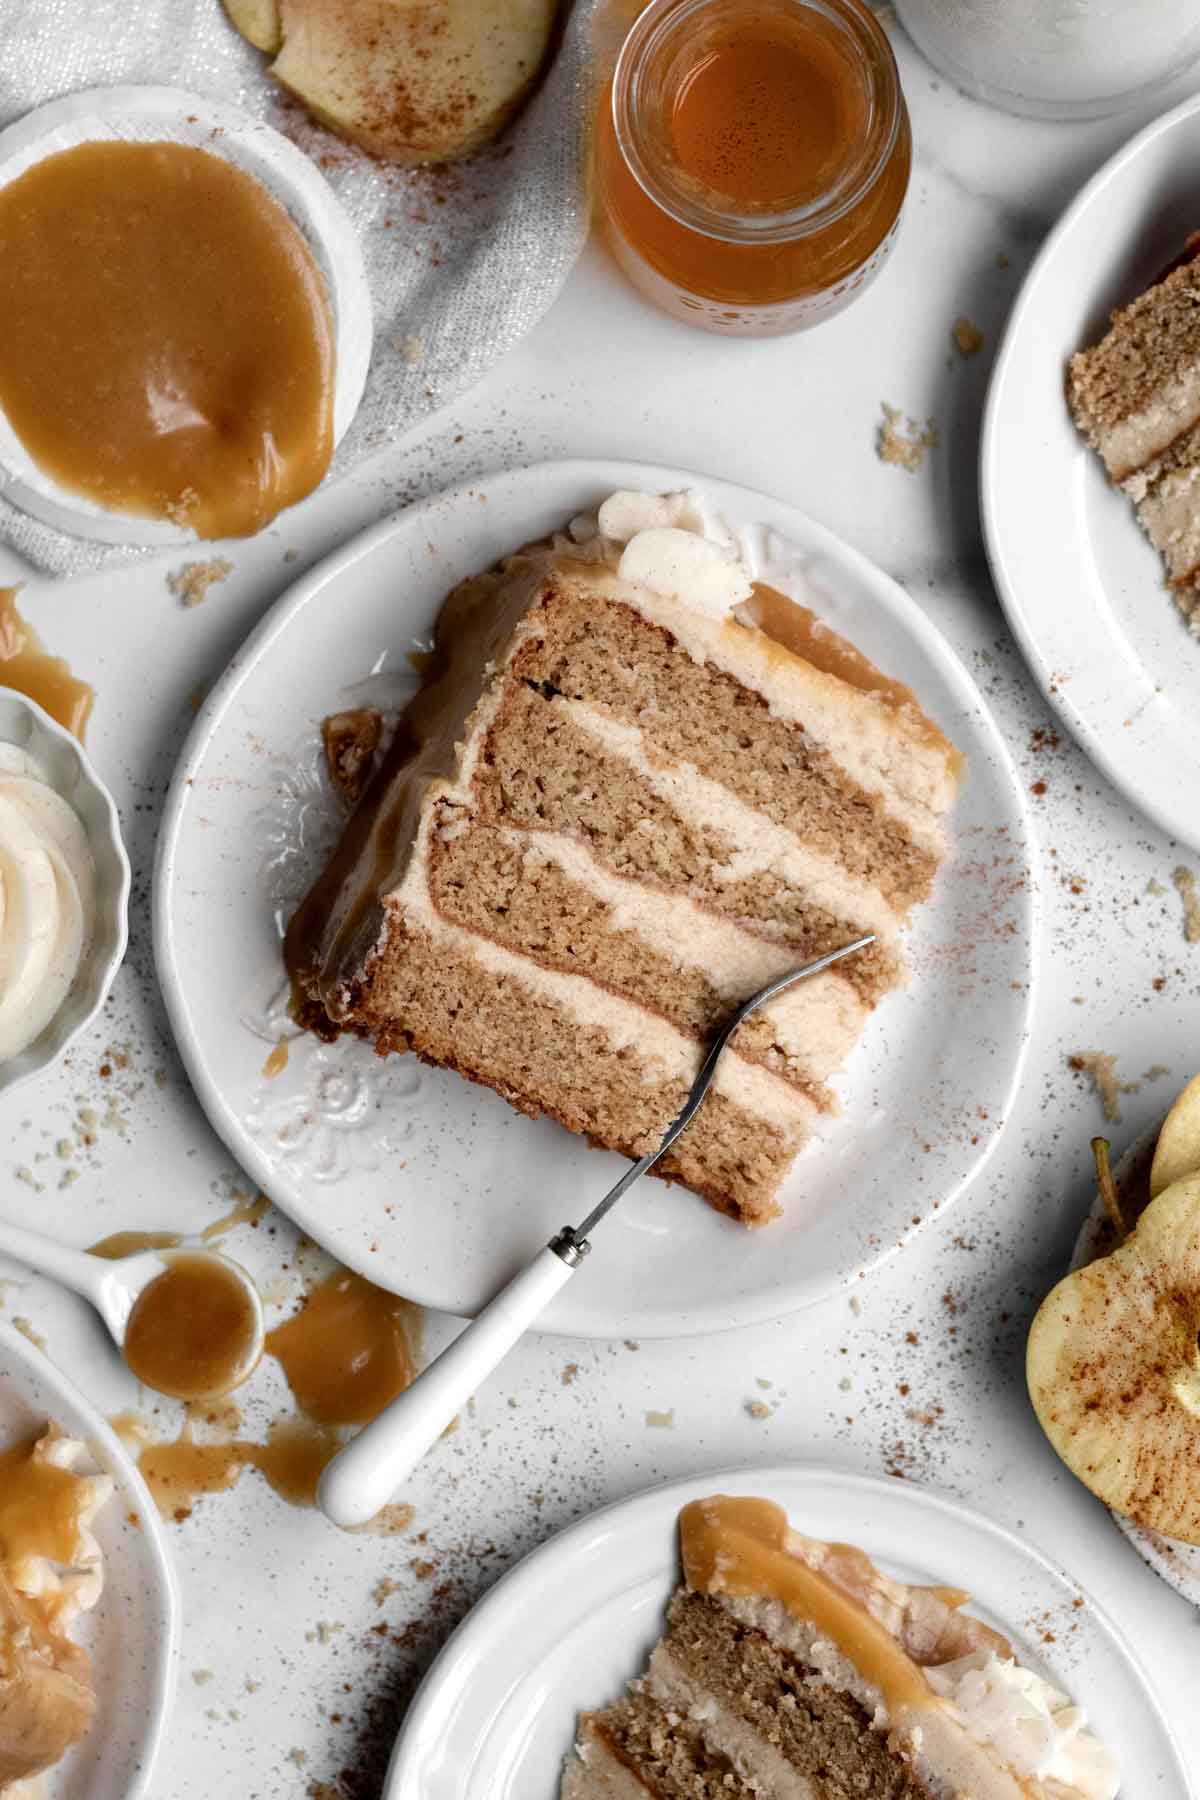
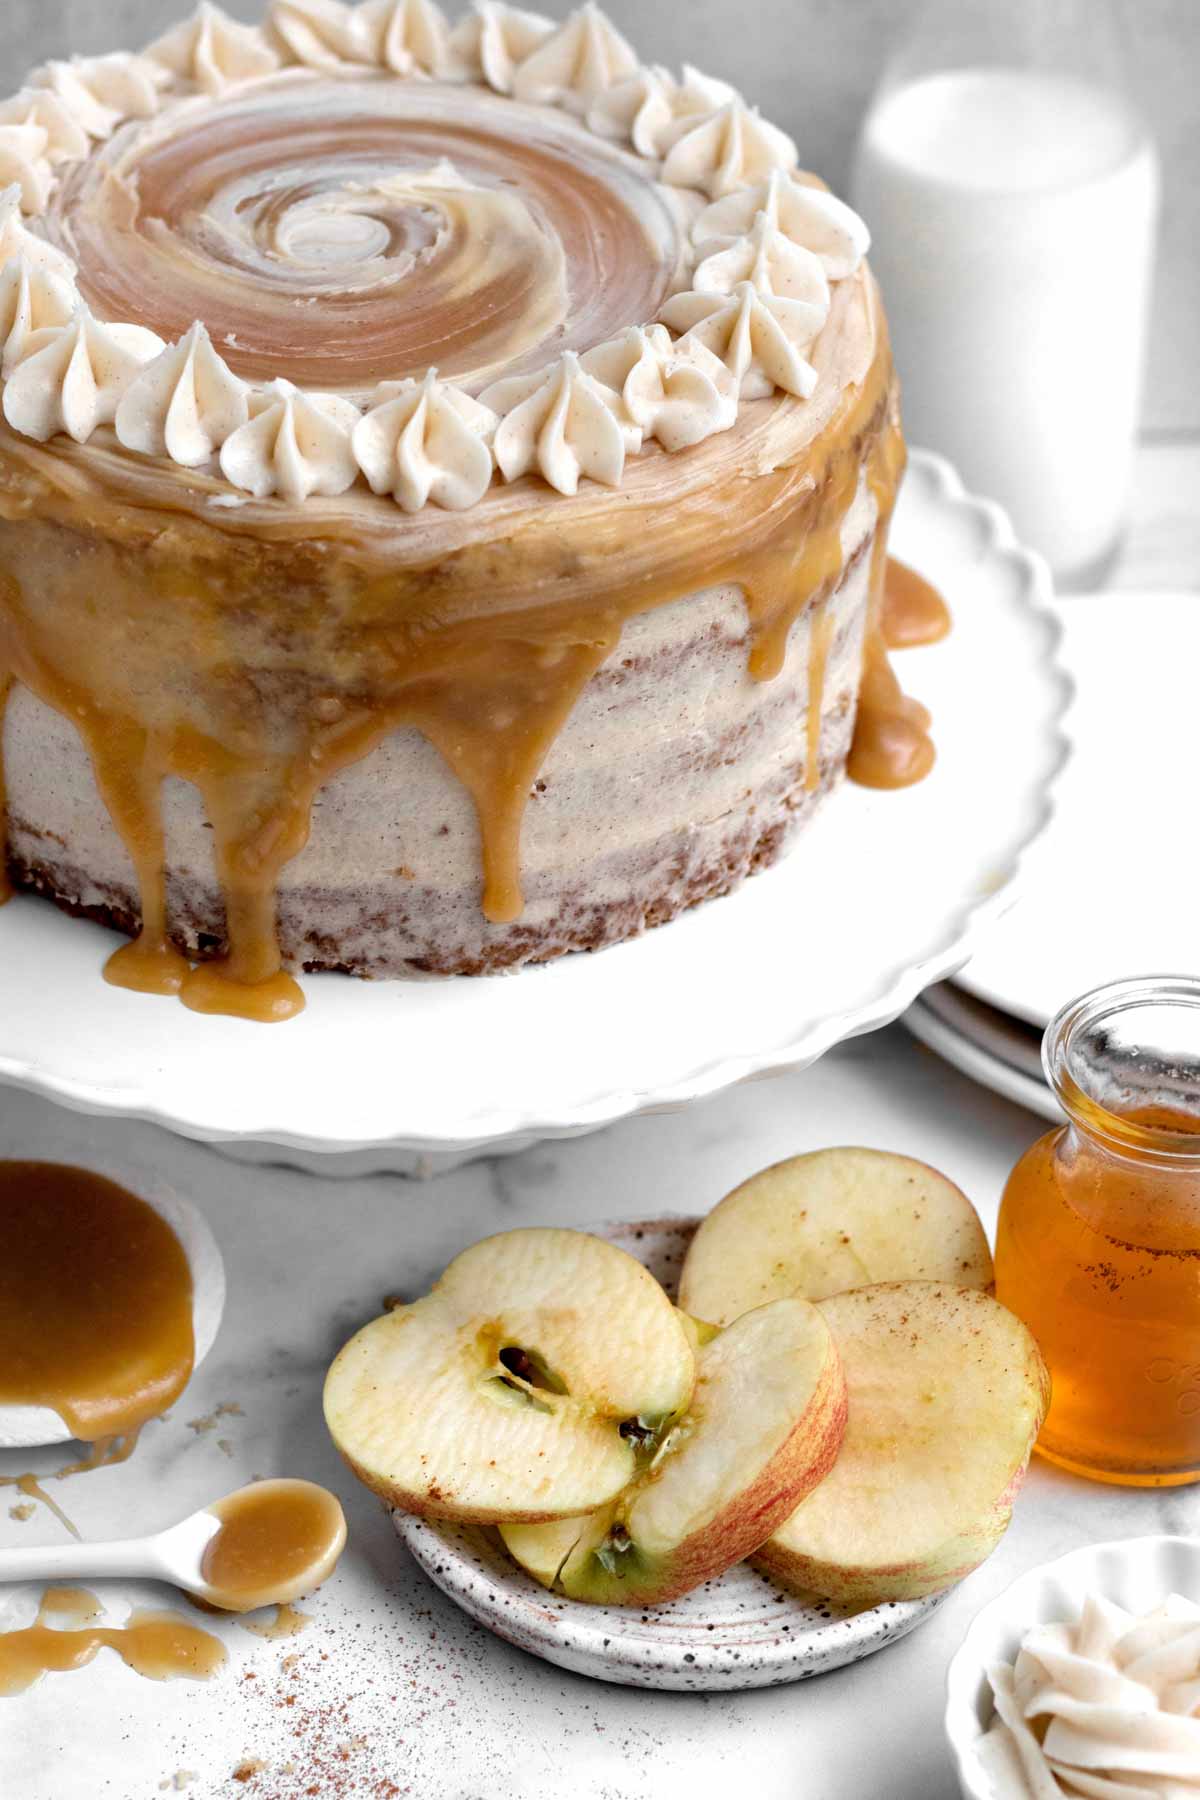
Introducing The Gluten Free Apple Cake!!! Layers of soft cinnamon apple cider cake surrounded by luscious apple cider cinnamon buttercream topped with an apple cider caramel drip. Yup. It’s autumn on a fork. Apple cider isn’t in season where you live? You can use a natural style apple juice instead! Oh and of course, it’s gluten free, nut free, egg free and easily vegan!
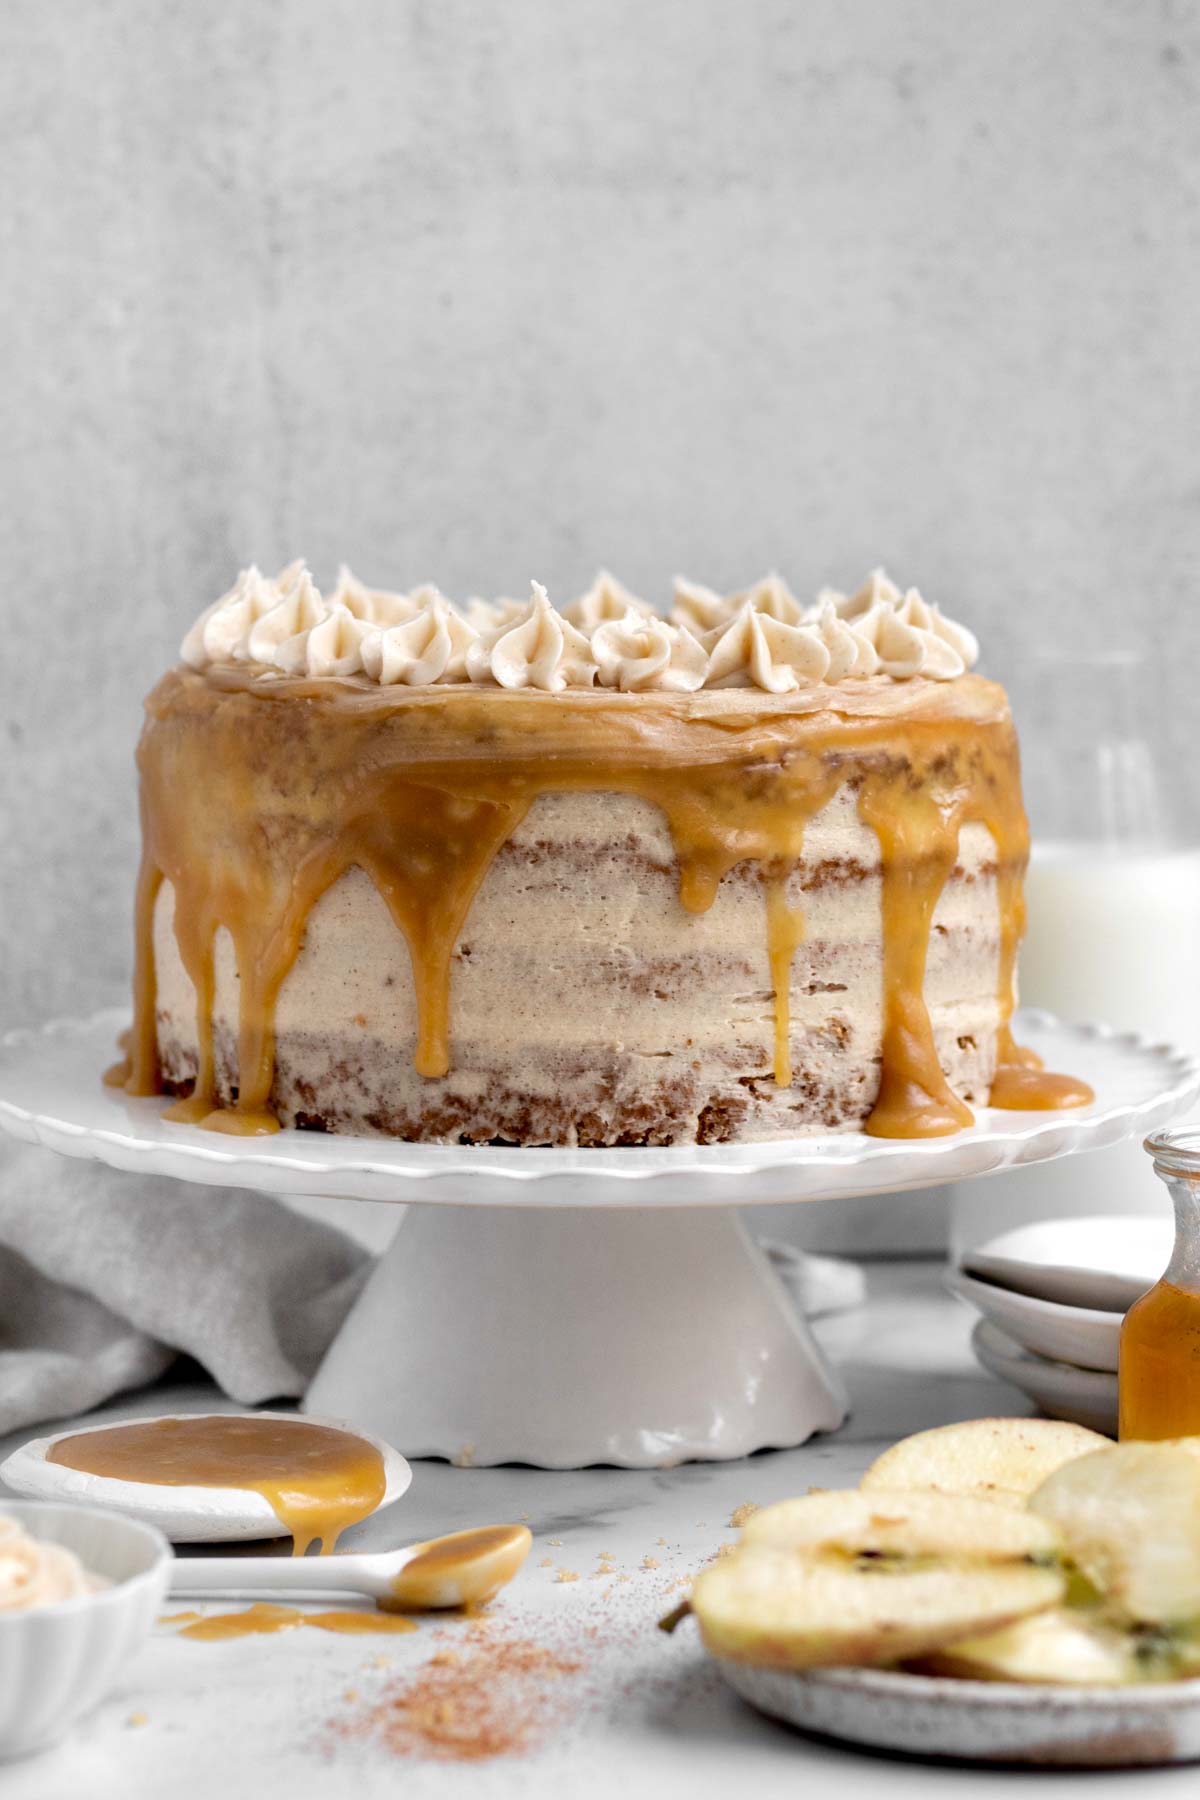
I just love apple cider flavored desserts. I can’t get enough!
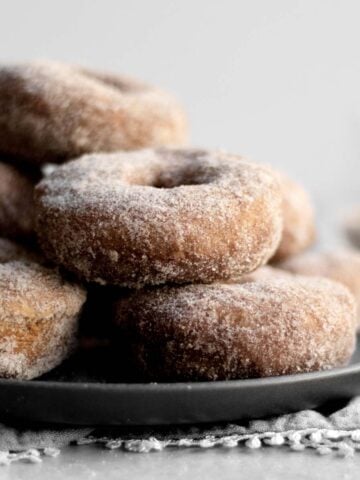
Apple Cider Donuts?! I could eat them all day!
I even have an Apple Cider Cookie recipe!
With that said, I knew I had to create a layer cake using these flavors of apple cider and cinnamon!
This cake was so fun to make and it’s sooooo delicious!
Jump to:
Substitutions and Variations
How to Make this Vegan
- Use a gluten free flour that’s free from dairy.
- Make sure to use vegan baking sticks instead of butter.
- Only use a non dairy milk of choice.
- Use a non dairy heavy cream in the caramel drip.
Using Apple Juice instead of Cider
- Only buy juice without added sugar.
- Try to buy a natural style apple juice.
This recipe has not been tested with these substitutions and/or variations due to celiac disease and food allergies. If you change any of the ingredients, please let us know how the recipe turned out in the comments below!
How to Make Gluten Free Apple Cake
Here are the step by step instructions to make this cake!
Step 1: Reduce the Apple Cider
Pour the cider into a medium pan set over medium low heat. Let the cider simmer for about 25-35 min. You should be left with about 1.5 cups of cider. (You don't want less than 1 cup). Set aside.
Step 2: Preheat the Oven
Preheat the oven to 350 degrees Fahrenheit and grease and line two 8 inch cake pans with parchment paper. Set aside.
Step 3: Whisk the Dry Ingredients
In a large bowl, whisk together the gluten free flour, granulated sugar, baking powder, baking soda, cinnamon and salt. Set aside.
Step 4: Whisk the Light Brown Sugar and Wet Ingredients
In a medium bowl, whisk together ½ cup of the cooled cider, milk of choice, the light brown sugar, the vegetable oil and the vanilla.
Step 5: Mix the Wet Ingredients into the Dry
Slowly add the cider mixture into the flour mixture and use a spatula to combine as it gets thick.
Step 6: Bake
With a spatula, scoop half the batter into one pan and the other half into the other pan. Smooth the tops with a butter knife.
Bake both cakes in the center rack for 35 minutes.
Let them cool in the pan and then transfer to a cooling rack.
Step 7: Cut the Cakes
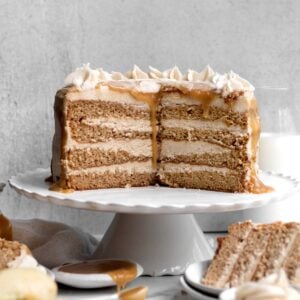
Once the cakes have cooled completely, cut them in half horizontally. Now you will have 4 thin layers of cake.
For the Frosting
Step 1: Cream the Sugar
Beat the butter or vegan baking stick and brown sugar together until smooth and creamy. About 2-3 min.
Step 2: Add Remaining Ingredients
Add in all the other frosting ingredients and beat until combined and smooth. If the frosting seems too thick, add more water ¼ teaspoon at a time. If it is too thin, add more confectioners' sugar, 1 tablespoon at a time.
Divide the frosting into 4 equal servings.
Assembling the Cake
Step 1: Frost One Layer at a Time
Place one cake layer on the cake stand. Take ¼ of the frosting and frost the top. Place another layer of cake on top of the frosting. Repeat the frosting layer. Repeat this process with all the cake layers.
Step 2: Frost the Top and Sides
For the top, divide the last ¼ of the frosting in half. Use half for the top and half for the sides of the cake. Pop it in the fridge to chill.
For the Caramel
Step 1: Whisk all of the Ingredients
Whisk all the caramel ingredients together in a medium saucepan set over medium heat. Whisk constantly. When the mixture starts to boil, keep whisking constantly and let it boil, while whisking, for 2 minutes.
Step 2: Chill
Remove from heat and place in a heat safe bowl. Let sit on the counter until the bowl is no longer blazing hot. Give the caramel a whisk and then pop in the fridge uncovered. Let chill for about an hour.
Step 3: Reheat
After, whisk the caramel, it should be thick. If it’s too thick and not pourable, microwave it in 5 second increments until it is able to be poured.
Step 4: Pour onto Cake
Take the cake out of the fridge. Pour the caramel on top of the cake and use an icing spatula to push the caramel to the edge to let it naturally drip down.
Step 5: Chill and Frost
Pop the cake back in the fridge so the caramel hardens. After caramel is hardened, you can decorate the top with more buttercream if you desire. To get the swirl I did on top of the cake, while the caramel is wet, carefully put some buttercream on a paper towel and swirl it into the wet caramel.
Store cake in the fridge in a cake dome or wrapped in plastic wrap. If wrapping in plastic, put the cake in the fridge until the frosting hardens and then wrap it. If you wrap it when the frosting is wet you’ll have a giant mess.
Let the cake sit out on the counter for about 15-20 min prior to serving.
I am so obsessed with this cake! I love autumn and apple cider, so this cake was so fun to create!
This Apple Cider Layer Cake is a delicious apple flavored dessert that’s gluten free, nut free, egg free and easily vegan! Enjoy!
Expert Baking Tips
- Use Room Temperature Butter- Do not use softened or melted butter/vegan baking sticks.
- Do the caramel drip- Take the cake out of the fridge. Spoon tablespoons of caramel on top of the cake. Take an icing spatula and push the caramel around to the edges of the cake so it drips down the sides. Pop cake back in the fridge to harden the caramel.
- Swirl the Frosting- To get the swirl I did on top of the cake, while the caramel is wet, carefully put some buttercream on a paper towel and swirl it into the wet caramel.
Recipe FAQs
Yes! You can! I like to use apple juice and I’ll tell you why. As much as I am obsessed with apple cider, the cider is made by local farms where they make other items as well. None of the ciders local to me have a gluten free label.
Other Apple Recipes You'll Love
Did you try this recipe? Please leave me a ⭐ review below!
Don’t forget to tag me on Instagram @laneandgreyfare and follow along on Pinterest, Facebook and YouTube! Enjoy!!!
📖 Recipe
Gluten Free Apple Cake
Ingredients
For the cake:
- 2 ¼ cups gluten free flour
- 1 cup granulated sugar
- 1 ½ teaspoons baking powder
- ½ teaspoon baking soda
- ½ teaspoon kosher salt
- 2 teaspoons ground cinnamon
- ½ cup packed light brown sugar
- ½ cup reduced apple juice start with 2 ½ cups and boil down
- 1 cup milk of choice
- ½ cup vegetable oil
- 2 teaspoons pure vanilla extract
For the frosting:
- 2 sticks 1 cup unsalted butter or vegan baking sticks, room temperature
- ¾ cup packed light brown sugar
- 1 teaspoon ground cinnamon
- 6 cups confectioners’ sugar
- ¼ cup reduced apple cider
- 3 tablespoons water
- 1 teaspoon pure vanilla extract
For the apple cider caramel drip:
- ¼ cup reduced apple cider
- 1 cup light brown sugar
- ½ cup 1 stick unsalted butter or vegan baking stick
- ¼ cup heavy cream
Instructions
- Pour the cider into a medium pan set over medium low heat. Let the cider simmer for about 25-35 min. You should be left with about 1.5 cups of cider. (You don't want less than 1 cup). Set aside.
- Preheat the oven to 350 degrees Fahrenheit and grease and line two 8 inch cake pans with parchment paper. Set aside.
- In a large bowl, whisk together the gluten free flour, granulated sugar, baking powder, baking soda, cinnamon and salt. Set aside.
- In a medium bowl, whisk together ½ cup of the cooled cider, milk of choice, the light brown sugar, the vegetable oil and the vanilla.
- Slowly add the cider mixture into the flour mixture and use a spatula to combine as it gets thick.
- With a spatula, scoop half the batter into one pan and the other half into the other pan. Smooth the tops with a butter knife.
- Bake both cakes in the center rack for 35 minutes.
- Let them cool in the pan and then transfer to a cooling rack.
- Once the cakes have cooled completely, cut them in half horizontally. Now you will have 4 thin layers of cake.
- Make the frosting: Beat the butter or vegan baking stick and brown sugar together until smooth and creamy. About 2-3 min.
- Add in all the other frosting ingredients and beat until combined and smooth. If the frosting seems too thick, add more water ¼ teaspoon at a time. If it is too thin, add more confectioners' sugar, 1 tablespoon at a time.
- Divide the frosting into 4 equal servings.
- Place one cake layer on the cake stand. Take ¼ of the frosting and frost the top. Place another layer of cake on top of the frosting. Repeat the frosting layer. Repeat this process with all the cake layers. For the top, divide the last ¼ of the frosting in half. Use half for the top and half for the sides of the cake. Pop it in the fridge to chill.
- Make the caramel: Whisk all the caramel ingredients together in a medium saucepan set over medium heat. Whisk constantly. When the mixture starts to boil, keep whisking constantly and let it boil, while whisking, for 2 minutes.
- Remove from heat and place in a heat safe bowl. Let sit on the counter until the bowl is no longer blazing hot. Give the caramel a whisk and then pop in the fridge uncovered.
- Let chill for about an hour. After, whisk the caramel, it should be thick. If it’s too thick and not pourable, microwave it in 5 second increments until it is able to be poured.
- Take the cake out of the fridge. Pour the caramel on top of the cake and use an icing spatula to push the caramel to the edge to let it naturally drip down.
- Pop the cake back in the fridge so the caramel hardens. After caramel is hardened, you can decorate the top with more buttercream if you desire. To get the swirl I did on top of the cake, while the caramel is wet, carefully put some buttercream on a paper towel and swirl it into the wet caramel.
- Store cake in the fridge in a cake dome or wrapped in plastic wrap. If wrapping in plastic, put the cake in the fridge until the frosting hardens and then wrap it. If you wrap it when the frosting is wet you’ll have a giant mess.
- Let the cake sit out on the counter for about 15-20 min prior to serving.
Video
Nutrition
The recipe for the Apple Cider Caramel is from My Recipes Apple Cider Caramel Sauce.


Sandy
Can you freeze the cake ahead of time?
Lee
Hi Sandy! If you want to freeze the cake, I would freeze the cake layers themselves and then defrost and assemble the rest of the cake. If there are left over slices, you can freeze them but I have not tried to freeze the entire cake.
Rachel
Very good cake! Not a big apple flavor (would be hard to get that without actual apples tho) but a very good spice cake, soft and moist. Caramel is delicious (although I made it slightly differently steps wise). All together it is very sweet I would suggest cutting the powder sugar in the frosting back a cup or 1-1/2cups if adding the caramel on top if you want it less sweet
John
This Apple Cider Layer Cake looks so good! I can’t wait to try to make it and enjoy it on a cool autumn night!
Lee
Thanks so much! Hope you love it!