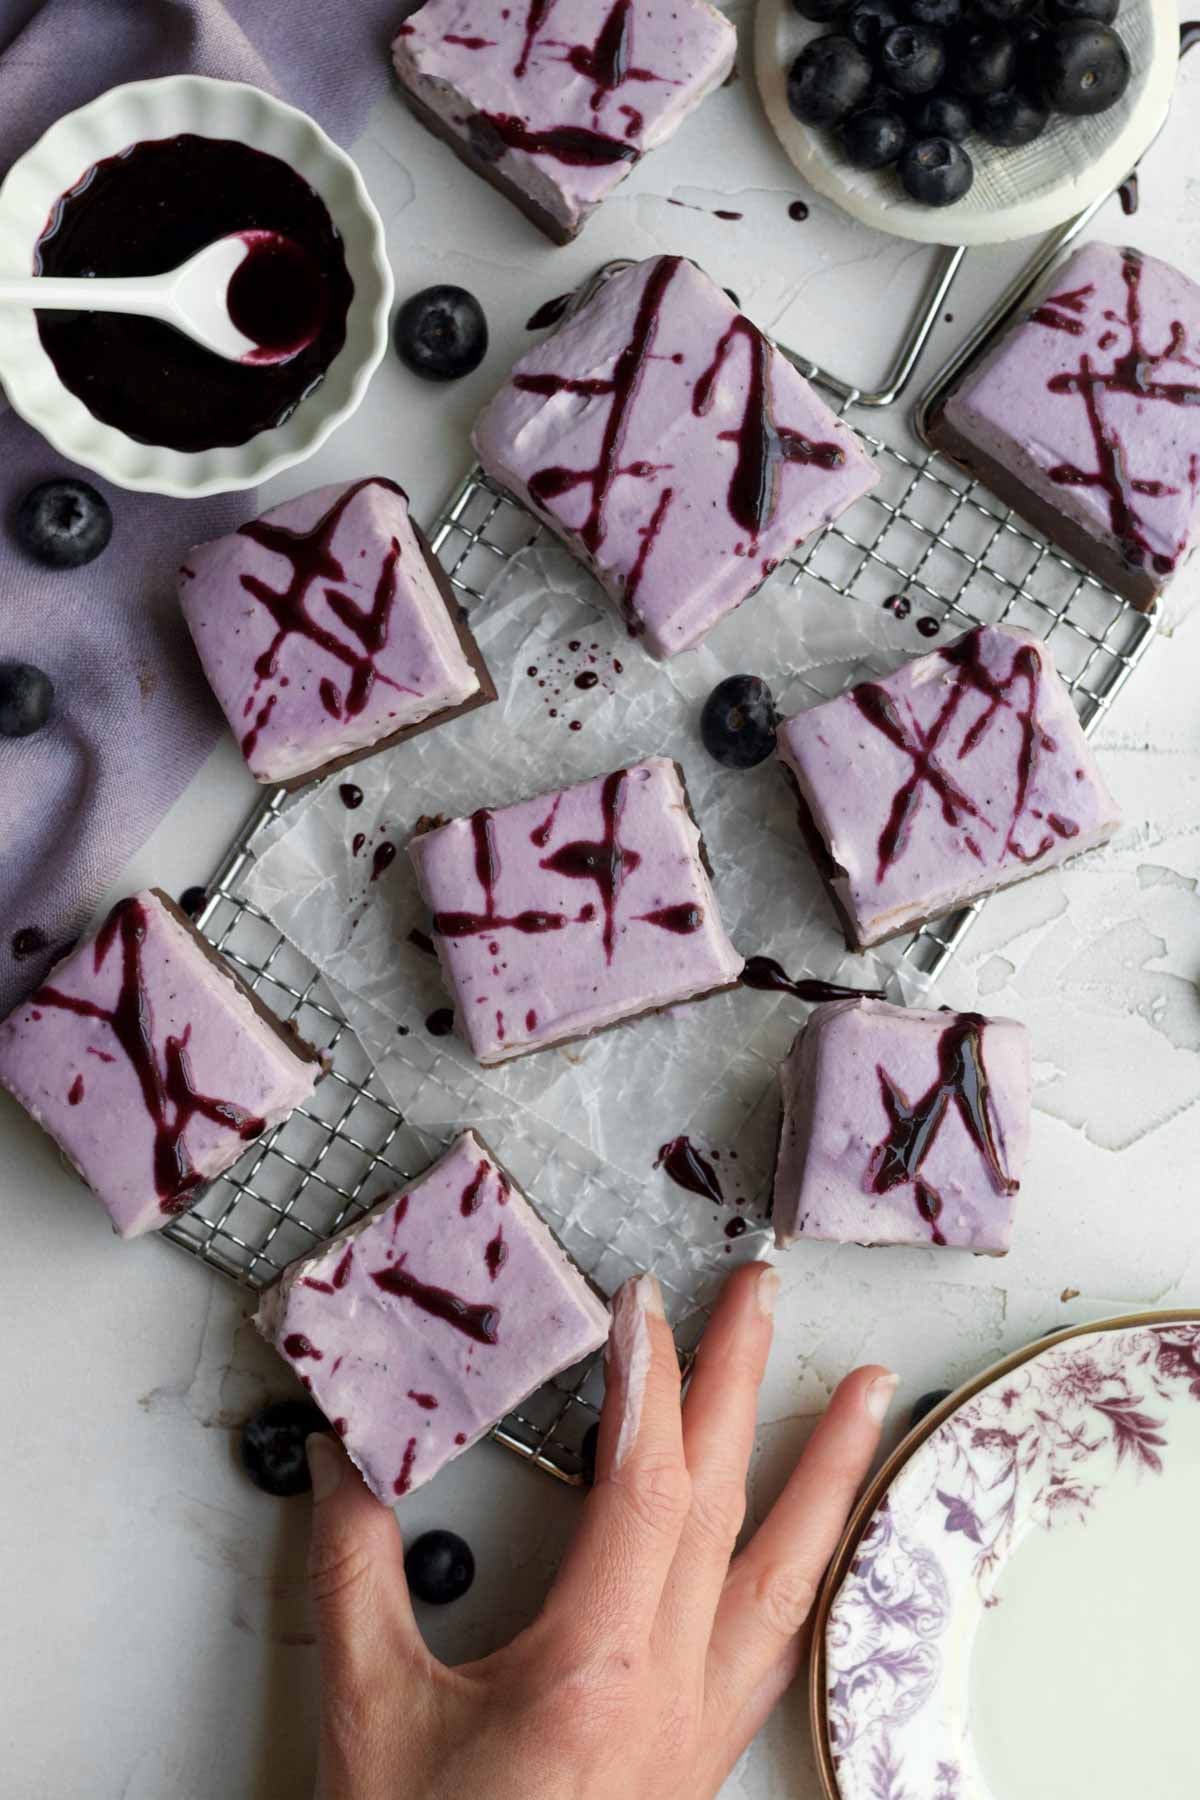
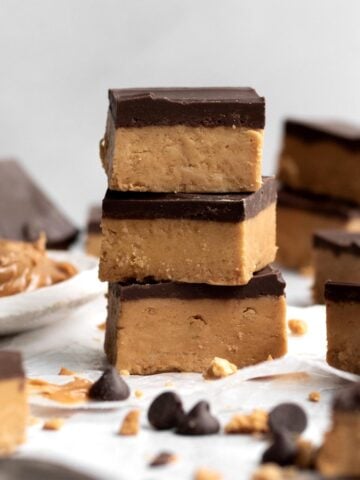
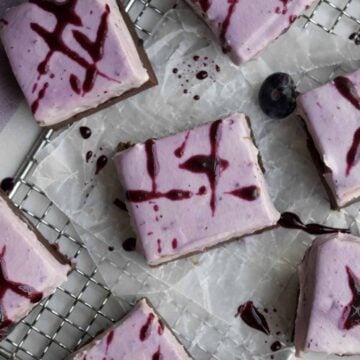
These no-bake Blueberry Fudge Bars are smooth and creamy, rich and sweet with a subtle tartness! They start with a chocolate fudge base and are topped with stunning no-bake blueberry cheesecake layer! They're the perfect blueberry dessert for the hot summer days when you don't want to turn on your oven! They're gluten free, eggless, nut free and can be vegan with a few tweaks!
These Blueberry Fudge Bars are an easy treat that can feed a bunch of people. Because they're no-bake, they're perfect to make the night before a party. I'm always a fan of a no-bake dessert because the less work I have to do during a party, the better! Yes, they're perfect for blueberry season but you can also make them with frozen wild blueberries year round! The color is all natural and stunning, people will think they took so long to prepare like with my Chocolate Blueberry Muffins!
For more blueberry recipes for parties, try my popular Blueberry Cookies, my Blueberry Crumb Cake, my Blueberry Cheesecake Ice Cream, my Blueberry Cobbler and my Chocolate Chip Blueberry Cookies.
Reasons to Love These Blueberry Fudge Bars
- Allergy Friendly- This recipe is gluten free, nut free, egg free and can easily be dairy free (vegan)!
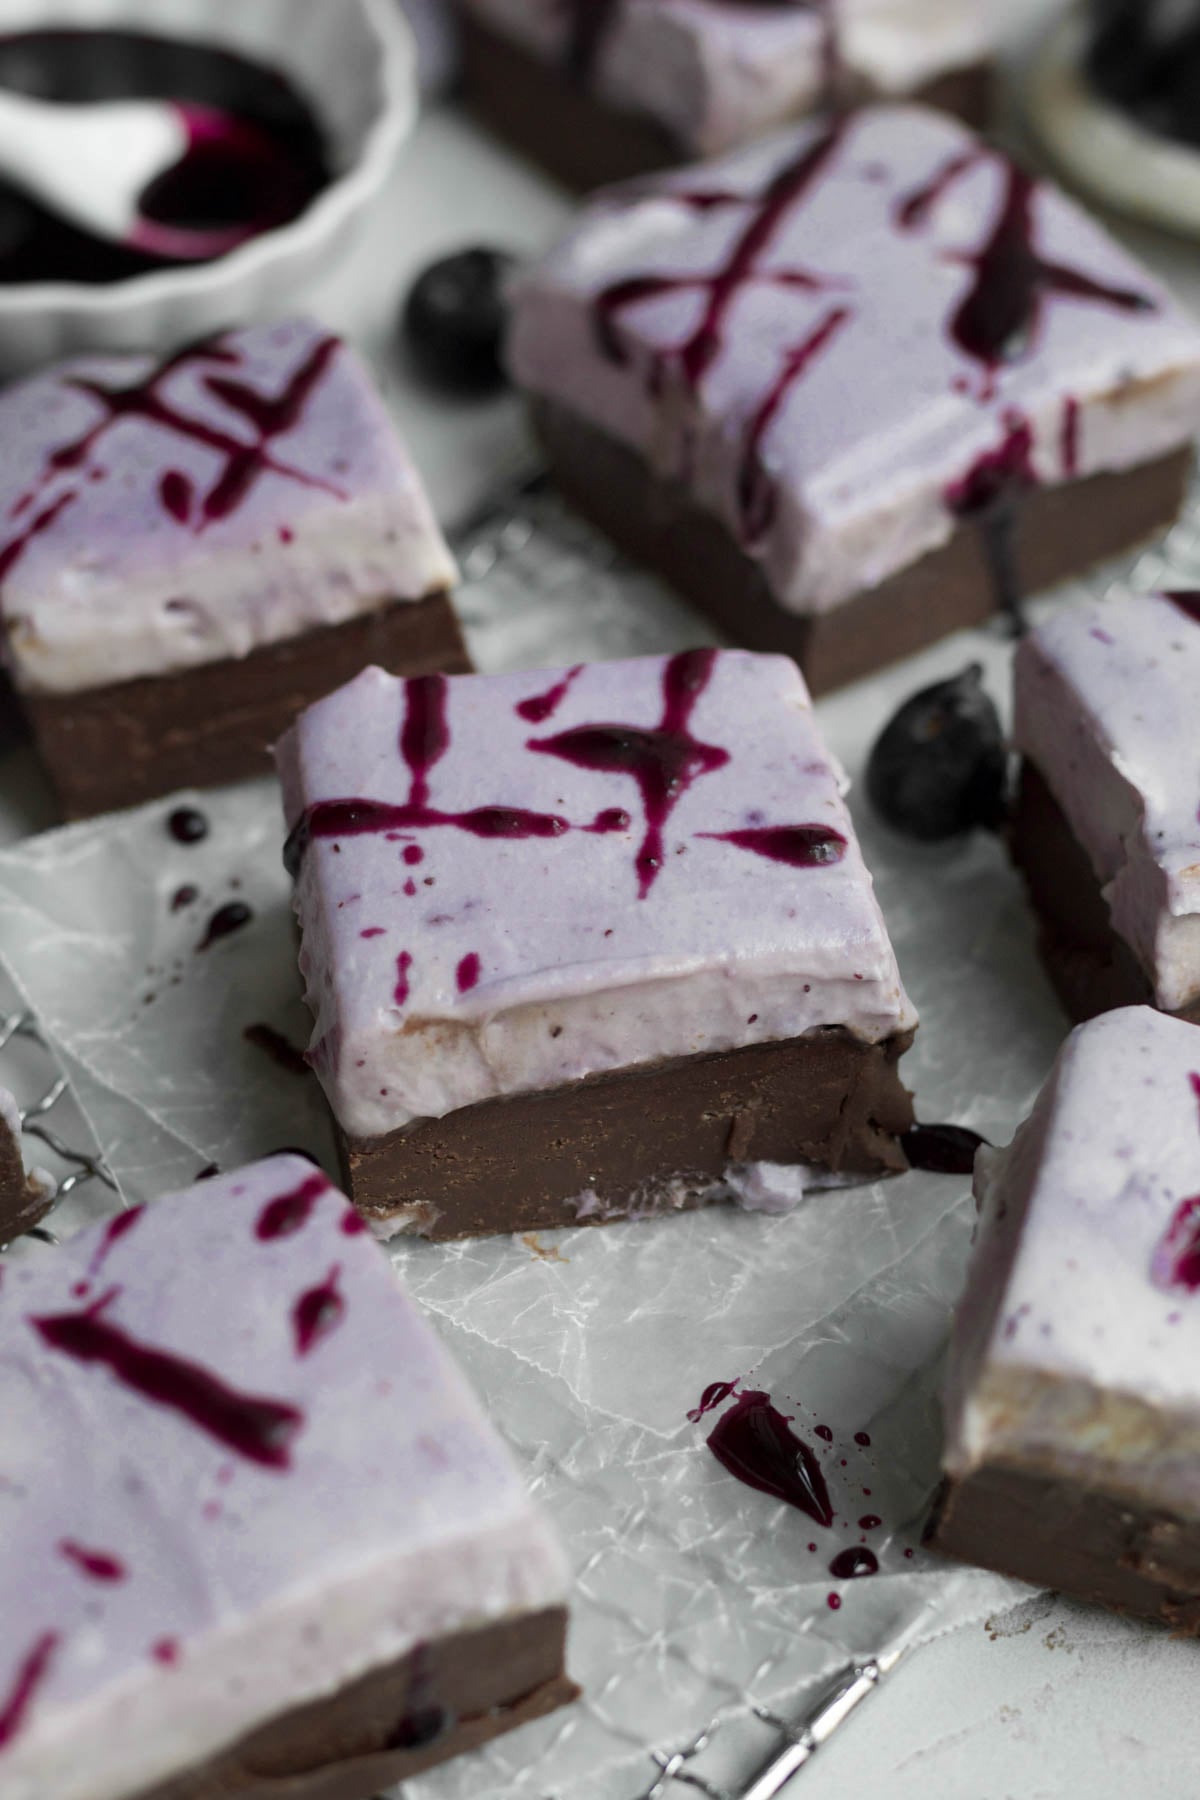
- Cheesecake Topping- This fudge is made with a no-bake blueberry cheesecake topping, making this dessert taste like a chocolate blueberry cheesecake!
- No Bake- Like my "Oreo" Blueberry Ice Cream, this recipe is perfect for days when you don't want to turn on the oven!
- Easy to Make- This recipe is no-bake and only requires a few ingredients!
Ingredient Notes
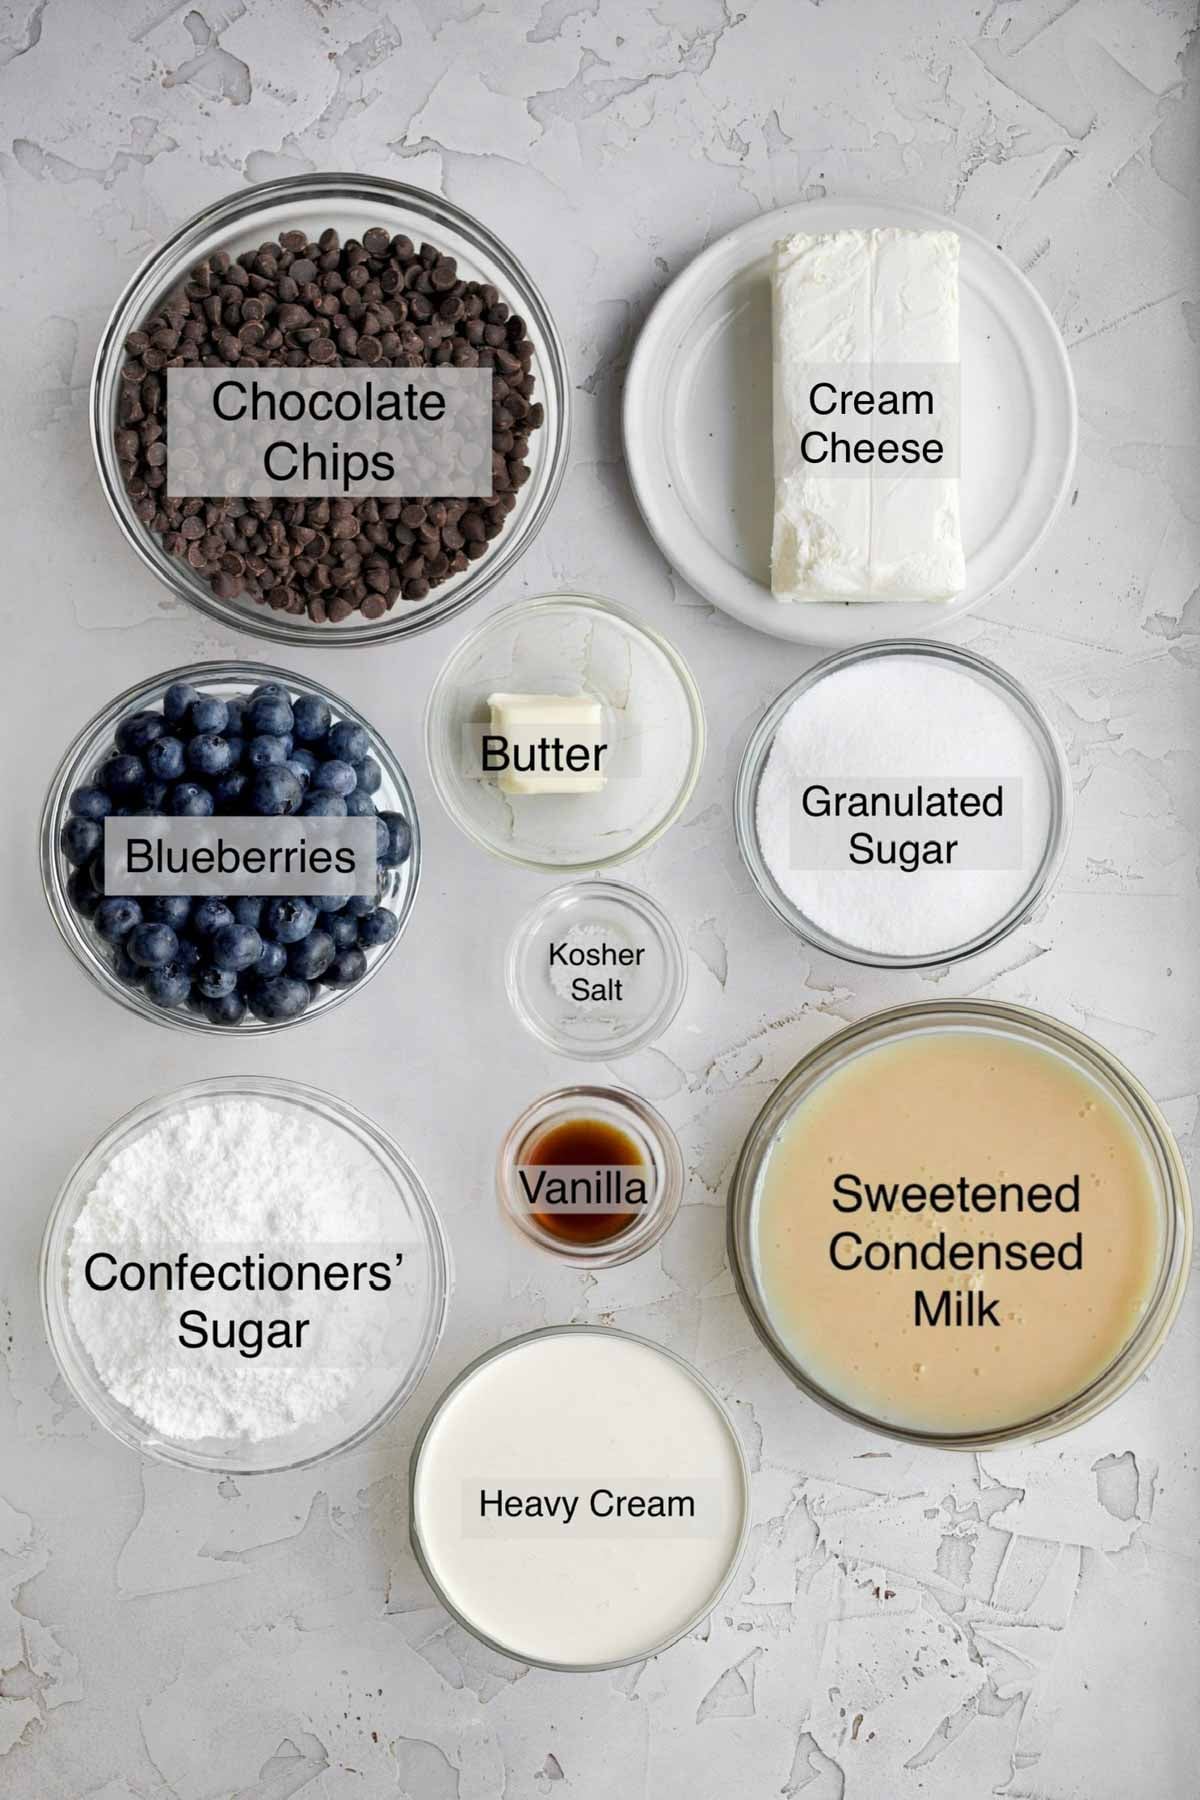
- Blueberries- I prefer to use frozen wild blueberries but you can use frozen or fresh for this easy recipe!
- Granulated Sugar- Cooked with the blueberries to add a lovely sweetness.
- Kosher Salt- To help bring out all the flavors.
- Sweetened Condensed Milk- It helps the fudge to be thick, creamy and sweet.
- Chocolate Chips- I like to use semi-sweet but you can use whatever type you prefer. To keep vegan, make sure to use gluten free/vegan chocolate chips. I love these allergy friendly chocolate chips.
- Unsalted Butter/ Vegan Baking Stick- Helps to add to the creamy texture of the fudge.
- Pure Vanilla Extract- Make sure the vanilla you use is pure and gf or the fudge will have a chemical flavor.
- Cream Cheese- Wouldn't be a cheesecake topping without this key ingredient. Please only use full fat block cream cheese, not cream cheese from a tub and if vegan, only use vegan block "cream cheese" and have it be on the colder side vs room temperature.
- Confectioners' Sugar- Used in the cheesecake topping to help keep it light and smooth.
- Heavy Cream- We use this to make the whipped cream. To make vegan, use a dairy-free heavy cream alternative.
See my recipe card below for a complete list of the ingredients with measurements.
Substitutions and Variations
How to Make this into a Vegan Fudge Recipe
- Use a non-dairy sweetened condensed milk.
- Use chocolate chips that are gluten free, nut free and vegan.
- Only use unsalted vegan baking stick.
- Make sure the brand of sugar you use is vegan.
- Buy a vegan cream cheese.
- Use a dairy free heavy whipping cream.
This recipe has not been tested with some of these substitutions and/or variations due to celiac disease and food allergies. If you change any of the ingredients, please let us know how the recipe turned out in the comments below!
How to Make Blueberry Fudge Bars
Here are the step by step instructions for making these no-bake fudge bars!
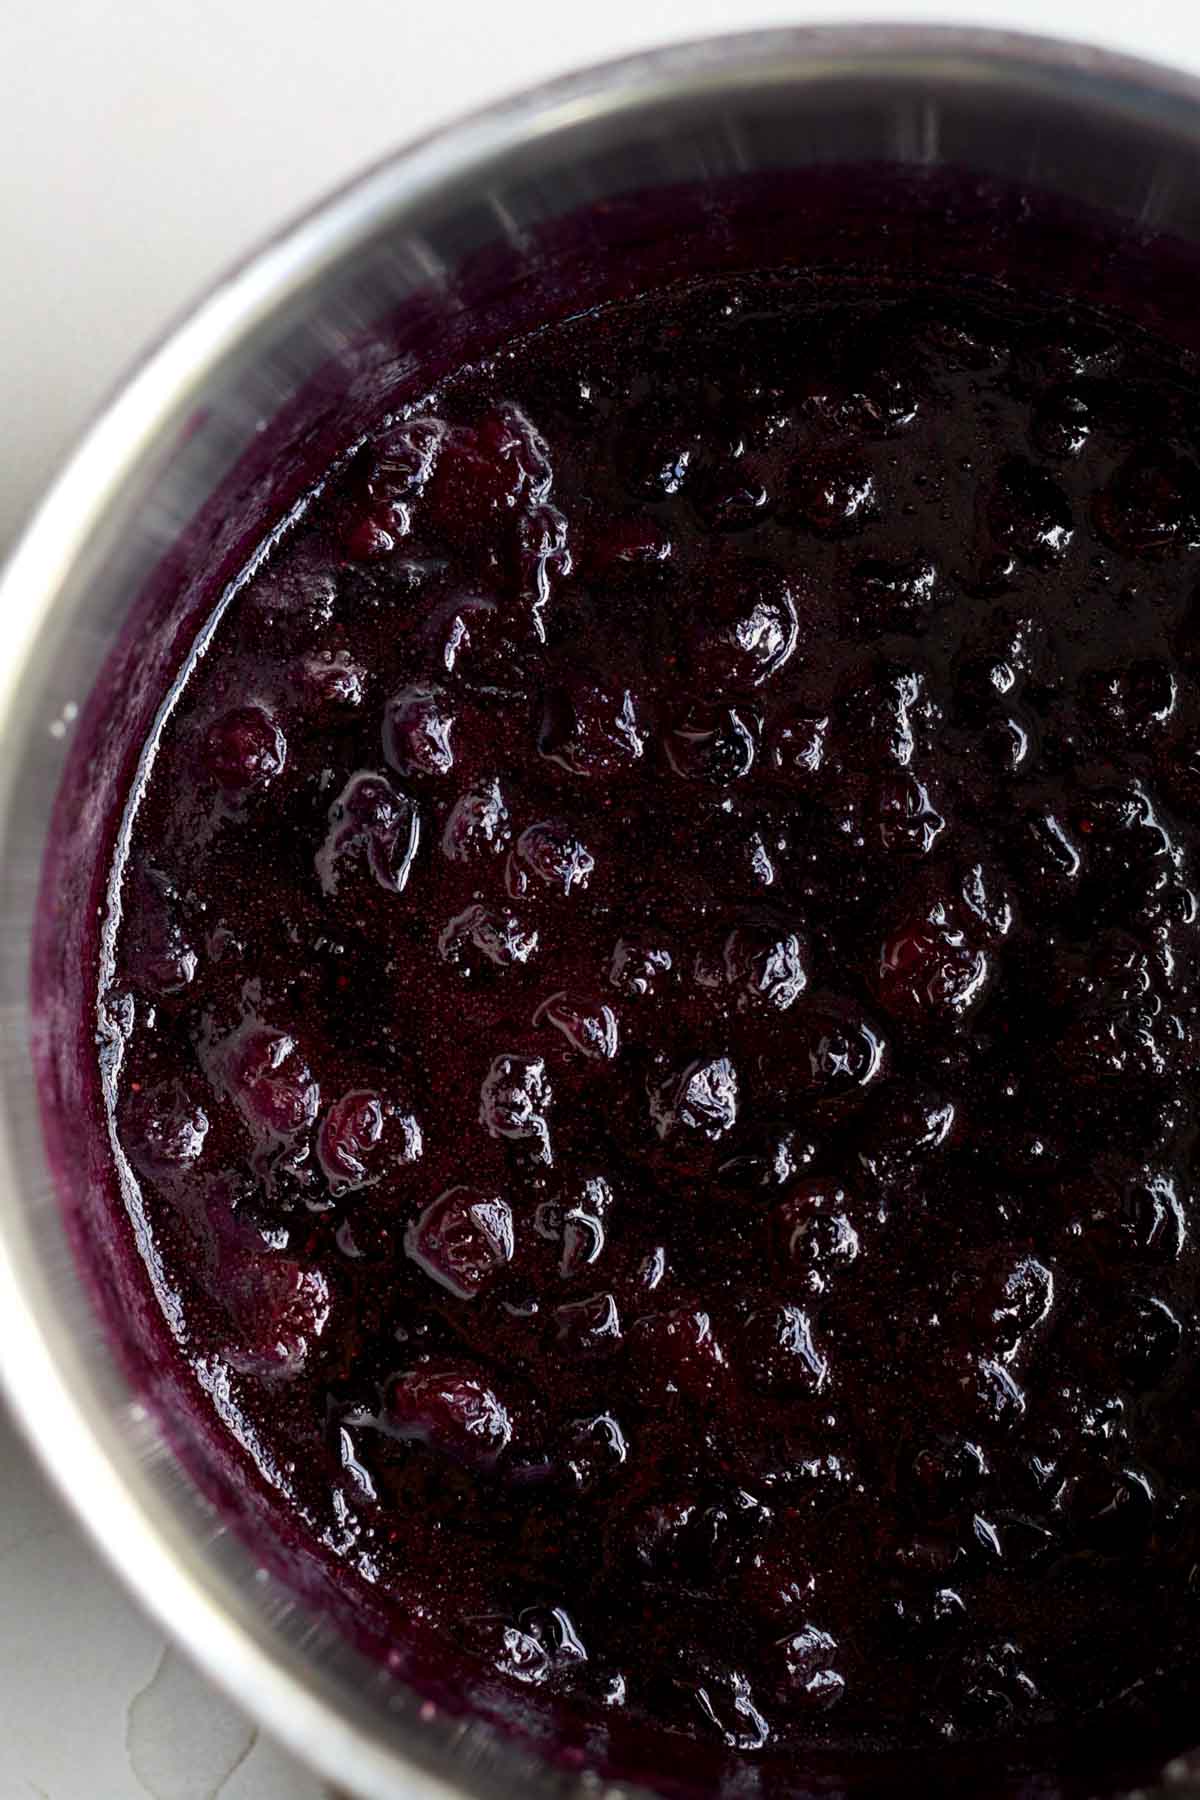
Step 1: Cook the Blueberries, Sugar and Salt
Place the blueberries, sugar and salt together in a saucepan set over medium heat.
Cook (stirring frequently and smashing the blueberries with the back of a spoon) for about 5 min until it begins to boil.
Turn the heat to low and let it simmer for an additional 5 minutes, stirring frequently.
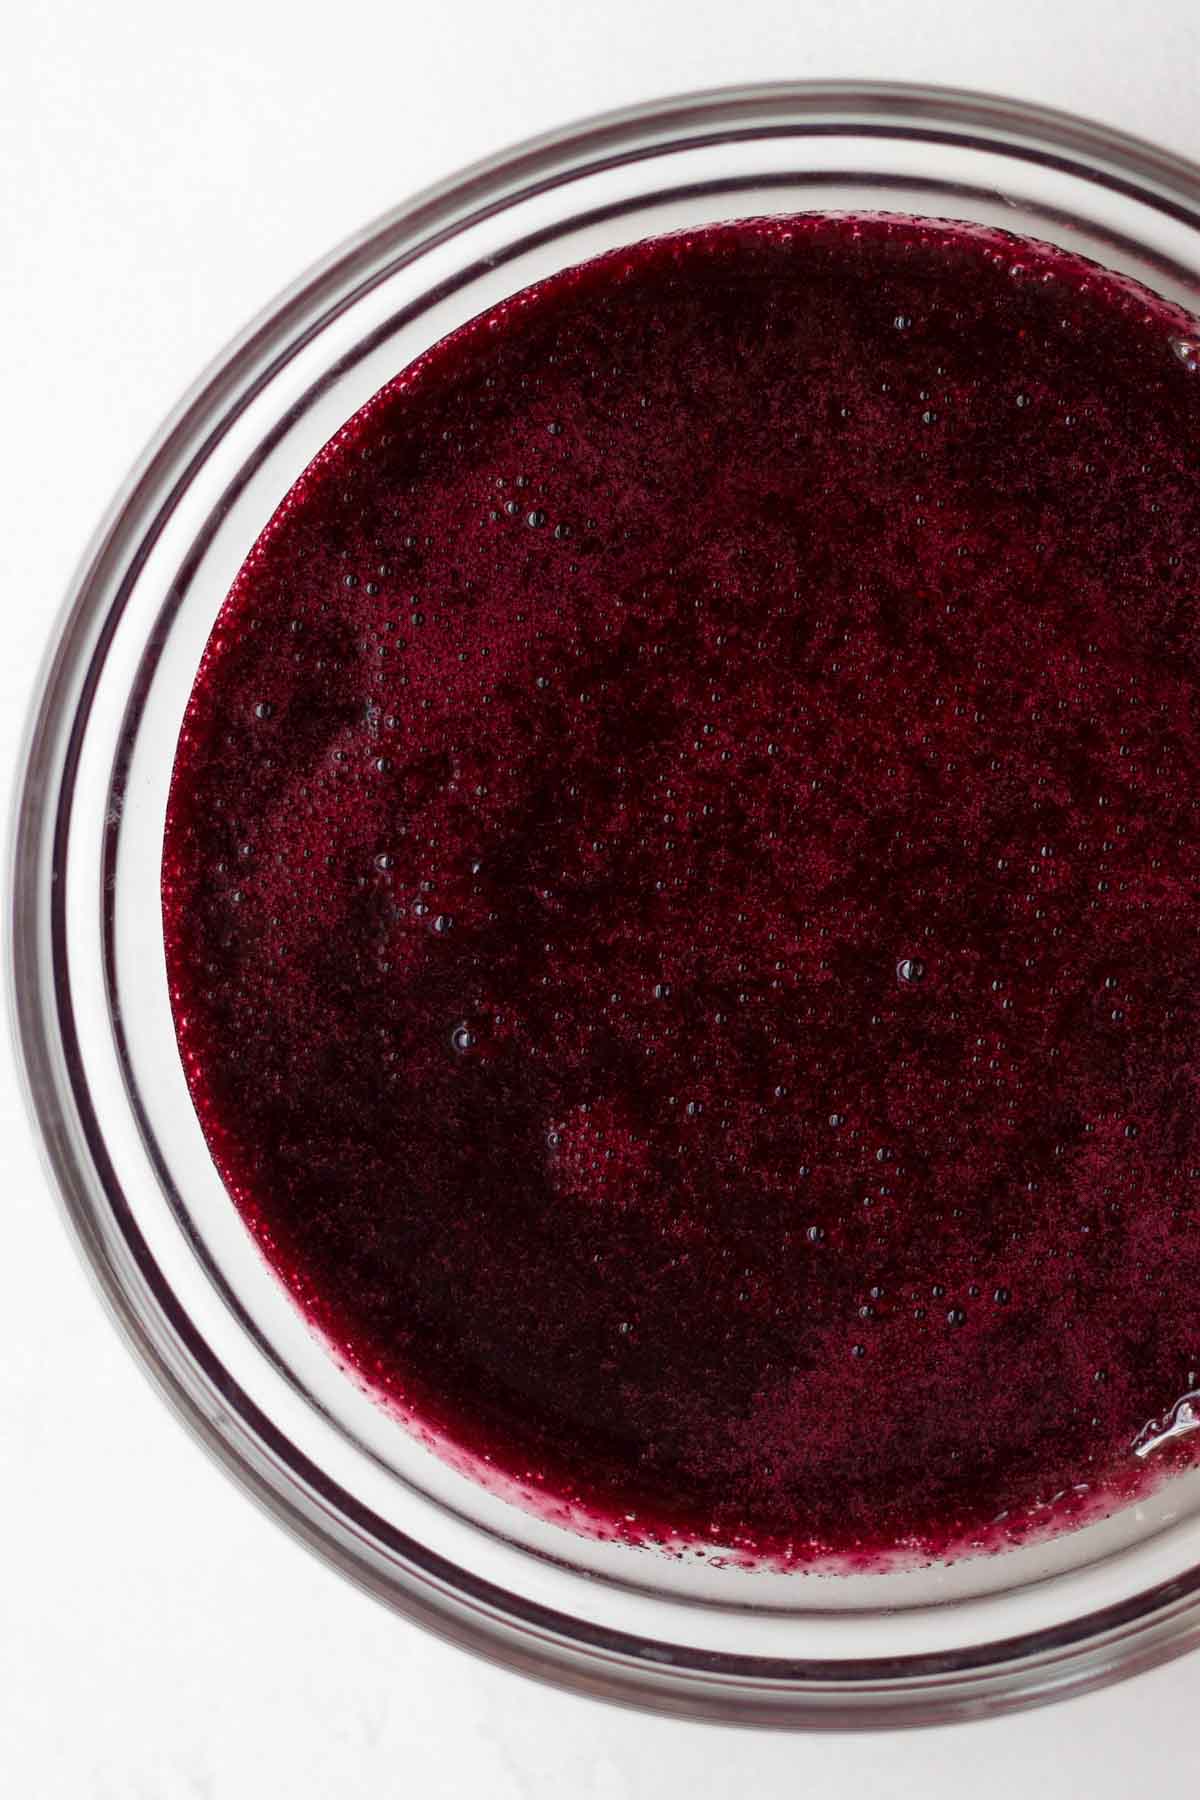
Step 2: Blend the Blueberries
Using an immersion blender or a regular blender, carefully blend the hot blueberries until there are no chunks.
Then place a mesh colander over a heat proof bowl and pour the mixture through the colander to strain it. Gently press down on the blueberry chunks with the back of a spoon to get all the liquid out.
Set aside to cool. About 20 minutes.
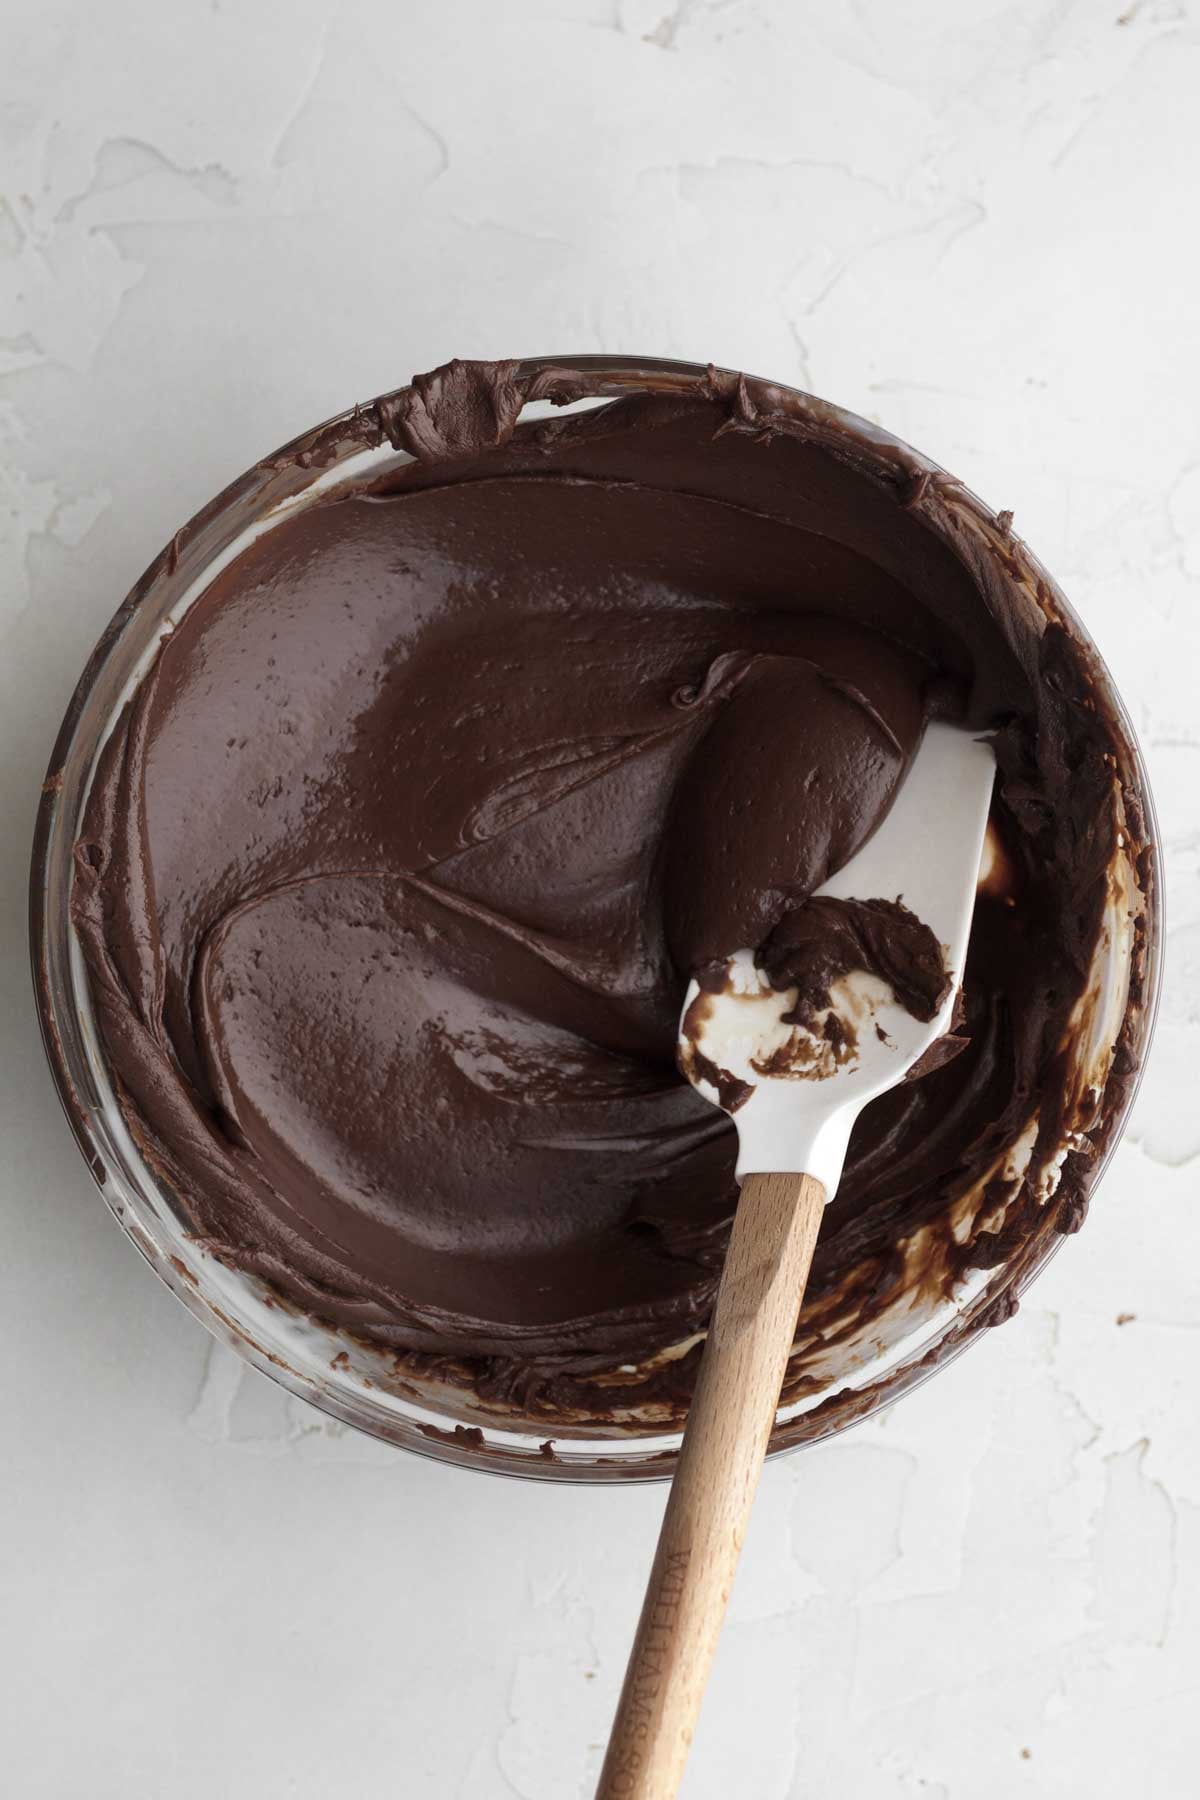
Step 3: Heat Chocolate, Butter and Sweetened Condensed Milk and Add in the Vanilla
Place ingredients in a heat safe bowl.
Microwave in 20 second increments, stirring after each time until the chocolate, butter and sweetened condensed milk are fully melted and incorporated.
Stir in the vanilla and salt until combined.
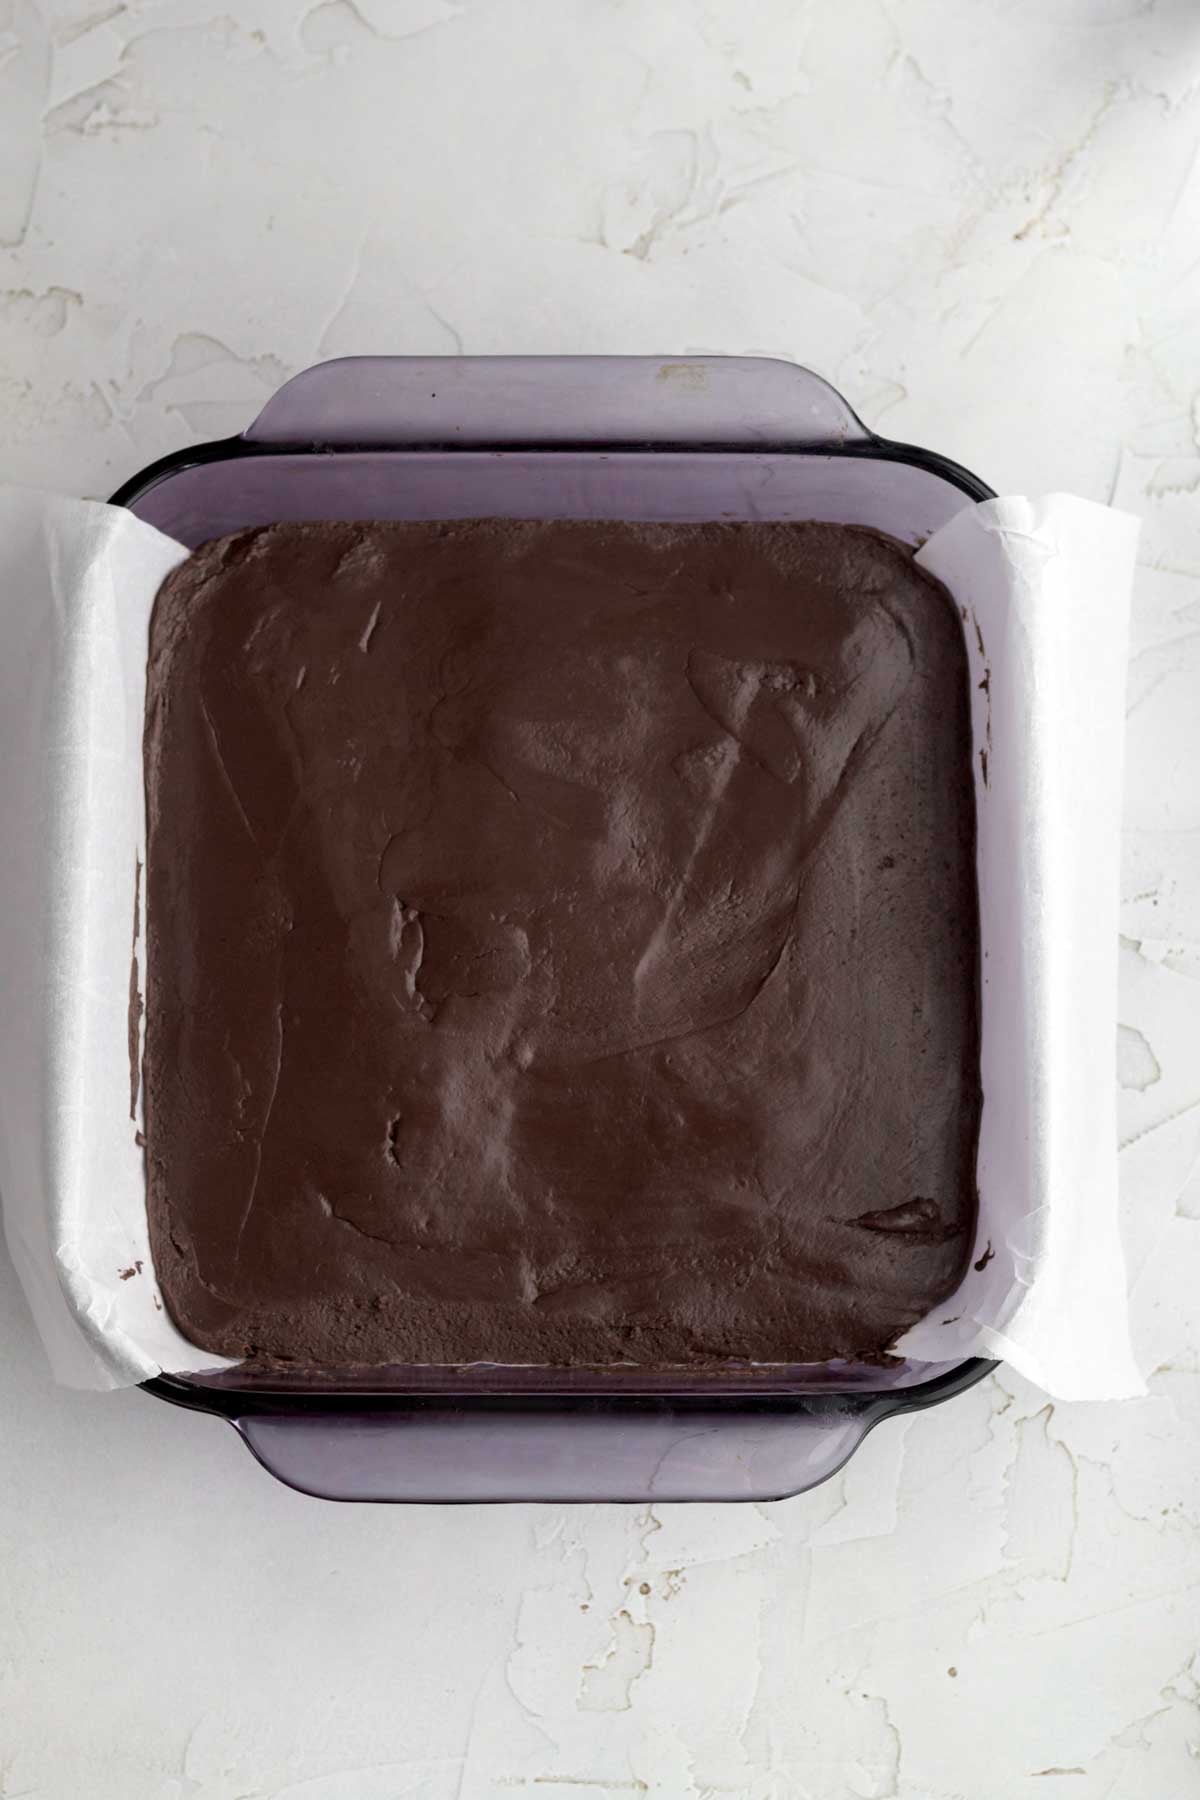
Step 4: Pour into Pan and Chill
Pour the fudge into a lightly greased and lined with parchment paper 8 x 8 pan.
Smooth the top with a butter knife or icing spatula.
Chill in the fridge for at least 30 minutes.

Step 5: Beat Together the Cream Cheese and Confectioners' Sugar
In a large bowl of an electric mixer or using a hand held mixer, beat the cream cheese and confectioners' sugar together until smooth and creamy. About 1-2 minutes.
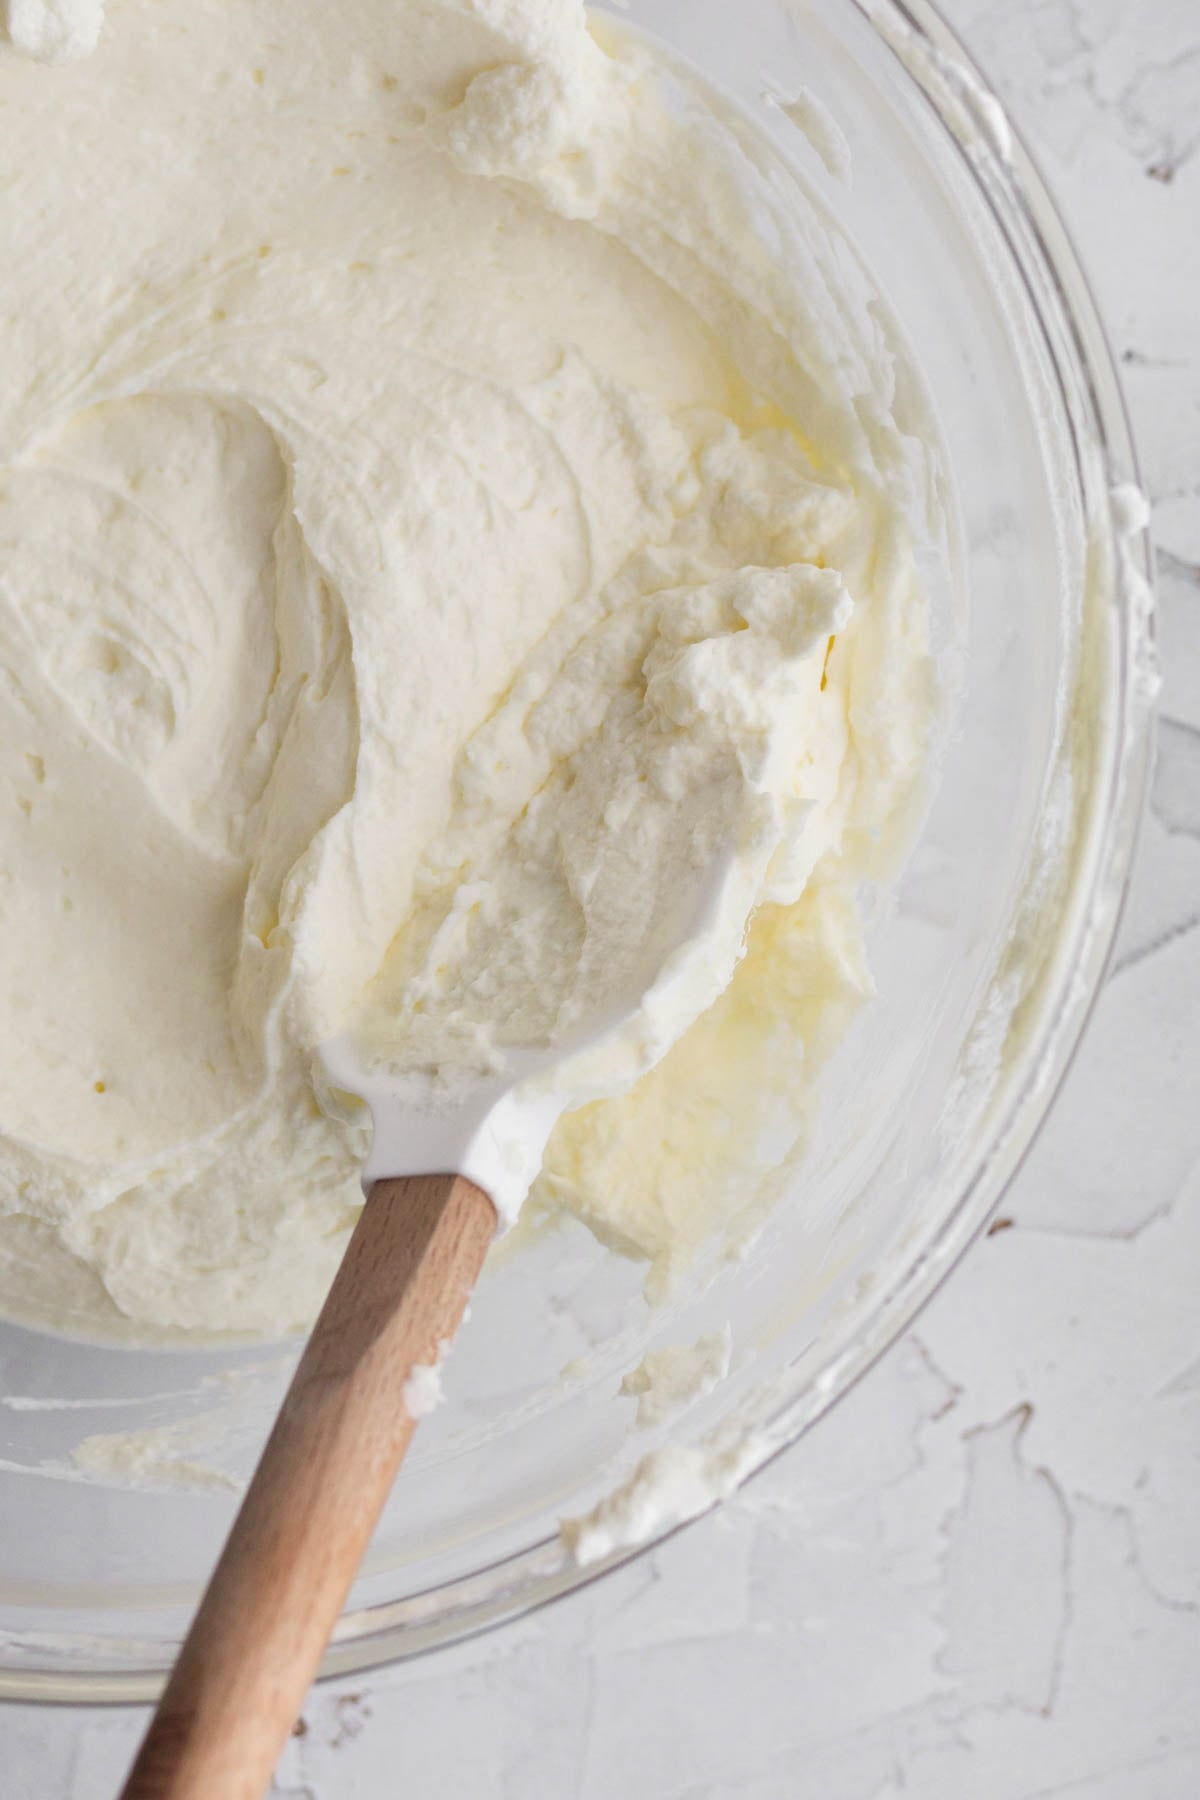
Step 6: Whip the Heavy Cream and Add the Cream Cheese Mixture
In a separate large bowl, using a whisk or a hand mixer, beat the heavy cream until soft peaks form.
Using a spatula, add in the cream cheese mixture.
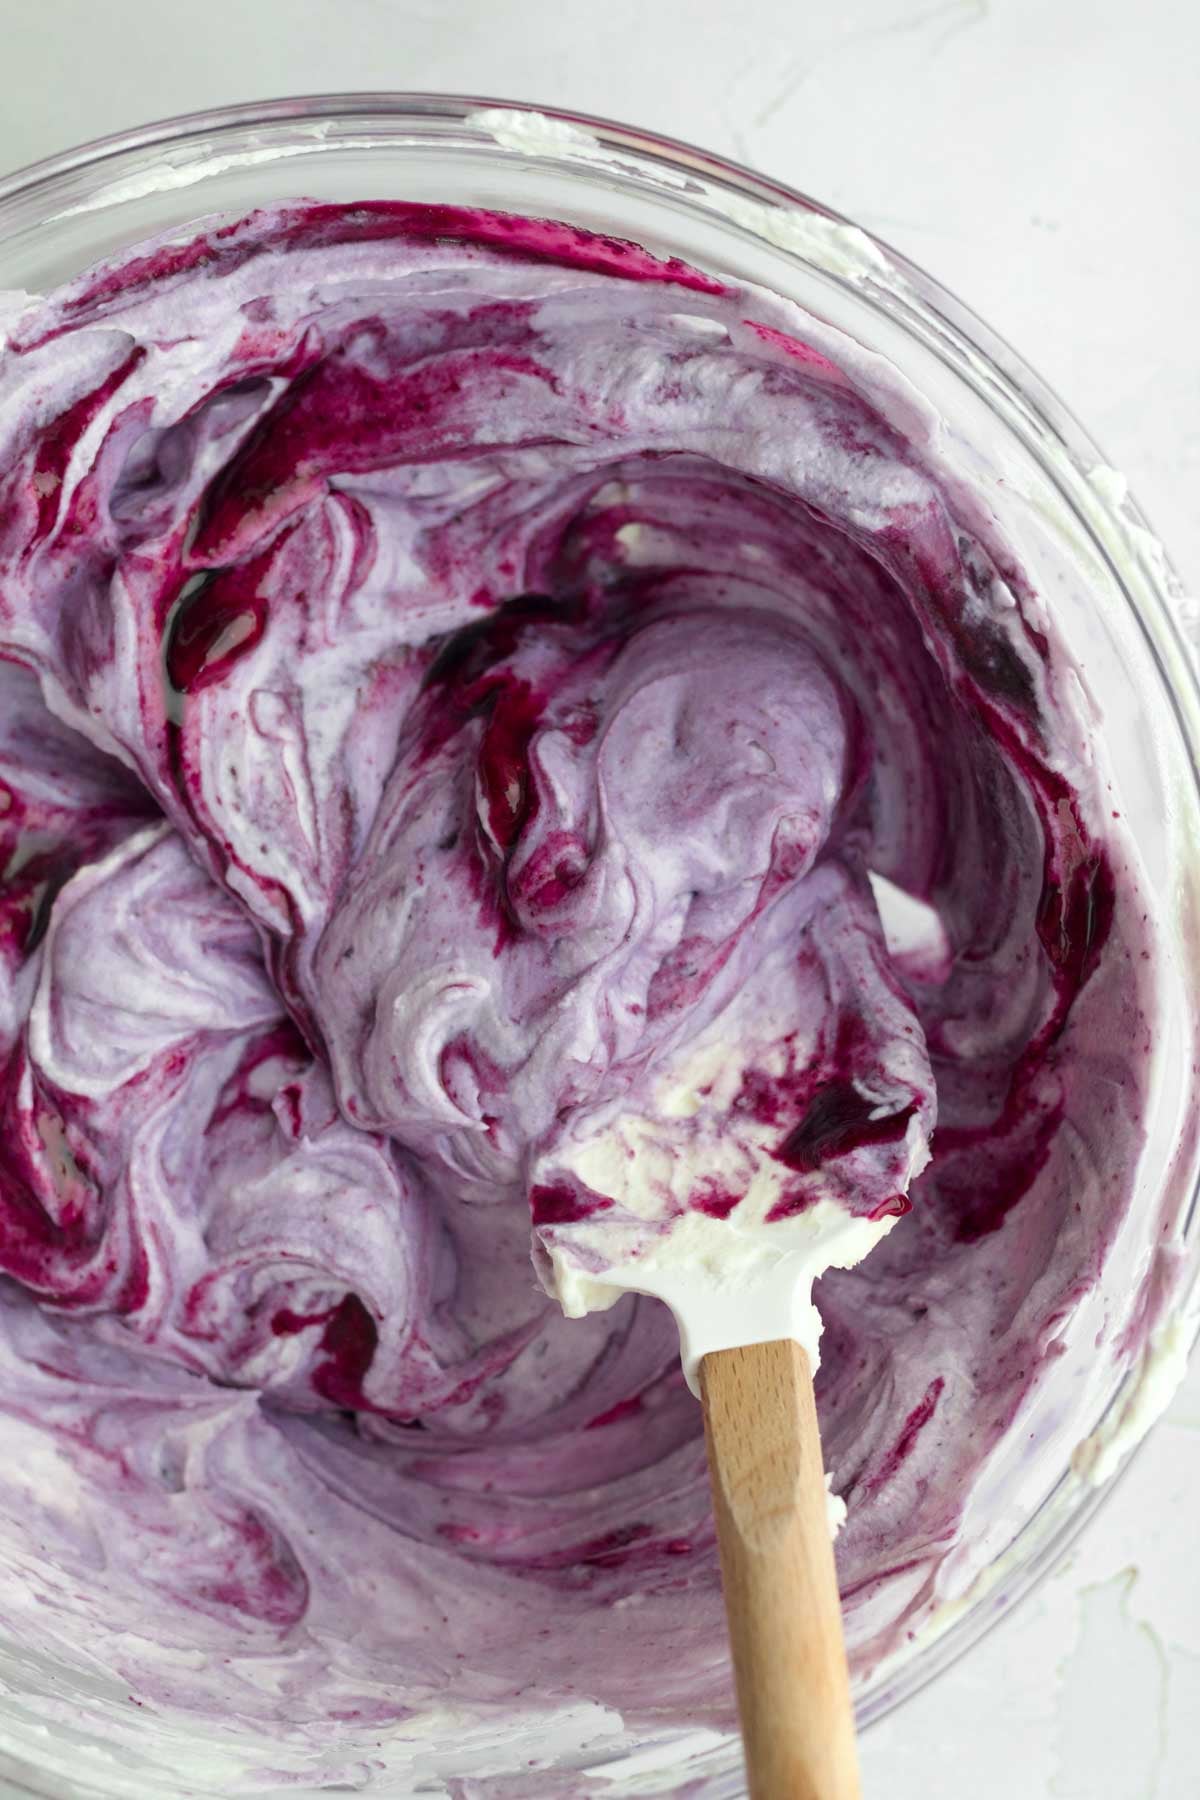
Step 7: Add the Strained Blueberries
Using a spatula gently fold in 4 tablespoons of the strained blueberries.
If you want some darker purple streaks mixed in with the light purple, don’t mix it all the way.
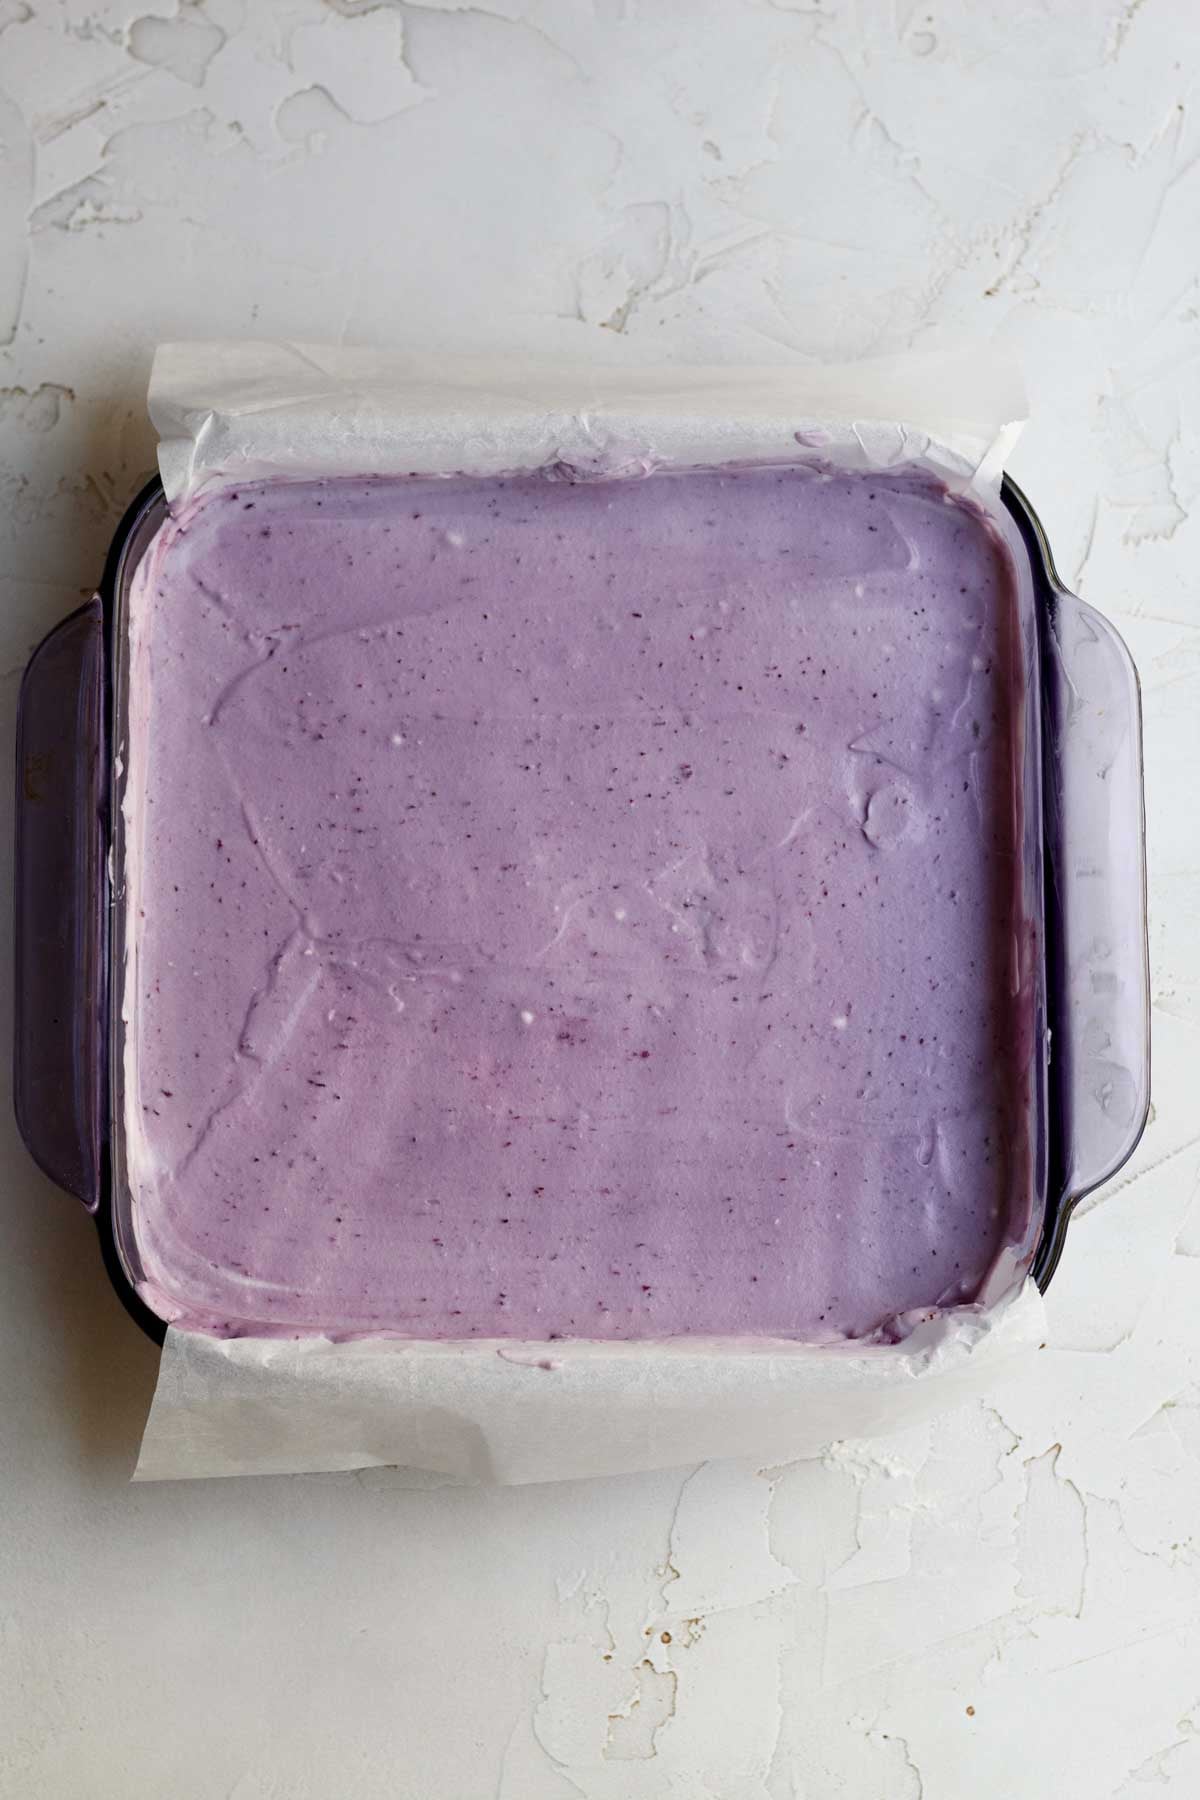
Step 8: Add the Cheesecake Layer
Using a spatula, add the blueberry cheesecake layer on top of the chilled fudge bars.
Chill in the fridge for at least 5 hours.
Step 4: Slice and Serve
Cut the hardened fudge into squares or rectangles. Drizzle on any remaining blueberry liquid if desired and enjoy!
Expert Baking Tips
- Heat Slowly- I know many people are able to make fudge in the microwave by sticking the entire bowl in for a minute at a time but I find that the chocolate seizes that way. I like to heat mine in 20 second increments, stirring after each time until melted and incorporated.
- Use Cold Cream Cheese- You don’t want to use softened because it will make the cheesecake layer more difficult to set. Beat the cold cream cheese until it is smooth; about 1-2 minutes.
Recipe FAQs
You can cut the fudge into squares or rectangles but I prefer it into 16 squares.
No. The two are not interchangeable; you need to use the sweetened condensed. Evaporated milk is very thin and not thick and gooey and the fudge would not set properly.
Yes. If you try this recipe with a 9 inch pan, the fudge will be too thin.
Yes, I do. This is not sponsored but the brand silk makes one. It says it’s gluten free but I don’t see a certified label, so I would look into that if you have celiac.
As for allergens, it does contain coconut, sunflower and faba bean protein, last time I checked the label. Please always double check ingredients. And please note I cannot test this in my home as the ingredients contain our allergens.
Storing: Transfer fudge to an airtight container and store in the fridge for up to 2 days.
Freezing: Once completely cool wrap the entire 8x8 inch square in plastic wrap and then pop in a zip top bag or put into a freezer safe airtight container. To thaw, place the fudge in the fridge the night before you need it.

More No Bake Recipes You'll Love

Did you try this recipe? Please leave me a ⭐ review below!
Don’t forget to tag me on Instagram @laneandgreyfare and follow along on Pinterest, Facebook and YouTube! Enjoy!!!
📖 Recipe
Blueberry Fudge Bars
Ingredients
- 1 cup blueberries , fresh or frozen
- ½ cup granulated sugar
- 1 pinches kosher salt
- 2 ½ cups semi sweet chocolate chips
- 14 ounces sweetened condensed milk (1 can)
- 1 tablespoon unsalted butter or vegan baking stick
- 8 ounces cream cheese
- ½ cup confectioners’ sugar
- ¾ cup heavy cream
Instructions
- Lightly grease an 8x8 inch pan and line with parchment paper, leaving a 1 inch overhang on two sides. Set aside.
- Place the 1 cup blueberries, ½ cup granulated sugar and 1 pinch kosher salt together in a saucepan set over medium heat.
- Cook (stirring frequently and smashing the blueberries with the back of a spoon) for about 5 min until it begins to boil.Once boiling turn the heat to low and let it simmer for an additional 5 minutes, stirring frequently.
- Using an immersion blender or a regular blender, carefully blend the hot blueberries until there are no chunks.
- Then place a mesh colander over a heat proof bowl and pour the mixture through the colander to strain it. Gently press down on the blueberry chunks with the back of a spoon to get all the liquid out.Set aside to cool. About 20 minutes.
- Place the 2 ½ cups chocolate chips, the 14 ounces sweetened condensed milk and the 1 tablespoon of unsalted butter in a large microwave safe bowl.
- Heat in 20 second increments, stirring after each time, until the chocolate, butter and sweetened condensed milk are fully melted and incorporated.
- Once melted, stir in the 1 teaspoon vanilla and 1 pinch of kosher salt until combined.
- Pour the fudge into the greased and lined 8 x 8 pan. Smooth the top with a butter knife or icing spatula.Pop the fudge into the fridge to let it set for at least 30 minutes.
- In a large bowl of an electric mixer or using a hand held mixer, beat the 8 ounces cream cheese and ½ cup confectioners' sugar together until smooth and creamy. About 1-2 minutes.
- In a separate large bowl, using a whisk or a hand mixer, beat the ¾ cup heavy cream until soft peaks form.
- Using a spatula, add in the cream cheese mixture into the whipped cream.
- Using a spatula gently fold in 4 tablespoons of the strained blueberries.If you want some darker purple streaks mixed in with the light purple, don’t mix it all the way.
- Using a spatula, add the blueberry cheesecake layer on top of the chilled fudge layer.Chill in the fridge for at least 5 hours.
- After 5 hours, lift the blueberry fudge bars out of the pan by using the parchment paper overhang. Carefully cut the hardened fudge into squares or rectangles. Drizzle on any remaining blueberry liquid if desired and enjoy!To store, place in an airtight container and keep in the fridge for up to 2 days.
Ronnie H says
My family loves brownies but the blueberries really kicked it up a notch! Great recipe!
Ginny says
I rarely want to turn on my oven in the summer, so these were the perfect dessert for these hot summer days!
Theresa says
Perfect summer treat!
Donna Dipaola says
I never baked until I started following you. You have such great recipes and a lot of them are not intimating to try. So far everything I have made tasted great. Keep it up! Thanks!
Terry C says
What a great idea. I love the blueberry chocolate combo.
john says
I think these bars made the best parting gift for my party! Thanks!
Steve says
Blueberry and chocolate? Delicious! And they look great, too!
Amanda says
We love chocolate and blueberries and this was scrumptious!!