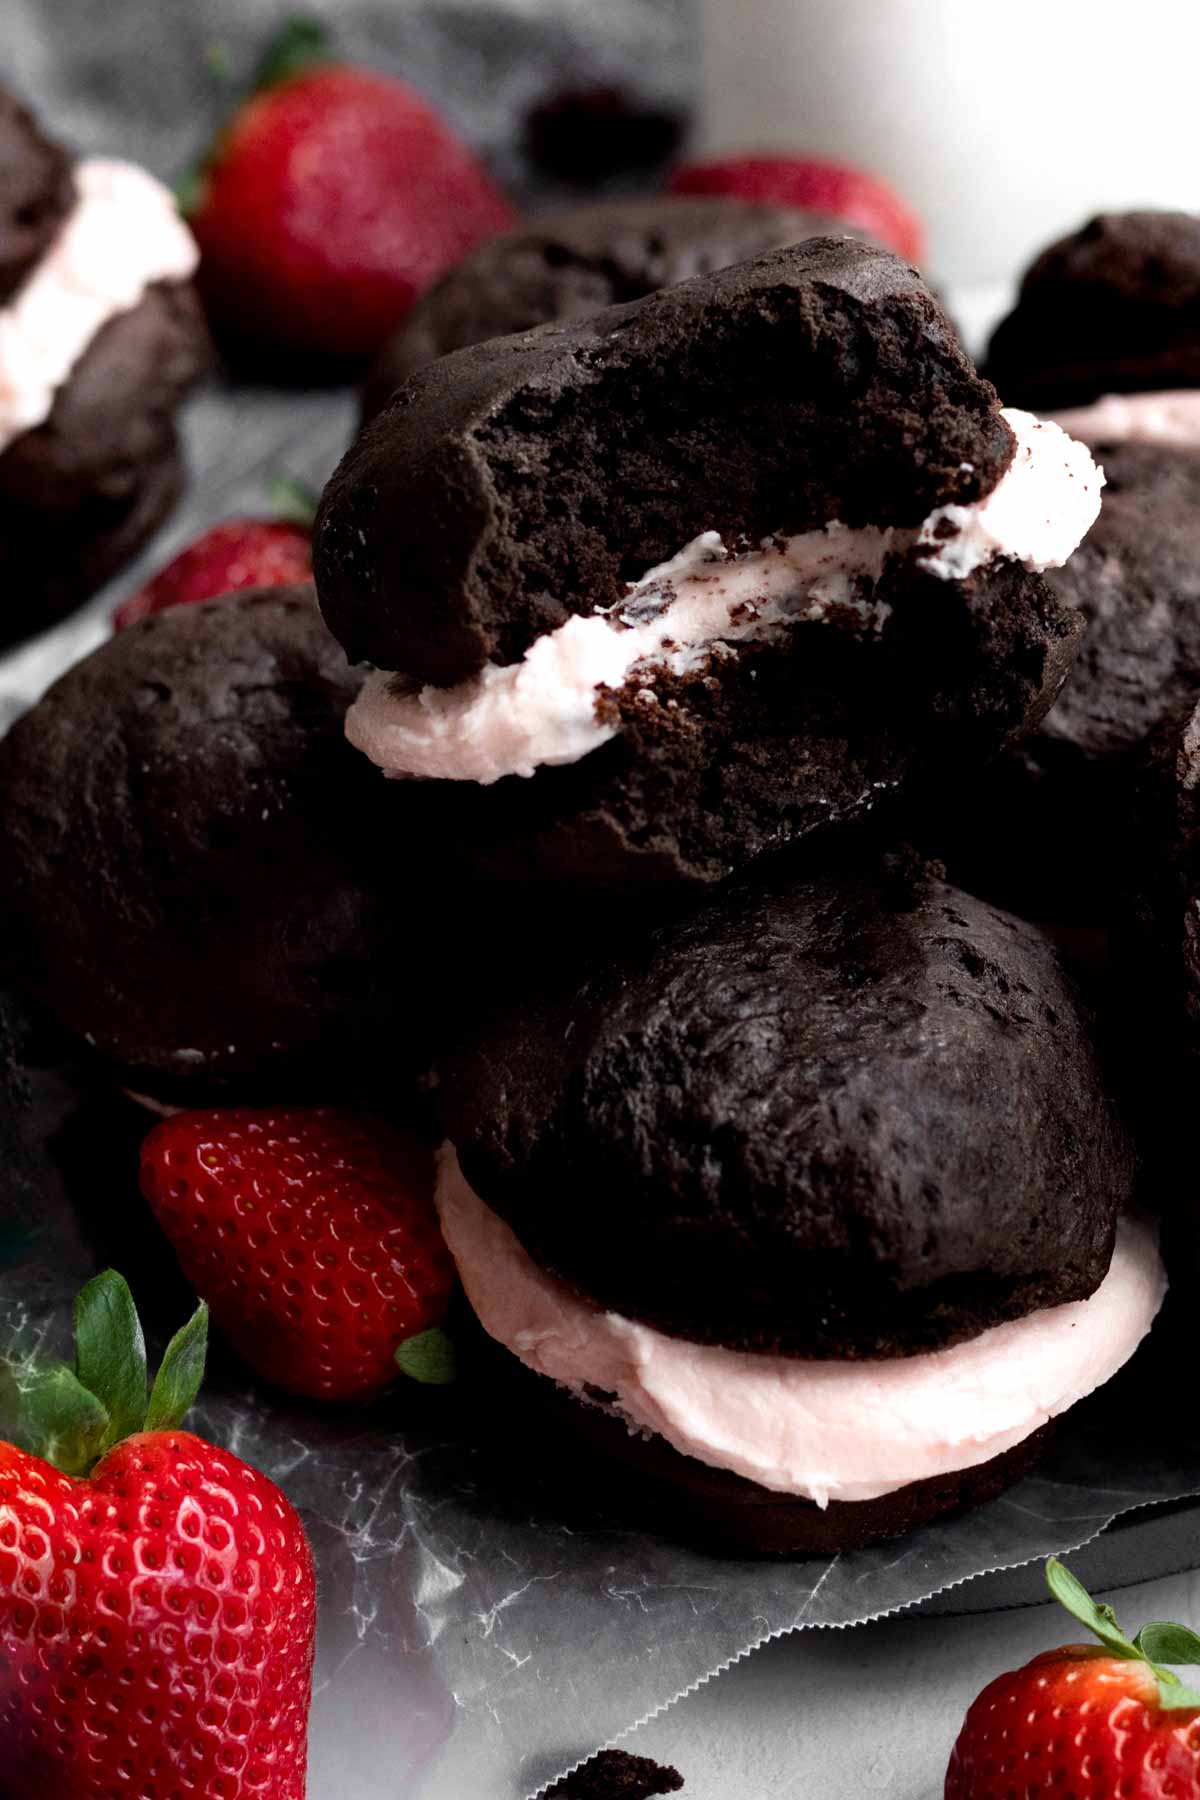
I’m all for amazing flavor combinations and these Chocolate Strawberry Whoopie Pies are a match made in heaven! The rich little chocolate cakes combined with the sweet vegan strawberry buttercream frosting create a marriage of flavors that dance on your tongue! Best yet, they’re gluten free, nut free, egg free and easily vegan!
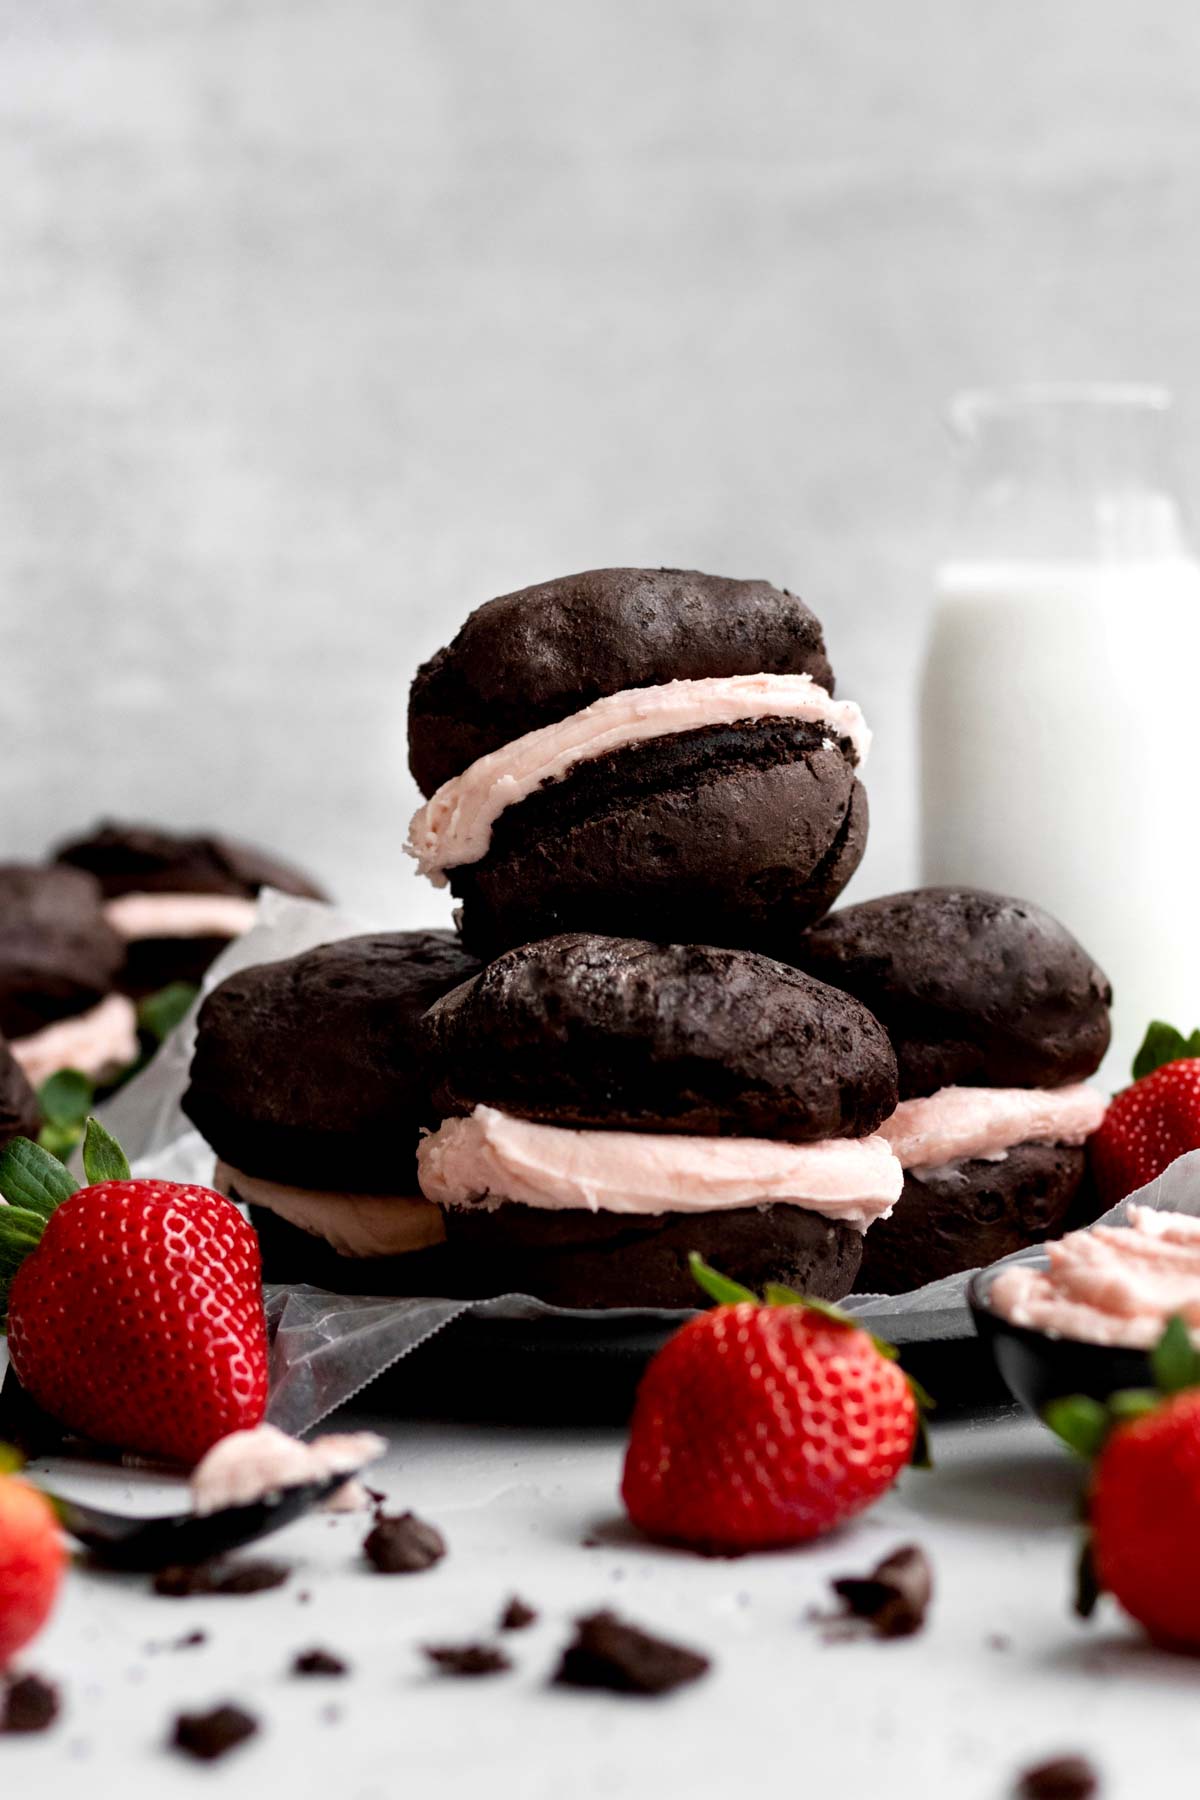
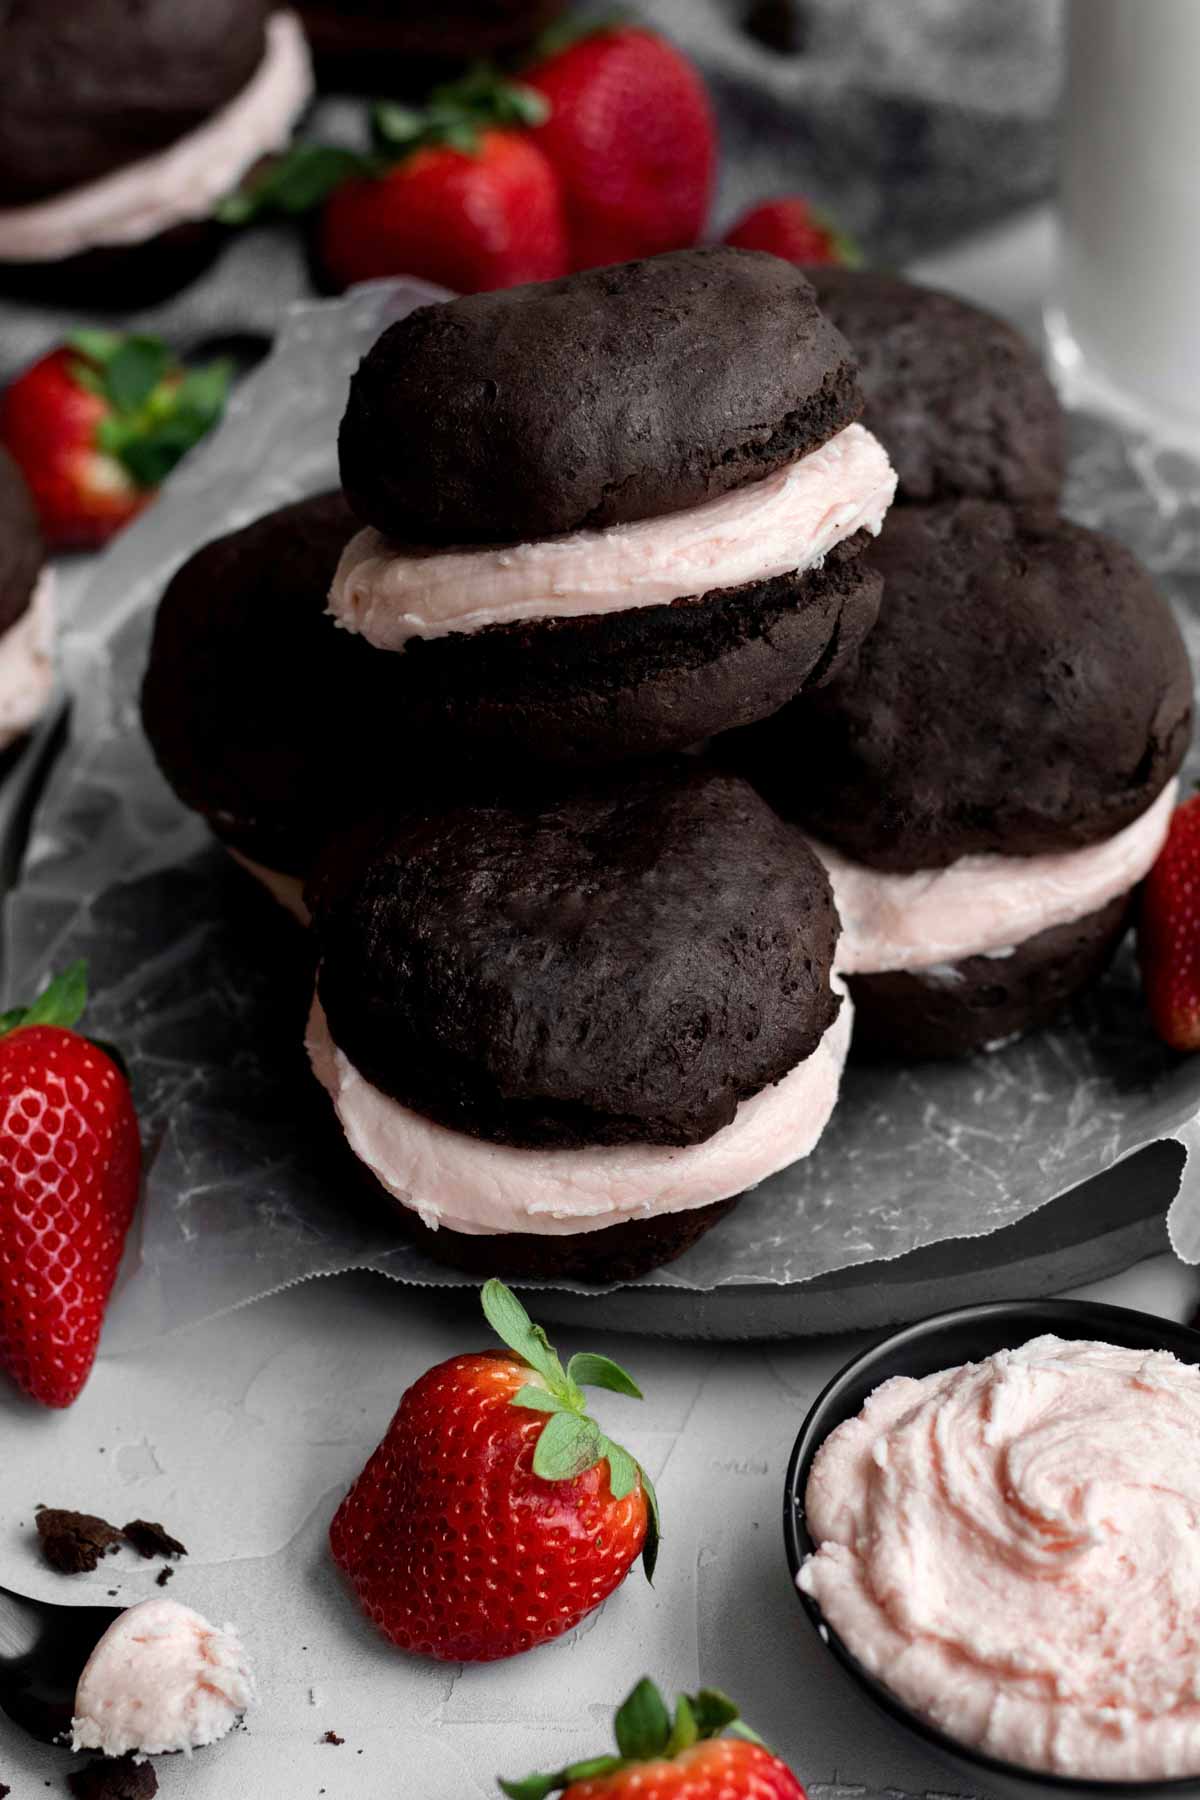
These chocolate whoopie pies are essentially mini chocolate cake sandwiches!
The cakes are rich and delicious but the richness is offset by the sweet strawberry frosting in the center! It's the same frosting we use in our Strawberry Filled Cupcakes and in our Strawberry Red Velvet Cake and it's oh so delicious!
Strawberry frosting isn’t your thing?
You can use raspberry buttercream, vanilla buttercream (you can find it in my vegan vanilla cake) or of course you can even use chocolate buttercream (you can find that recipe in my wacky cake cupcakes)!
And you can even use my wow butter buttercream which you can find in my chocolate wow butter cake! It tastes like peanut butter with zero nuts!
All options will be phenomenal…you can trust me on that!
Jump to:
Reasons To Love These Whoopie Pies
- Allergy Friendly- These whoopie pies are gluten free, nut free, egg free and can easily be dairy free (vegan).
- Soft & Fluffy- The chocolate part of these are little soft cakes.
- Strawberry Buttercream- This is a homemade buttercream made from fresh strawberries!
Ingredient Notes
- Gluten Free Flour- If you also have nut allergies, make sure to use a brand that’s made in a nut free facility. I really love to use this one because it’s nut safe but it does contain dairy.
- Cocoa Powders- I like to use half dutch or natural unsweetened and half dark. If you only have one, use dutch or natural unsweetened.
- Baking Powder and Baking Soda- We need both to get that nice height.
- Kosher Salt- Brings all the flavors out.
- Unsalted Butter or Vegan Baking Sticks- Use ½ cup (1 stick) softened. Don’t use melted; the cakes will spread way too much instead of rise.
- Light Brown Sugar- Using light brown vs granulated adds a little extra moisture into the cakes.
- Cornstarch and Water- These whoopie pies have no egg so this mixture helps bind everything together.
- Pure Vanilla Extract- Make sure the vanilla you use is pure and gf.
- Milk of Choice- If there are no dairy allergies or if you’re not vegan, you can use regular whole milk. For non dairy, use a non dairy milk of your choosing.
- White Vinegar- We mix this into our milk. It helps everything rise and is our homemade buttermilk.
See my recipe card below for a complete list of the ingredients with measurements.
Substitutions and Variations
How to Make these Vegan
- Use a gluten free flour that’s free from dairy.
- Make sure to use vegan baking sticks instead of butter.
- Only use a non dairy milk of choice.
- Make a vegan buttercream for the filling.
This recipe has not been tested with these substitutions and/or variations due to celiac disease and food allergies. If you change any of the ingredients, please let us know how the recipe turned out in the comments below!
How to Make Chocolate Strawberry Whoopie Pies
Here are the step by step instructions to make these whoopie pies!
Step 1: Beat the Butter/Vegan Baking Stick and Sugar
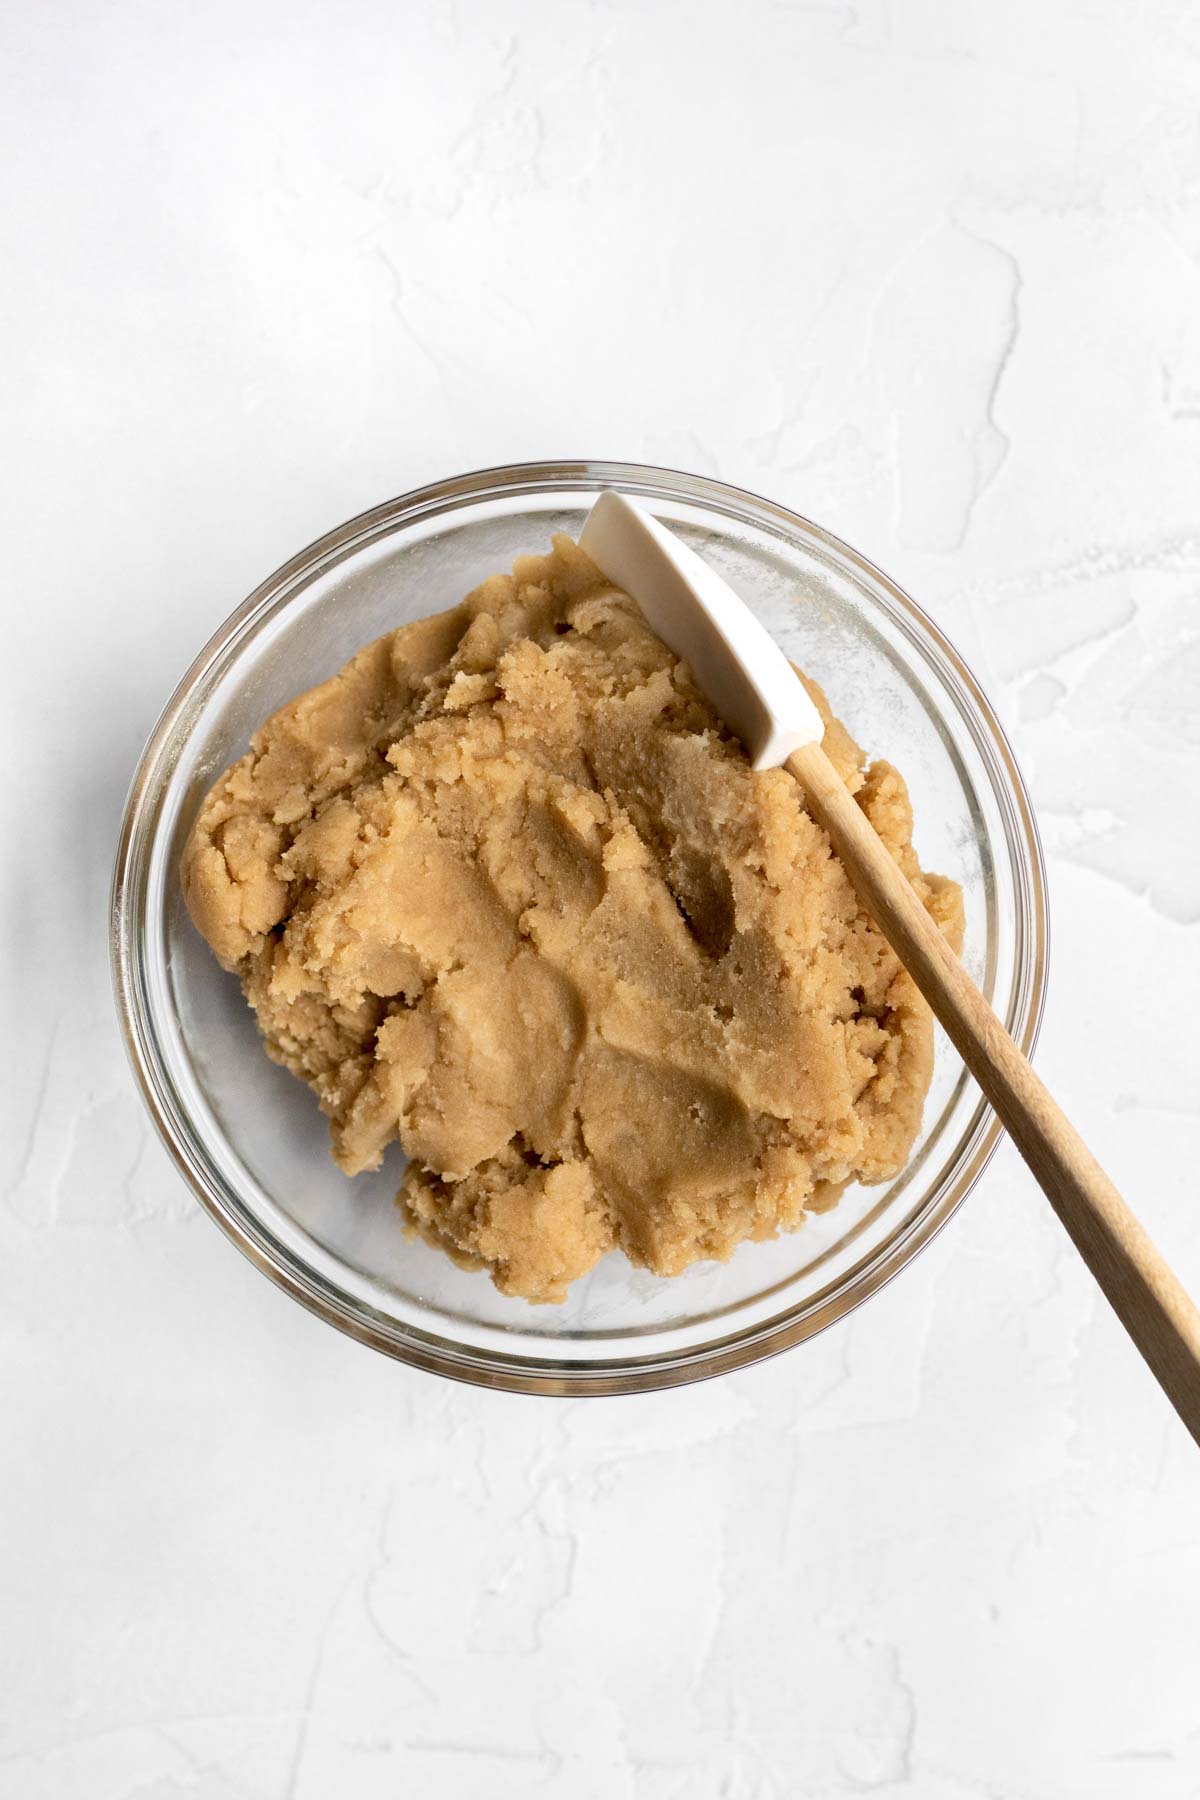
In a large bowl of an electric mixer fitted with the paddle attachment, beat the butter or vegan baking stick and the light brown sugar until it is soft and creamy. About 2-3 minutes.
Step 2: Make the Cornstarch Water
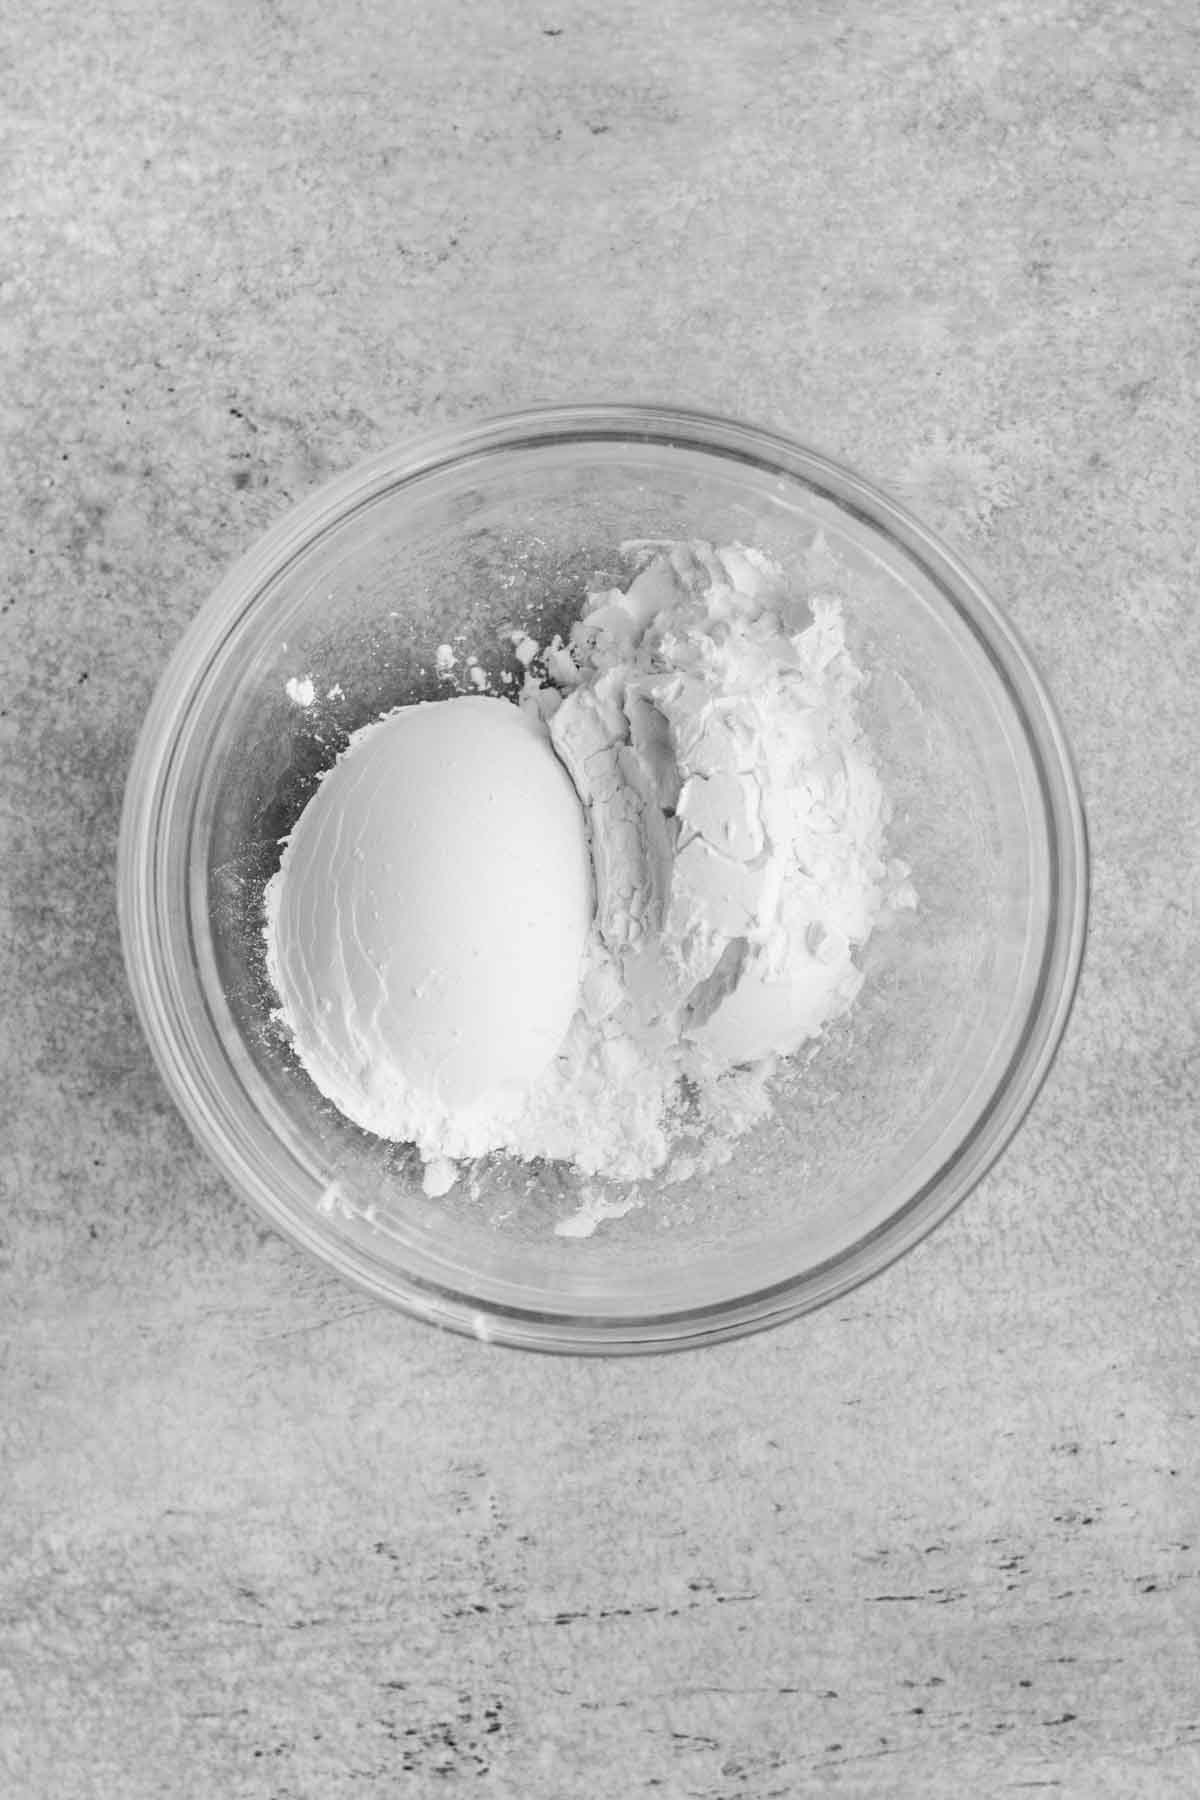
In a small bowl, using a spoon, mix together the cornstarch and water until thin and watery. It will be thick and tacky at first.

Step 3: Mix the Wet Ingredients
Slowly beat the cornstarch water mixture, milk mixture and vanilla into the creamed butter and sugar. It will look chunky. This is normal.
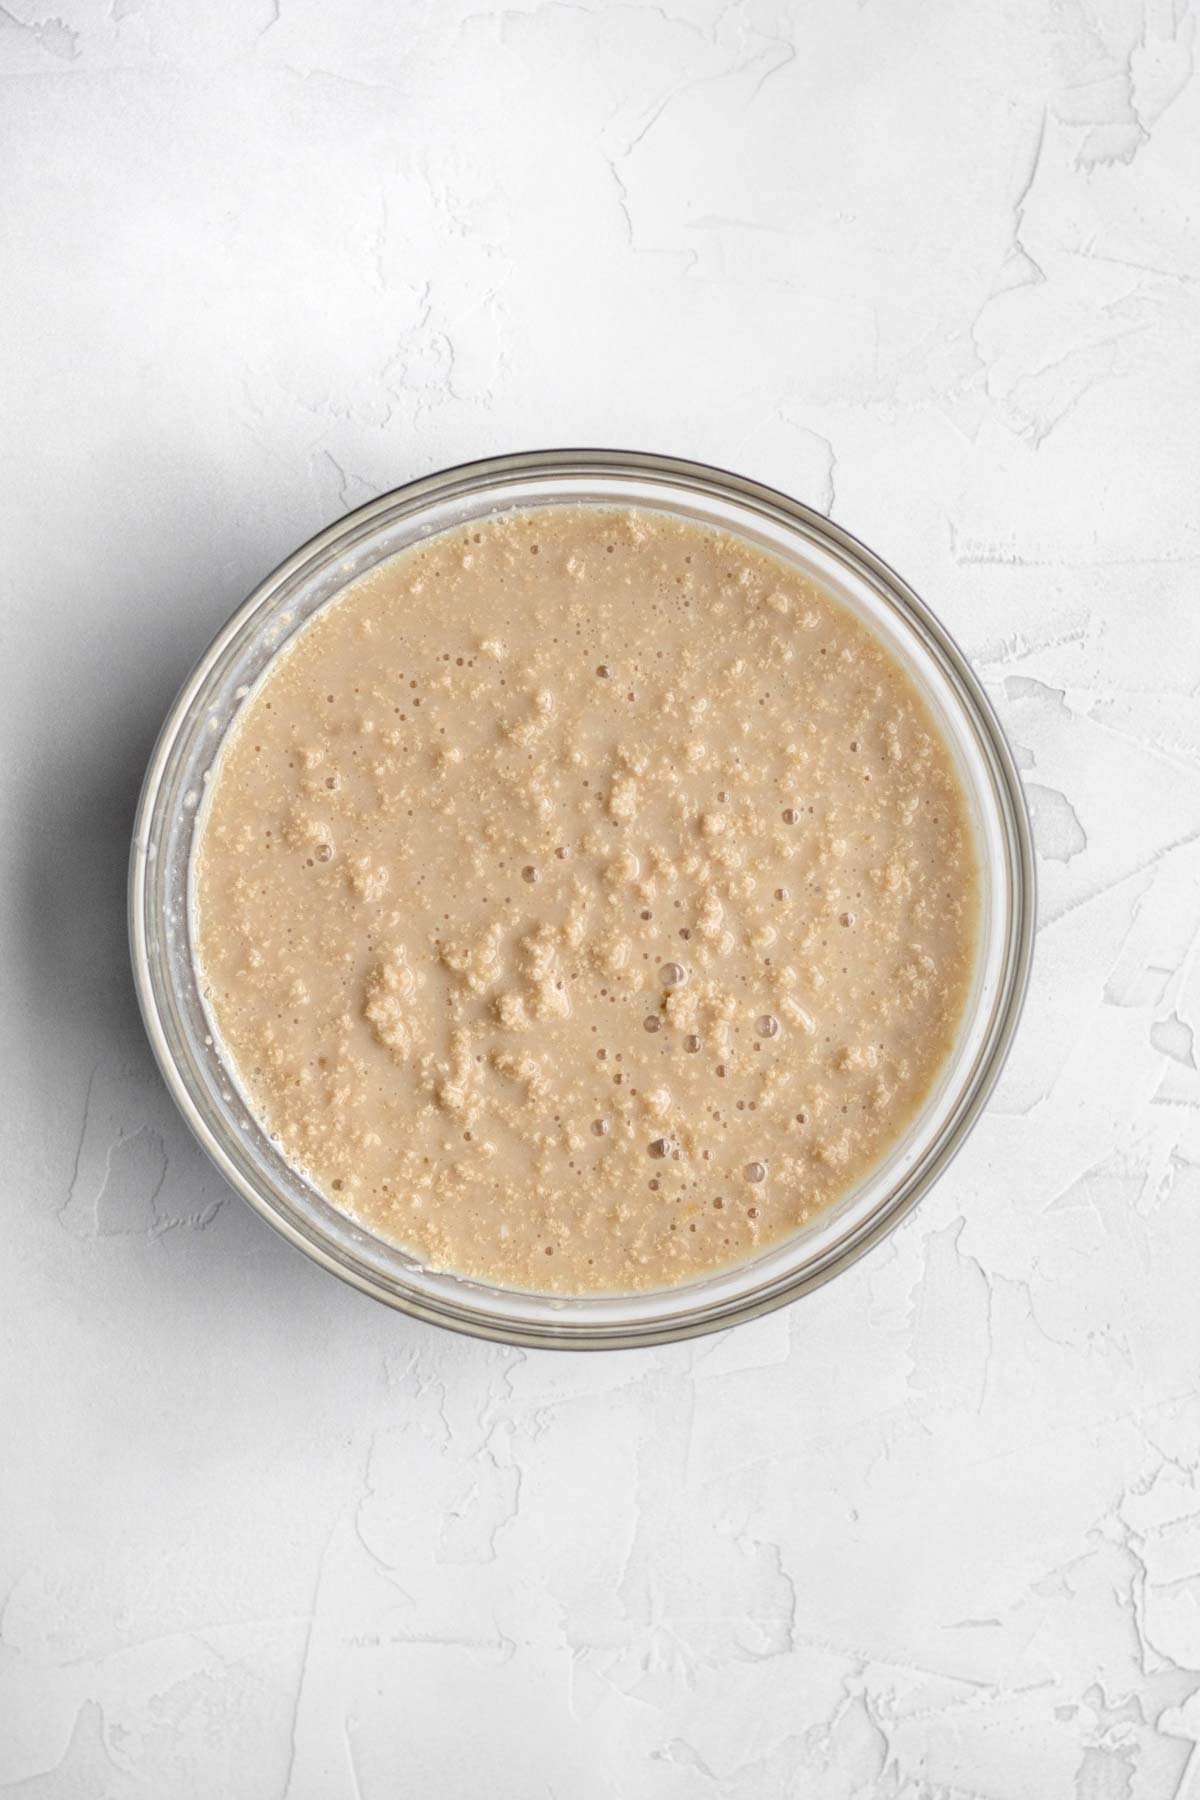
Step 4: Whisk Together the Dry Ingredients
In a large bowl, whisk together all the dry ingredients.


Step 5: Beat in Dry Ingredients
Slowly beat in the dry ingredients, a little at a time, until just combined.
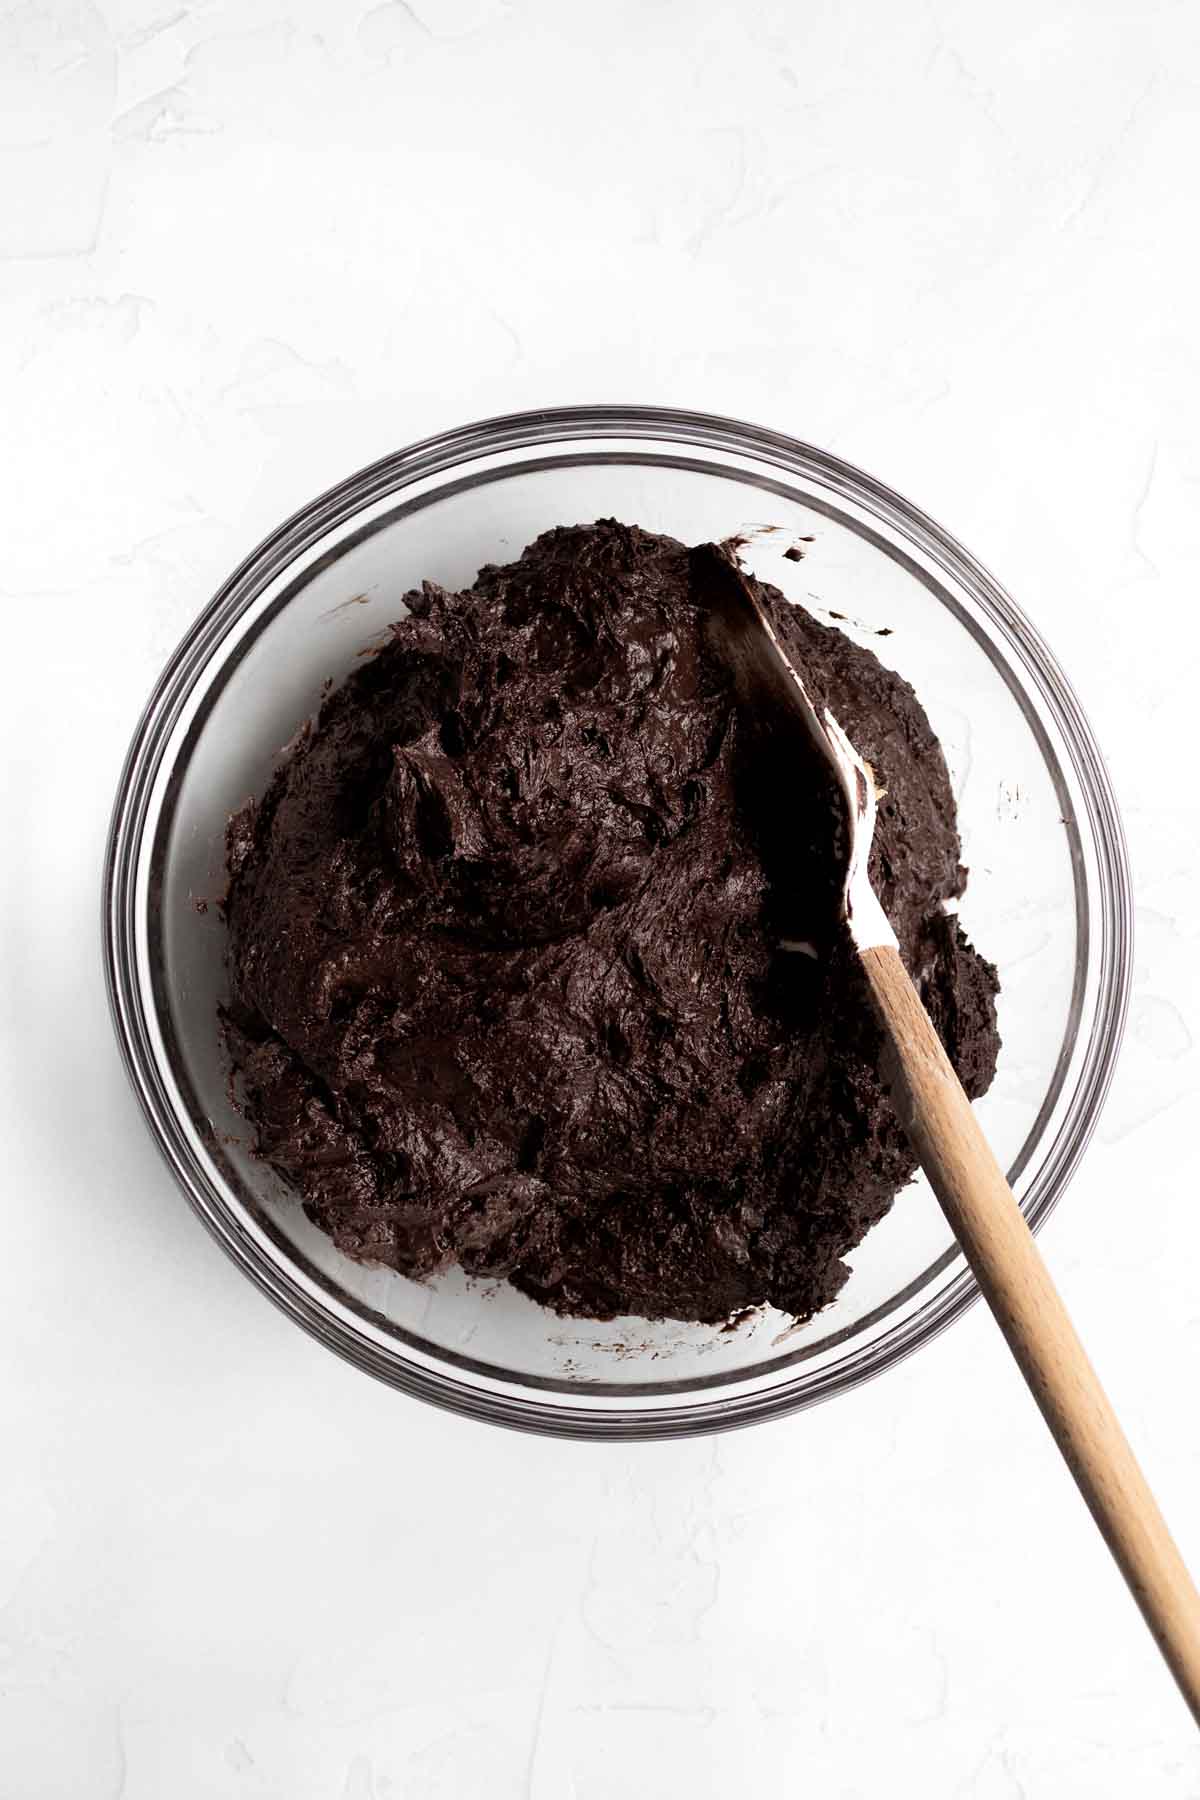
Step 6: Scoop the Batter
Using an ice cream scoop, place scoops of batter onto the lined baking sheet about 2-3 inches apart.
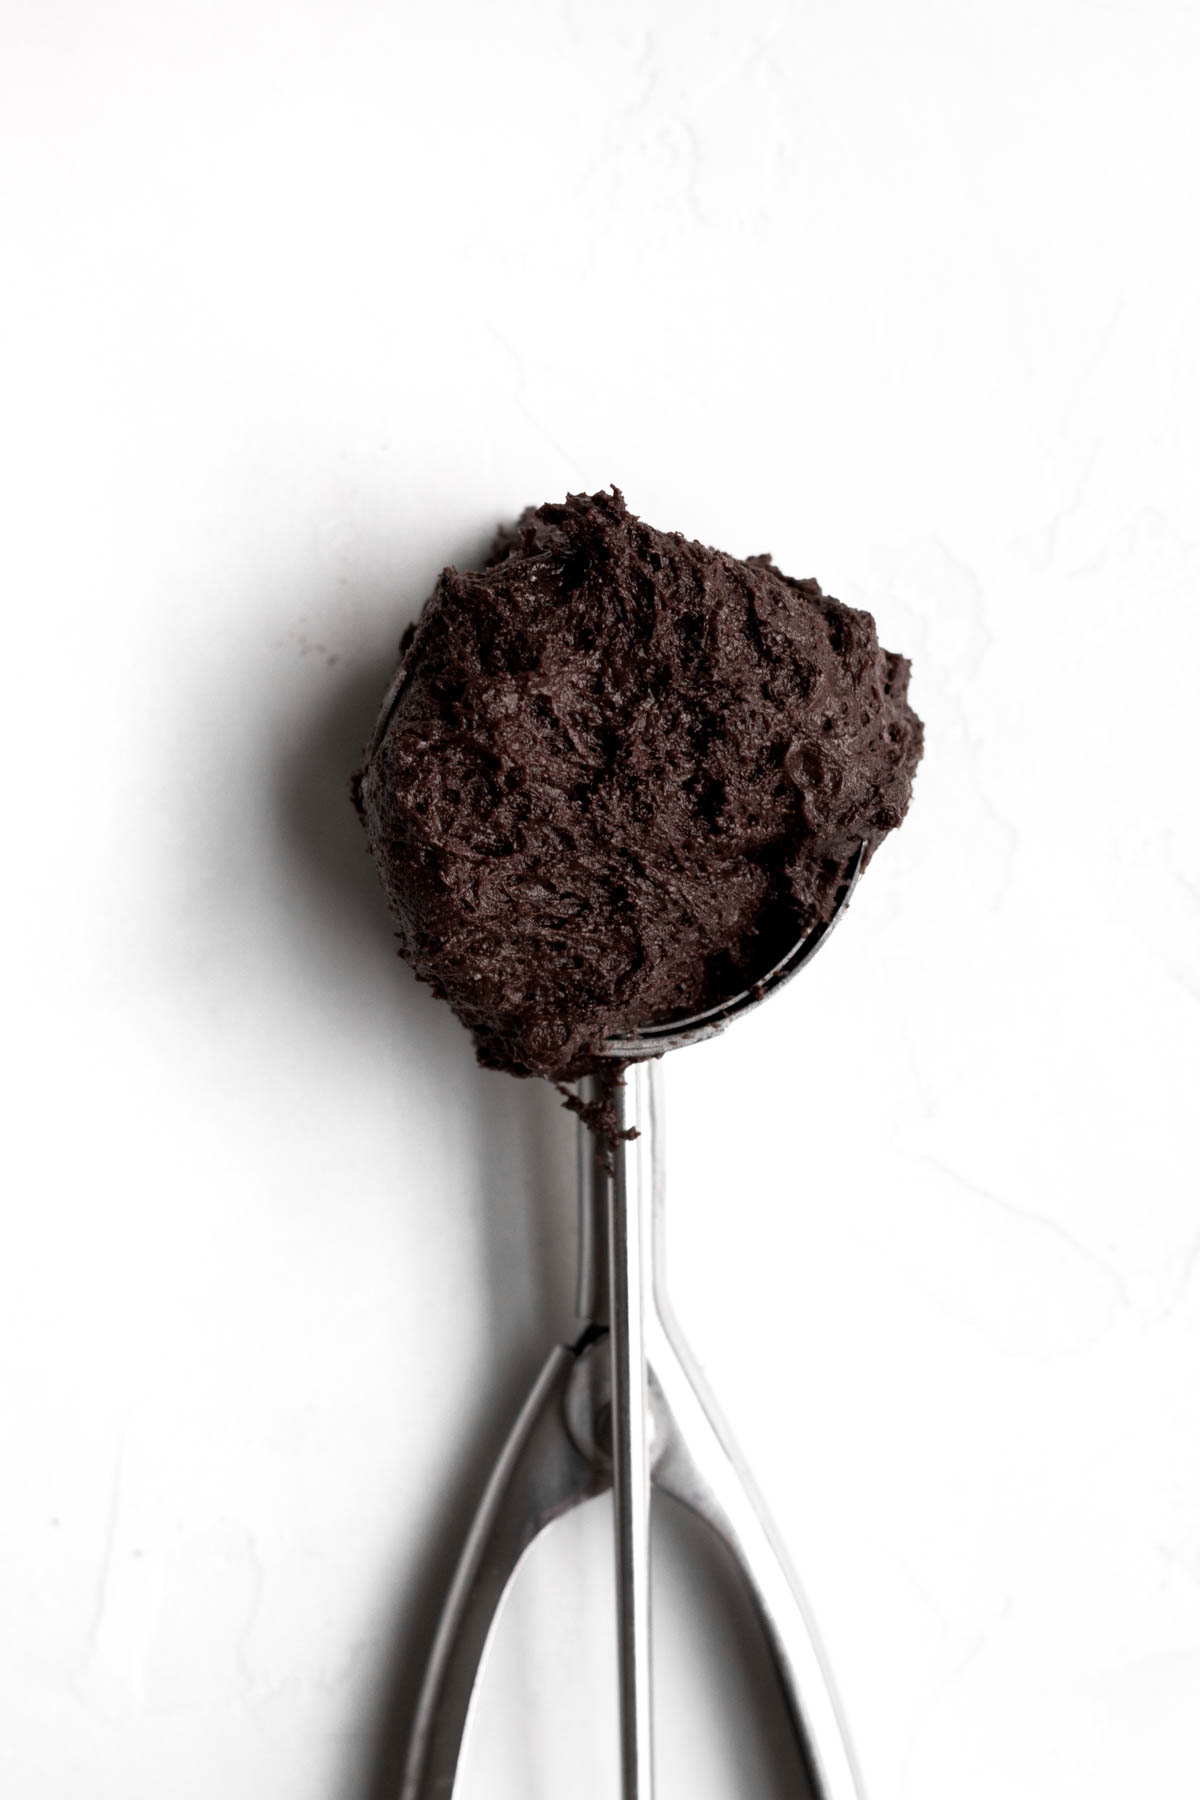
Step 7: Smooth the Batter
Using slightly wet fingers, gently press down on the batter to make domes instead of balls.
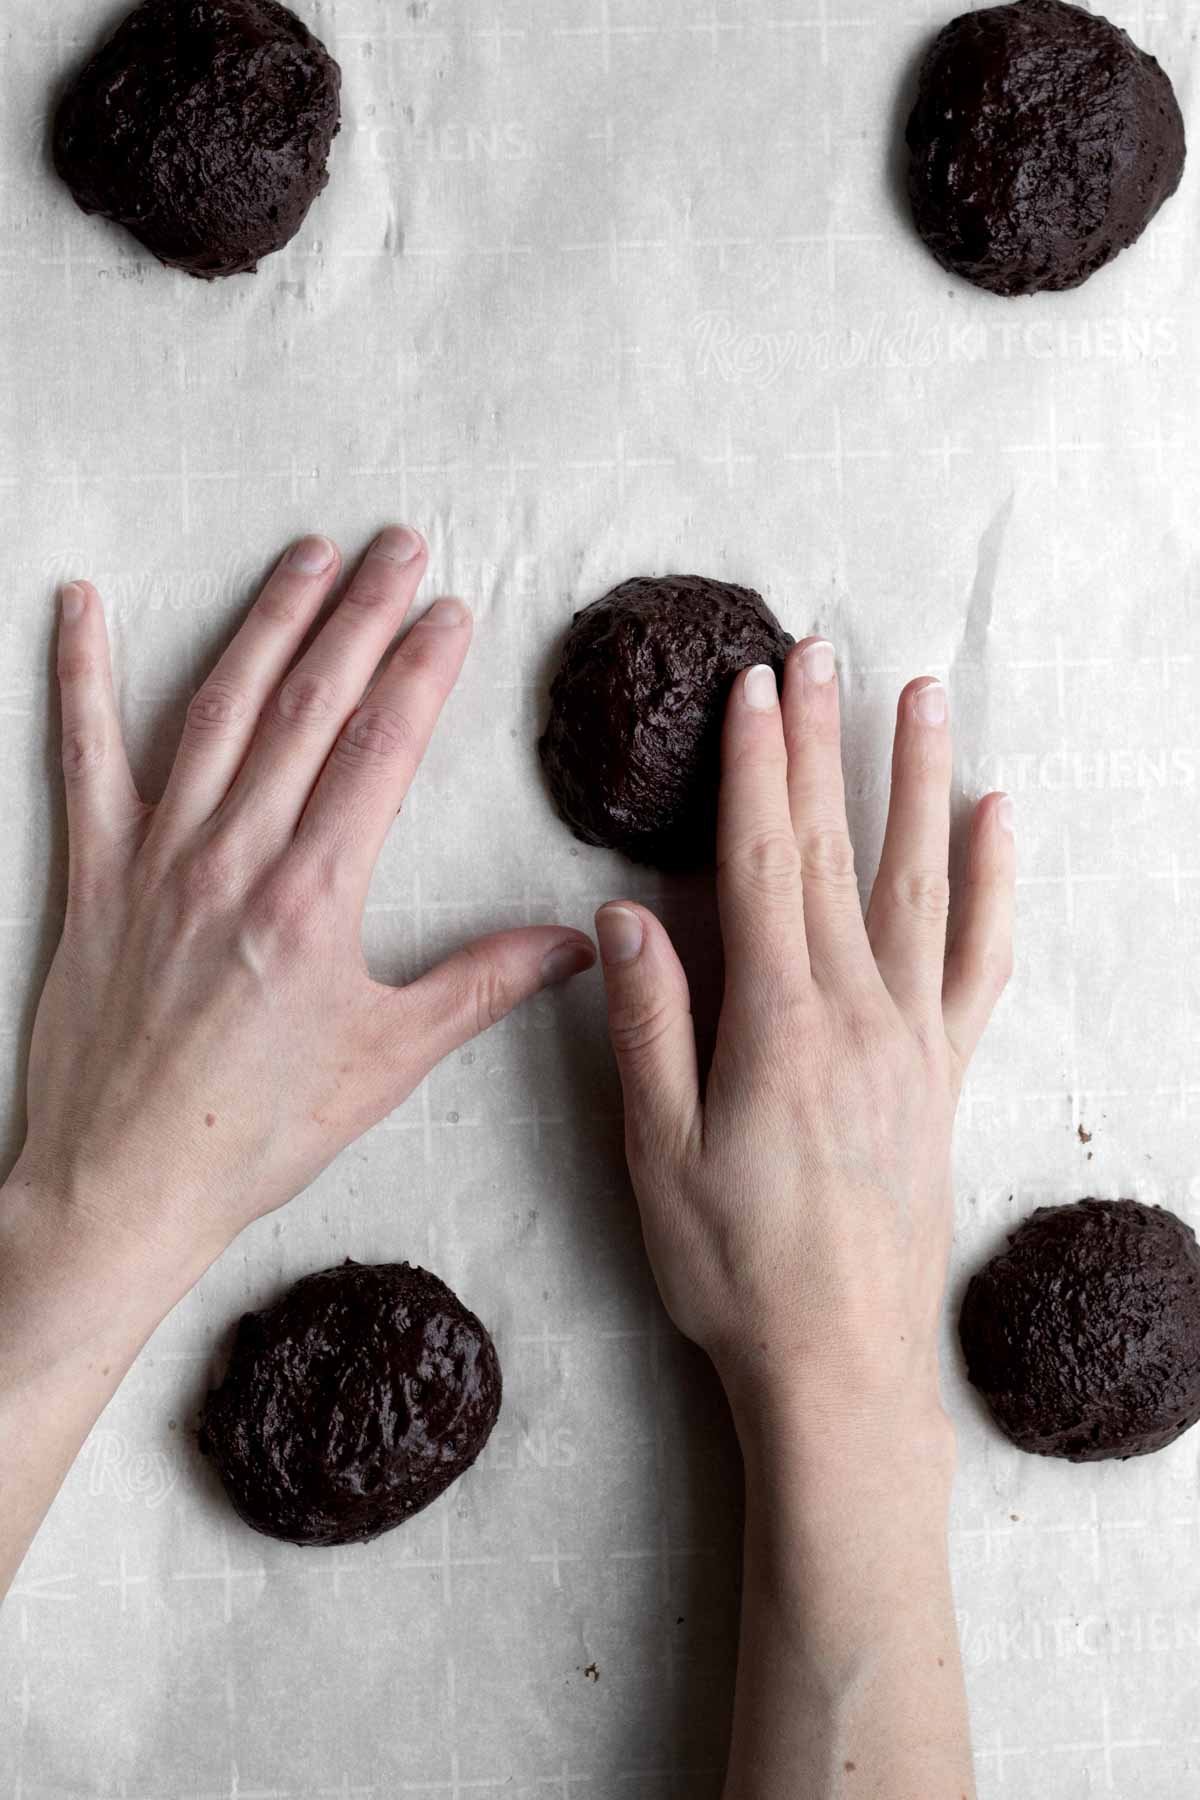
Step 8: Bake the Whoopie Pies
Bake the whoopie pies at 400 degrees Fahrenheit for 12-13 minutes until risen and slightly springy when carefully touched.
Step 9: Reshape if Needed
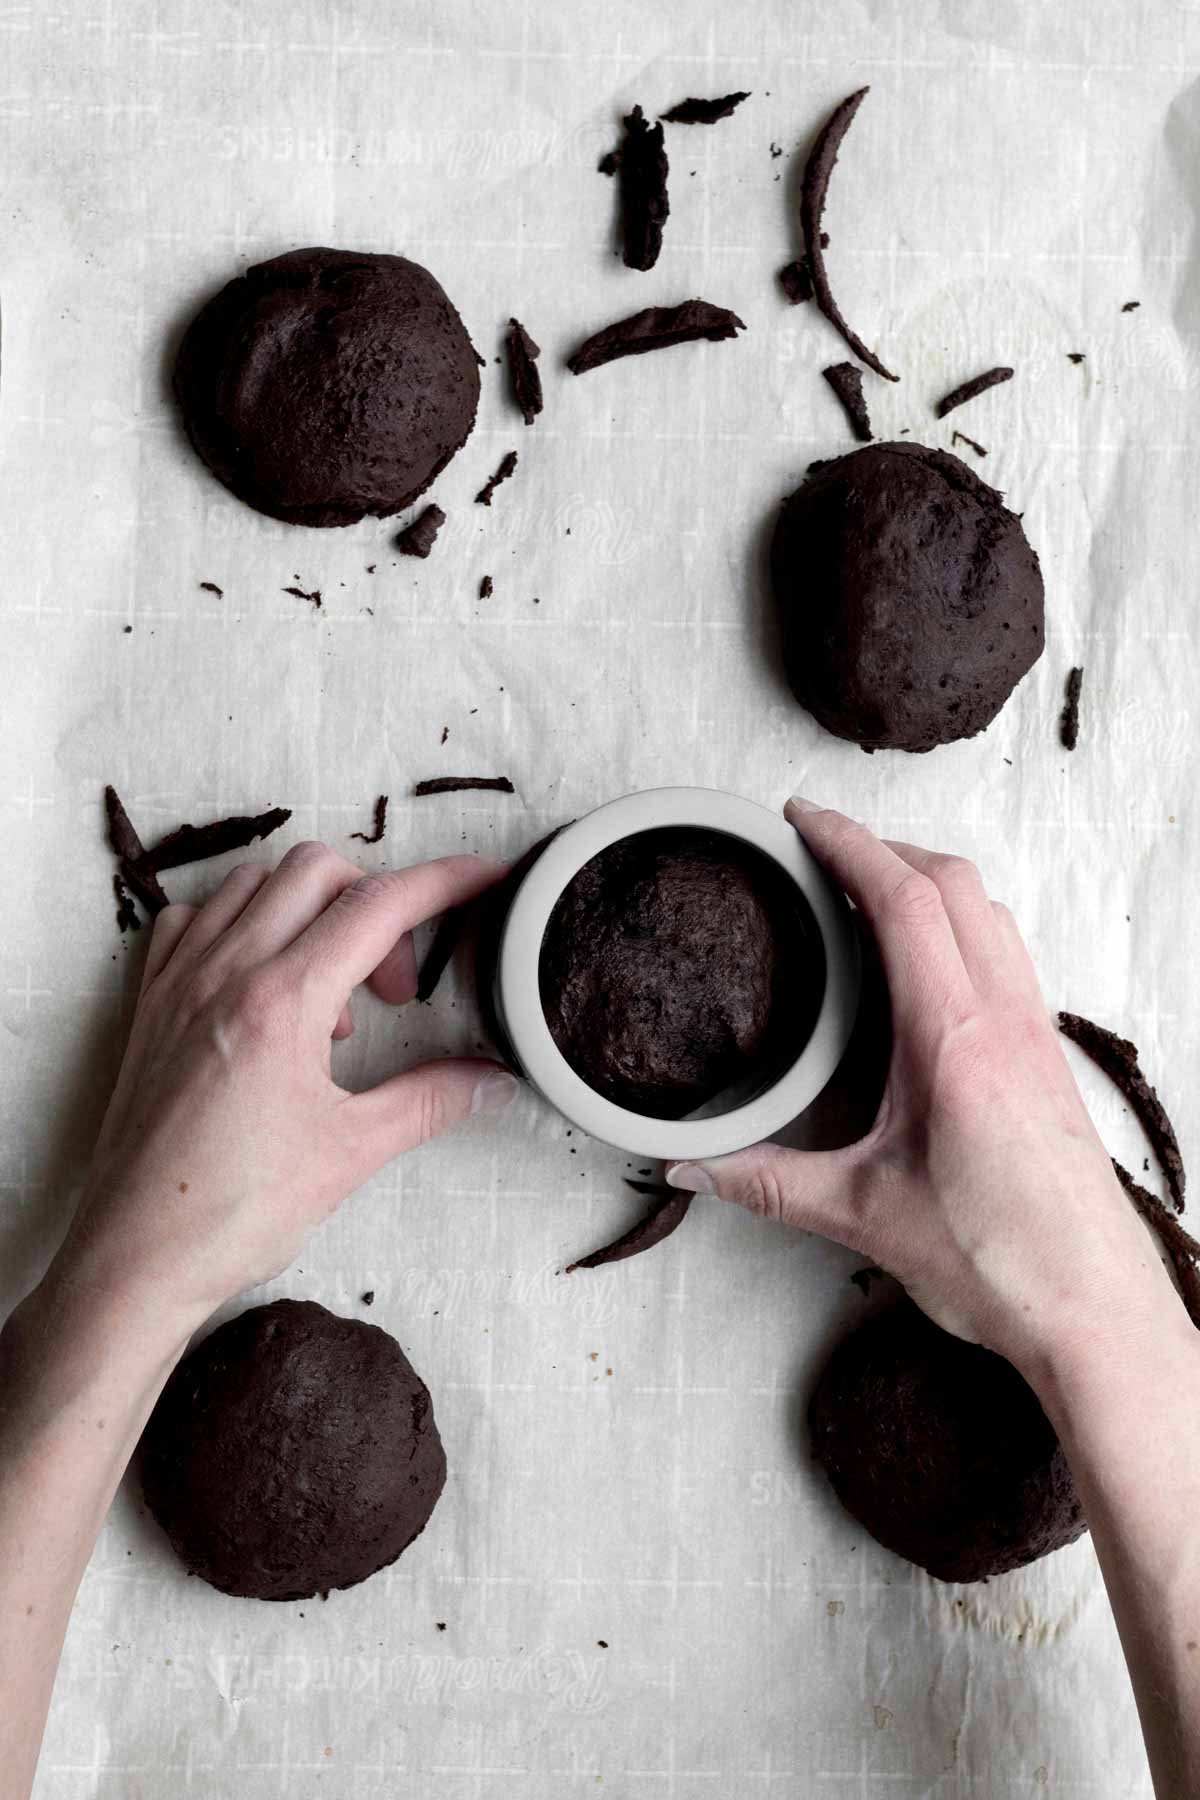
If they’re not perfectly round, use a round cookie cutter to trim off any misshapen parts.
Step 10: Make the Frosting
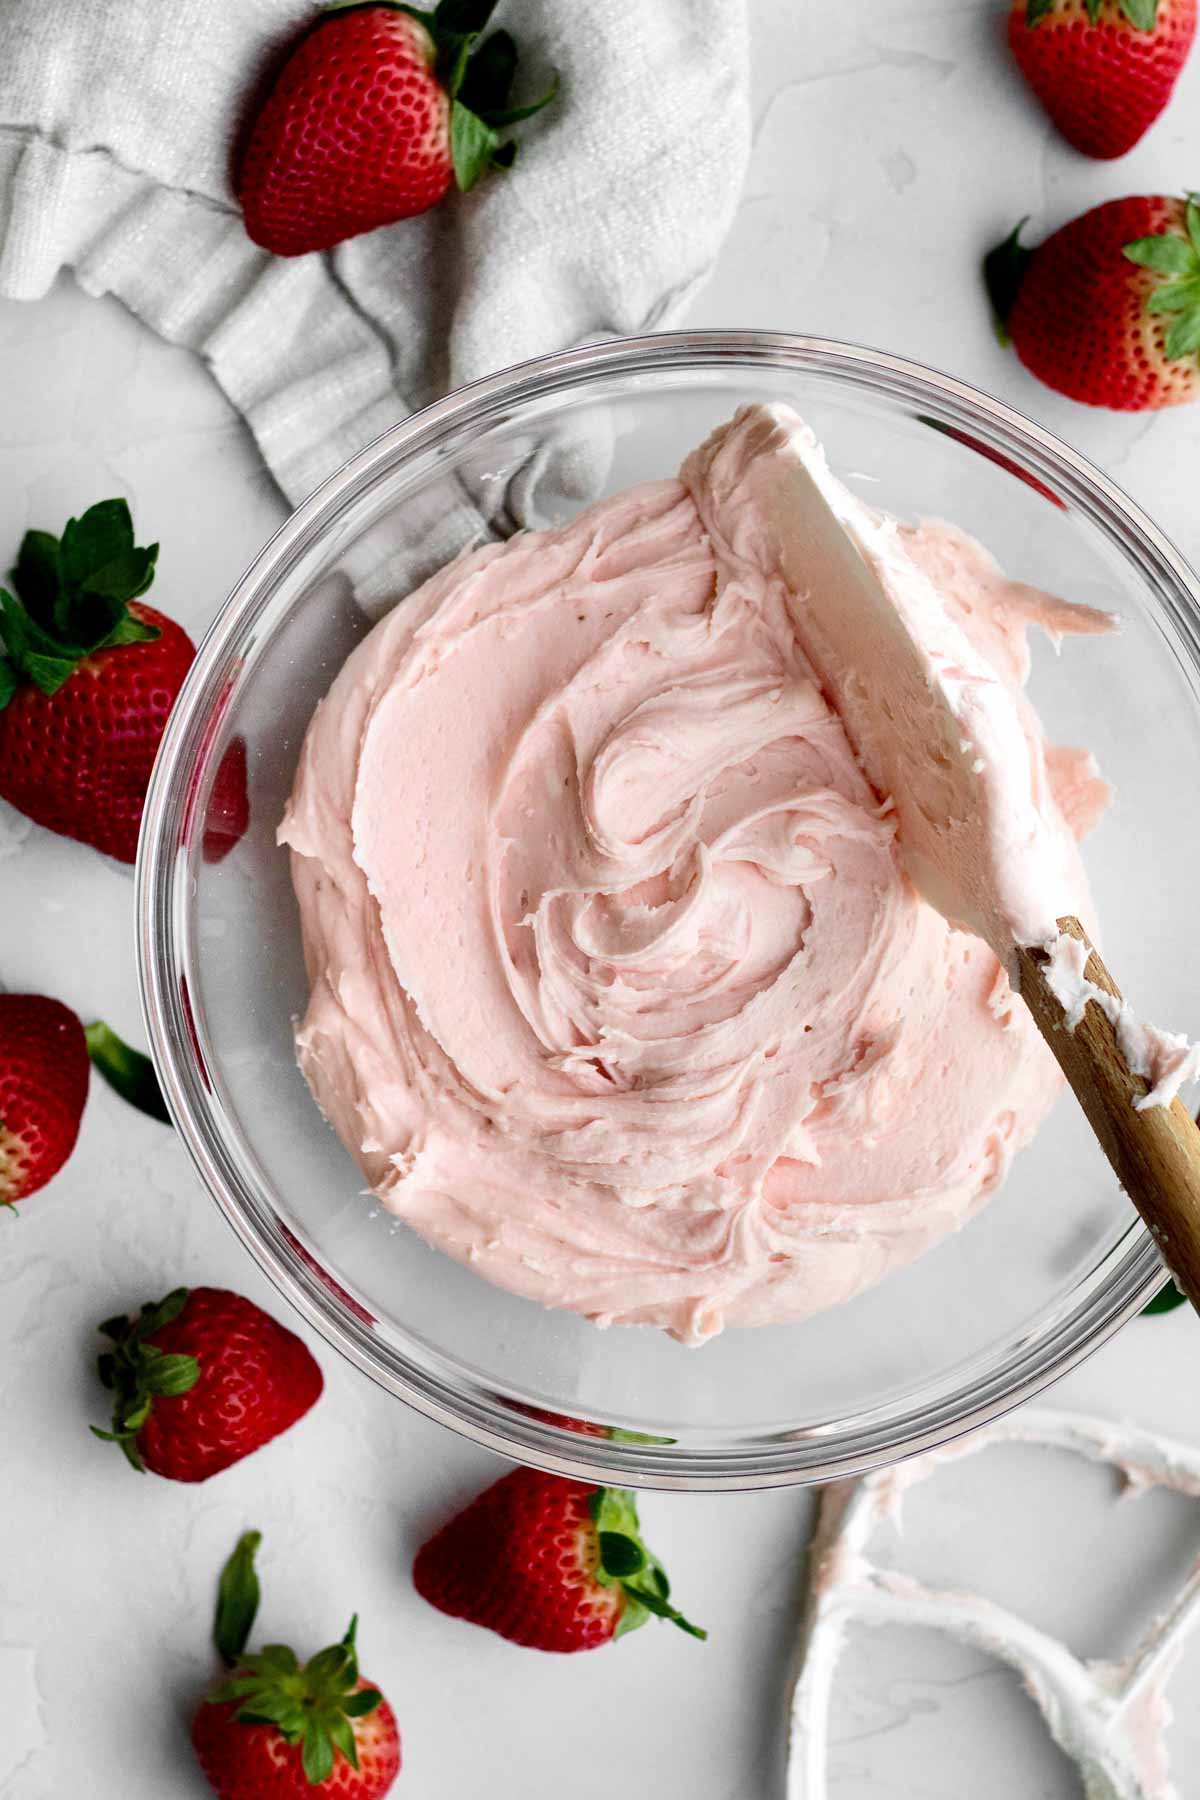
I love to pair them with this amazing strawberry buttercream.
Step 11: Assemble the Whoopie Pies
Use a butter knife or small icing spatula.
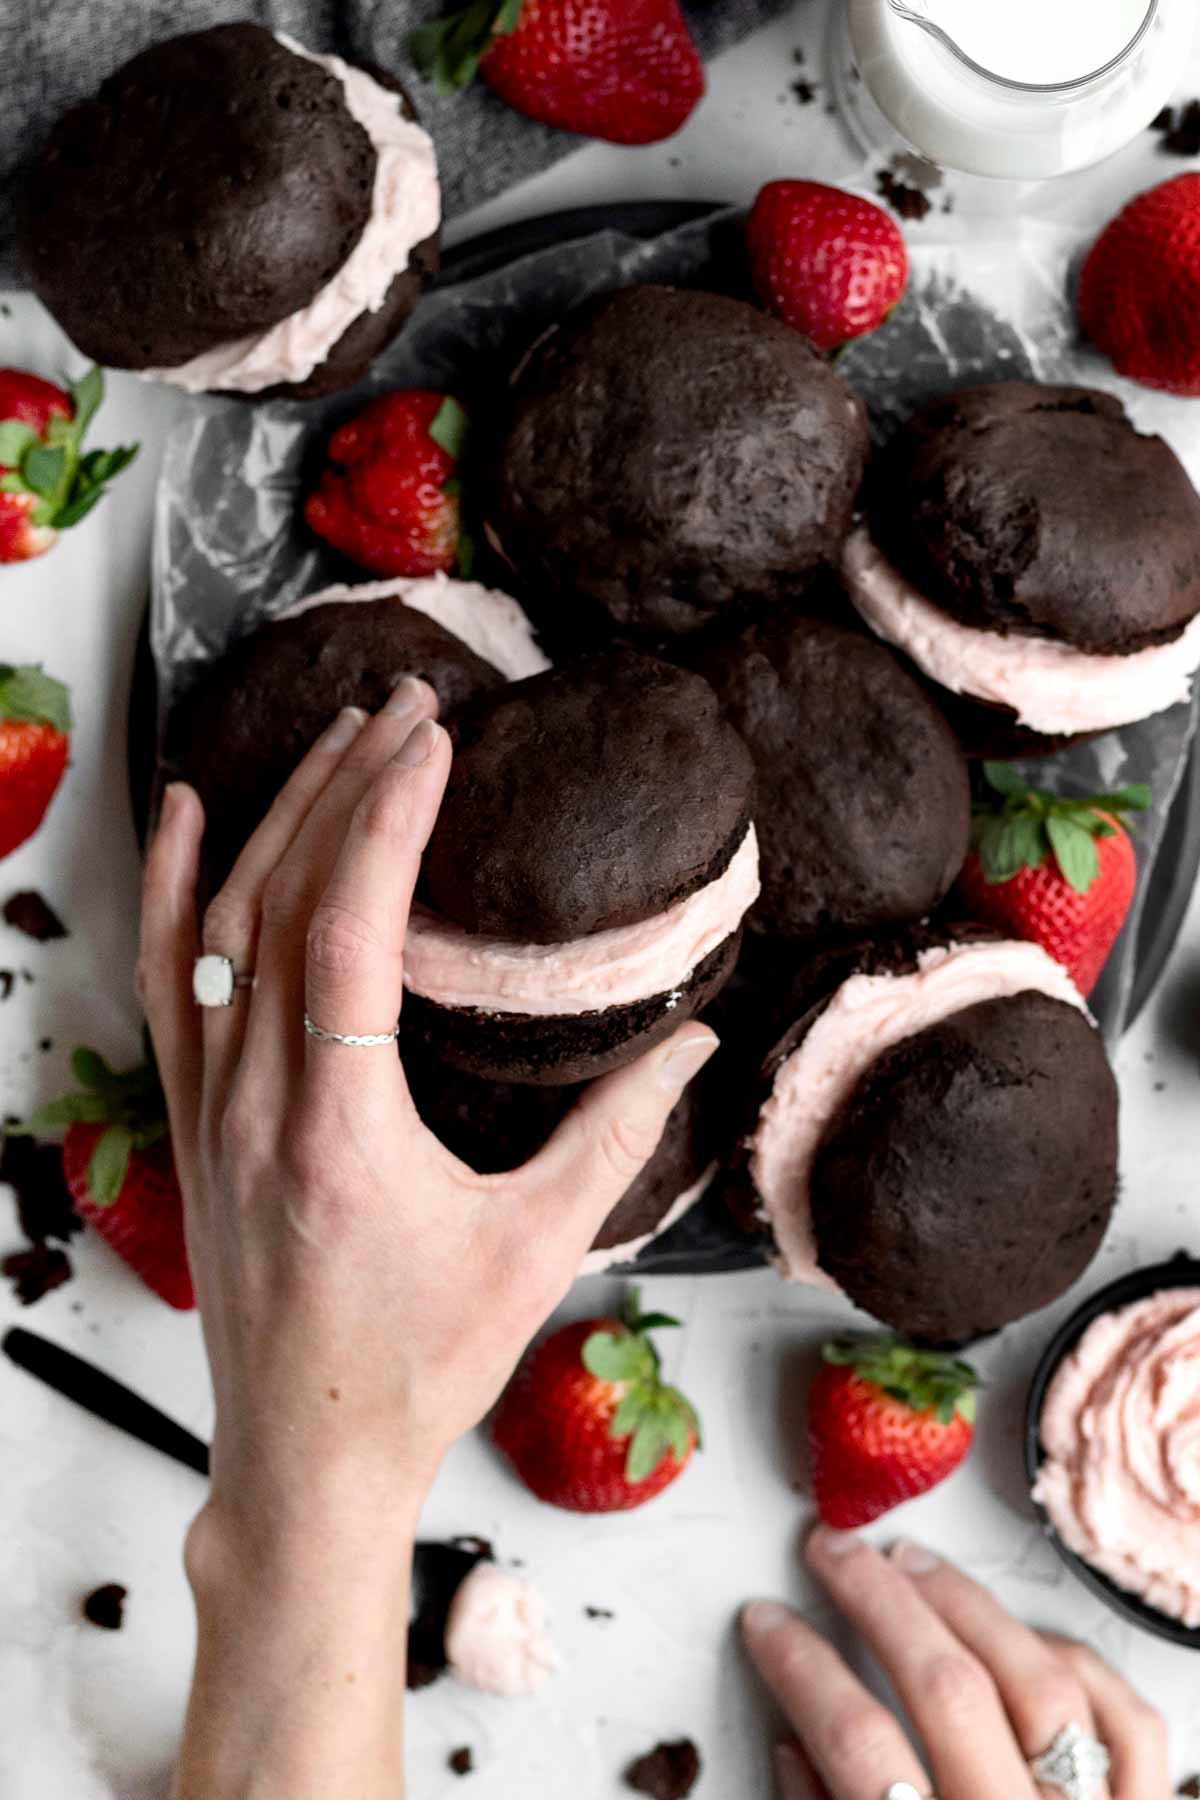
Frost the flat side of half the chocolate cakes. Place the other flat side of the non frosted cakes on top.
Expert Baking Tips
- Use Softened Butter- Using butter that’s softened is great when making these whoopie pies. However, make sure you DO NOT melt the butter. These whoopie pies have no egg in them; if you use melted butter, they will spread out into a giant mess.
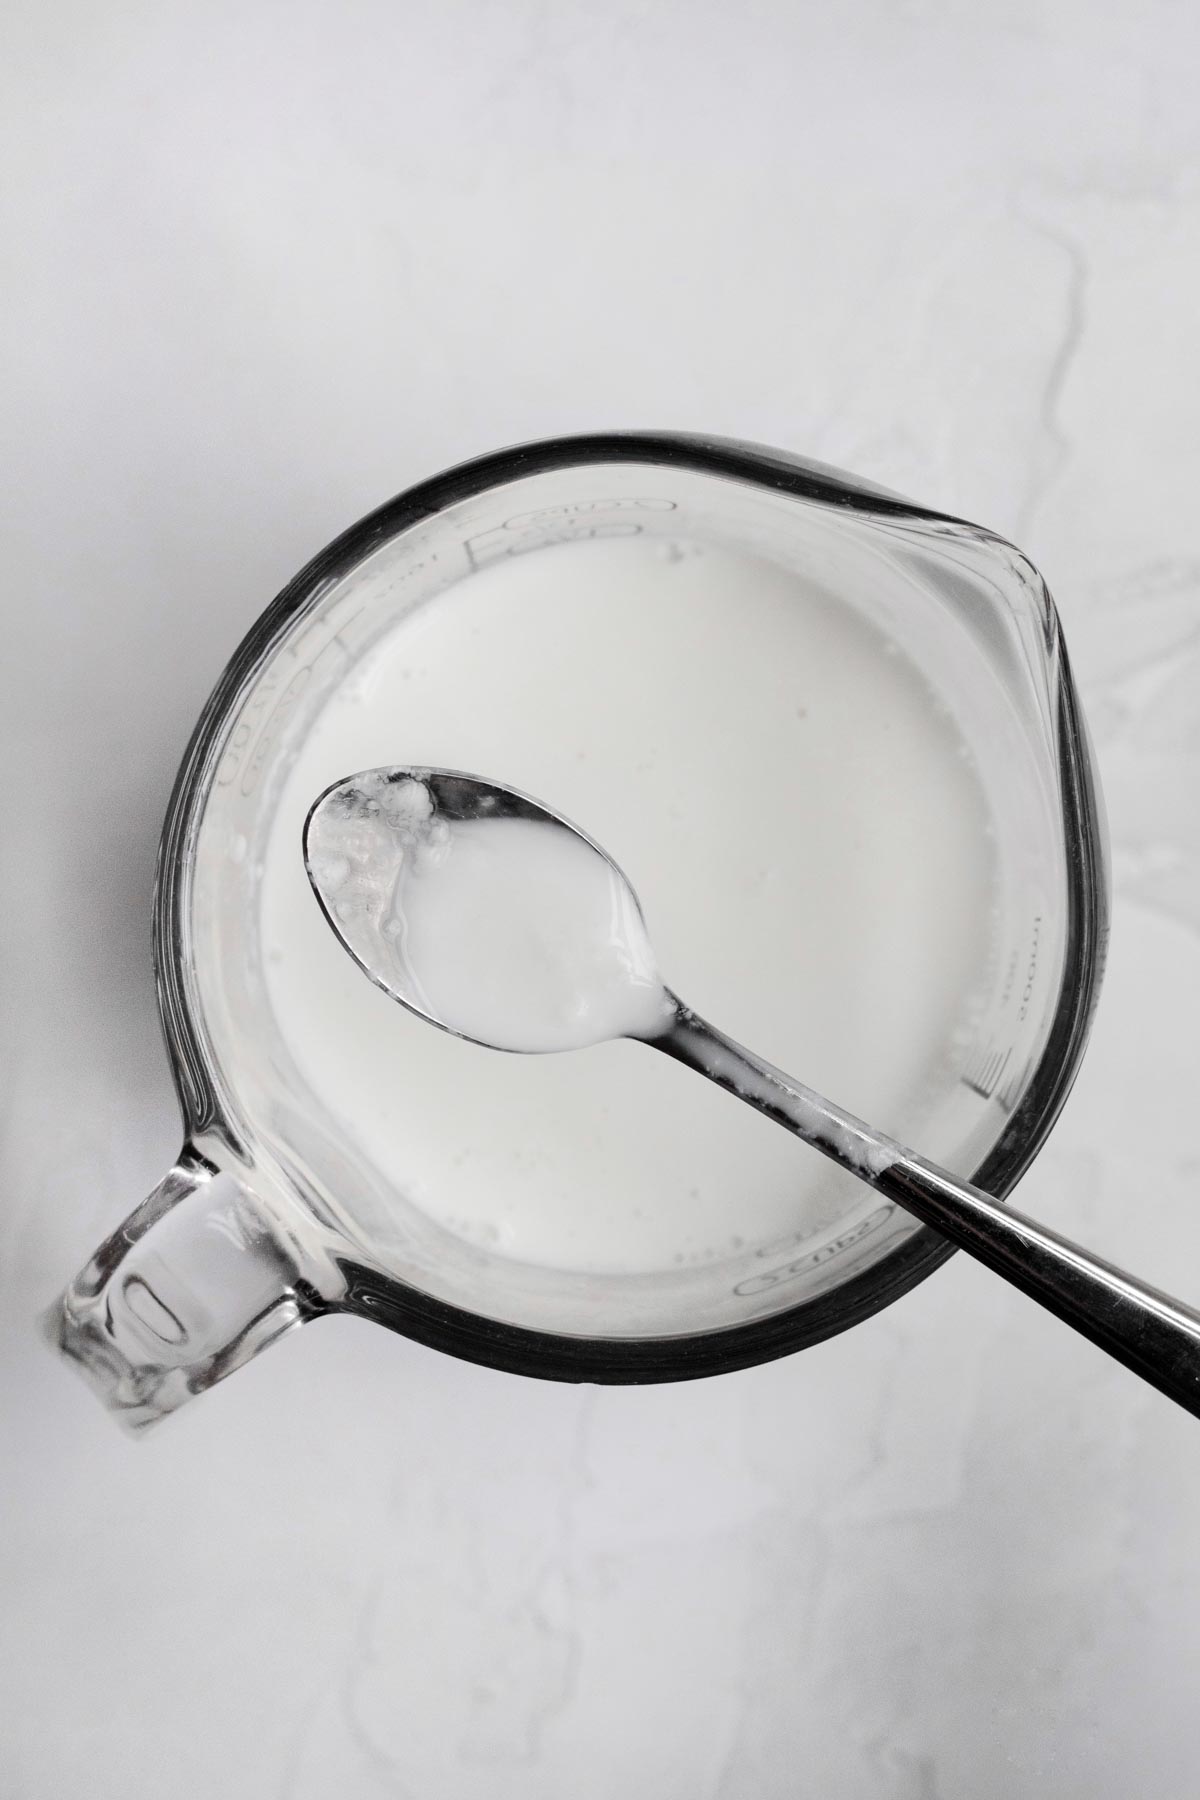
- How To Make The Homemade Buttermilk- Measure out the 1 ½ cups of milk of choice. Add in the 1 ½ tablespoons of white vinegar and stir to combine. Let it sit for 5-10 minutes and then stir again. It will appear chunky and that’s normal.
- Use 2 Types of Cocoa Powder- The 2 types of cocoa powders give the cookies their dark hue. If you only have one type on hand, use natural unsweetened or dutch...just know their color will not be as dark as mine. DO NOT use dark alone; it will make your whoopie pies too dry and bitter.
- Smoothing the Batter- Many gluten free flour batters have a way of staying exactly as they are when placed when baked. If you leave it in a ball or misshapen, that’s how it will remain when baked. When the batter is on the baking sheet, use lightly wet fingers to smooth the tops and to create a round dome shape.
Recipe FAQs
Most gluten free baked goods are best made the same day.
These you could make one day before but I wouldn’t do more than that.
However, the frosting can be made ahead of time.
If they’re not perfectly round, use a round cookie cutter to trim off any misshapen parts.
If you want them to look pretty, yes I would.
Many gluten free flour batters have a way of staying exactly as they are when placed when baked. If you leave it in a ball or misshapen, that’s how it will remain when baked. When the batter is on the baking sheet, use lightly wet fingers to smooth the tops and to create a round dome shape.
Storing and freezing
Storing
Since gluten free baked goods are best the first day, we want to try to keep these as fresh as possible.
Once the whoopie pies are cooled and assembled, store them in an airtight container in the fridge.
When ready to eat, take the whoopie pies out of the fridge and let them come to room temperature on the counter before consuming.
You could eat them cold but many times gluten free baked goods taste dry and hard when cold.
Letting them come to room temperature will restore the softness.
Freezing
Wrap the whoopie pies individually in foil and then place in a zip top bag.
You can keep them frozen for up to 30 days.
When ready to eat, put the whoopie pies in the fridge the night before or leave them out on the counter for 2 hours prior to eating.
If you put them in the fridge the night before, when ready to eat, take the whoopie pies out of the fridge and let them come to room temperature on the counter before consuming.
Other Recipes You'll Love
Did you try this recipe? Please leave me a ⭐ review below!
Don’t forget to tag me on Instagram @laneandgreyfare and follow along on Pinterest, Facebook and YouTube! Enjoy!!!
📖 Recipe

Chocolate Strawberry Whoopie Pies
Ingredients
For the whoopie pies:
- 2 cups gluten free flour
- 1 cup cocoa powder I used half dutch or natural unsweetened and half dark
- 1 teaspoon baking soda
- ¾ teaspoon baking powder
- ½ teaspoon kosher salt
- ½ cup 1 stick unsalted butter or vegan baking stick
- 1 ¼ cups packed light brown sugar
- 2 heaping tablespoons cornstarch mixed with 3 tablespoons water
- 1 teaspoon pure vanilla extract
- 1 ½ cups milk of choice
- 1 ½ tablespoons white vinegar
For the frosting:
Instructions
- Preheat the oven to 400 degrees Fahrenheit. Line a baking sheet with parchment paper.
- In the bowl of an electric mixer with the paddle attachment, cream together the butter or vegan baking stick and the light brown sugar until soft and fluffy. About 2-3 minutes.
- In a small bowl, combine the cornstarch and water together with a spoon until it is smooth and watery. It will be thick and tacky at first.
- Measure out 1 ½ cups of milk of choice. Add the white vinegar to the milk. Stir. Let sit for 5 min and stir again. It will appear chunky...that’s normal.
- Slowly add the cornstarch water mixture, milk mixture and vanilla into the butter and sugar. Beat until combined.
- In a large bowl, whisk together the gluten free flour, cocoa powder, baking soda, baking powder and salt until combined.
- Slowly add in the gluten free flour mixture to the wet ingredients, a little at a time, and beat until just combined.
- Using an ice cream scoop, place batter onto prepared baking sheets making sure to leave 2 inches in between each scoop.
- Get your fingers wet and gently using your fingers, press down the batter to make a dome instead of a ball. Gluten free batter has a way of staying exactly as it is placed down, so if you leave it in a ball shape or misshapen, that’s how it will end up when baked.
- Bake for 12-13 min until risen and springy when carefully poked.
- If they come out not perfectly round, use a round cookie cutter to trim off any misshapen parts.
- After a few minutes transfer the little chocolate cakes to a cooling rack. While they are cooling, make the strawberry filling which you can find above.
- Once the filling is made, using a butter knife or a small spatula, frost the flat side of half the little cakes. Place the other flat side of the non frosted cakes on top. Enjoy!


michelle
these were a HIT!!! i made them in place of a graduation cake for sometning fun for my cousin, and they couldn’t stop eating them. the texture was perfect, and the taste was incredible. i decided to get creative and added a bit of strawberry jam in the center by making a well around the middle with buttercream and loved it. 10/10 recipe!!!
Lee
Love the idea of the jam!!!! Thanks so much!
nancy
this woopie pie recipe was easy to follow. it was an absolute hit with my family and brought be back to my childhood days.
John
So easy to make these Whoopi Pies! They’re a fan favorite!
Lee
Thank you! Glad you like them!