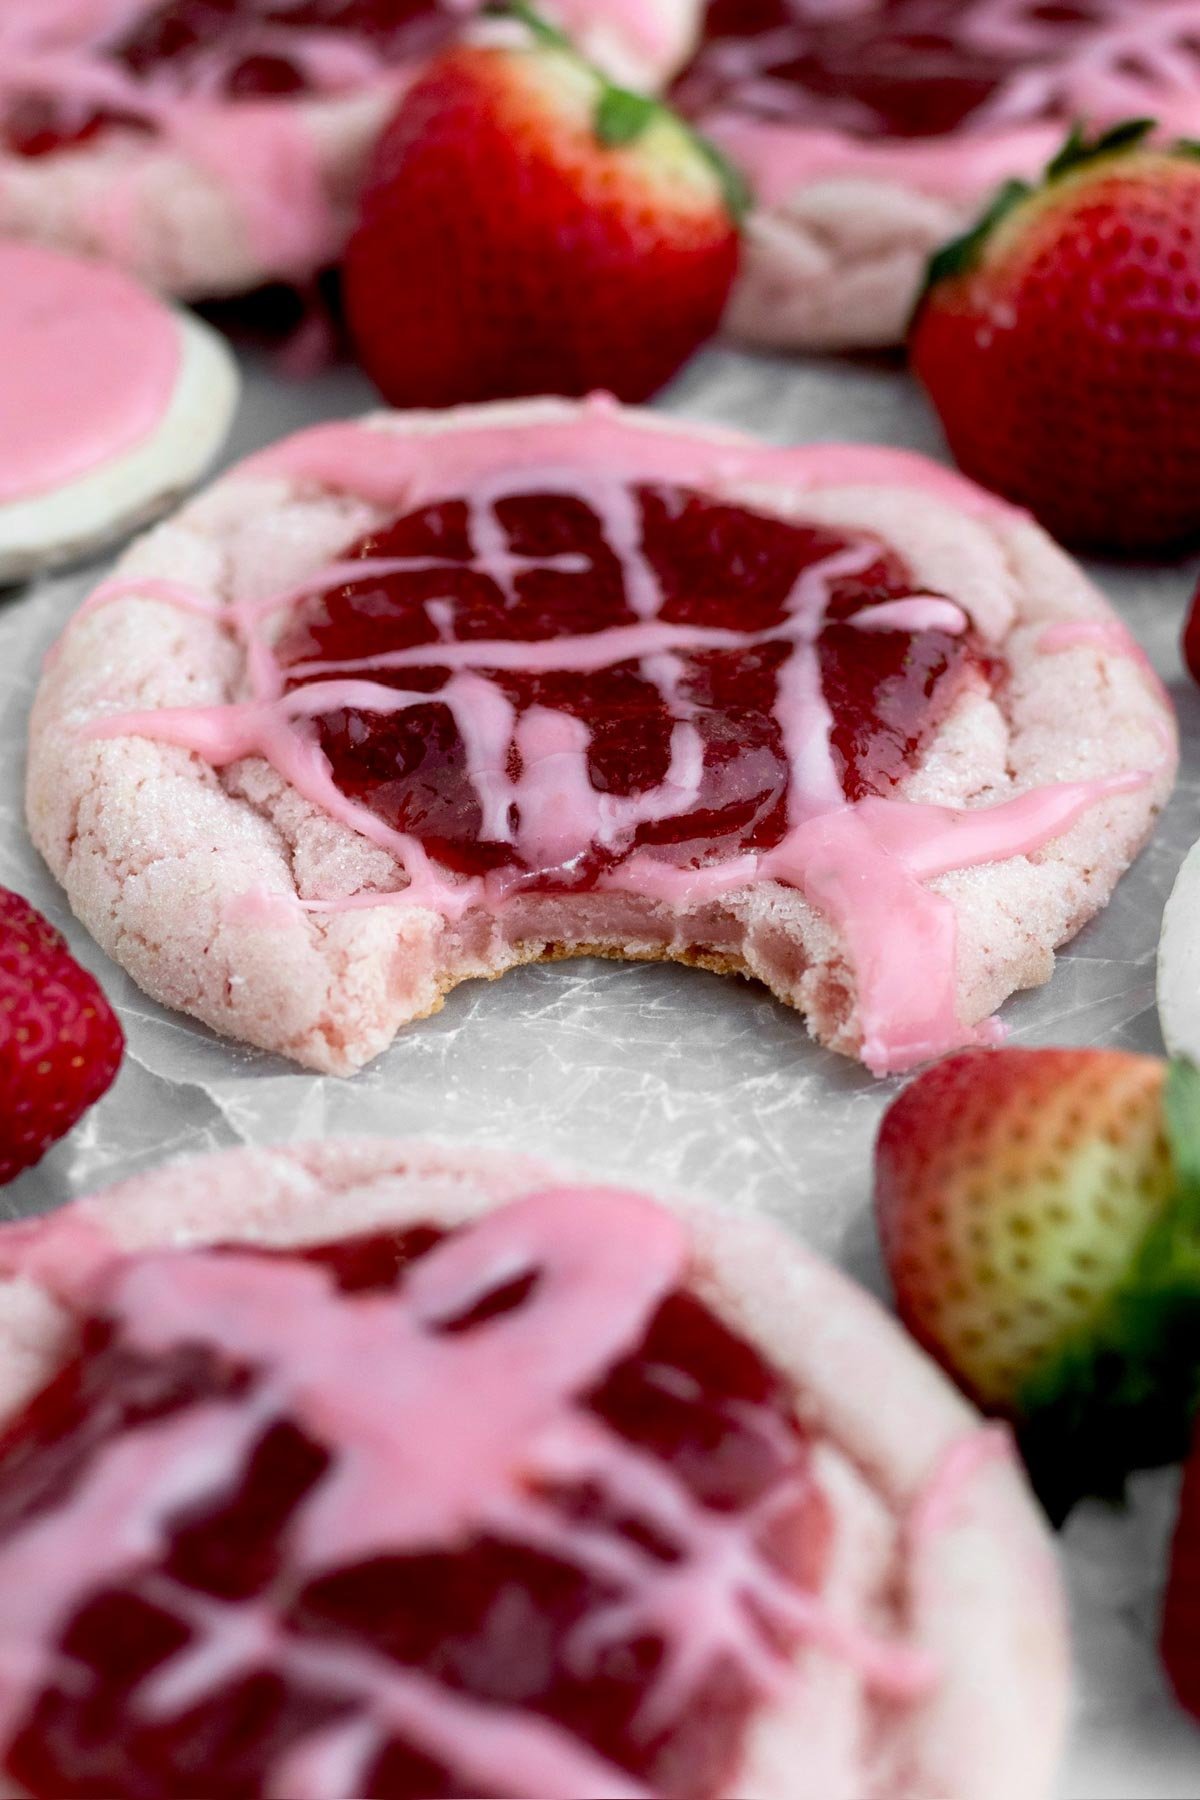
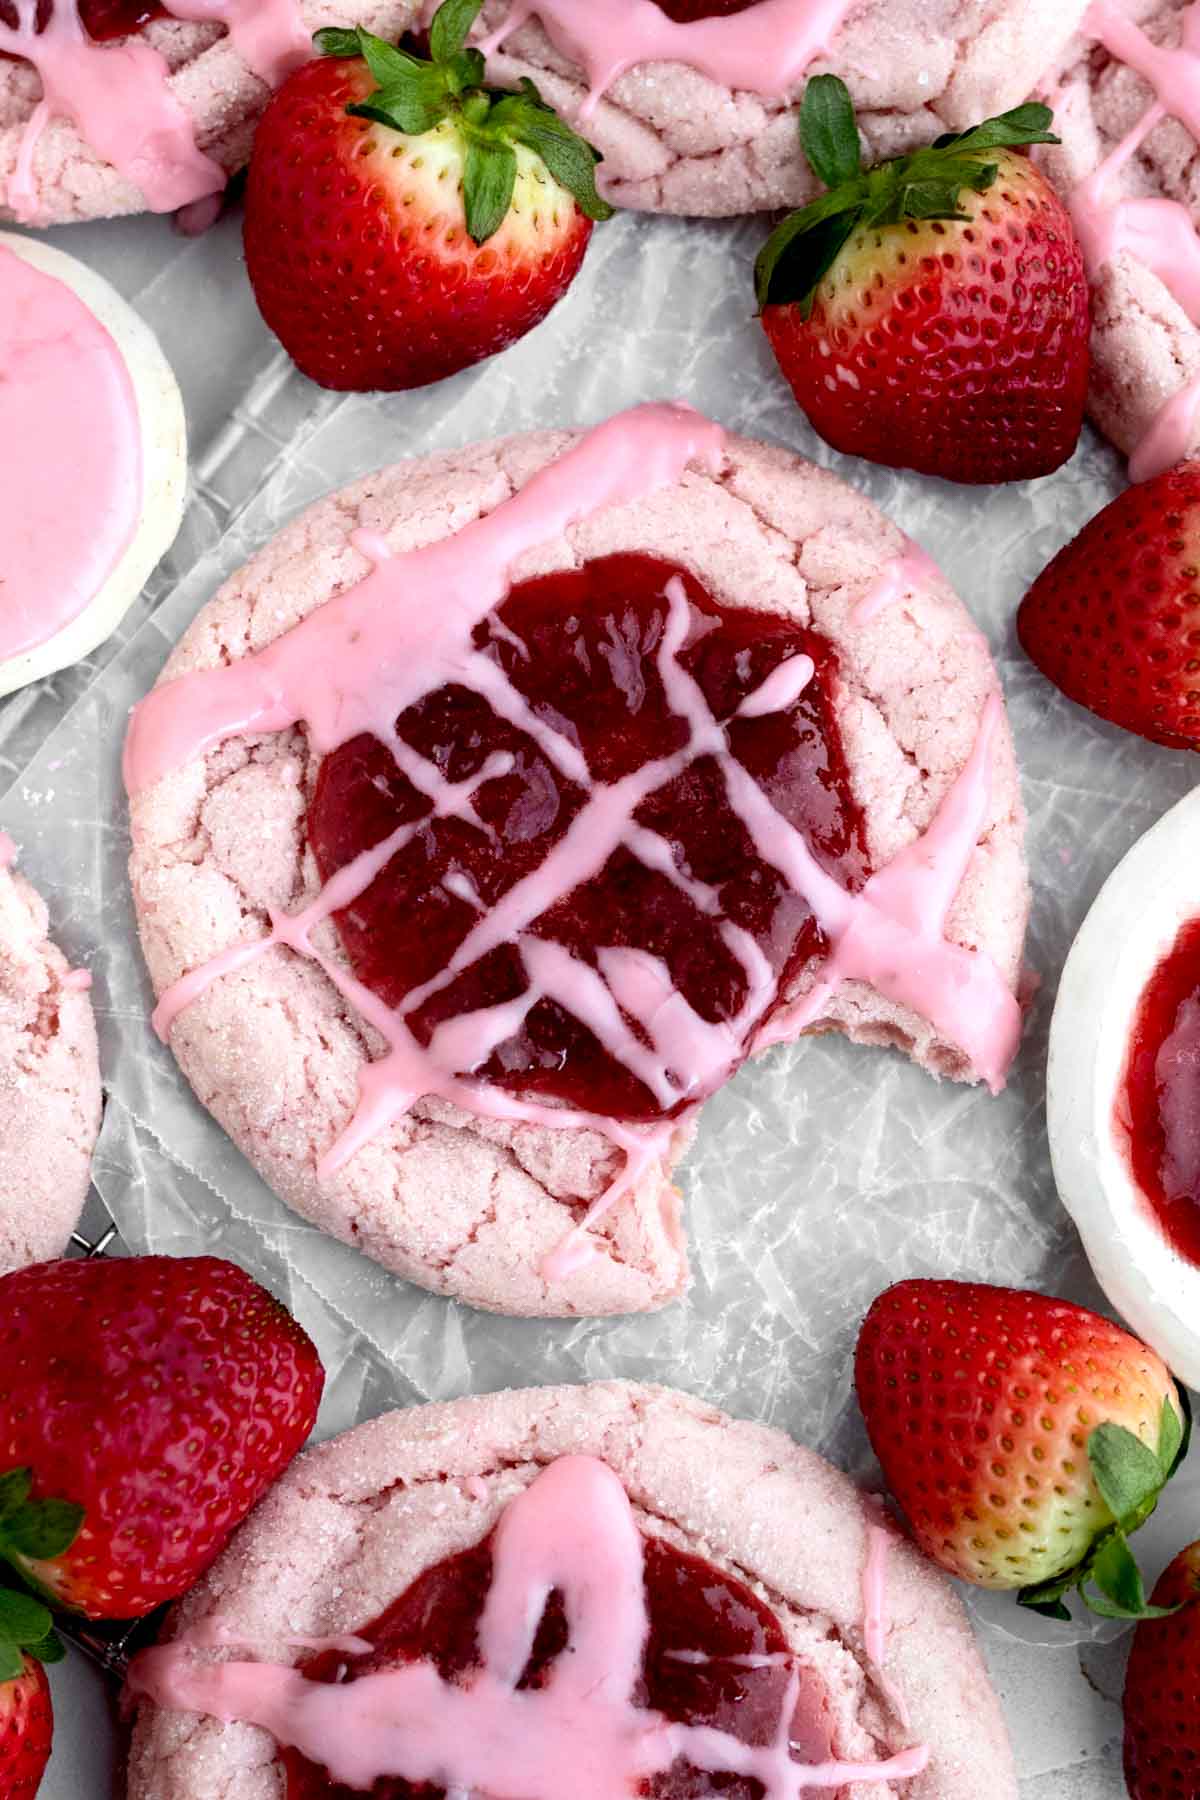
These Strawberry Jam Cookies are chewy strawberry cookies that are topped with a delicious homemade strawberry jam and a sweet strawberry glaze. The strawberry jam is also mixed into the cookie dough so that every bite of these beauties has sweet strawberries! If that wasn't enough, these gorgeous pink cookies are gluten free, nut free, eggless and can easily be made vegan! Don't have time to make homemade jam? No worries! Store-bought works just as well!
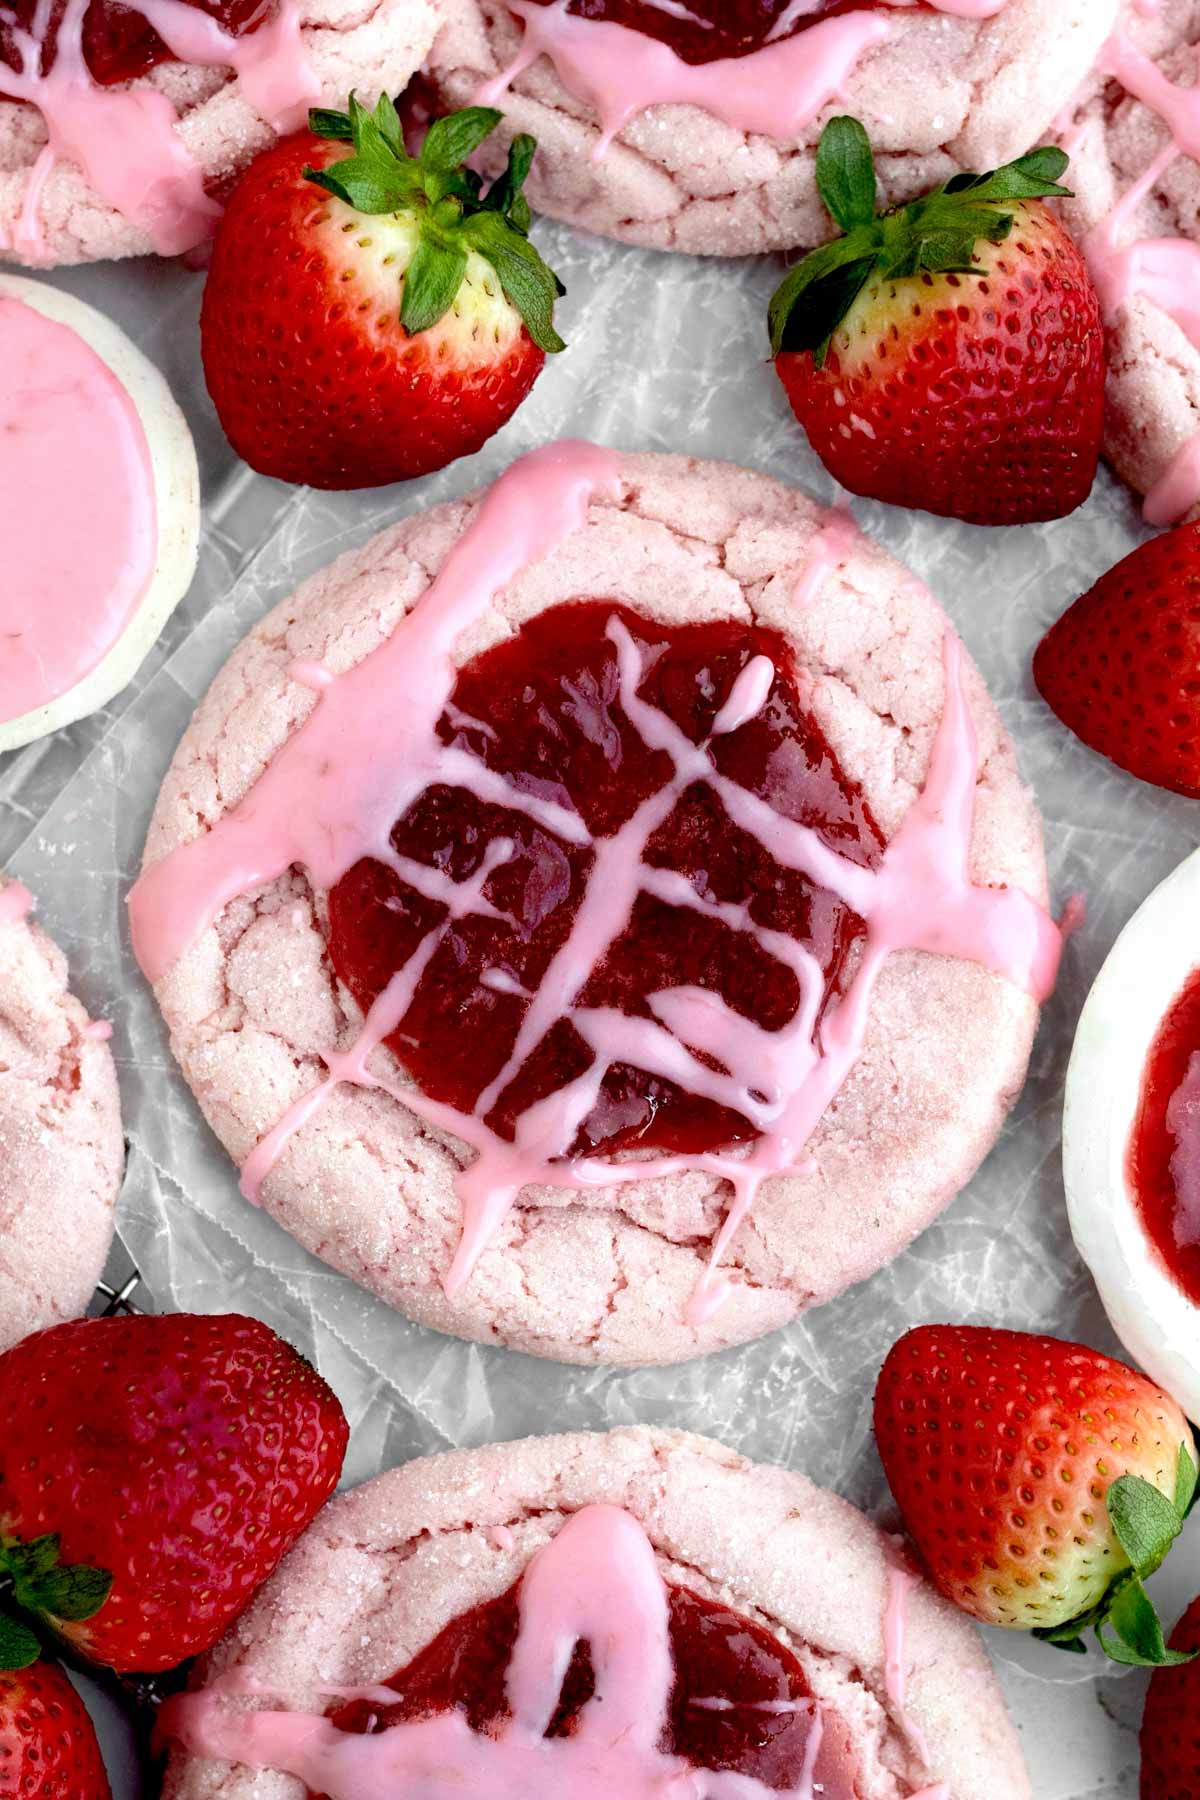
These Strawberry Jam Cookies are so gorgeous and delicious! If you're a fan of my super popular Strawberry Sugar Cookies, you're sure to love this recipe! I've seen many recipes for strawberry cookies but I have never seen one quite as unique as these! These eggless pink sugar cookies with homemade jam and a sweet strawberry glaze are sure to be a hit!
The first day these cookies are soft and chewy in the middle with thin crispy edges just like my Apple Cinnamon Cookies. Once stored overnight, the cookies will be soft and chewy throughout.
For more fruity sugar cookie recipes, try my Raspberry Cookies, my Lemon Raspberry Cookies, my Blueberry Cookies and my Lemon Blueberry Cookies.
Reasons to Love These Cookies
- Allergy Friendly- These cookies are gluten free, nut free, egg free and can easily be dairy free (vegan)!
- Soft & Chewy- These cookies are thin chewy cookies that stay soft for days thanks to all the moisture from the strawberry jam.
- Covered in Sugar- The sugar coating gives a nice sweetness just like with our Fruity Pebbles Cookies!
- Strawberry Jam- You can use fresh or frozen strawberries to make the jam or you can even use store-bought jam. If using store-bought, make sure to read the labels to ensure it's gluten free and doesn't contain any strange thickeners. If making your own, make the jam ahead of time as it takes a while to reduce and cool. I make mine the day before.
Ingredient Notes
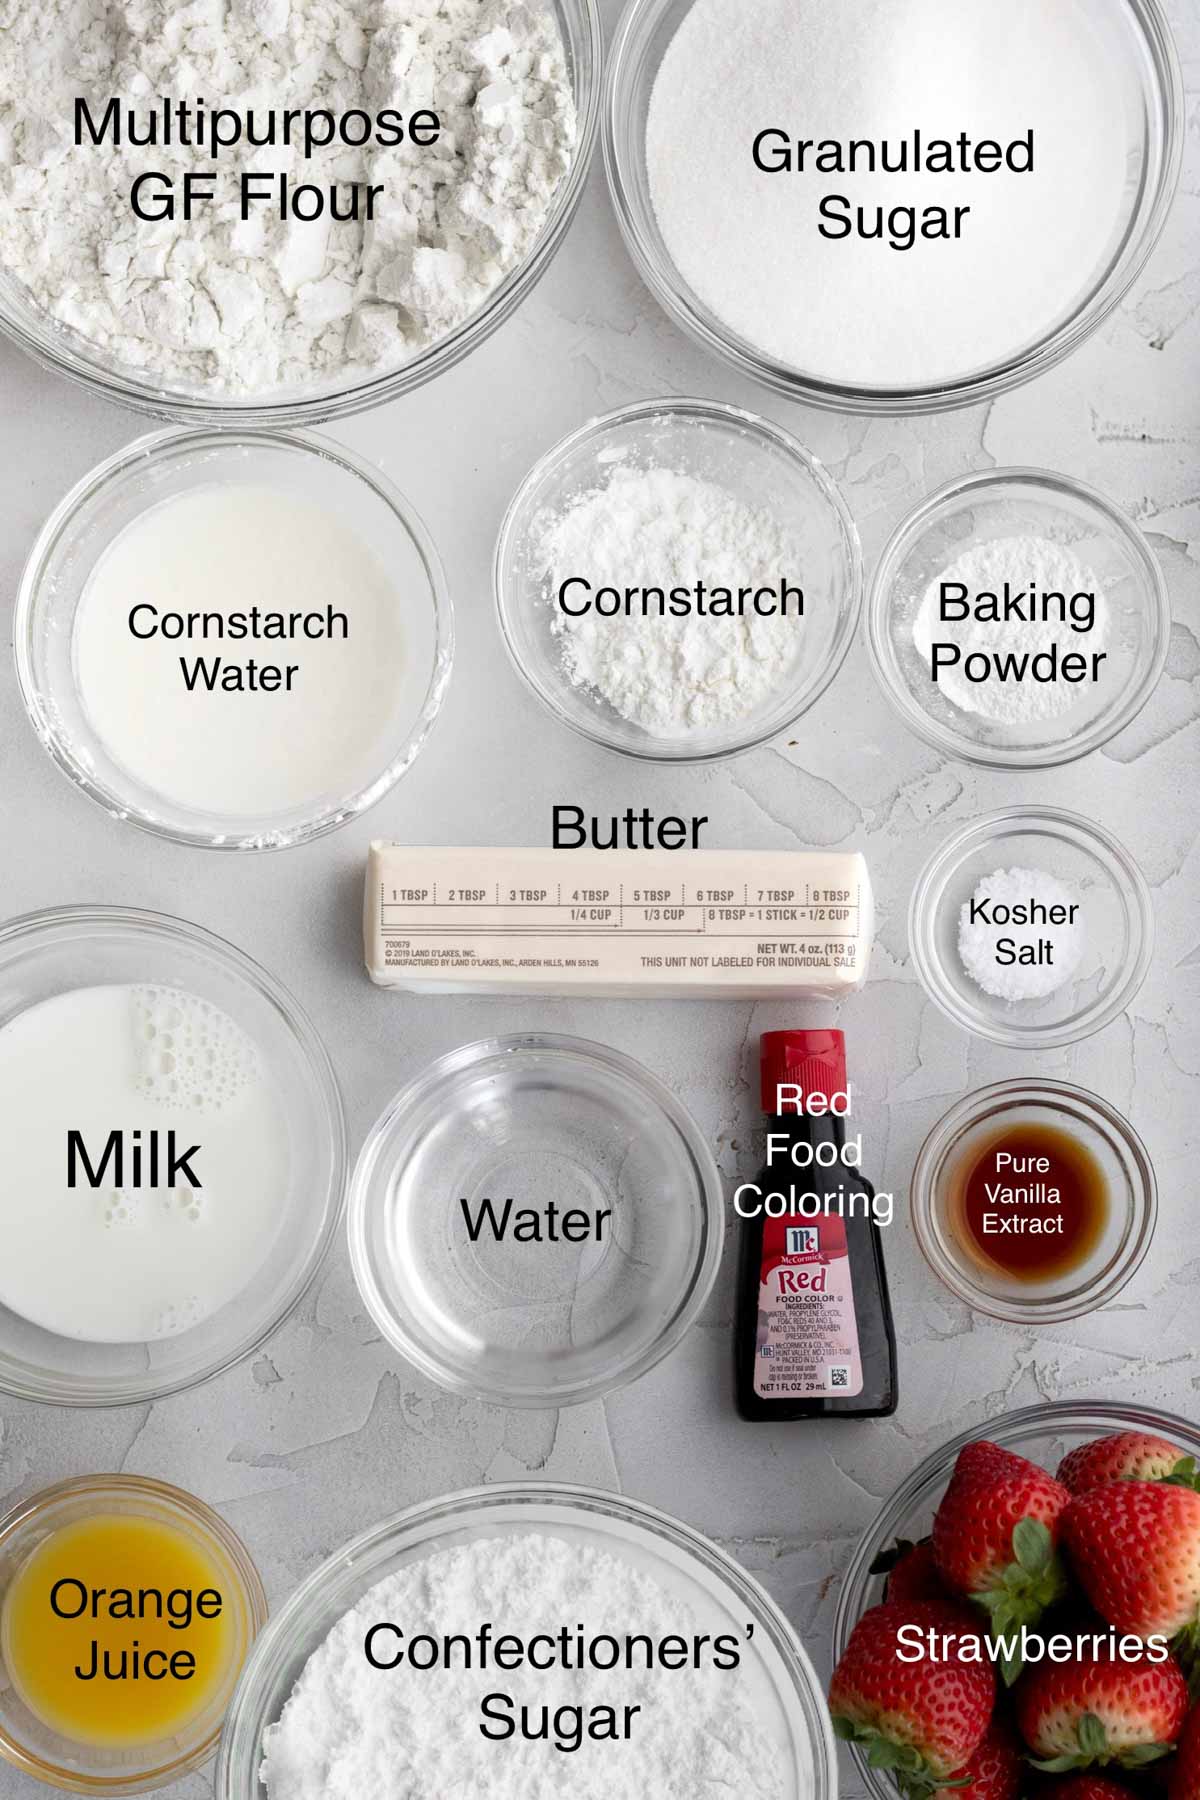
- Gluten Free Flour- If you also have nut allergies, make sure to use a brand that’s made in a nut free facility. I really love to use this gluten free flour because it’s nut safe but it does contain dairy. It also contains xanthan gum which really helps give baked goods their bounce.
- Cornstarch- This little bit of cornstarch mixed into the flour prevents the cookies from spreading. Without it, the cookies will spread out when baking.
- Milk- If there are no dairy allergies or if you’re not vegan, you can use regular whole milk. For non-dairy, use a dairy-free milk of your choosing.
- Unsalted Butter or Vegan Baking Sticks- Don’t use melted or softened; the cookies will spread into a giant mess while baking. If using vegan butter, make sure to use only vegan baking sticks (not vegan butter in a tub) and make sure it's more on the cold side versus room temperature.
- Cornstarch and Water- These cookies have no egg so this mixture helps bind everything together. Yes, you need this in addition to the cornstarch mixed into the flour.
- Strawberries- You can use fresh or frozen to make the jam. Or you can use store-bought strawberry jam. If using fresh, the jam will take even longer to thicken (while cooking) due to the extra moisture.
- Orange Juice- Only use no pulp so you don’t have chunks in your cookies. The citrus helps thicken the strawberry jam without being tangy like my Orange Shortbread Cookies or Orange Cookies! You can use fresh squeezed lemon juice instead.
See my recipe card below for a complete list of the ingredients with measurements.
Substitutions and Variations
How to Make these Vegan
- Use a gluten free flour that’s free from dairy.
- Make sure the brand of sugar you use is vegan.
- Use vegan baking sticks instead of butter.
- Only use a non-dairy milk of choice.
- If using red food coloring, make sure the red food coloring is made in a vegan facility or is plant based.
How to Make this Recipe with All Purpose Flour
- Use 2 packed cups of regular flour (336 grams).
- Only use 2 tablespoons of milk.
- Use 3 tablespoons of strawberry jam.
- You still need to chill the dough due to the lack of eggs.
How to Make Smaller Cookies
- Use a small cookie scoop or roll the dough into 1 inch balls.
- Bake the cookies at the same temperature but for 13 minutes. Reshape as needed. Should make 24 cookies.
What the Cookies and Glaze Look Like Without Food Coloring
The images below are what the dough, glaze and cookies look like without any food coloring. The cookies are a peach-like color and the glaze a muted pale pink.

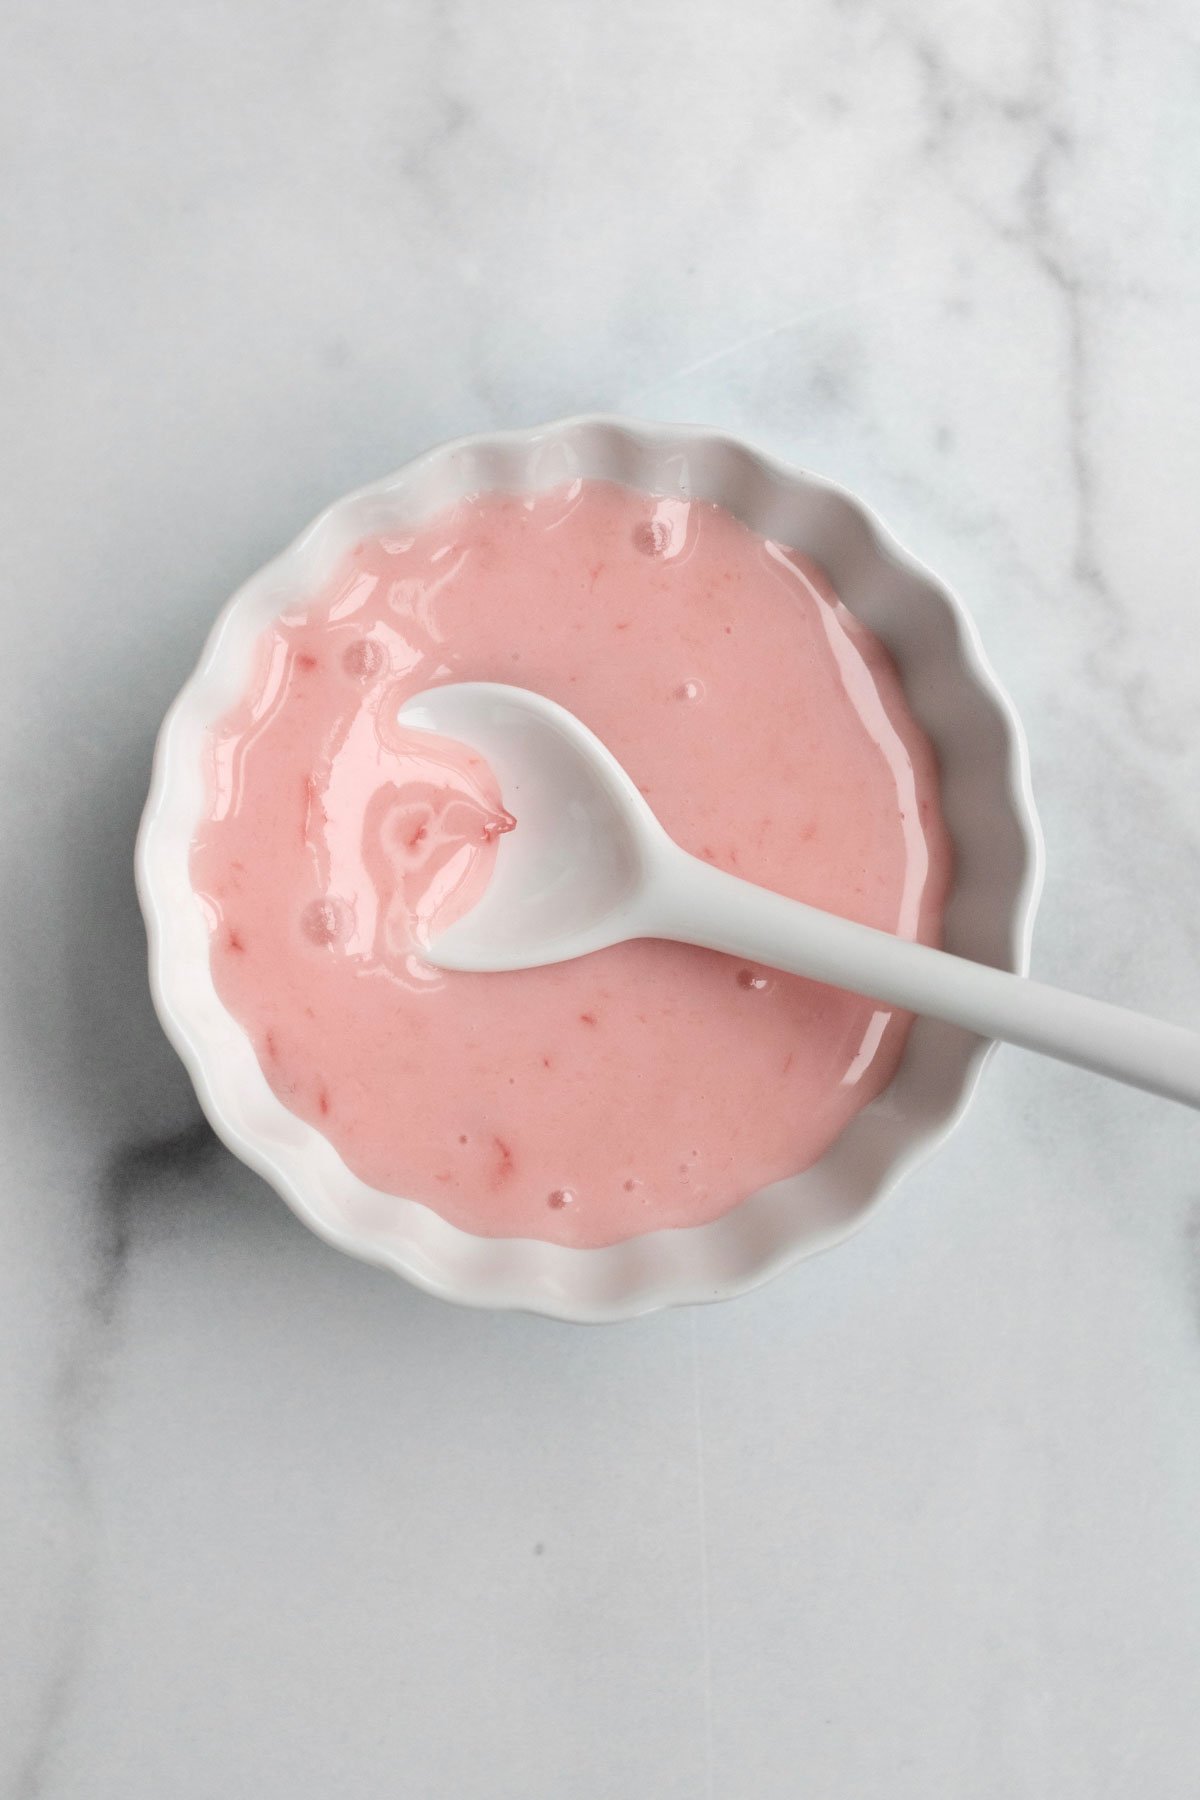
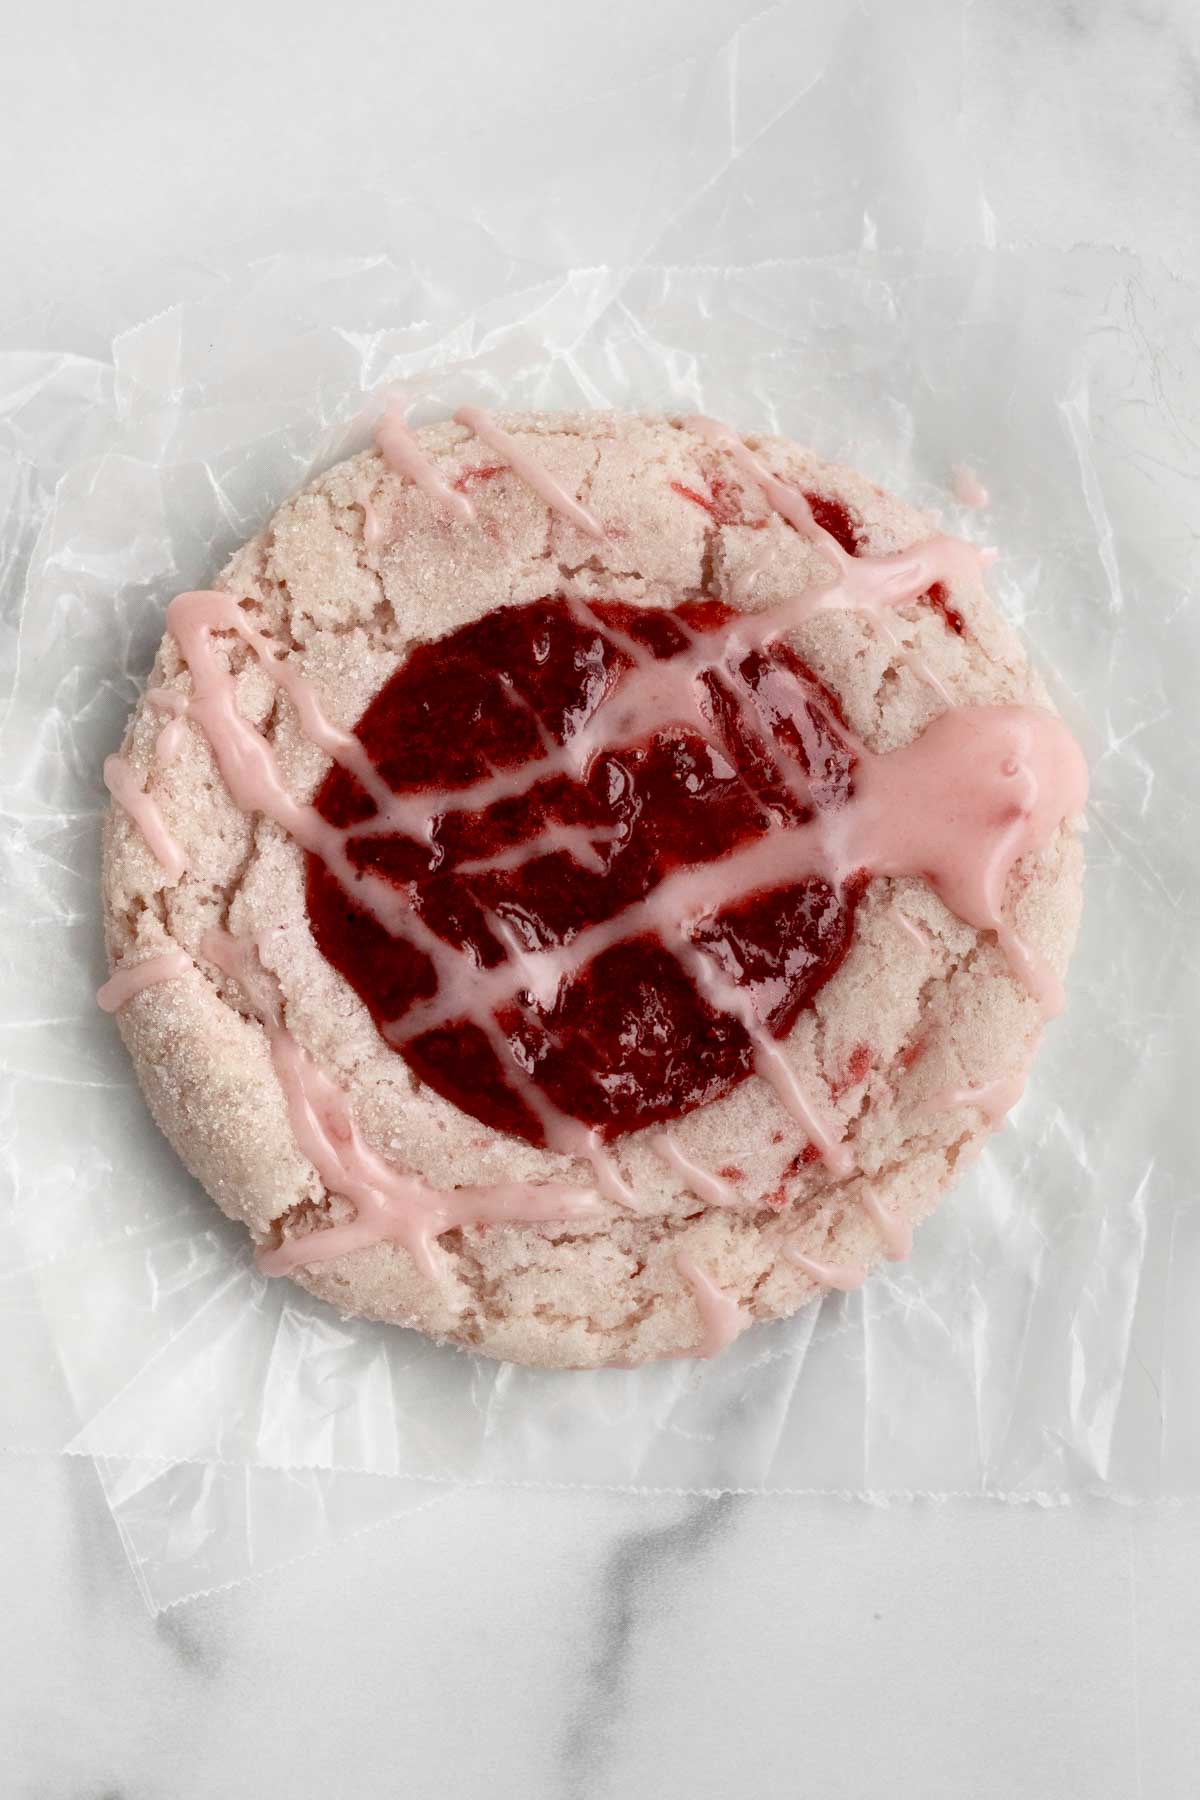
This recipe has not been tested with these substitutions and/or variations due to celiac disease and food allergies. If you change any of the ingredients, please let us know how the recipe turned out in the comments below!
How to Make Strawberry Jam Cookies
Here are the step by step instructions to make these pink sugar cookies!
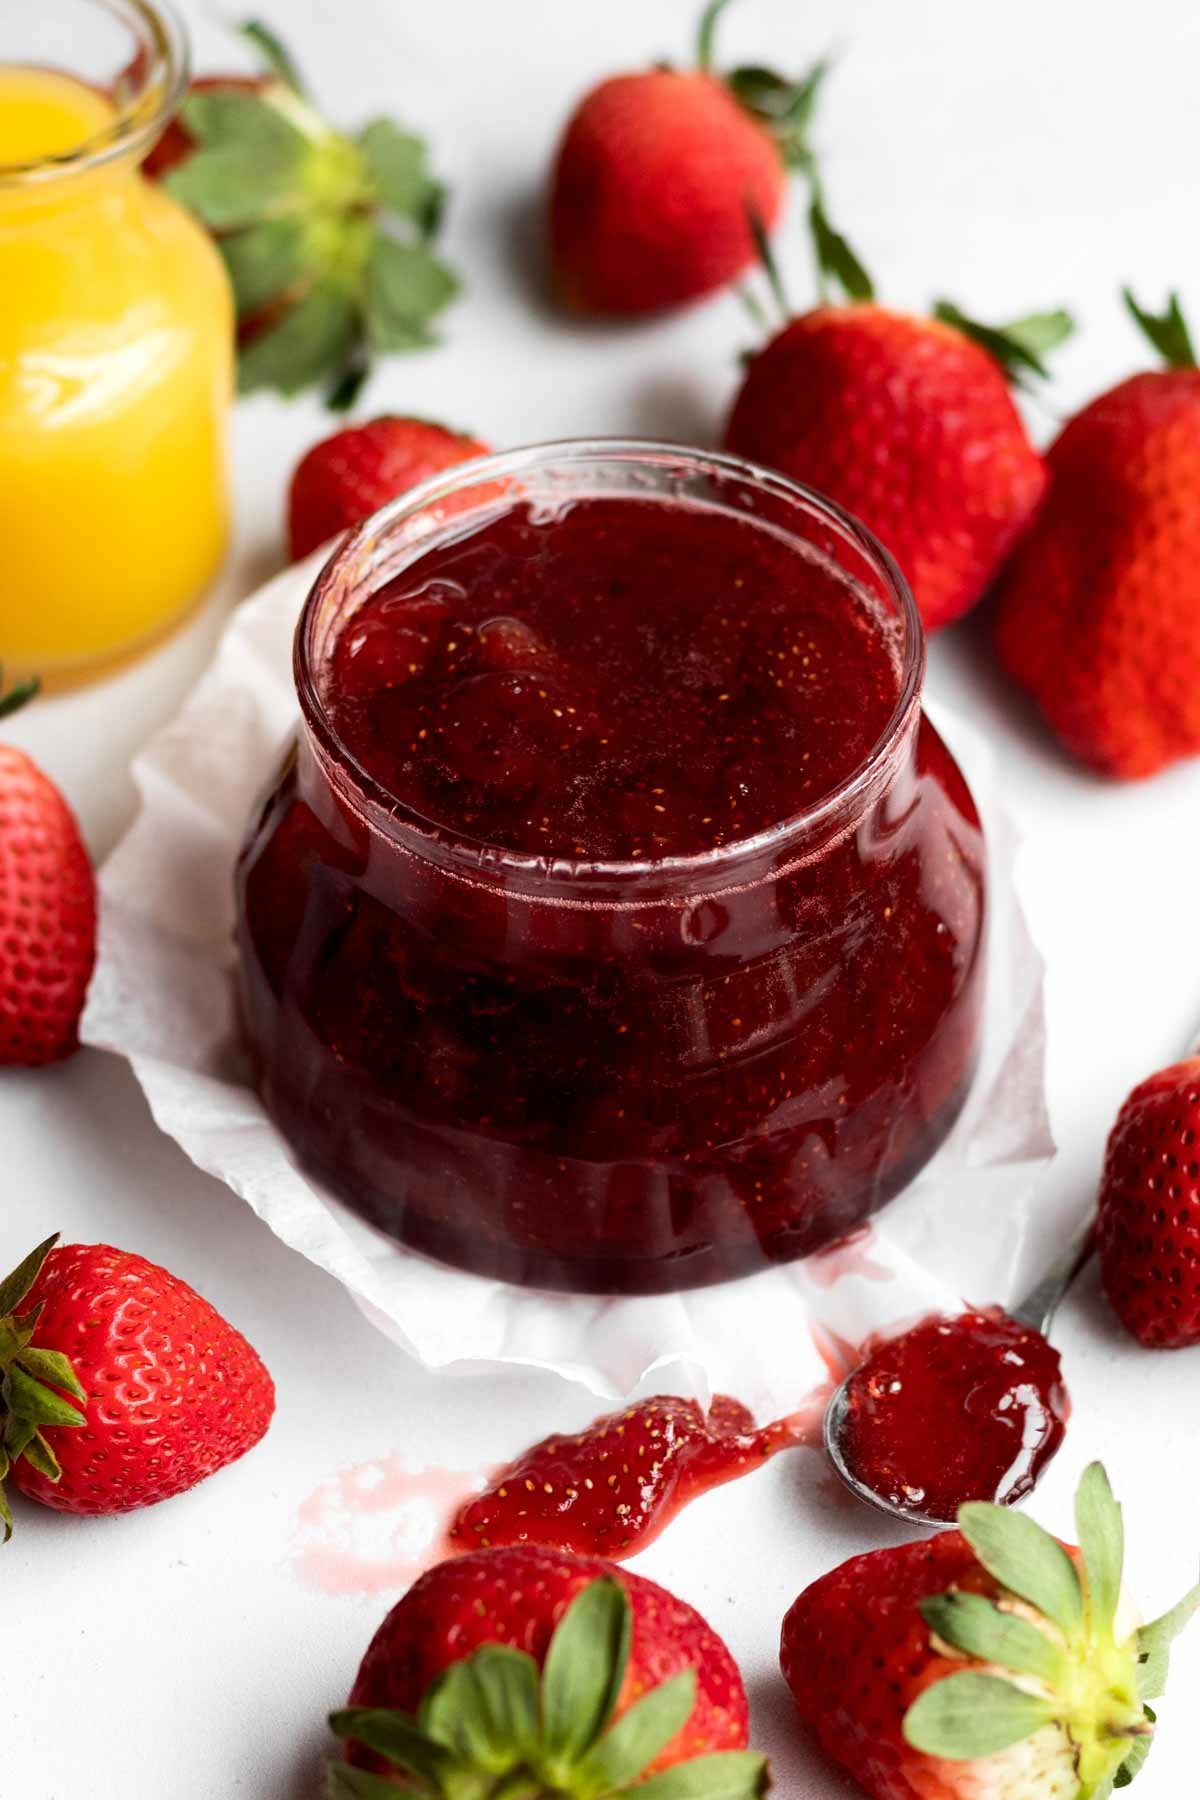
Make the Strawberry Jam
Step 1: Heat the Jam Ingredients
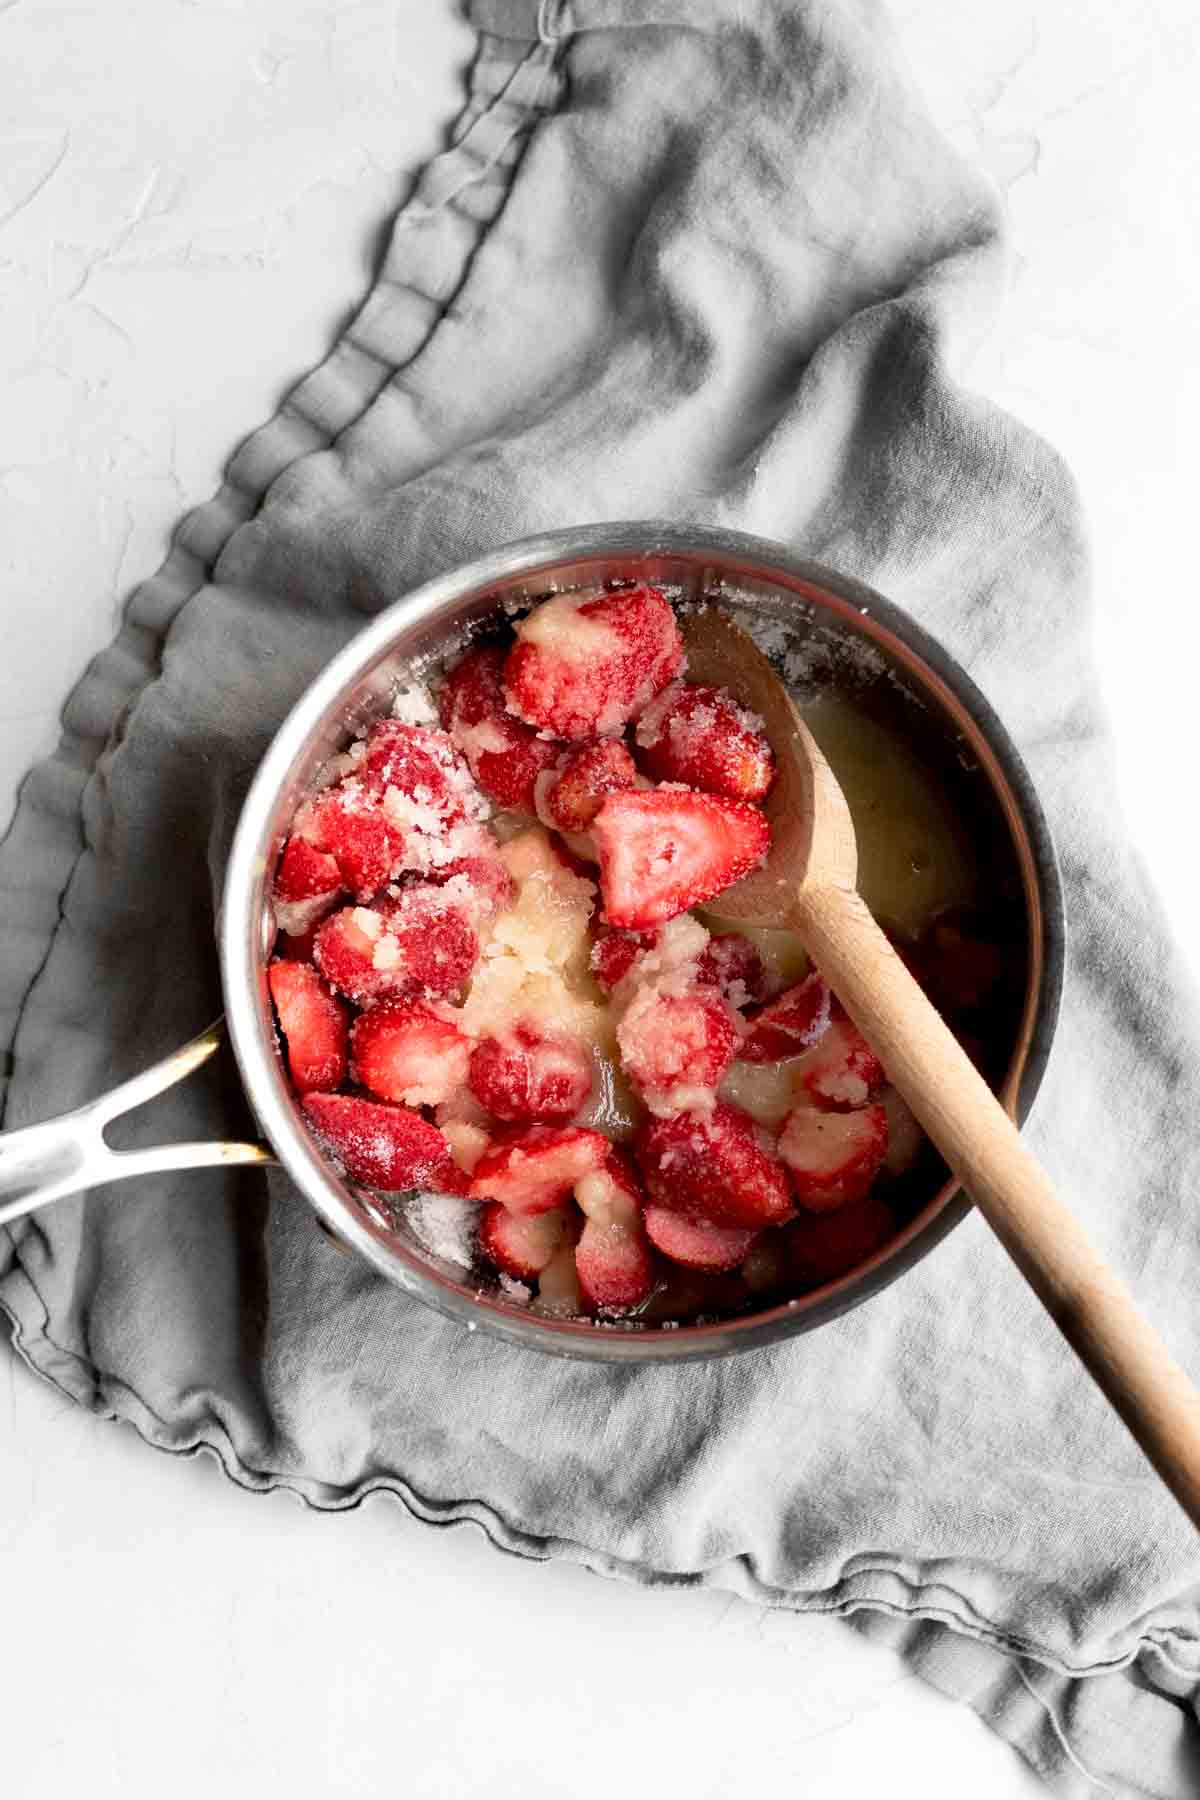
In a medium saucepan, combine the 1 pound quartered strawberries, the 1 cup granulated sugar, the 2 tablespoons orange juice and the 2 pinches of kosher salt.
Mix it all together and set over medium heat.
Step 2: Bring to a Boil and then Simmer
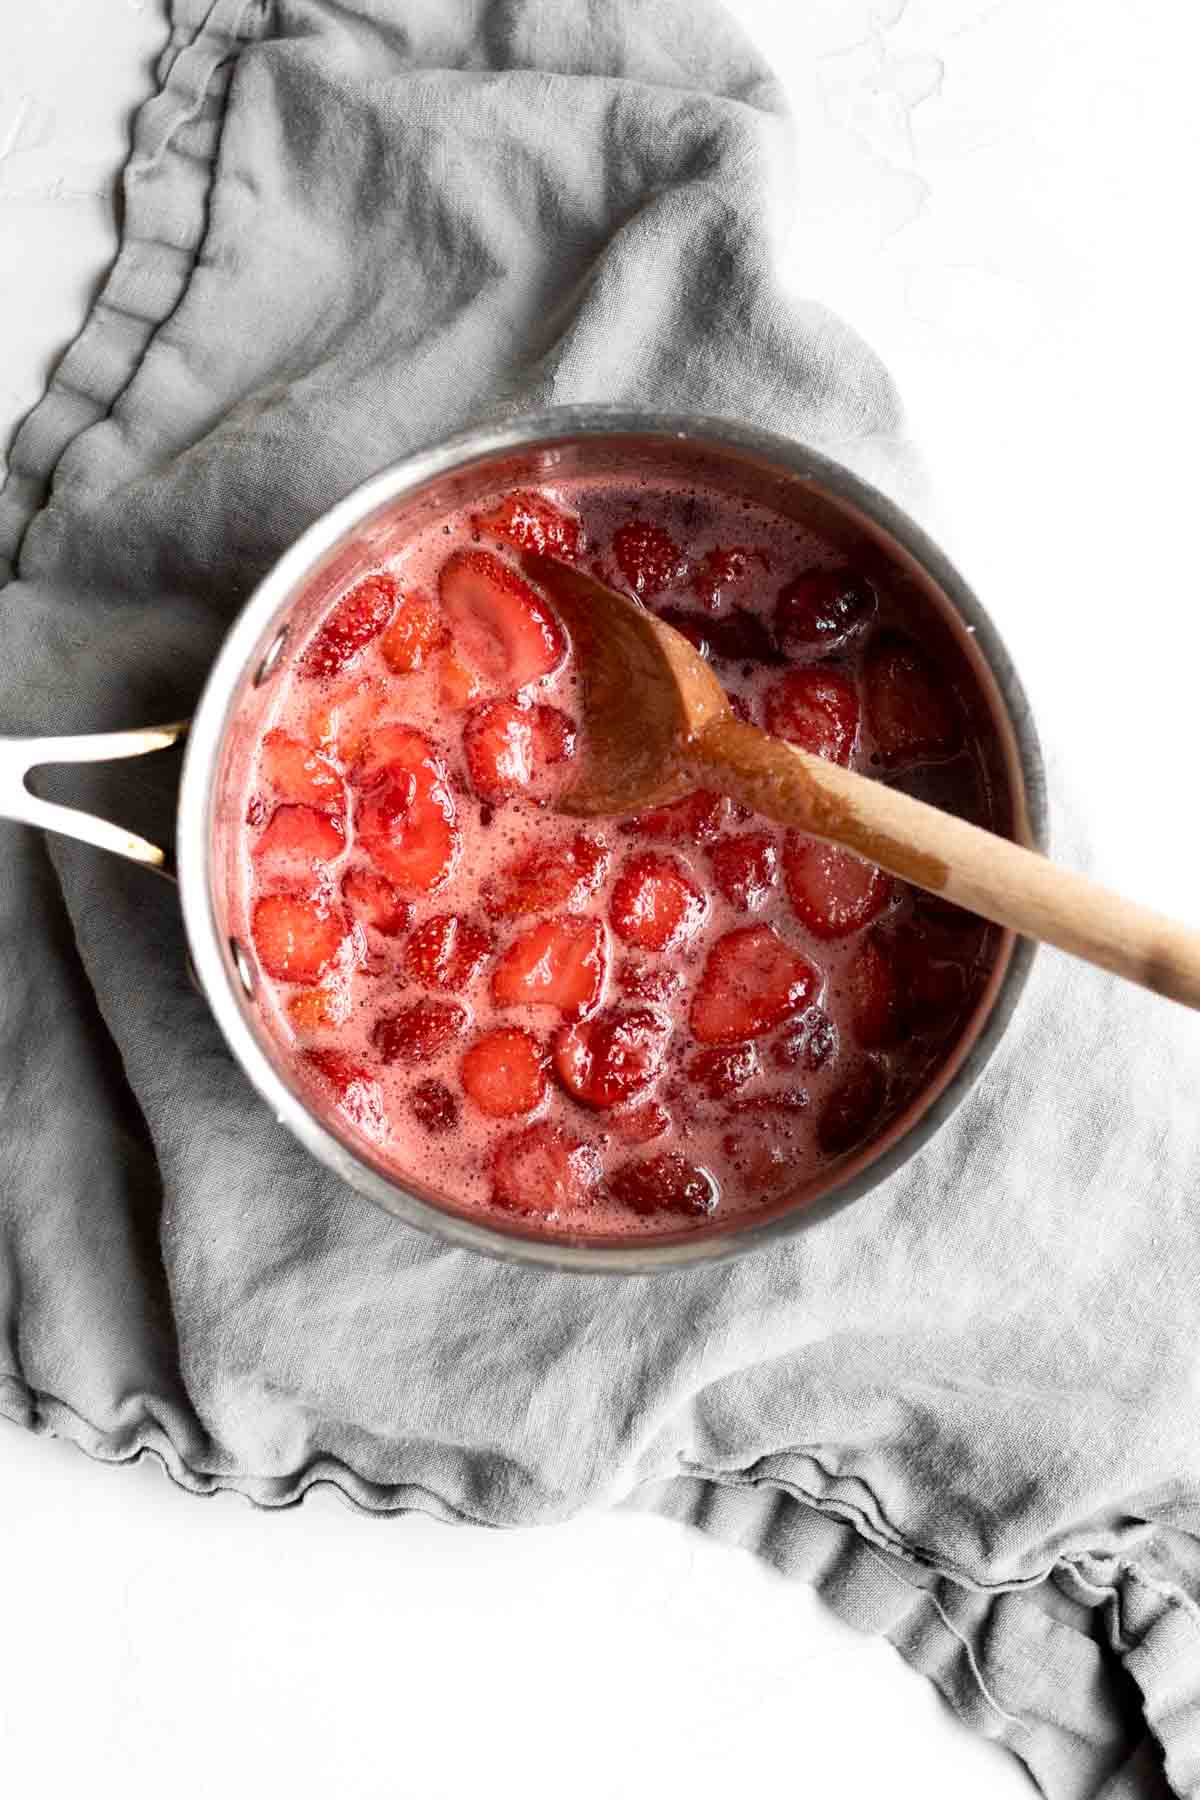
Stirring constantly, cook until the mixture begins to boil, about 5 minutes.
Once boiling, smash strawberries with the back of a spoon or use a masher, turn the heat to low and cook for about 1 hour and 15 minutes, stirring frequently until the mixture thickens.
If you're using fresh strawberries, the jam will most likely take longer than the 75 minutes to thicken due to added moisture.
Step 3: Let it Cool
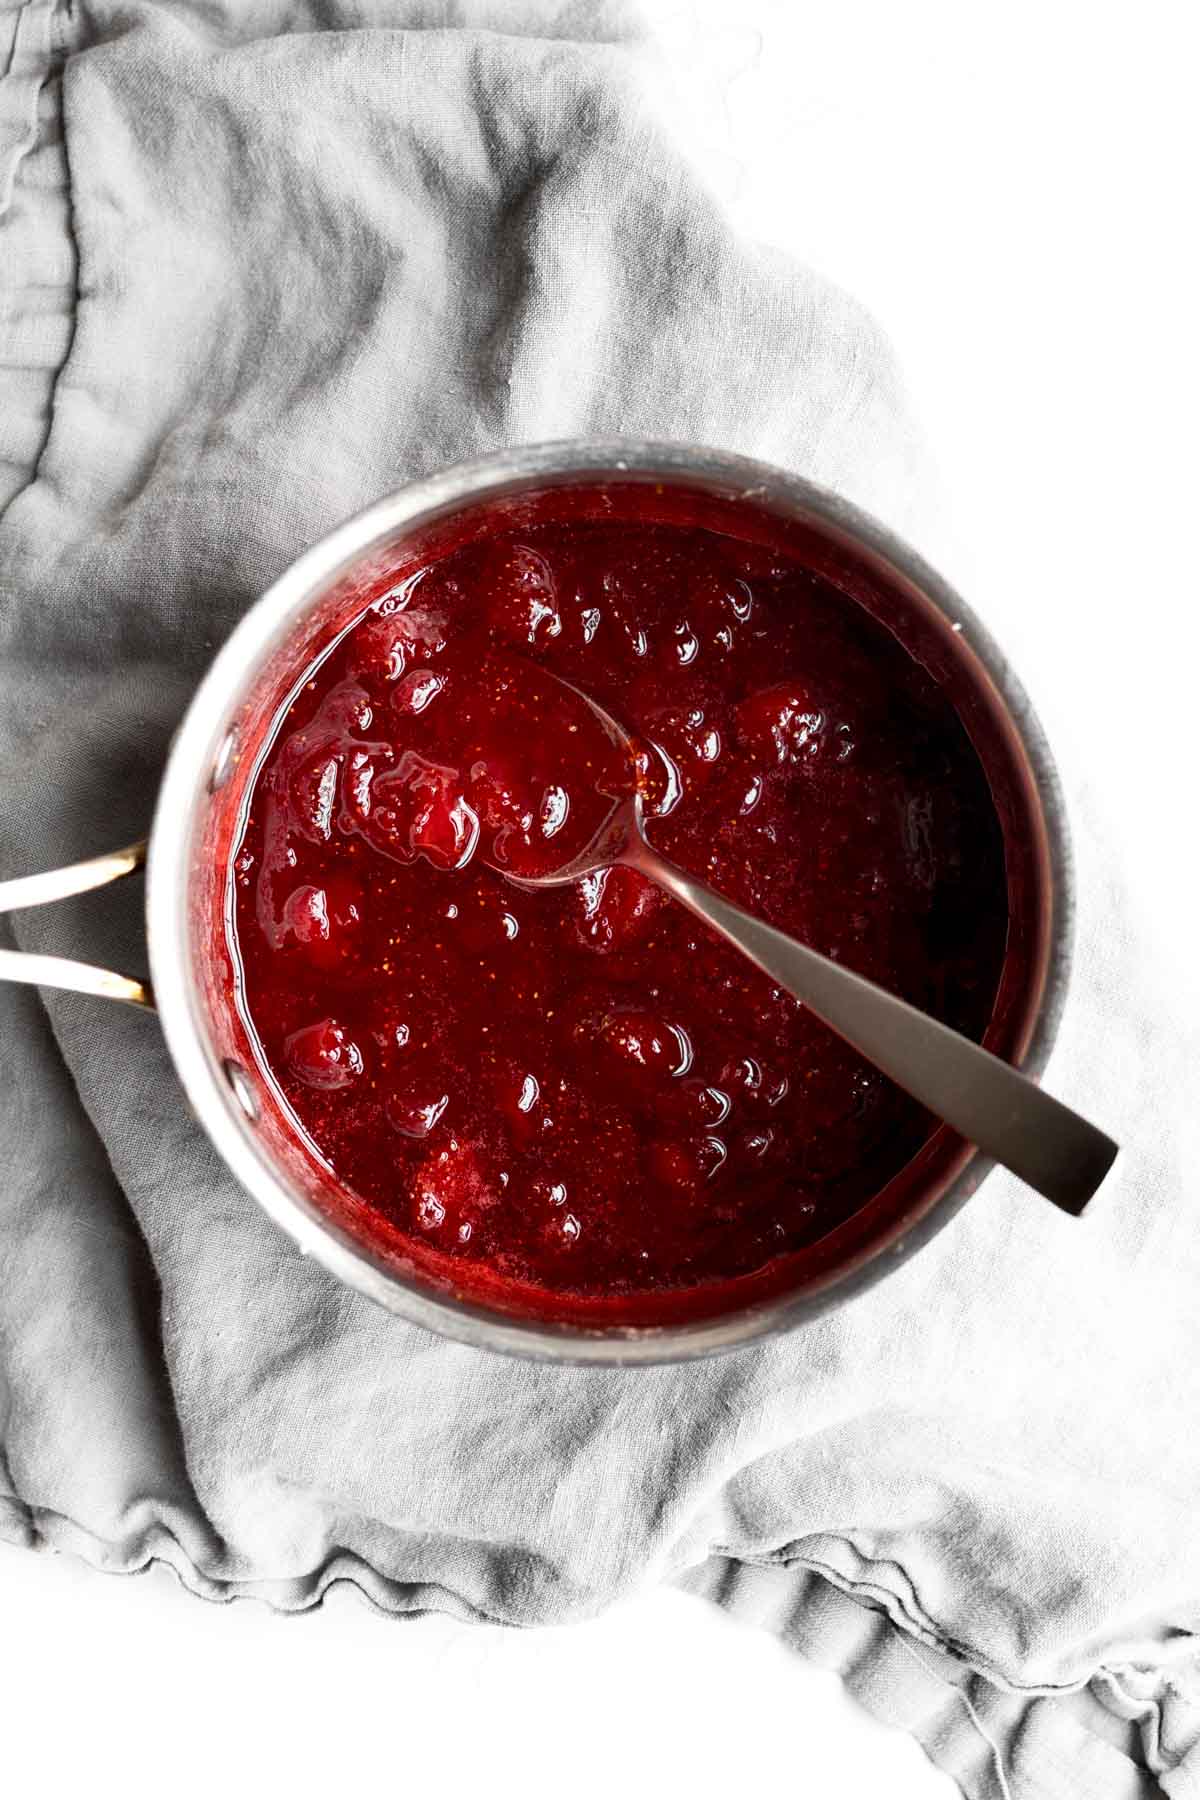
After 1 hour and 15 minutes, it should look thick yet still liquidy but syrupy. Let it cool. It will thicken more.
If not thick, continue cooking at low heat. Once thickened, remove from the heat and let it cool for 30 minutes. It will thicken more.
Once completely cool, transfer to an airtight container and refrigerate.
Make the Cookies
Step 1: Whisk Together the Dry Ingredients
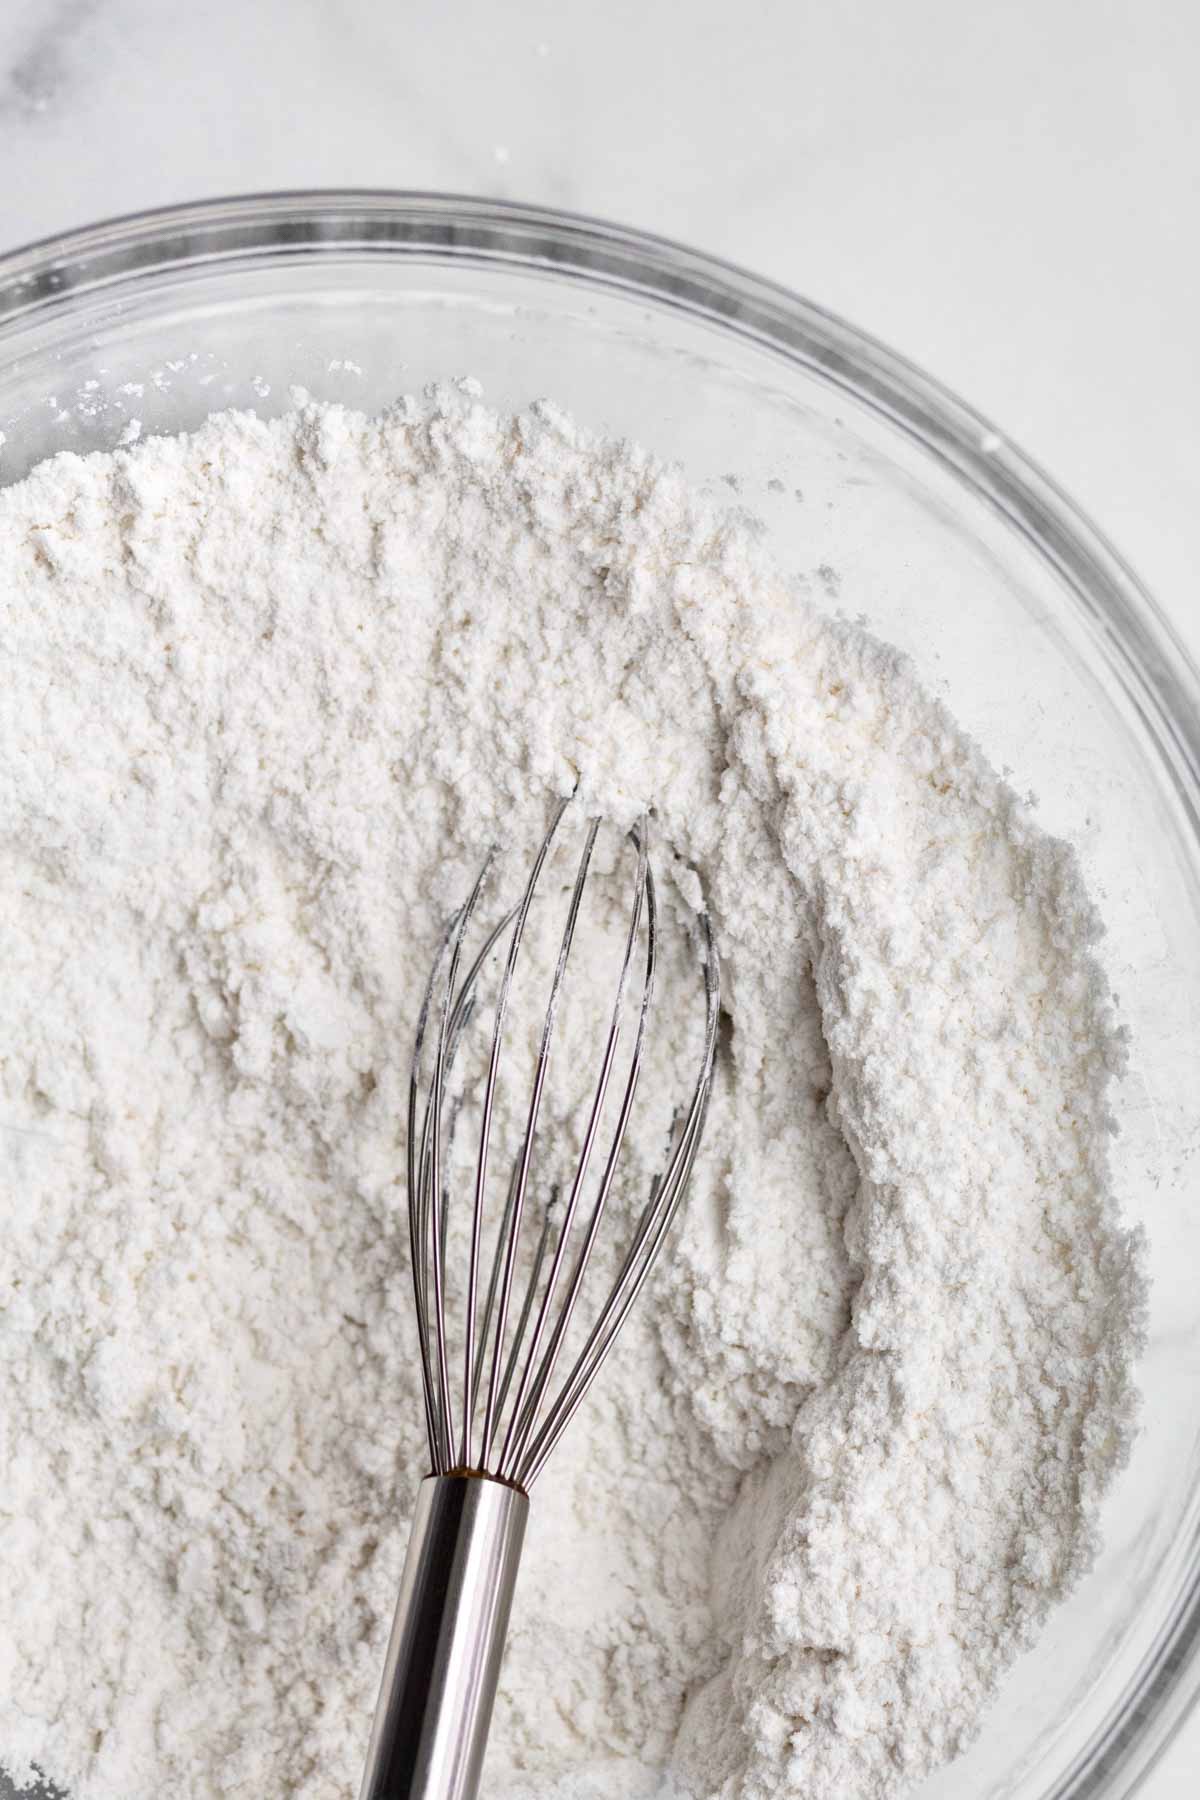
In a large bowl, whisk together the gluten free flour, baking powder, 1.5 tablespoons of cornstarch and salt. Set aside.
Step 2: Make the Cornstarch Water
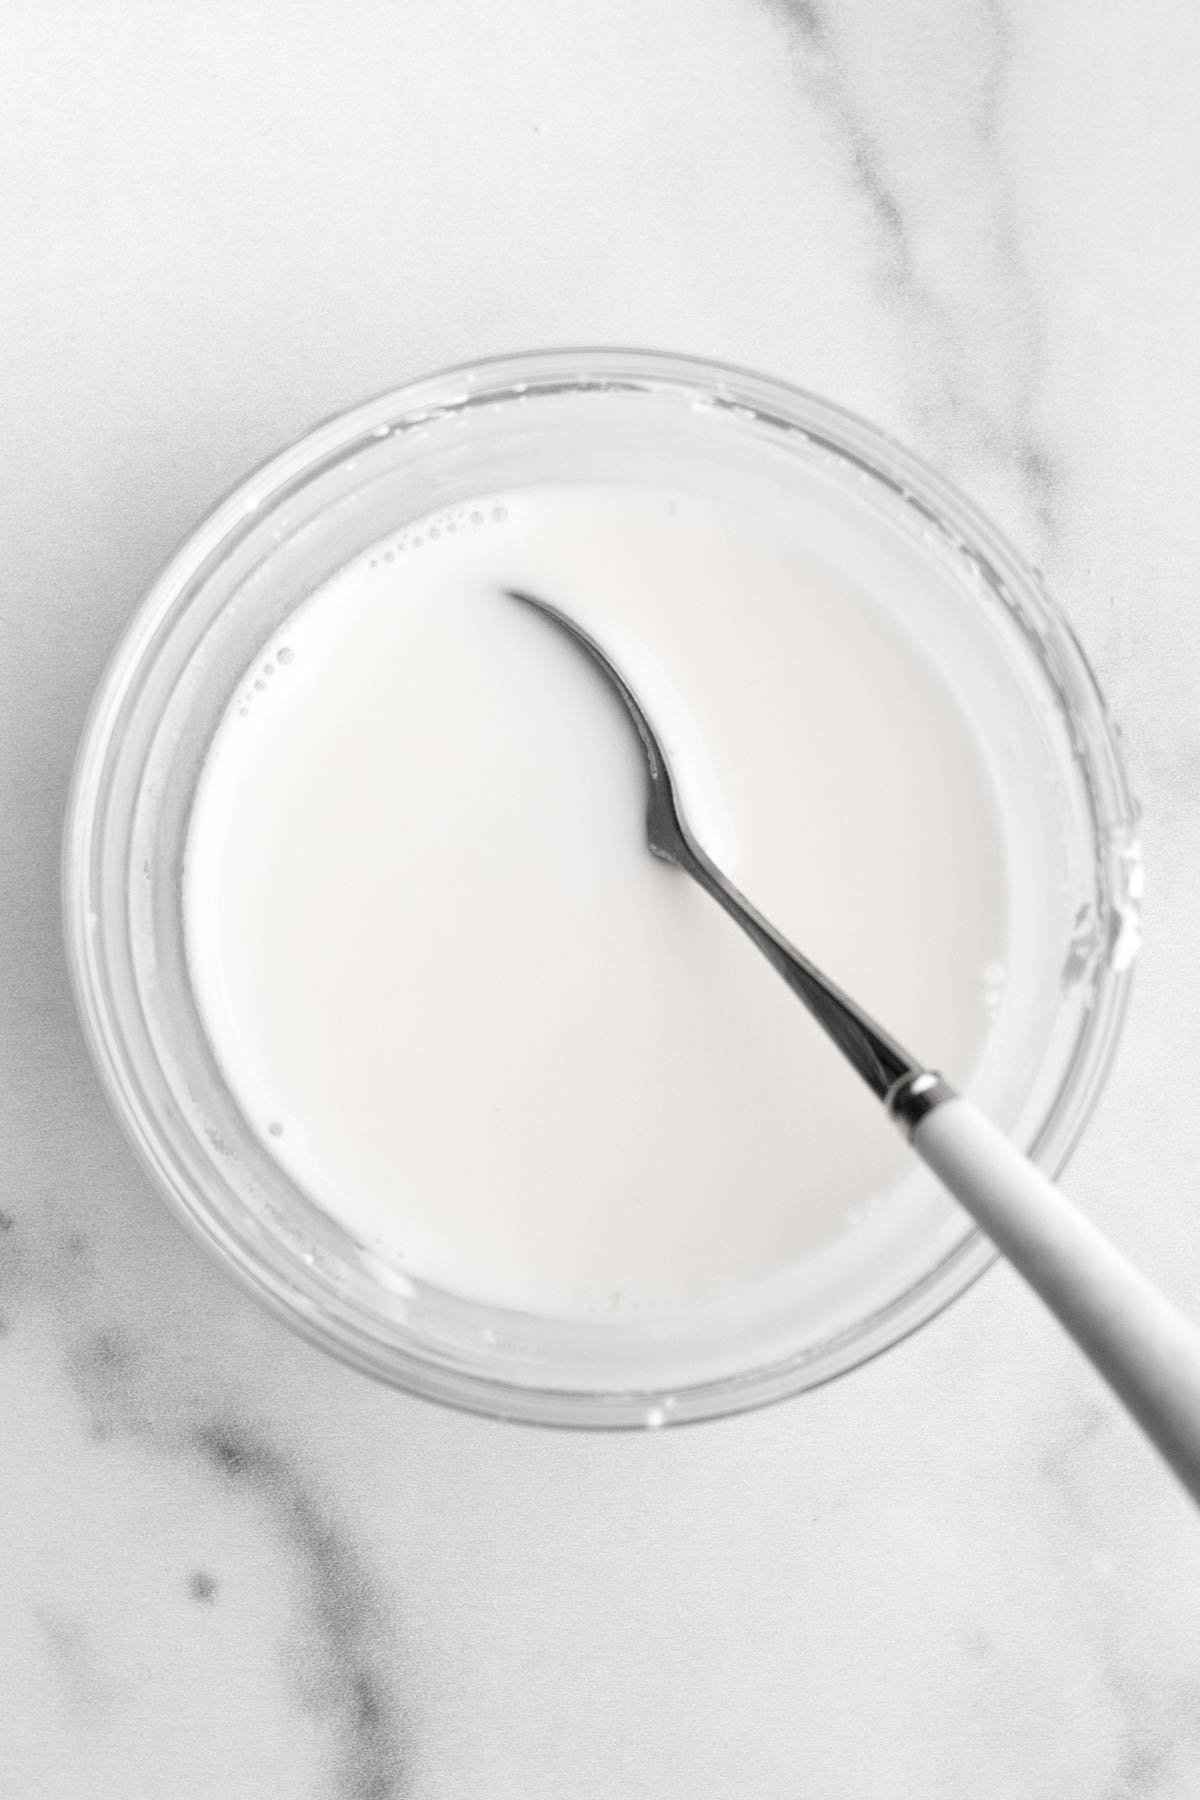
In a small bowl, using a spoon, mix together the 2 heaping tablespoons of cornstarch with 3 tablespoons of water until thin and watery. It will be thick and tacky at first.
Step 3: Cream the Butter and the Sugar
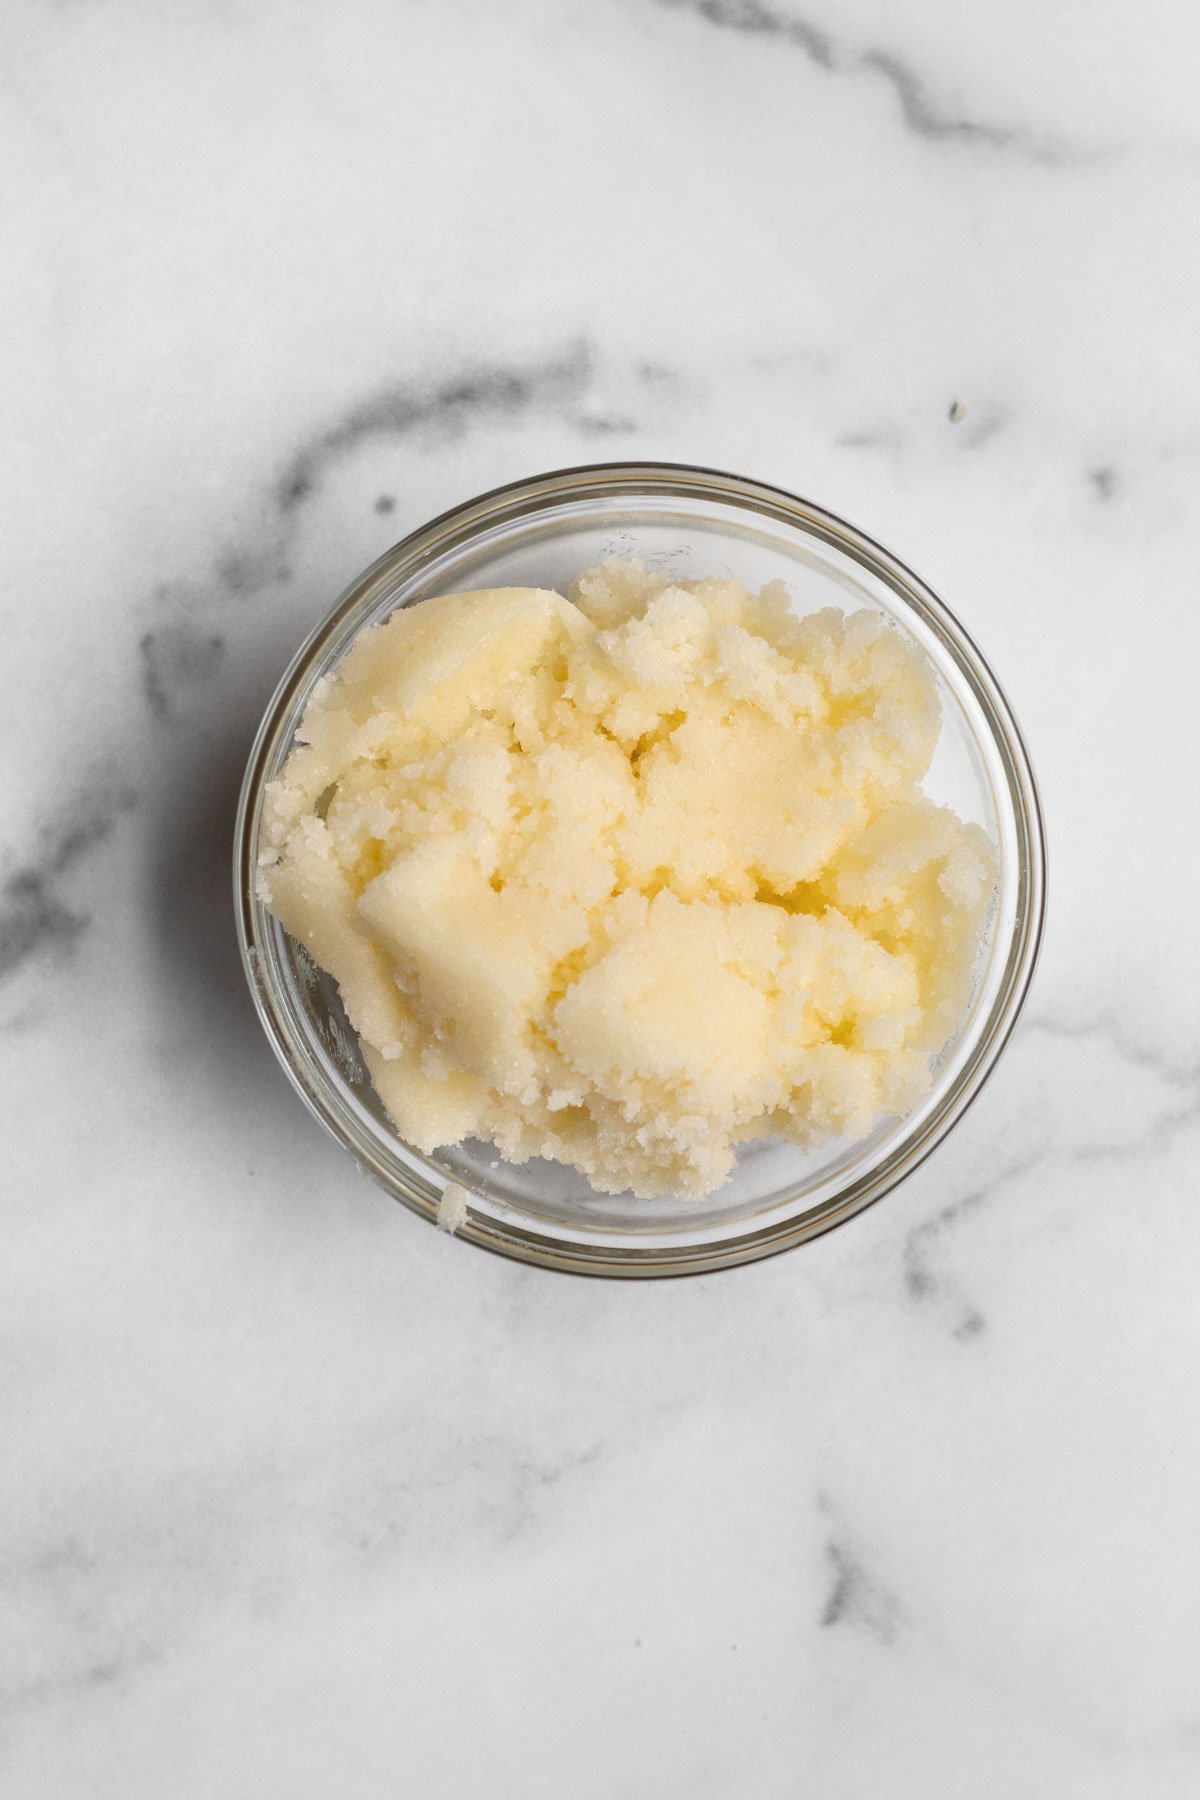
In a large bowl of an electric mixer fitted with the paddle attachment, or using a hand held mixer, beat the butter or vegan baking stick and 1 ¼ cups of the granulated sugar until it is soft and creamy. About 2-3 minutes.
Step 4: Add in the Other Wet Ingredients
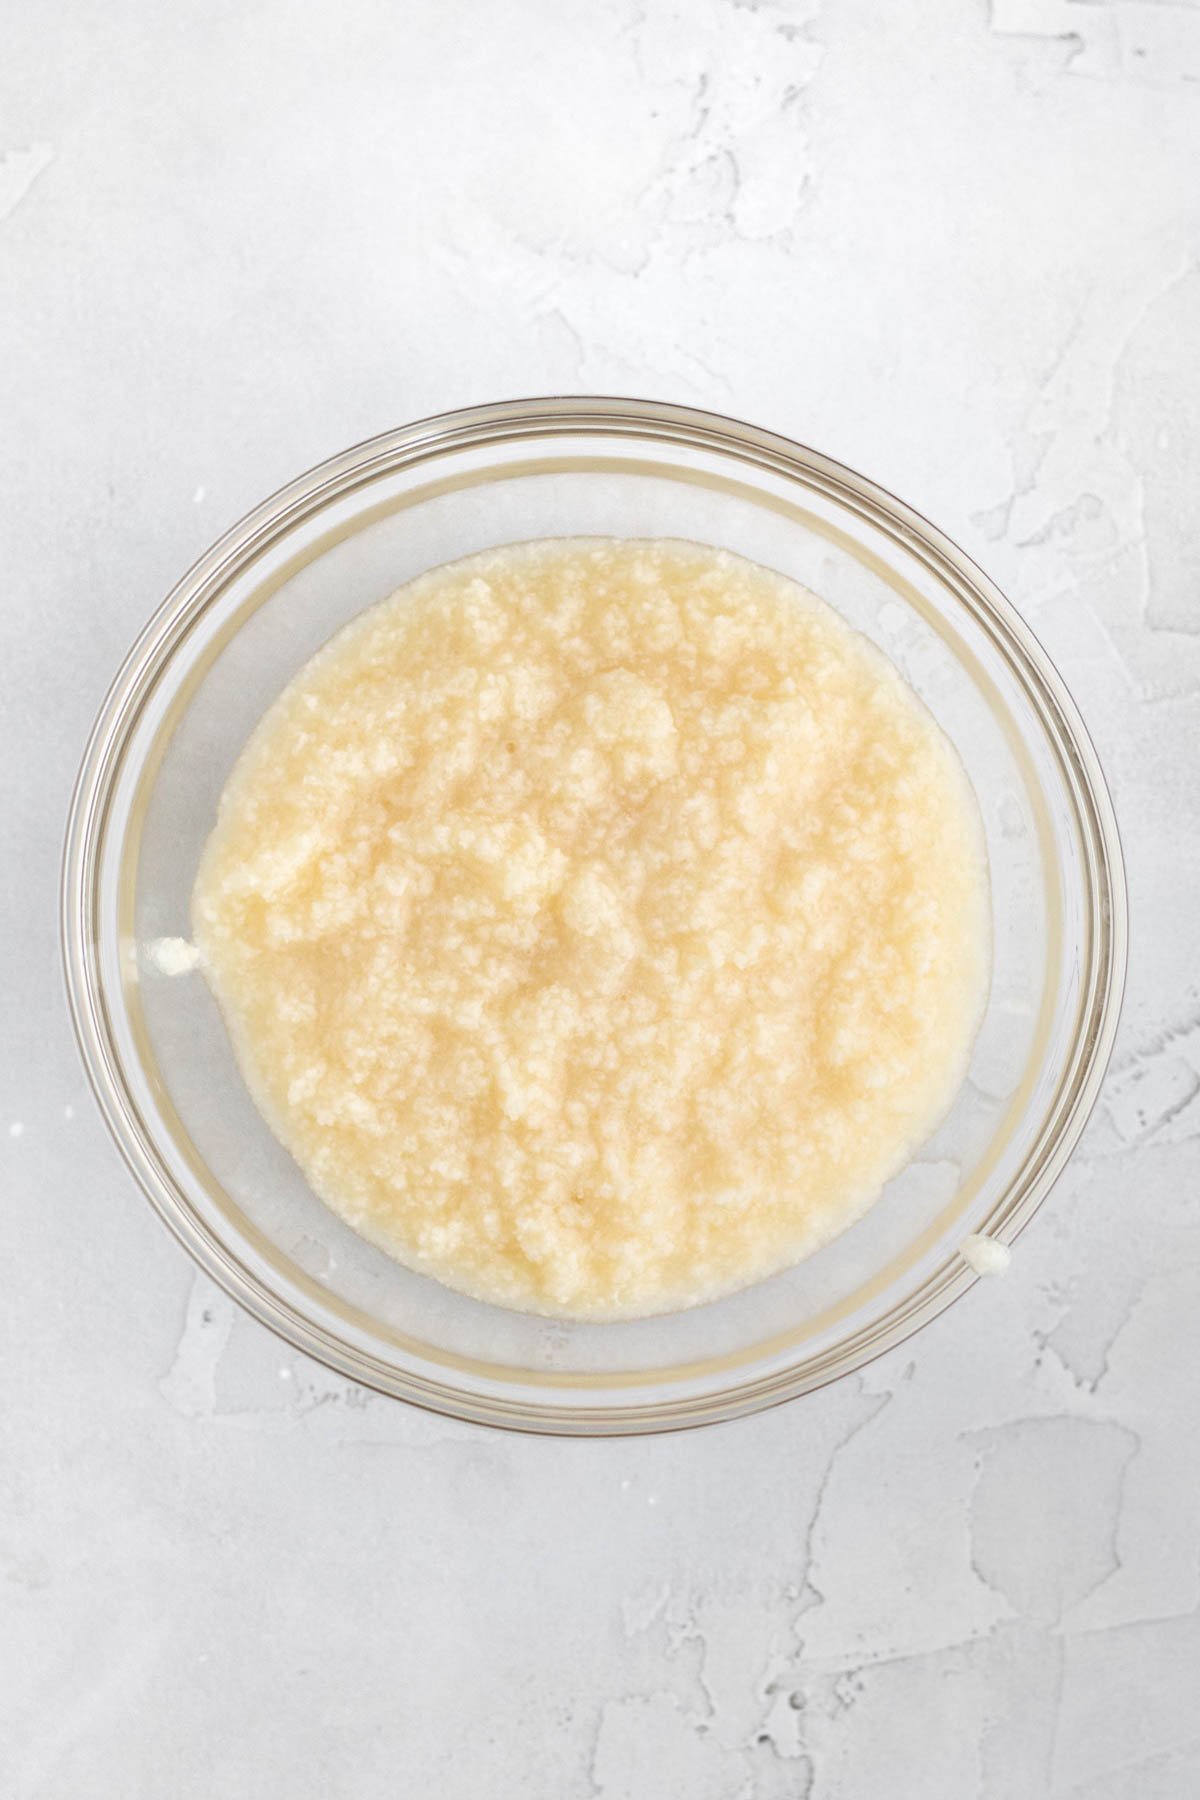
Slowly beat the cornstarch water mixture, milk and the vanilla into the creamed butter and sugar. The mixture will look chunky; that's normal.
Step 5: Add in the Dry Ingredients, Strawberry Jam and Chill
Slowly beat in the gluten free flour mixture a little at a time until just combined.
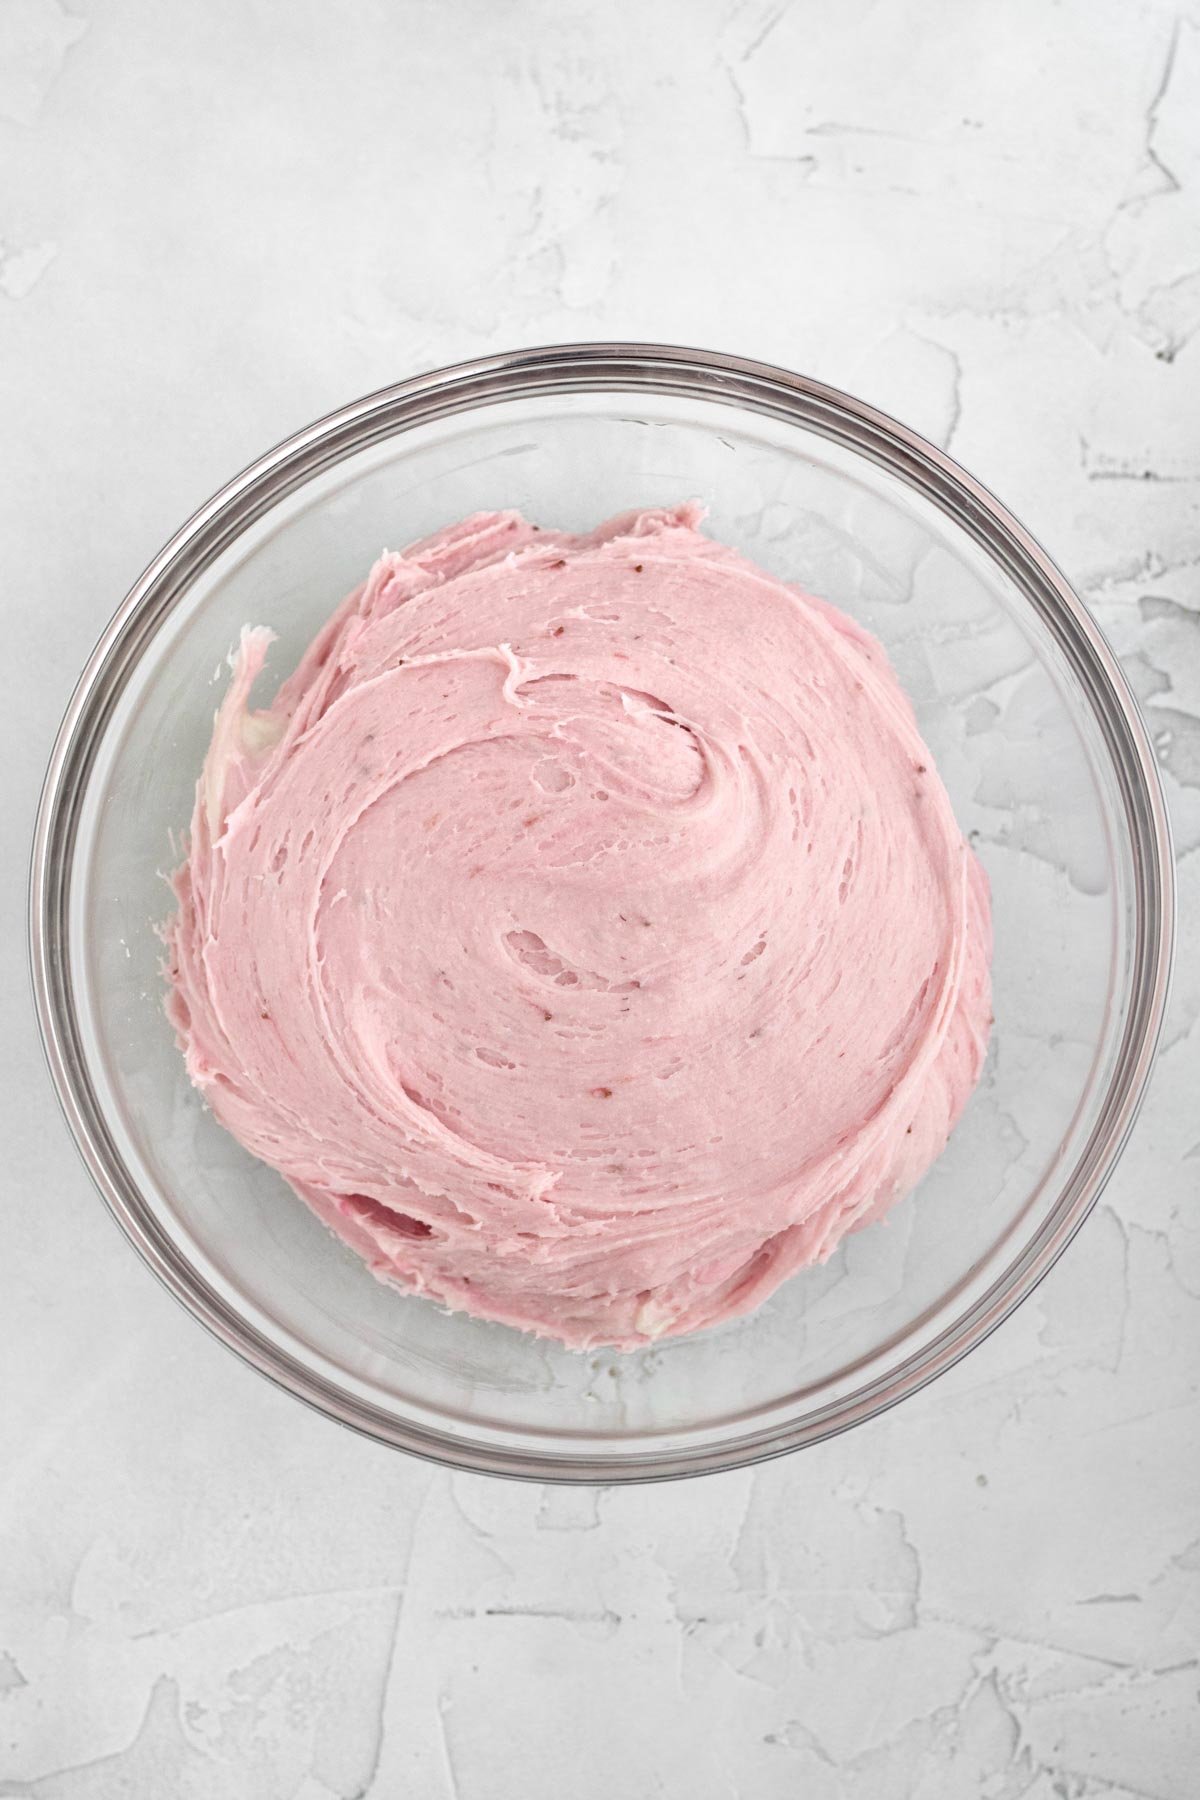
Take ¼ cup of the cooled strawberry jam and slowly beat it into the dough until the dough no longer appears slimy.
If desired, add in 4 drops red food coloring and mix into the dough so it is blended throughout. The dough will be very thick and sticky; almost like taffy.
Keep the dough in the bowl, cover the top with plastic wrap and refrigerate for at least 2.5 hours. You must not skip this step or the cookies will spread everywhere while baking.
Step 6: Scoop the Dough and Coat with Sugar
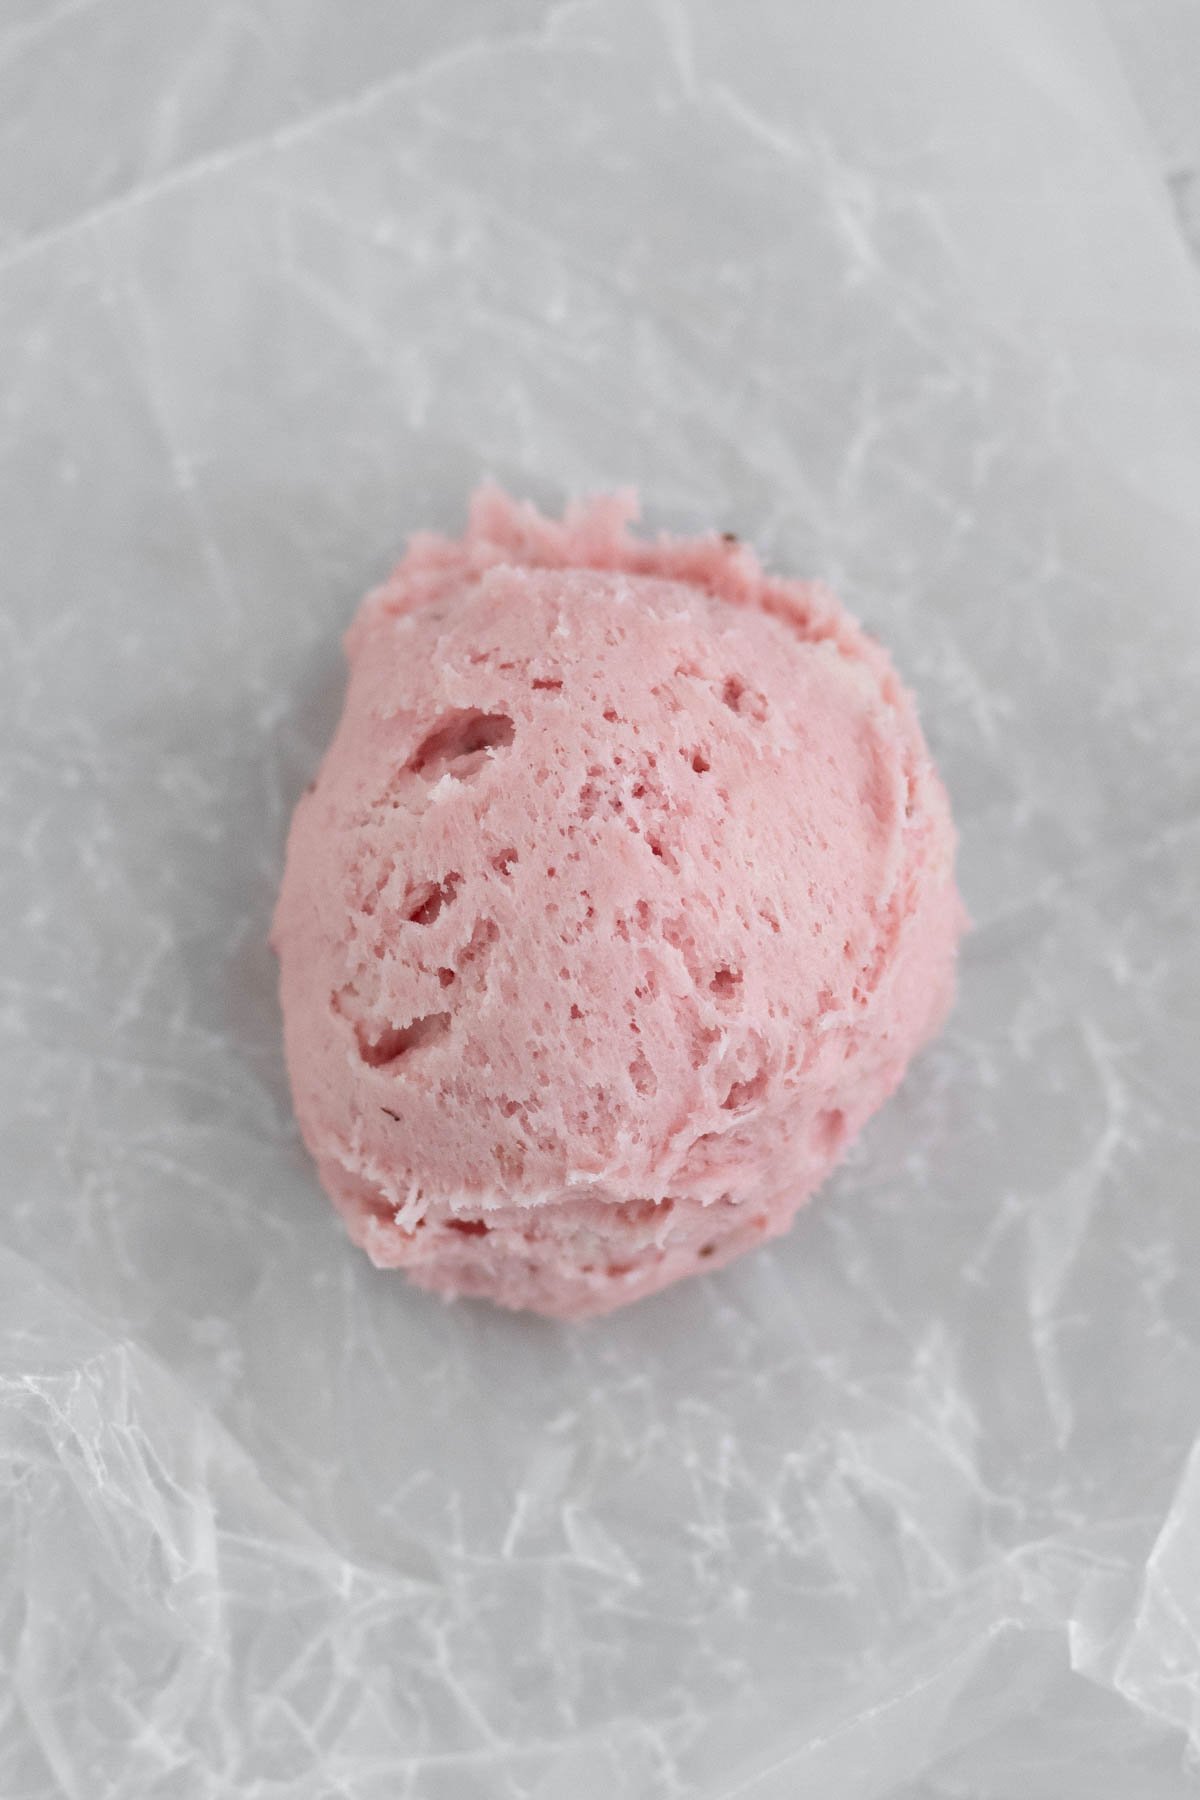
Take the dough out of the fridge. Using an ice cream scoop or large cookie scoop (I use a 2 ounce cookie scoop), scoop the dough out into 12 scoops.
The cookie dough will be quite sticky and may stick to your hands if they're warm.
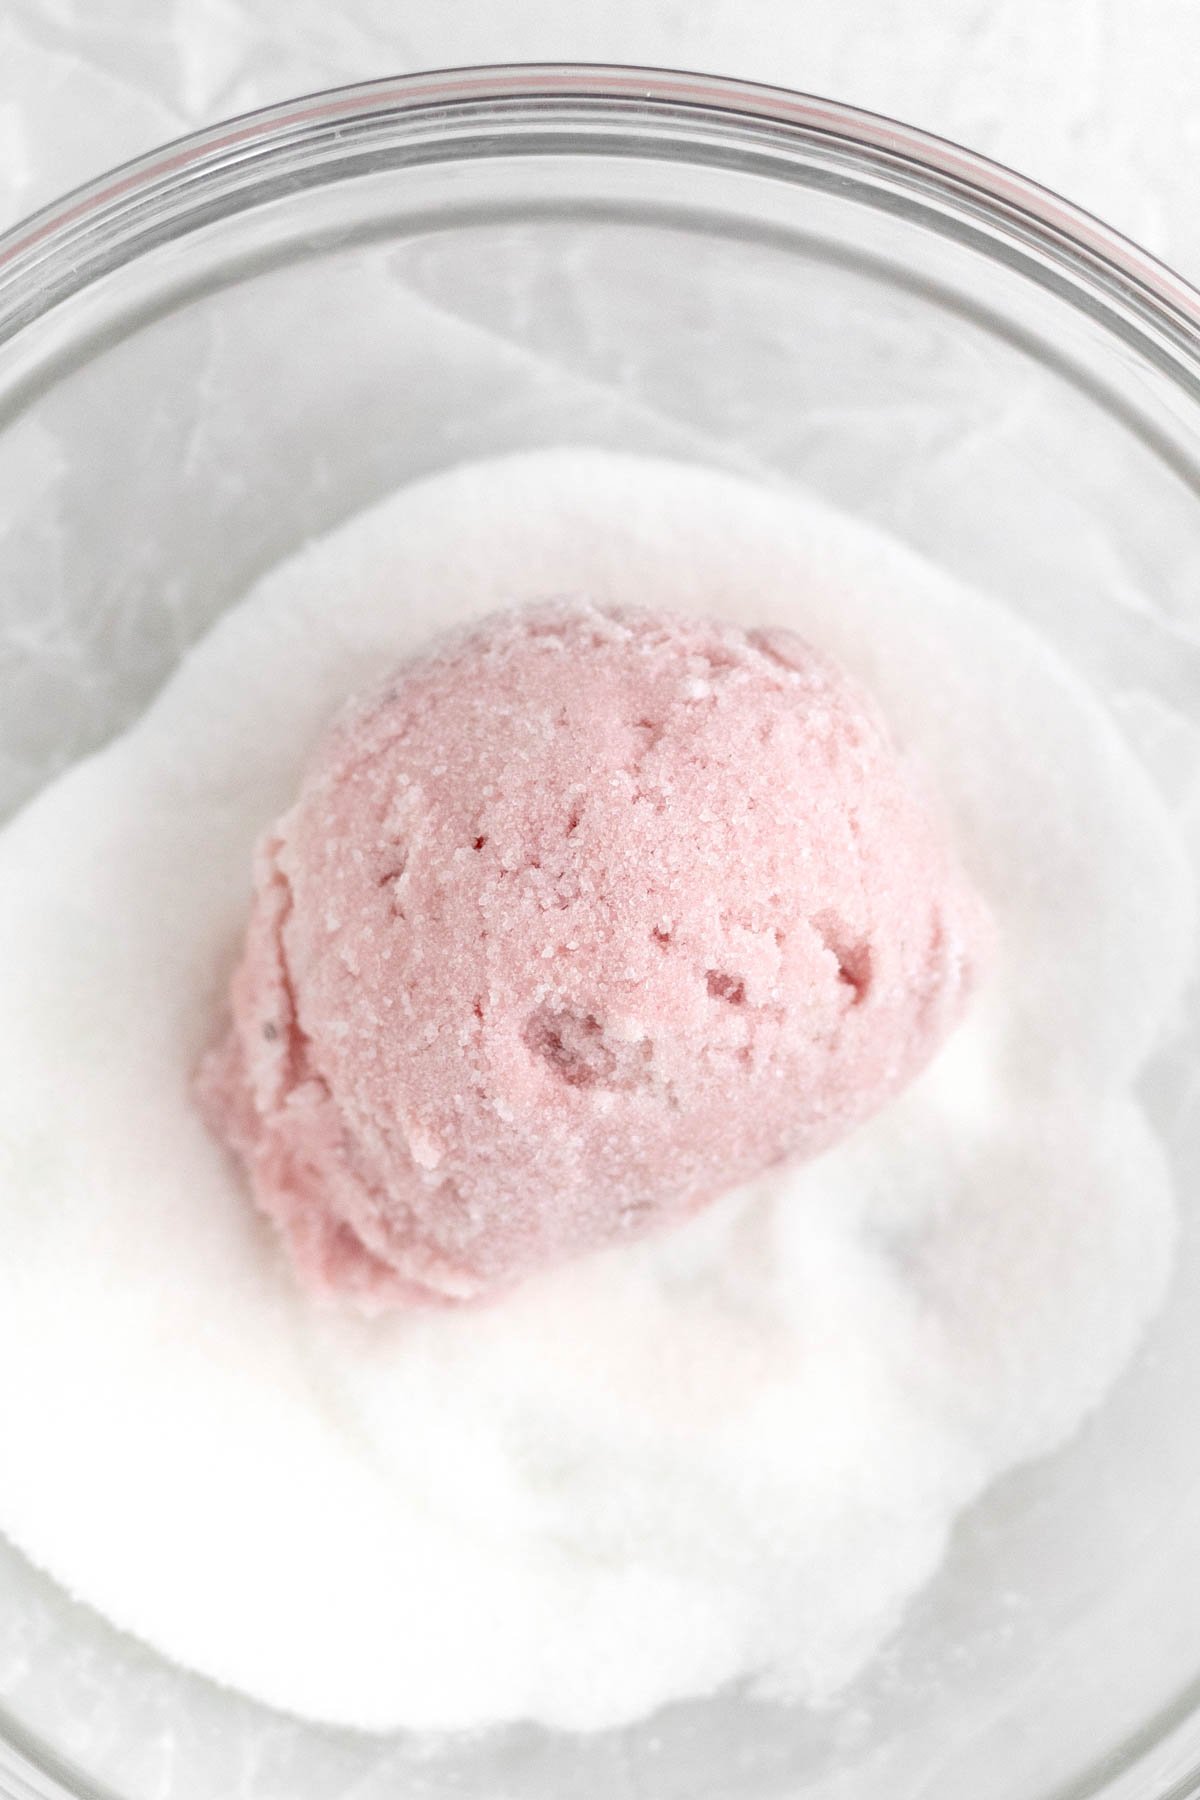
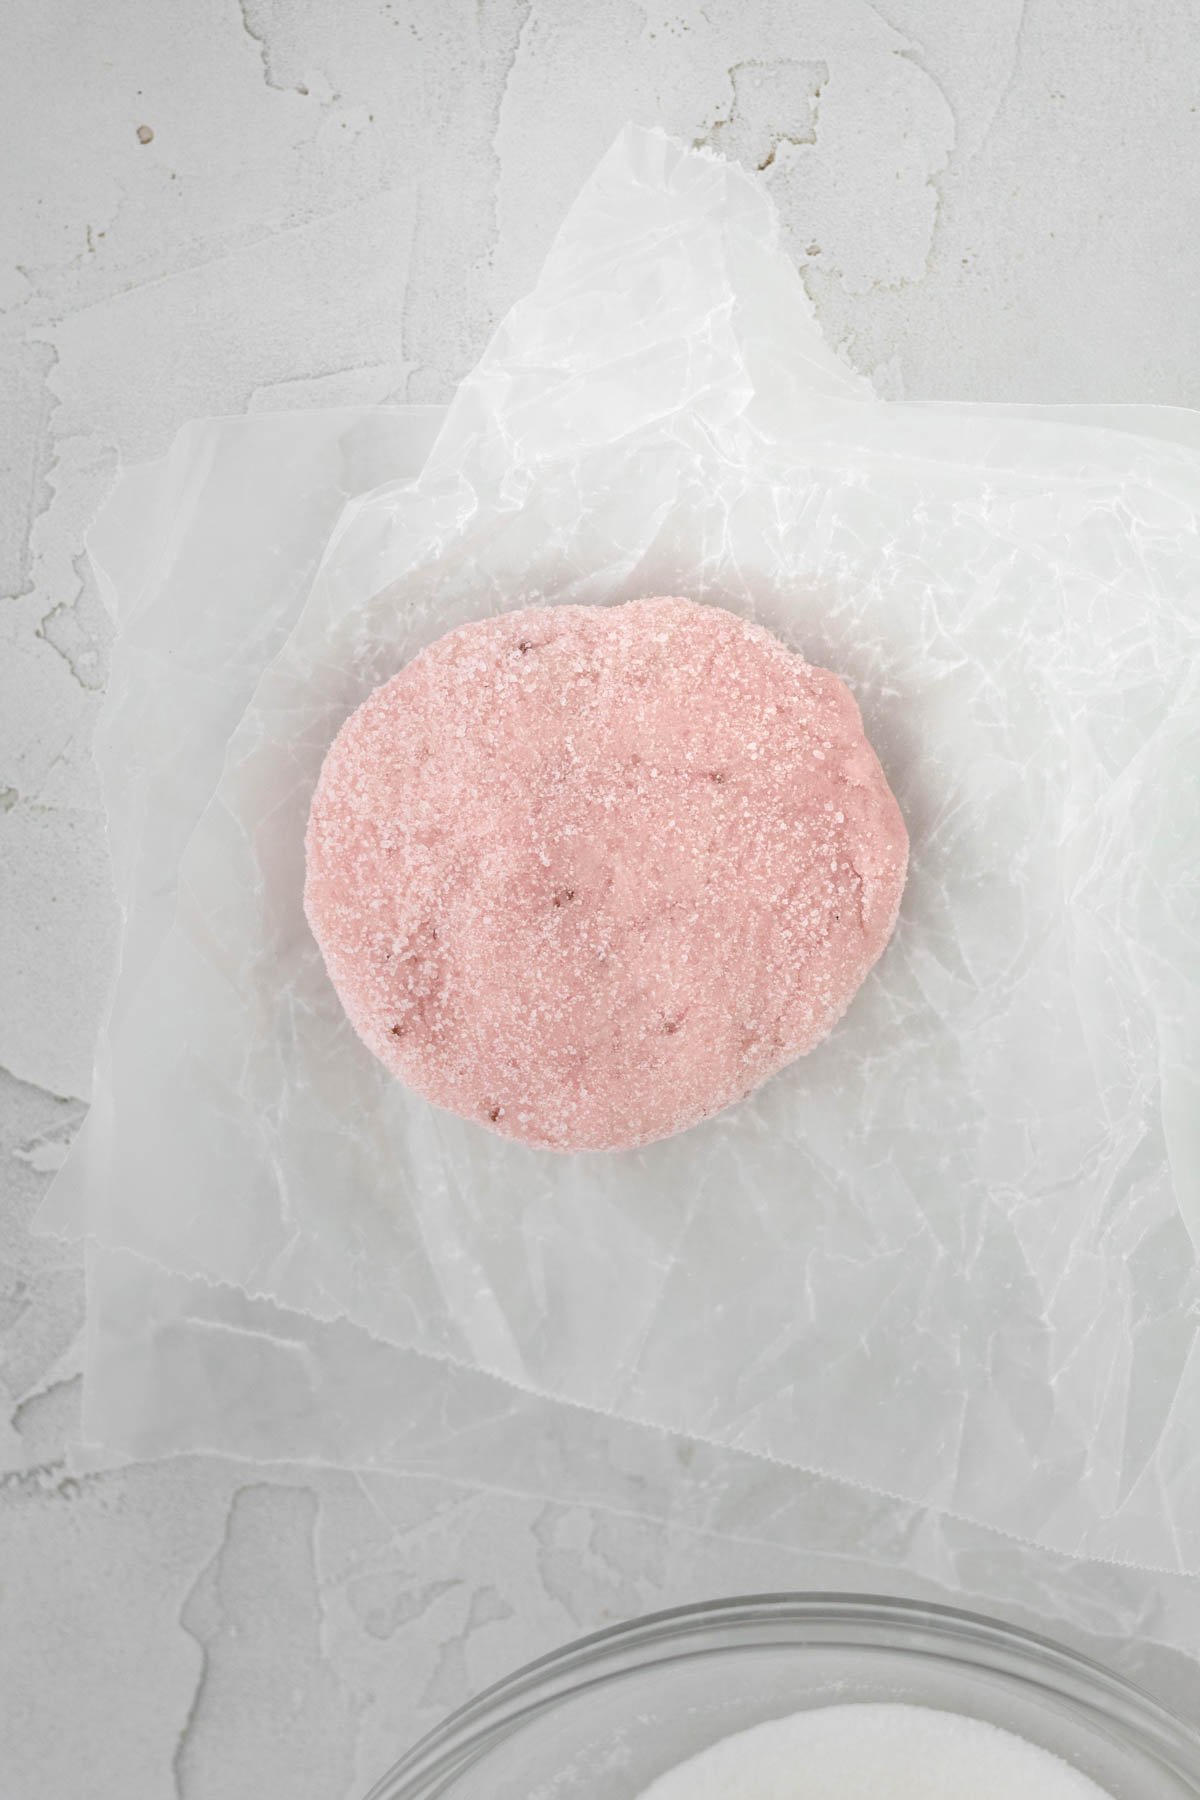
Immediately roll each dough ball in the extra 3 tablespoons of granulated sugar and coat completely. This will make the dough balls not sticky.
Step 7: Flatten into Thick Discs
Flatten each scoop into a thick disc versus a ball. If you don't do this step, the cookies will remain in the ball shape when baking. The disc may stick to your hands again while shaping.
Once again, drop the disc in the granulated sugar to coat. This will prevent the stickiness as well.
Step 8: Bake the Cookies and Cool
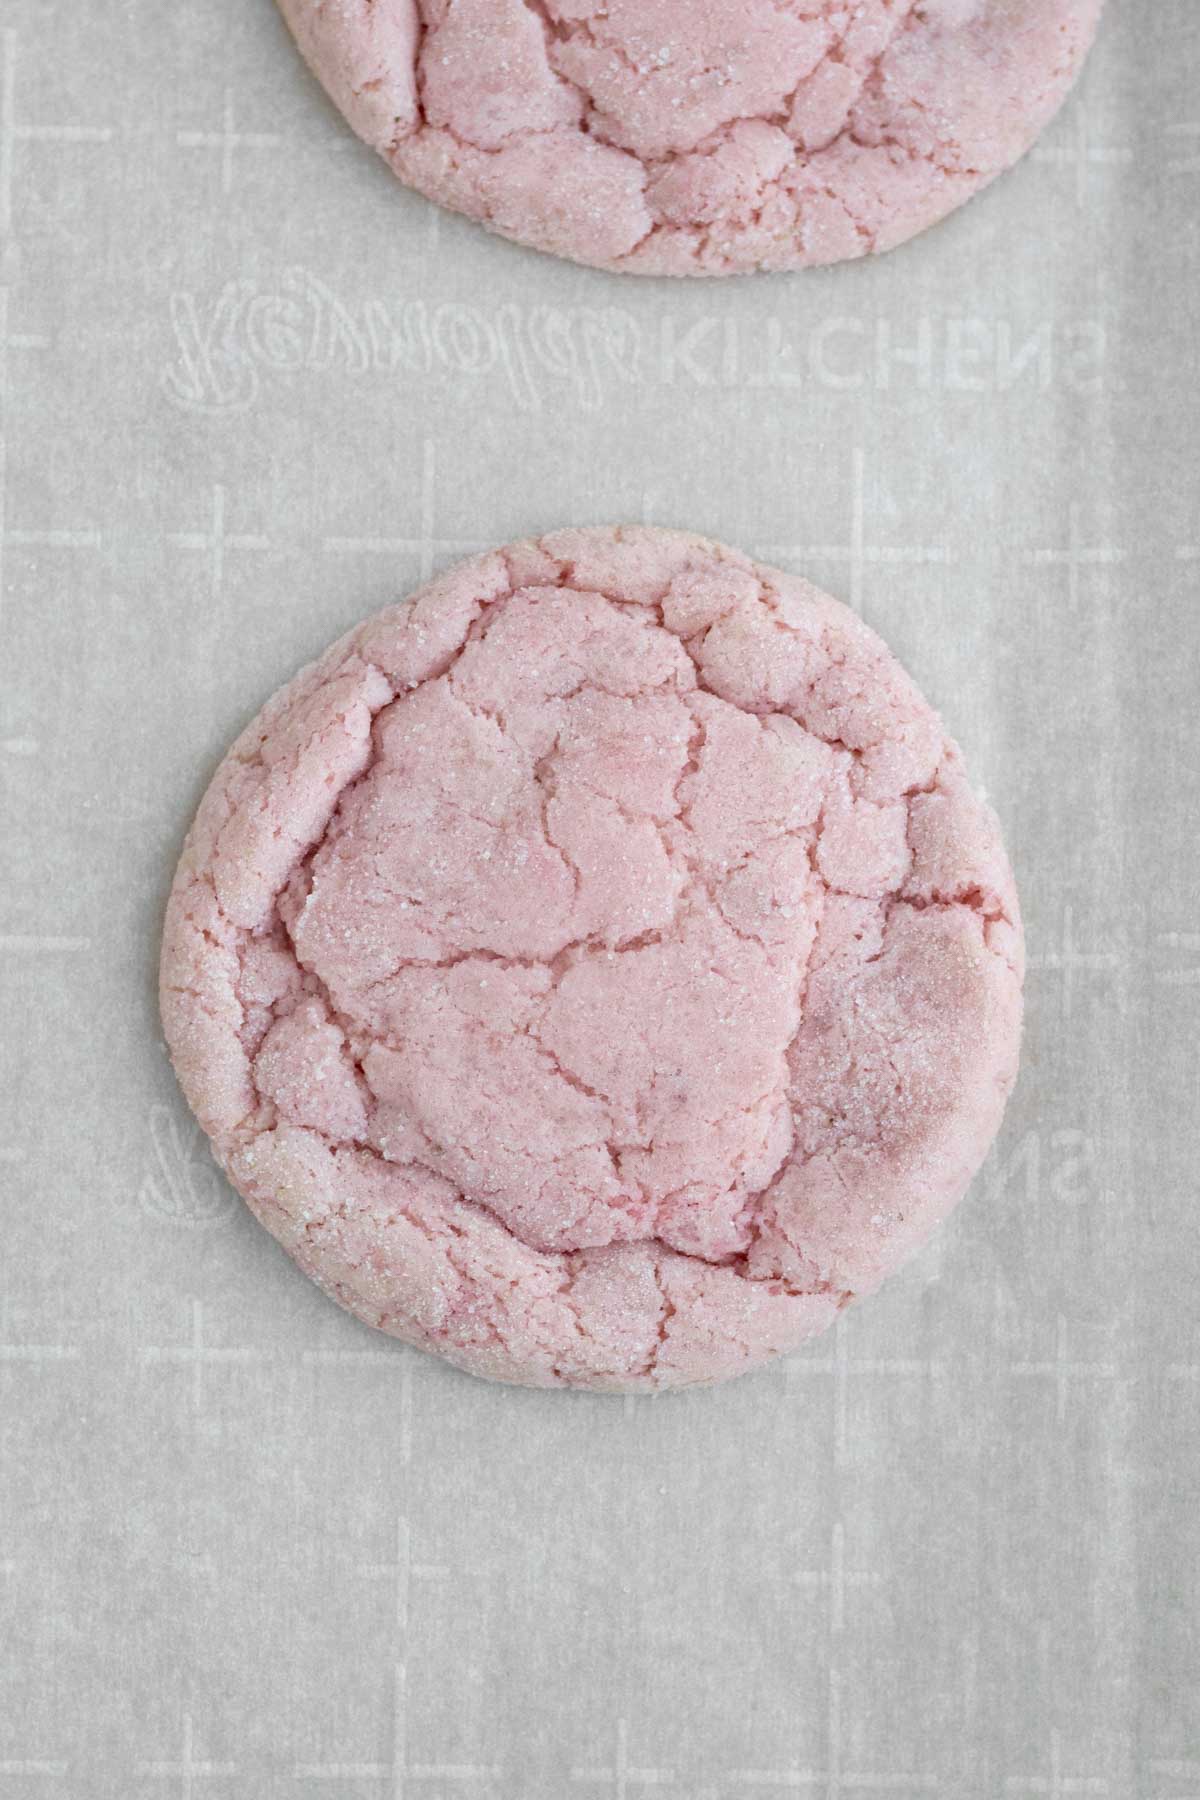
Place dough discs about 3-4 inches apart on the parchment lined baking sheet. Bake the cookies at 325 degrees Fahrenheit for 15 minutes.
Store extra dough discs in the fridge while the rest are baking if they don't all fit. I only bake 6 at a time.
Immediately reshape the cookies when they come out of the oven by using a spatula to push them into a circle shape and let cool on the baking sheet for 5 min before transferring to a cooling rack. If you don't do this, the cookies will break apart into a giant mess.
Transfer cookies to a cooling rack and let them cool completely. If you place the jam onto the hot cookie, it will develop a liquid layer in-between the cookie and the jam.
Step 9: Add the Strawberry Jam
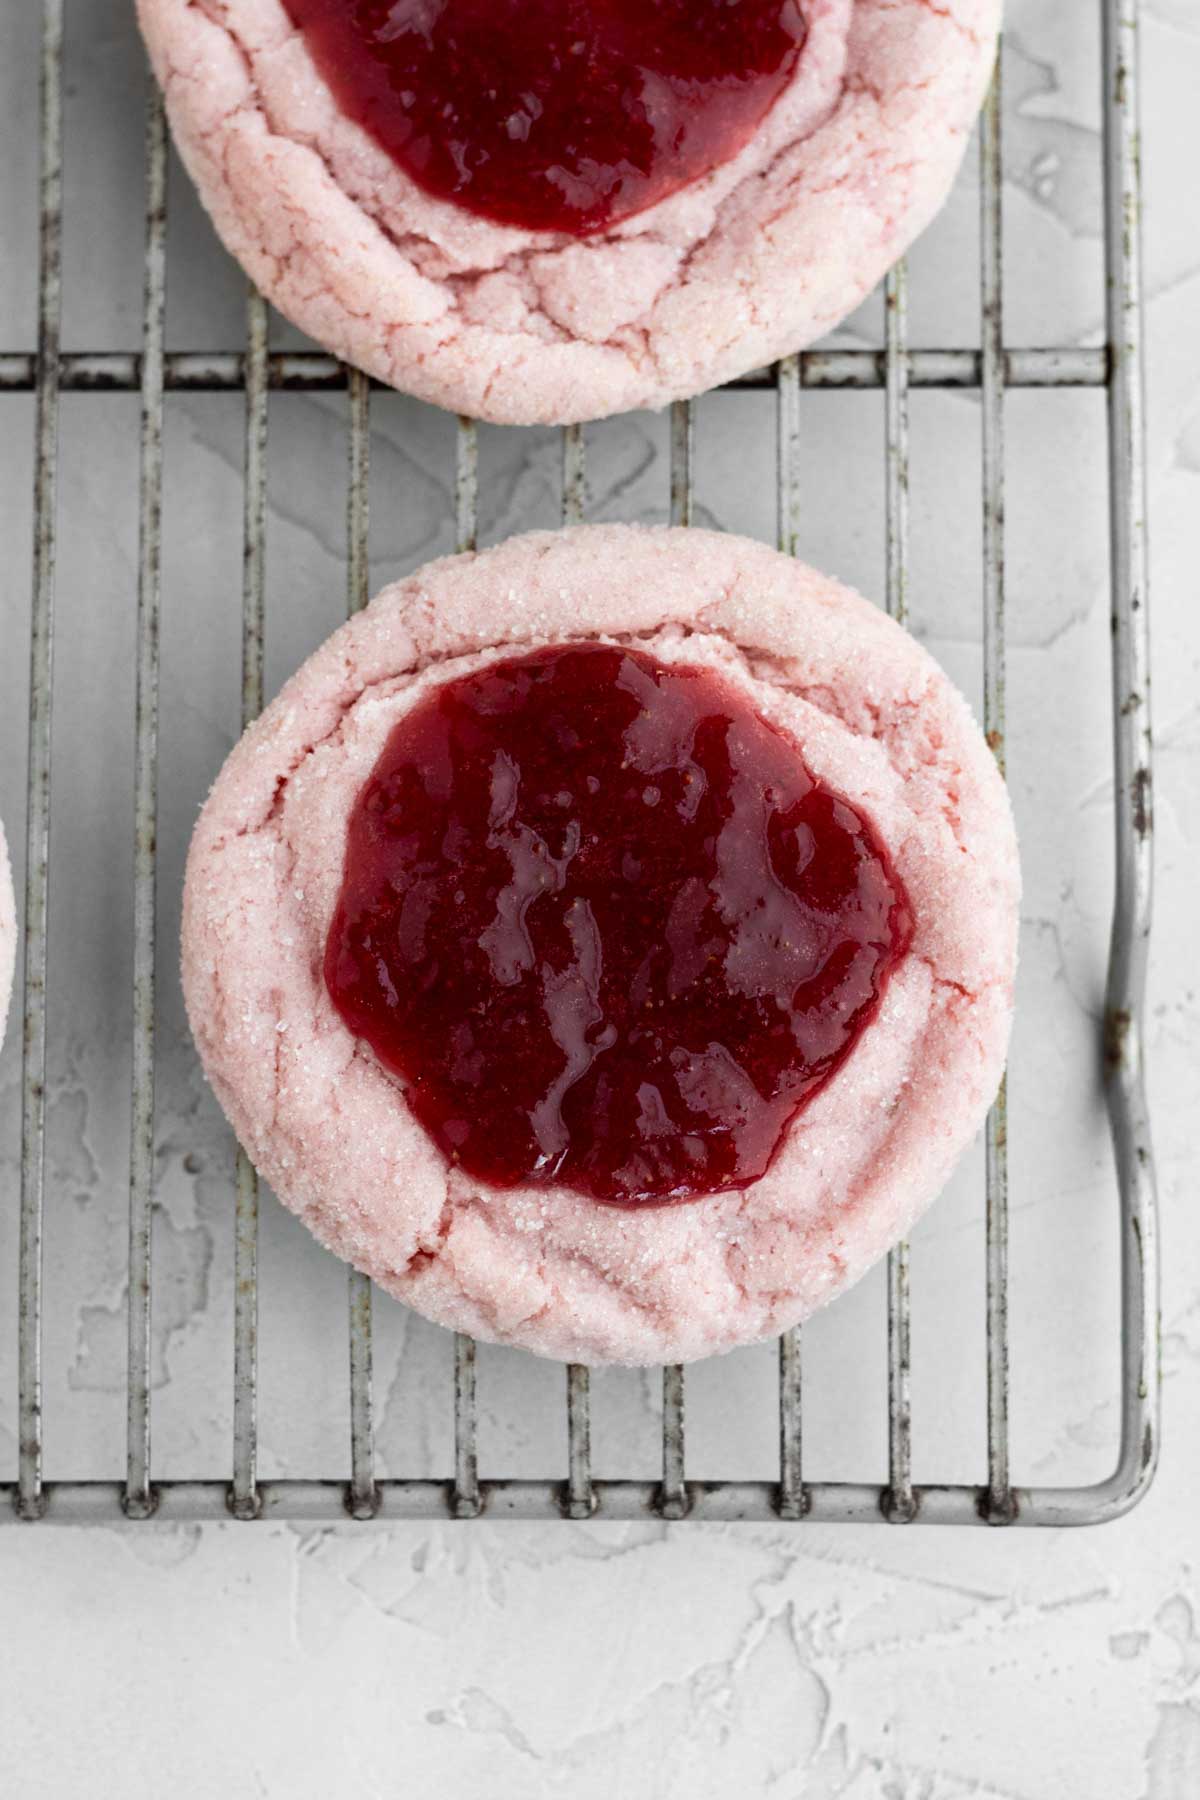
Once cool, spread about ½ teaspoon of strawberry jam onto the tops of the cookies, making sure you keep the jam away from the edges of the cookies; otherwise you'll end up with a mess.
Make The Glaze (If Desired)
Step 1: Mix The Glaze Ingredients
In a small bowl, whisk together the 1 cup of confectioners' sugar and 1 tablespoon of cooled strawberry jam.
Start adding in the 1.5 tablespoons water a little at a time until you reach the desired consistency. You may not need all the water. The glaze should be thick enough to coat the back of a spoon and not thin and watery.
Step 2: Drizzle The Glaze
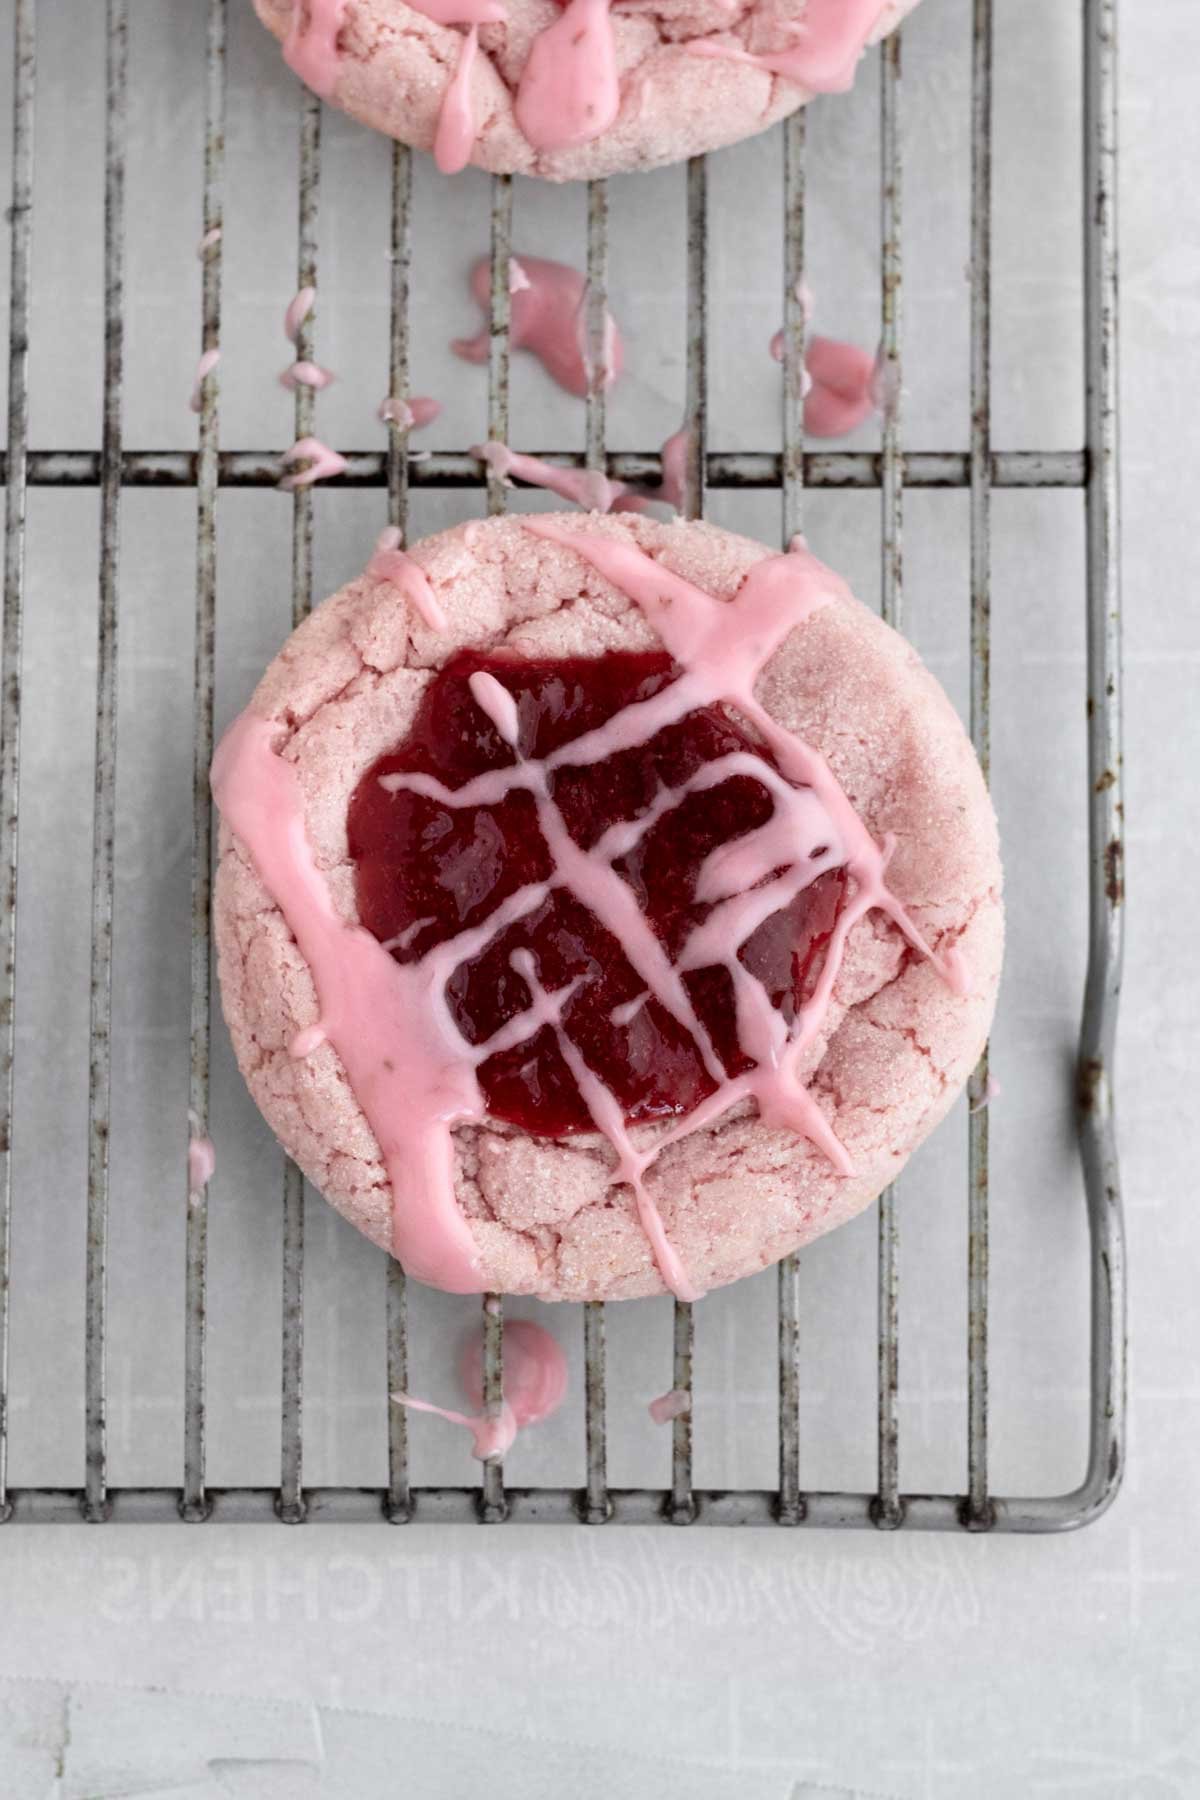
Drizzle the strawberry glaze on top of the cool cookies. If you drizzle it on warm cookies, the glaze will melt.
It is easier to hold your hand about 6 inches above the cookies and move your arm side to side while drizzling to create a horizontal pattern. Then get more glaze and move your arm from top to bottom to create a vertical pattern.
Let the glaze harden prior to storing.

Expert Baking Tips
- Making the Jam- The jam must be thick; it cannot be watery like a strawberry sauce otherwise a wet layer will form under the jam (on top of the cookie) after storing. If the jam is still too liquidy after cooking for 75 minutes, continue to reduce it down on low heart, until thick. This process does take a while. I advise making the jam the day prior to making the cookies. Let the jam sit out at room temperature for about 15-20 minutes prior to adding to the dough.
- Use Packed Cups of Flour- Normally in baking we do not use packed cups however, when working with gluten free, I've found using packed cups works best to help the baked goods keep their shape. For this recipe use packed cups or please read the gram amount.
- Use Room Temperature Butter- Do not use softened or melted butter/vegan baking sticks. The cookies will spread out when baking into a giant mess while in the oven. As I mentioned earlier, if you're using vegan butter, make sure to use only vegan baking sticks (not vegan butter in a tub) and make sure it's more on the cold side versus room temperature.
- Chill the Dough- If you don’t chill the dough for at least 2.5 hours, the cookies will be impossible to form into balls. The dough will be very wet and sticky.
- Wash Your Cookie Scoop- If you noticed the dough is starting to get sticky, wash and dry your cookie scoop halfway through making the dough balls.
- Reshape the Cookies- If you want your cookies nice and round, reshape them as soon as they come out of the oven. Use a spatula to push them back into a circle shape.
- Making The Glaze- If the glaze appears too watery, add more confectioners’ sugar 1 tablespoon at a time. If it appears too thick, add more water ¼ teaspoon at a time. You want the glaze thin enough to drizzle but thick enough to coat the back of a spoon and solidify on the cookies.
- Don't Store them at Room Temperature: Due to the fruit, the cookies tend to get very wet at room temperature. Store in the fridge or freezer and bring to room temperature prior to eating.
Recipe FAQs
You can make the dough the night before. Keep it in a bowl covered with plastic, in the fridge.
If doing this, there is no need to chill it again, prior to baking.
Or you can freeze the dough balls for up to 30 days. If doing this, freeze the dough balls; do not coat them in sugar. Once you're ready to use, keep them out at room temperature for 5 minutes until they can be coated in the sugar and flattened into a disc.
Most gluten free baked goods are best made the same day, but you can make these cookies a day before!
Make sure to store them in a single layer in the fridge. Let them come to room temperature prior to eating. They tend to get hard in the fridge and taste best when room temperature or warm. Or you can microwave them for a few seconds. Be careful not to burn your mouth on hot jam.
Another option is making the cookies ahead of time and not adding the jam and the glaze until the day you want to eat them. If doing this, store the cookies in an airtight container at room temperature until ready to top. Store no more than 2 days.
Many food colorings are not safe for those with celiac and nut allergies.
It appears to me that McCormick is.
I checked their website and it said that any product that contains a gluten free label is produced on a dedicated gluten free line and has been validated as gluten free.
McCormick says if gluten appears in a product, they will always list it on a label.
They will never hide allergens under the term “natural flavors.”
I even called the company. The statement said, if a product ever contained an allergen it would be declared on the label. If it is not declared, this means the product does not contain it.
I feel very confident in using McCormick products due to these procedures they have in place, but of course you need to make your own decisions.
If you're allergic to red dye or not a fan of it, you can also use plant based natural food colorings but keep in mind the color may differ from mine.
Or you can eliminate the food coloring completely. The cookies will be a very pale pink/peach, which I show in the substitutions and variations section of this post.
No. Unfortunately due to the nature of the eggless cookies, that doesn't usually work. The entire recipe would need to be reworked because the moisture content is different for each fruit so it wouldn't be the same quantity.
Fortunately, I have lots of cookies with fruit! You can check out my recipes for Raspberry Cookies, Lemon Raspberry Cookies, Lemon Blueberry Cookies, Strawberry Sugar Cookies, Blueberry Cookies and Chocolate Orange Cookies...to name a few. There are many more!
Once the glaze has hardened, store the cookies in single layer in an airtight container or individually wrapped in foil. If wrapping them, try to create a teepee with the top of the foil so it isn't touching the jam as much.
Store them wrapped in foil for up to two days in the fridge or in the freezer.
Let them come to room temperature prior to eating. They tend to get hard in the fridge and taste best when room temperature or warm. Or you can microwave them for a few seconds. Be careful not to burn your mouth on hot jam.
If in the freezer, let come to room temperature for about an hour or two on the counter prior to eating.
Other Strawberry Recipes You'll Love
Did you try this recipe? Please leave me a ⭐ review below!
Don’t forget to tag me on Instagram @laneandgreyfare and follow along on Pinterest, Facebook and YouTube! Enjoy!!!
📖 Recipe
Strawberry Jam Cookies
Ingredients
For the Strawberry Jam
- 1 pound strawberries fresh or frozen, sliced (about 3.5 cups of quartered strawberries)
- 1 cup granulated sugar
- 2 tablespoons orange juice , no pulp
- 2 pinches kosher salt
For the Cookies
- 2 cups multipurpose gluten free flour (I use a gluten free multipurpose flour with xanthan gum already in it)
- 1 ½ tablespoon cornstarch
- 1 ½ teaspoons baking powder
- ½ teaspoon kosher salt
- ½ cup unsalted butter or vegan baking stick, room temperature
- 1 ¼ cups plus 3 tablespoons granulated sugar (keep the 3 tablespoons separate for rolling)
- 2 heaping tablespoons cornstarch mixed with 3 tablespoons water
- 1 teaspoon pure vanilla extract
- ¼ cup milk
- 4 drops red food coloring (if desired) (I use McCormick. You may need less if you’re using a gel or paste)
- ¼ cup strawberry jam
For the Strawberry Glaze
- 1 cup confectioners' sugar
- 1 tablespoon strawberry jam , cooled
- 1.5 tablespoons water
- 1 drop red food coloring (if desired)
Instructions
For the Strawberry Jam (Make Ahead of Time)
- In a medium saucepan, combine the 1 pound quartered strawberries, the 1 cup granulated sugar, the 2 tablespoons orange juice and the 2 pinches of kosher salt.
- Mix it all together and set over medium heat, smashing the strawberries with the back of a spoon.
- Stirring constantly, cook until it begins to boil. About 5 minutes.
- Once boiling, turn the heat to low and cook for about 1 hour and 15 minutes, stirring frequently until the mixture thickens.If you're using fresh strawberries, the jam will most likely take longer than the 75 minutes to thicken due to added moisture.
- After the 75 minutes it should look liquidy but syrupy. If not, continue cooking at low heat. Once thickened, remove from the heat and let it cool for 30 minutes. It will thicken more.Once completely cool, transfer to an airtight container and refrigerate.
For the Cookies
- In a large bowl, whisk together the 2 cups gluten free flour, the 1.5 tablespoons of cornstarch, the 1.5 teaspoons baking powder and the ½ teaspoon kosher salt. Set aside.
- In a small bowl, using a spoon, mix together the 2 heaping tablespoons cornstarch and the 3 tablespoons water until thin and watery. It will be thick and tacky at first.
- In a large bowl of an electric mixer fitted with the paddle attachment or using a hand held mixer, beat the ½ cup room temperature butter or vegan baking stick and 1 ¼ cups of granulated sugar until soft and creamy. About 2-3 minutes.
- Slowly beat the cornstarch water mixture, ¼ cup milk and 1 teaspoon vanilla into the creamed butter and sugar. It will look chunky; that's normal.
- Slowly beat in the gluten free flour mixture a little at a time until just combined.
- Take ¼ cup of the cool strawberry jam and slowly beat it into the dough until the dough no longer appears slimy. If desired, add in 4 drops red food coloring and mix into the dough so it is blended throughout. The dough will be very thick and sticky; almost like taffy.
- Keep the dough in a bowl, cover the top with plastic wrap and refrigerate for at least 2.5 hours. You must not skip this step or the cookies will spread everywhere. I love to chill mine overnight.
- After 2.5 hours, preheat the oven to 325 degrees Fahrenheit. Line a baking sheet with parchment paper. Set aside.
- Take the dough out of the fridge. Using an ice cream scoop or large cookie scoop (I use a 2 ounce cookie scoop), scoop the dough out into 12 scoops.The cookie dough will be quite sticky and may stick to your hands if they're warm. Immediately roll each dough ball in the extra 3 tablespoons of granulated sugar and coat completely. This will make the dough balls not sticky.
- Flatten each scoop into a thick disc versus a ball. If you don't do this step, the cookies will remain in the ball shape when baking. The disc may stick to your hands again while shaping.Once again, drop the disc in the granulated sugar to coat. This will prevent the stickiness as well.
- Place 6 dough discs about 3-4 inches apart on the parchment lined baking sheet. I only bake 6 at a time. Place the other dough discs into the fridge.Bake the cookies at 325 degrees Fahrenheit for 15 minutes.
- Immediately reshape the cookies when they come out of the oven by using a spatula to push them into a circle shape and let cool on the baking sheet for 5 min before transferring to a cooling rack. If you don't do this, the cookies will break apart into a giant mess.Transfer cookies to a cooling rack and let them cool completely. If you place the jam onto the hot cookie, it will develop a liquid layer in-between the cookie and the jam.
- Once cool, spread about ½ teaspoon of strawberry jam onto the tops of the cookies, making sure you keep the jam away from the edges of the cookies; otherwise you'll end up with a mess.
For the Strawberry Glaze
- In a small bowl, whisk together the 1 cup of confectioners' sugar, 1 tablespoon of the cooled strawberry jam.
- Start adding in the 1.5 tablespoons water a little at a time until you reach the desired consistency. You may not need all the water. The glaze should be thick enough to coat the back of a spoon and not thin and watery.
- Drizzle the strawberry glaze on top of the cool cookies. If you drizzle it on warm cookies, the glaze will melt.It is easier to hold your hand about 6 inches above the cookies and move your arm side to side while drizzling to create a horizontal pattern. Then get more glaze and move your arm from top to bottom to create a vertical pattern. Let the glaze harden.

Ginny
So pretty and delicious! I love that the strawberry flavor is in every component of the cookie!
Amber
These cookies were incredibly delicious and beautiful to look at. So wonderfully soft. The were the hit out of 5 cookies I brought a party. The process is a bit of a time commitment if you are making jam
ahead of time, but most of the commitment is just waiting for the jam and the dough to chill. Highly recommend this recipe and can’t wait to try others!
Lee
Thank you!
Jeanine Manser
I made these cookies for my colleagues at work on Valentine's Day. I think every single person commented very sincerely on how beautiful they looked and how delicious they tasted. The copier was busy all day making copies of the recipe! My first time making a gluten-free cookie, too. Definitely making these again soon because my family was so disappointed there were no leftovers for me to bring home for them.....
Lee
Thank you so so much! So glad everyone loved them!
Barbara
These Strawberry Jam Cookies are so pretty! I'm going to make them for Valentine's Day. Thank you, Lee, for this recipe
John
These cookies were so good! I love them!