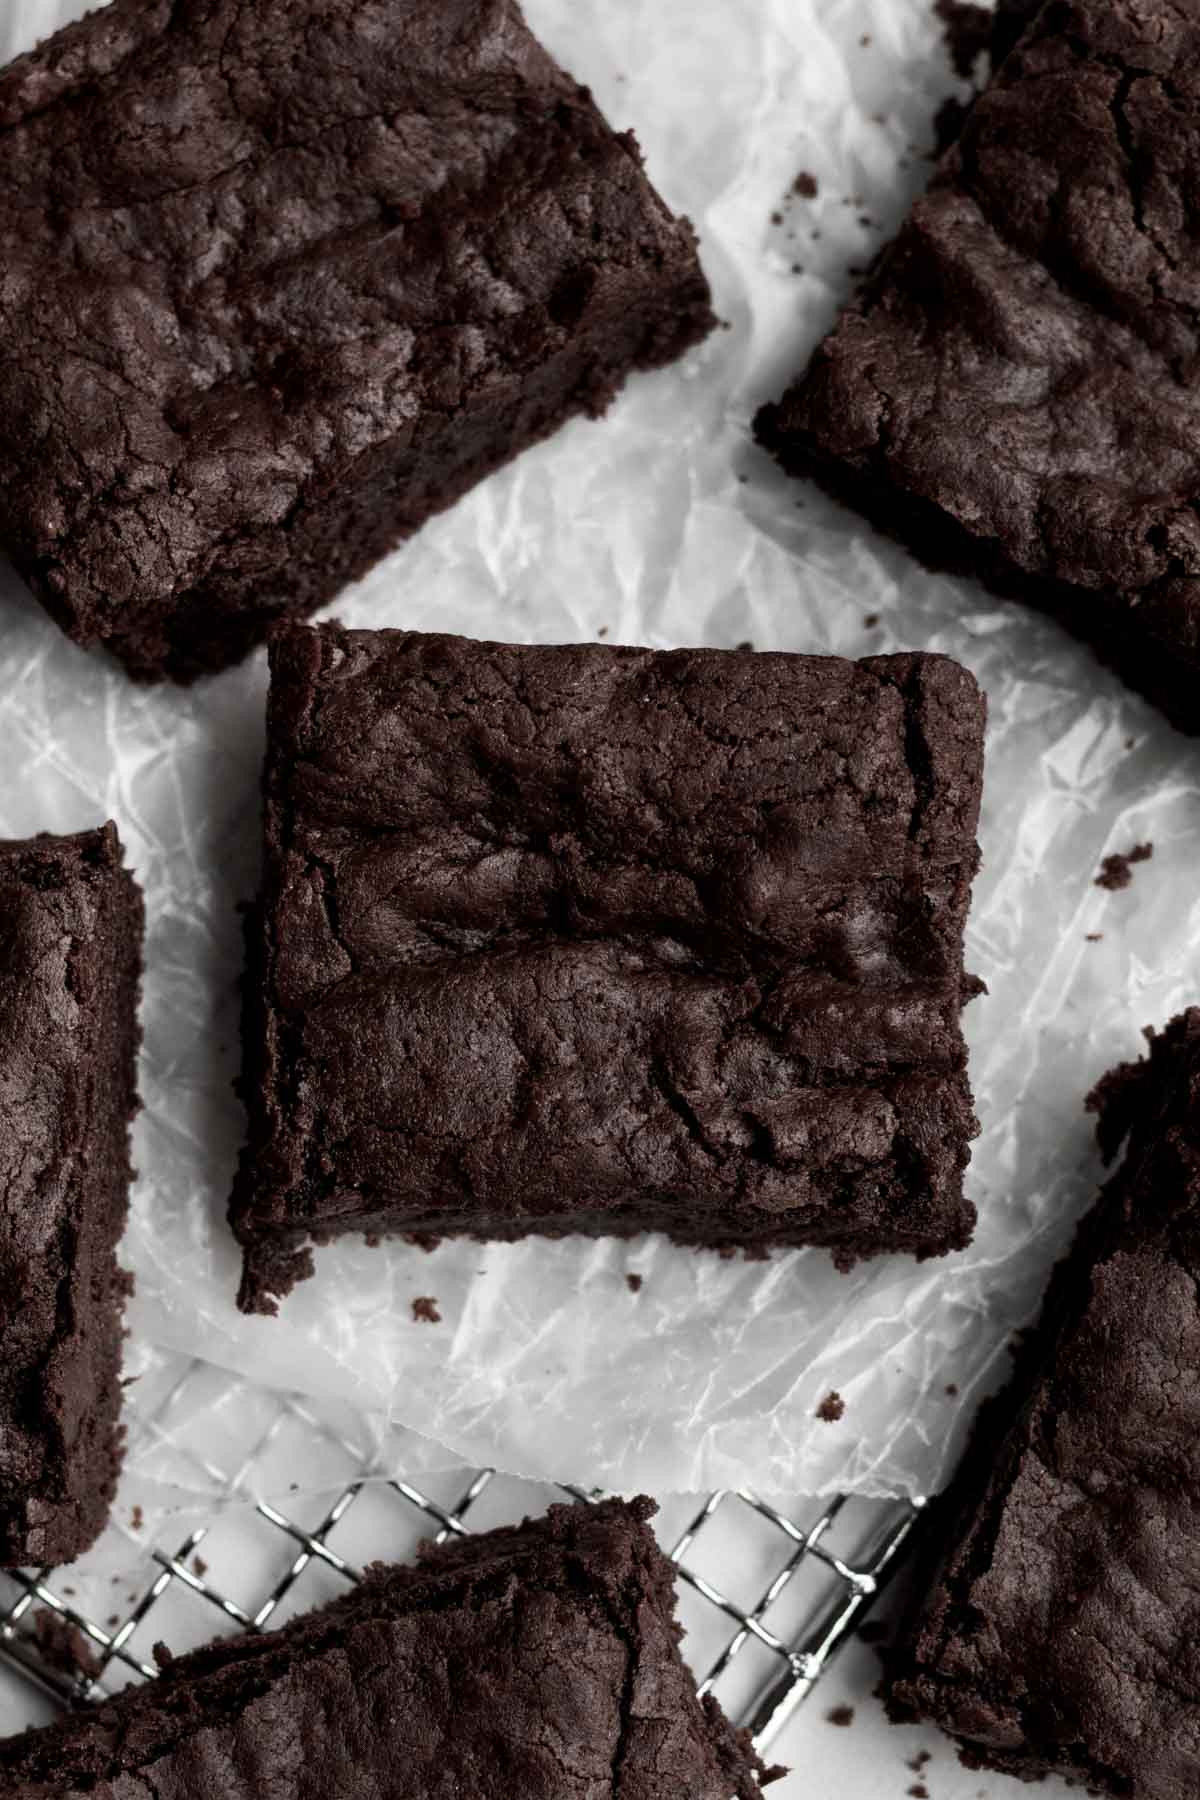
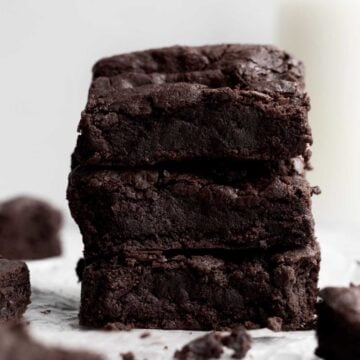
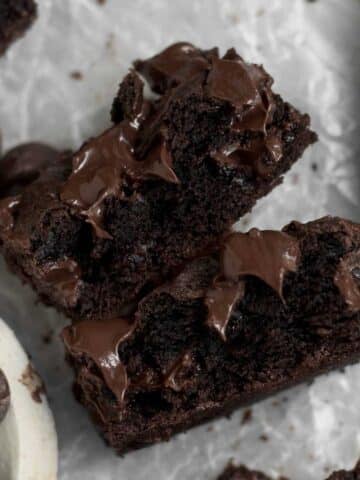
These Eggless Brownies are fudgy, decadent and delicious. Made with melted chocolate and cocoa powder, they're nice and gooey; you'd never know eggs were missing! Not only is this an eggless brownie recipe, but these beauties are gluten free, nut free and easily dairy free (vegan)!
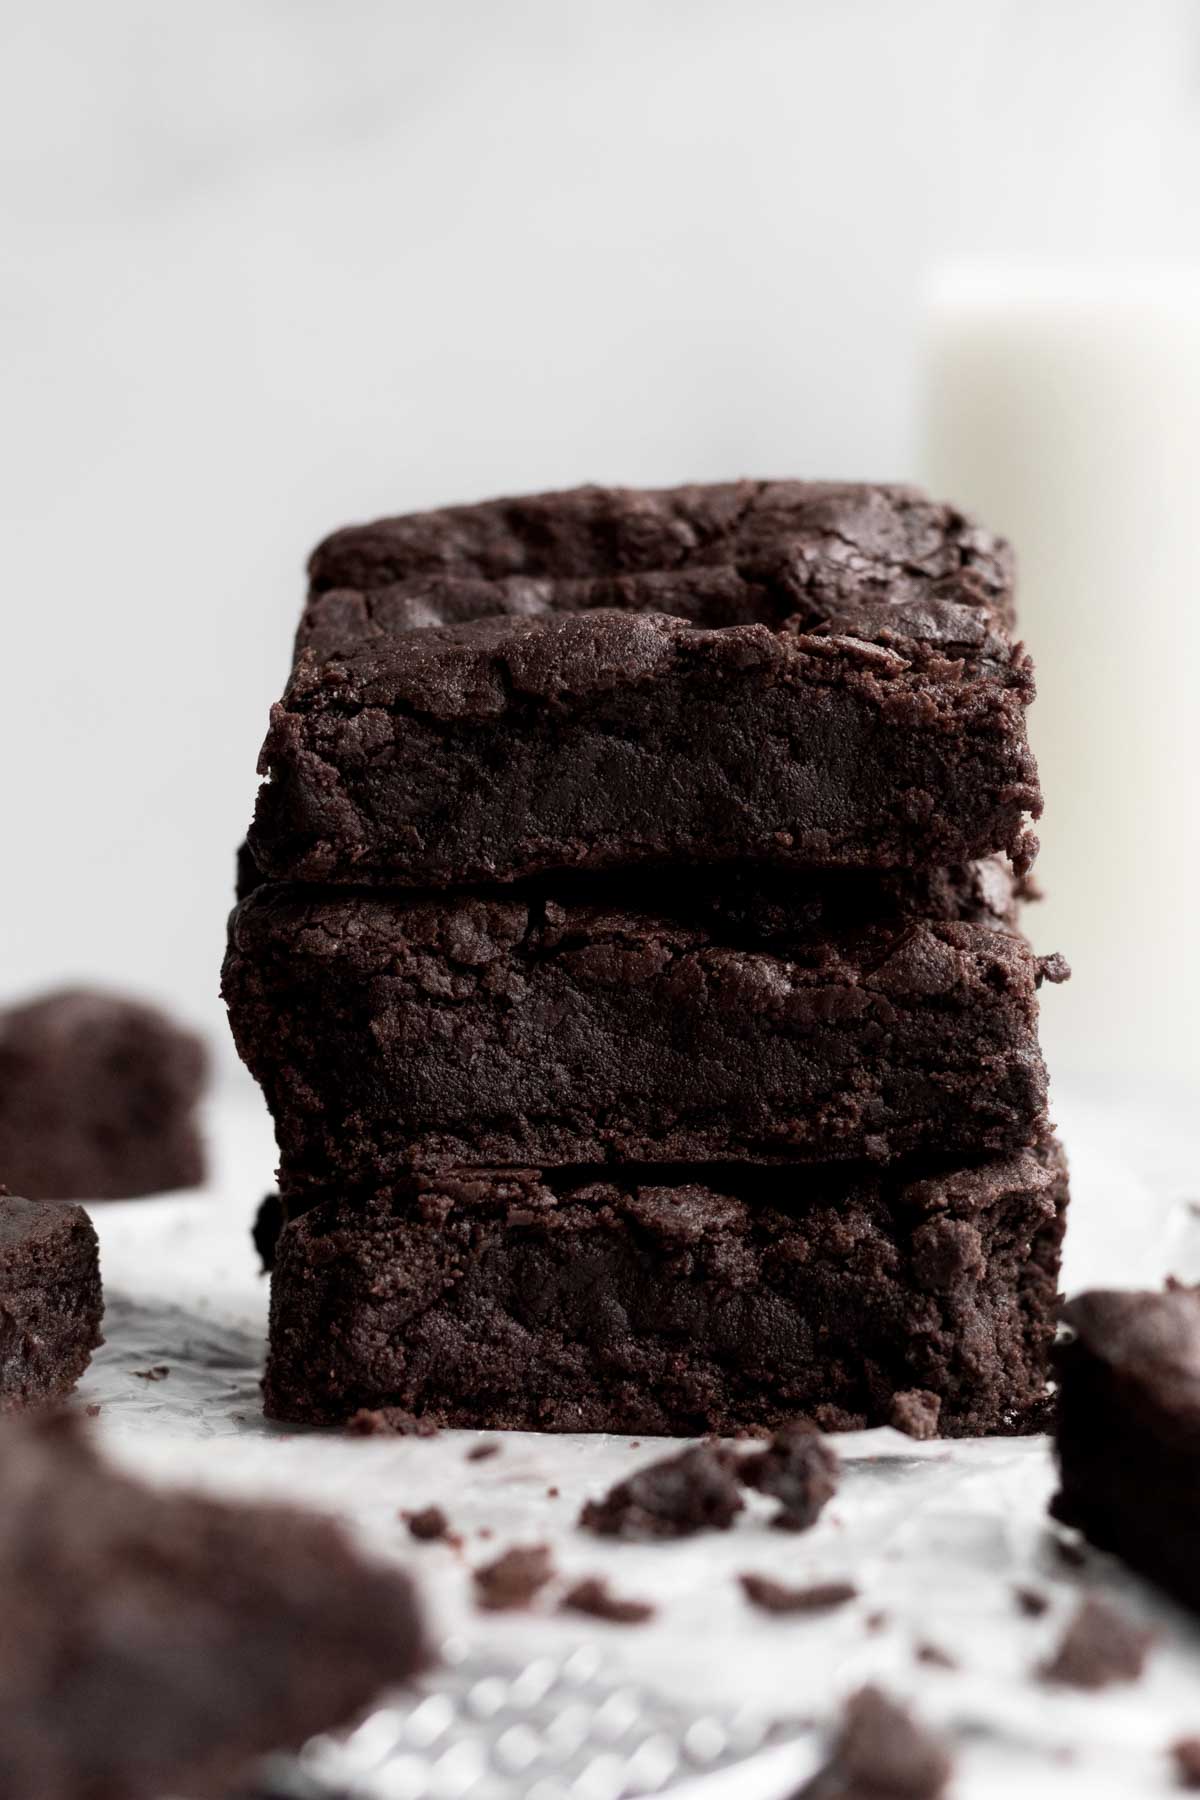
This eggless brownies recipe isn't dry or cakey; the brownies taste just as they should; chewy, gooey and fudgy! The batter mixes up in one bowl with a whisk; no mixer is needed!
For more brownie and bar recipes, try my Small Batch Brownies, Cookies and Cream Brownies, Vegan Blondies and Double Chocolate Brownie Bites.
Reasons To Love These Egg Free Brownies
- Allergy Friendly- These brownies are gluten free, nut free, egg free and can easily be dairy free (vegan)!
- Fudgy- These brownies are fudgy and gooey like my Fudgy Brownie Cookies!
- Double The Chocolate- There is cocoa powder and melted chocolate in these!
- So Easy to Make- No mixer is needed to make this decadent yet simple recipe!
Ingredient Notes
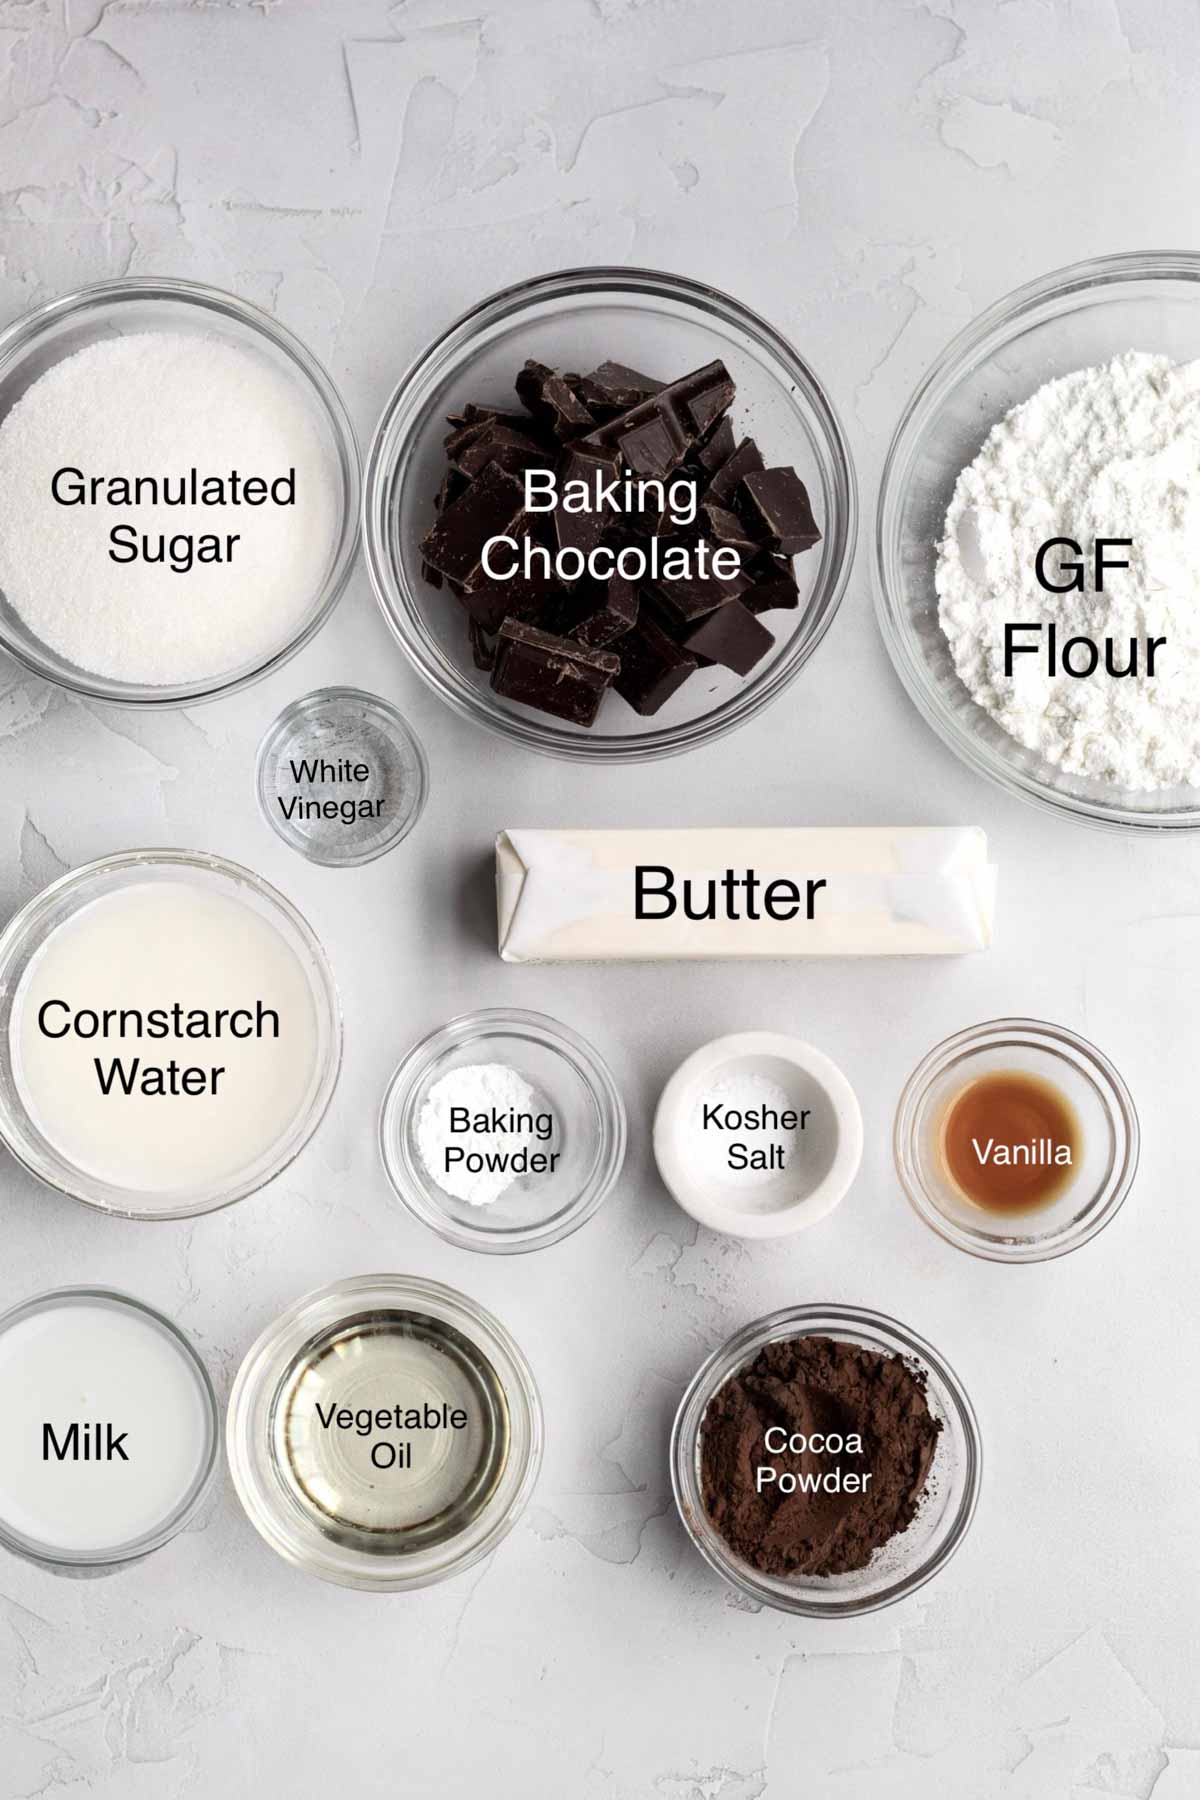
- Gluten Free Flour- If you also have nut allergies, make sure to use a brand that’s made in a nut free facility. I really love to use this gluten free flour because it’s free of the top 9 allergens. It also contains xanthan gum which really helps give baked goods their bounce and prevents them from falling apart.
- Cornstarch and Water- These are eggless brownies so this mixture helps bind everything together.
- Butter/ Vegan Baking Stick- You can use either.
- Vegetable Oil- I use this for added moisture.
- Cocoa Powders- I like to use two types but if you only want to use one, use Dutch or Natural Unsweetened.
- Chocolate- For the melted chocolate, make sure to use gluten free/nut free and vegan if you want these dairy free. It must be baking chocolate, not chocolate chips. Unless you are using these allergy friendly chocolate chips. They are the one chips that would work.
- Easy to Make- The batter mixes up in just one large bowl with a whisk!
See my recipe card below for a complete list of the ingredients with measurements.
Substitutions and Variations
How to Make these into Vegan Brownies
- Use a gluten free flour that’s free from dairy.
- Make sure the brand of sugar you use is vegan.
- Use vegan baking sticks instead of butter.
- Make sure to use a non dairy milk.
- Only use vegan chocolate.
Make this recipe with All Purpose Flour
- Use 1 ¼ cups packed AP flour (210 grams).
- Make sure to use 5 tablespoons packed cocoa powder.
This recipe has not been tested with some of these substitutions and/or variations due to celiac disease and food allergies. If you change any of the ingredients, please let us know how the recipe turned out in the comments below!
How to Make Eggless Brownies
Here are the step by step instructions to make this eggless brownies recipe!
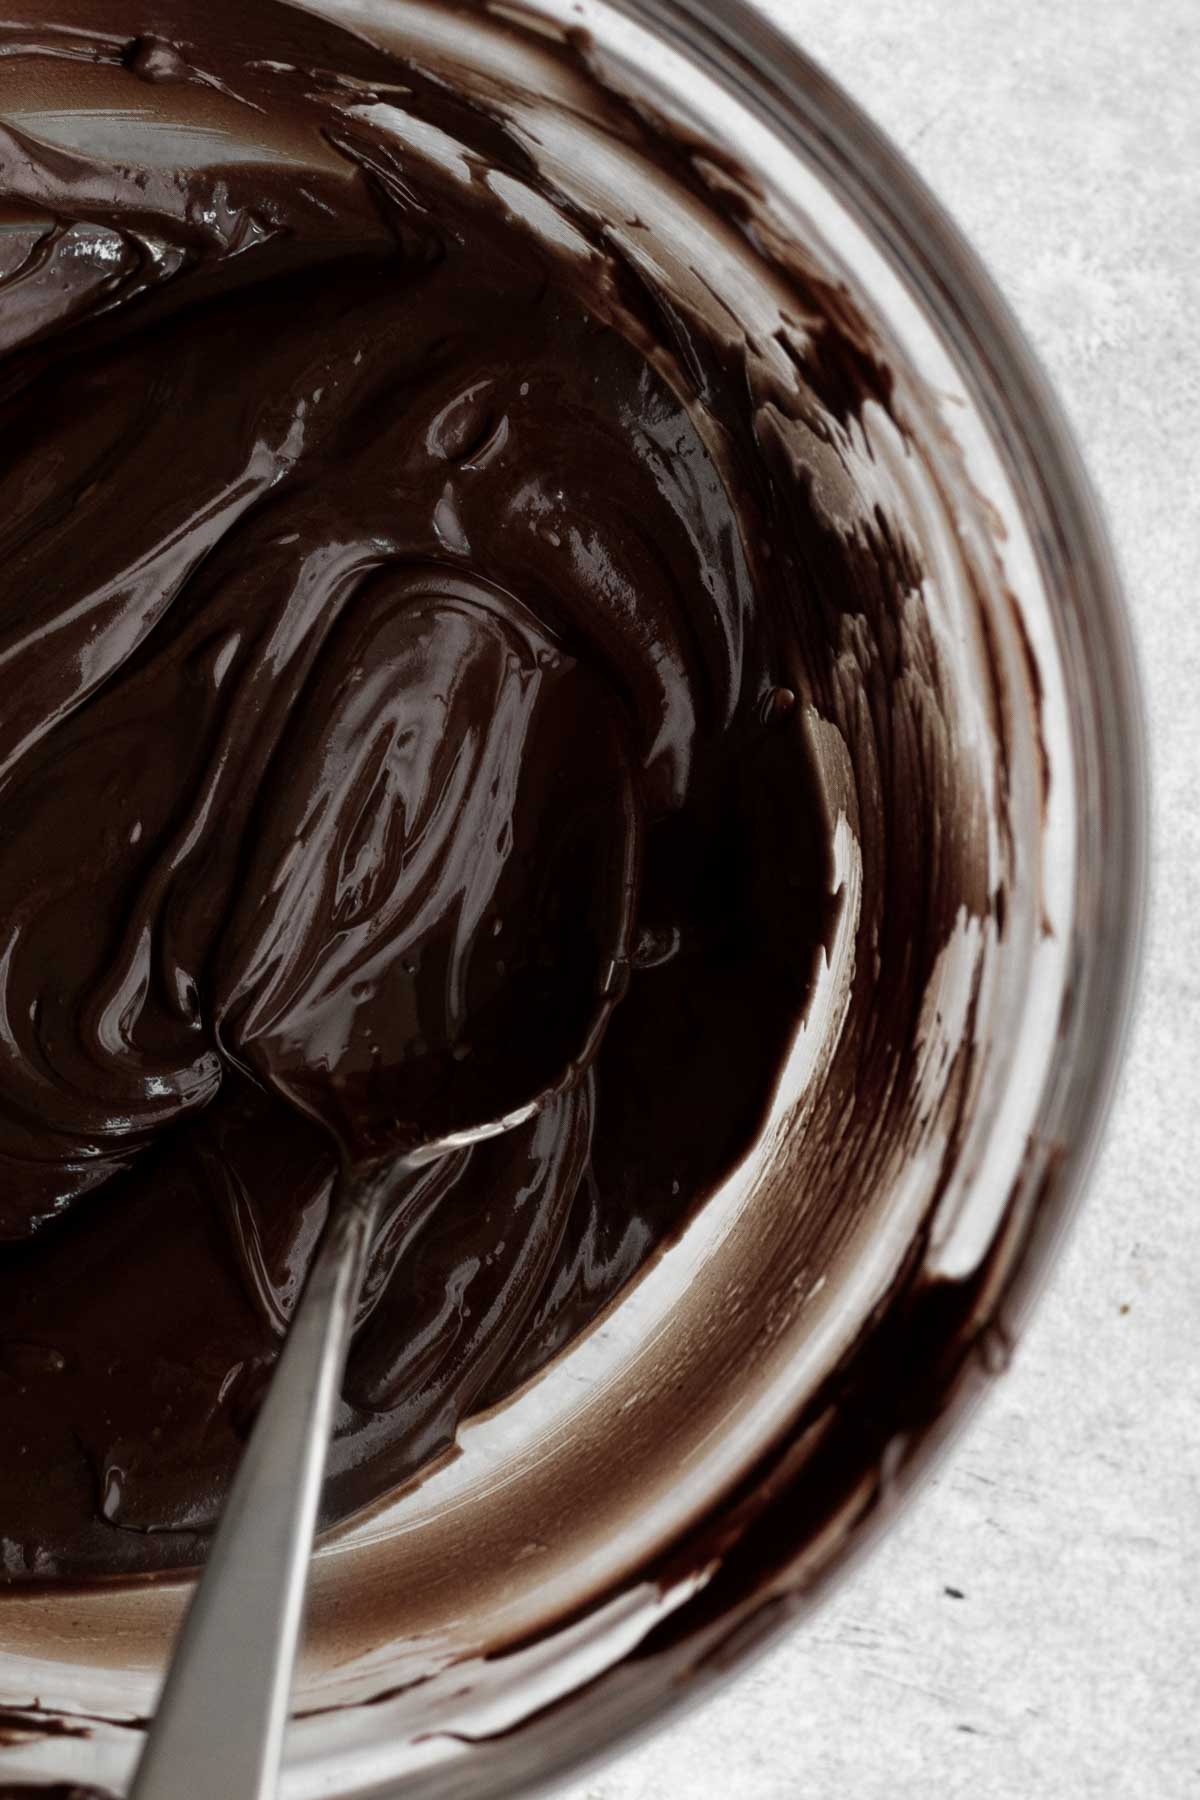
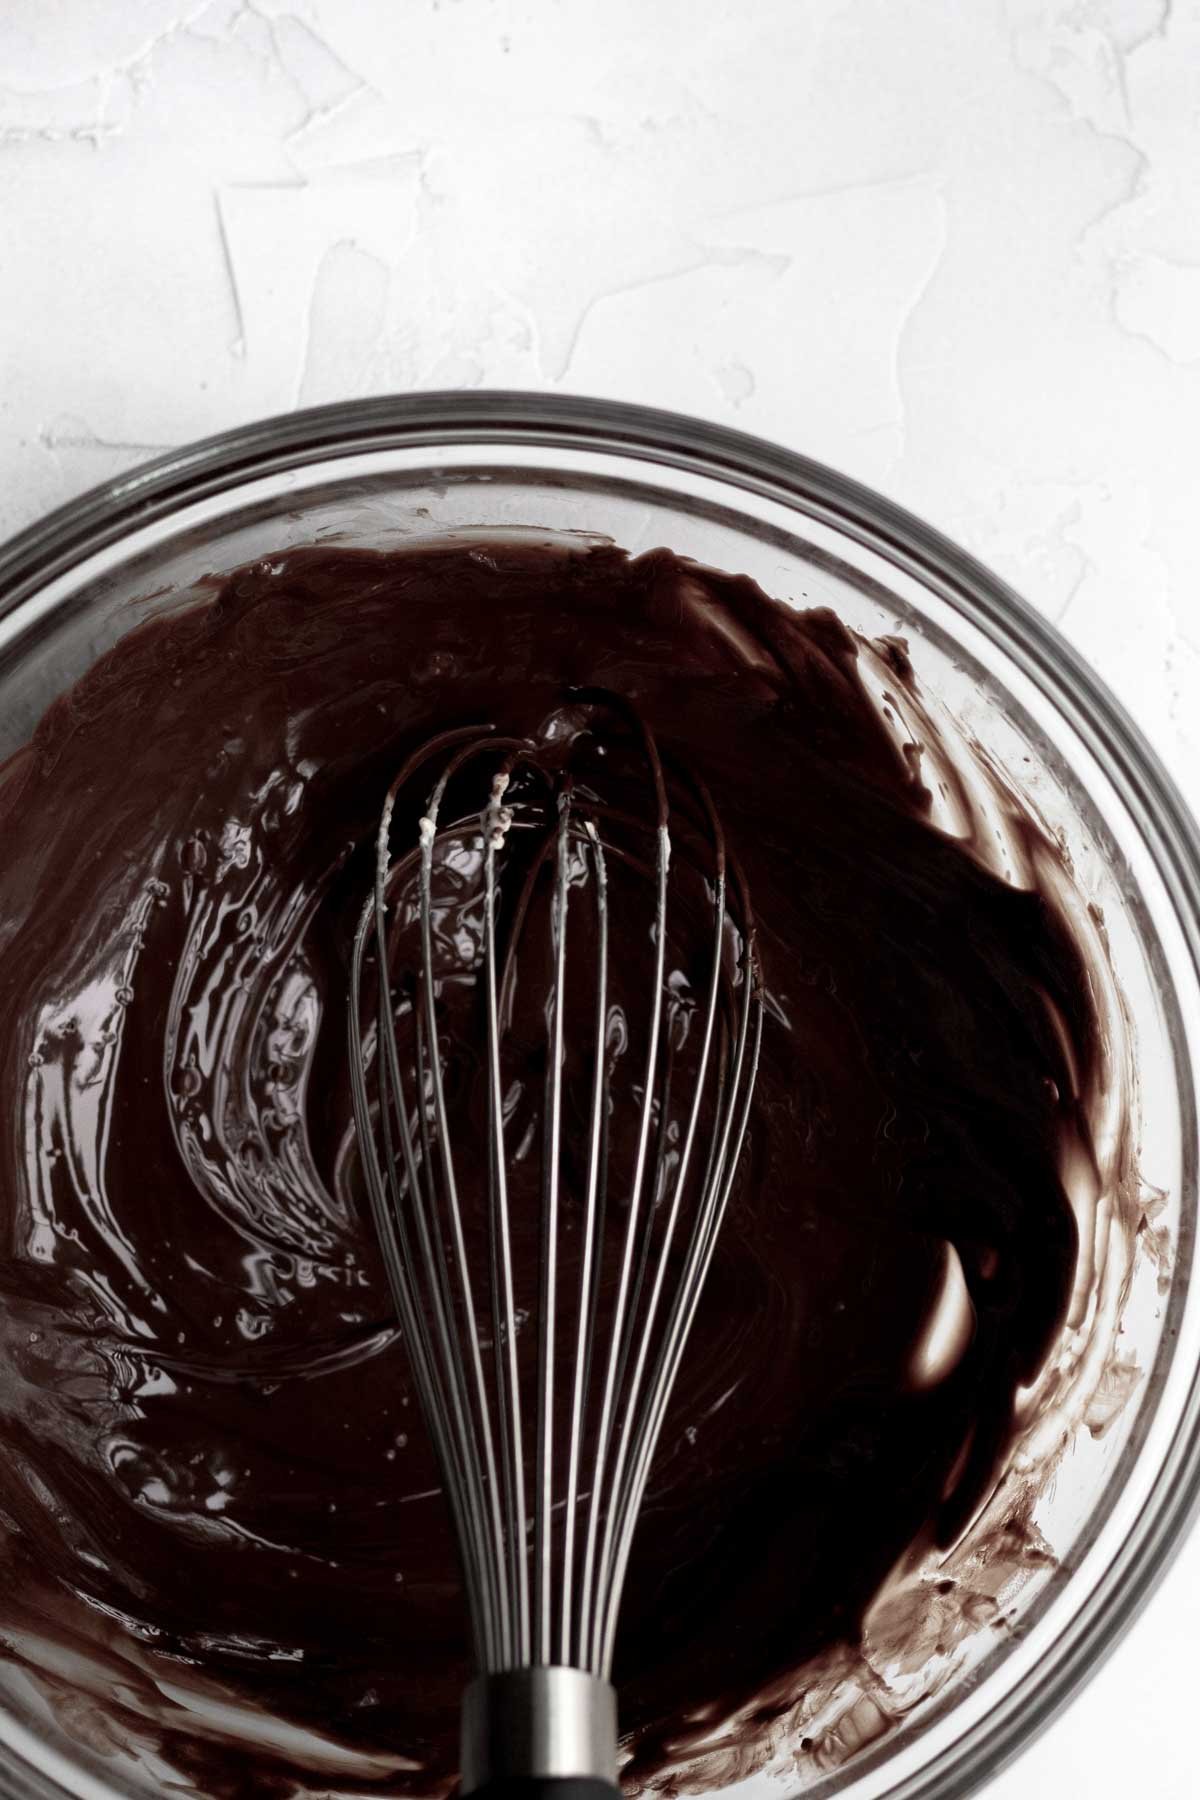
Step 1: Heat the Chocolate
Chop all the chocolate into tiny pieces. In a bowl add the chocolate, butter and vegetable oil.
Heat in 15 second increments and stir after each time until the chocolate is completely melted and silky smooth. Set aside.
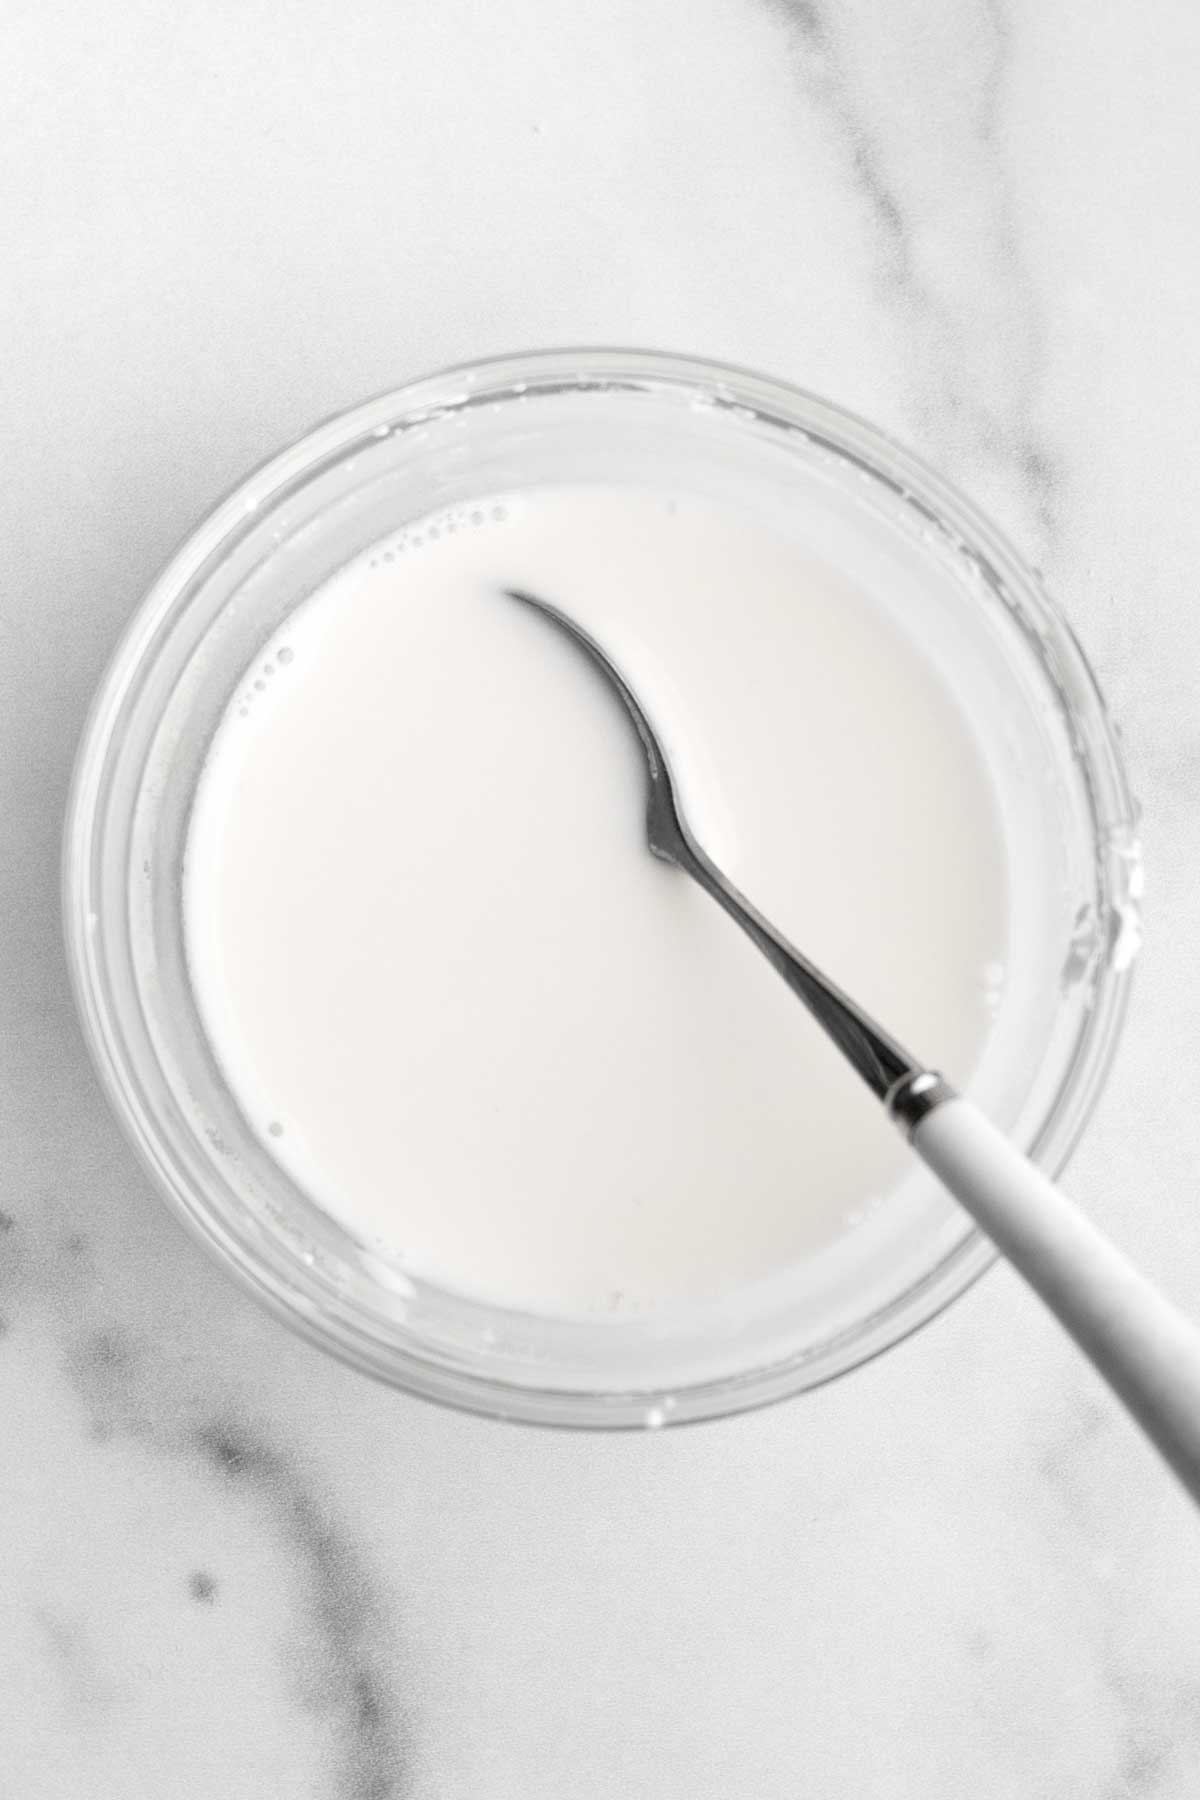
Step 2: Make the Homemade Buttermilk
In a small bowl, stir together the milk and white vinegar. Let sit 5-10 minutes and stir again. It will appear chunky; that's normal. Set aside.
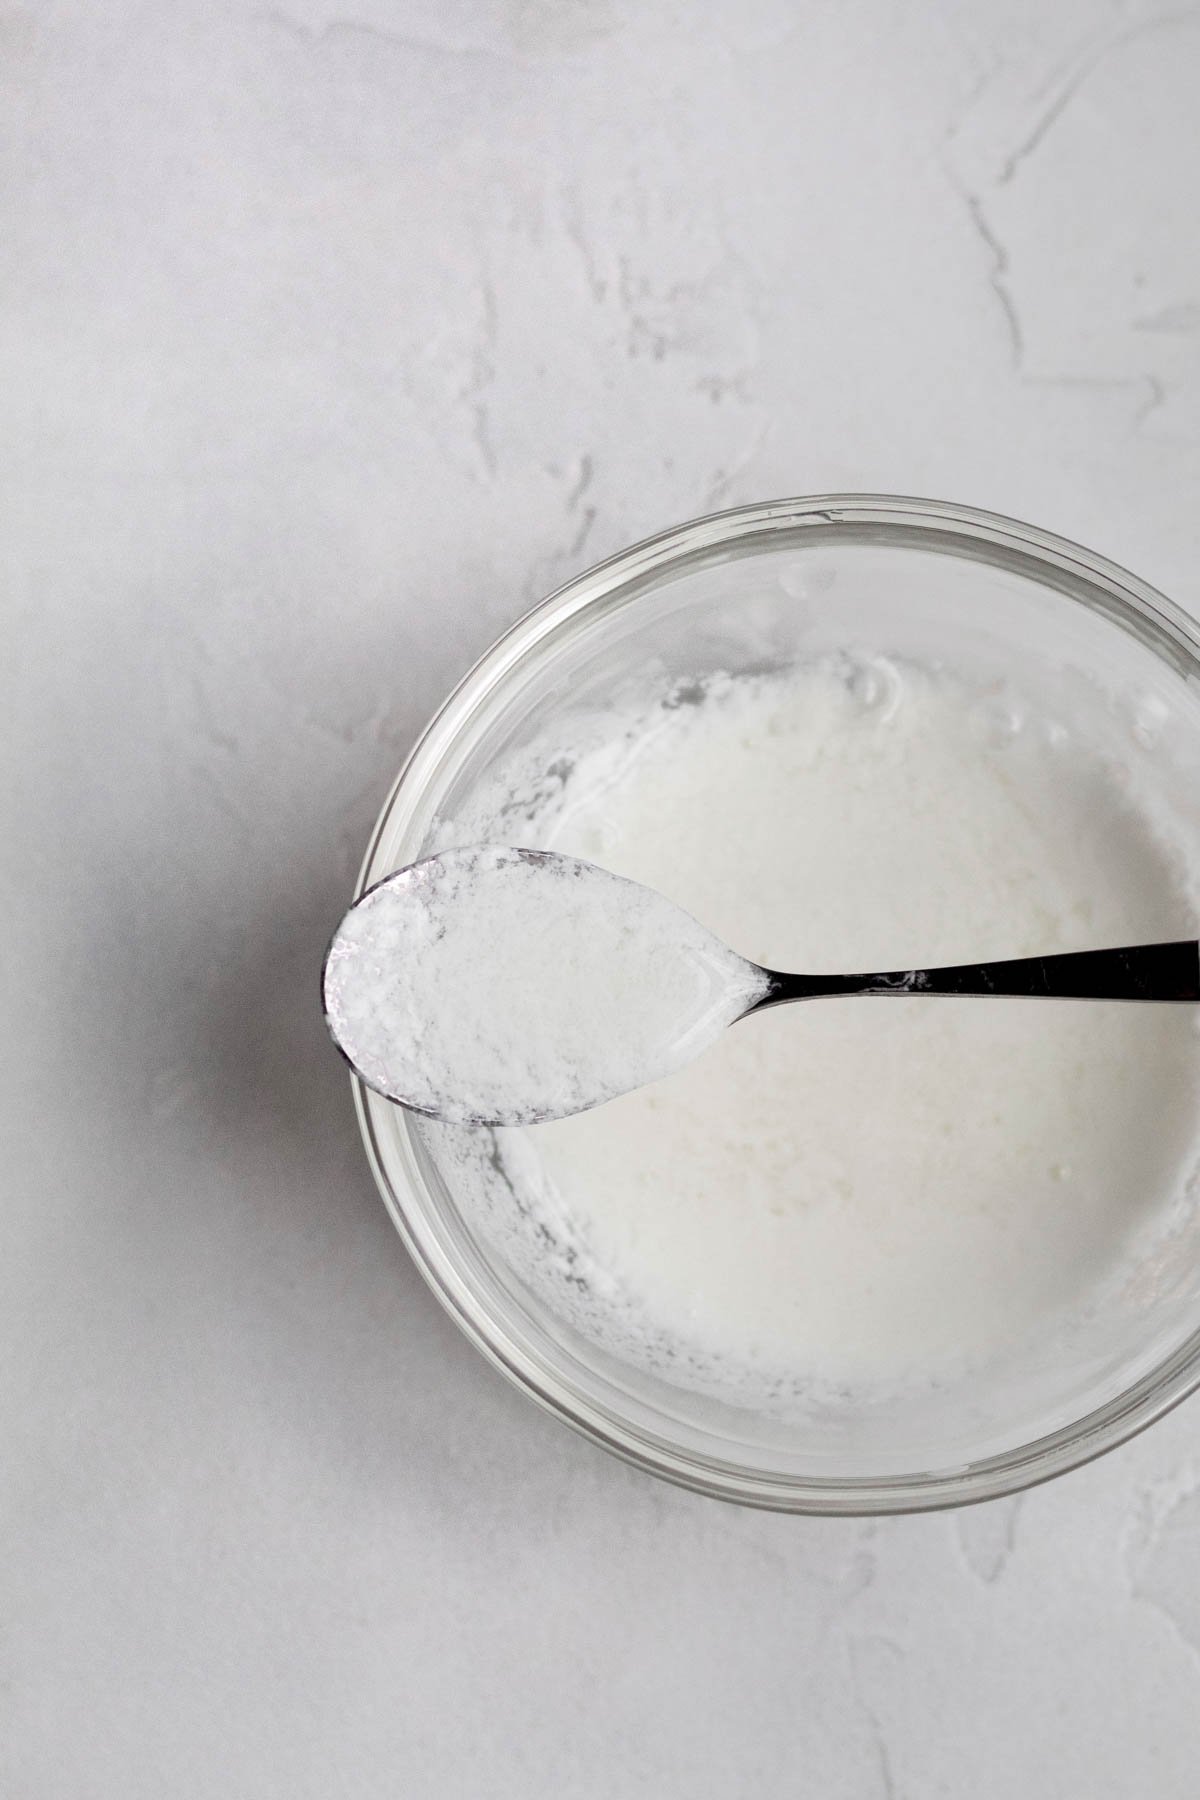
Step 3: Make the Cornstarch Water
In a small bowl, using a spoon, mix together the cornstarch and water until thin and watery. It will be thick and tacky at first.
Step 4: Whisk in the Ingredients Minus Flour and Cocoa Powder
Into the melted chocolate and butter, whisk in the cornstarch water until fully combined.
Then whisk in the sugar, vanilla, baking powder and salt until combined.
Lastly, whisk in the milk vinegar mixture until combined and smooth.
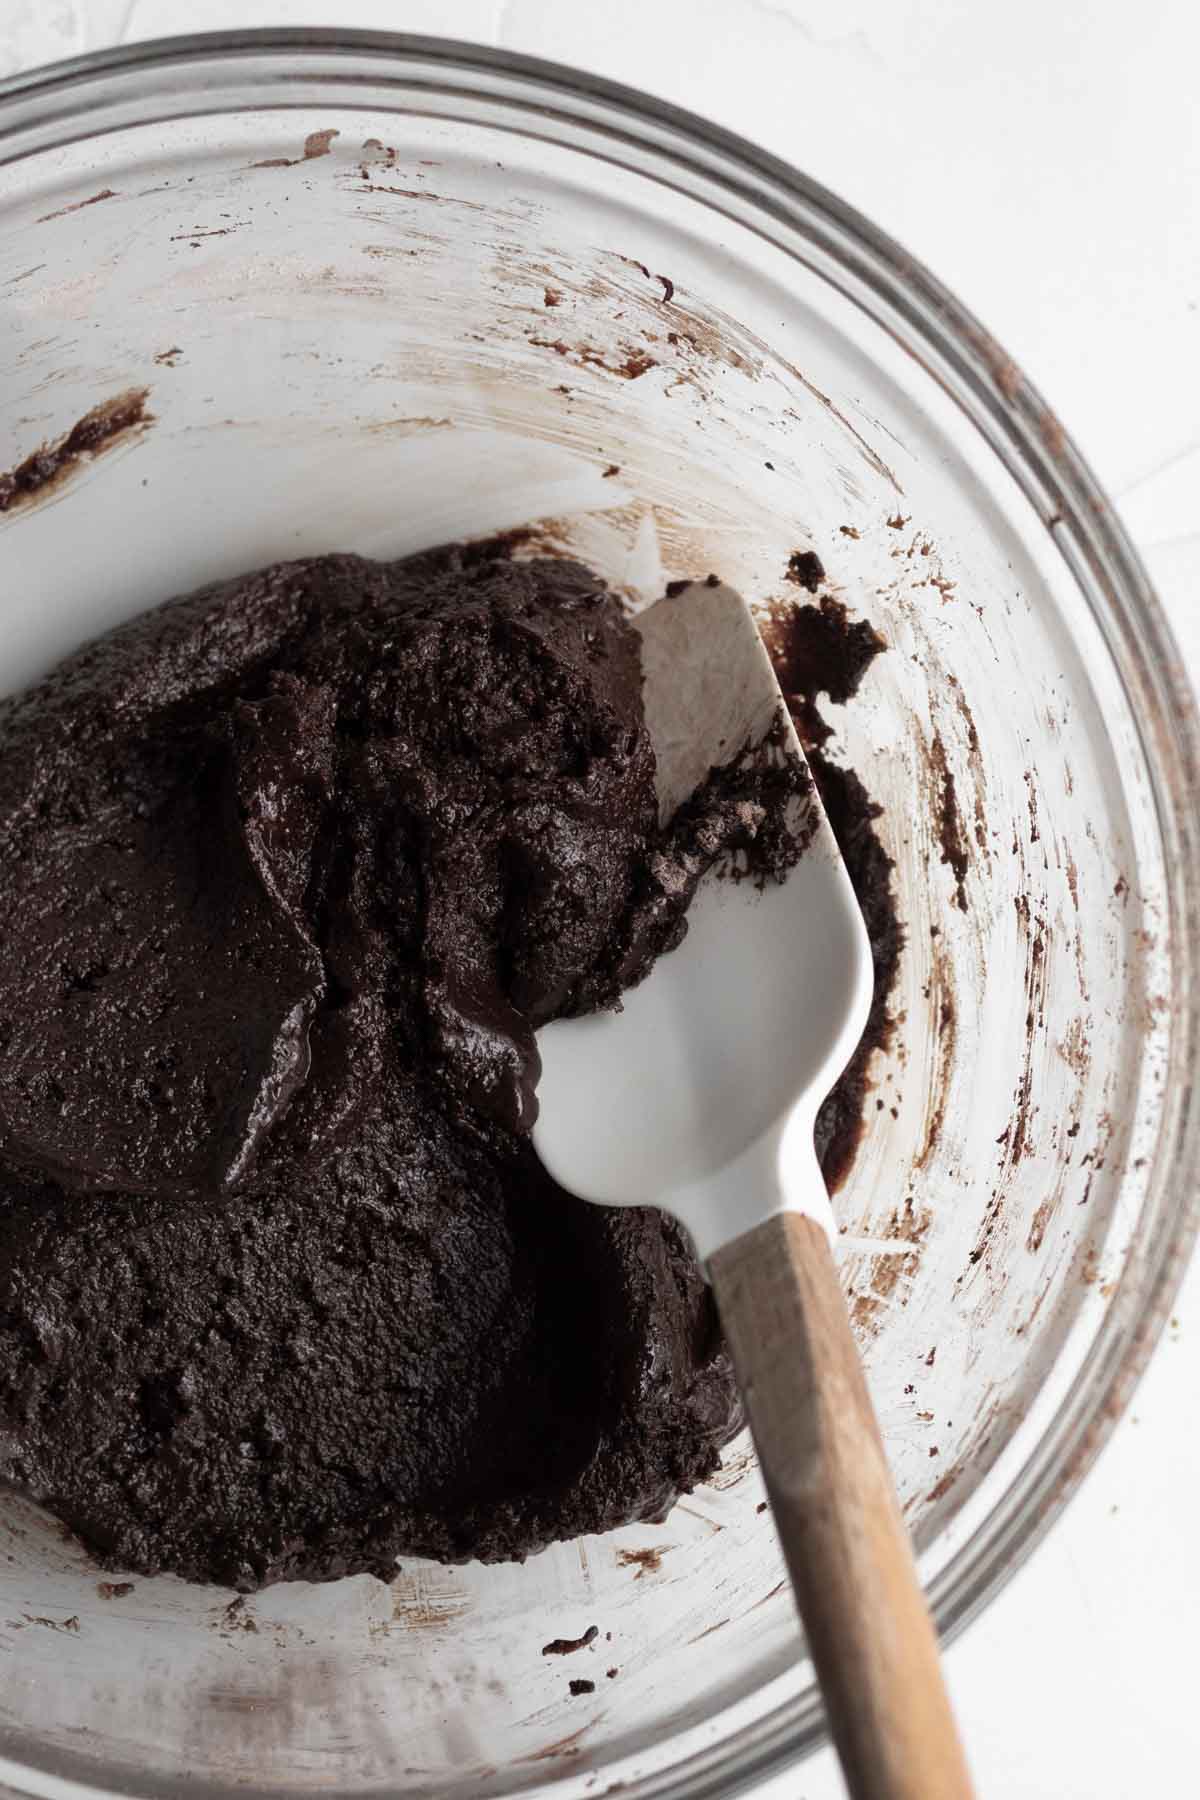
Step 5: Add in the Cocoa Powder and Flour
Using a spatula, mix in the cocoa powder and flour until everything is just combined.
The batter will be super thick and sticky.
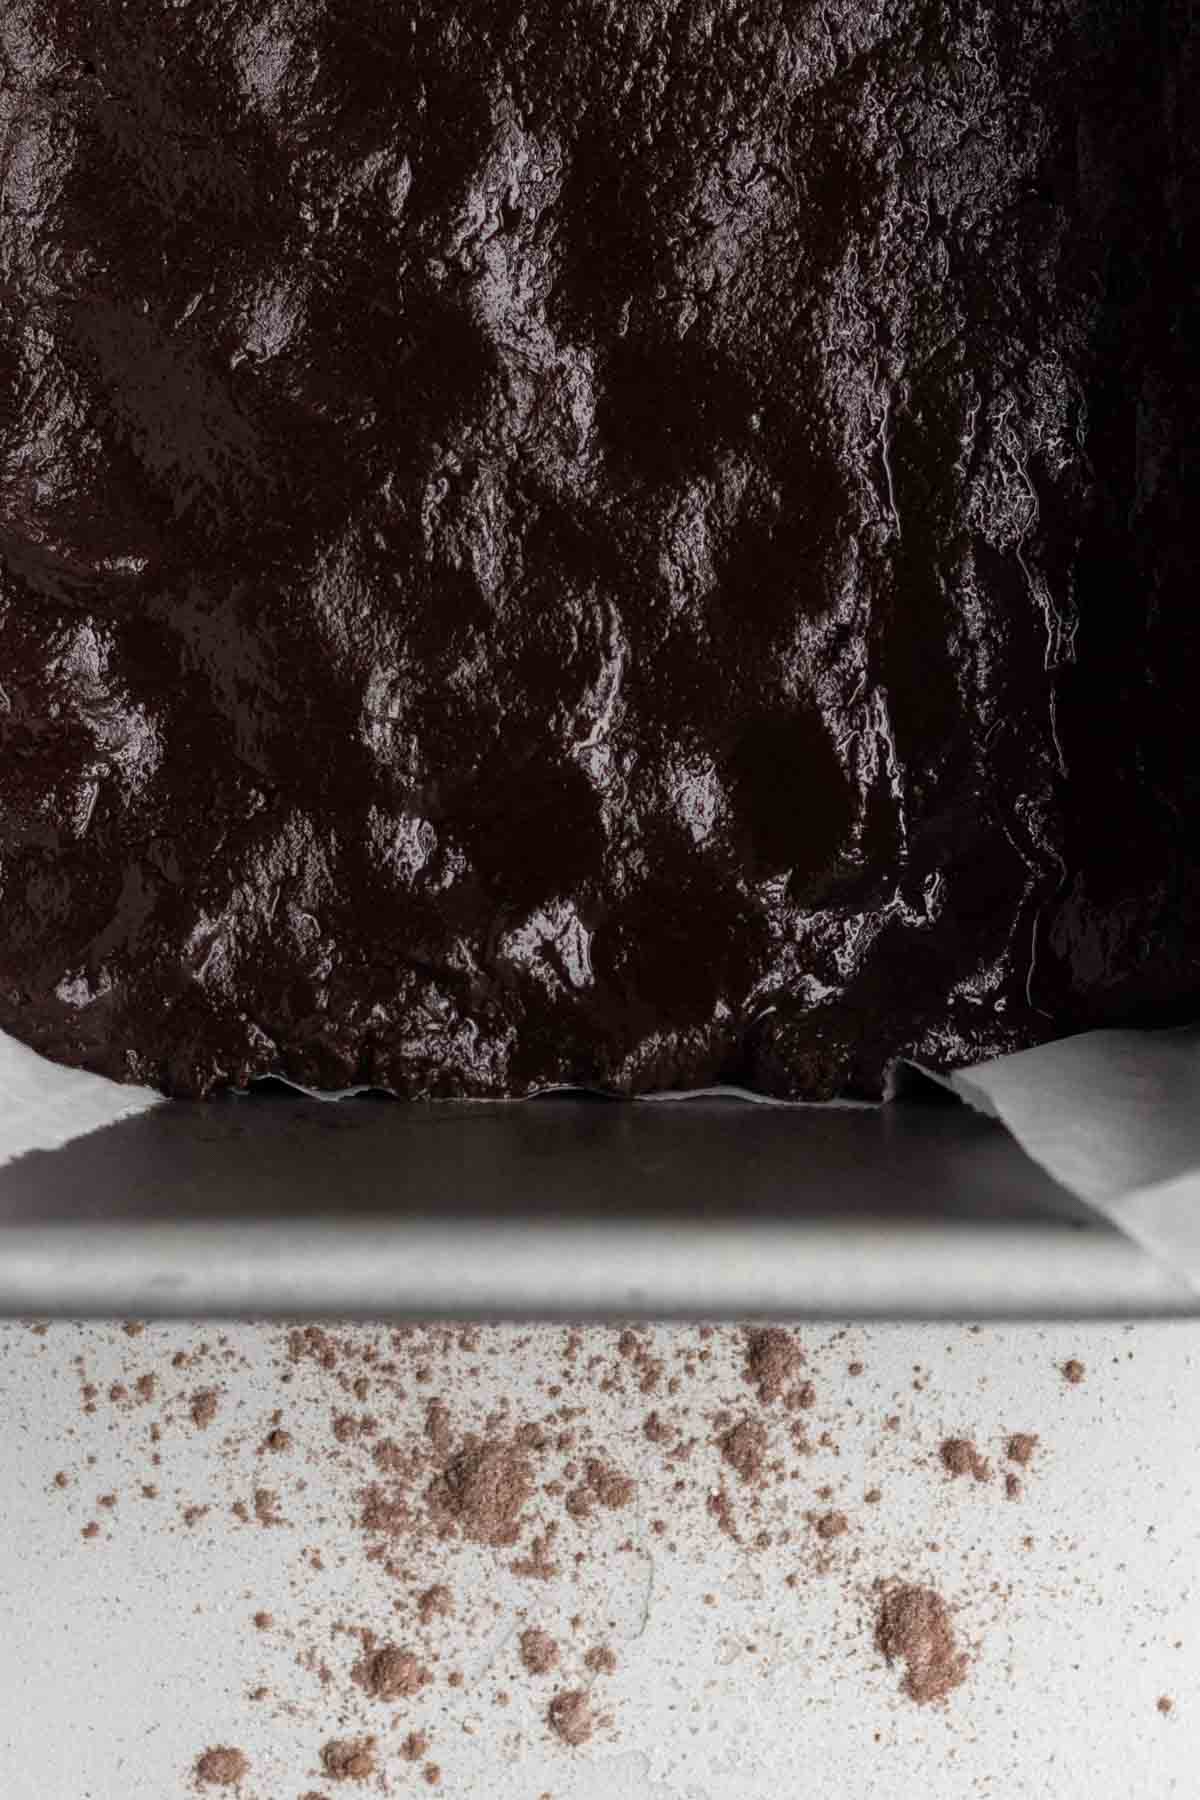
Step 6: Scoop the Batter into the Pan
Spoon the batter into the baking dish and use your hands to press it down into the shape of the pan. You should end up with a smooth even layer of batter.
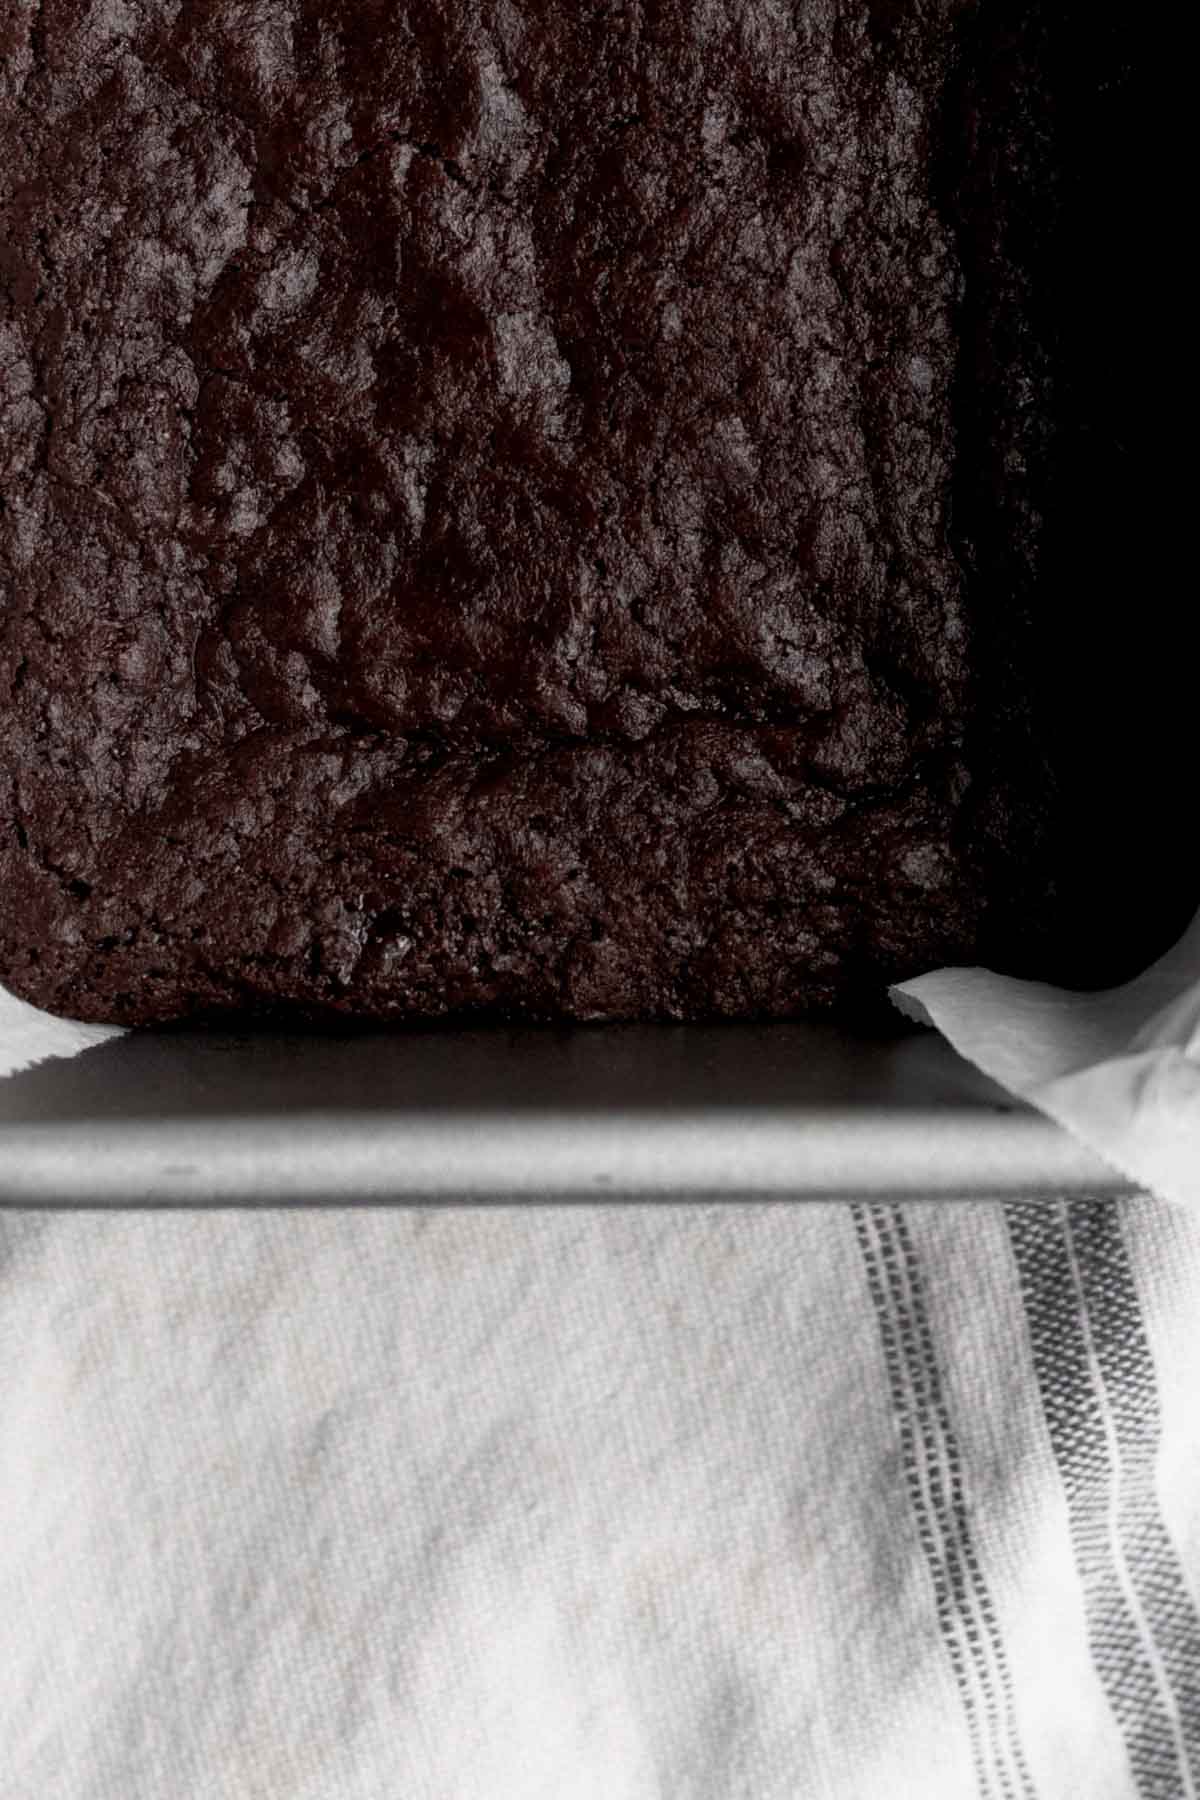
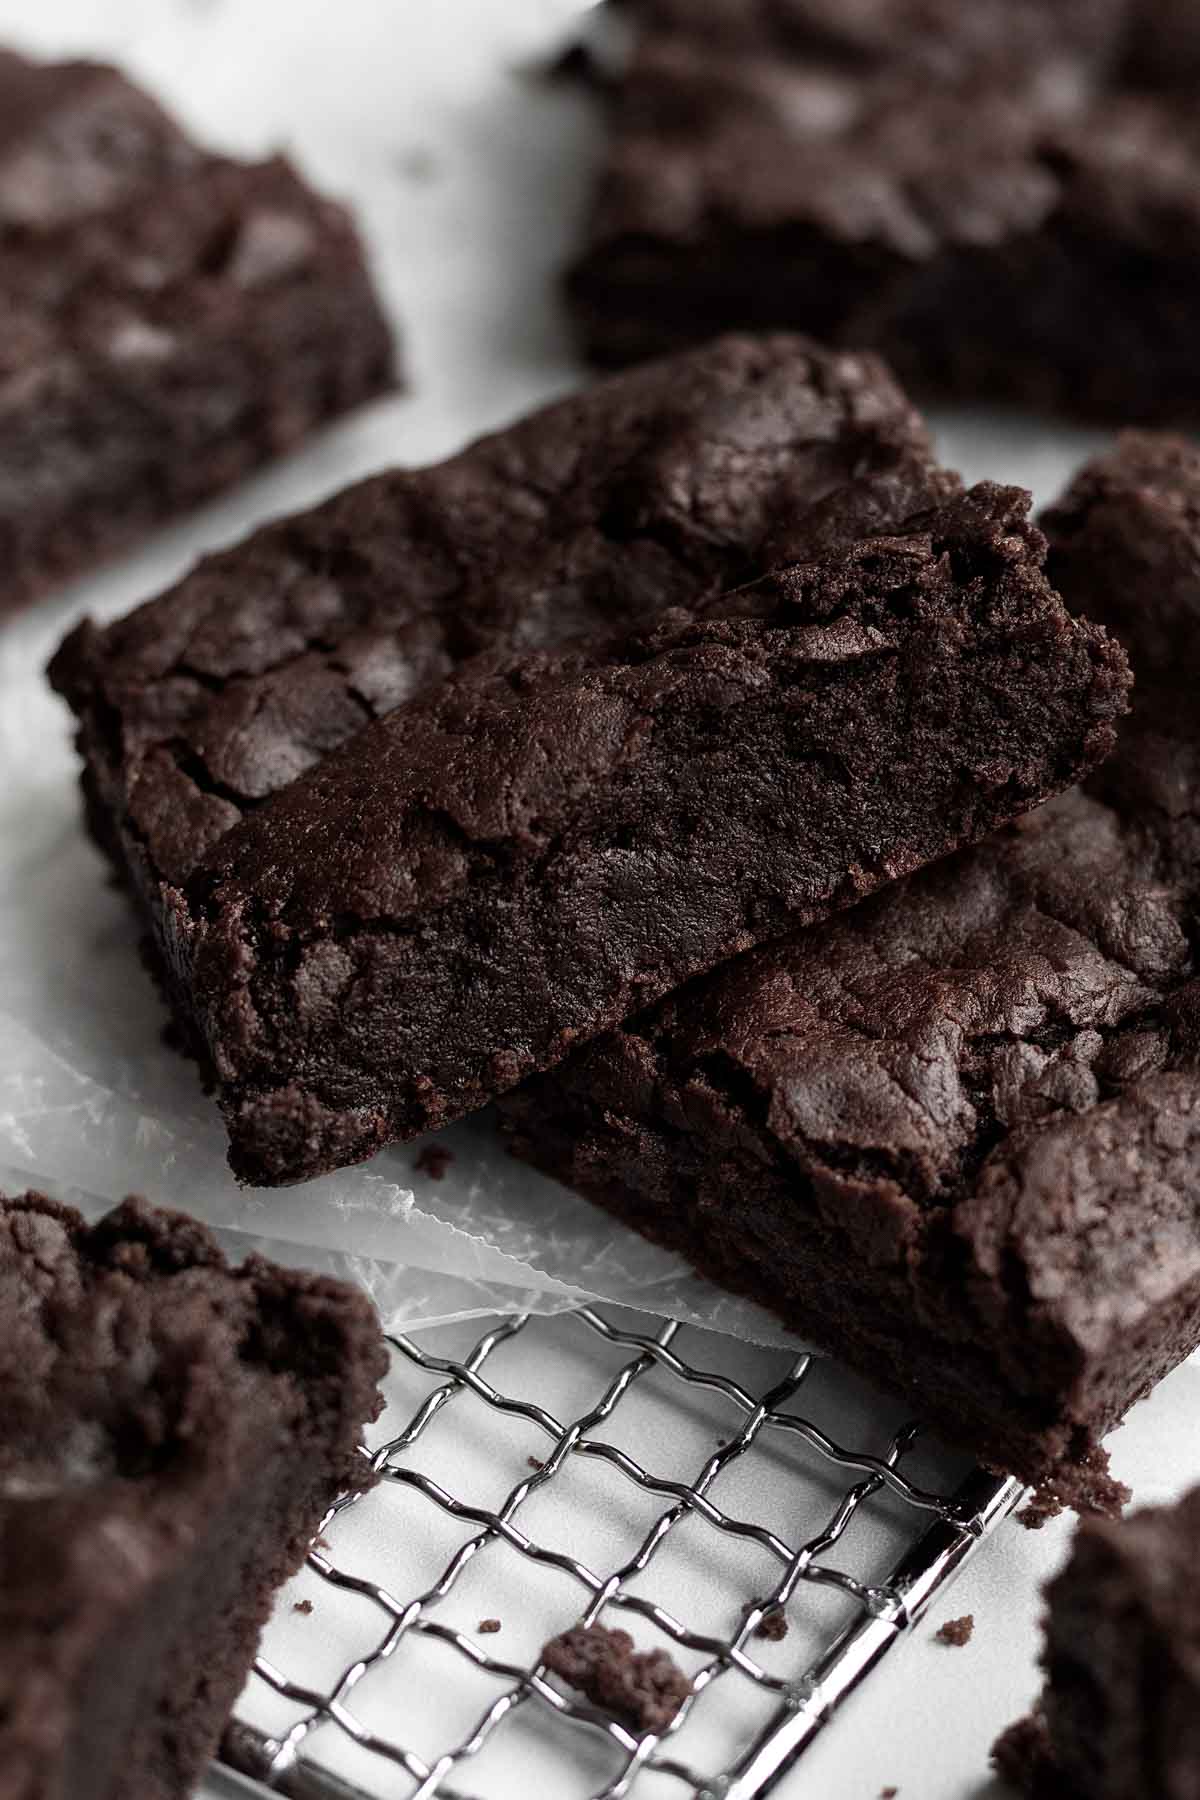
Step 7: Bake and Let Cool
Bake the brownies in the center rack of the oven at 350 degrees Fahrenheit for 40 minutes.
Let cool almost completely in the pan before trying to remove them.
Expert Baking Tips
- Use 2 Types of Cocoa Powder- The 2 types of cocoa powders give the brownies their dark hue. If you only have one type on hand, use natural unsweetened or dutch...just know their color will not be as dark as mine. Do not use dark alone; it will make your brownies too chalky, dry and bitter.
- Only Use Chocolate Bars- Don’t try to use melted chocolate chips inside the brownies. If you use chocolate chips, the brownies bubble and boil and never set. I learned this the hard way. I know it can be difficult to find chocolate that is made in a nut free facility and is also dairy free. The exception to this is the brand Enjoy Life allergy friendly chocolate chips. They actually work in this recipe.
- Melt the Chocolate and Butter, Slowly- If you rush this process and try to even heat the chocolate in 20 second increments (instead of 15 second increments), you can overheat the chocolate. If that happens it will seize up and basically not be usable.
- Use Parchment Paper- I explain how to make tabs with the parchment paper. Eggless brownies can be crumbly and this helps prevent them from getting stuck in the pan.
- Use Your Hands- The batter to the brownies itself is so super thick that it appears almost as though it is a cookie dough. Press the batter into your lined baking pan. You should end up with a smoother layer of batter, aside from some fingerprints.
- Let Them Cool- When the brownies come out of the oven, allow the brownies to cool completely before lifting them out of the pan using the parchment paper tabs. If you try to lift them out too soon, I promise the entire thing will fall apart into a messy (yet still delicious) pile. I may or may not be speaking from experience here.
Recipe FAQs
I think they're even better the second day, so yes you can make them the day before!
If you're looking for less, try my Small Batch Brownies!
I have tried this so many times with regular chocolate chips and the brownies will bubble, boil and never set.
The one exception to that is using these allergy friendly chocolate chips. They actually work in the recipe. Since they are completely allergy friendly, they most likely do not have the same stabilizers that other brands of chocolate chips have. So if you want to use chocolate chips. Please use these.
Storing: Keep the extra brownies in an airtight container at room temperature. If you don’t have an airtight container that fits them all, wrap any extras in aluminum foil for up to 2 days.
If desired, warm each brownie in the microwave for 5-10 seconds prior to eating; be careful not to burn your mouth.
Freezing: Place cut brownies (not stacked) on a parchment lined baking sheet and pop in the freezer uncovered. Freeze for 10-15 minutes or until the brownies are completely frozen. Once frozen, you can store them stacked in a freezer safe airtight container or zip top bag in the freezer for up to 1 month. To defrost, take the container out and leave at room temperature until soft. 1-2 hours.
If desired, heat each brownie for 5-10 seconds in the microwave. Be careful not to burn your mouth.
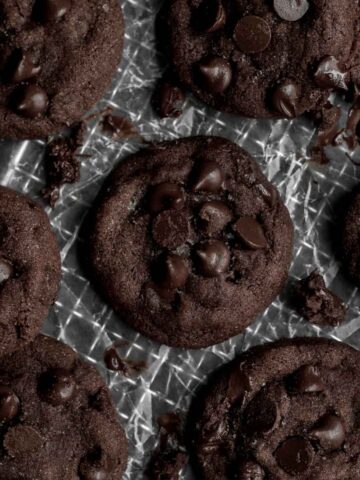
More Chocolate Recipes You'll Love

Did you try this recipe? Please leave me a ⭐ review below!
Don’t forget to tag me on Instagram @laneandgreyfare and follow along on Pinterest, Facebook and YouTube! Enjoy!!!
📖 Recipe
Eggless Brownies
Ingredients
- 8 ounces baking chocolate , chopped
- 6 tablespoons unsalted butter or vegan baking stick
- 2 tablespoons vegetable oil
- ¼ cup milk
- 2 teaspoons white vinegar
- 4 rounded tablespoons cornstarch mixed with 6 tablespoons water
- 1 cup granulated sugar
- 1 teaspoon pure vanilla extract
- 1 teaspoon baking powder
- ½ teaspoon kosher salt
- 5 tablespoons cocoa powder (I use 2.5 tablespoons dutch or natural unsweetened and 2.5 tablespoons dark)
- 1 ¼ cups multipurpose gluten free flour (I use a multipurpose gluten flour with xanthan gum already in it)
Instructions
- Preheat the oven to 350 degrees and line an 8 x8 inch baking pan and line with parchment paper. Make it long enough so there is about a ½ overhang on each side so that you can lift the brownies out easily once they have cooled.Do not grease. There is enough oil in the brownies that greasing would be too much.
- Chop the 8 ounces of chocolate into tiny pieces. Place the chopped chocolate in a microwave safe bowl with the 6 tablespoons unsalted butter and 2 tablespoons vegetable oil. Heat in 15 second increments and stir after each time until the chocolate is completely melted and silky smooth. Set aside.
- Pour the ¼ cup milk and the 2 teaspoons white vinegar into a small bowl. Stir and let sit 5 minutes. Stir again. It will appear chunky and that's normal. Set aside.
- In a small bowl, using a spoon, mix together the 4 rounded tablespoons cornstarch and the 6 tablespoons water until thin and watery. It will be thick and tacky at first.
- Into the melted chocolate and butter, whisk in the cornstarch water until fully combined.
- Then whisk in the 1 cup granulated sugar, 1 teaspoon pure vanilla extract, 1 teaspoon baking powder and ½ teaspoon kosher salt until combined.Lastly, add in the milk vinegar mixture and whisk till combined.
- Using a spatula, gently fold in the 5 tablespoons cocoa powder and 1 ¼ cups multipurpose gluten free flour until everything is just combined. The batter will be super thick and sticky.
- Spoon the batter into your baking dish and use your hands to press it down into the shape of the pan. You should end up with a smooth even layer of batter.
- Bake the brownies in the center rack of the oven at 350 degrees Fahrenheit for 40 minutes. Let the brownies cool almost completely in the pan before trying to remove them, otherwise they will break apart into a giant mess.
- After they cool, using the parchment tabs, lift onto a cooling rack and let them cool completely before slicing.
- Slice the brownies into big squares, tiny squares, large rectangles or small rectangles...whatever your heart desires. I slice them into 16 squares.
john says
This brownie recipe is great for everyone that has egg allergies!