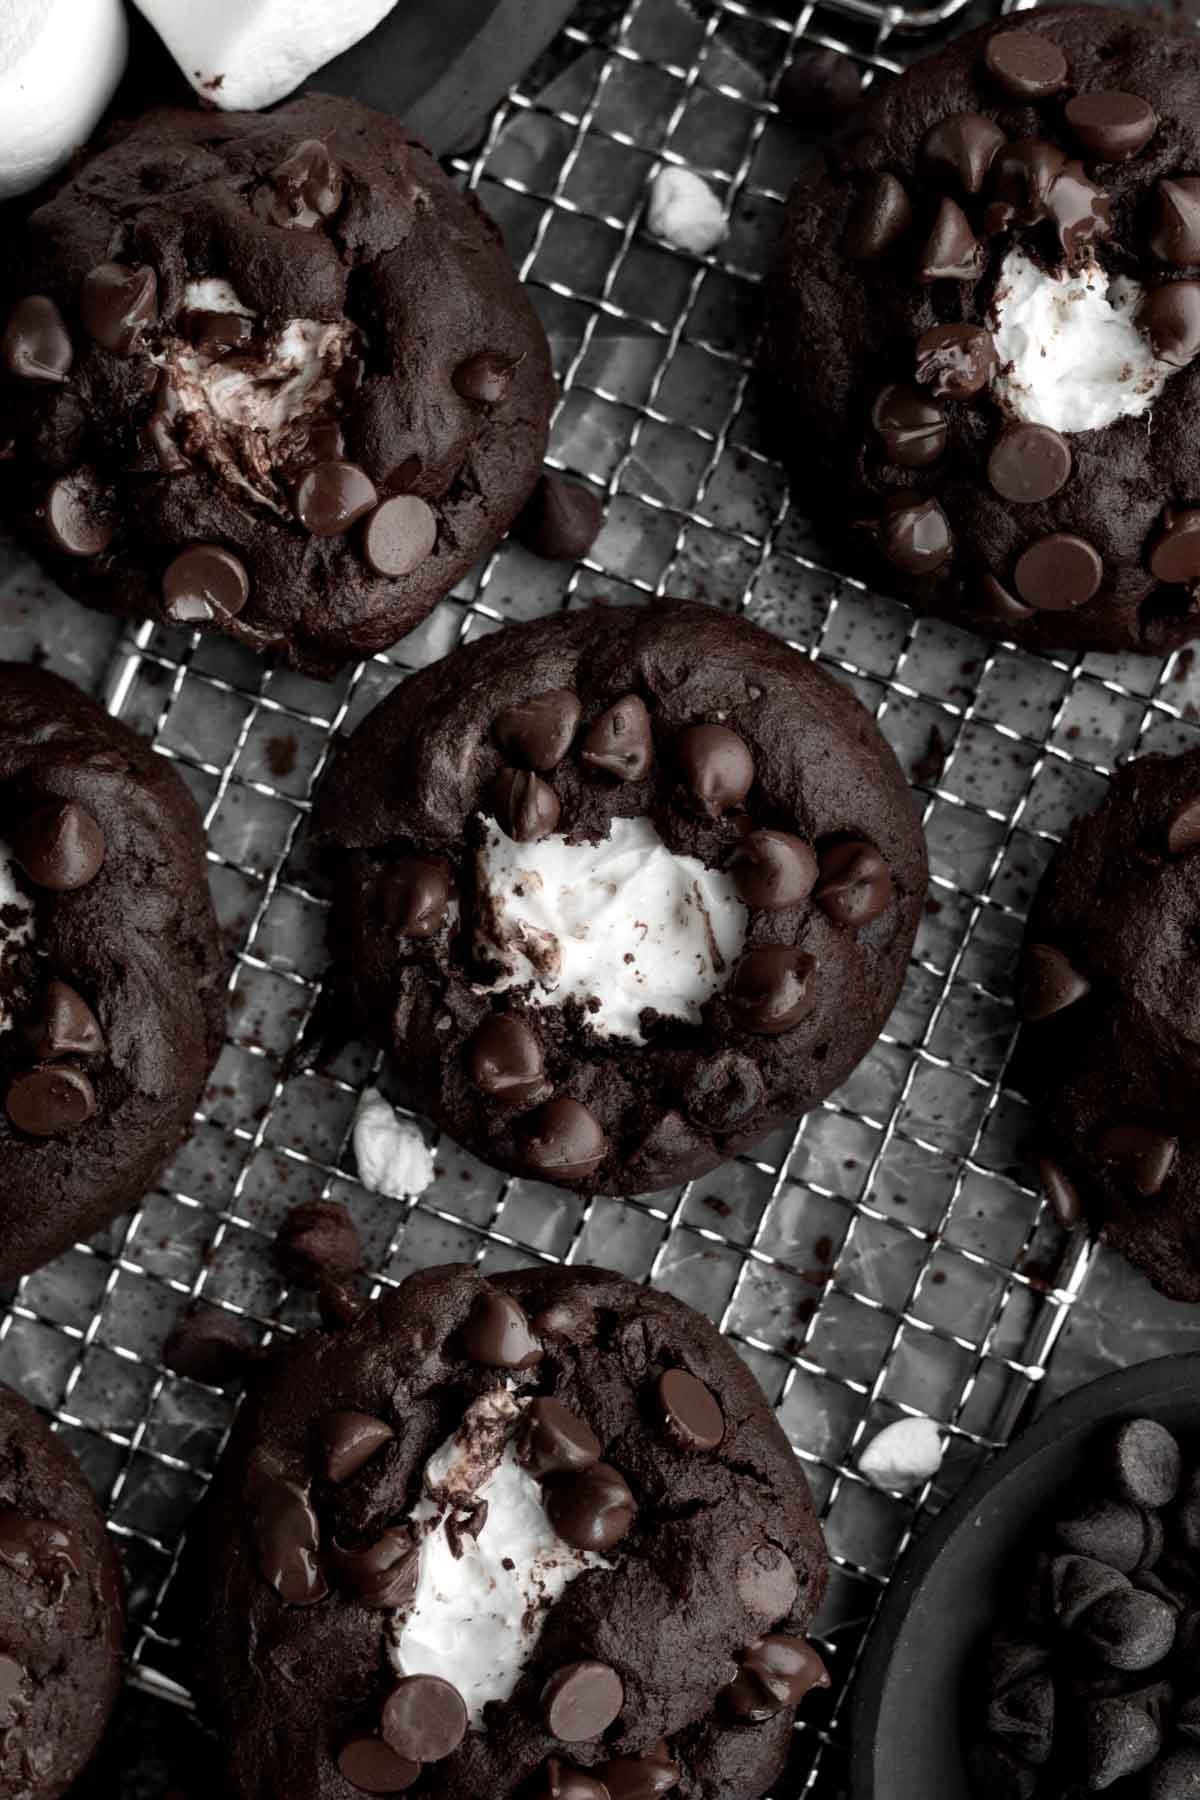
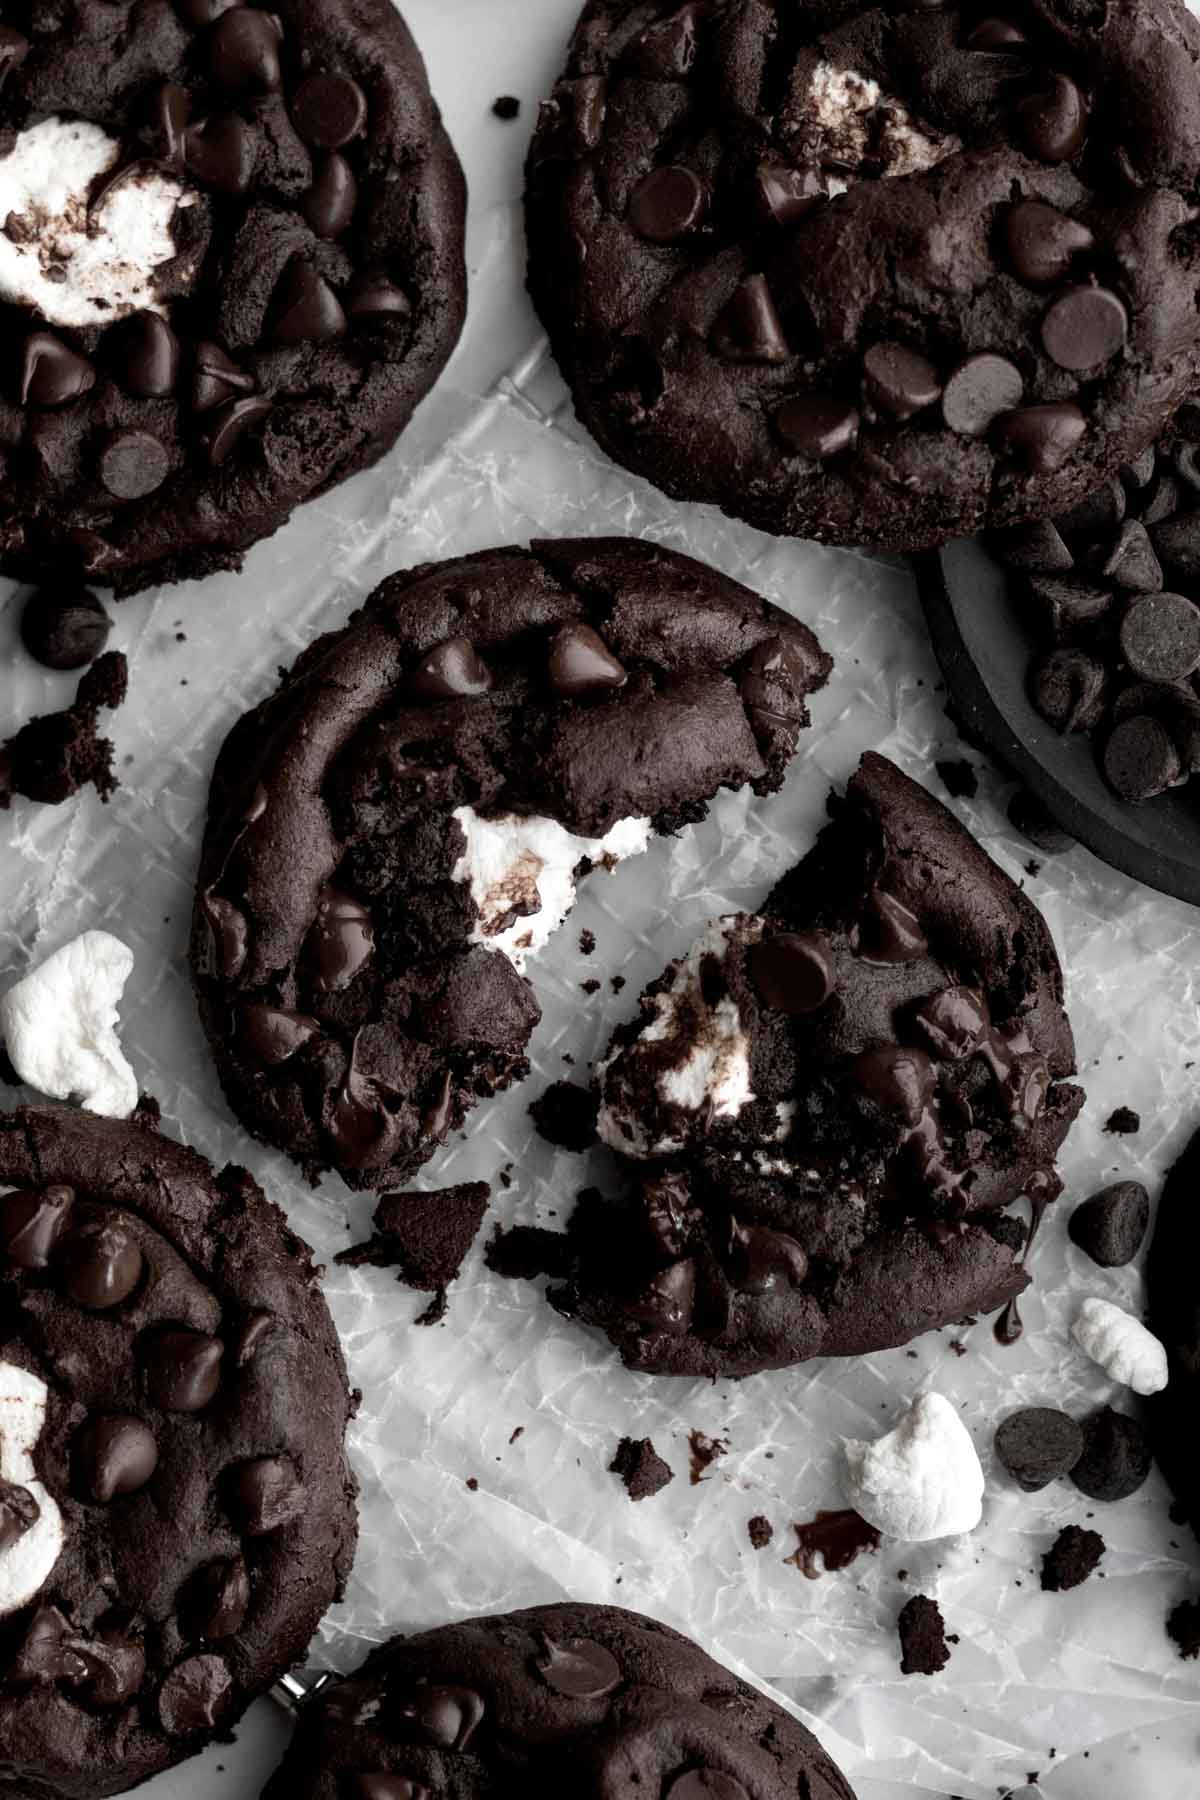
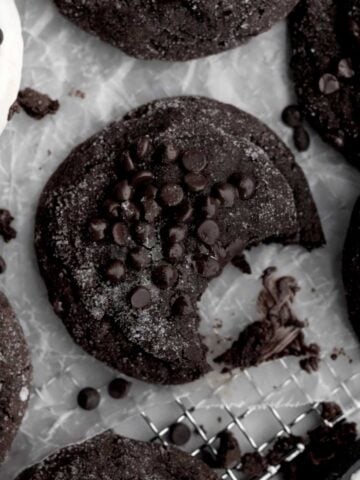
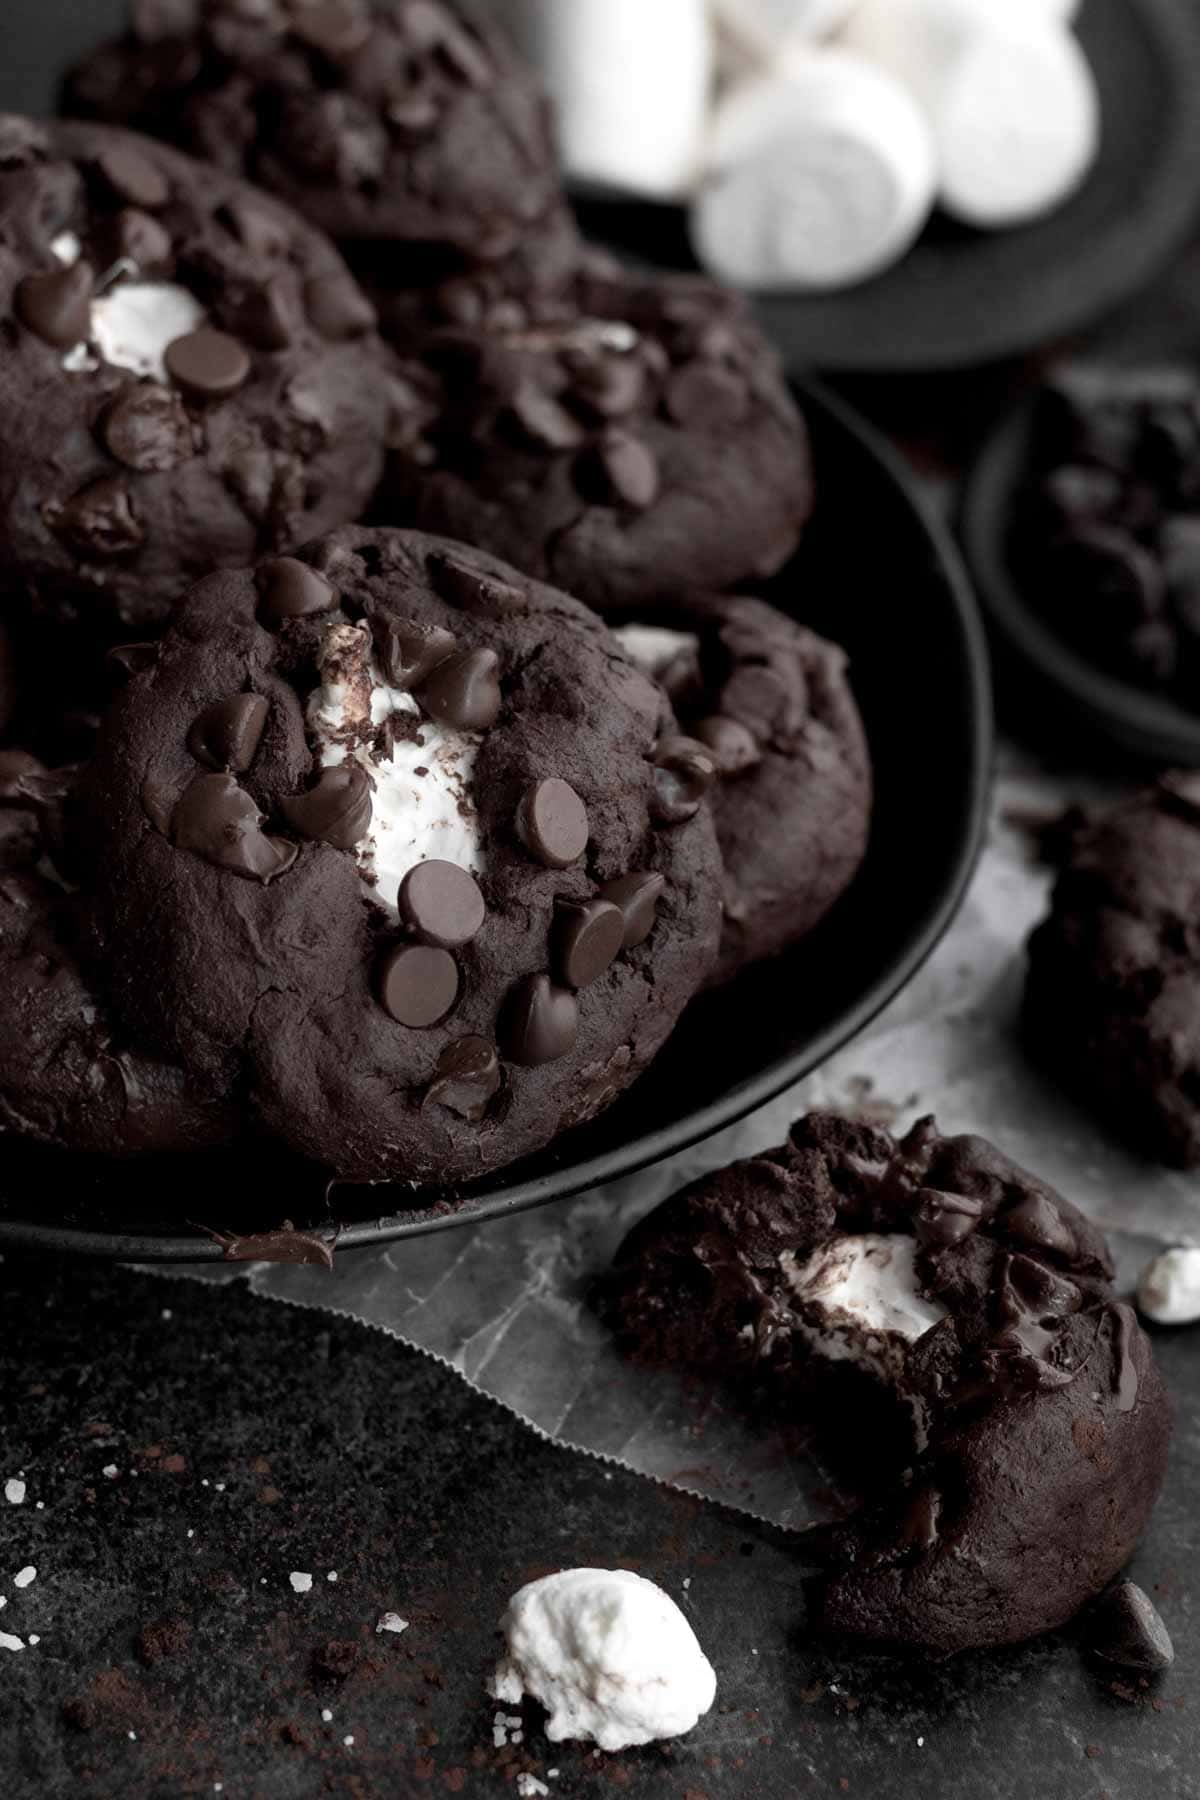
These Chocolate Marshmallow Cookies are soft and chewy chocolate cookies that are loaded with chocolate chips and gooey marshmallows. These dark chocolate cookies get their color from two types of cocoa powders! If that wasn't enough, they’re also gluten free, nut free, egg free and easily vegan!
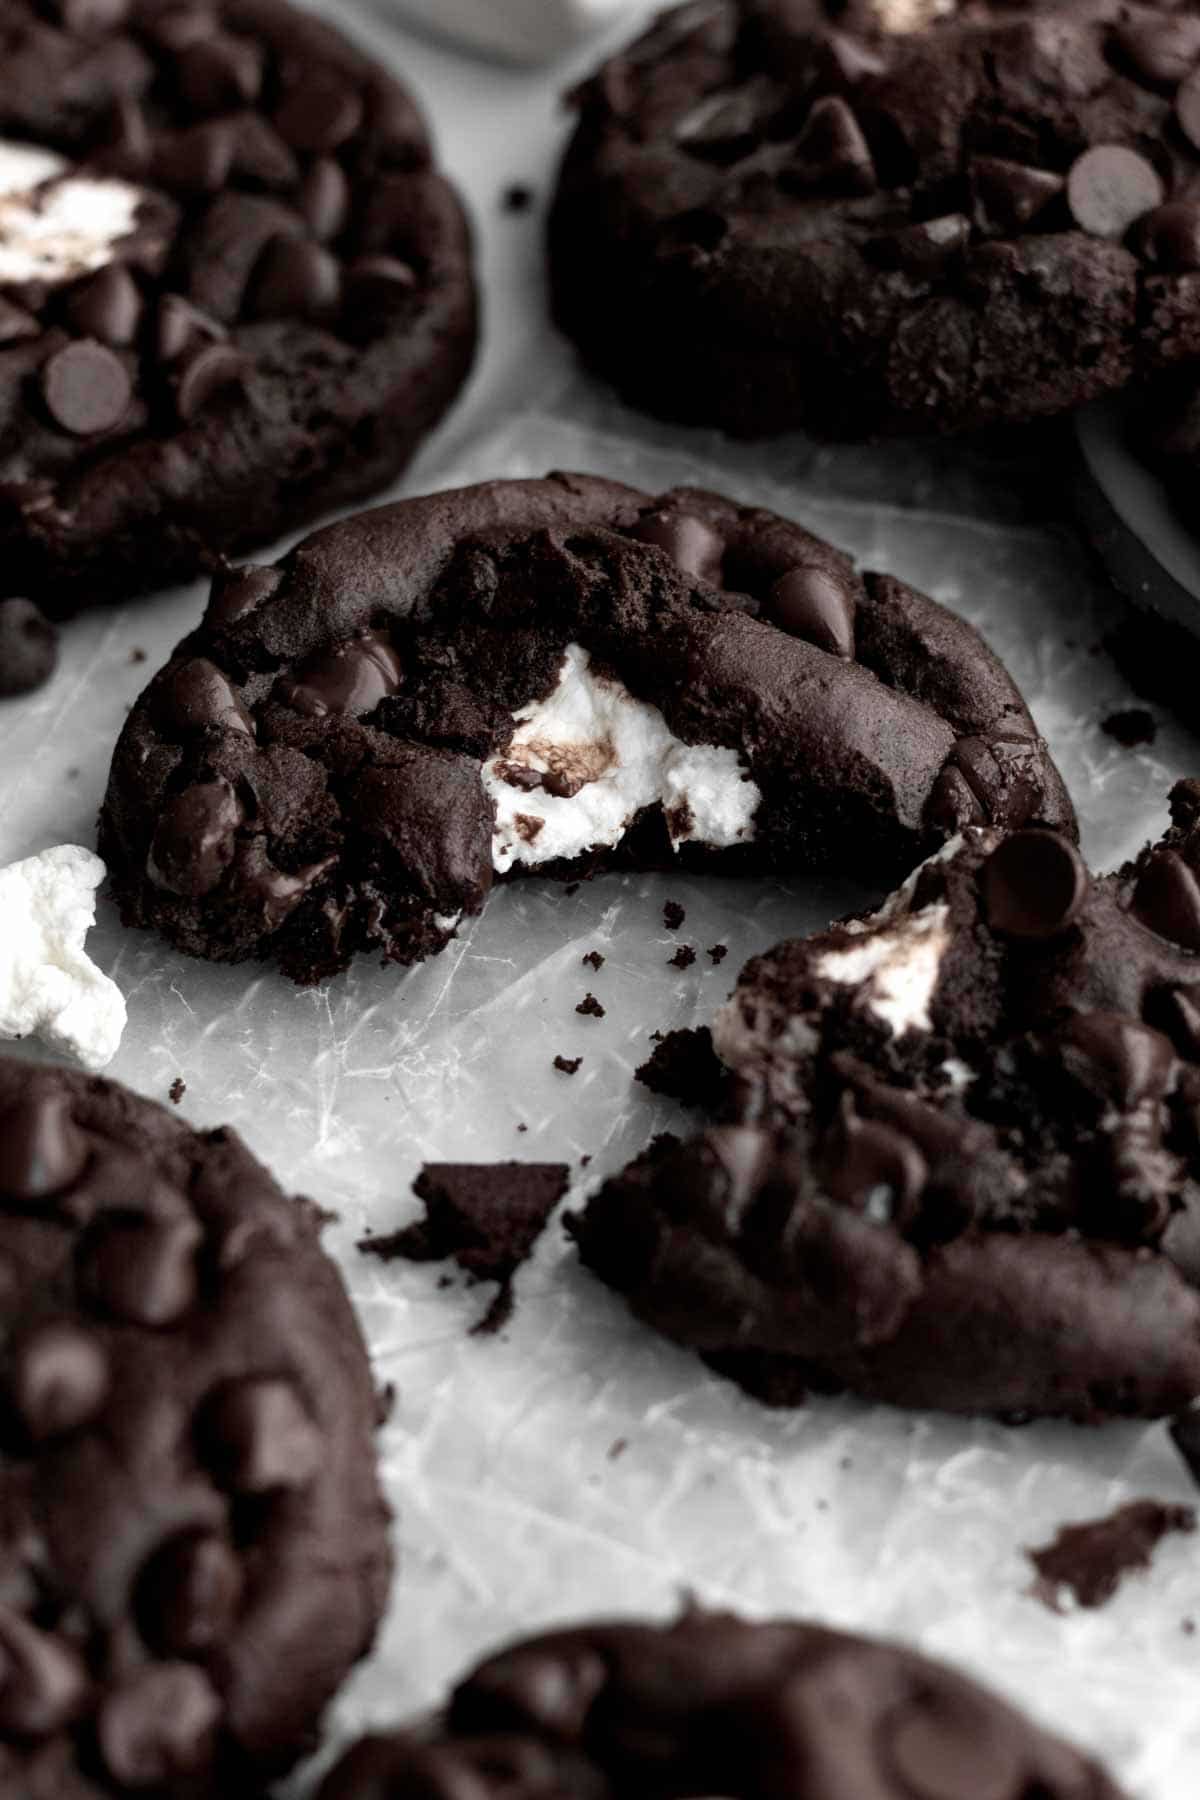
These Chocolate Marshmallow Cookies are soft and rich just like my dark chocolate chip cookies! These chocolate cookies remind me of winter and they seriously are the easiest holiday cookies that will wow all your friends and family!
For more chocolate cookie recipes, try my Chocolate Cookies and Cream Cookies, my Eggless Chocolate Cookies, Double Chocolate Chip Cookies, Chocolate Sandwich Cookies, Chocolate Thumbprint Cookies and Double Chocolate Brownie Bites.
Reasons To Love These Chocolate Marshmallow Cookies
- Allergy Friendly- These cookies are gluten free, nut free, egg free and can easily be dairy free (vegan)!
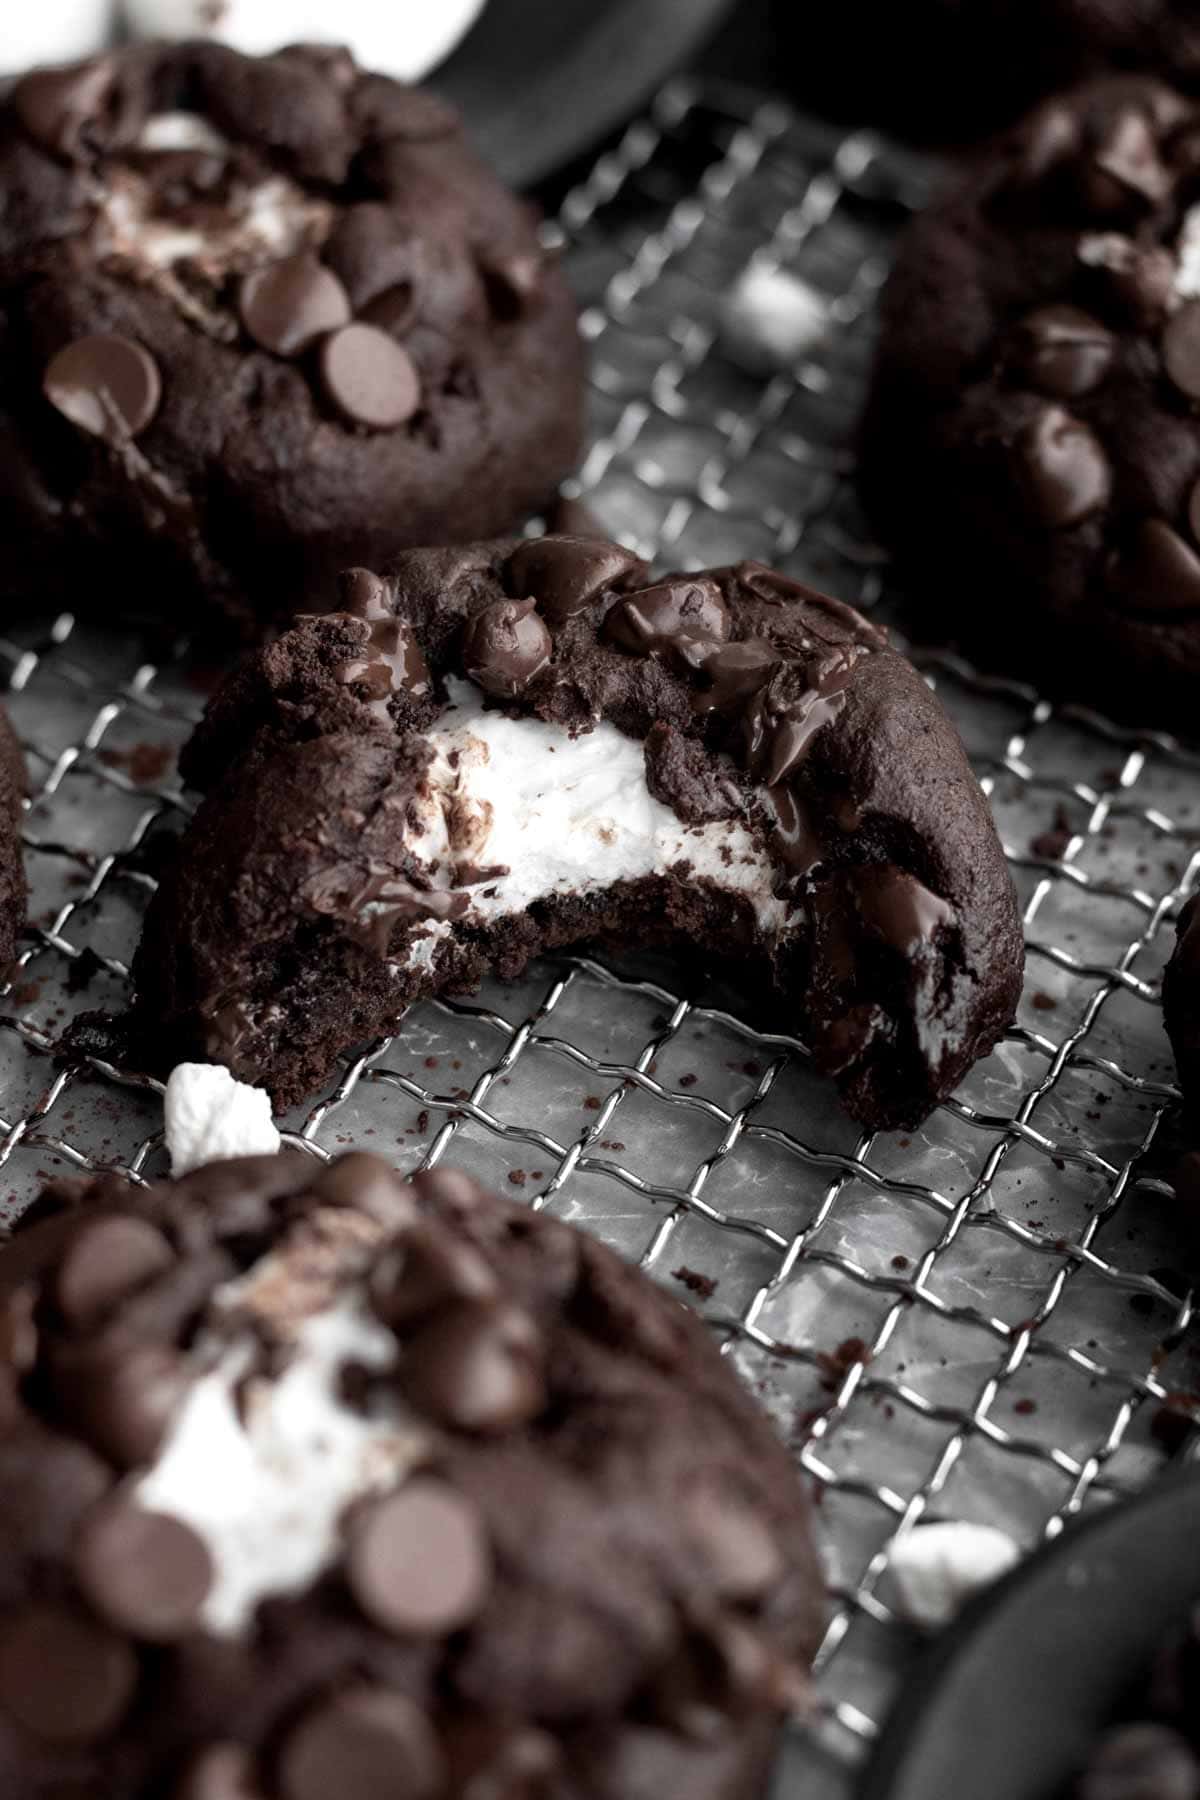
- Soft & Gooey Inside- The cookies are soft, chewy and oozing with chocolate inside!
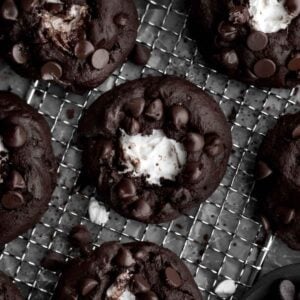
- Marshmallows- The inside is stuffed with a marshmallow!
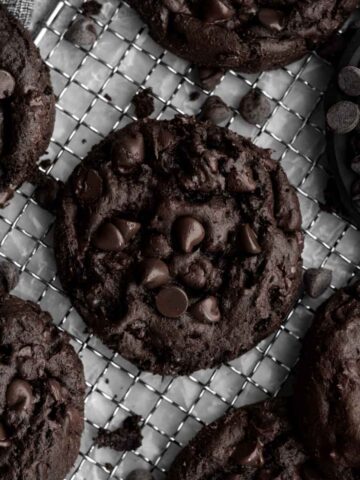
- Chocolate Chips- They are loaded and topped with chocolate chips!
Ingredient Notes
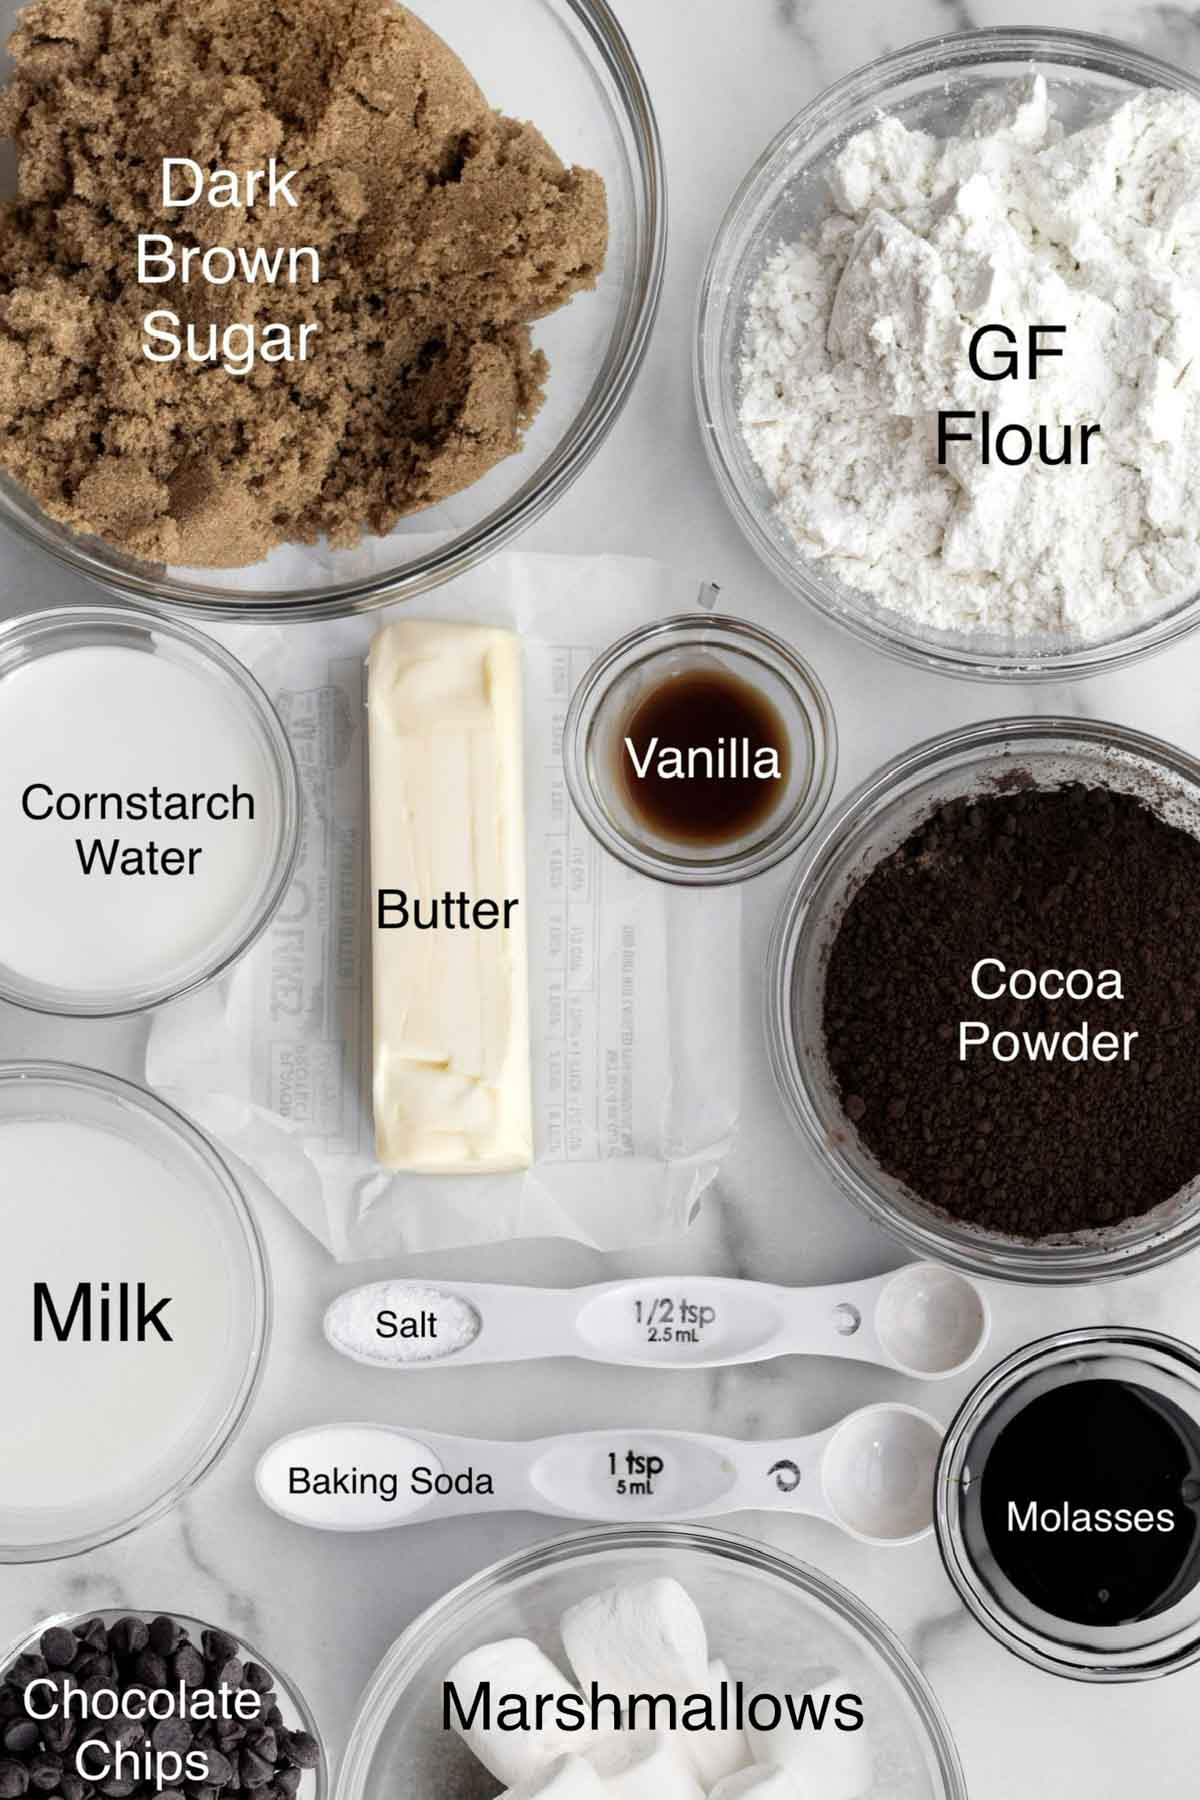
- Gluten Free Flour- If you also have nut allergies, make sure to use a brand that’s made in a nut free facility. I really love to use this gluten free flour because it’s free of the top 9 allergens. It also contains xanthan gum which really helps give baked goods their bounce and prevents them from falling apart.
- Butter/ Vegan Baking Stick- Only use room temperature. If you use melted, the cookies will spread too much while baking.
- Cornstarch and Water- These are eggless cookies so this mixture helps bind everything together.
- Dark Brown Sugar- I use brown sugar instead of granulated for added moisture like in my Chocolate Blossom Cookies.
- Milk- If there are no dairy allergies or if you’re not vegan, you can use regular whole milk. For non-dairy, use a dairy-free milk of your choosing.
- Molasses: The secret ingredient! I use a tablespoon of unsulphured molasses like in my Dark Chocolate Chip Cookies. Without it, the cookies will be drier the next day. For a recipe without it, try my Chocolate Chocolate Chip Cookie Bars!
- Marshmallows: I use gluten free/vegan like in my Chocolate Chip Marshmallow Cookies!
See my recipe card below for a complete list of the ingredients with measurements.
Substitutions and Variations
How to Make These into Vegan Chocolate Cookies
- Use a gluten free flour that’s free from dairy.
- Make sure the brand of sugar you use is vegan.
- Instead of butter, use a vegan baking stick.
- Only use a non-dairy milk.
- Read the label on your chocolate chips to ensure they’re gluten free, nut free and vegan.
- Only use gluten free/nut free/vegan marshmallows.
Make this Recipe with All Purpose Flour
- Use 1 ¼ packed cups of regular flour (210 grams).
- Use 2 tablespoons of milk.
- Make sure to also use packed cups of cocoa powder.
- You still need to chill the dough due to the lack of eggs.
Making this Recipe with Eggs
- Use 1 ¼ packed cups of flour (210 grams).
- Use 2 tablespoons of milk.
- Eliminate the cornstarch water and add 1 egg.
- Eliminate the molasses.
This recipe has not been tested with some of these substitutions and/or variations due to celiac disease and food allergies. If you change any of the ingredients, please let us know how the recipe turned out in the comments below!
How to Make Chocolate Marshmallow Cookies
Here are the step by step instructions to make these chocolate and marshmallow cookies!
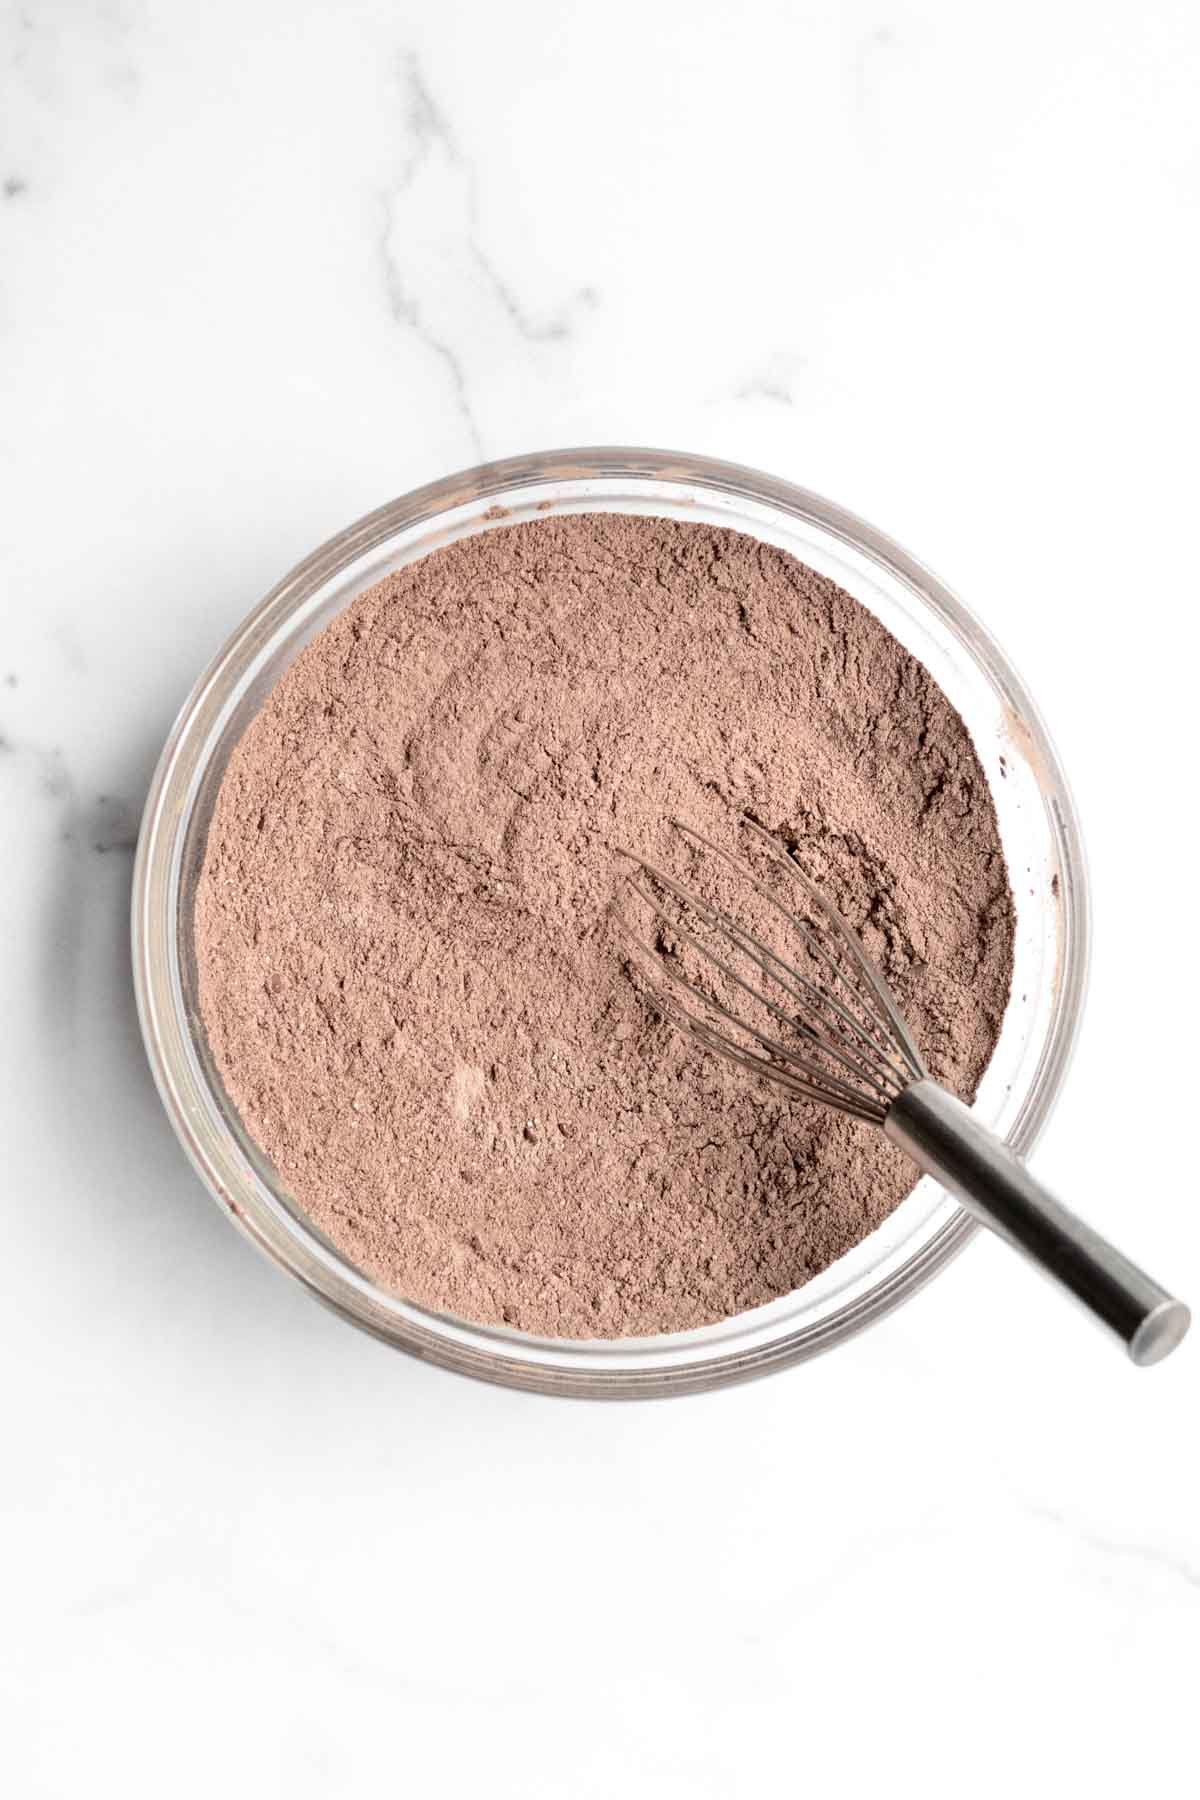
Step 1: Whisk Together the Dry Ingredients
In a medium bowl, whisk to combine the gluten free flour, cocoa powders, baking soda and salt. Set aside.
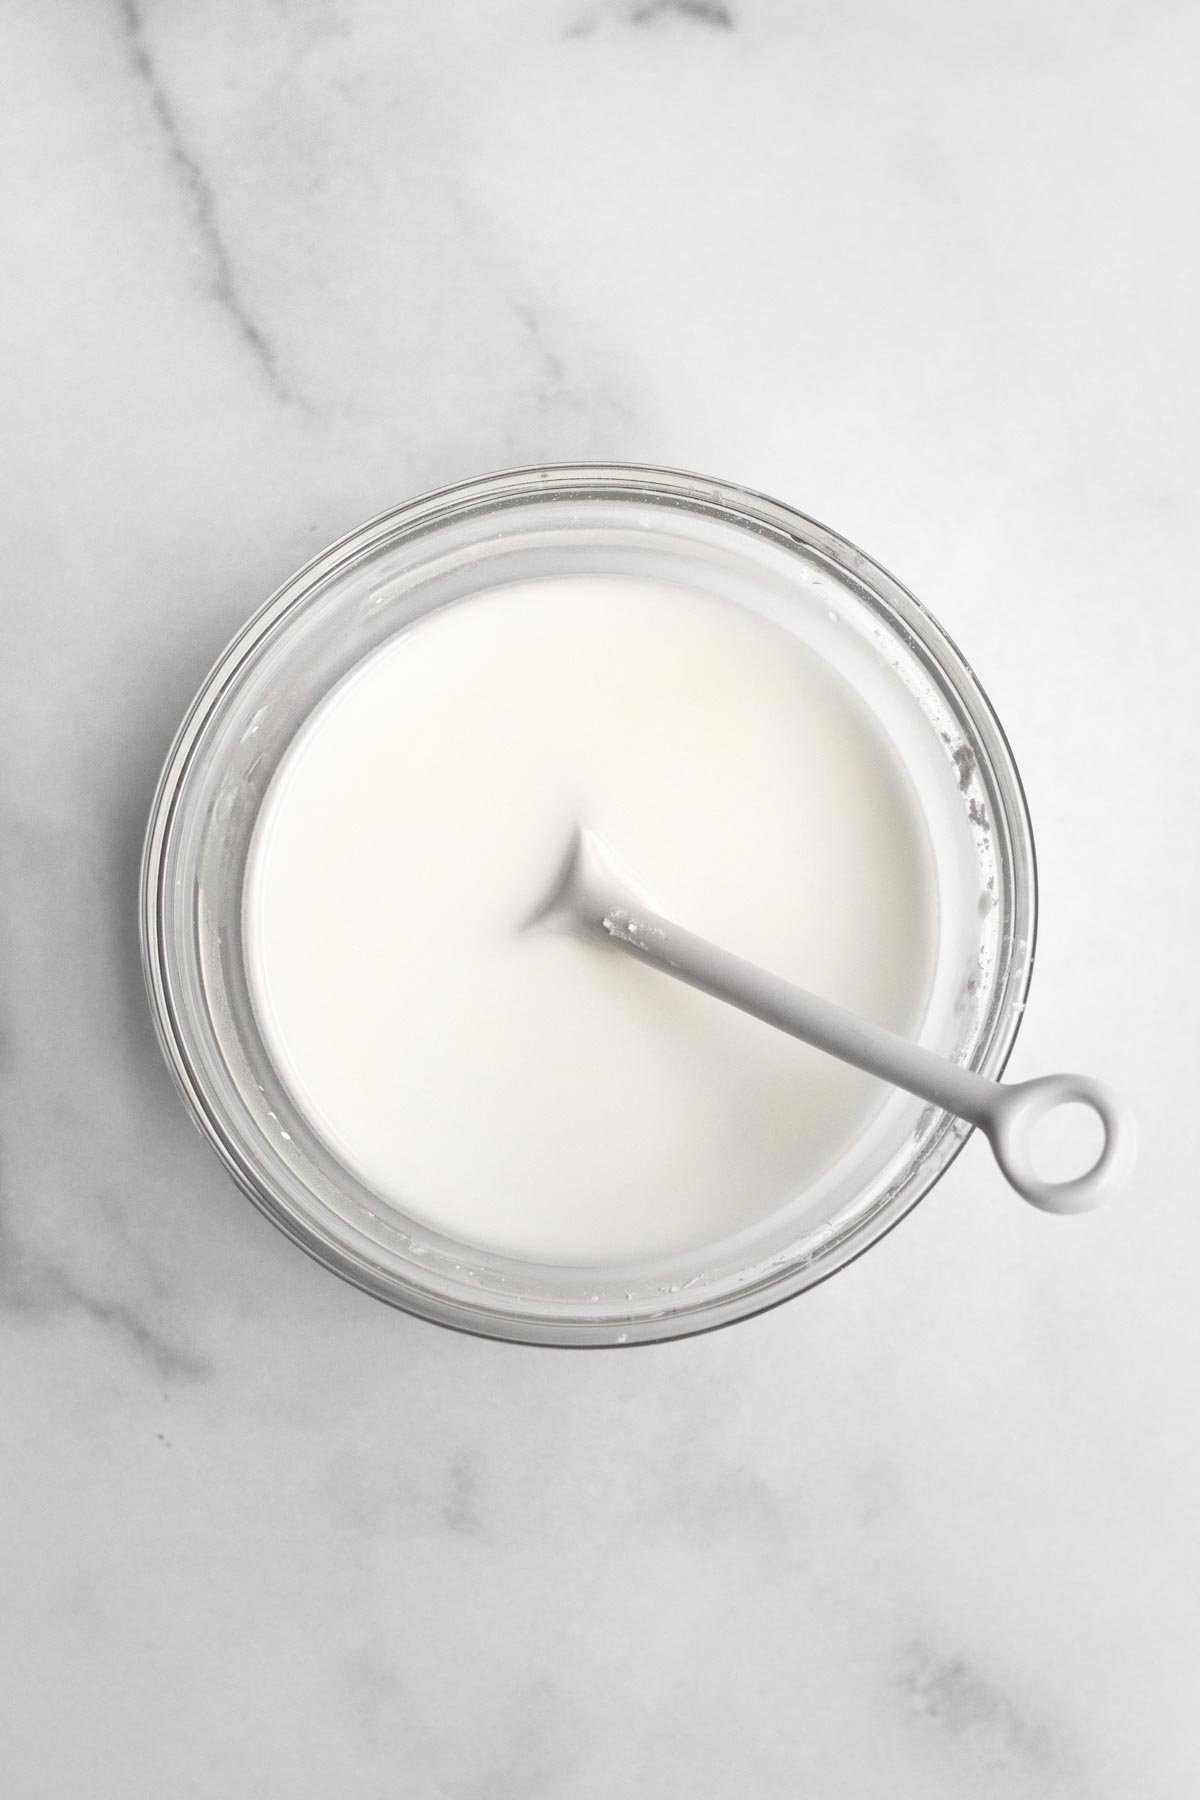
Step 2: Make the Cornstarch Water
In a small bowl, using a spoon, mix together the cornstarch and water until thin and watery. It will be thick and tacky at first.
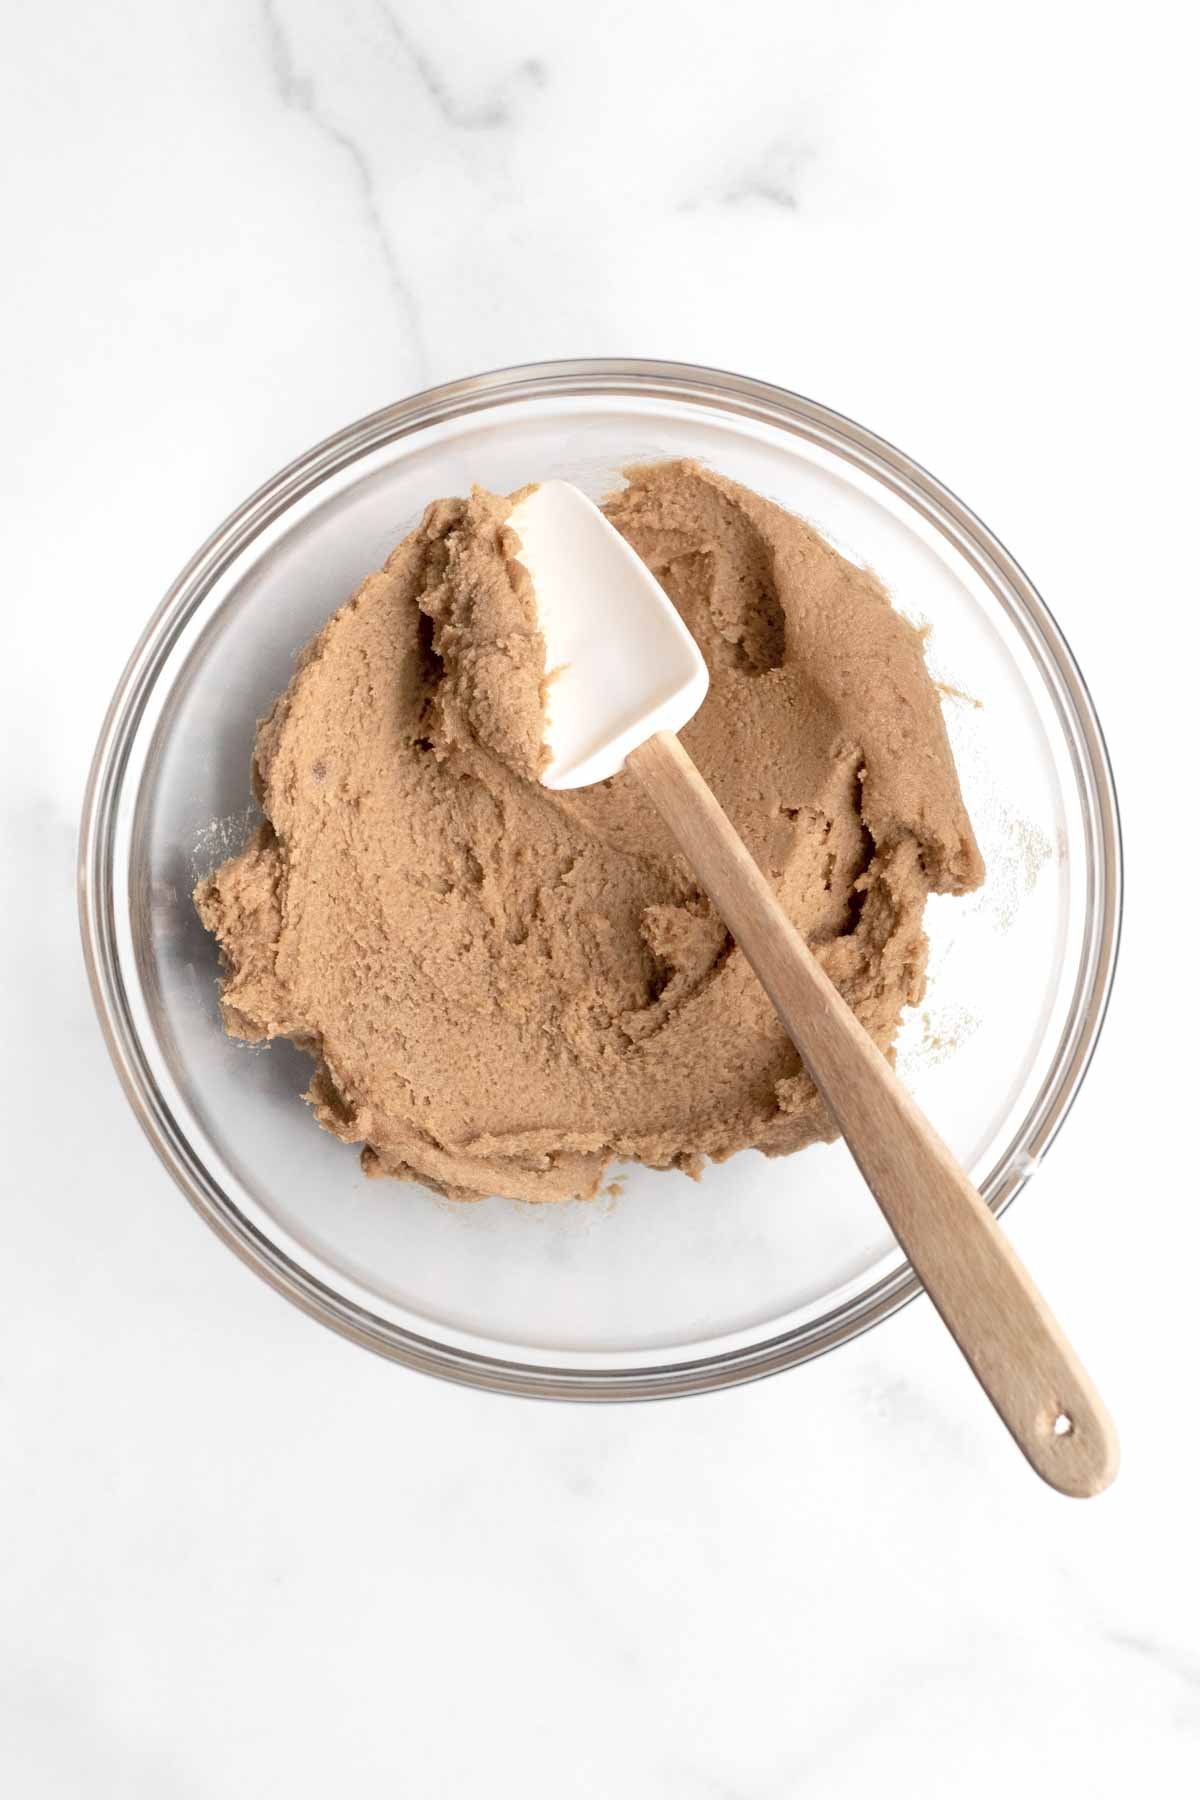
Step 3: Cream the Butter and Sugar
Beat the butter and the dark brown sugar until soft and creamy. About 2 minutes.
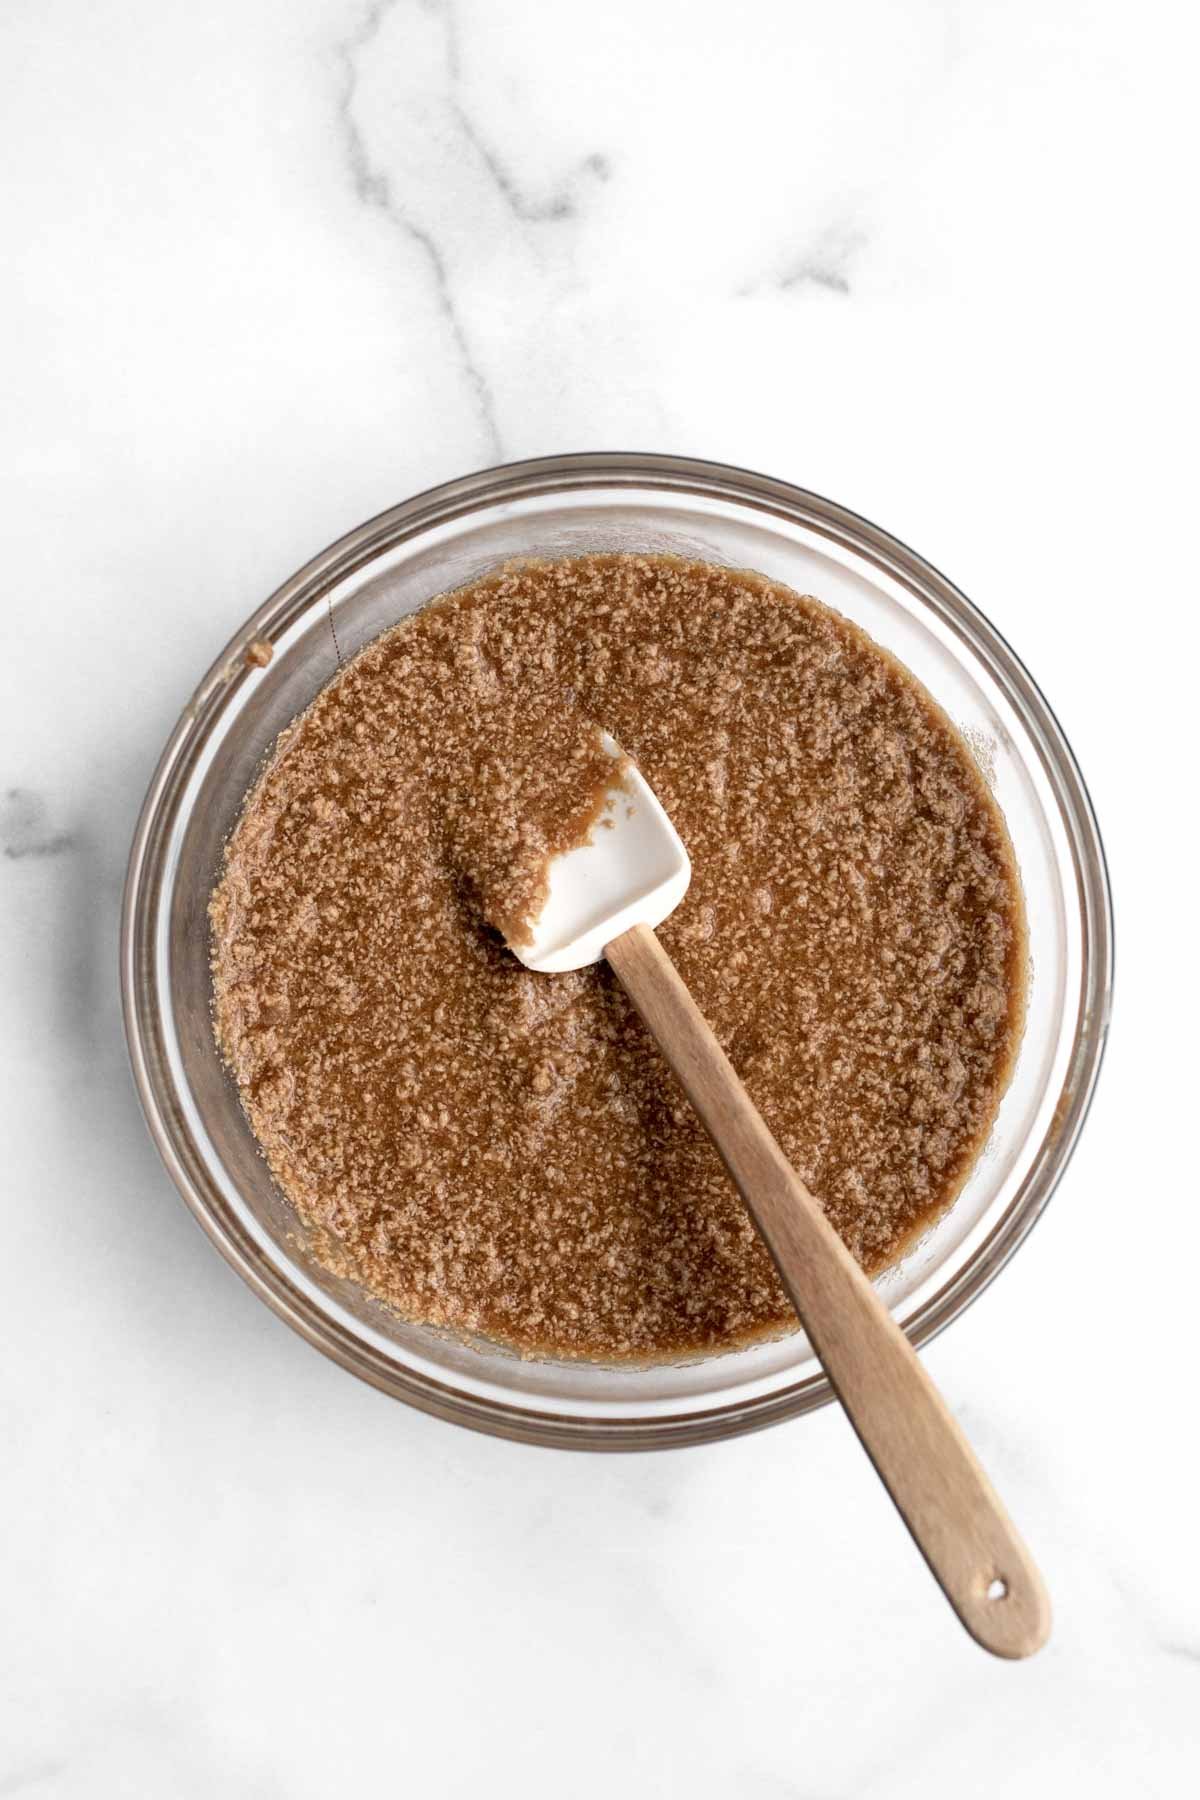
Step 4: Add in the other Wet Ingredients
Beat in the cornstarch water, the milk, molasses and the vanilla until fully combined. It will appear chunky. That’s normal.
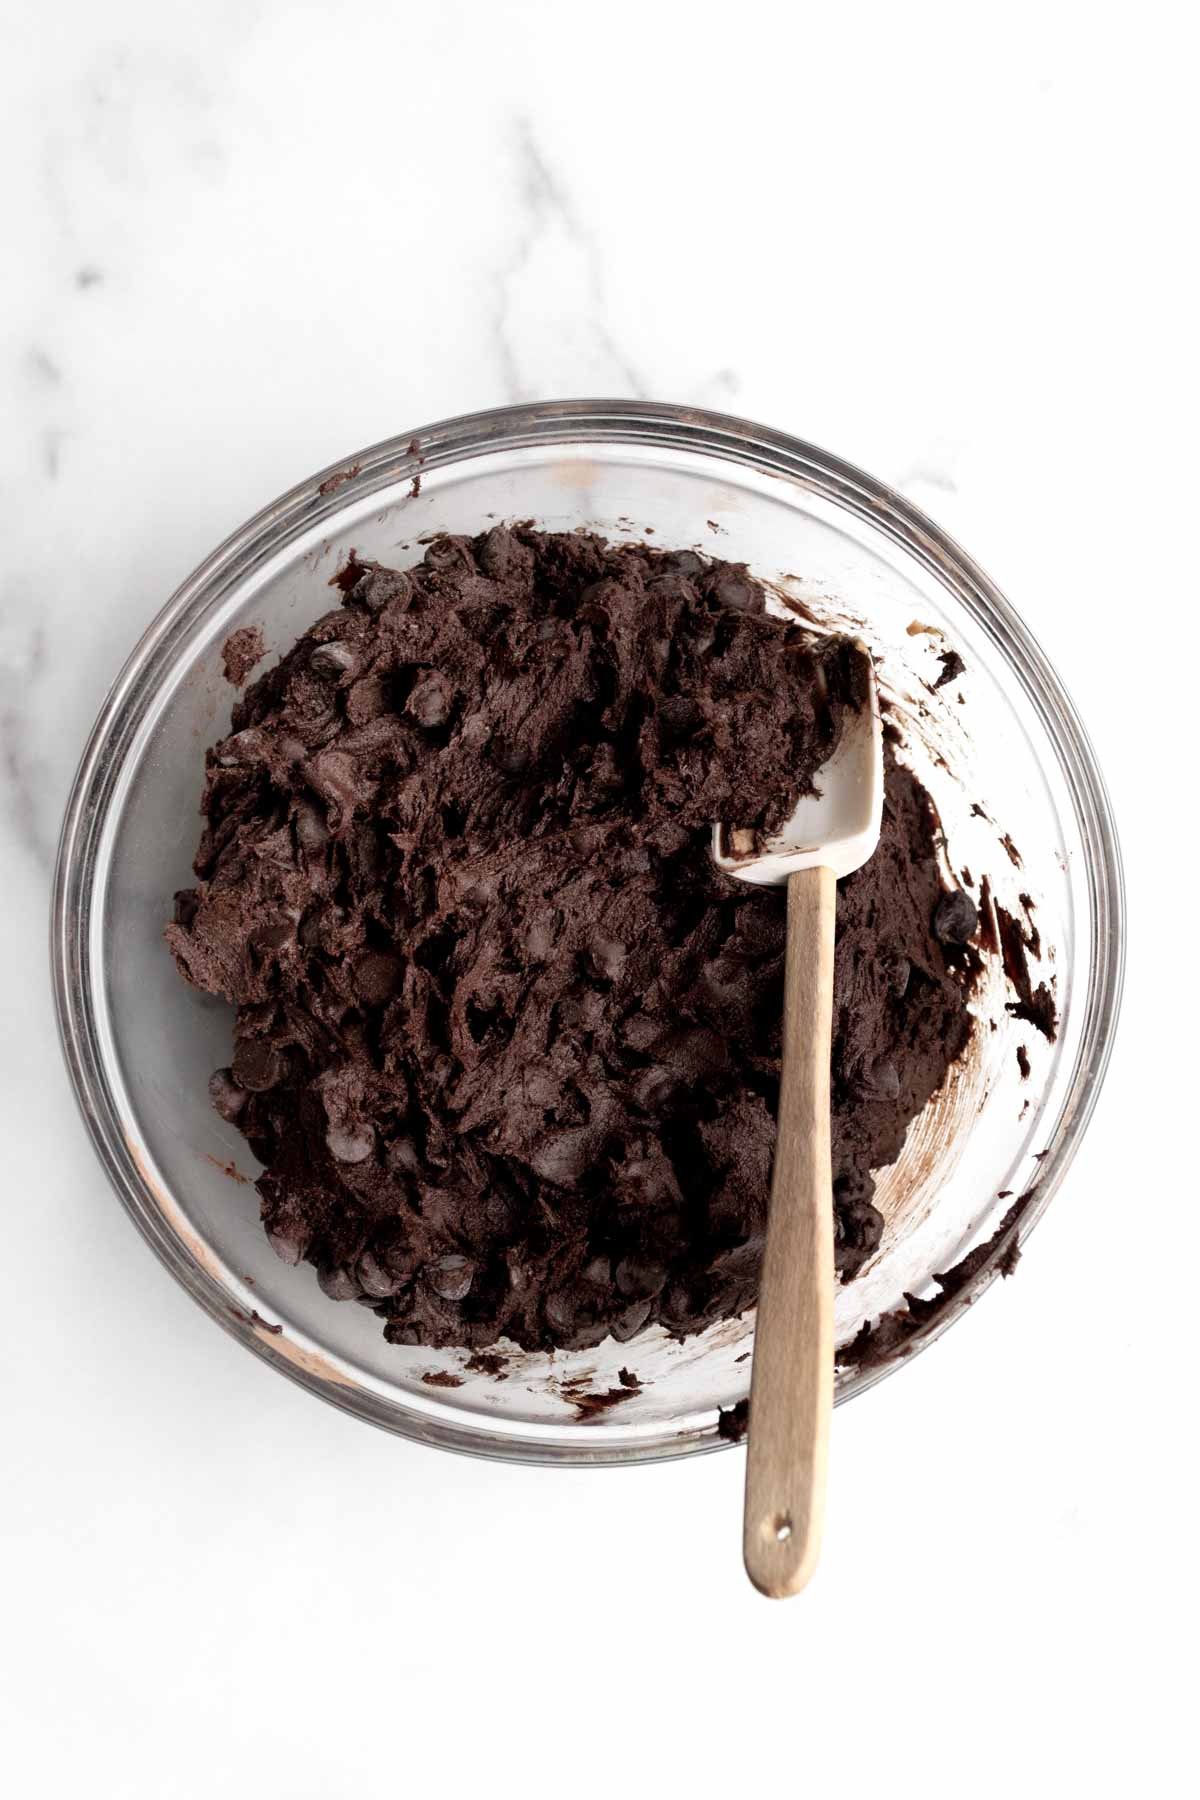
Step 5: Add in the Dry Ingredients and Fold in the Chocolate Chips
Slowly beat in the gluten free flour mixture a little at a time until just combined.
Fold in the chocolate chips using a spatula. Chill in the fridge for 2.5 hours.
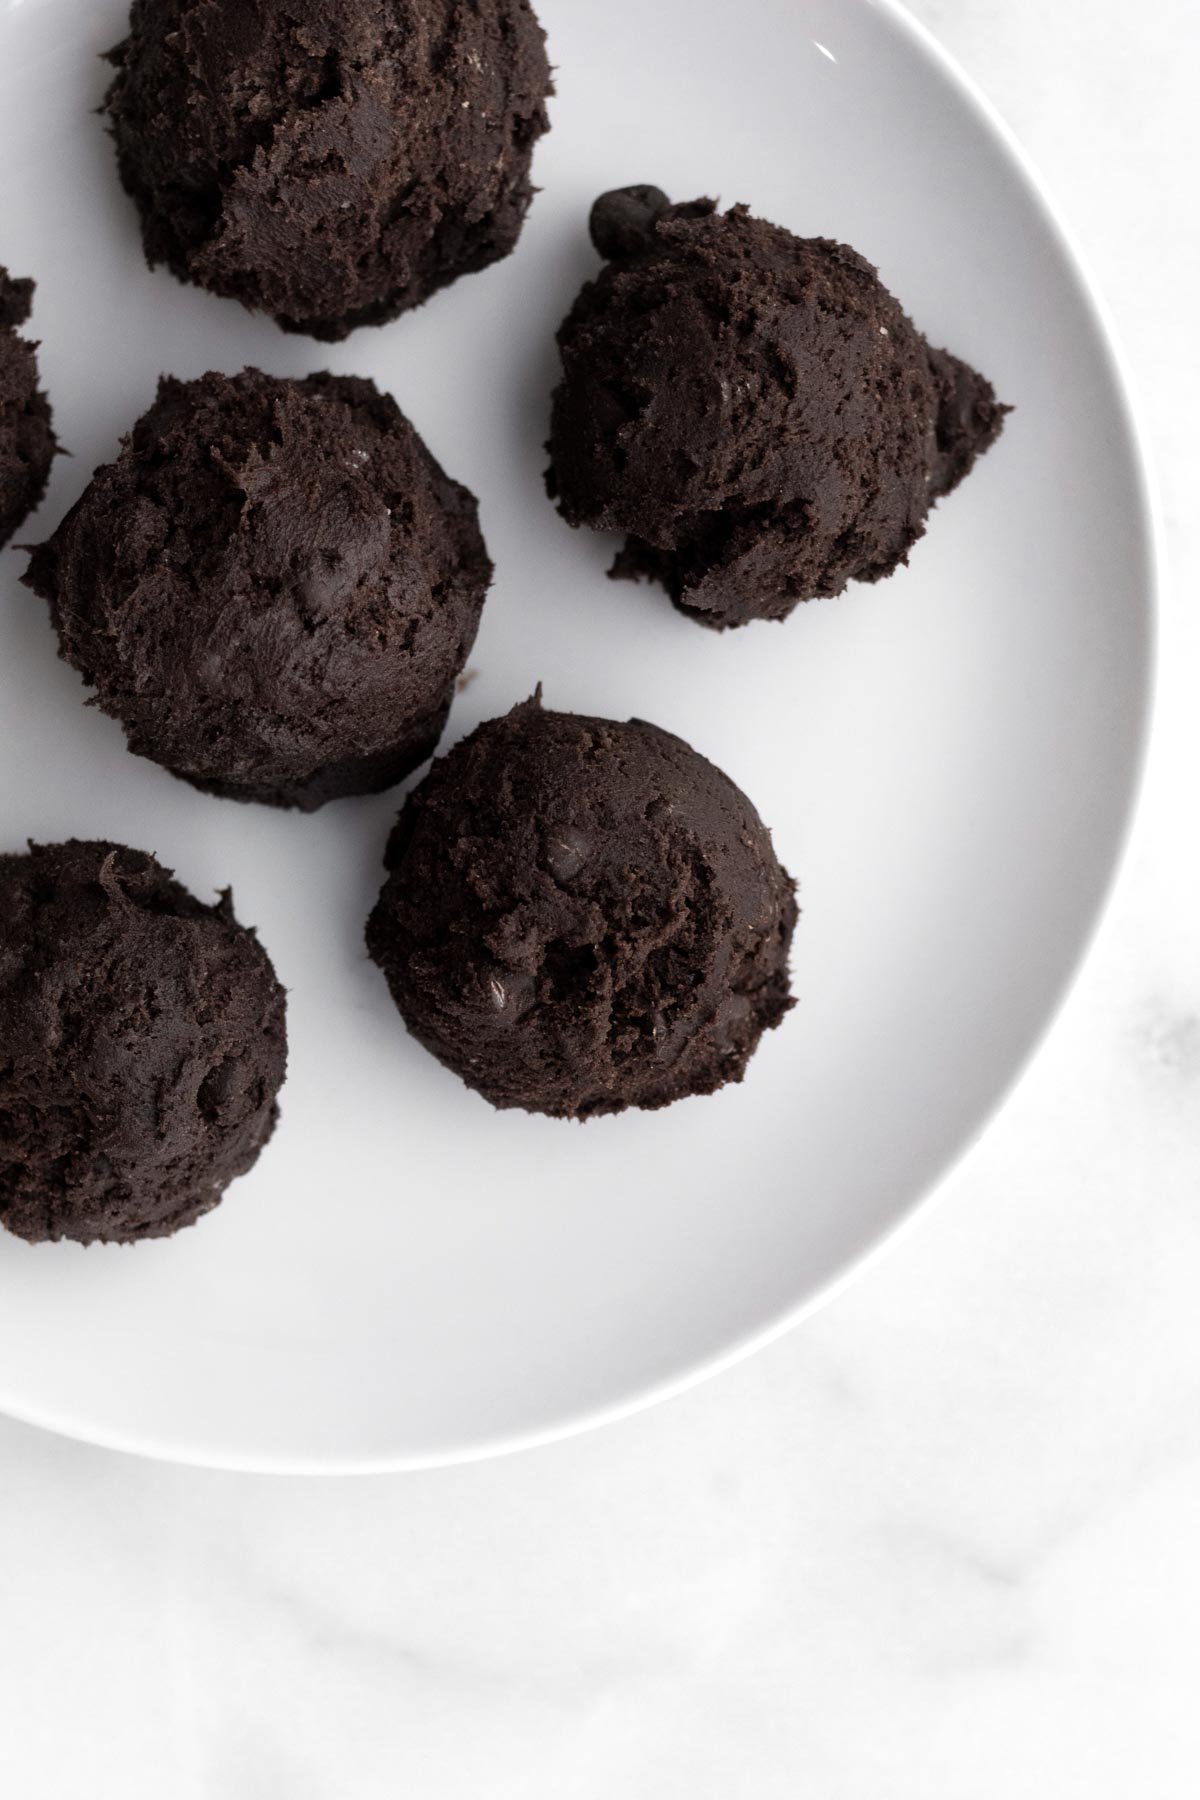
Step 6: Scoop the Dough,
Using a large cookie scoop (I use a 2 ounce cookie scoop), scoop the dough out into 12 scoops.
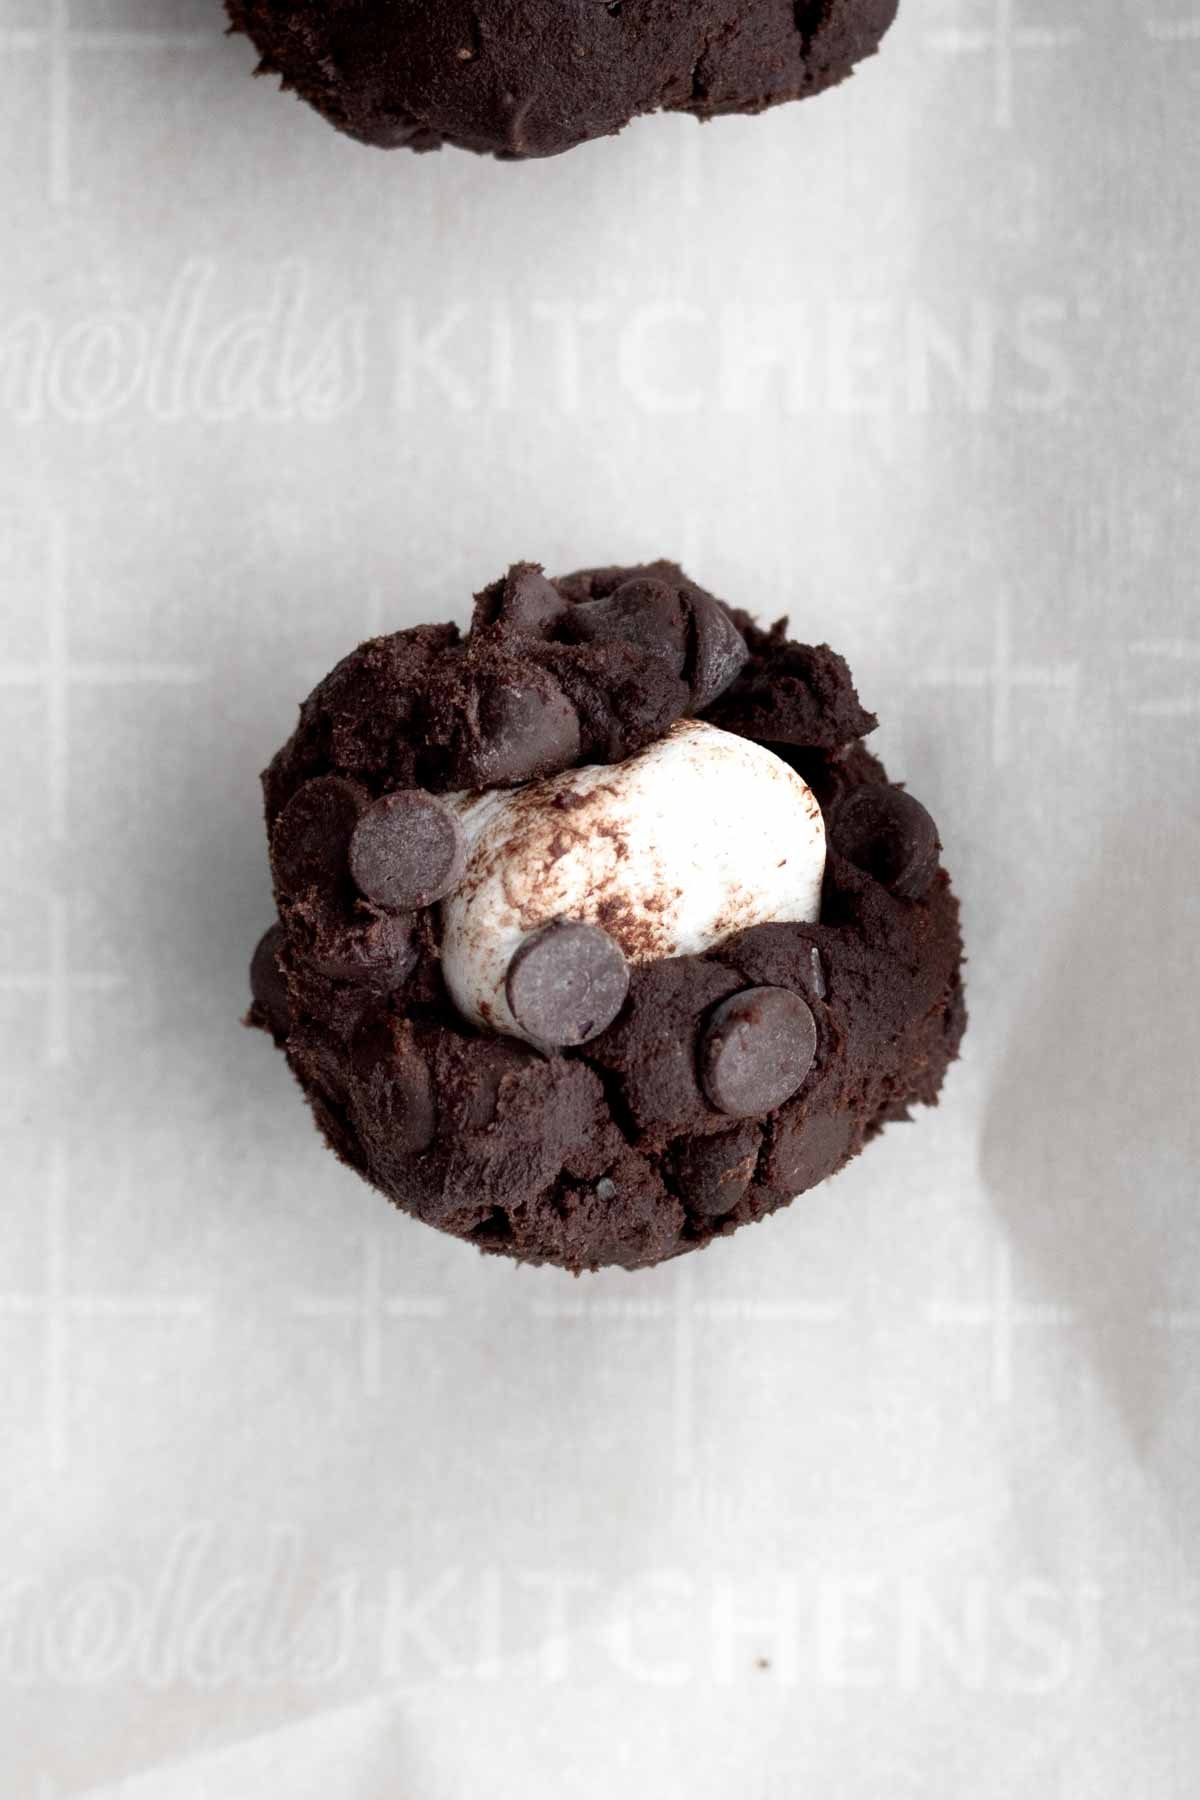
Step 7: Stuff the Cookies and Add Additional Chocolate Chips
Press your thumb into the center of a dough ball to make a well.
Cut or rip the marshmallows in half and shove half the marshmallow into the hole and then cover it up with the dough that’s been pressed to the side.
Press the top of the cookie (with the marshmallow hole) into the additional chocolate chips.
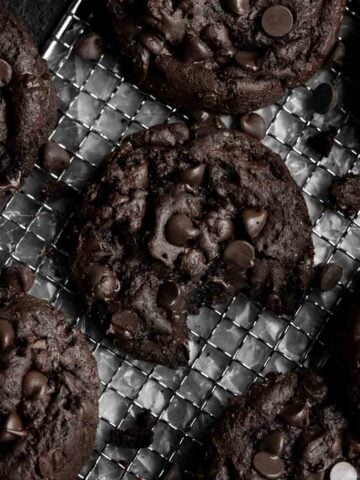
Step 8: Bake the Cookies and Cool
Bake the cookies at 350 degrees Fahrenheit for 13-15 minutes.
Immediately reshape the cookies when they come out of the oven and let cool on the baking sheet for 5 min before transferring to a cooling rack.
Once out of the oven, you can poke at the marshmallow using a sharp knife to make it even more melted and liquidy.
Expert Baking Tips
- Use Packed Cups of Flour- Normally in baking we do not use packed cups however, when working with gluten free, I've found using packed cups works best to help the baked goods keep their shape.
- Use 2 Types of Cocoa Powder- The 2 types of cocoa powders give the cookies their dark hue. If you only have one type on hand, use natural unsweetened or dutch...just know their color will not be as dark as mine. DO NOT use dark alone; it will make your cookies too dry and bitter.
- Use Room Temperature Butter- Do not use softened or melted butter/vegan baking sticks. The cookies will spread out when baking into a giant mess.
- Chill the Dough- If you don’t chill the dough for at least 2.5 hours, the cookies will spread and be flat and thin. Chilling overnight is the best.
- Reshape the Cookies- If you want your cookies nice and round, reshape them as soon as they come out of the oven. Use a spatula to push them back into a circle shape.
Recipe FAQs
You can make the dough the night before. Keep it shaped in a disc, wrapped in plastic and place in a zip top bag.
If doing this, there is no need to chill it again, prior to baking.
Or you can freeze the dough for up to 30 days. Thaw the dough in the fridge the night prior to using.
Most gluten free baked goods are best made the same day, but you can make these cookies a day before!
Unlike most eggless and gluten free cookies, they stay fresh for several days!
I don’t recommend using a different sugar.
Eggless cookies can be very dry and the dark brown sugar adds lots of moisture.
Yes you must cut them in half. Otherwise they are just too large and create a giant mess.
I prefer to use half of a large marshmallow because it creates a nice marshmallow pool which you don't get with the mini ones.
Storing: Once the cookies have cooled, store them in an airtight container at room temperature for up to 3 days.
If you want the chocolate and marshmallow gooey, heat the cookie in the microwave for a few seconds prior to serving. Be careful not to burn your mouth.
Freezing Raw Dough: Wrap dough in plastic wrap and poop in a zip top bag. Freeze for up to 30 days. Defrost in fridge the night prior to use. Do not freeze already baked cookies.
More Chocolate Cookie Recipes You'll Love

Did you try this recipe? Please leave me a ⭐ review below!
Don’t forget to tag me on Instagram @laneandgreyfare and follow along on Pinterest, Facebook and YouTube! Enjoy!!!
📖 Recipe
Chocolate Marshmallow Cookies
Ingredients
- 1 ¼ cups multipurpose gluten free flour (I use a gluten free multipurpose flour with xanthan gum already in it)
- ½ cup cocoa powder (I use ¼ cup Dutch or Natural Unsweetened and ¼ cup Dark)
- 1 teaspoon baking soda
- ½ teaspoon kosher salt
- ½ cup unsalted butter or vegan baking stick, room temperature
- 1 ¼ cups dark brown sugar , packed
- 2 rounded tablespoons cornstarch mixed with 3 tablespoons of water
- ¼ cup milk
- 1 tablespoon unsulphured molasses
- 1 teaspoon pure vanilla extract
- 1 ¼ cups chocolate chips
- 6 normal size marshmallows cut in half to make 12 halves
Instructions
- In a large bowl, whisk together the 1 ¼ cups multipurpose gluten free flour, ½ cup cocoa powder, the 1 teaspoon baking soda and ½ teaspoon kosher salt. Set aside.
- In a small bowl, using a spoon, mix together the 2 rounded tablespoons cornstarch and 3 tablespoons water until thin and watery. It will be thick and tacky at first.
- In a large bowl of an electric mixer fitted with the paddle attachment or using a hand held mixer, beat the ½ cup unsalted butter or vegan baking stick and the 1 ¼ cups dark brown sugar until soft and creamy. About 2 minutes.
- Beat in the cornstarch water, the ¼ cup milk, 1 tablespoon unsulphured molasses and 1 teaspoon vanilla until fully combined. It will appear chunky; that’s normal.
- With the mixer on low speed, slowly beat in the gluten free flour mixture a little at a time until just combined. Use a spatula to scrape down the sides and combine.
- Fold in ¾ cup chocolate chips using a spatula.
- Cover the bowl with plastic wrap and pop the entire bowl of dough in the fridge for 2.5 hours. It needs to harden otherwise the cookies will spread all over the place.
- When the dough is almost done chilling, preheat your oven to 350 degrees Fahrenheit and line a baking sheet with parchment paper.
- Take the bowl of dough out of the fridge. Using a large cookie scoop, scoop the dough out into 12 scoops (I use a 2 ounce cookie scoop).If the dough is sticking to the cookie scoop, wash the scoop half way through to get off any stuck on dough.
- Take one of the scoops and press your thumb into the center of the dough ball to make a well.
- Cut or rip the 6 marshmallows in half. Shove half the marshmallow into the hole and then cover it up with the dough that’s been pressed to the side.You want to leave a little opening at the top so as it bakes, the marshmallow can peek through.
- Pour the additional ½ cup chocolate chips onto a small plate.
- Press the top of the cookie (with the marshmallow hole) into the chocolate chips.If the dough is sticking to your hands, simply wet your hands with a tiny bit of water to reshape the cookies.
- Place the balls about 3-4 inches apart on the parchment lined baking sheet. Bake the cookies at 350 degrees Fahrenheit for 13-15 minutes.I only bake 6 at a time. Pop the rest of the dough balls in the fridge while the first batch is baking.
- Immediately reshape the cookies when they come out of the oven. Use a spatula to push them into a circle and let cool on the baking sheet for 5 min before transferring to a cooling rack.Once out of the oven, you can poke at the marshmallow using a sharp knife to make it even more melted and liquidy.
- Repeat this entire process with the rest of the dough.
Video
Notes
Nutrition

Molly says
Un-be-fk-ing-leav-a-ble !
Guys ! Make these omg they are just so good!
Followed exact, used Kim’s gf flour blend. I ate 3 of them straight from
The tray. Make these! 10 stars
Lee says
Oh my gosh thank you so much!!!
kirsten says
hoping to make these for a party this weekend. can i use regular flour or have these only been made with gluten free flour?
Lee says
Hi Kirsten! You should be able to make them with regular flour. Sadly I cannot test it due to celiac disease but if using regular flour, I would make sure to use 1 1/4 cups of packed flour. Also I would lessen the milk to 2 tablespoons and only use 1/2 tablespoon of molasses. This is because many times AP flour is thinner than some gf flours. I hope this helps!
kirsten says
this worked so well so for anyone wanting to try it just do it it’s so worth it!!!
liv says
are you able to use eggs instead of the cornstarch and water??
Lee says
hi! You should be able to use 1 egg instead of the cornstarch water. However, there might be too much liquid so you may want to eliminate the molasses. The molasses helps the cookies stay soft for days but the egg should help with that. Sadly my son is allergic to eggs so I am unable to test the recipe with them. Hope that helps!
Donna says
Haven’t made these yet, but I have to. Chocolate and marshmallow are my faves.
Alene says
You clearly have a child or children! Lol! Marshmallows are not something I keep in my pantry. I do smile when I see what you've chosen to bake sometimes.
Nancy DiPaola says
the combination of the chocolate and marshmallow is a wonderful blend,
Lee says
Glad you loved the combo!
John says
These are so good! Easy to make and delicious!
Lee says
Thank you!