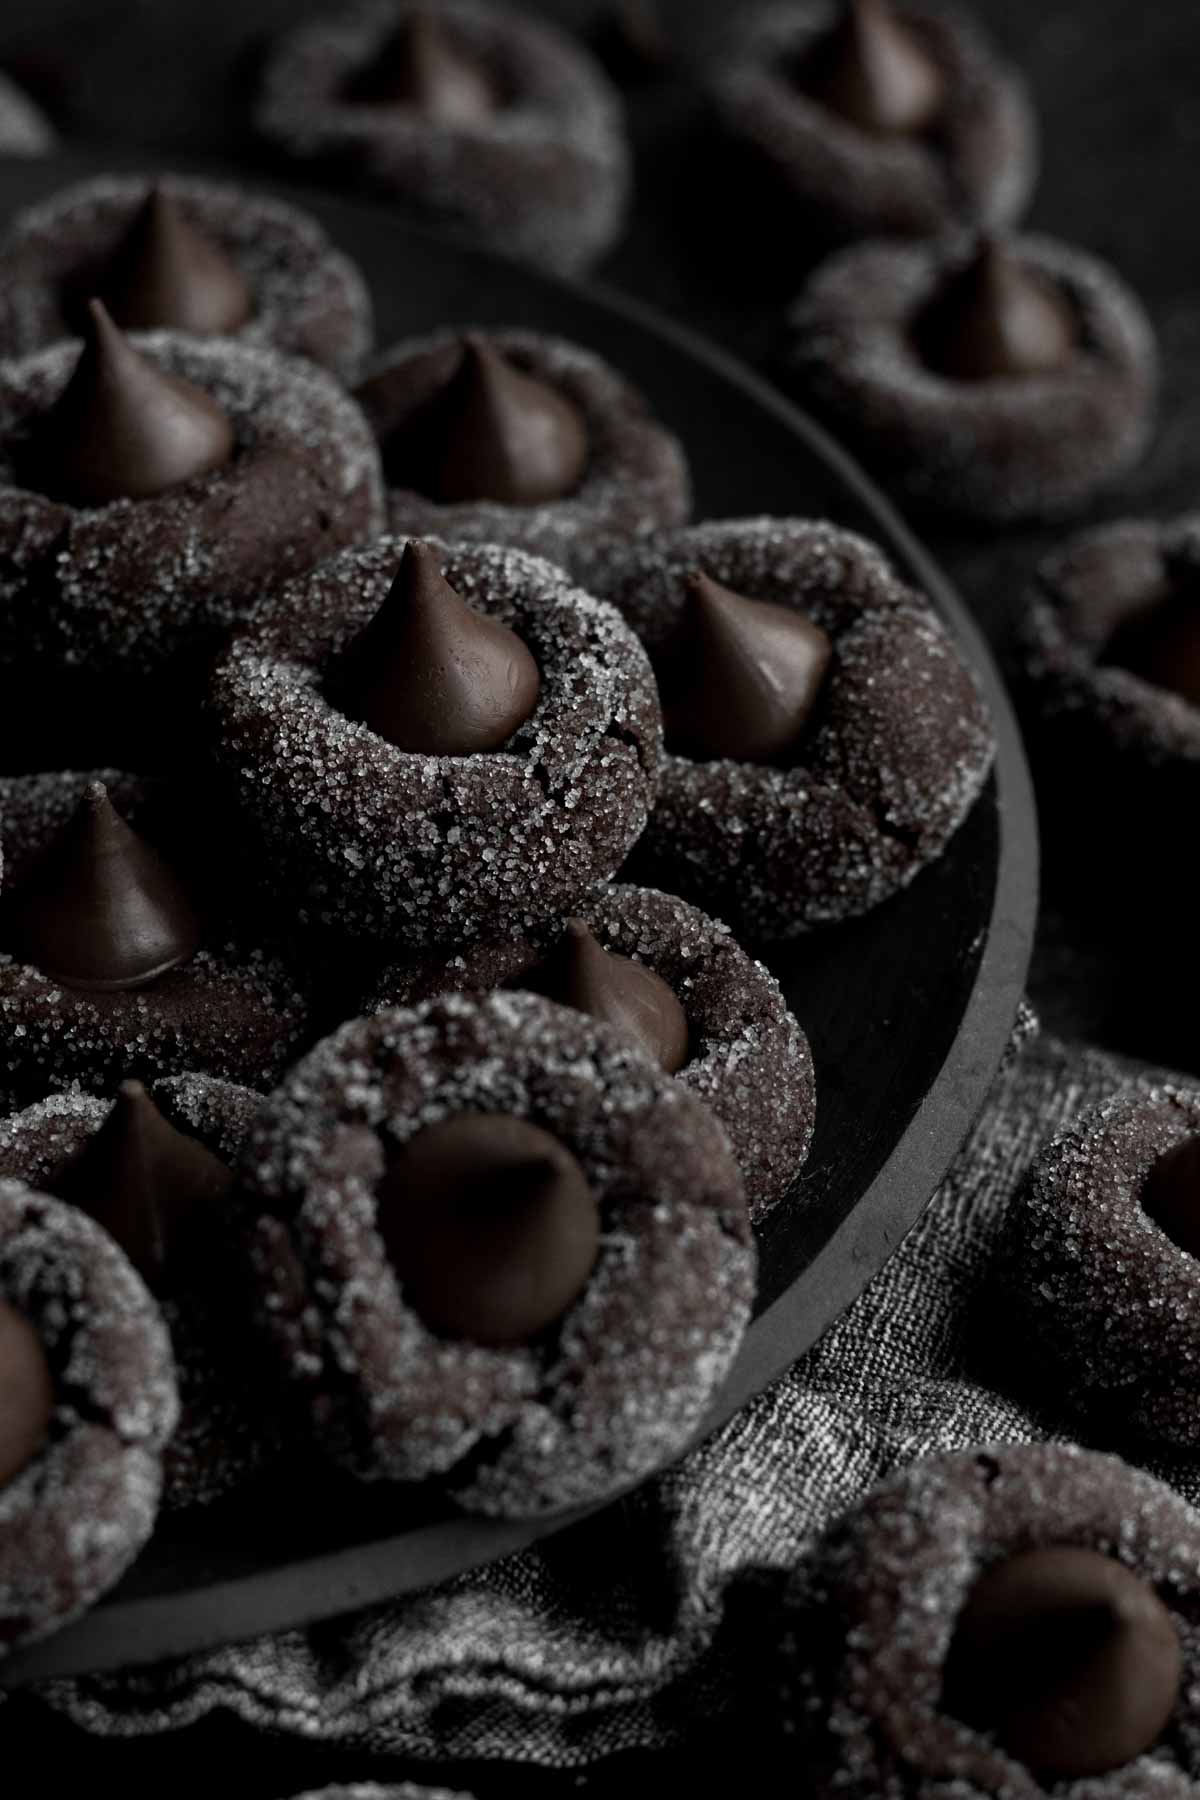
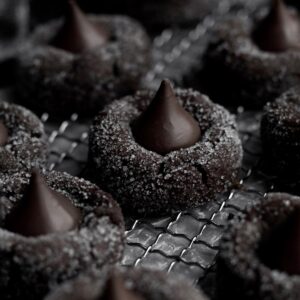
These Chocolate Blossom Cookies are kiss cookies that are taken to the next level! Still sugary and delicious like the original, these chocolate kiss cookies are also rich and decadent! They're a chocolate lover's dream! If that wasn’t enough, they’re also gluten free, nut free, egg free and can easily be made dairy free (vegan)!
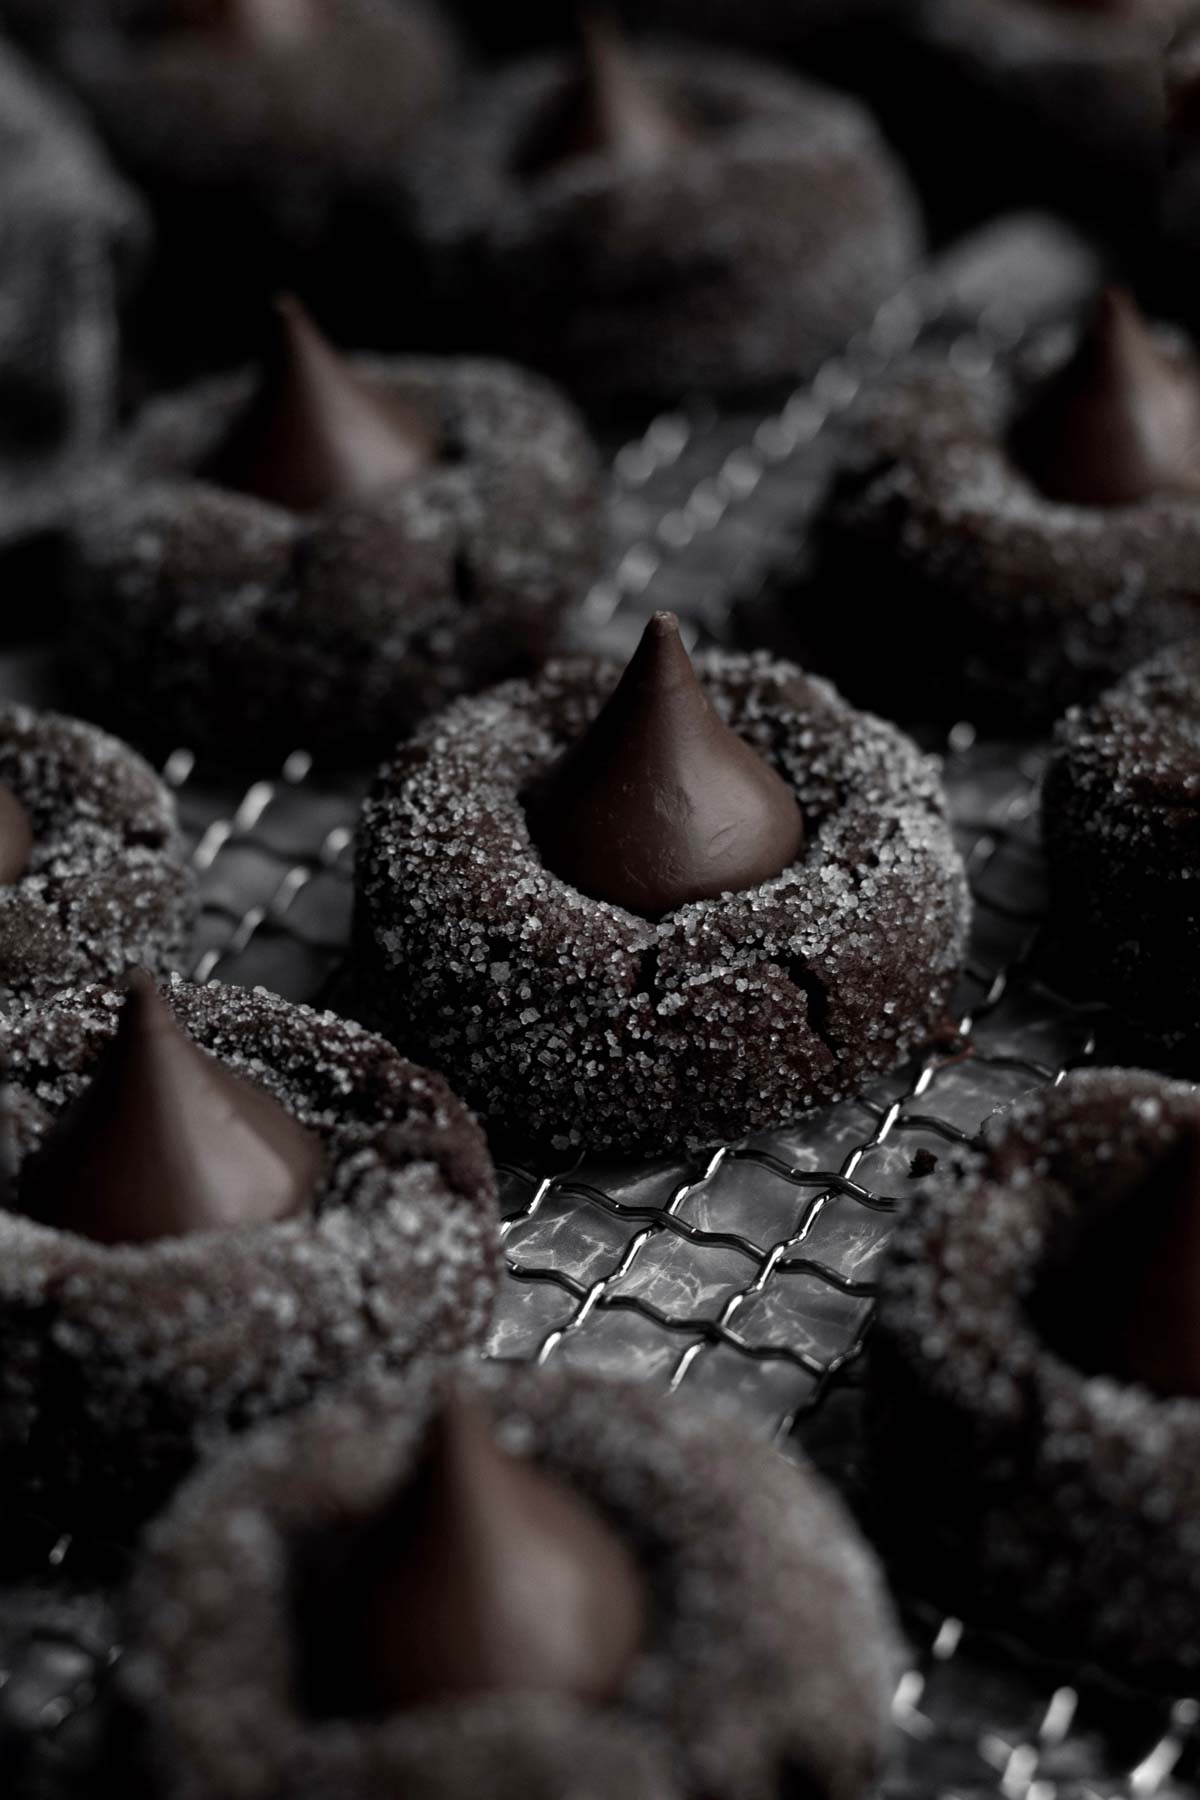
If you love chocolate and kiss cookies, these chocolate blossom cookies are the treat for you! They're soft and chewy with a Hershey kiss in the center that melts in your mouth when they're warm! Chocolate versions of traditional recipes are always my favorite! I love changing up traditional recipes; I even have a Red Velvet Kiss Cookie that is also amazing!
For more chocolate versions of classic recipes, check out my Chocolate Ginger Cookies, Chocolate Crumb Cake, Dark Chocolate Sugar Cookies, Chocolate Tea Cake and my Double Chocolate Banana Bread.
Reasons to Love these Cookies
- Allergy Friendly- These cookies are gluten free, nut free, egg free and can easily be dairy free (vegan)!
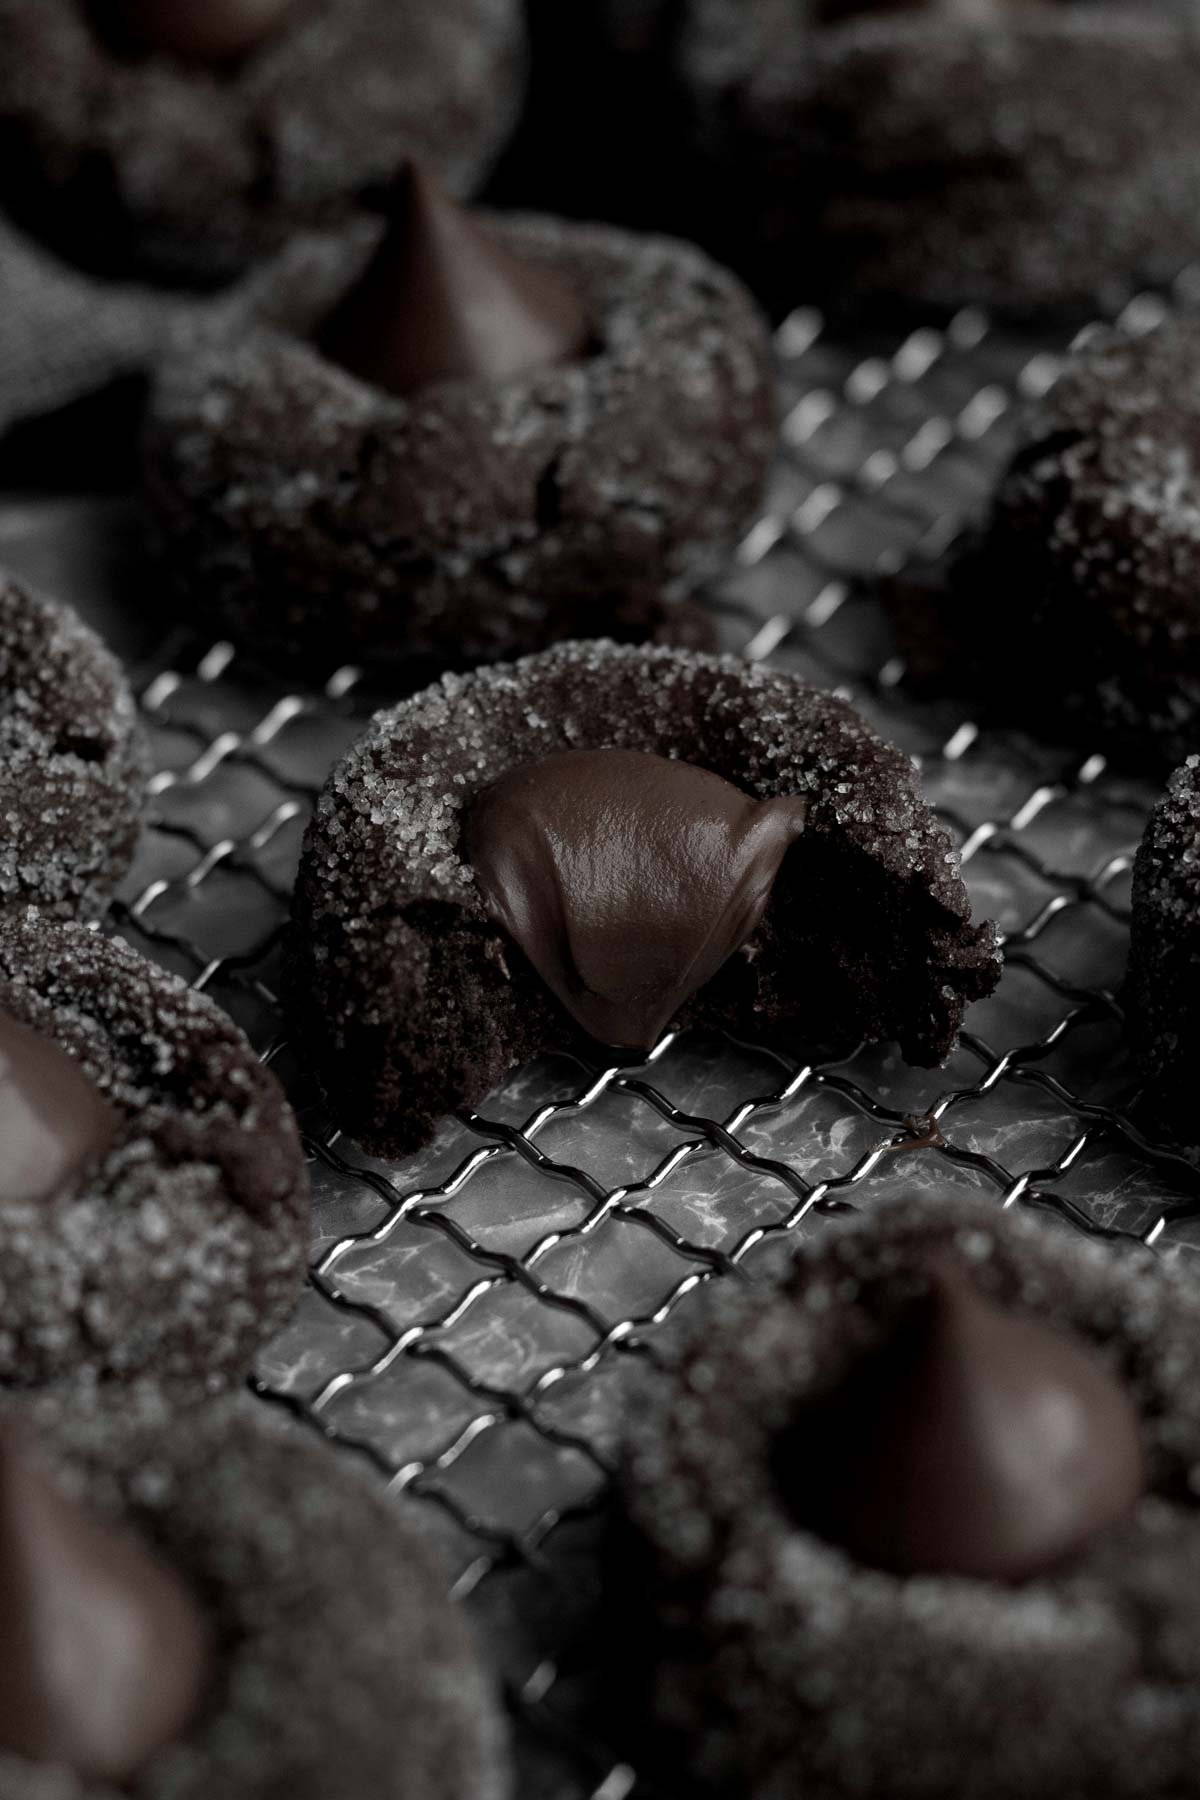
- Soft & Chewy Inside- These Hershey Kiss cookies are thick, soft and chewy!
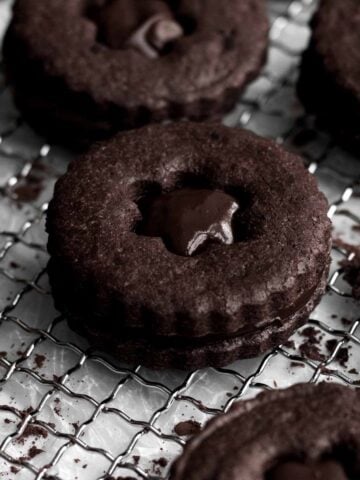
- Hershey Kiss- They have a Hershey kiss in the center that melts in your mouth when warm like with my Rolo Cookies! If you want a homemade ganache center, check out my Chocolate Thumbprint Cookies.
- Double Chocolate- There is chocolate in two different ways like in our Eggless Chocolate Cookies!
Ingredient Notes

- Gluten Free Flour- If you also have nut allergies, make sure to use a brand that’s made in a nut free facility. I really love to use this gluten free flour because because it’s free of the top 9 allergens. It also contains xanthan gum which really helps give baked goods their bounce and prevents them from falling apart.
- Cocoa Powders- I like to use two types to give the cookies a dark color, but if you only want to use one, use Dutch or Natural Unsweetened. Do not only use Dark; the cookies would be too dry.
- Butter/ Vegan Baking Stick- Only use room temperature. If you use melted or soft, the cookies will spread too much while baking. If using vegan butter, make sure it's more on the cold side versus room temperature.
- Dark Brown Sugar- Using dark brown gives the cookies the softness we need in order to offset the dryness from the cocoa powders and lack of eggs like in my Chocolate Chocolate Chip Cookie Bars.
- Cornstarch and Water- These are eggless cookies so this mixture helps bind everything together.
- Milk- If there are no dairy allergies or if you’re not vegan, you can use regular whole milk. For non-dairy, use a dairy-free milk of your choosing.
- Pure Vanilla Extract- Make sure the vanilla you use is pure and gf or the cookies will have a chemical-like taste.
- Hershey Kisses- The original ones are gluten free and nut free (the flavored ones are not...please always check the labels and website for the most up to date information) but if you're allergic to dairy or vegan, make sure to use a gluten free/vegan chocolate kiss or gem. You can also make your own vegan kisses using a Hershey kiss mold and melting vegan chocolate chips into the mold.
See my recipe card below for a complete list of the ingredients with measurements.
Substitutions and Variations
How to Make These into Vegan Chocolate Cookies
- Use a gluten free flour that’s free from dairy.
- Make sure the brand of sugar you use is vegan.
- Use vegan baking sticks instead of butter.
- Only use a non-dairy milk of choice.
- Read the label on your chocolate kisses/gems to ensure they’re gluten free, nut free and vegan or use a vegan chocolate square.
How to Make this Recipe with All Purpose Flour
- Use 1 ½ packed cups of regular flour (252 grams).
- Make sure to also use packed cups of cocoa powder (58 grams).
- Use 1 tablespoon of milk.
- You still need to chill the dough due to the lack of eggs.
This recipe has not been tested with all of these substitutions and/or variations due to celiac disease and food allergies. If you change any of the ingredients, please let us know how the recipe turned out in the comments below!
How to Make Chocolate Blossom Cookies
Here are the step by step instructions to make these chocolate kiss cookies!
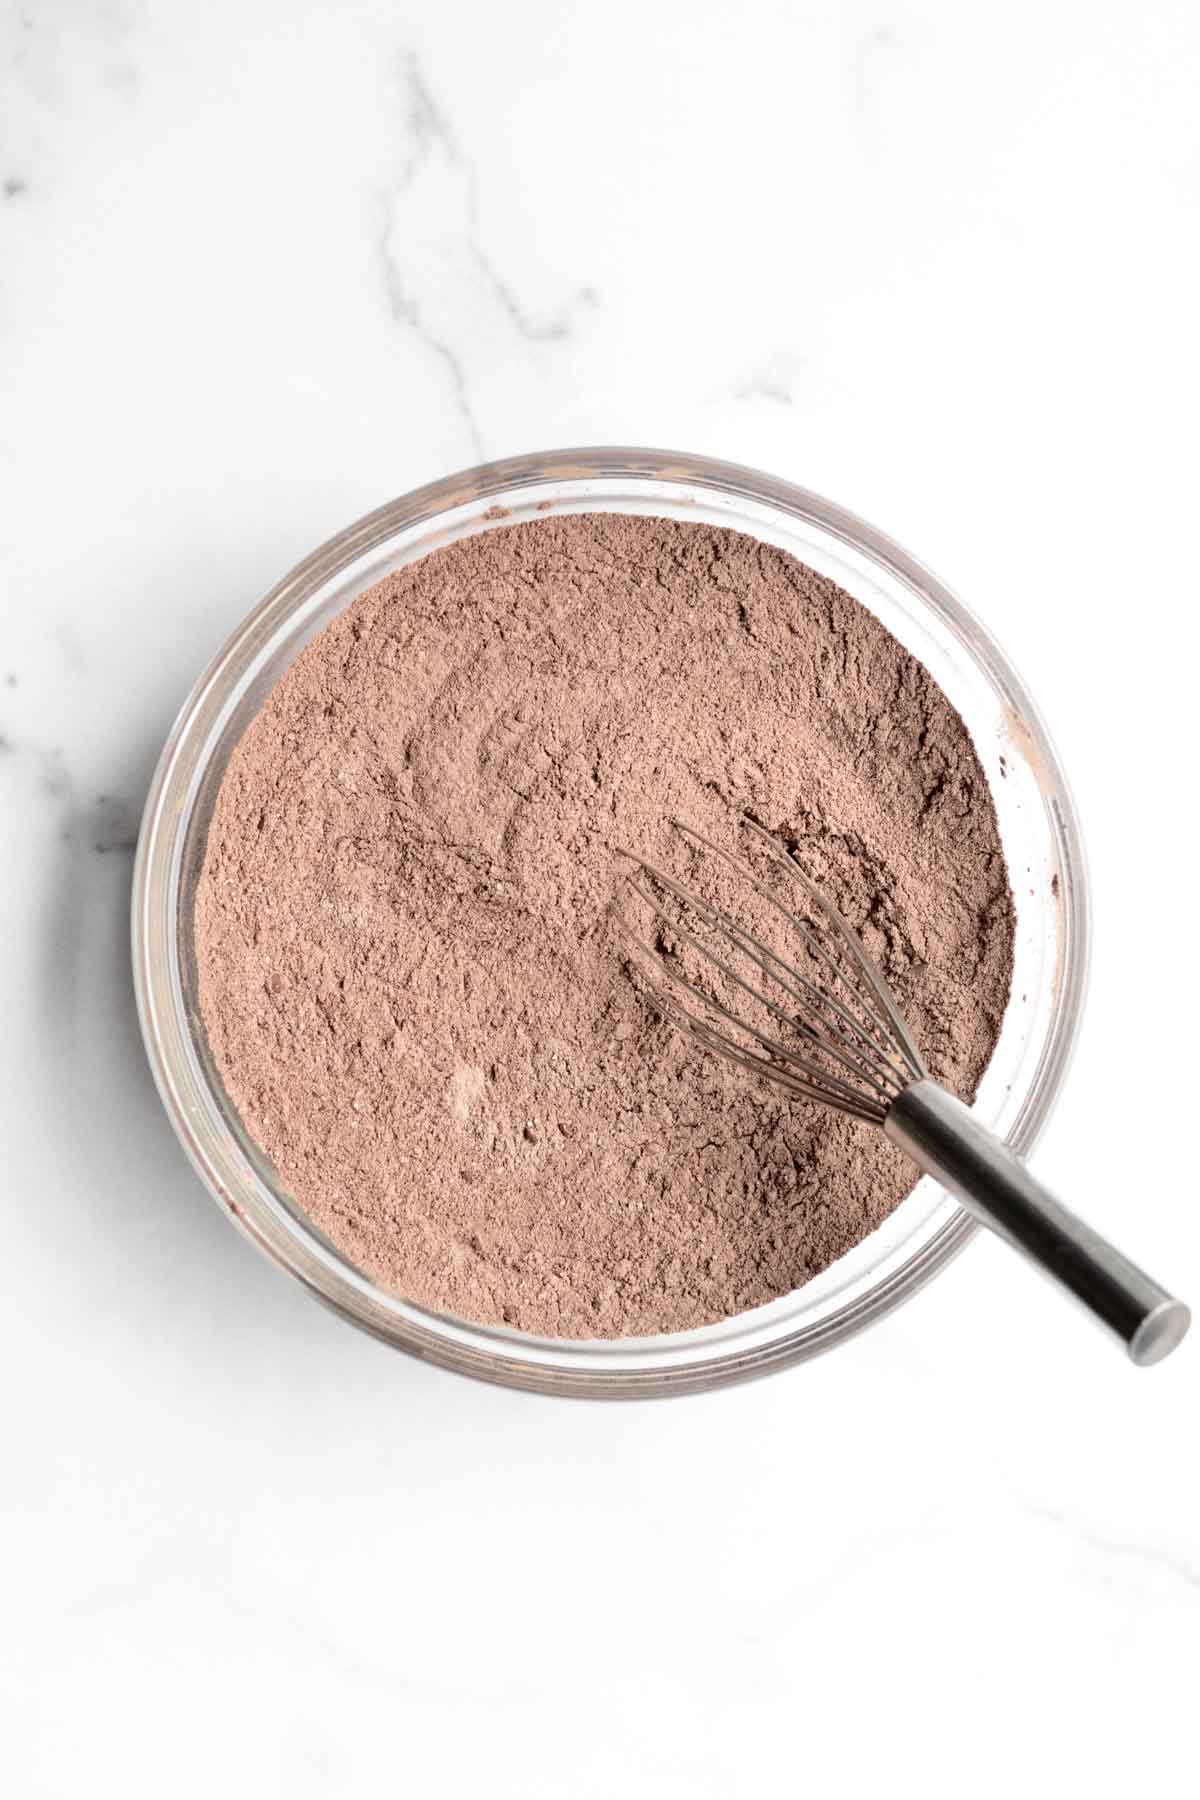
Step 1: Whisk Together the Dry Ingredients
In a medium bowl, whisk together the gluten free flour, both cocoa powders, baking soda and salt.
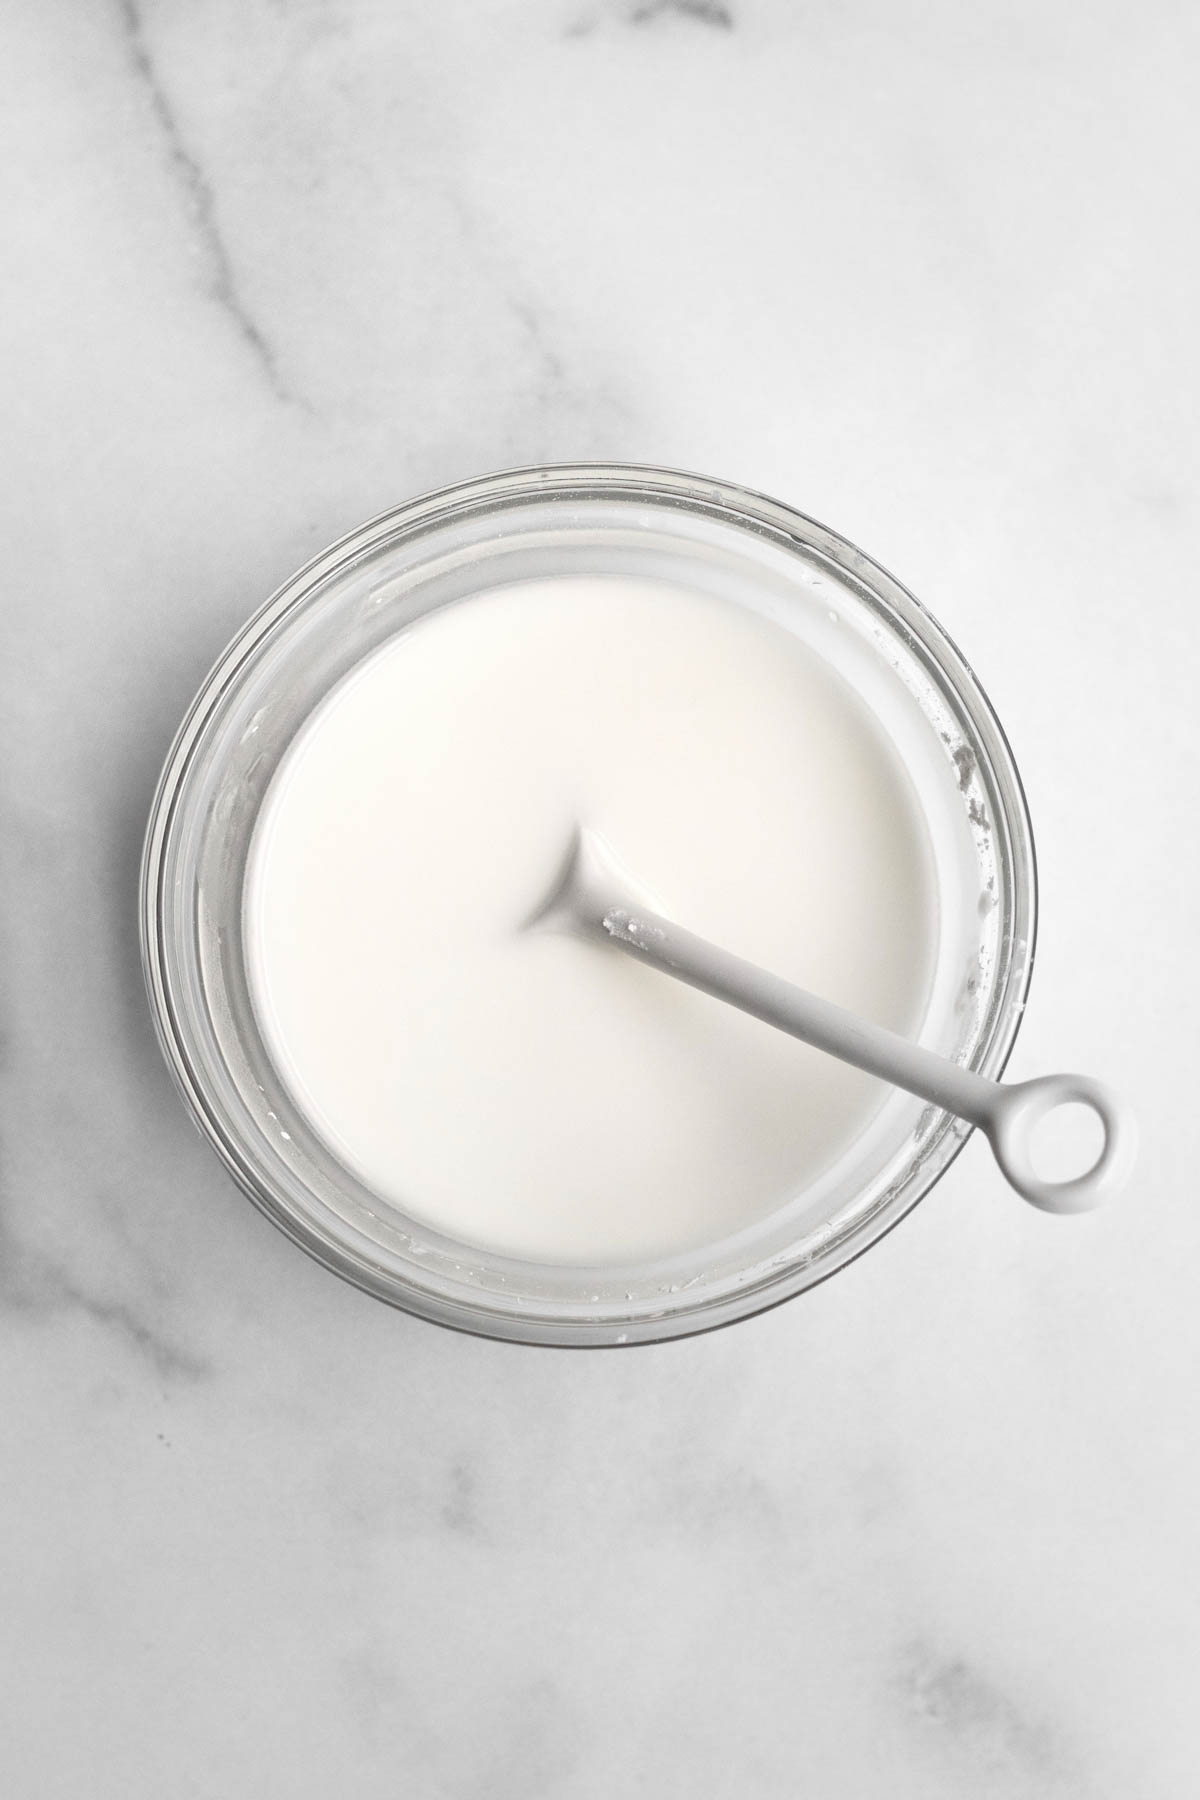
Step 2: Make the Cornstarch Water
In a small bowl, using a spoon, mix together the cornstarch and water until thin and watery. It will be thick and tacky at first.
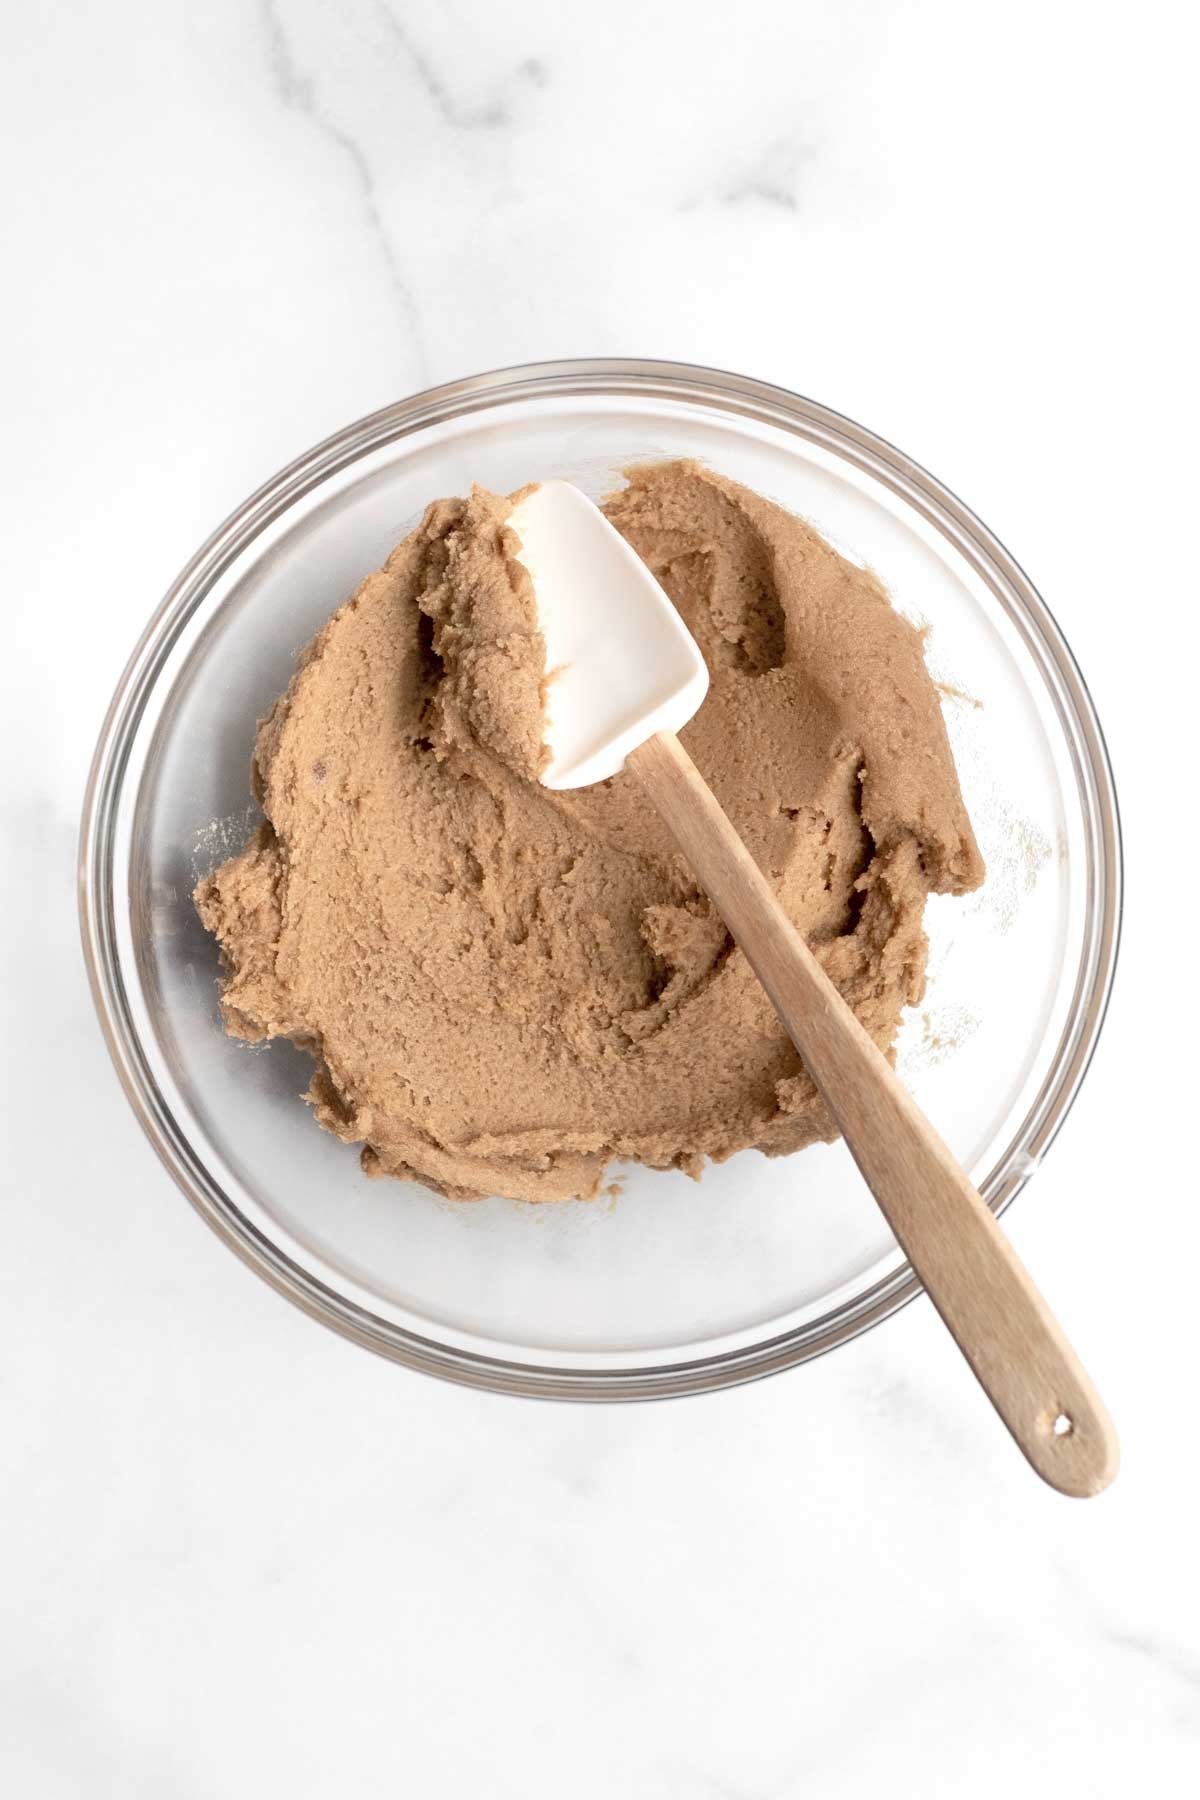
Step 3: Cream the Sugar
In a large bowl of an electric mixer fitted with the paddle attachment beat the butter and brown sugar until soft and creamy. About 2 minutes.
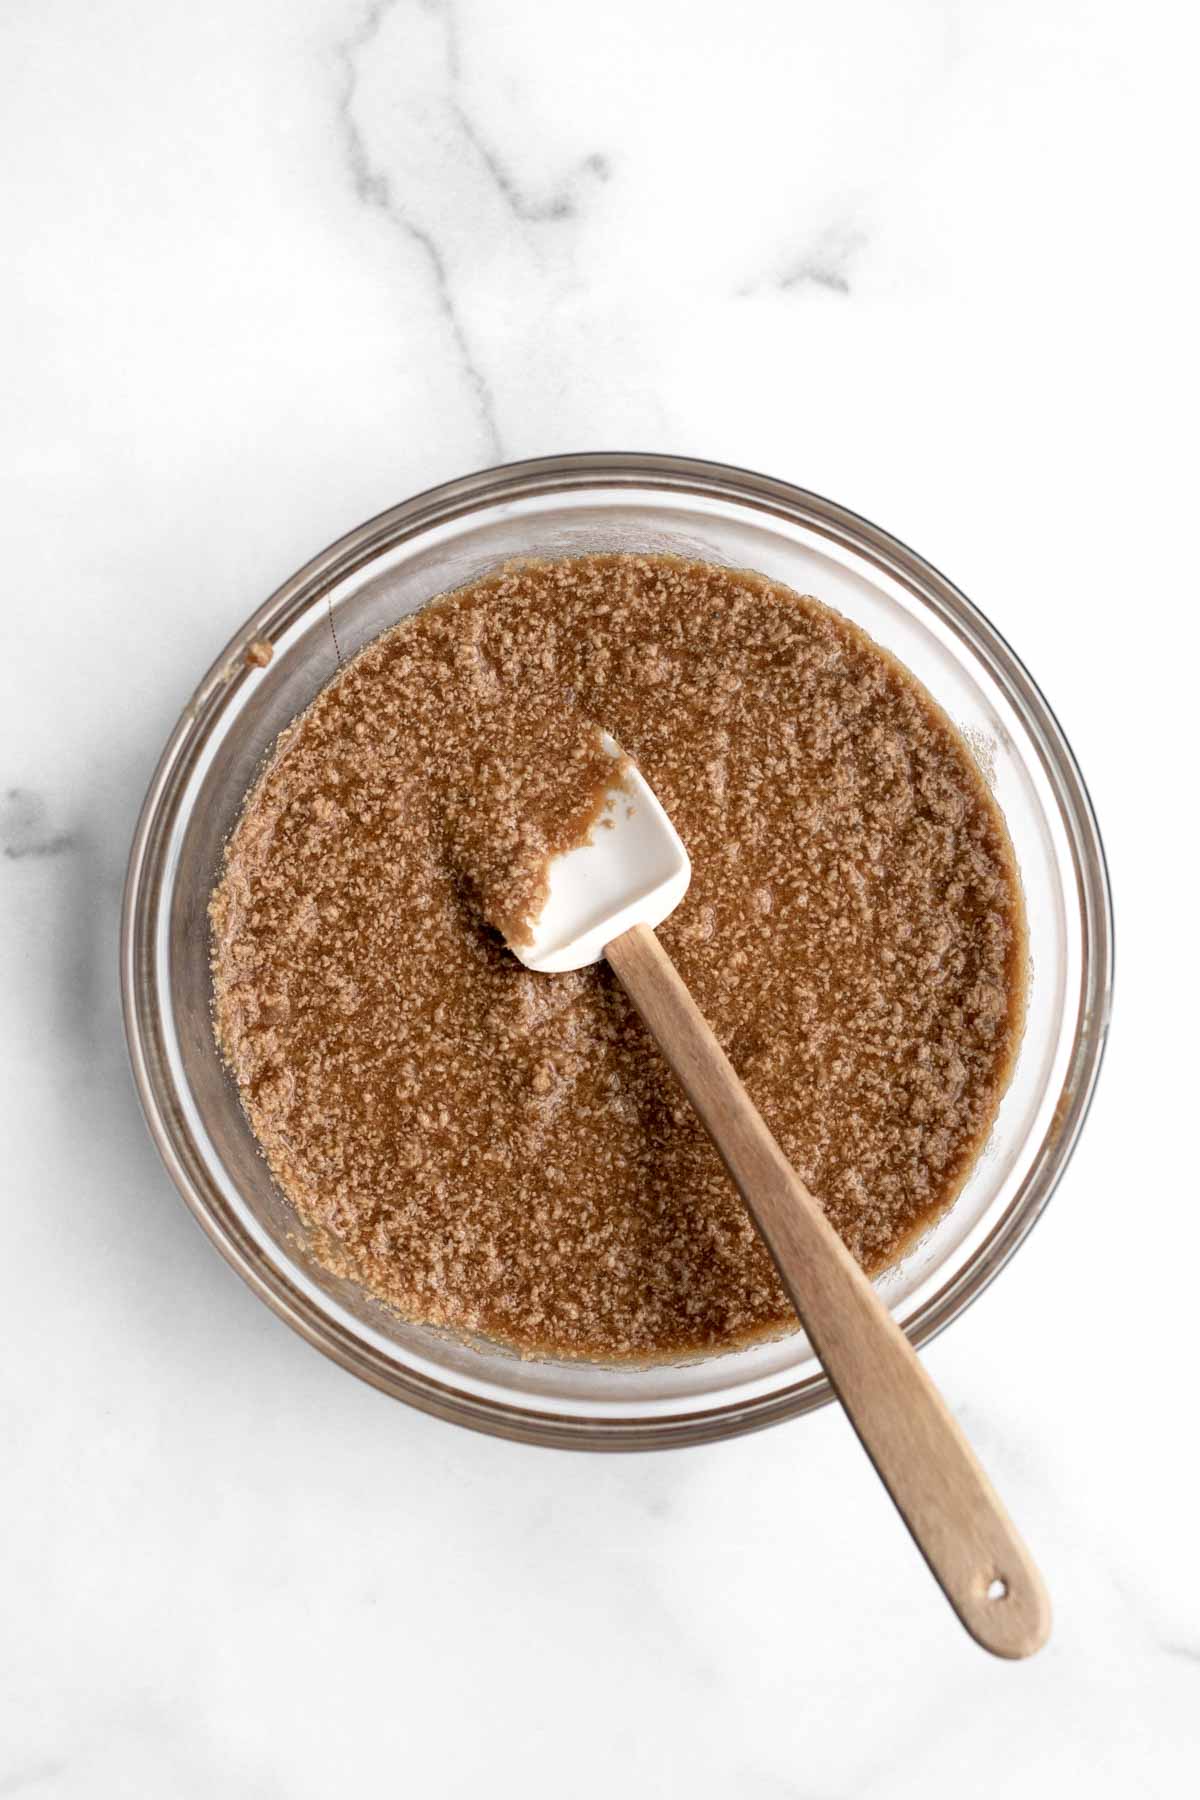
Step 4: Add in the Other Wet Ingredients
Slowly beat in the cornstarch water, milk and vanilla until fully combined. It will appear chunky; that’s normal.
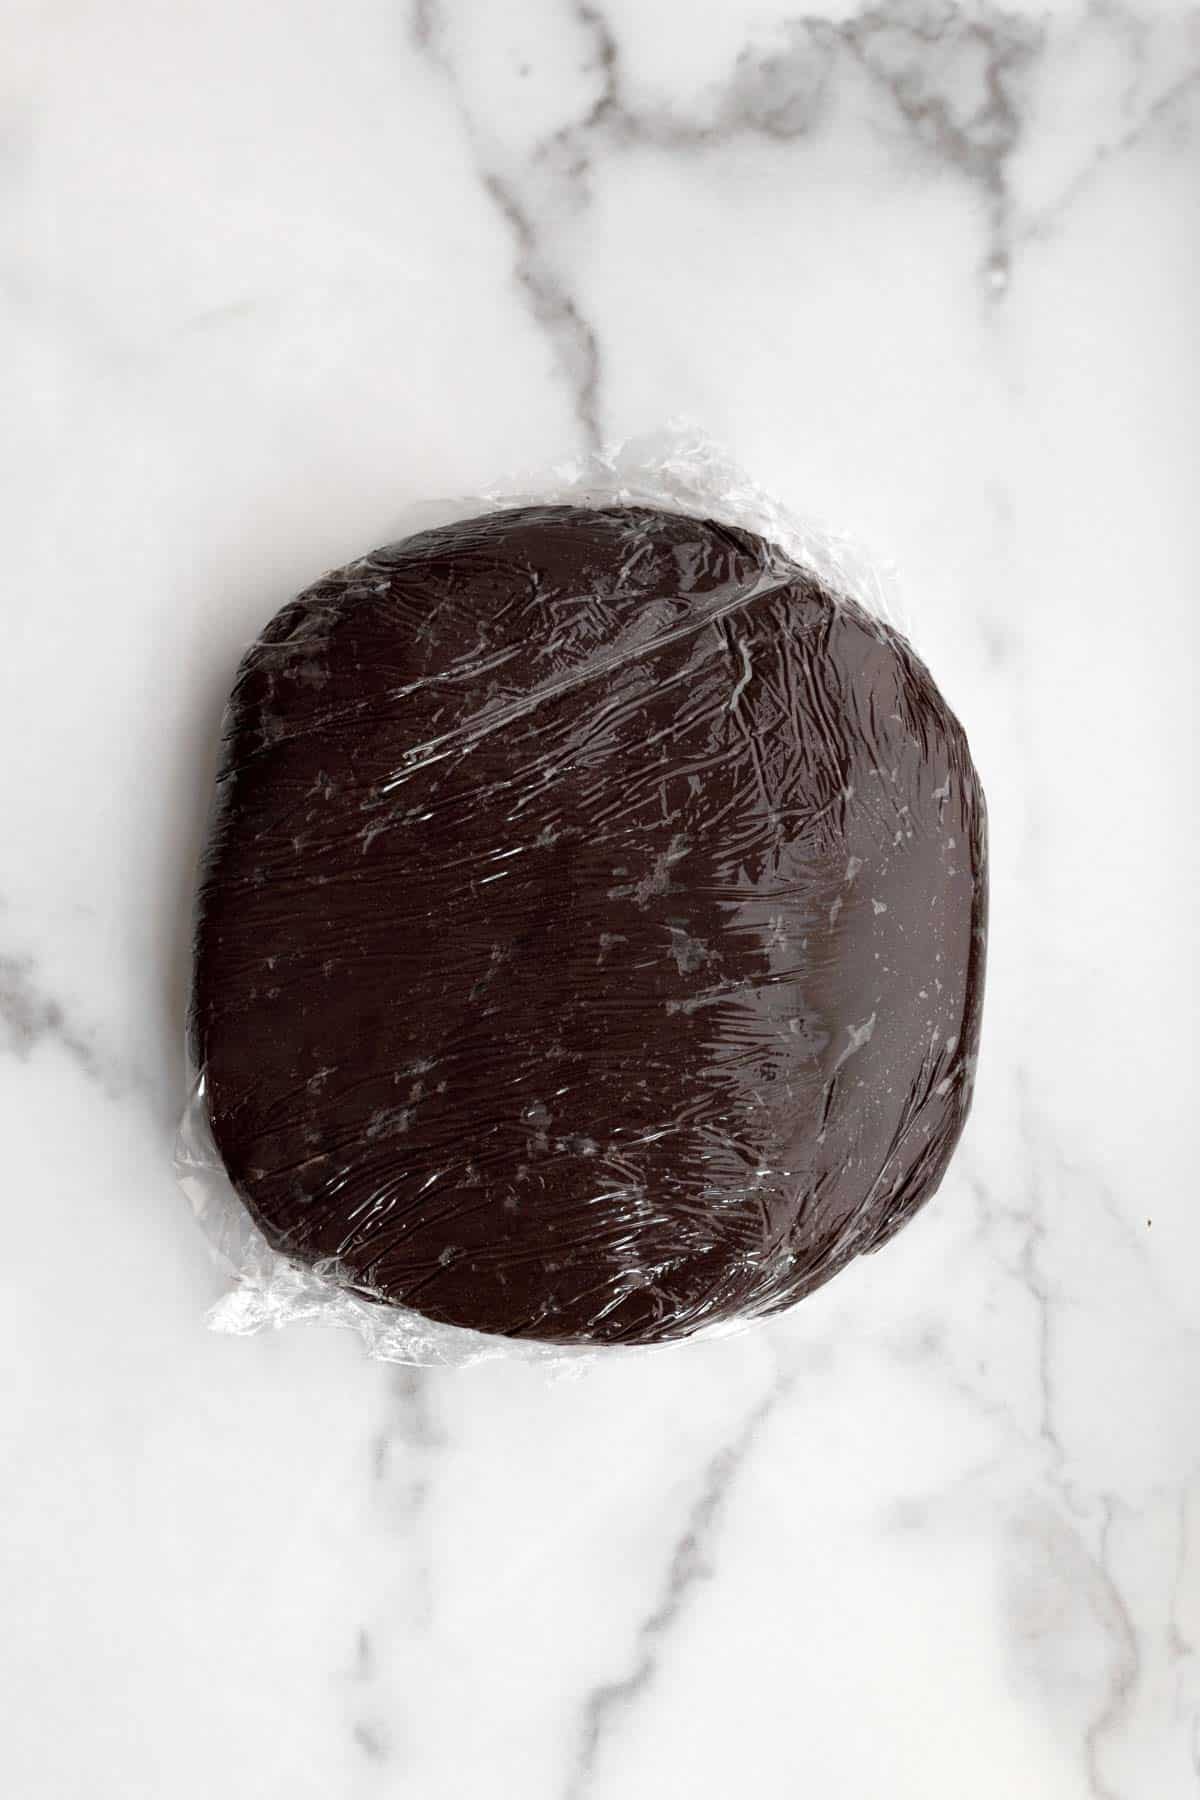
Step 5: Add in the Dry Ingredients and Chill
Slowly beat in the gluten free flour mixture a little at a time until just combined. Use a spatula to scrape down the sides.
Form dough into a round flat disc, wrap in plastic wrap and refrigerate for at least 1 hour.
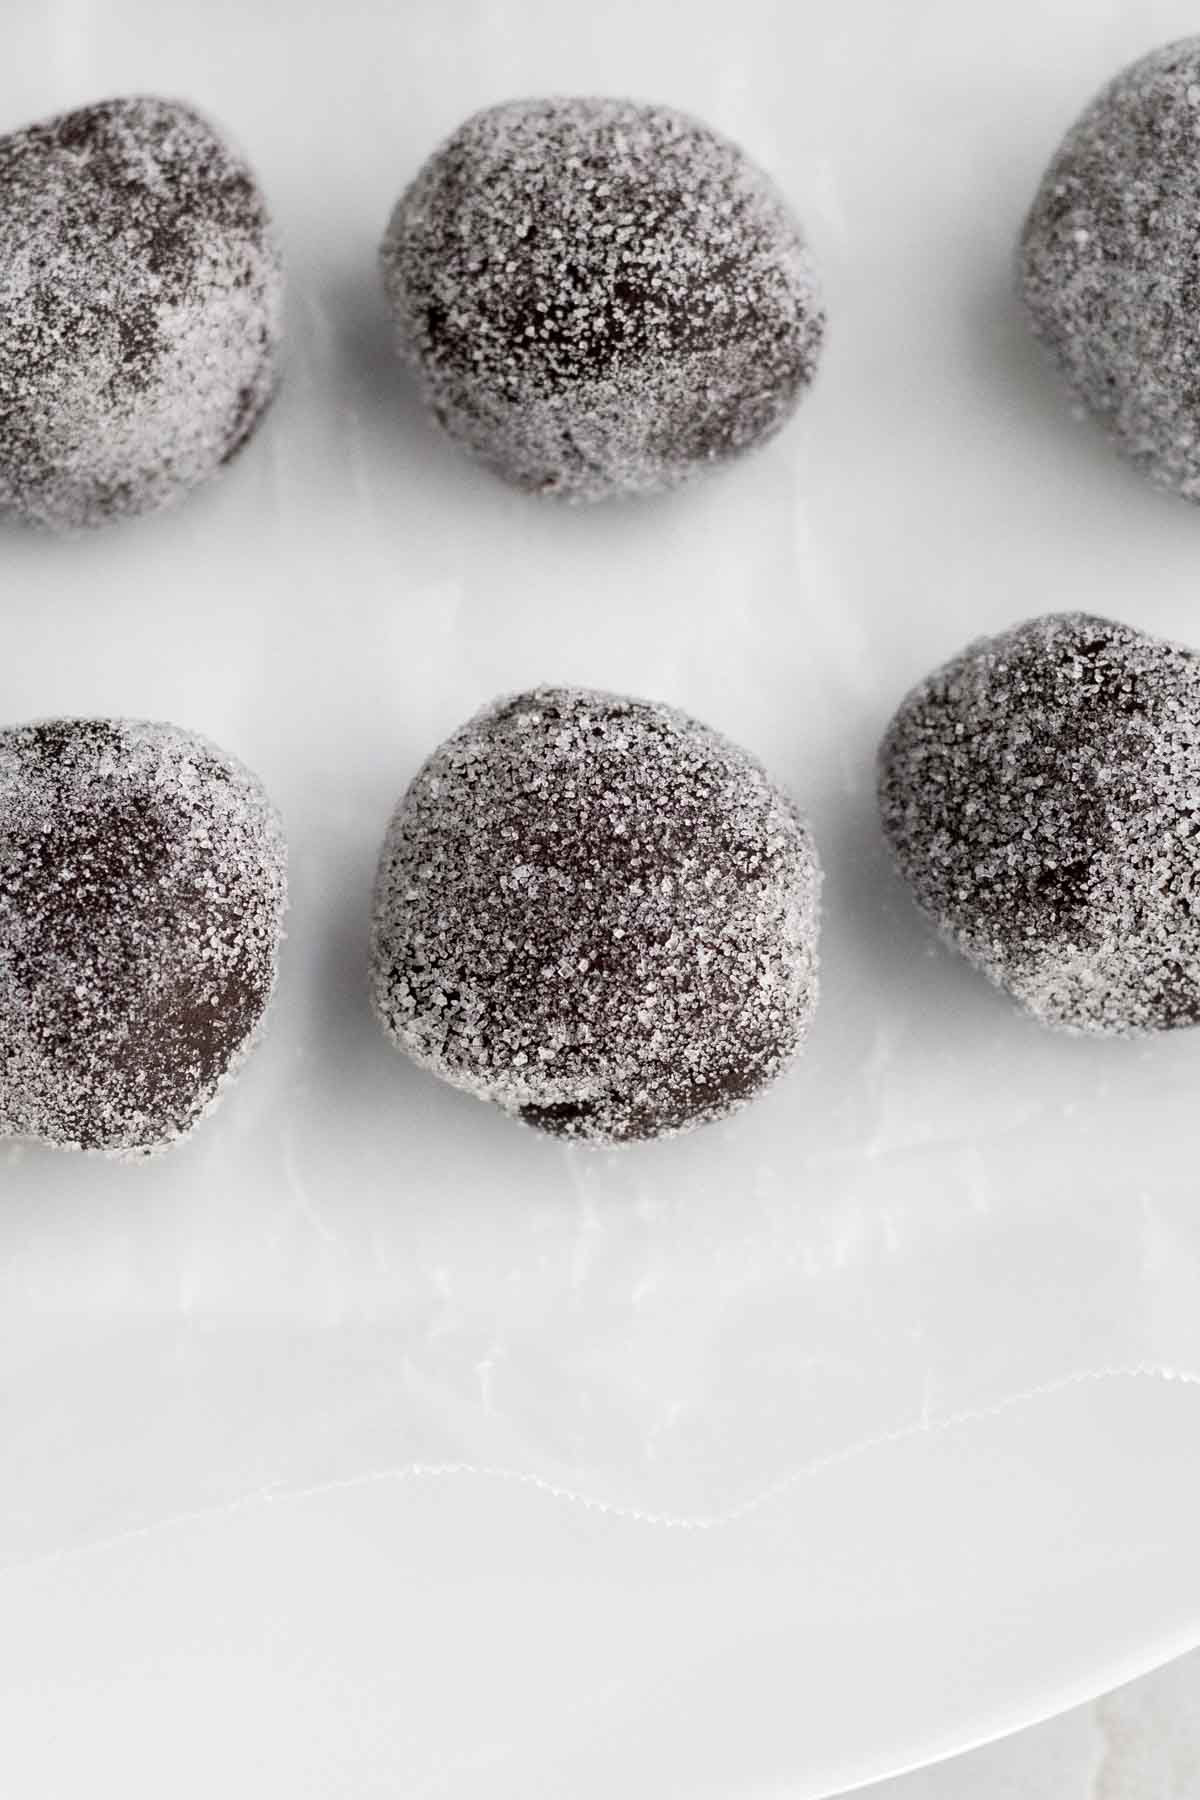
Step 6: Scoop the Dough and Drop in Sugar
Use a small cookie scoop or use your hands to roll dough into 1 inch balls.
Drop each dough ball into the granulated sugar and coat completely.
Step 8: Bake the Cookies and Cool
Bake the cookies on the center rack of the oven at 350 degrees Fahrenheit for 8 minutes.
Take out of the oven and immediately place the kiss down enough to stick but do not push too hard or the cookie will break apart. Let cool 5 minutes.

Expert Baking Tips
- Use Packed Cups of Flour- Normally in baking we do not use packed cups however, when working with gluten free, I've found using packed cups works best to help the baked goods keep stay together and keep their shape. For this recipe use packed cups or the gram amount.
- Use Room Temperature Butter/ Vegan Baking Stick- Do not use melted or softened butter. Since these cookies have no eggs, if you use melted/softened butter, they will spread into a giant mess while baking. If using vegan butter, I would have it be more on the colder side vs room temperature.
- Use 2 Types of Cocoa Powder- The combination of Natural Unsweetened and Dark cocoa powders give the cookies a richer flavor and darker color. If you only have one type on hand, use natural unsweetened or dutch...just know the color of the cookies will not be as dark as mine are. Make sure you do not use dark alone; it will make your cookies too dry, chalky and bitter.
- Chill the Dough- If you don’t chill the dough for at least an hour, the cookies will spread and be flat and thin.
- Unwrap the Kisses- Make sure your Hershey kisses or vegan chocolates are unwrapped so that when you take the cookies out of the oven, you can immediately place the chocolate on the warm cookie. If you wait too long and the cookies cool too much, the chocolate will not stick to the cookie.
- Gently Press on the Hershey Kiss- Do not push the kiss down too hard. You want to make sure it sticks to the cookie but if you press too hard, the cookies will break on the sides.
- Reshape the Cookies- If you want your cookies nice and round, reshape them as soon as they come out of the oven. Use a spatula to push them back into a circle shape.
Recipe FAQS
Yes. You can make the dough the night before. Shape the dough into a disc, wrap in plastic and keep in the fridge. If doing this, there is no need to chill again prior to baking.
Or you can wrap the dough in plastic, pop it in a zip top bag and freeze the dough for up to 30 days. Thaw the dough in the fridge the night prior to using.
Yes. Most gluten free baked goods are best made the same day, but you can make these cookies a day before!
I don’t recommend using a different sugar.
Eggless cookies can be very dry and the dark brown sugar adds lots of moisture but if you only have light brown sugar, that will work. The cookies will just be slightly drier.
Storing: Once the cookies have cooled, store them in an airtight container at room temperature for up to 3 days.
If you want them warm and gooey, heat the cookie in the microwave for a few seconds prior to serving. Be careful not to burn your mouth on the hot chocolate kiss.
Freezing: Freeze completely cooled cookies on a baking sheet lined with parchment paper in a single layer for about 10 min or until frozen. Once frozen, place cookies in a freezer safe airtight container and freeze cookies for up to 2-3 months. To defrost, remove container from freezer and let sit at room temperature until cookies are soft.
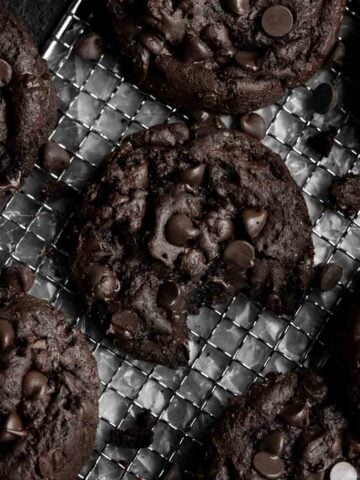
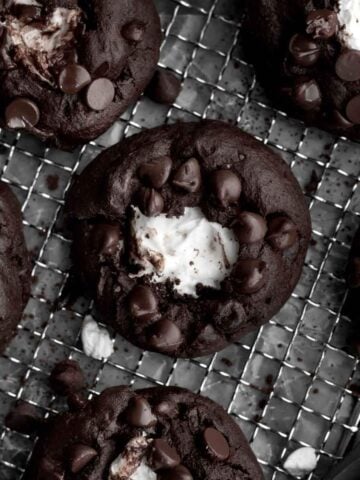
Other Chocolate Cookie Recipes You'll Love

Did you try this recipe? Please leave me a ⭐ review below!
Don’t forget to tag me on Instagram @laneandgreyfare and follow along on Pinterest, Facebook and YouTube! Enjoy!!!
📖 Recipe
Chocolate Blossom Cookies
Ingredients
- 30 Hershey Kisses unwrapped (for vegan, use vegan chocolate squares)
- 1.5 cups multipurpose gluten free flour (I use a gluten free multipurpose flour with xanthan gum already in it)
- ½ cup cocoa powder (I use ¼ cup Natural Unsweetened and ¼ cup Dark)
- ½ teaspoon baking soda
- ¼ teaspoon salt
- ½ cup unsalted butter or vegan baking stick, room temperature
- 1 cup dark brown sugar , packed
- 2 heaping tablespoons cornstarch mixed with 3 tablespoons water
- 2 tablespoons milk
- 1 ½ teaspoons pure vanilla extract
- ⅔ cup granulated sugar , for rolling
Instructions
- In a medium bowl, whisk to combine the 1.5 cups gluten free flour, the ½ cup cocoa powder, ½ teaspoon baking soda and ¼ teaspoon kosher salt.
- In a small bowl, using a spoon, mix together the 2 heaping tablespoons cornstarch and 3 tablespoons water until it is thin and watery. It will be thick and tacky at first. Set aside.
- In a large bowl of an electric mixer fitted with the paddle attachment or with a large bowl using a handheld mixer, beat the ½ cup unsalted butter or vegan baking stick and 1 cup dark brown sugar until soft and creamy. About 2 minutes.
- Then slowly beat in the cornstarch water mixture, 2 tablespoons milk and 1.5 teaspoons pure vanilla extract until all combined. It will look chunky and that’s normal.
- Slowly add in the gluten free flour mixture a little at a time and beat until just combined. Use a spatula to scrape down the sides of the bowl and combine again.
- Remove dough from bowl, shape into a round flat disc, wrap in plastic wrap and refrigerate for at least 1 hour.
- When the dough is almost done chilling, preheat the oven to 350 degrees Fahrenheit and line a baking sheet with parchment paper. Unwrap all 30 Hershey kisses and set them aside.
- Remove dough from the fridge and use a small cookie scoop or use your hands to roll the dough into 1 inch balls.
- Pour the ⅔ cup of granulated sugar into a bowl. Drop each dough ball into the sugar and coat completely.
- Place dough balls about 3-4 inches apart on the parchment lined baking sheet. Bake the cookies on the center rack of the oven at 350 degrees Fahrenheit for 8 minutes.Store extra dough balls in the fridge while the rest are baking if they don't all fit. I bake half at a time.
- Immediately reshape the cookies (if they spread a bit) when they come out of the oven by using a spatula to push them into a circle shape and place an unwrapped Hershey kiss or vegan chocolate into the center of each cookie.Place the kiss down enough to stick but do not push too hard or the cookie will break apart.
- Let the cookies cool on the baking sheet for an additional 5 min after removing them from the oven. If you try to take them off too soon, they will break apart.
- Repeat this process with the remainder of the dough balls.
Ellen says
Delicious! I made these at Christmas and saved enough dough in the freezer for a few treats for Valentines Day. The frozen dough baked up beautifully.
Alicia says
Not too sweet and just the perfect amount of dark chocolate goodness! Plus, placing the kiss on top is fun!
Lee says
Thank you so so much!
Nancy DiPaola says
looks great. cant wait to try the recipe!
John says
Five stars!
Lee says
Thank you!