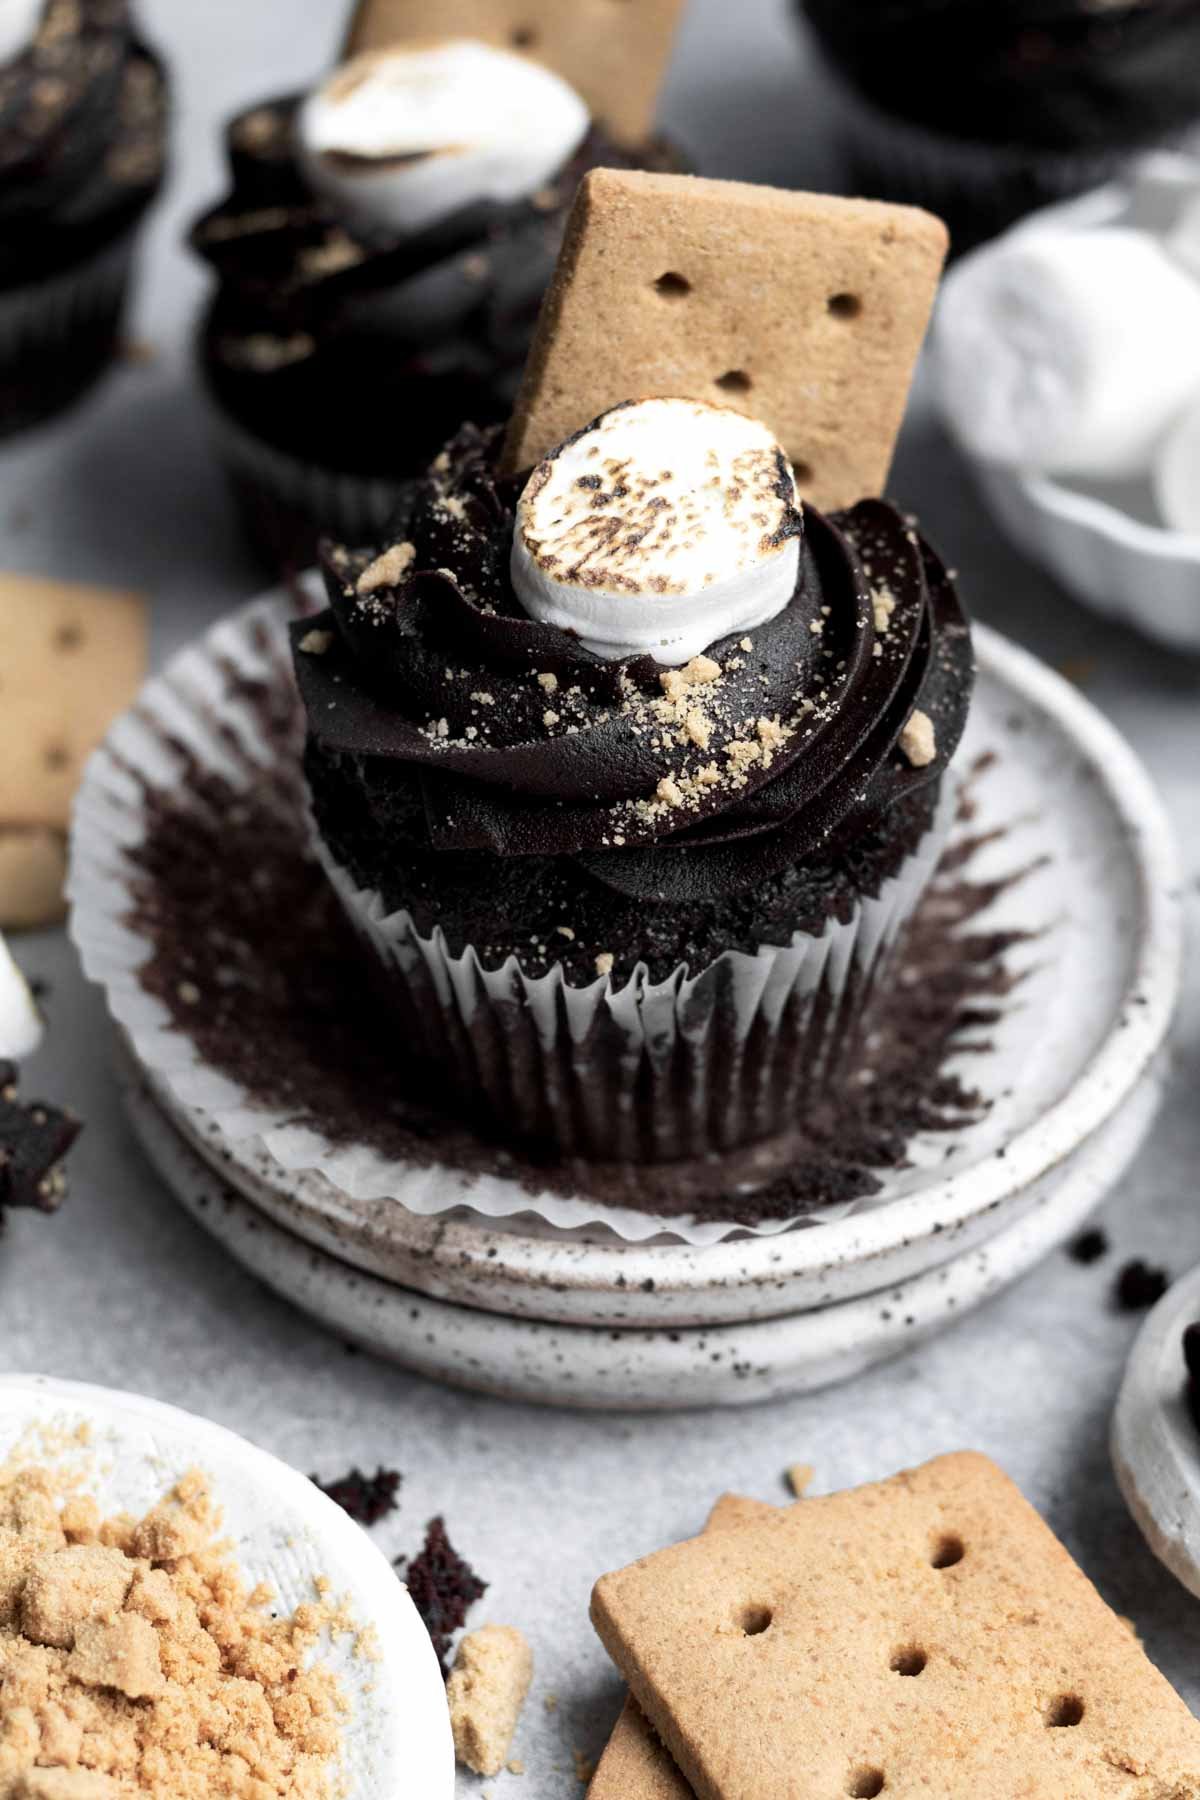
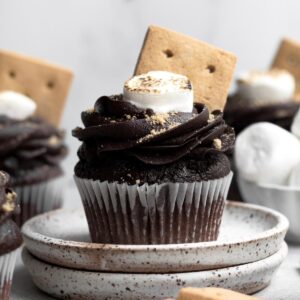
These Marshmallow Cupcakes have a light moist eggless chocolate cupcake base and are filled and topped with chocolate fudge frosting! All the flavors of my s'mores cupcakes but this time with more chocolate! Best yet, they're gluten free, nut free, eggless and easily vegan!
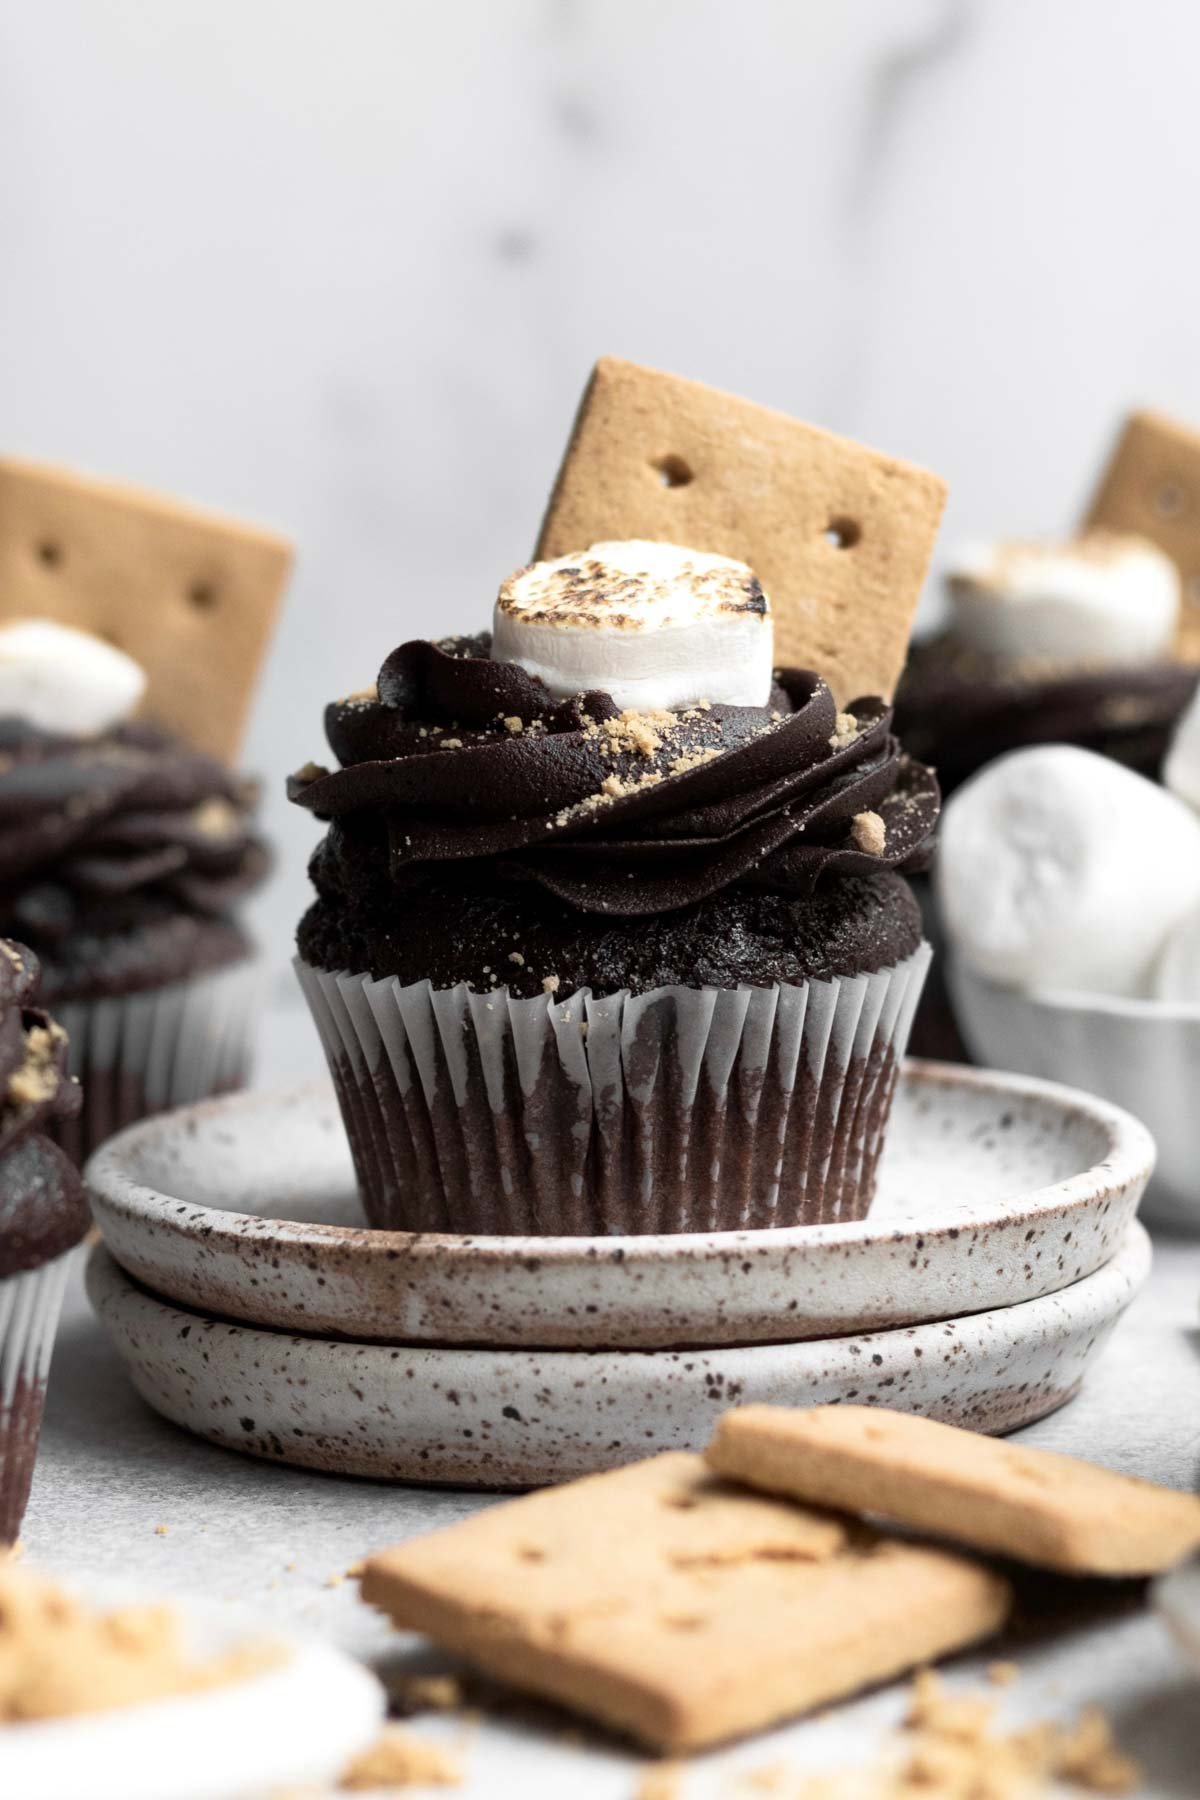
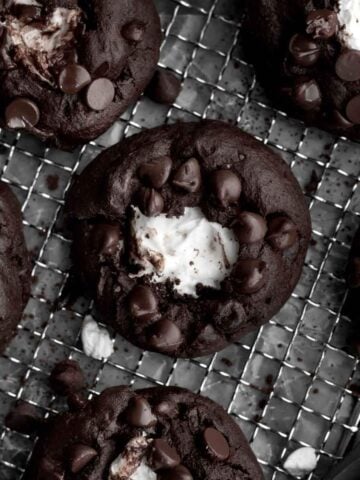
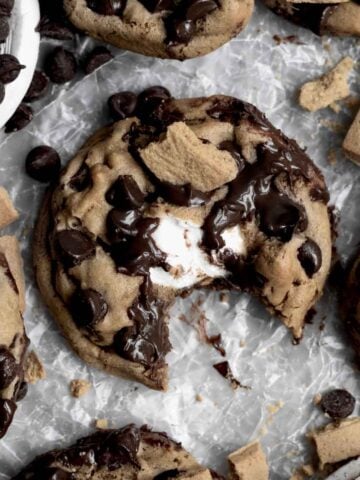
These Marshmallow Cupcakes are everything you love about s'mores, but a chocolate version like with my Chocolate Marshmallow Cookies! These are for all my chocolate lovers. If you want a more traditional 's'mores cupcake, make sure to check out my S'mores Cupcakes. If you love mini marshmallows, check out my Chocolate Chip Marshmallow Cookies!
For more cupcake recipes, try my Homemade Hostess Cupcakes, Strawberry Filled Cupcakes, Chocolate and Vanilla Cupcakes and Happy Birthday Cupcakes.
Jump to:
Reasons to Love these Cupcakes
- Allergy Friendly- These cupcakes are gluten free, nut free, egg free and can easily be dairy free (vegan).
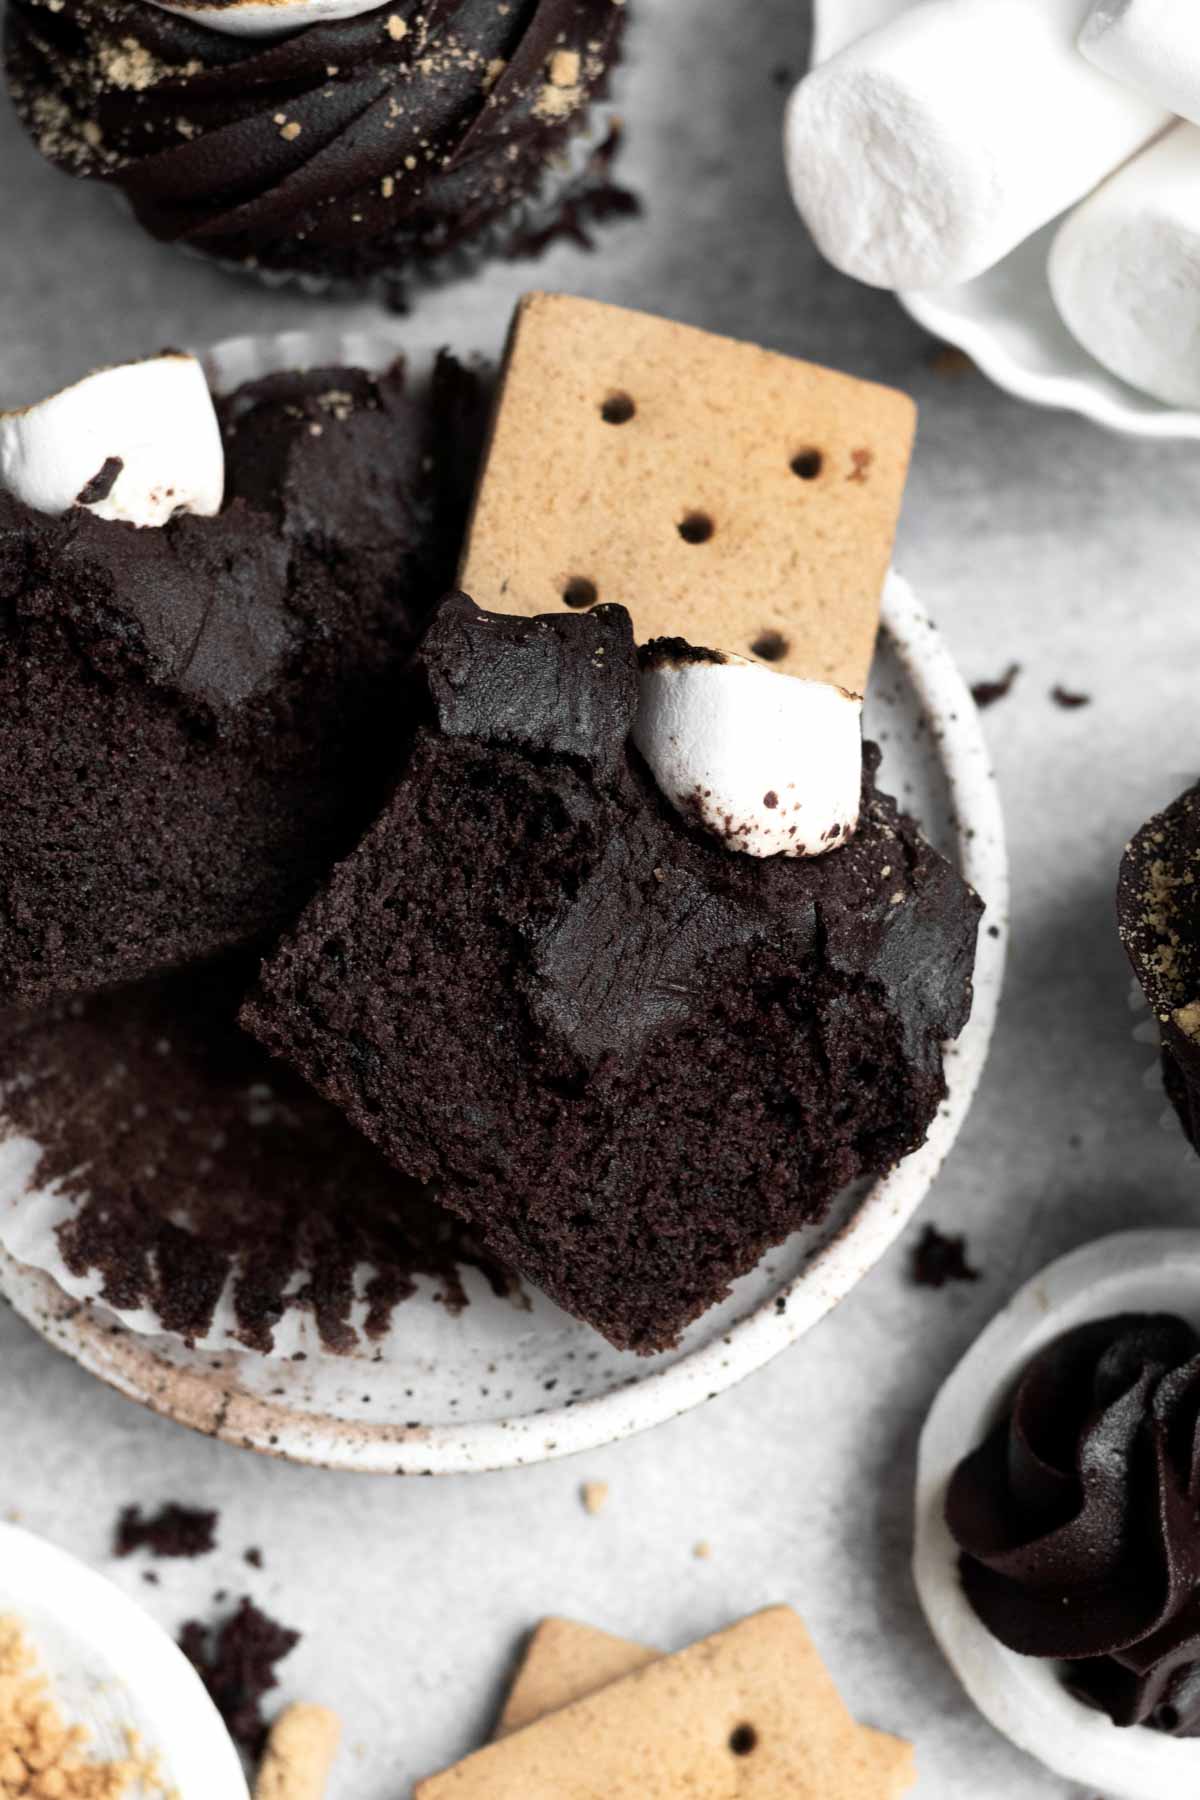
- Soft & Fluffy- The cupcakes are super soft, decadent and delicious.
- Double Chocolate- The cupcakes have a chocolate base and are filled and topped with fudge frosting!
- Easy to Make- The batter mixes up in just one large bowl with a whisk!
- S'mores- They have that s'mores flavor we adore!
Ingredient Notes
For the Cupcakes
- Gluten Free Flour- If you also have nut allergies, make sure to use a brand that’s made in a nut free facility. I really love to use this one because it’s nut safe but it does contain dairy.
- White Vinegar- Used with the baking soda to help the cupcakes rise.
- Vegetable Oil- These cupcakes use oil, so they stay moist longer.
- Cocoa Powders- I like to use two types but if you only want to use one, use Dutch or Natural Unsweetened.
- Marshmallows- I roast mine and use gf/vegan ones like in my Chocolate Marshmallow Cookies.
- Graham Cracker- I use gf/vegan graham crackers.
For the Fudge Frosting

- Butter/Vegan Baking Stick- Make sure to use softened not melted or your frosting will be a liquidy mess.
- Water- This frosting uses water and no milk at all.
See my recipe card below for a complete list of the ingredients with measurements.
Substitutions and Variations
How to Make these Cupcakes Vegan
- Use a gluten free flour that’s free from dairy.
- Read the label on your graham crackers to make sure they're gluten free, nut free and vegan.
- Only use gluten free/vegan marshmallows.
- Make sure to use vegan baking sticks instead of butter in the frosting.
This recipe has not been tested with these substitutions and/or variations due to celiac disease and food allergies. If you change any of the ingredients, please let us know how the recipe turned out in the comments below!
How to Make Marshmallow Cupcakes
Here are the step by step instructions to make these cupcakes!
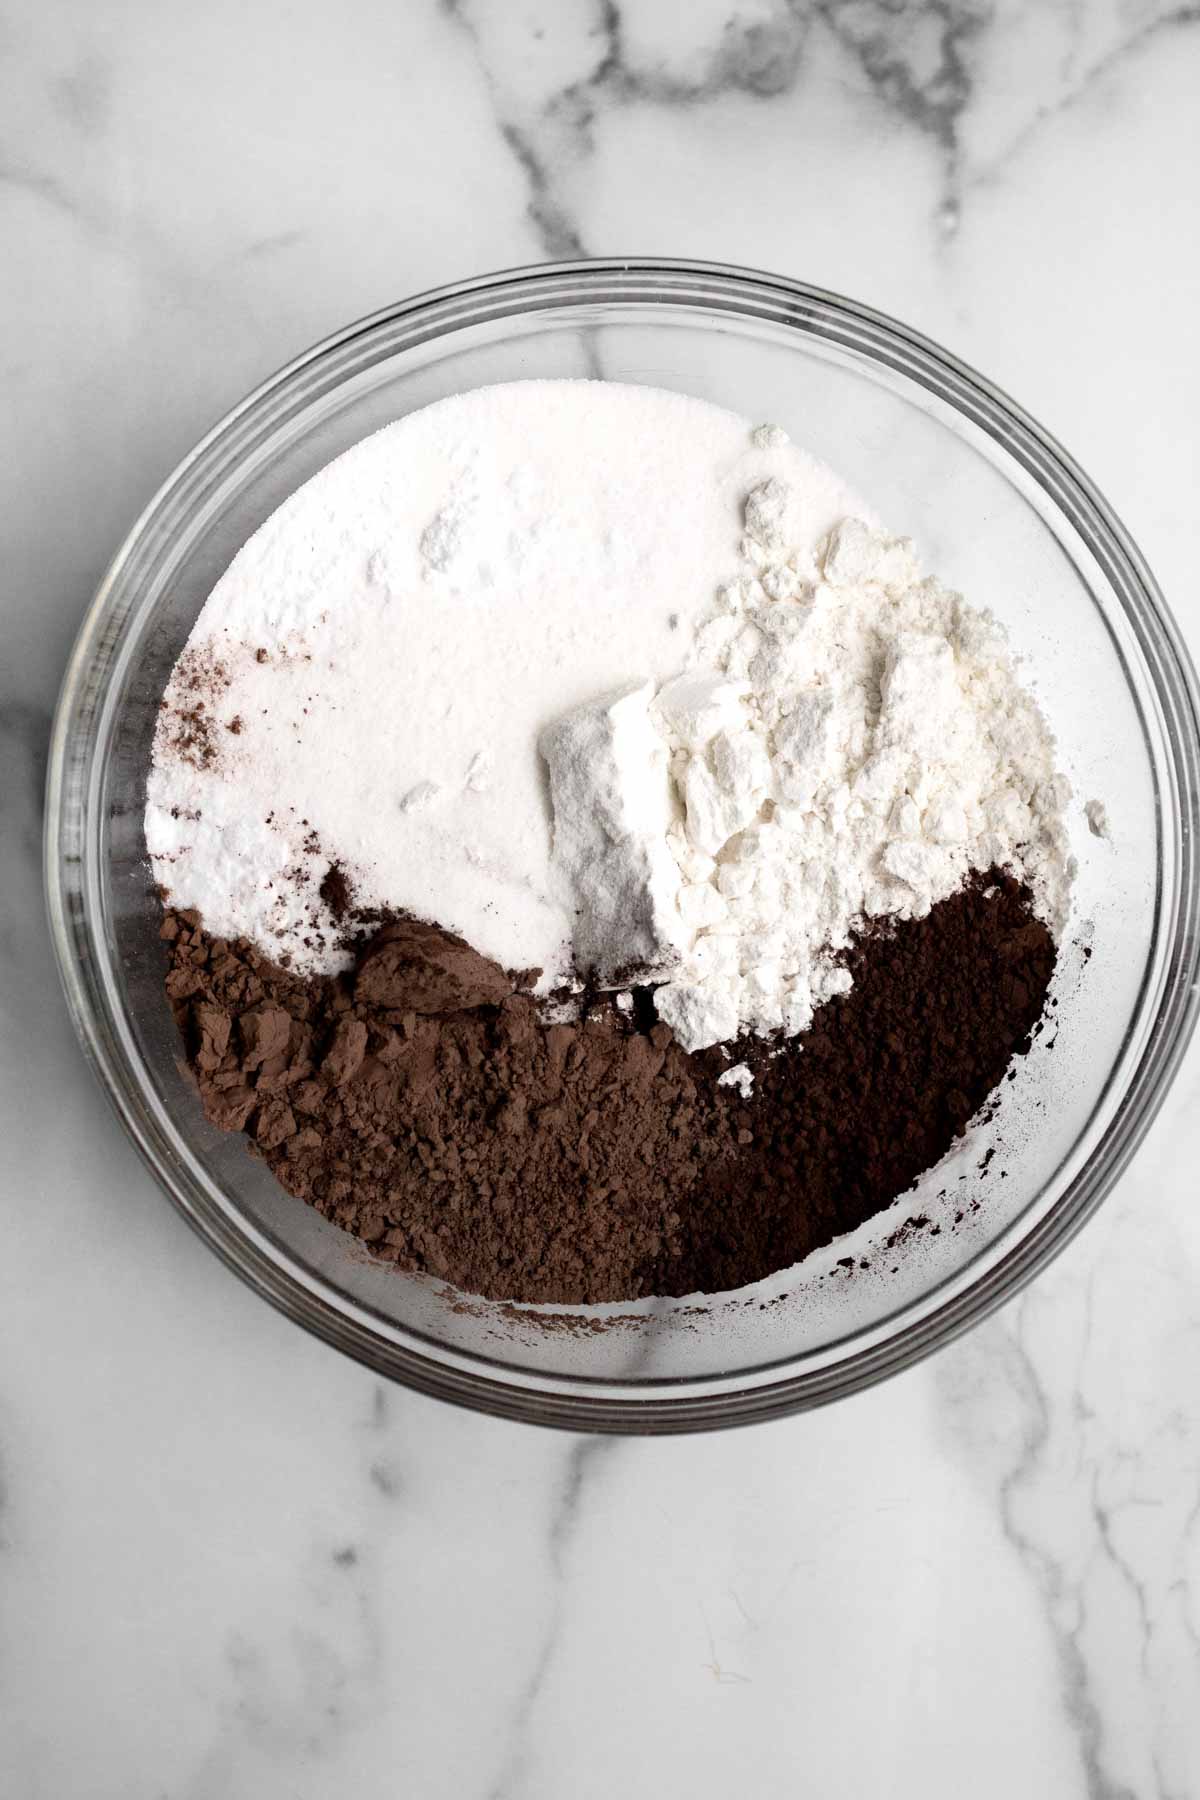
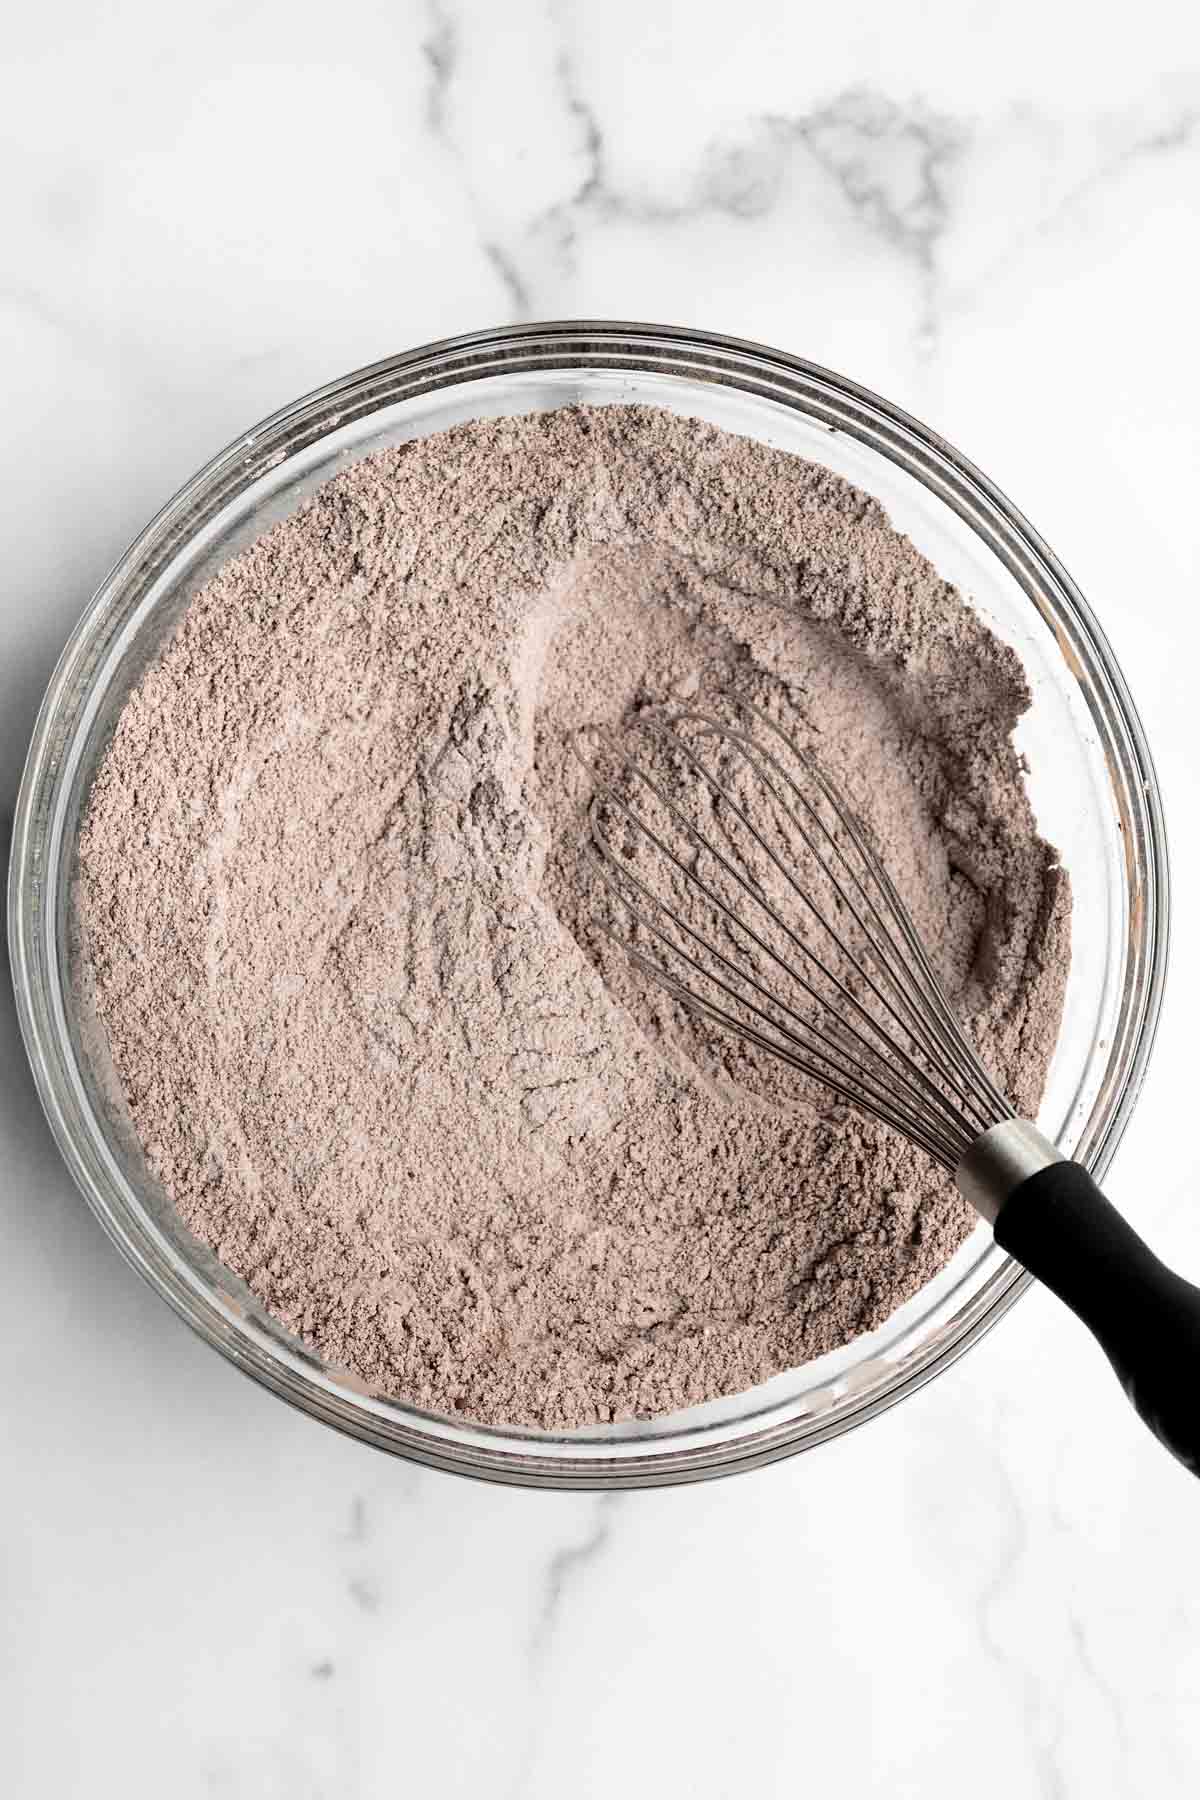
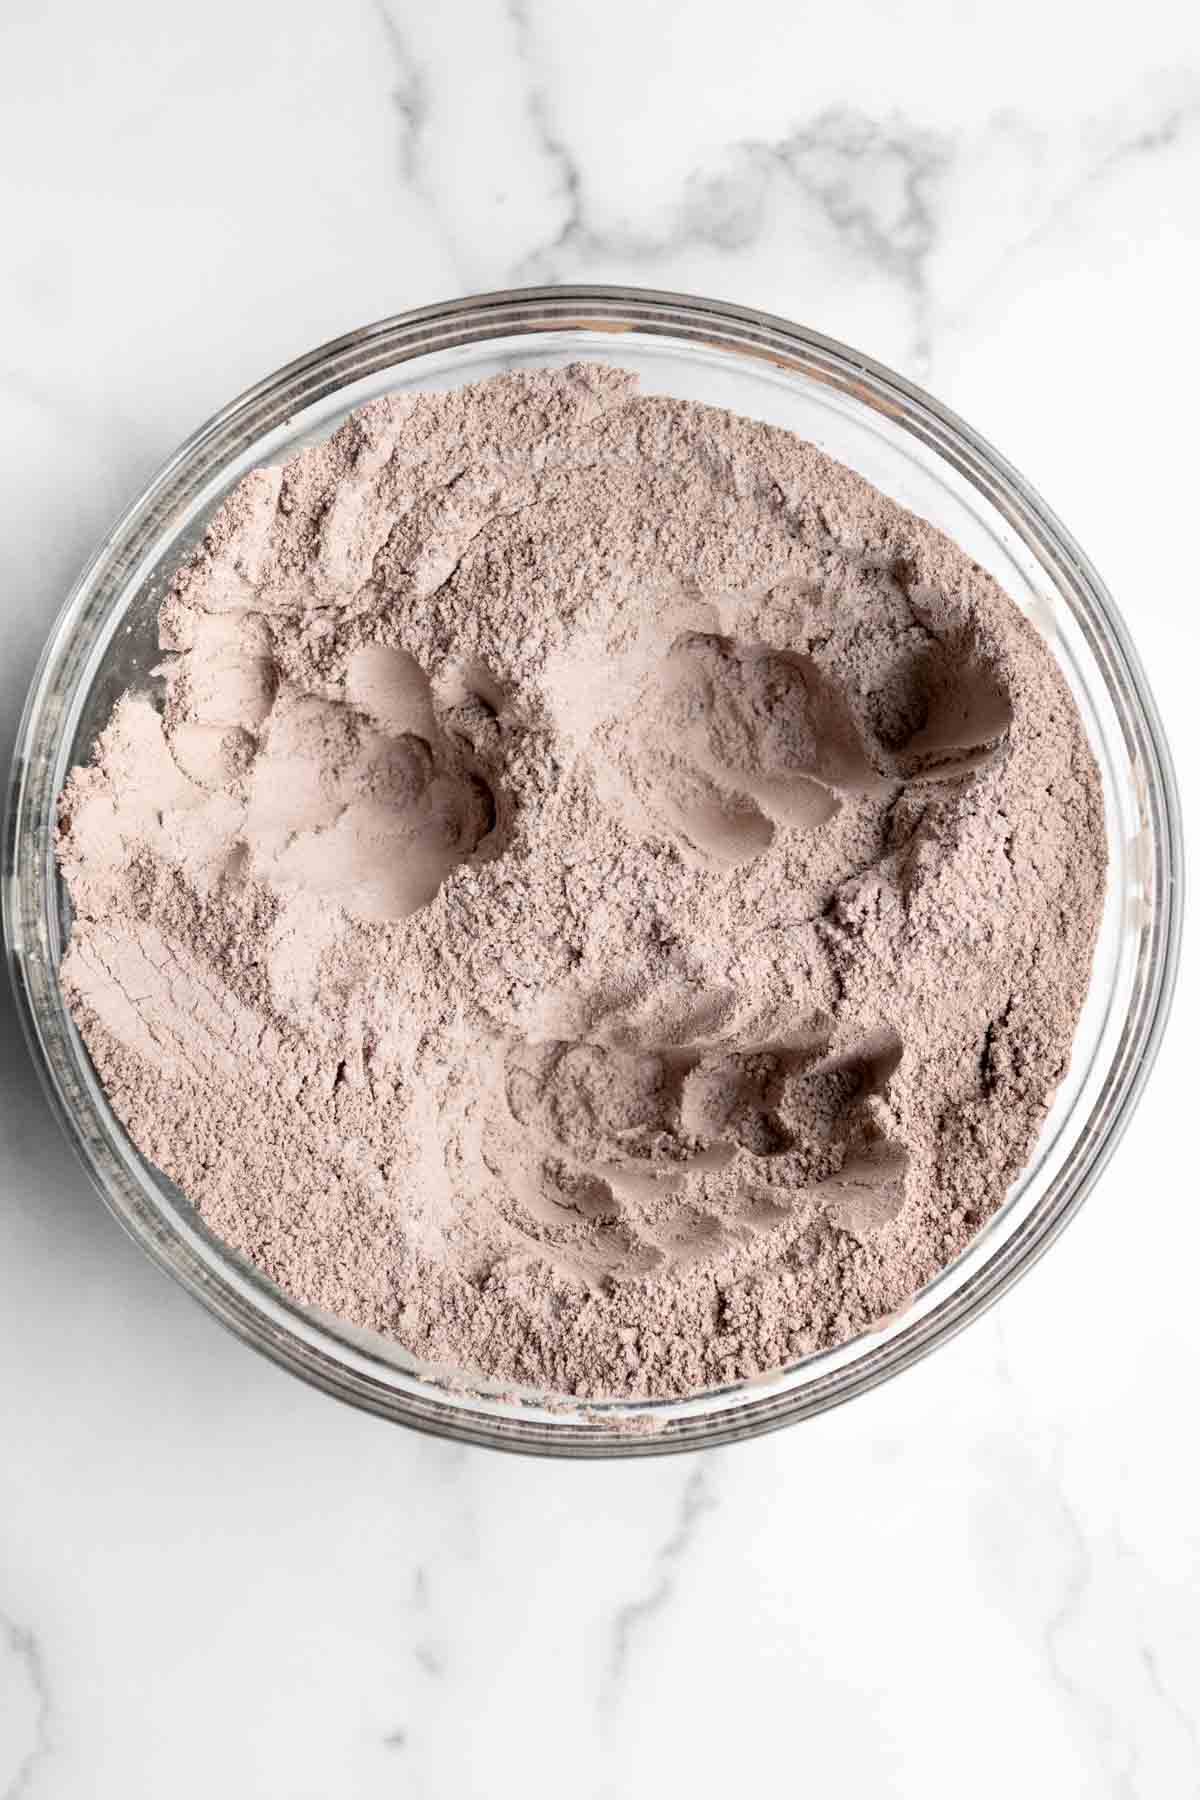
Step 1: Whisk Together all the Dry Ingredients
In a large bowl, whisk together the gluten free flour, granulated sugar, cocoa powders, baking soda and kosher salt.
Step 2: Make 3 Wells in the Dry Ingredients
In the dry ingredients, using clean hands, make 3 wells for the wet ingredients to be poured into.
Step 3: Pour in the Liquid Ingredients Minus the Water
In one well pour the vegetable oil, in the other well pour the white vinegar and in the last, pour the vanilla.
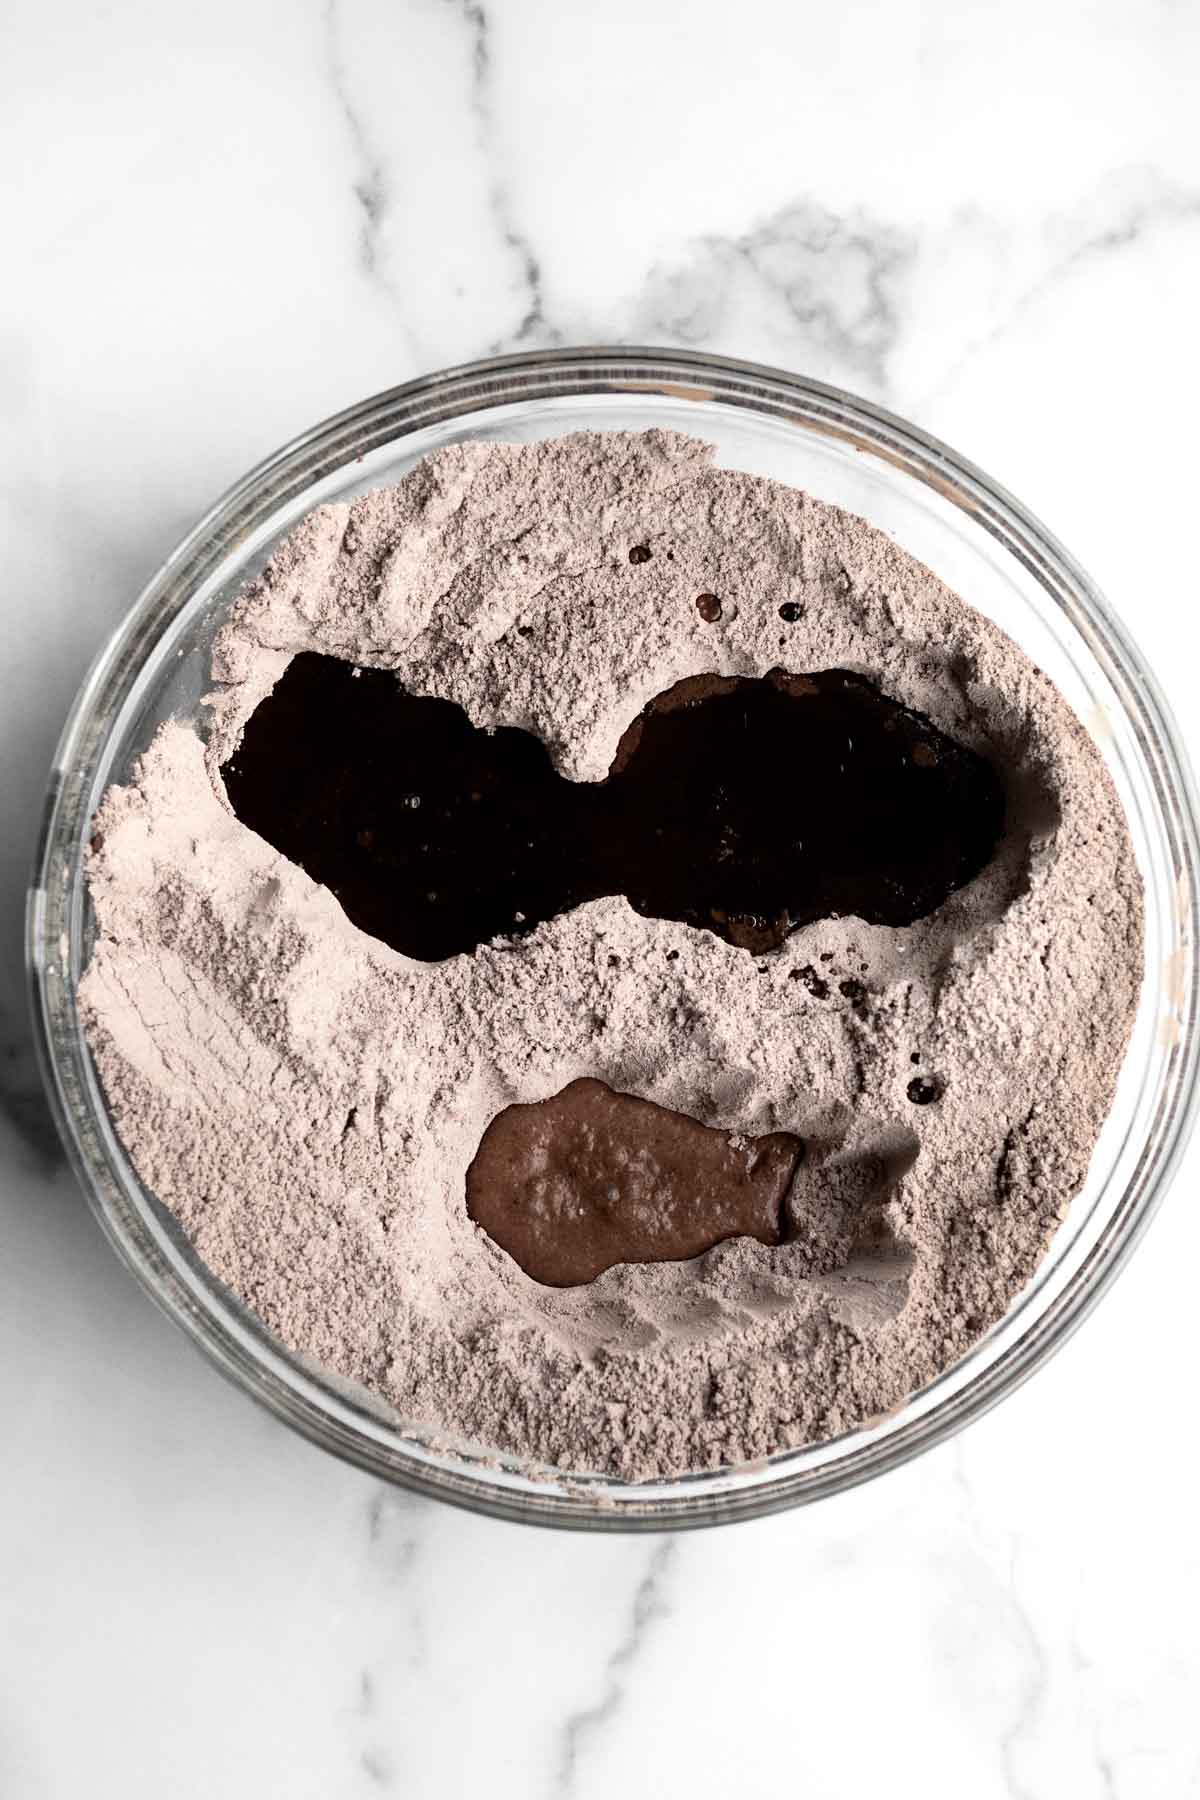
Step 4: Pour the Cold Water on Top
Pour the cold water on top of all the ingredients.
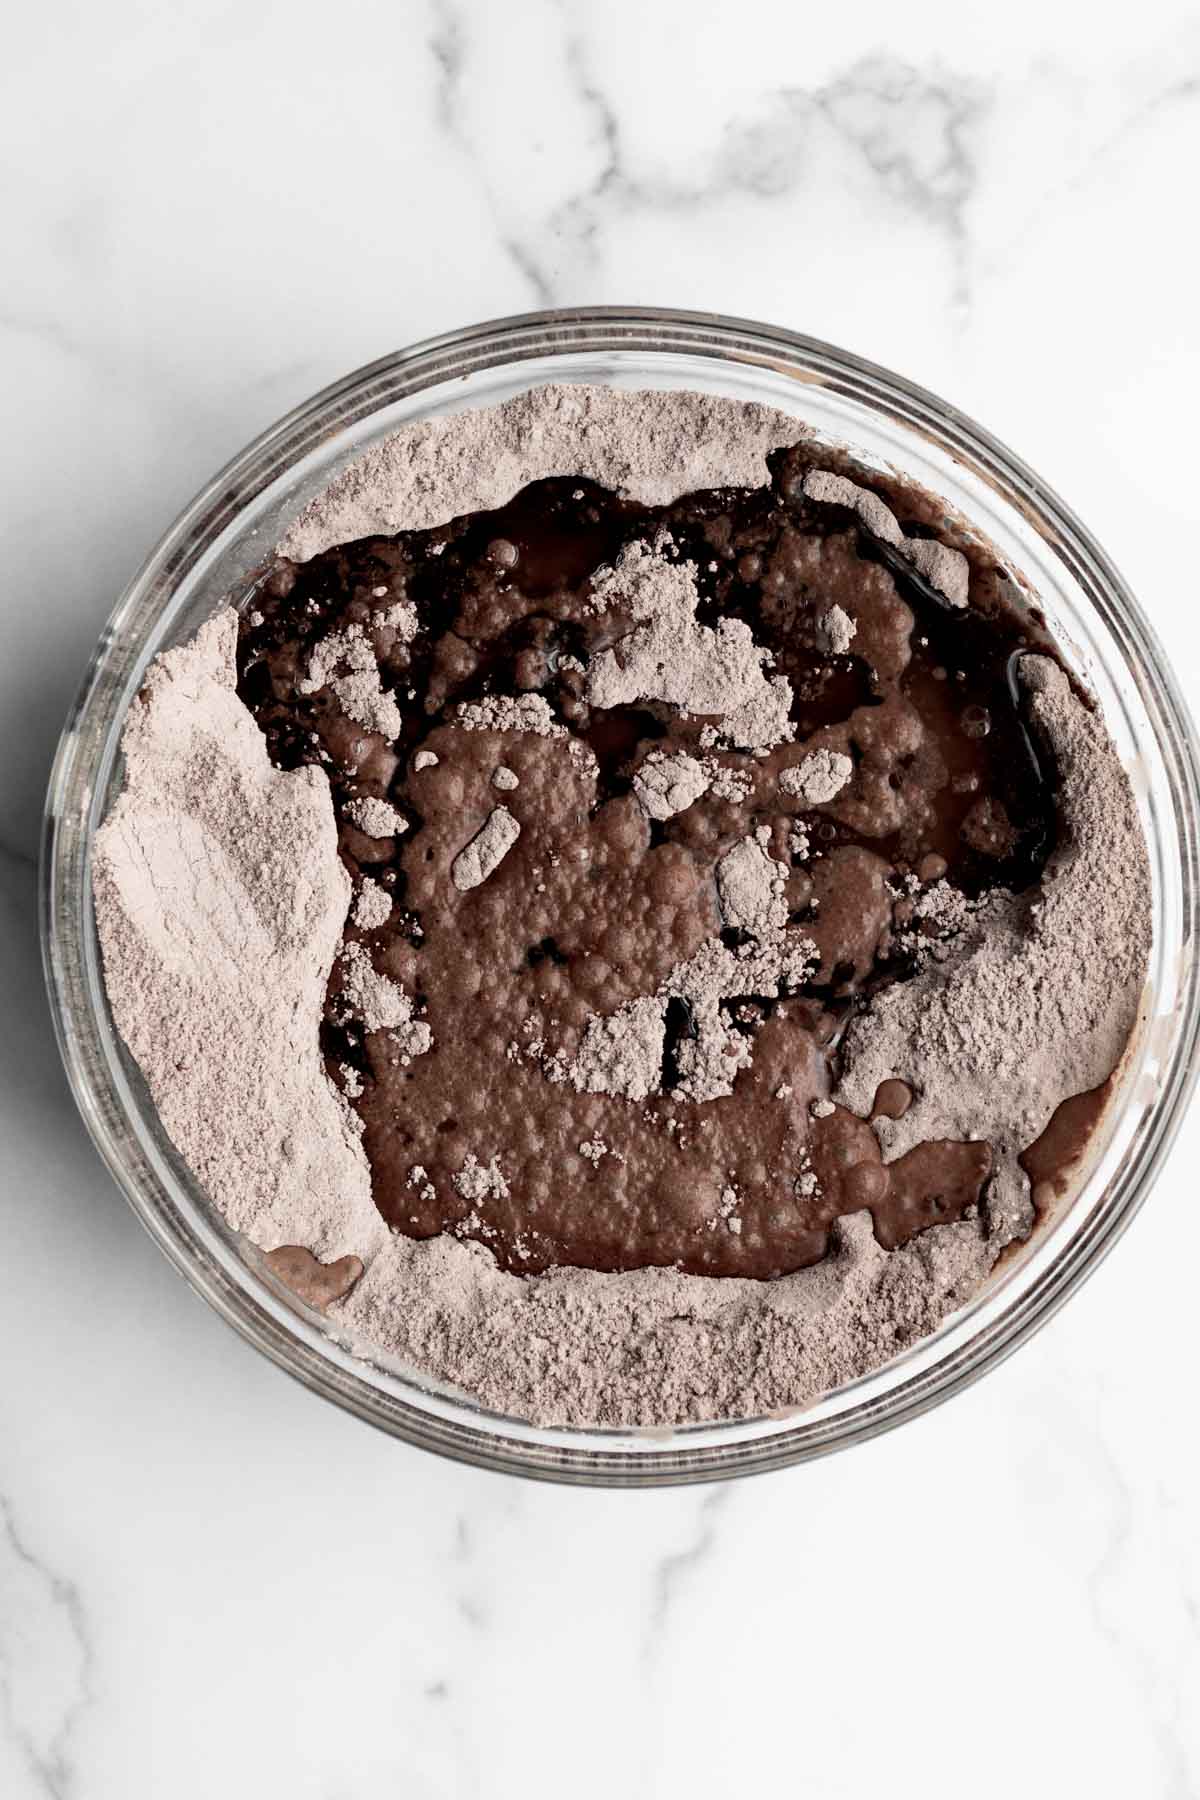
Step 5: Whisk to Combine Everything
Use a whisk to mix everything together until fully combined. If it gets too thick for the whisk, switch to using a spatula.
Do not over mix.

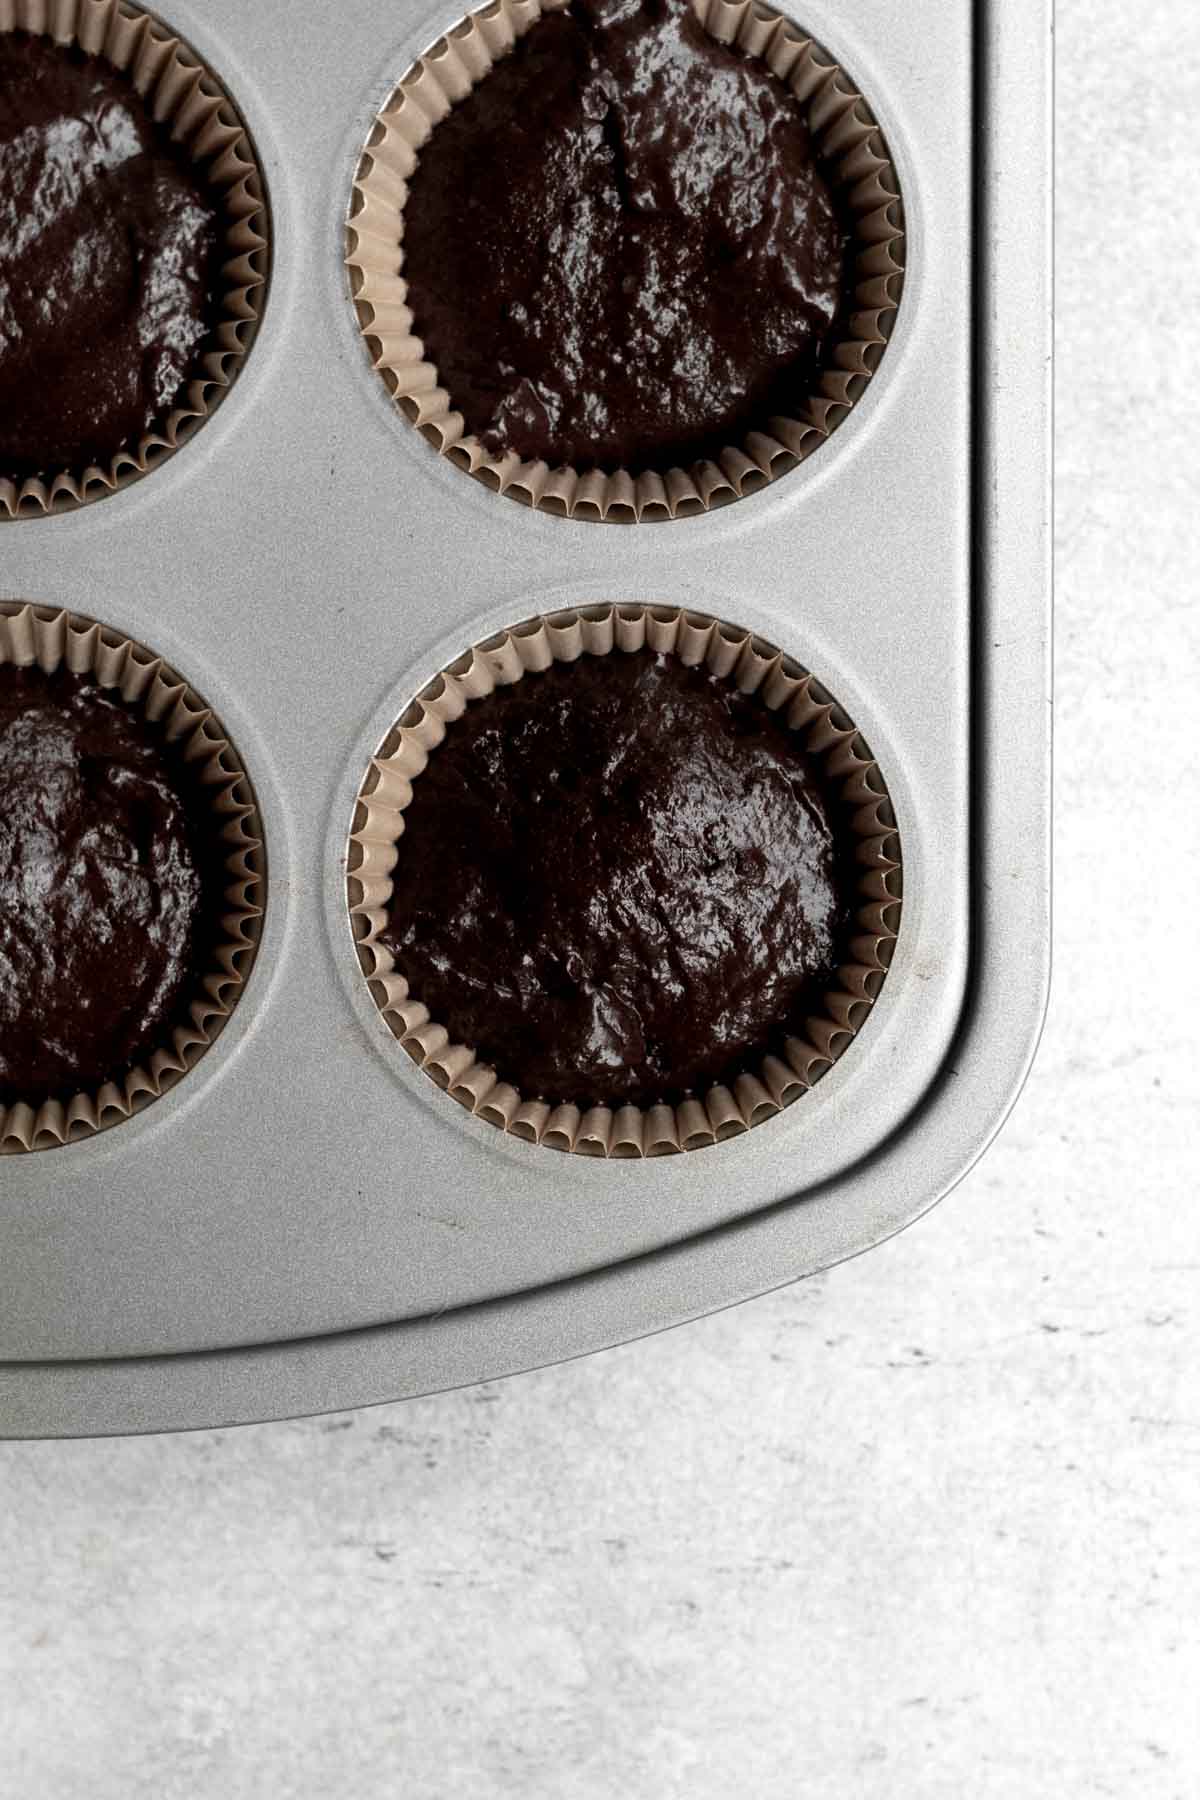
Step 6: Fill the Cupcake Tins
Use an ice cream scoop to fill the cupcake tins ¾ way to the top. Smooth the tops with a small knife. You should have 12 regular size cupcake tins filled.
Step 7: Bake the Cupcakes
Bake the cupcakes at 350 degrees Fahrenheit for 25 minutes or until the tops of the cupcakes spring back at you when carefully touched.
Step 8: Cool the Cupcakes
Let the cupcakes cool almost completely in the pan before trying to remove them.

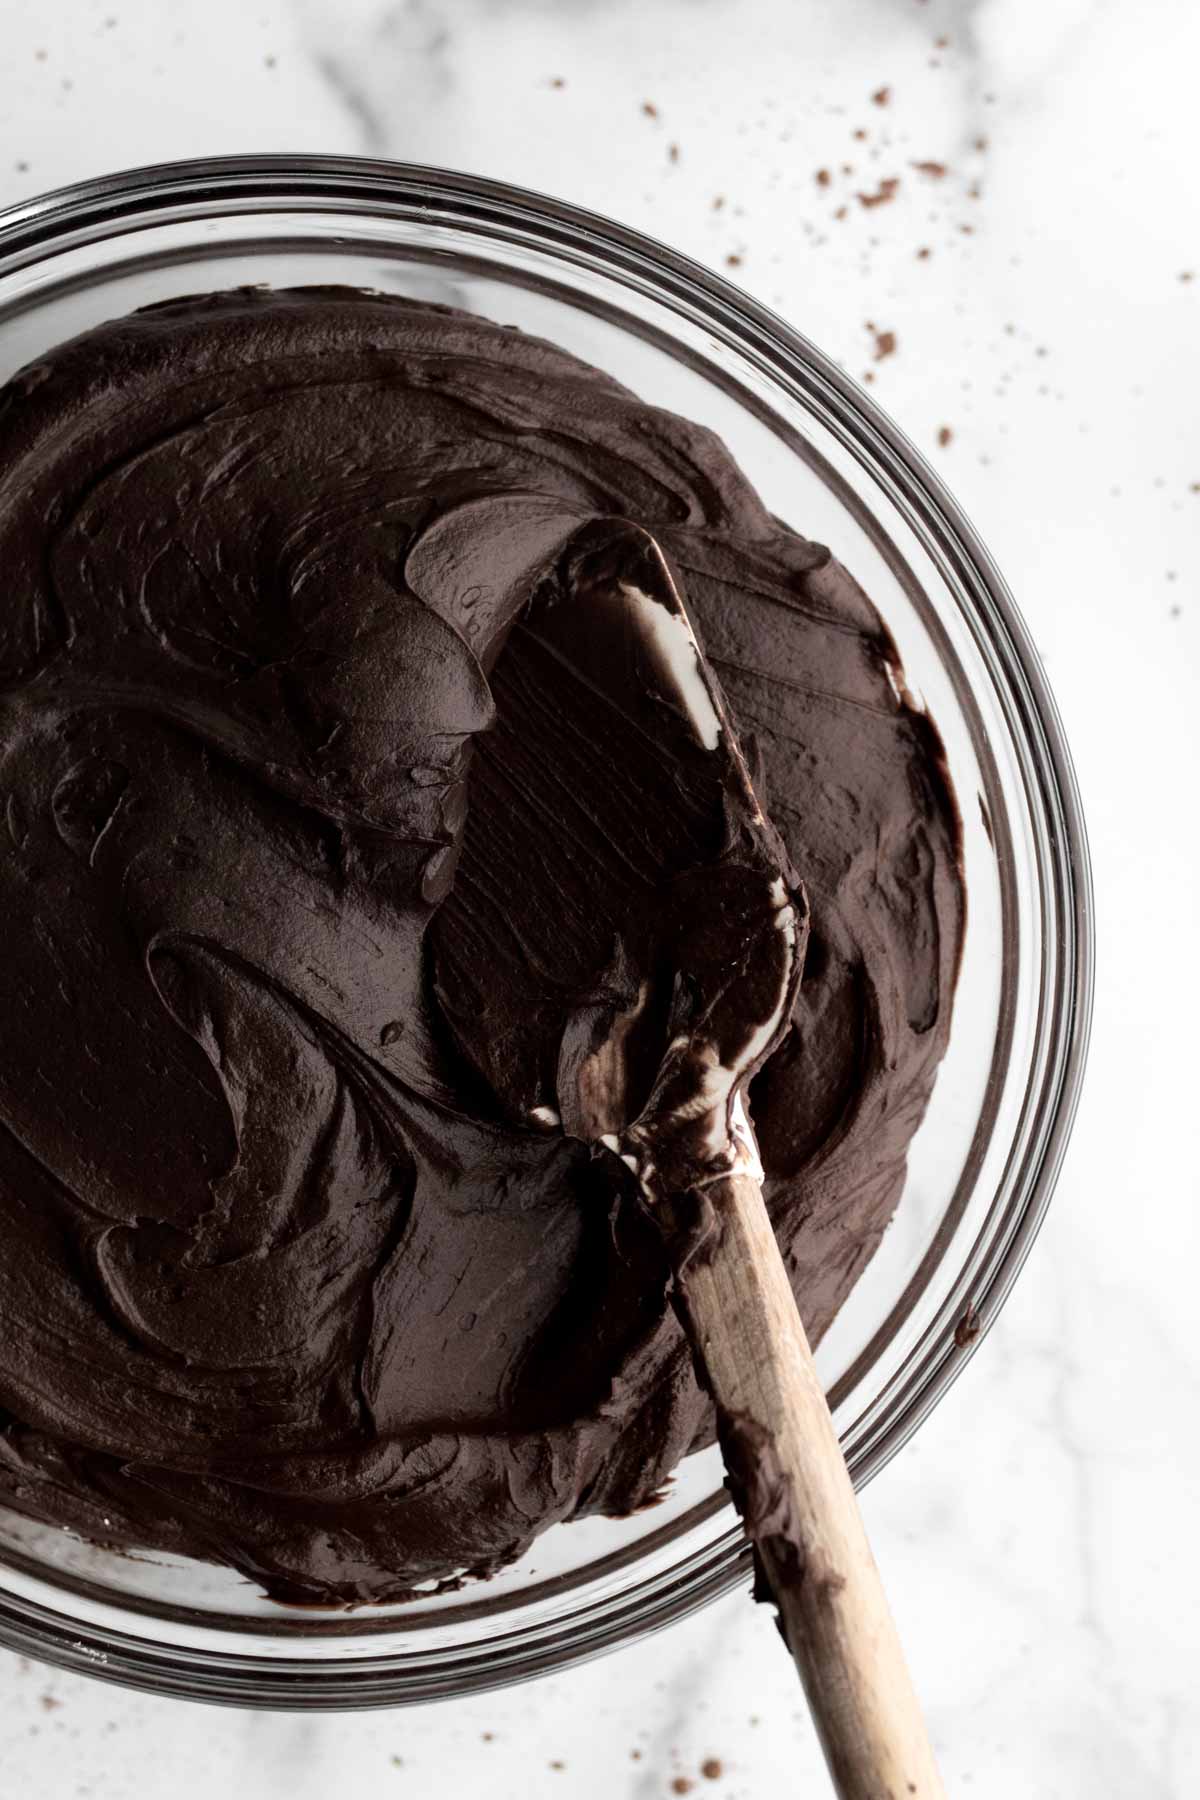
Make the Frosting
Step 1: Cream the Butter/Vegan Baking Stick
In the large bowl of an electric mixer or using a hand held mixer, beat the softened butter or vegan baking stick until smooth and creamy. About 2 minutes.
Step 2: Add in the Vanilla
Add in the vanilla and beat until combined.
Step 3: Whisk the Cocoa Powders
If using two types of cocoa powder, put them in a bowl and whisk to combine.
If using only one type of cocoa powder, skip this step.
Step 4: Add in the Remaining Ingredients
With the mixer on low speed, slowly add in the confectioners’ sugar, the mixed cocoa powders and the water. Beat until combined, creamy and smooth.
Assemble the Cupcakes
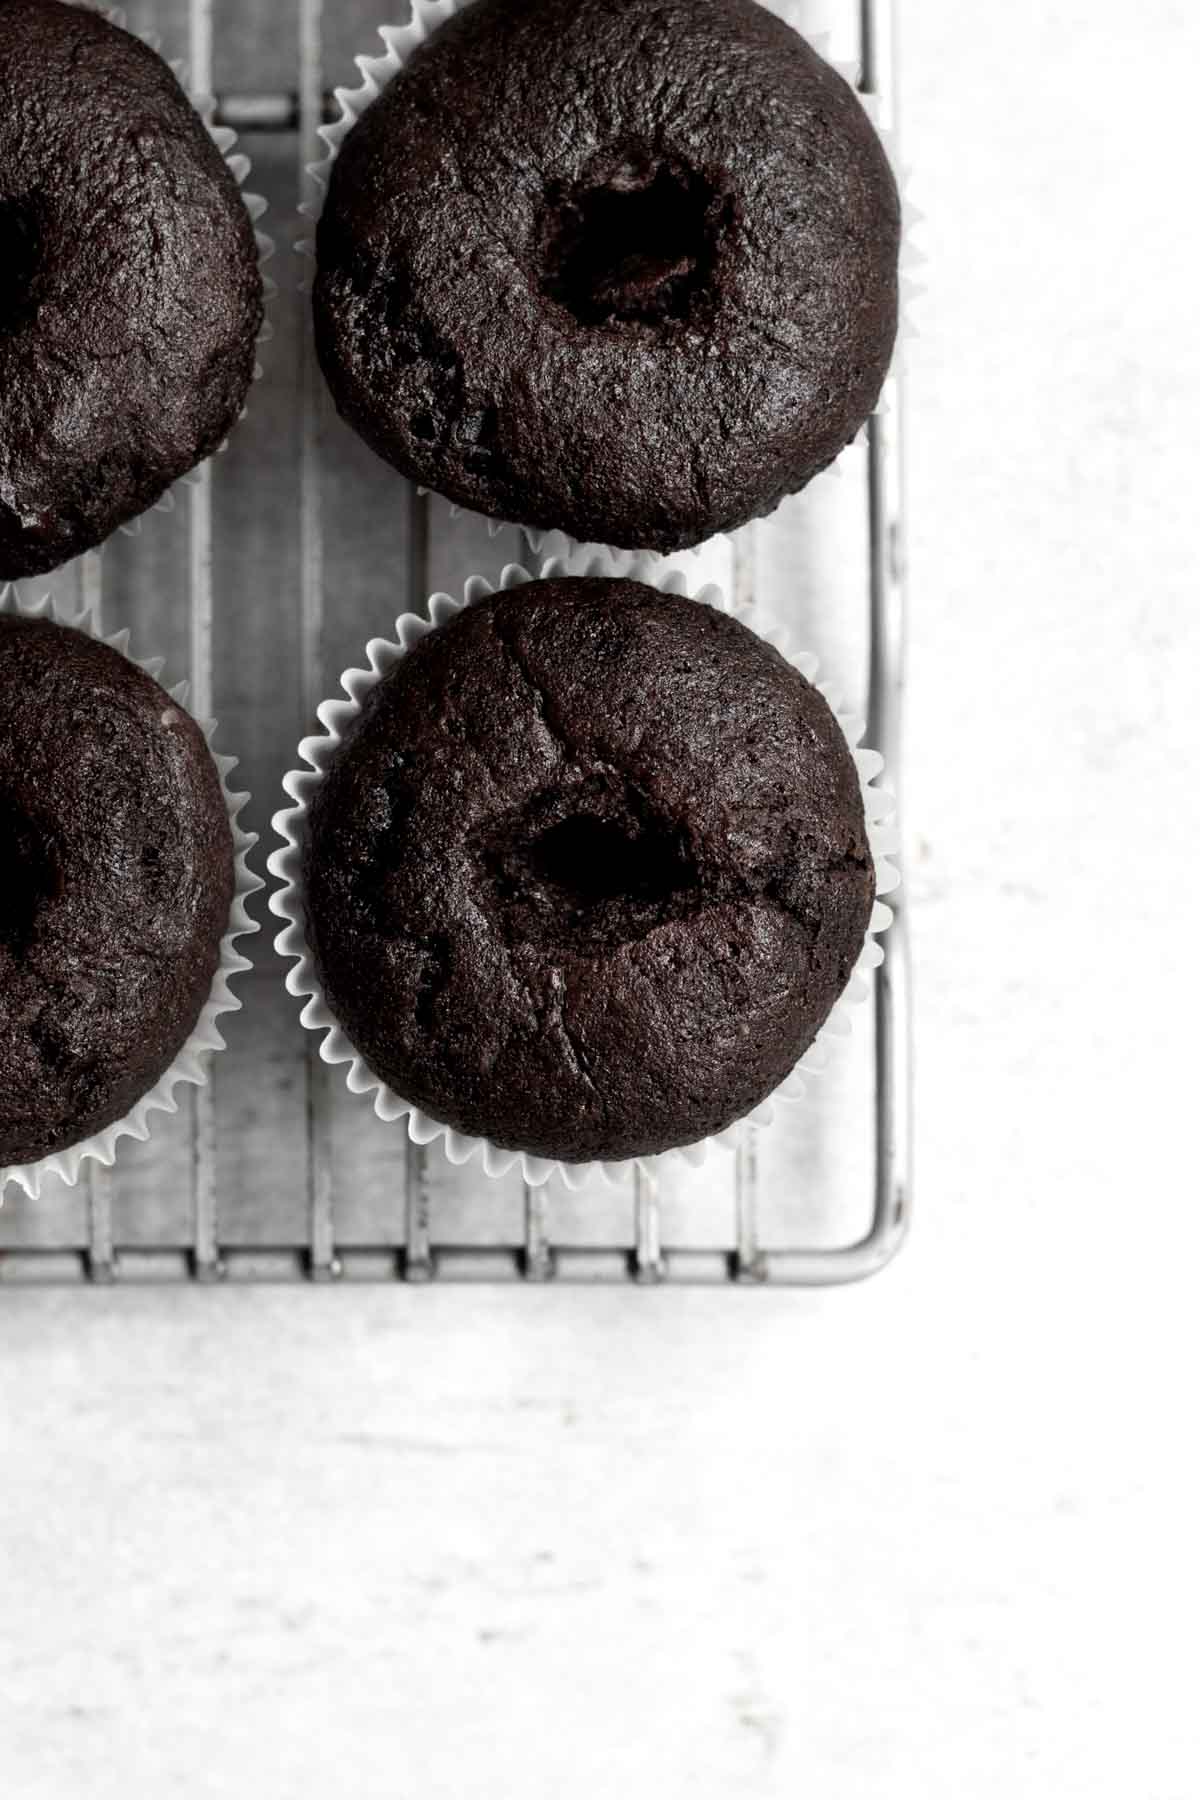
Step 1: Make the Holes in the Cupcakes
Once the cupcakes have cooled completely, we are going to make the holes for the fudge frosting.
If you have piping bags with tips, you can use that to make the holes.
If not, using a clean thumb, simply push down in the center of the cupcakes but not all the way to the bottom.
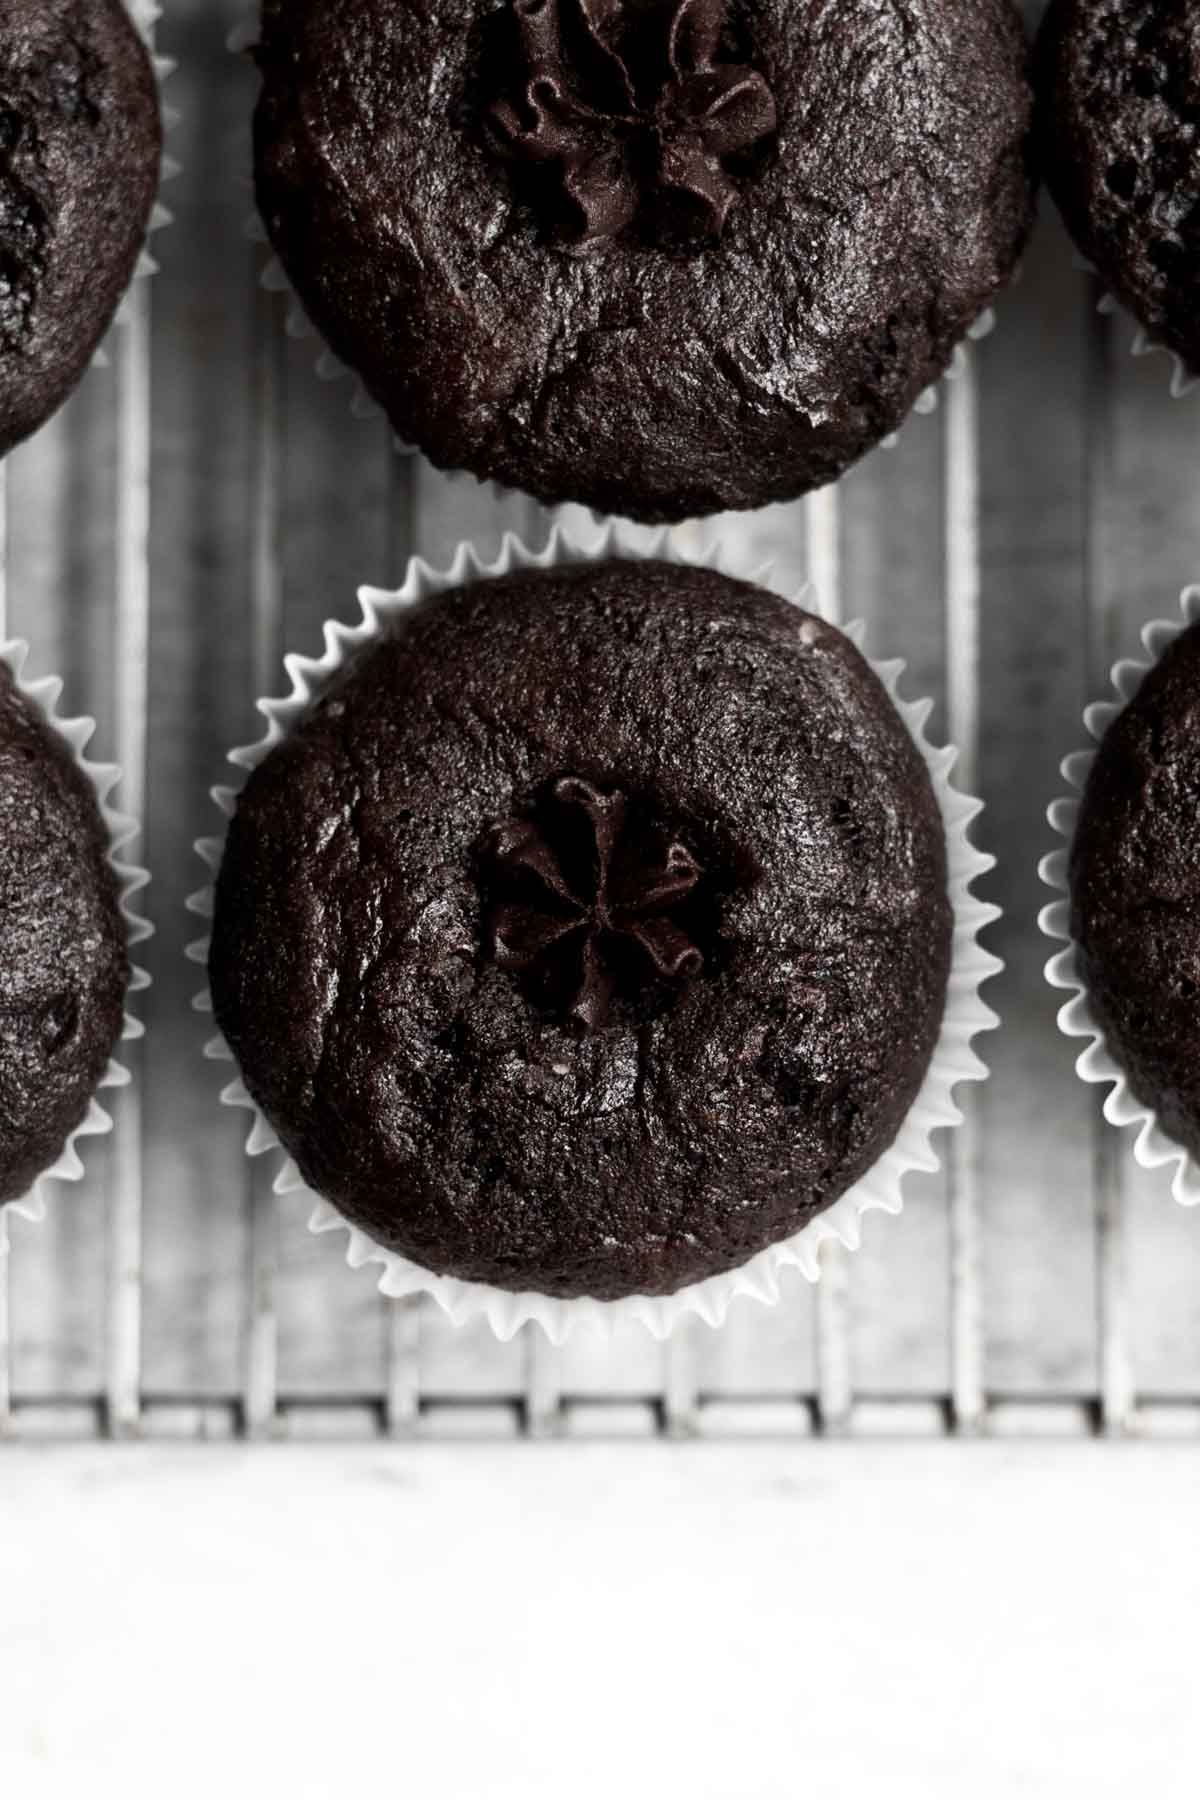
Step 2: Fill the Cupcakes
Put the frosting in a piping bag.
Stick the tip of the piping bag down into the hole. Starting at the bottom, squeeze and fill the entire hole all the way to the top. Set the filled cupcakes aside.
If you don't have a piping bag, fill a zip top bag with frosting and snip the corner off to fill the cupcakes.
Step 3: Crush the Graham Crackers
Place 2 sheets of the graham crackers in a zip top bag and seal it shut.
Crush the grahams with the flat side of a meat mallet or a rolling pin until they have a sand-like consistency. A few tiny chunks are fine.
STEP 4: Rip The Marshmallows in Half
Take 6 regular size marshmallows and cut or rip them in half.
You want each half to have one side that has the flat surface.
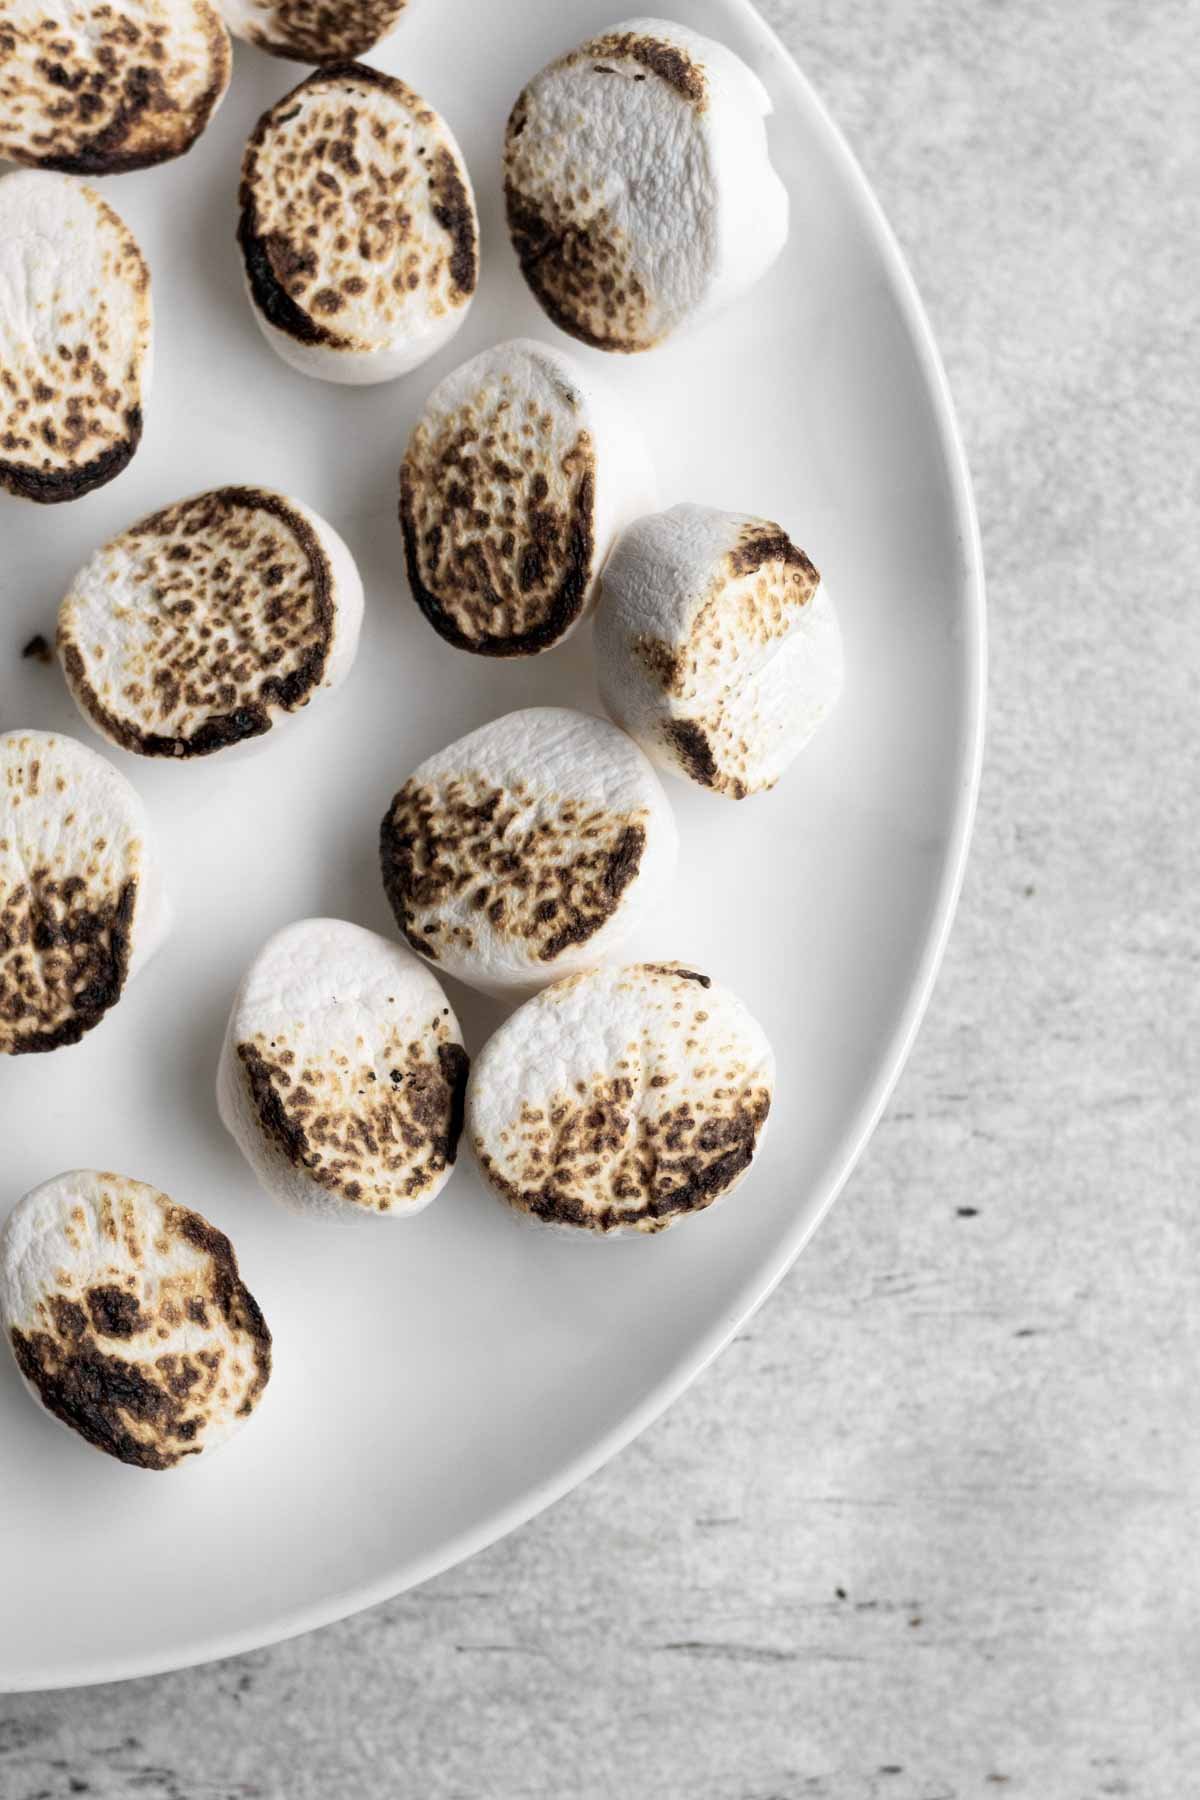
Step 5: Roast Your Marshmallows
Sticking the marshmallow half on a metal skewer or on the end of a metal fork, carefully roast the flat top side of the marshmallow for a second into a flame.
The flame can either be from your gas stove top or from a long multipurpose lighter.
Make sure the marshmallow is no longer on fire and then place on a ceramic plate, roasted side up, to cool.
If you don't want your marshmallows roasted, you can skip this step.
Step 6: Break Your Graham Cracker
Take out 6 sheets of graham crackers. Break them in half to create 12 graham cracker squares.
Decorate the Cupcakes
Step 1: Pipe the Frosting
If you have piping bags, pipe the frosting on top of each cupcake and then jump to STEP 3.
If you don’t have piping bags, put a thin layer of frosting on top of each cupcake.
Step 2: Chill the Cupcakes
If you frosted them by hand, pop the cupcakes in the fridge for 5-10 minutes to let that thin layer harden.
This is your crumb layer so that when you frost the tops of the cupcakes, the fudge frosting doesn't ooze out and get crumbs all over the place.
If you have a piping bag, you don’t need the crumb layer, or this step or the chilling.
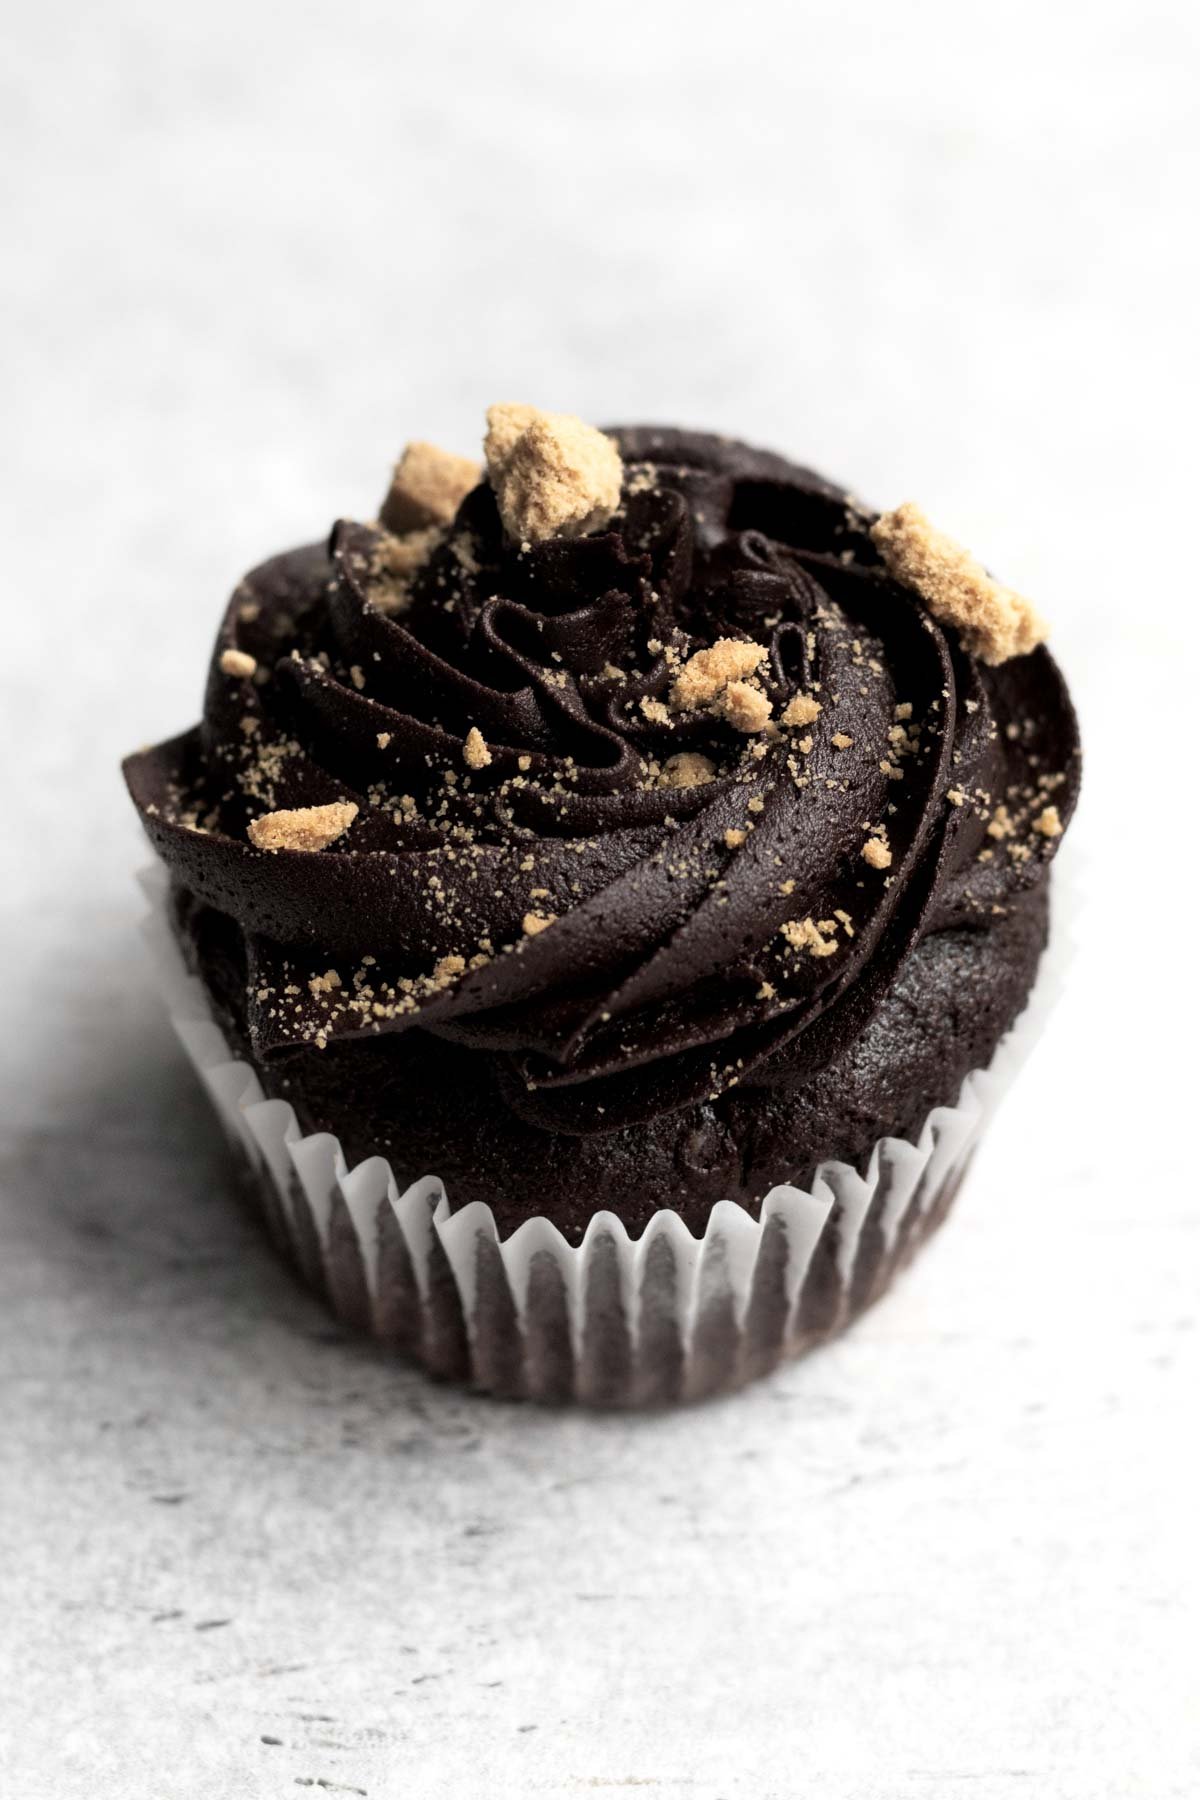
Step 3: Add the Graham Crumbs
Immediately after finishing frosting the cupcakes, add the graham cracker crumbs so they stick to the frosting.
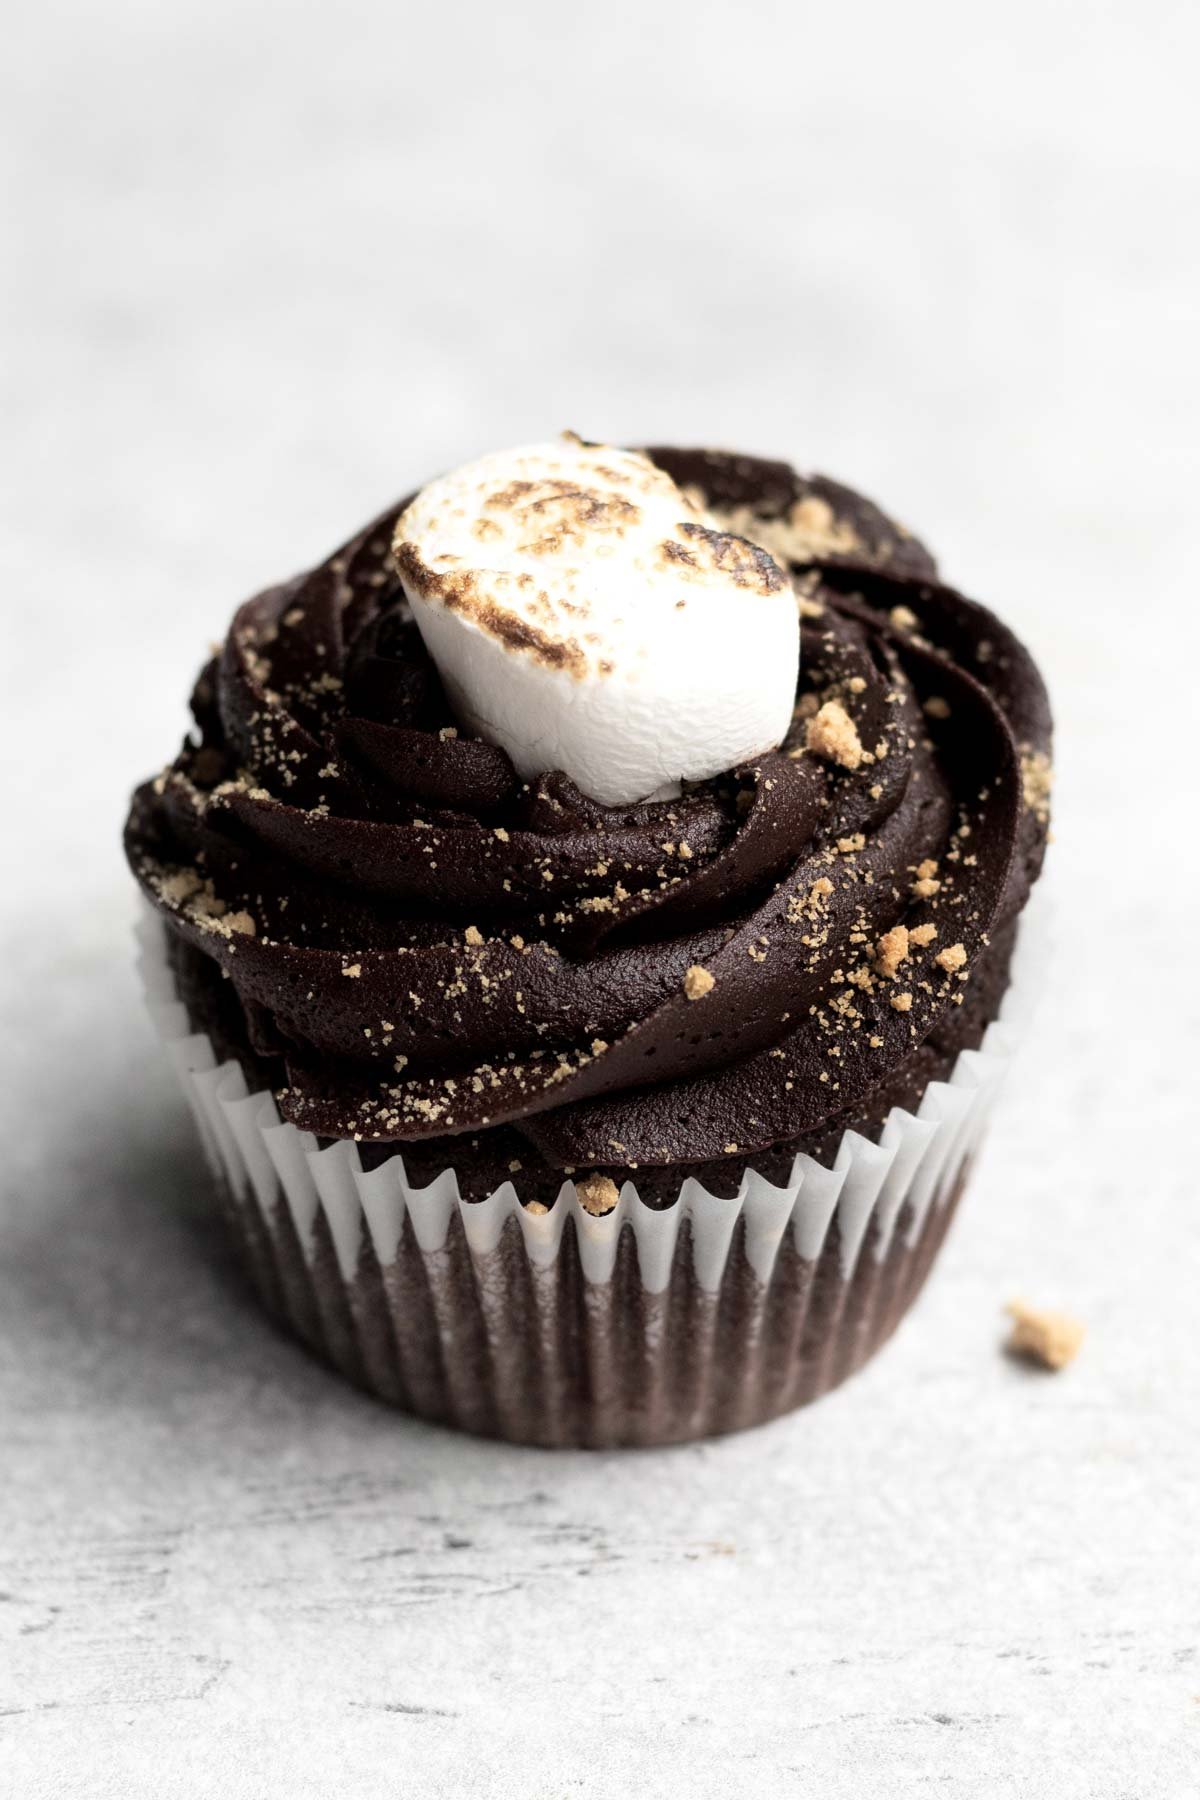
Step 4: Add the Marshmallow and Graham Cracker
Gently push half the cooled roasted marshmallow down into the middle of the each cupcake. You want the roasted half to be upright. You don't want the marshmallow warm. It will melt the frosting.
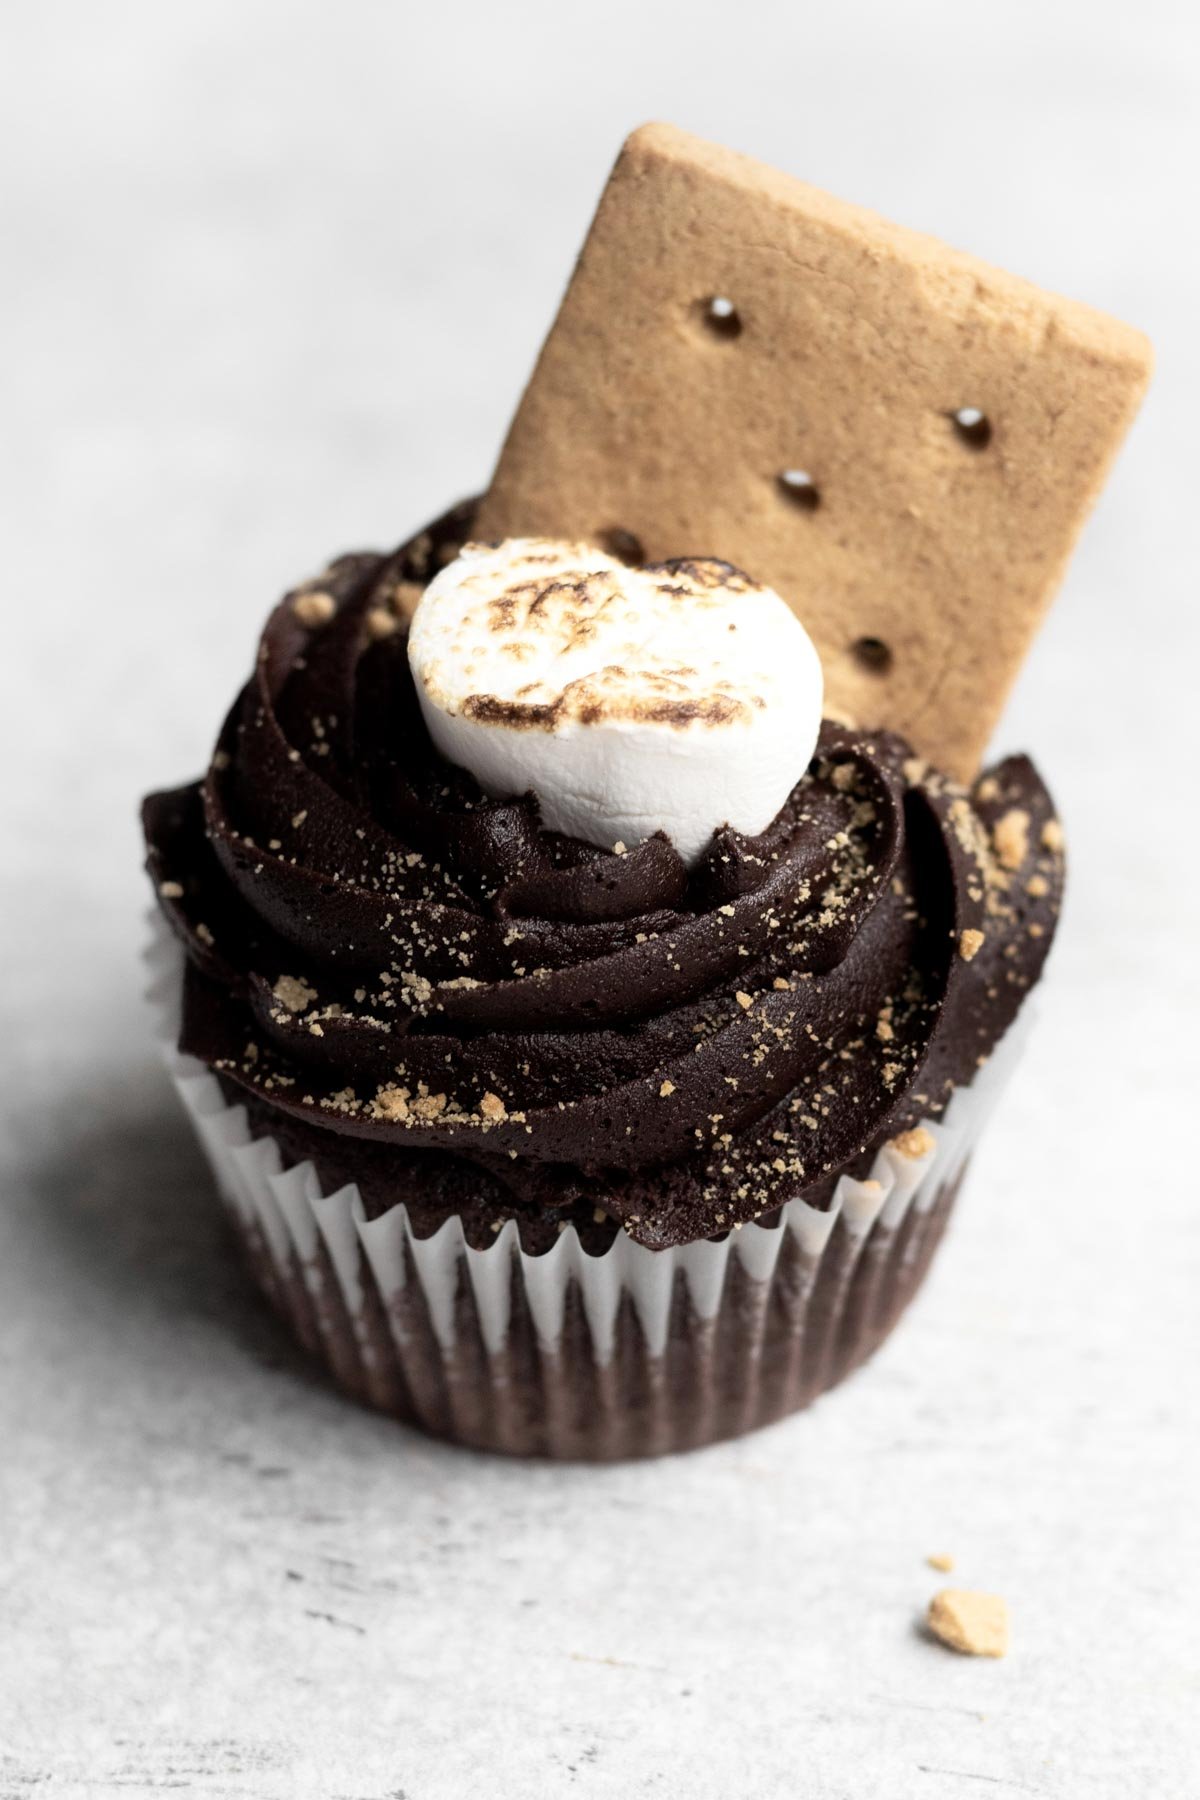
Then push the graham cracker square into the frosting, behind the marshmallow.
Step 5: Chill the Cupcakes Again
Immediately after pushing in the marshmallow and graham, pop the cupcakes all in the fridge to chill for about 15 minutes.
Expert Baking Tips
- Use 2 Types of Cocoa Powder- The 2 types of cocoa powders give the cookies their dark hue. If you only have one type on hand, use natural unsweetened or dutch...just know their color will not be as dark as mine. DO NOT use dark alone; it will make your cupcakes too dry and bitter.
- Smoothing the Batter- Many gluten free flour batters have a way of staying exactly as they are placed, when baked. If you leave it misshapen, that’s how it will remain when baked. When the batter is in the cupcake tins, gently smooth the tops with a butter knife.
Recipe FAQs
Most gluten free baked goods are best made the same day, but you can make these cupcakes the night before.
If making the night before, you can fill the cupcakes but don't do the top frosting, marshmallow and graham till the day of. The graham gets soft due to the moisture of the frosting.
Keep the cupcakes in an airtight container in the fridge until ready to serve.
Yes! You can make the frosting the night before.
Store it in a bowl covered with plastic wrap in the fridge.
When ready to use, bring the frosting to room temperature and rewhip if you want to regain that creaminess.
It makes 12 regular size cupcakes.
No you do not! You can leave them as is.
No, but if you don't it will stick up higher than the frosting.
Yes!
If using AP Flour instead of gluten free, only use 6 tablespoons of vegetable oil.
Note: I cannot test any recipe with regular flour due to celiac disease but this was what I did prior to my daughter's diagnosis.
Storing and Freezing
Storing
Since gluten free and eggless baked goods are best the first day, we want to try to keep these Marshmallow Cupcakes as fresh as possible.
Store extra cupcakes in an airtight container in the fridge for up to 2 days.
When ready to eat, let the cupcake sit on the counter, until it is room temperature and soft.
Or you can warm each cupcake in the microwave for 5-10 seconds. Be careful not to burn your mouth on hot marshmallow, frosting and cake.
Freezing
I do not recommend freezing these cupcakes once assembled. The marshmallow and graham cracker do not defrost well.
Other Marshmallow Recipes You'll Love
Did you try this recipe? Please leave me a ⭐ review below!
Don’t forget to tag me on Instagram @laneandgreyfare and follow along on Pinterest, Facebook and YouTube! Enjoy!!!
📖 Recipe
Marshmallow Cupcakes
Ingredients
For The Cupcakes
- 1.5 cups gluten free flour
- 1 cup granulated sugar
- 4 tablespoons cocoa powder (I use 2 of Dutch cocoa powder and 2 of Dark)
- 1 teaspoon baking soda
- ½ teaspoon kosher salt
- 7 tablespoons vegetable oil
- 1 tablespoon white vinegar
- 1 teaspoon pure vanilla extract
- 1 cup cold water
For The Frosting
- 3.5 cups confectioners' sugar
- 1 cup cocoa powder (I use ½ cup Dutch ½ cup Dark)
- 12 tablespoons unsalted butter or vegan baking stick
- ½ cup water
- 2 teaspoons pure vanilla extract
For The Tops
- 2 sheets graham crackers , crushed
- 6 sheets graham crackers , broken in half to make 12 squares
- 6 marshmallows , regular size
Instructions
For The Cupcakes
- Preheat oven to 350 Fahrenheit and line a regular cupcake pan with paper liners.
- In a large bowl whisk together the gluten free flour, granulated sugar, cocoa powders, baking soda and kosher salt.
- In the dry ingredients, using clean hands, make 3 wells for the wet ingredients to be poured into.
- In one well pour the vegetable oil, in the other well pour the white vinegar and in the last, pour the vanilla.
- Pour the cold water on top of all the ingredients.
- Use a whisk to mix everything together until fully combined. If it gets too thick for the whisk, switch to using a spatula. Do not over mix.
- Use an ice cream scoop to fill the cupcake tins ¾ way to the top. Smooth the tops with a small knife. You should have 12 regular size cupcake tins filled.
- Bake the cupcakes at 350 degrees Fahrenheit for 25 minutes or until the tops of the cupcakes spring back at you when carefully touched.
- Let the cupcakes cool almost completely in the pan before trying to remove them.
For The Frosting
- In the large bowl of an electric mixer or using a hand held mixer, beat the softened butter or vegan baking stick until smooth and creamy. About 2 minutes.
- Add in the vanilla and beat until combined.
- If using two types of cocoa powder, put them in a bowl and whisk to combine. If using one one, skip this step.
- With the mixer on low speed, slowly add in the confectioners’ sugar, the mixed cocoa powders and the water. Beat until combined, creamy and smooth.
For Assembly
- Using a clean thumb, simply push down in the center of the cupcakes but not all the way to the bottom to make the hole.
- Fill a piping bag with frosting. If you don't have a piping bag, fill a zip top bag and snip a corner off.
- Stick the tip of the piping bag down into the hole. Starting at the bottom, squeeze and fill the entire hole all the way to the top. Set the filled cupcakes aside.
- Place 4 sheets of graham crackers into a zip top bag and seal it shut. Crush the grahams with the flat side of a meat mallet or a rolling pin until they have a sand-like consistency. A few tiny chunks are fine.
- Rip your 6 marshmallows in half so that each half has a flat side of the marshmallow. You will have 12 halves.
- Sticking the marshmallow half on a metal skewer or on the end of a metal fork, carefully roast the flat top side of the marshmallow for a second into a flame. Make sure the marshmallow is no longer on fire and then place on a ceramic plate, roasted side up, to cool. If you don't want to roast the marshmallows, skip this step.
- Take out 6 sheets of graham crackers. Break them in half to create 12 graham cracker squares.
For Decorating
- If you have piping bags, pipe the frosting on top of each cupcake.
- If you don’t have piping bags, put a thin layer of frosting on top of each cupcake.
- Pop the cupcakes in the fridge for 5-10 minutes to let that thin layer harden. This is your crumb layer so that when you frost the tops of the cupcakes, the crumbs don't get all over the place. If you have a piping bag, you don’t need the crumb layer or this chilling step.
- Immediately after finishing frosting the cupcakes, add the graham crumbs so they stick to the frosting.
- Gently push half the cooled roasted marshmallow down into the middle of the each cupcake. You want the roasted half to be upright. Make sure it is cool or it will melt your frosting.
- Then push the graham cracker square into the frosting, behind the marshmallow.
- Immediately after pushing in the marshmallow and graham, pop the cupcakes all in the fridge to chill for about 15 minutes.
Ginny says
These are so yummy! The best part of camping without having to camp!
Lee says
SO glad!
John says
Looks so delicious! What a great summery cupcake!