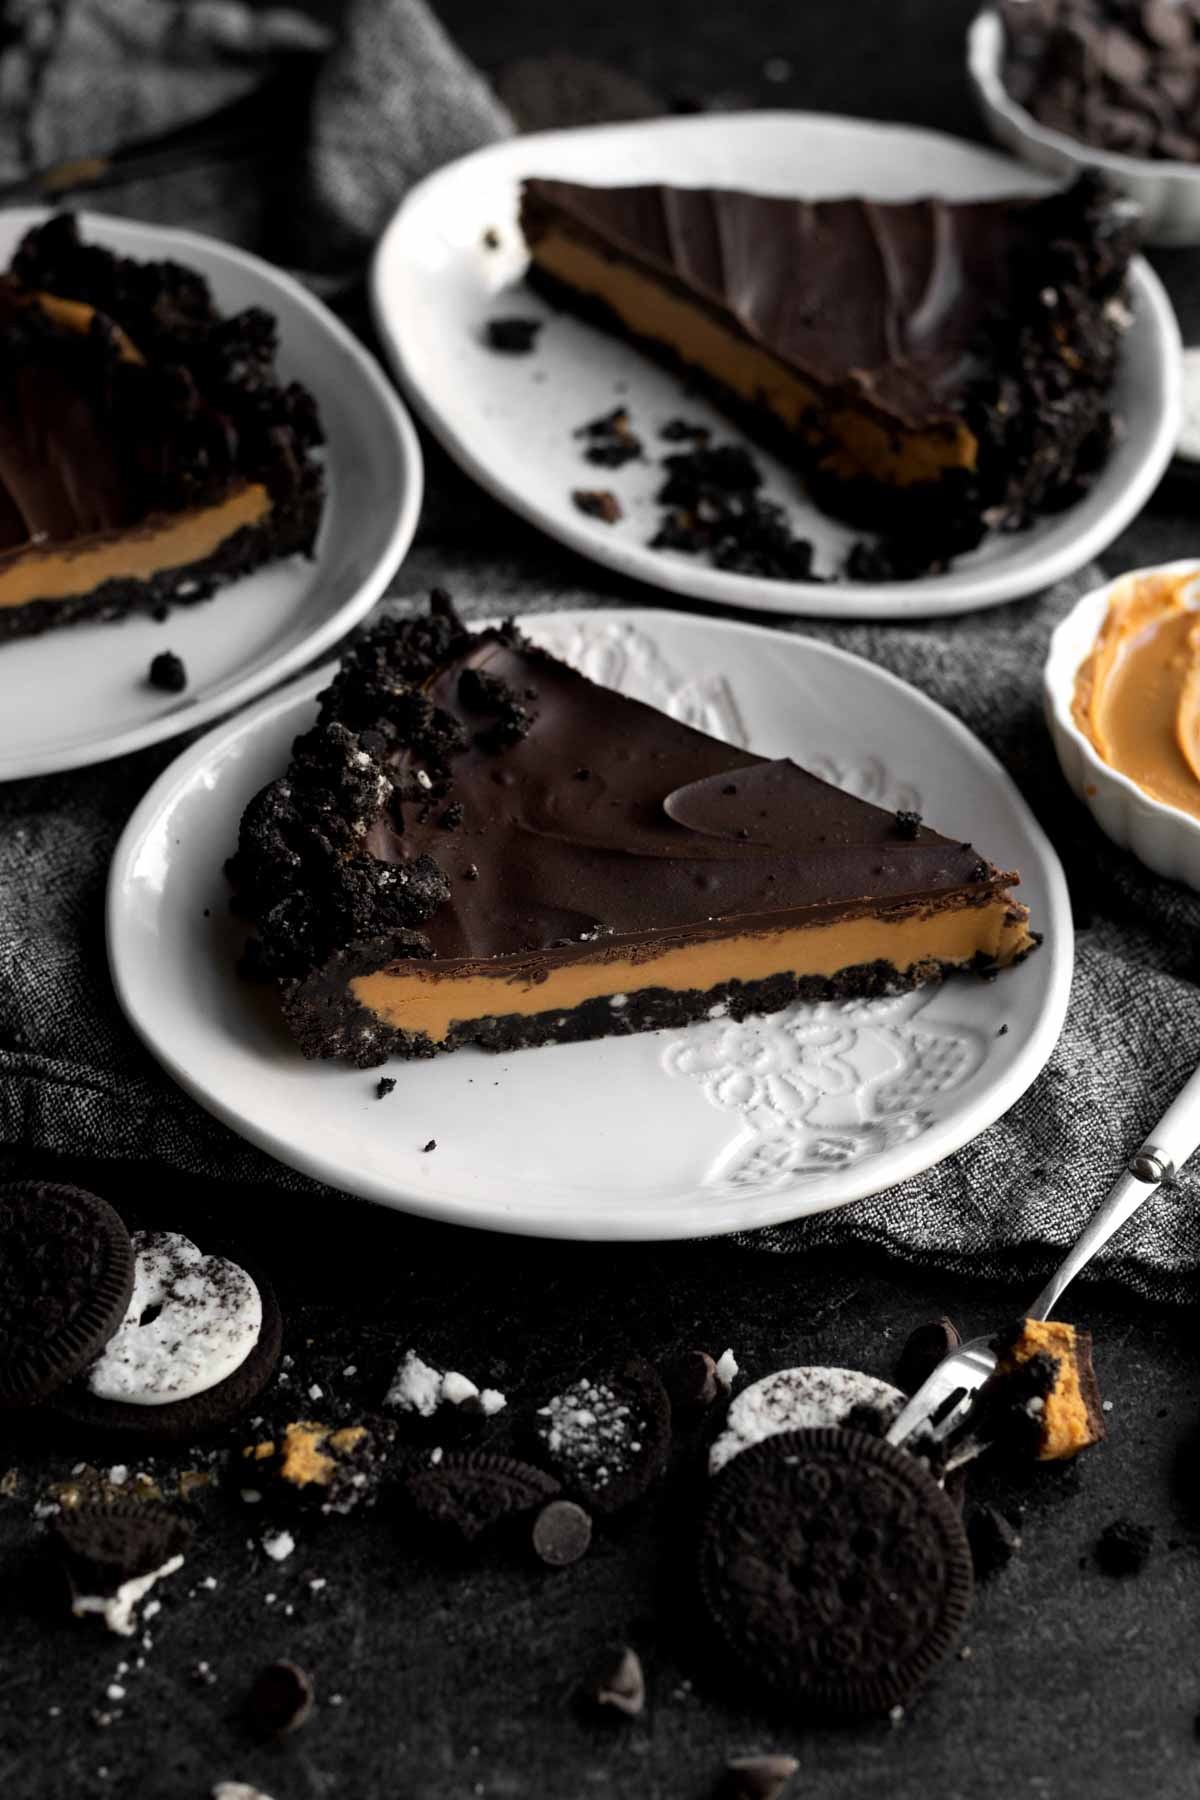
This no bake Wow Butter Chocolate Tart is like a peanut butter tart without nuts of any kind! It’s silky smooth deliciousness in every bite and tastes like a peanut butter cup. Not being able to enjoy nuts does not mean giving up on that flavor. This tart is completely gluten free, nut free, egg free, and can easily be dairy free (vegan).
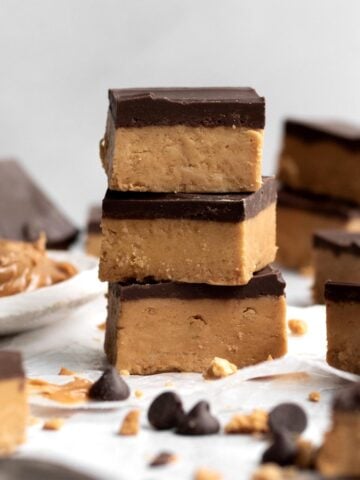
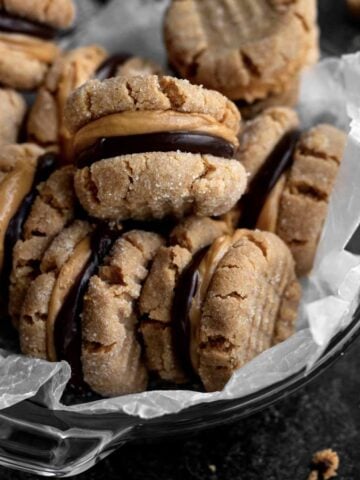
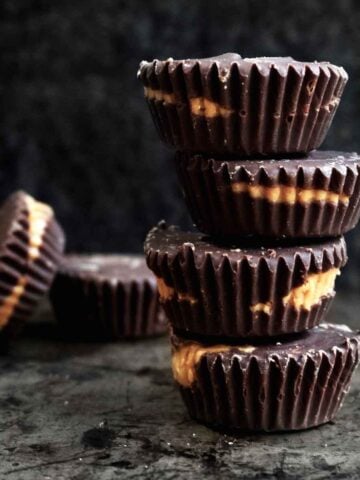
Looking for more nut free butter spread recipes? Check out my Wow Butter Sandwich Cookies and my Dark Chocolate Wow Butter Cookie Bark.
Jump to:
I have to tell you guys. This tart just might be my new favorite dessert.
I am not even kidding right now. It’s seriously incredible.
The original recipe is a peanut butter cup tart from Sally’s Baking Addiction. I’ve adapted it to make it allergy friendly.
Her original recipe calls for a graham cracker crust, which you could of course do with gluten free graham’s.
Being the chocoholic that I am, I decided to use gluten free chocolate sandwich cookies just like in my No-Bake Chocolate Pie and Cookies and Cream Pie...and oh my gosh. Amazing.
Substitutions and Variations
How to Make this Vegan
- Use vegan baking sticks instead of butter.
- Use dairy free chocolate chips.
How to Make with Regular Peanut Butter
- Use equal amounts of creamy peanut butter.
This recipe has not been tested with these substitutions and/or variations due to celiac disease and food allergies. If you change any of the ingredients, please let us know how the recipe turned out in the comments below!
How to Make Wow Butter Chocolate Tart
Here are the step by step instructions to make this tart!
Step 1: Grease the Pan
Grease a 9 inch tart pan with vegetable oil.
For the Crust
Step 1: Crush the Cookies
Place the sandwich cookies in a zip top bag and seal it shut. Crush the cookies with the flat side of a meat mallet or a rolling pin until they have a sand-like consistency.
Step 2: Melt the Butter
In a microwave safe medium bowl, melt the butter or vegan baking stick in 20 seconds increments until completely melted.
Step 3: Stir in the Broken Cookies
Pour the crushed cookies into the melted butter and stir with a spatula to combine.
Step 4: Form the Crust
Pour the mixture into the tart pan and press into the bottom and up the sides. I find using the flat bottom of a measuring cup really works well.
Pop in the fridge uncovered as you make the filling.
For the Filling
Step 1: Cream the Butter
In the large bowl of an electric mixer fitted with the paddle attachment or using a hand held mixer, beat the softened butter or vegan baking stick until smooth and creamy. About 2-3 minutes.
Step 2: Add in the Sugar, Salt and Vanilla
Add the confectioners’ sugar, the vanilla and salt. Beat until combined.
Step 3: Add in the Wow Butter
Scrape the sides of the bowl if needed and add in the wow butter. As I said, wow butter tends to get super thick when beaten so just mix until all the ingredients are combined.
Step 4: Add in the Filling
Use a spatula to scoop the filling into the tart crust. Gently use clean hands to press the filling down and even it out. Set aside.
For the Topping
Step 1: Heat the Chocolate and Wow Butter
In a large microwave safe bowl, heat the chocolate and the wow butter in 12 second increments, stirring after each time, until completely melted. Make sure not to overheat because then the wow butter and chocolate turn into a thick unworkable paste. You want the mixture to be liquid.
Step 2: Pour on the Topping
Once melted, pour it on top of the tart and smooth it out using an icing spatula or the back of a spoon.
Step 3: Chill
Cover with foil and pop in the fridge overnight to solidify.
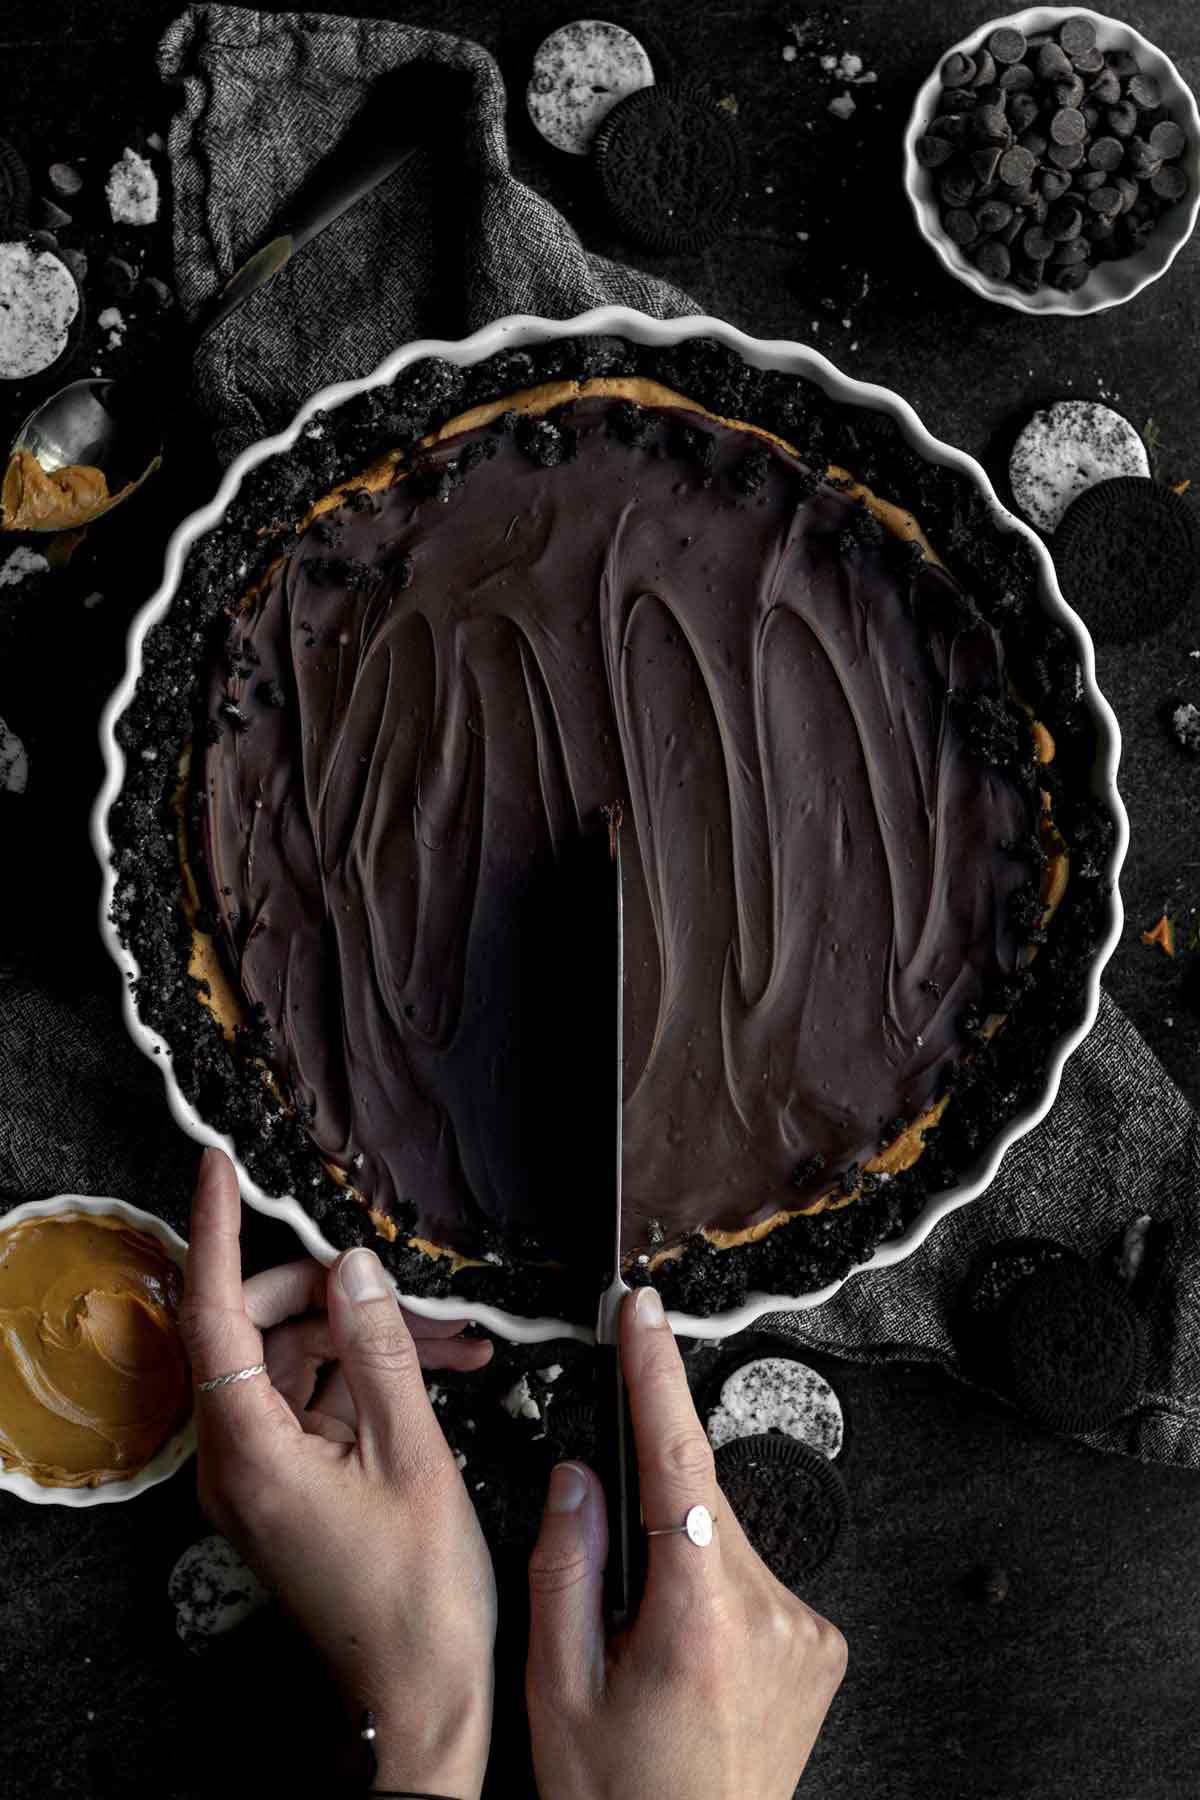
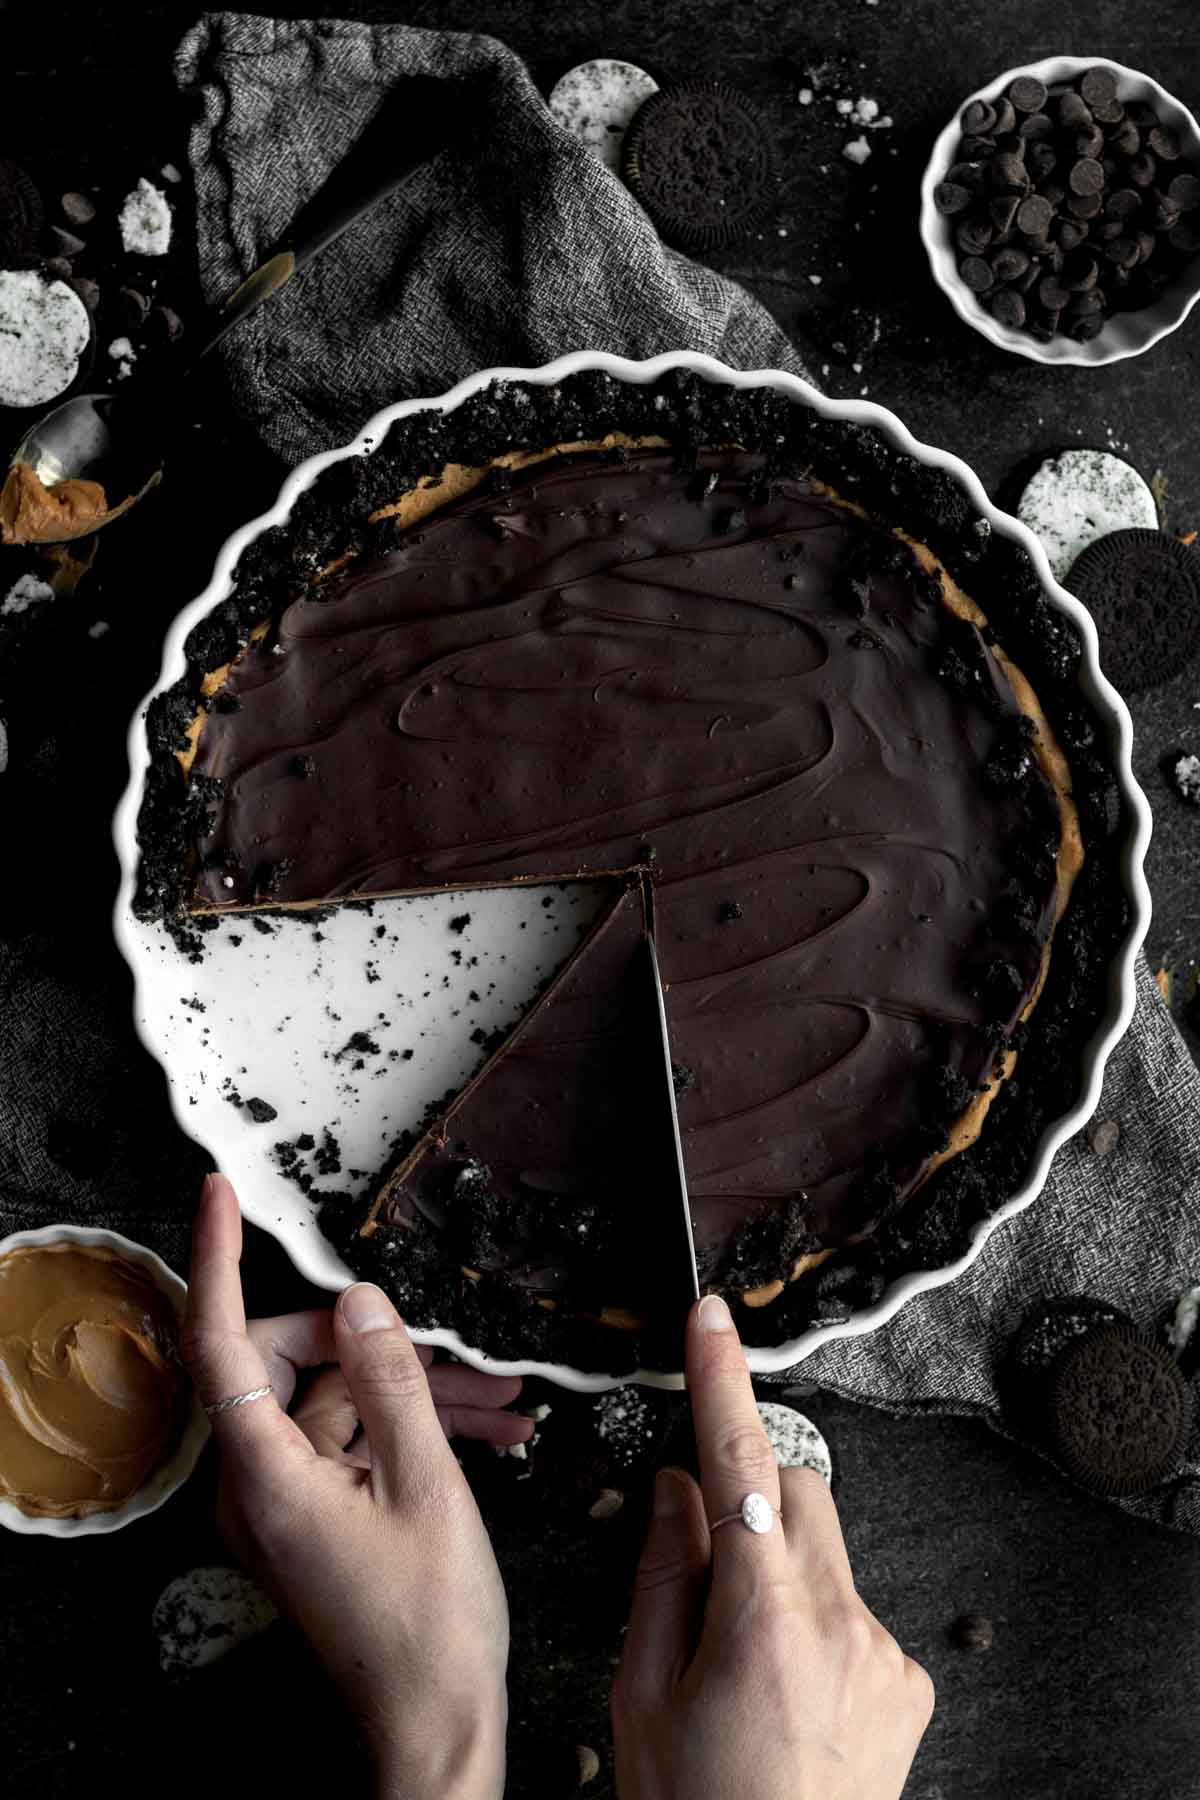
When ready to serve, take it out and let it sit on the counter for about 5 minutes. This makes cutting it easier.
Store leftovers wrapped in the fridge. Enjoy!
This no bake, allergy friendly Wow Butter Chocolate Tart is what dreams are made of. It’s everything you love about a peanut butter tart without any nuts at all! No gluten too, obviously. If you love that peanut butter flavor but can’t have nuts, this is the recipe for you! Enjoy!
Expert Baking Tips
- Crush the chocolate sandwich cookies- Put them all in a zip top bag and use the flat side of a meat mallet or a rolling pin to break the cookies into teeny tiny crumbs.
- Refrigerate the crust- After you mix the crushed cookies with the melted butter or vegan baking stick and form it into your tart pan, refrigerate the crust. Keep the crust in the fridge while you make the wow butter filling.
- Mix the wow butter filling- Beat all the filling ingredients together using an electric mixer or a hand held mixer. Wow butter can get super thick when mixed. Only beat the filling until all the ingredients are just combined.
- Use your hands- Since wow butter tends to be way thicker than peanut butter, the easiest way to spread it into the tart is with your clean hands. Use a spatula to scoop it into the tart pan and gently use clean hands to press it down and even it out. You can try to use a butter knife or spatula but I found hands work best.
- Top with the melted chocolate- Smooth it with an icing spatula or the back of a spoon and pop the tart in the fridge.
- Store extras in the fridge- This ensures the tart stays fresh, not to mention it tastes best cold.
Recipe FAQs
For those of you that don’t know, Wow Butter is a nut free butter spread that is made in a gluten free, tree nut free, peanut free, egg free and dairy free facility.
In addition, it also contains no seeds and is made of soy.
Wow Butter is perfect for my household since my kids have issues will all those items aside from dairy (finally) and soy.
I am lucky enough to have this product in my local grocery store, but you can also buy it on amazon.
Yes! If you don’t have any nut allergies, you can use creamy peanut butter in place of the wow butter.
How
Yes! The tart is already gluten free and egg free. To make the tart vegan, simply use vegan baking sticks instead of butter and dairy free chocolate chips.
Other Wow Butter Recipes You'll Love
Did you try this recipe? Please leave me a ⭐ review below!
Don’t forget to tag me on Instagram @laneandgreyfare and follow along on Pinterest, Facebook and YouTube! Enjoy!!!
📖 Recipe

Wow Butter Chocolate Tart
Ingredients
For the crust:
- 28 gluten free chocolate sandwich cookies crushed
- 6 tablespoons unsalted butter or vegan baking stick
For the filling:
- 6 tablespoons unsalted butter or vegan baking stick softened
- 1 cup confectioners’ sugar
- 1 teaspoon pure vanilla extract
- Pinch of kosher salt
- 1 ¼ cups wow butter
For the topping:
- 6 ounces semi sweet chocolate chips
- 2 tablespoons wow butter
Instructions
- Grease a 9 inch tart pan with vegetable oil.
- For the crust: Place the sandwich cookies in a zip top bag and seal it shut. Crush the cookies with the flat side of a meat mallet or a rolling pin until they have a sand-like consistency.
- In a microwave safe medium bowl, melt the butter or vegan baking stick in 20 seconds increments until completely melted.
- Pour the crushed cookies into the melted butter and stir with a spatula to combine.
- Pour the mixture into the tart pan and press into the bottom and up the sides. I find using the flat bottom of a measuring cup really works well.
- Pop in the fridge uncovered as you make the filling.
- For the filling: In the large bowl of an electric mixer fitted with the paddle attachment or using a hand held mixer, beat the softened butter or vegan baking stick until smooth and creamy. About 2-3 minutes.
- Add the confectioners’ sugar, the vanilla and salt. Beat until combined.
- Scrape the sides of the bowl if needed and add in the wow butter. As I said, wow butter tends to get super thick when beaten so just mix until all the ingredients are combined.
- Use a spatula to scoop the filling into the tart crust. Gently use clean hands to press the filling down and even it out. Set aside.
- Make the topping: In a large microwave safe bowl, heat the chocolate and the wow butter in 12 second increments, stirring after each time, until completely melted. Make sure not to overheat because then the wow butter and chocolate turn into a thick unworkable paste. You want the mixture to be liquid.
- Once melted, pour it on top of the tart and smooth it out using an icing spatula or the back of a spoon.
- Cover with foil and pop in the fridge overnight to solidify.
- When ready to serve, take it out and let it sit on the counter for about 5 minutes. This makes cutting it easier.
- Store leftovers wrapped in the fridge. Enjoy!
Notes
Nutrition
This Wow Butter Chocolate Tart was adapted from Sally's Baking Addiction Peanut Butter Cup Tart.

Yvonne
Hi! I’m not sure what well butter is. Can you make the same recipe with regular peanut butter?
Lee
Hi there! I explain in my blog post what wow butter is. It's a nut free peanut butter alternative for those with nut and seed allergies. If you're not allergic to peanut butter, simply replace the wow butter with a creamy peanut butter. Hope this helps!
john
I was so excited to make this tart based off your pictures!
Karen Merritt
Do you mind sharing the name of the chocolate gluten-free cookies that you used for the pie crust? I can't wait to try this pie!
Thank you,
Karen Merritt
Lee
Hi Karen! Of course! I used Kinnikinnick KinniToos (K-Toos) Sandwich Creme Cookies! They're a favorite in this house! Thanks so much!