These Wow Butter Sandwich Cookies deliver all the delicious flavor of peanut butter and chocolate without any of the worry. These incredible cookies are filled with layers of wow butter and chocolate making them the perfect dessert for those with allergies. In addition, they're gluten free, egg free, nut free and easily dairy free (vegan)!
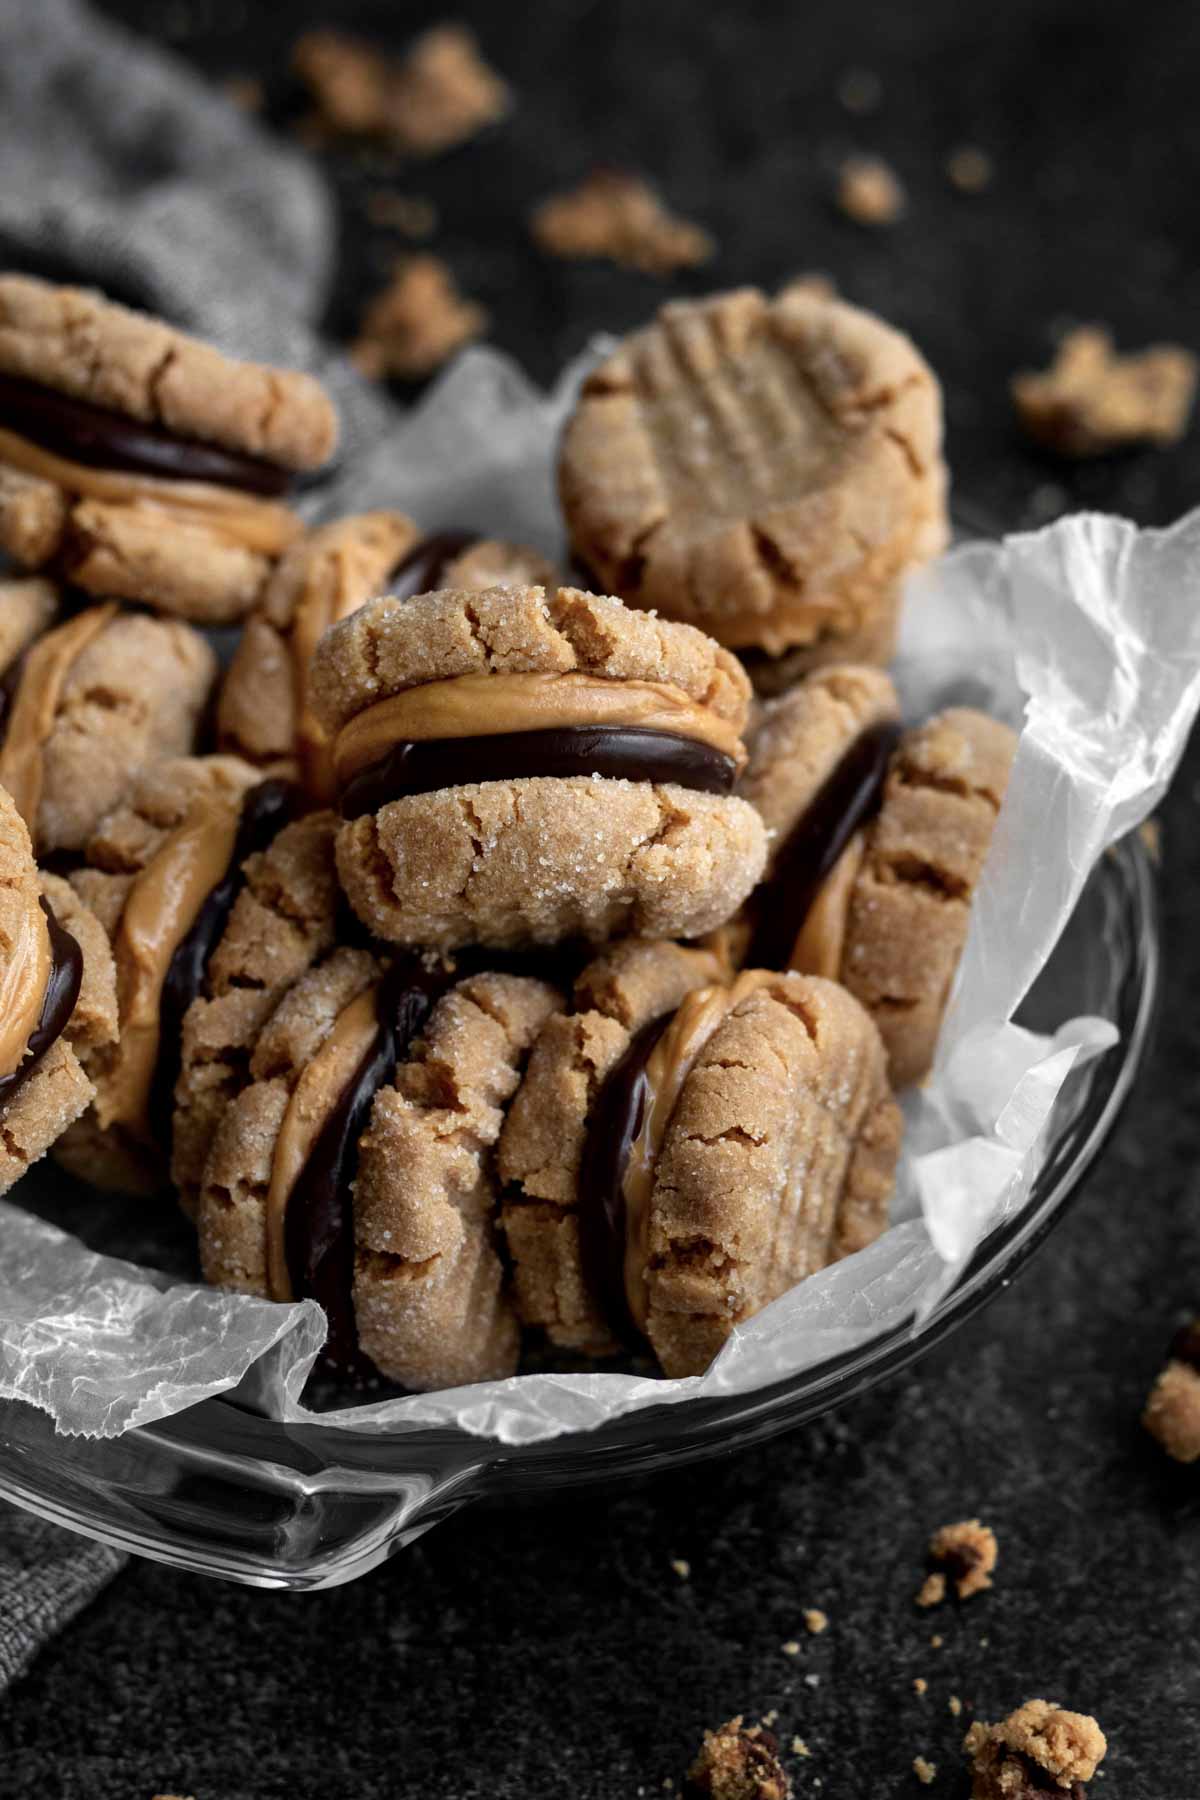
If you love sandwich cookies, check out my Double Chocolate Sandwich Cookies.
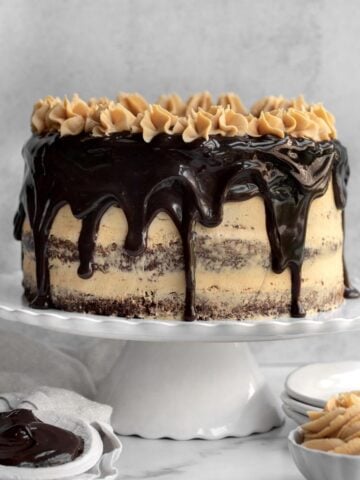
For more Wow Butter recipes try my Gluten Free No Bake Cookies, Wow Butter Cups, Chocolate Wow Butter Cake, my super simple Nut Free Chocolate Spread and my Wow Butter Chocolate Tart.
Jump to:
Reasons to Love these Cookies
- Allergy Friendly- These cookies are gluten free, nut free, egg free and can easily be dairy free (vegan)!
- Peanut Butter Flavor- Tastes exactly like peanut butter without all the worry!
What is Wow Butter?
Again for those of you that don’t know, Wow Butter is a nut free butter spread that is made in a gluten free, tree nut free, peanut free, egg free and dairy free facility.
It also contains no seeds and is made of soy.
It is perfect for my household since my kids have issues will all those items aside from dairy (finally) and soy.
I am lucky enough to have this product in my local grocery store, but you can also buy Wow Butter on amazon.
How to Make Wow Butter Sandwich Cookies
Here are the step by step instructions to make these cookies!
Step 1: Whisk the Dry Ingredients
In a medium bowl, whisk together the gluten free flour and the baking powder. Set aside.
Step 2: Cream the Butter, Sugar and Wow Butter
In a large bowl of an electric mixer or in a large bowl using a hand held mixer, beat together the wow butter, sugar and butter (or vegan baking stick) until smooth. About 2 minutes.
Step 3: Make the Cornstarch Water
In a separate small bowl, using a spoon, mix together the cornstarch and water with a spoon until it is thin and watery. It will be thick and tacky at first.
Step 4: Mix the Wet Ingredients
On low speed, beat the cornstarch water mixture into the wow butter mixture along with the milk of choice.
Step 5: Add in the Dry Ingredients
Gradually add the gluten free flour mixture, beating to combine.
Step 6: Shape the Dough
Once combined, remove the dough from the bowl and shape it into a flat disk.
Step 7: Chill the Dough
Wrap the disk in plastic wrap and refrigerate for at least 30 min.
Step 8: Preheat the Oven
When the dough is almost done chilling, preheat your oven to 350 degrees Fahrenheit.
Step 9: Make the Dough Balls and Roll in Sugar
Take the dough out of the fridge and pinch off about 1 inch and roll into a ball.
Pour the granulated sugar into a small bowl. Drop the 1 inch dough balls, one at a time, into the bowl of granulated sugar and roll until coated.
Step 10: Bake
Place the sugar coated dough balls about 1-2 inches apart on a baking sheet lined with parchment paper.
Bake the cookies for exactly 9 minutes.
Step 11: Flatten the Cookies
As soon as they come out of the oven, you will notice they didn’t flatten much. Take a fork and push down on them and then do the same thing in the other direction so you create a nice checker board pattern on the tops of the cookies. Make sure not to flatten them too too much.
Let the cookies cool completely on the baking sheets before moving them. Since there is no egg, if you try to move them while they’re still warm, they will fall apart.
Make the Wow Butter Filling
Step 12: Beat the Wow Butter Filling Ingredients
Beat the butter, Wow Butter, confectioners' sugar and salt on medium speed until they are super smooth. About 2 minutes.
Step 13: Frost the Bottom of a Cookie
Using a butter knife or small frosting spatula, frost the bottom of one cookie and make sure you pick another cookie to leave next to it so when we’re all done you have enough to assemble the sandwiches.
Do this with half the cookies, making sure to spread it on the bottom of the cookie not the pretty top. The tops will be the outside of our sandwiches.
Let these solidify a few min while we make the chocolate filling.
Step 14: Make the Chocolate Filling
In a medium microwave safe bowl, heat the chocolate chips and the butter or vegan baking stick in 15 second increments, stirring after each time until melted. Do not rush this process because if you overheat the chocolate, it will seize up and basically not be usable.
Step 15: Frost the Other Half of Cookies and Assemble
Once again, using a butter knife or small icing spatula, spread the melted chocolate right on top of the wow butter filling and then place another cookie on top of the wet chocolate, making sure the bottom of the cookie is on top of the chocolate.
You want both bottoms of the cookies to be touching the fillings and the nice tops of the cookies to be on the outside.
Serve and enjoy! Let solidify a bit before storing in an airtight container.
So that’s it guys! The recipe is super straight forward.
These delicious allergy friendly Wow Butter Sandwich Cookies are the perfect combination; peanut-like flavor intertwined with chocolate make these gluten free sandwich cookies ones you’ll crave again and again.
Expert Baking Tips
- Use Packed Cups of Flour- Normally in baking we do not use packed cups however, when working with gluten free, I've found using packed cups works best to help the baked goods keep their shape.
- Chill the Dough- These cookies are simple to make but do need to chill for at least 30 min. If you don’t chill, they will spread everywhere in the oven because they contain no eggs.
- Let the Cookies Cool- Since there is no egg, if you try to move them while they’re still warm, they will fall apart.
- Don't Overheat Chocolate- If you overheat the chocolate, it will seize up and basically not be usable.
Recipe FAQs
Yes! You can use other spreads!
Yes! If you don’t have any nut allergies, you can use creamy peanut butter in place of the wow butter.
Simply replace the wow butter in the recipe for equal amounts of creamy peanut butter and there you have it!
Yes! They’re already gluten free and egg free. To make them vegan, simply replace the milk with a non dairy milk of choice and use vegan baking sticks instead of butter.
Also, keep in mind that some gluten free flour contains dairy. Make sure to use a dairy free gluten free flour to ensure they’re vegan.
Other Wow Butter Recipes You'll Love
Did you try this recipe? Please leave me a ⭐ review below!
Don’t forget to tag me on Instagram @laneandgreyfare and follow along on Pinterest, Facebook and YouTube! Enjoy!!!
📖 Recipe

Wow Butter Sandwich Cookies
Ingredients
For the cookies:
- 1.5 cups of wow butter
- 1 cup packed light brown sugar
- ½ cup 1 stick softened unsalted butter or vegan baking stick
- 2 heaping tablespoons of cornstarch mixed with 3 tablespoons of water
- 1.5 cups gluten free flour
- 1 teaspoon baking powder
- ¼ cup milk of choice use a nut free milk to keep this recipe nut free and dairy free for vegan
- ⅓ cup granulated sugar for rolling more if needed
For the wow butter filling:
- ½ stick unsalted butter or vegan baking stick softened
- ¾ cup room temperature wow butter
- ¼ cup confectioners’ sugar
- ½ teaspoon kosher salt
For the chocolate filling:
- 1 cup semi sweet chocolate chips
- 4 tablespoons unsalted butter or vegan baking stick
Instructions
- In a medium bowl, whisk together the gluten free flour and the baking powder. Set aside.
- In a large bowl of an electric mixer or in a large bowl using a hand held mixer, beat together the wow butter, sugar and butter (or vegan baking stick) until smooth. About 2 minutes.
- In a separate small bowl, using a spoon, mix together the cornstarch and water with a spoon until it is thin and watery. It will be thick and tacky at first.
- On low speed, beat the cornstarch water mixture into the wow butter mixture along with the milk of choice.
- Gradually add the gluten free flour mixture, beating to combine.
- Once combined, remove the dough from the bowl and shape it into a flat disk.
- Wrap the disk in plastic wrap and refrigerate for at least 30 min.
- When the dough is almost done chilling, preheat your oven to 350 degrees Fahrenheit.
- Take the dough out of the fridge and pinch off about 1 inch and roll into a ball.
- Pour the granulated sugar into a small bowl. Drop the 1 inch dough balls, one at a time, into the bowl of granulated sugar and roll until coated.
- Place the sugar coated dough balls about 1-2 inches apart on a baking sheet lined with parchment paper.
- Bake the cookies for exactly 9 minutes.
- As soon as they come out of the oven, you will notice they didn’t flatten much. Take a fork and push down on them and then do the same thing in the other direction so you create a nice checker board pattern on the tops of the cookies. Make sure not to flatten them too too much.
- Let the cookies cool completely on the baking sheets before moving them. Since there is no egg, if you try to move them while they’re still warm, they will fall apart.
- Now for the wow butter filling: Beat all the wow butter filling ingredients on medium speed until they are super smooth. About 2 minutes.
- Using a butter knife or small frosting spatula, frost the bottom of one cookie and make sure you pick another cookie to leave next to it so when we’re all done you have enough to assemble the sandwiches.
- Do this with half the cookies, making sure to spread it on the bottom of the cookie not the pretty top. The tops will be the outside of our sandwiches.
- Let these solidify a few min while we make the chocolate filling: In a medium microwave safe bowl, heat the chocolate chips and the butter or vegan baking stick in 15 second increments, stirring after each time until melted. Do not rush this process because if you overheat the chocolate, it will seize up and basically not be usable.
- Once again, using a butter knife or small icing spatula, spread the melted chocolate right on top of the wow butter filling and then place another cookie on top of the wet chocolate, making sure the bottom of the cookie is on top of the chocolate. You want both bottoms of the cookies to be touching the fillings and the nice tops of the cookies to be on the outside.
- Serve and enjoy! Let solidify a bit before storing in an airtight container.
Nutrition
Recipe adapted from Martha Stewart's Easy Peanut Butter Cookies Recipe.




Makynna High
I made these the other day and *chefs kiss- they were amazing. I gave some to my neighbors too and they were amazed how good they were. They came out absolutely perfect!!
john
These cookies are better than Nutterbutters!