This no-bake Cookies and Cream Pie is 3 layers of deliciousness. It starts off with a chocolate sandwich cookie base, it’s then filled with a cheesecake center that has more chocolate sandwich cookies mixed in. Finally, it’s topped with a layer of chocolate. The best part is it’s gluten free, nut free, egg free and can easily be dairy free (vegan)!
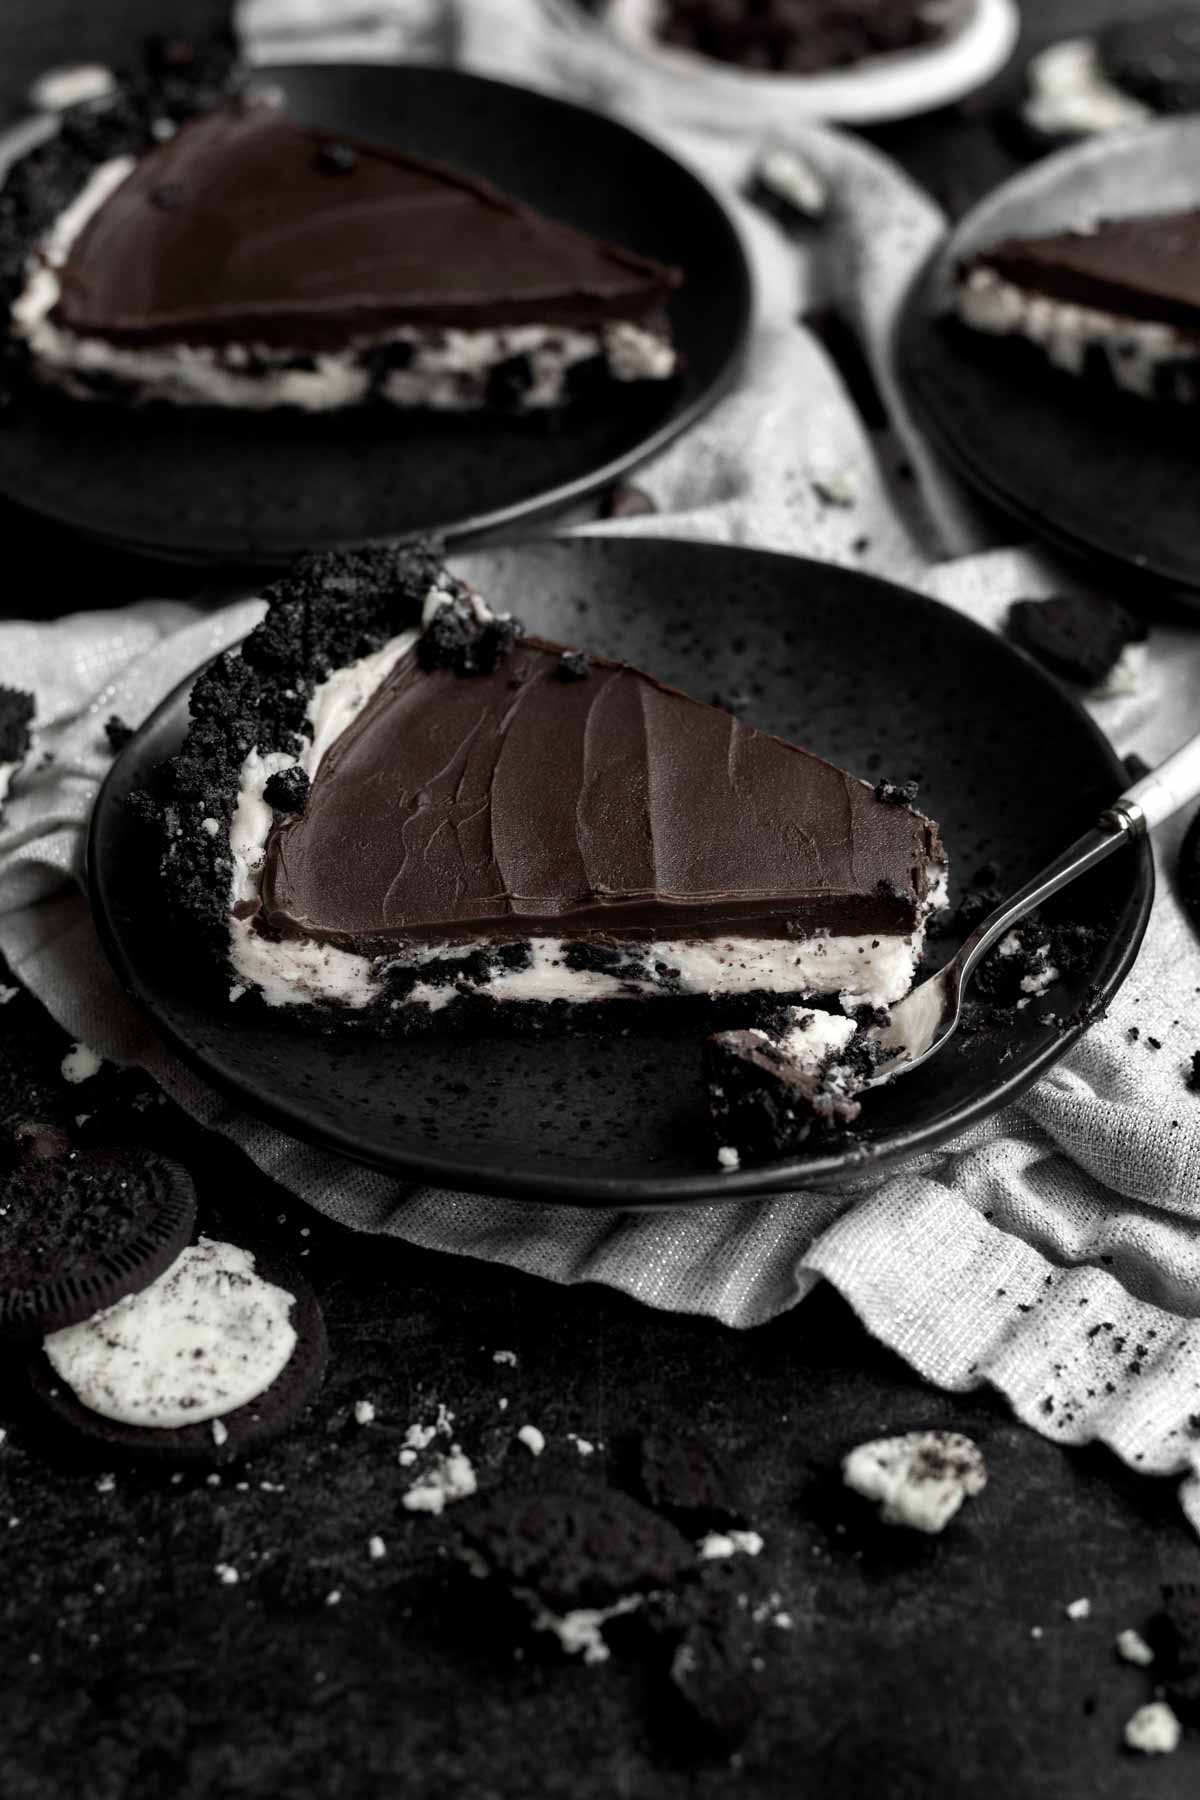
This Cookies and Cream Pie is oreo heaven! If you loved my oreo dip, this no-bake oreo pie is the easy recipe for you! Just like in my No-Bake Chocolate Pie, this beauty takes less than 30 minutes to whip up (minus chill time) and will be devoured in even less time!
For more cookies and cream recipes, try my Cookies and Cream Cupcakes, Cookies and Cream Homemade Ice Cream, Cookies and Cream Cookies and my Cookies and Cream Cake.
Reasons to Love this Cookies and Cream Pie
- Allergy Friendly- This pie is gluten free, nut free, egg free and can easily be dairy free (vegan)!
- No Bake- This recipe is perfect when days when you don't want to turn on the oven!
- Chocolate- The "oreo" pie is topped with melted chocolate and has a chocolate cookie crust!
- Cream Cheese Filling- I love the sweetness and the slight tang that the cream cheese gives just like in my Pumpkin Bread with Cream Cheese Frosting.
Ingredient Notes
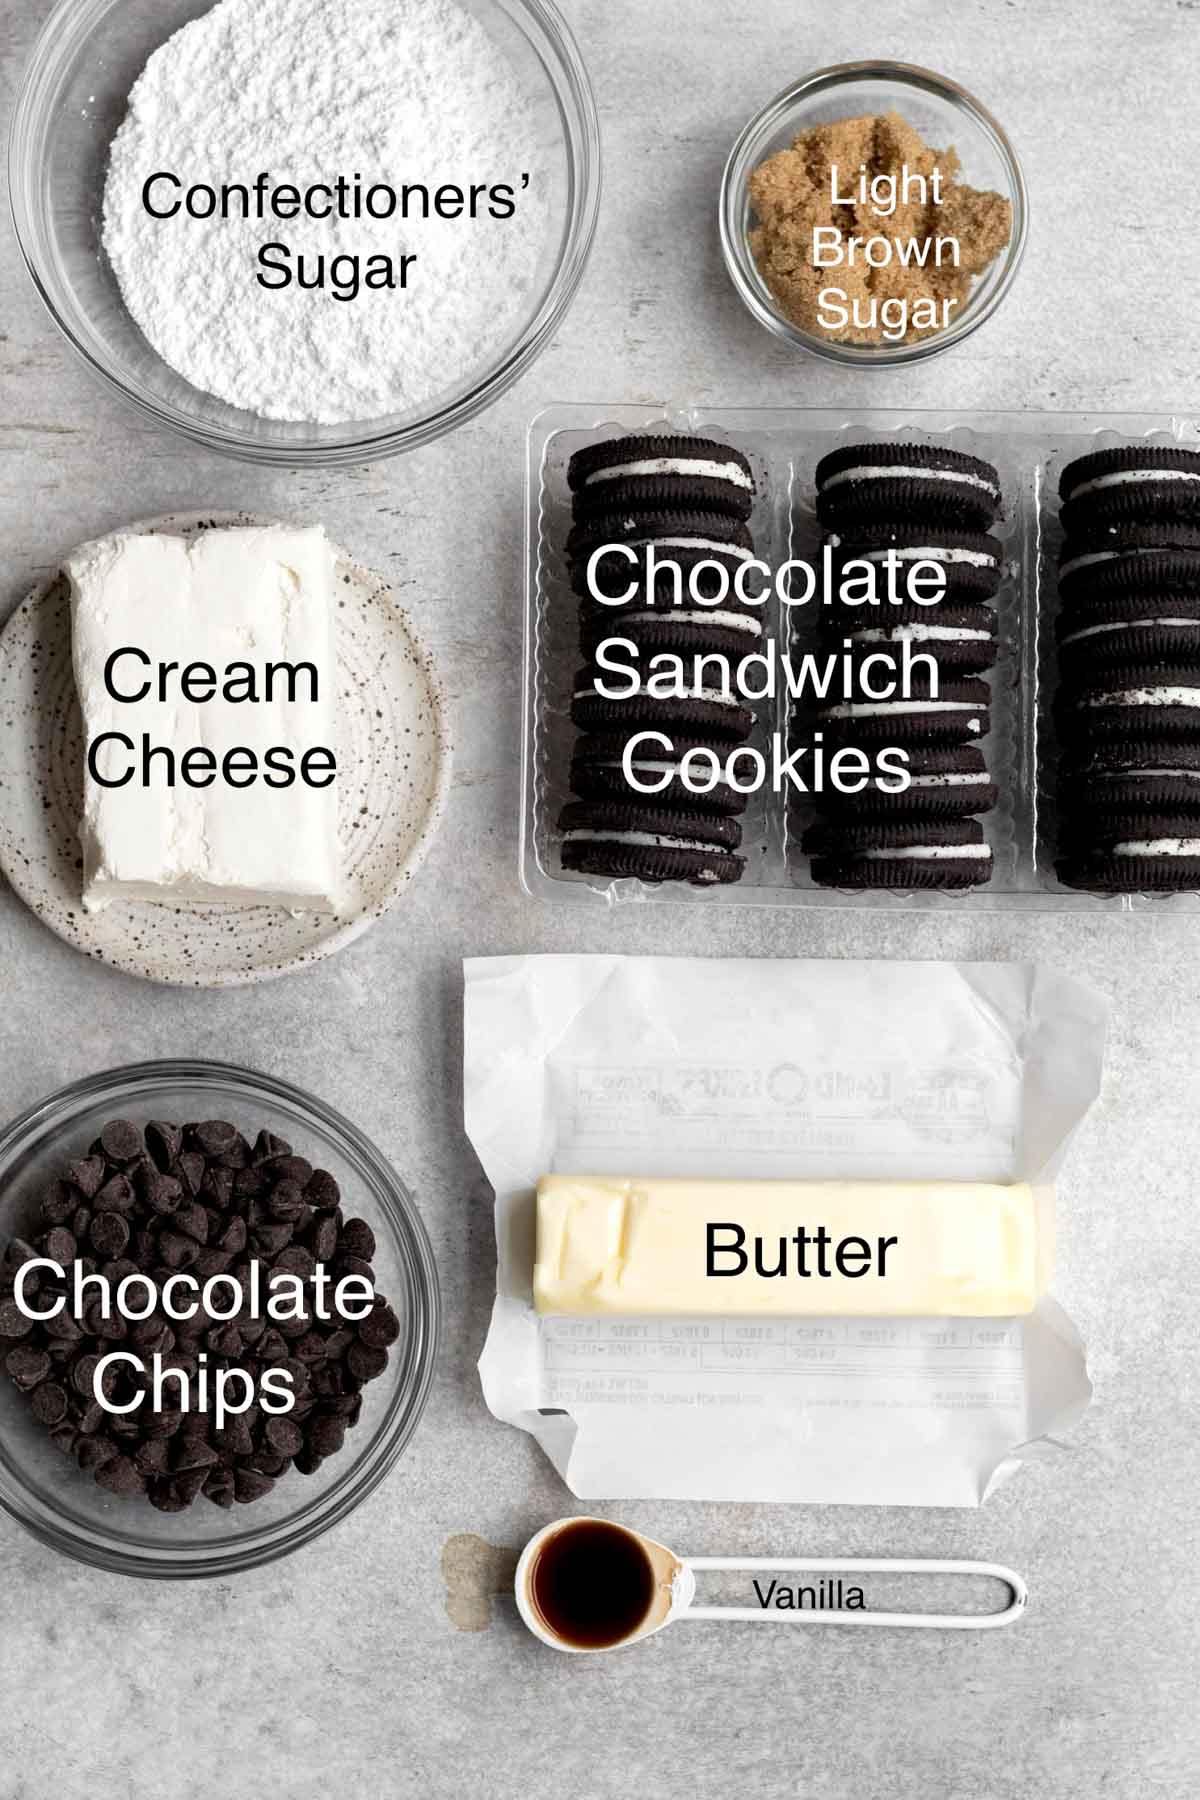
- Chocolate Chips- I used semi sweet allergy friendly ones.
- Butter or Vegan Baking Stick- We use melted to mix with the cookie crumbs to create the no-bake pie crust.
- Confectioners' Sugar- To make the pie filling light and sweet.
- Chocolate Sandwich Cookies- I used gluten free/nut free/vegan chocolate sandwich cookies. Feel free to use gluten free oreos if you prefer.
- Cream Cheese- To make vegan, use a dairy-free cream cheese.
See my recipe card below for a complete list of the ingredients with measurements.
Substitutions and Variations
How to Make this into a Vegan Pie
- Only use gluten free/nut free/vegan chocolate sandwich cookies.
- Use vegan baking sticks instead of butter.
- Read the label on your chocolate chips to ensure they’re gluten free, nut free and vegan.
- Make sure to use a vegan cream cheese.
This recipe has not been tested with some of these substitutions and/or variations due to celiac disease and food allergies. If you change any of the ingredients, please let us know how the recipe turned out in the comments below!
How to Make Cookies and Cream Pie
Here are the step by step instructions to make this oreo pie recipe!

Step 1: Melt the Butter
In a microwave safe medium bowl, melt the butter in 20 seconds increments until completely melted.

Step 2: Crush the Cookies
Place 28 of the sandwich cookies in a zip top bag and seal it shut.
Crush the cookies with the flat side of a meat mallet or a rolling pin until they have a sand-like consistency.
Step 3: Combine Ingredients and Shape the Crust
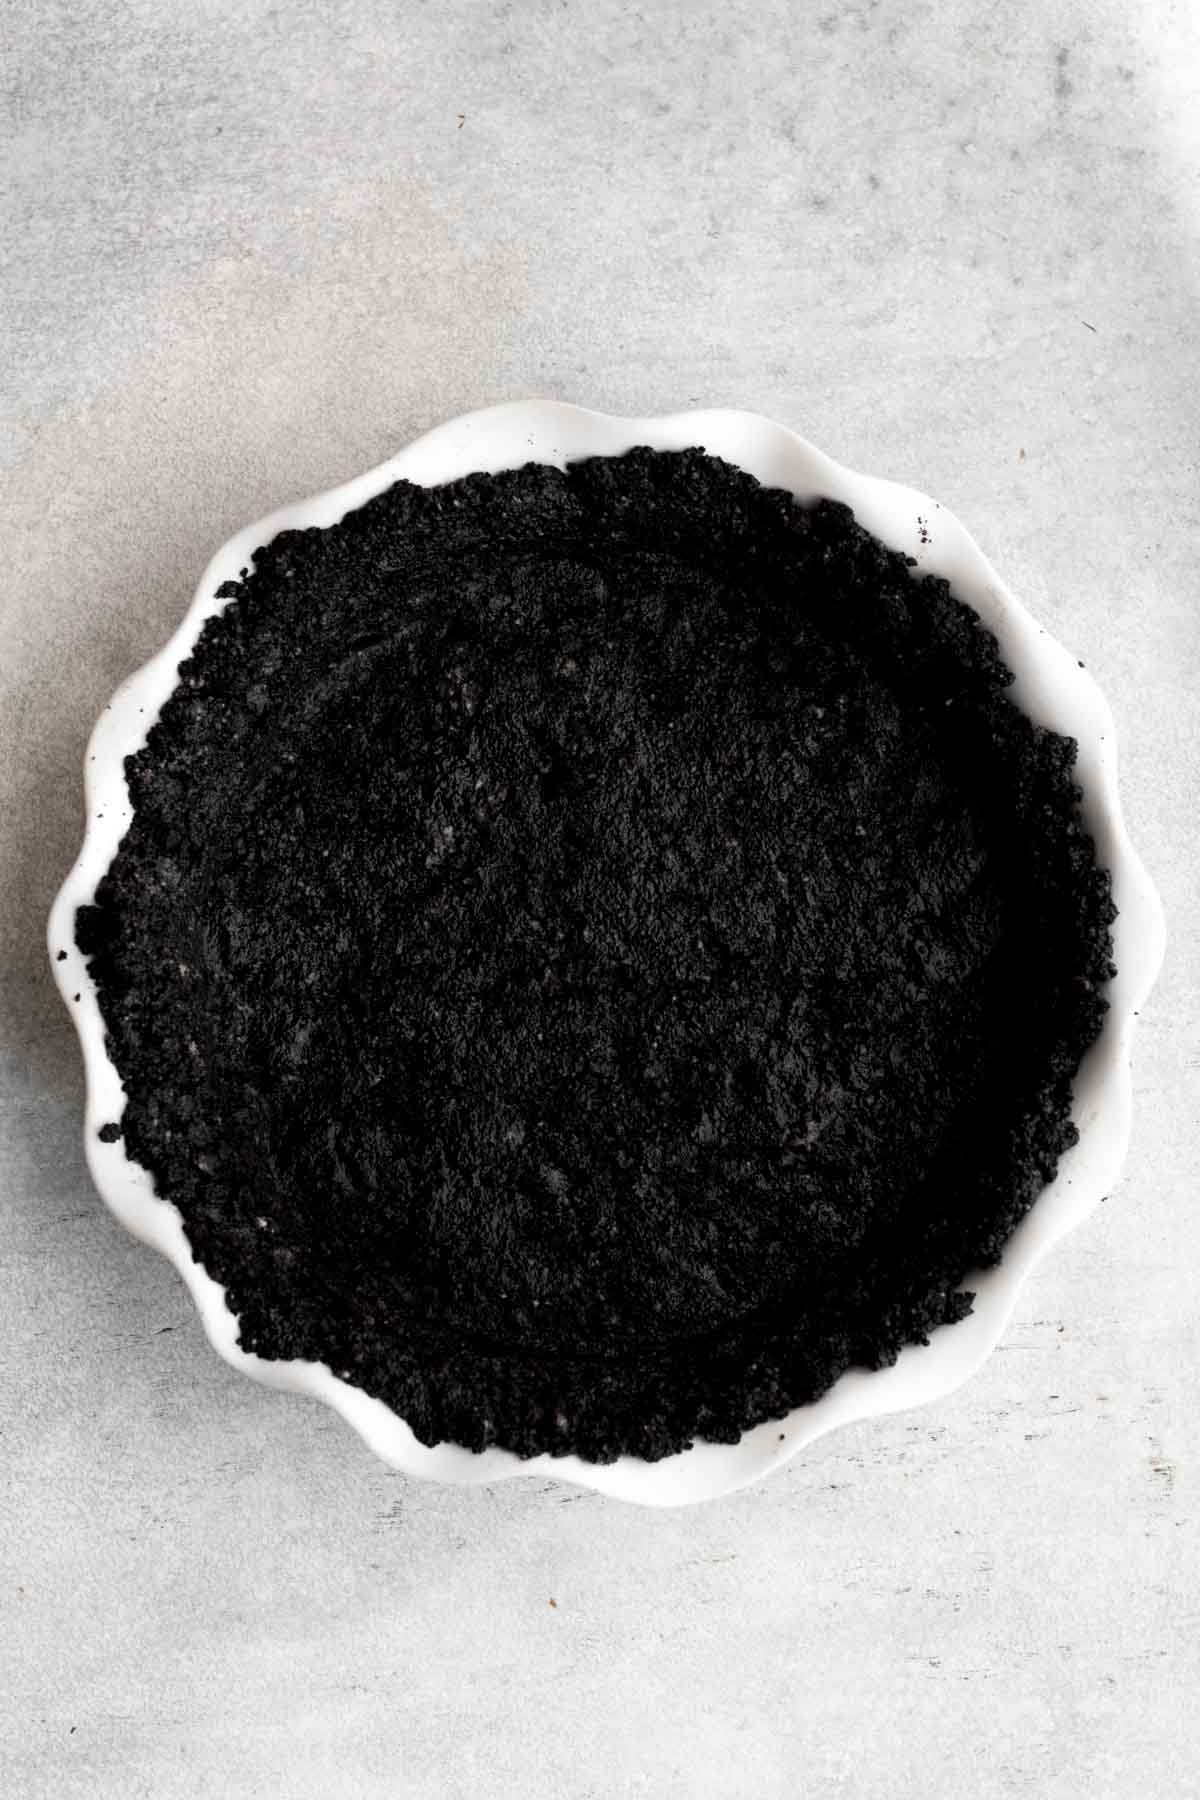
Pour the crushed cookies into the melted butter and stir with a spatula to combine.
Pour the mixture into the lightly greased 9 inch pie dish and press into the bottom and up the sides. I find using the flat bottom of a measuring cup really works well. Pop in the fridge while you make the filling.

Step 4: Make the Filling
Beat the cream cheese and butter until smooth and combined. About 2 minutes.
Slowly, beat in the confectioners’ sugar, light brown sugar and the vanilla until combined.
Break 6 cookies into chunks and using a spatula, gently fold them into the cream cheese mixture.
Scoop the filling into the cookie crust and use an icing spatula to smooth it out.

Step 5: Melt the Butter and Chocolate
In a large microwave safe bowl, heat the chocolate chips and the butter in 15 second increments, stirring after each time, until completely melted.

Step 6: Add the Vanilla and Pour in Pie Dish and Chill
Once the chocolate is melted, whisk in the vanilla.
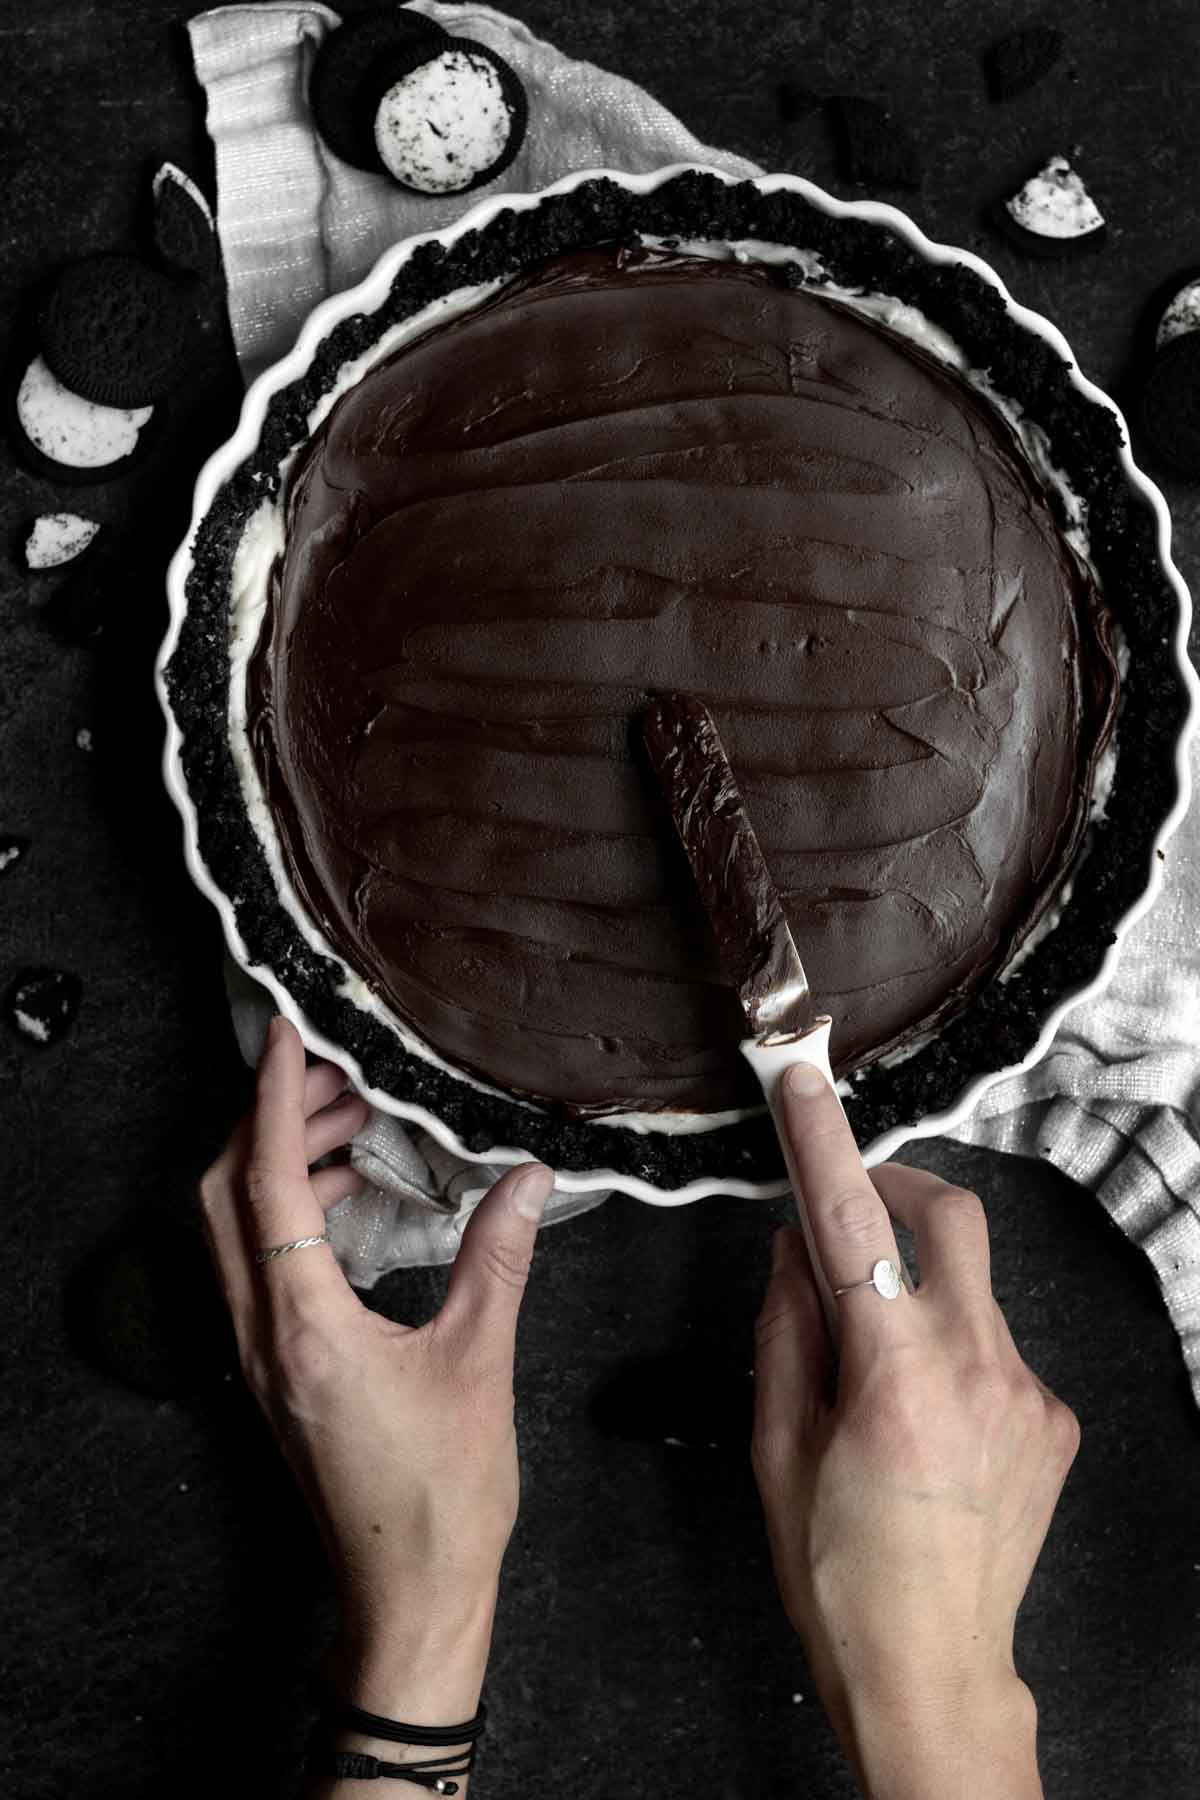
Pour the chocolate on top of the filling and smooth it out using an icing spatula or the back of a spoon.
Refrigerate the pie overnight or for at least 6 hours.
Expert Tips
- Crushing the Cookies for the Crust- The easiest way to crush them neatly is by putting them all in a zip top bag. Then crush into a sand-like consistency using the flat side of a meat mallet or a rolling pin. No need to remove the cream. Pop the entire whole cookies into the zip top bag to crush.
- Break the Cookies for the Filling- Use your hands to break the cookies for the filling. You want chunks not little crumbs or it will turn the filling grey.
- Melt the Chocolate and Butter, Slowly- If you rush this process and try to even heat the chocolate in 20 second increments (instead of 15 second increments), you can overheat the chocolate. If that happens it will seize up and basically not be usable.
- Chill the Filling- You must chill the pie for at least 6 hours. I prefer overnight. The filling is a whipped cream based filling so it needs time to solidify. It's always going to be soft but if you don't chill it overnight, it will be a liquid mess.
Recipe FAQs
Yes! It is best make the pie the night before as it needs at least 6 hours to chill.
Yes! If you're not gluten free, feel free to use regular oreos or whatever cookies you desire.
Keep any extra pie slices in an airtight container in the fridge for up to two days. Or keep the slices in the pie dish and cover it with aluminum foil in the fridge.
I do not recommend freezing this pie.

More Pie and Tart Recipes You'll Love
Did you try this recipe? Please leave me a ⭐ review below!
Don’t forget to tag me on Instagram @laneandgreyfare and follow along on Pinterest, Facebook and YouTube! Enjoy!!!
📖 Recipe

Cookies and Cream Pie
Ingredients
For the "Oreo" Crust
- 28 gluten free chocolate sandwich cookies , crushed
- 6 tablespoons unsalted butter or vegan baking stick, melted
For the Cookies and Cream Filling
- 8 ounces cream cheese , room temperature
- ½ cup unsalted butter or vegan baking stick, room temperature
- ¾ cup confectioners’ sugar
- 2 tablespoons light brown sugar , packed
- 1 teaspoon pure vanilla extract
- 6 gluten free chocolate sandwich cookies , broken into small chunks
For the Ganache Topping
- 8 ounces semi sweet chocolate chips
- 5 tablespoons unsalted butter or vegan baking stick
- 1 teaspoon pure vanilla extract
Instructions
For the Crust
- Grease a 9 inch tart pan with vegetable oil.
- Place 28 chocolate sandwich cookies in a zip top bag and seal it shut. Crush the cookies with the flat side of a meat mallet or a rolling pin until they have a sand-like consistency.
- In a microwave safe medium bowl, melt the 6 tablespoons of butter in 20 second increments until completely melted.
- Pour the crushed cookies into the melted butter and stir with a spatula to combine.
- Pour the mixture into the greased tart pan and press into the bottom and up the sides. I find using the flat bottom of a measuring cup really works well.
- Pop the crust in the fridge uncovered as you make the filling.
For the Filling
- In a large bowl of an electric mixer or using a large bowl with a hand held mixer, beat the 8 ounces of cream cheese and ½ cup unsalted butter until smooth and combined. About 2 minutes.
- Slowly, beat in the ¾ cup confectioners’ sugar, 2 tablespoons light brown sugar and the 1 teaspoon pure vanilla extract. Beat again until everything is combined. Turn the mixer off.
- Using clean hands, break 6 chocolate sandwich cookies into chunks.Using a spatula, fold in the chocolate sandwich cookie chunks until just combined.Do not over mix or the filling will turn grey.
- Scoop the filling into the cookie crust and use an icing spatula to smooth it out.
For the Topping
- In a large microwave safe bowl, heat the 8 ounces of chocolate chips and the 5 tablespoons unsalted butter in 15 second increments, stirring after each time, until completely melted. Make sure not to overheat because then the chocolate seizes up and turns into an unworkable paste. You want the mixture to be liquid.
- Once melted, whisk in the 1 teaspoon pure vanilla extract.Pour the mixture on top of the tart and smooth it out using an icing spatula or the back of a spoon.
- Cover loosely with foil and pop in the fridge for at least 6 hours or overnight. The filling needs to set.
- When ready to serve, take it out and let it sit on the counter for about 5 minutes. This makes cutting it easier.






Wendy CAMPBELL says
Omg this looks freakin DELISH!! Me running to the kitchen stoked now bc I bought GF Oreos last night
Valerie Taylor Shannon says
This is the very first recipe of yours that I made. I have been baking from your site ever since...everything has been wonderful. I haven't had anything flop ever!
Lee says
SO so kind! Thank you so much!
Jack says
I've been looking for something like this! What a tasty treat!
Lee says
Thanks so much!
John says
What a fun recipe! I can't wait to try to make this!
Lee says
So kind thank you!