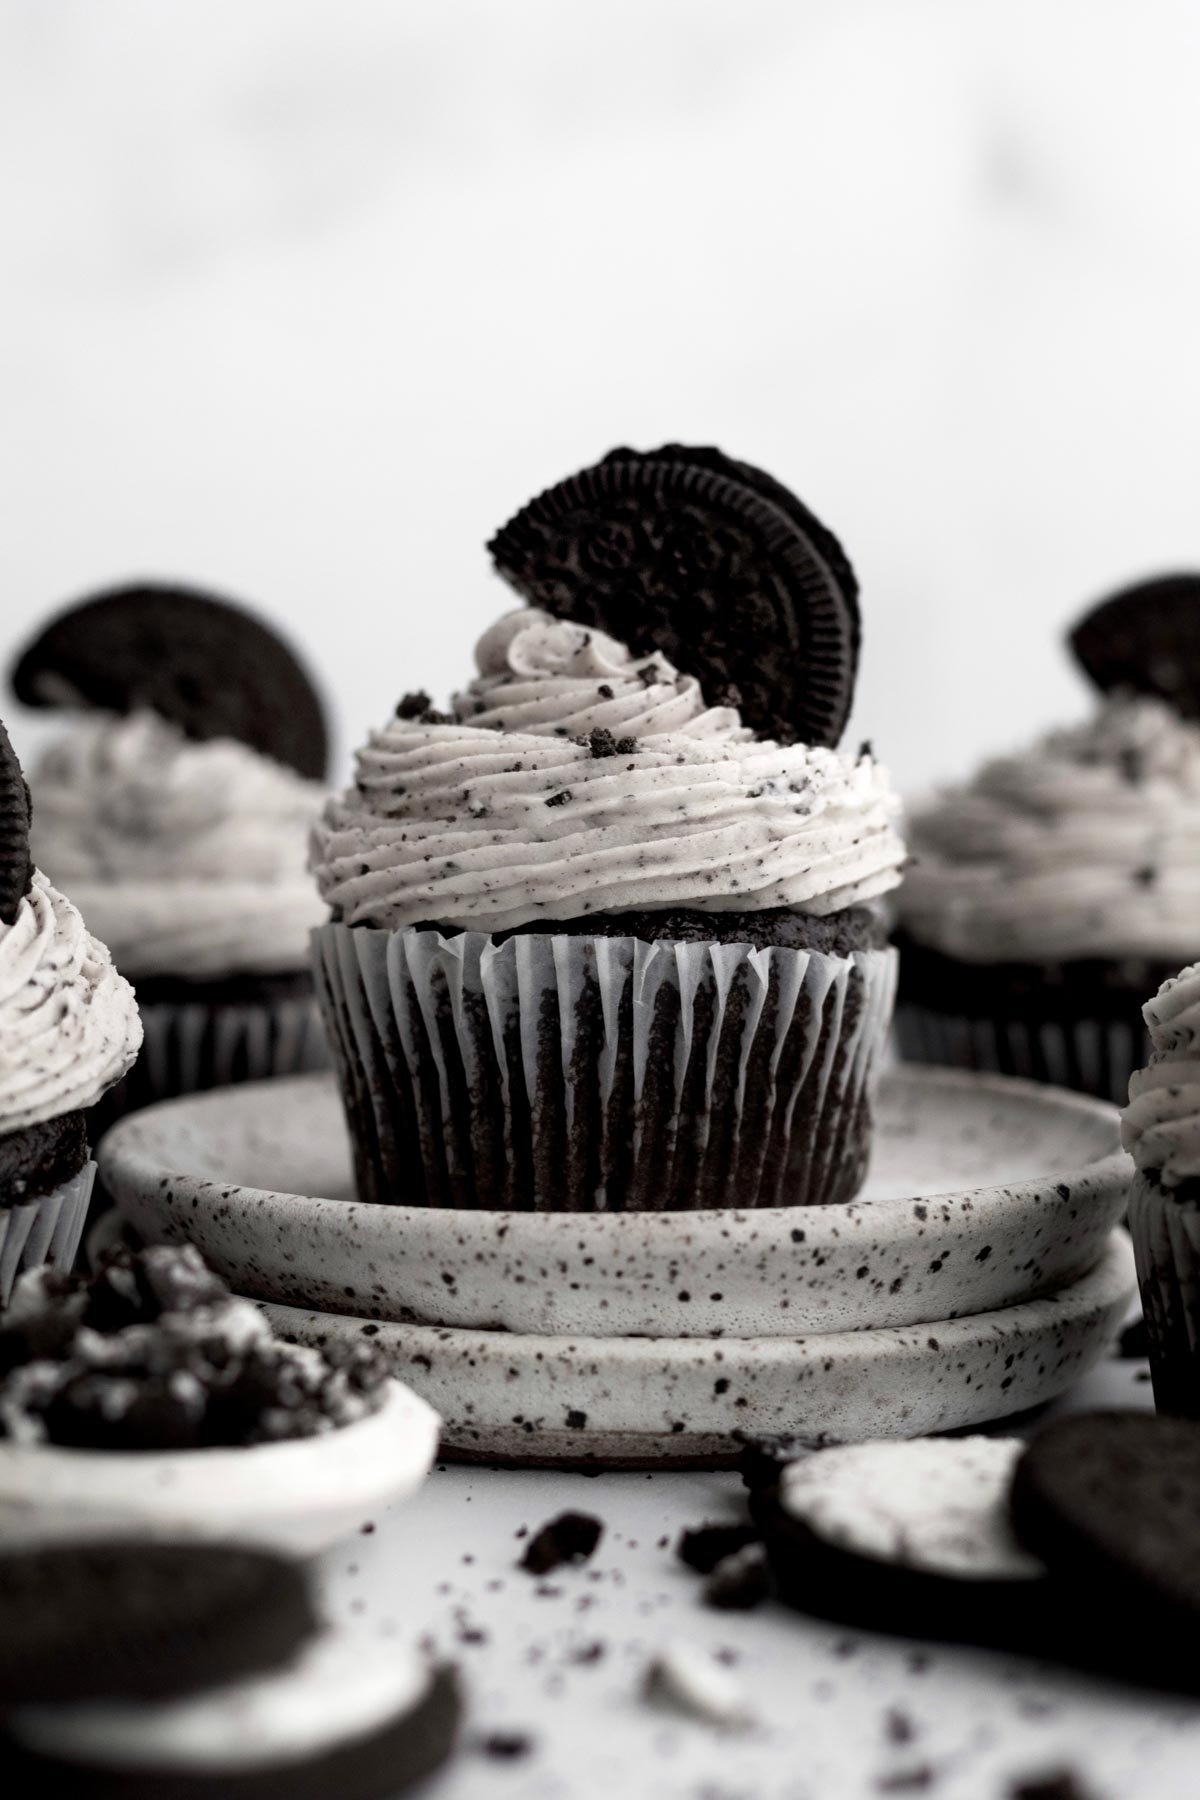
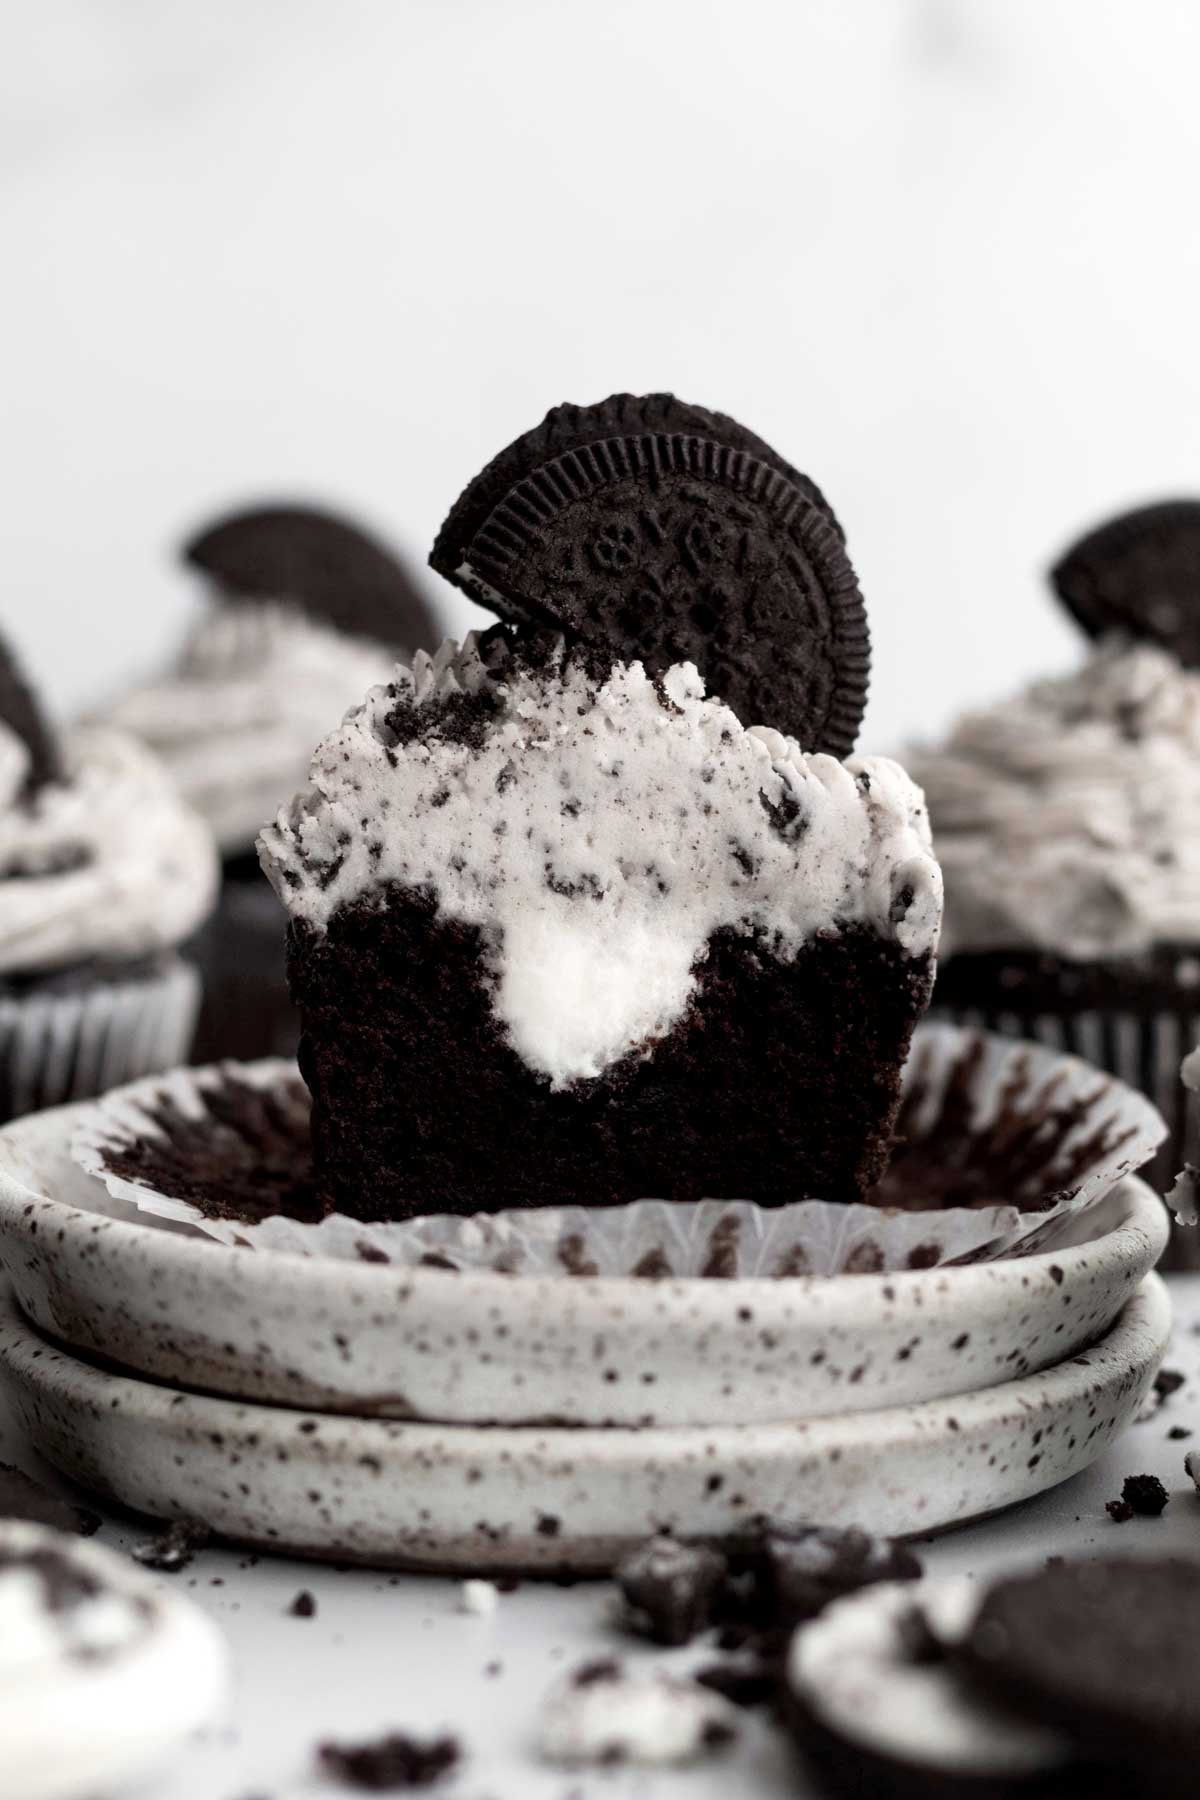
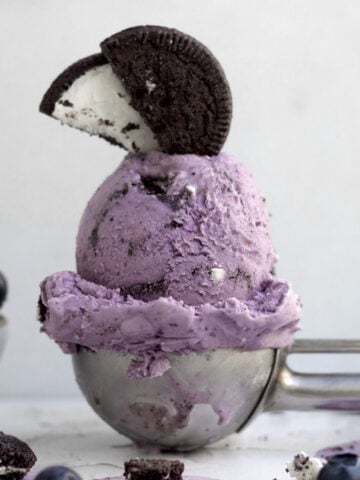
These Cookies and Cream Cupcakes are soft gluten free chocolate cupcakes that are mixed with cookie crumbs and filled with a fluffy vanilla buttercream! They're then topped with "oreo" frosting, "oreo" crumbs and half a gluten free chocolate sandwich cookie! This "oreo" cupcakes recipe is a must try for all you cookies and cream lovers out there! Best yet, they're also eggless, nut free and can easily be vegan!
These Cookies and Cream Cupcakes are decadent and sweet, fluffy and creamy...all the greatest things rolled into one! The cookies and cream buttercream is so delish, you'll want to eat it by the spoonful! The dark chocolate cupcakes get their color from two types of cocoa powder and from cookie crumbs in the batter itself! Oreo lovers...this recipe is for you! If not an Oreo lover, no worries! Check out my Chocolate Cupcakes with Vanilla Frosting instead!
For more cookies and cream recipes, try my Chocolate Cookies and Cream Cookies, my Cookies and Cream Cake, my Cookies and Cream Cookies, my Cookies and Cream Brownies, and my Cookies and Cream Pie.
Reasons to Love These "Oreo" Cupcakes
- Allergy Friendly- These cupcakes are gluten free, nut free, egg free and can easily be dairy free (vegan) just like my Chocolate Chip Cupcakes!
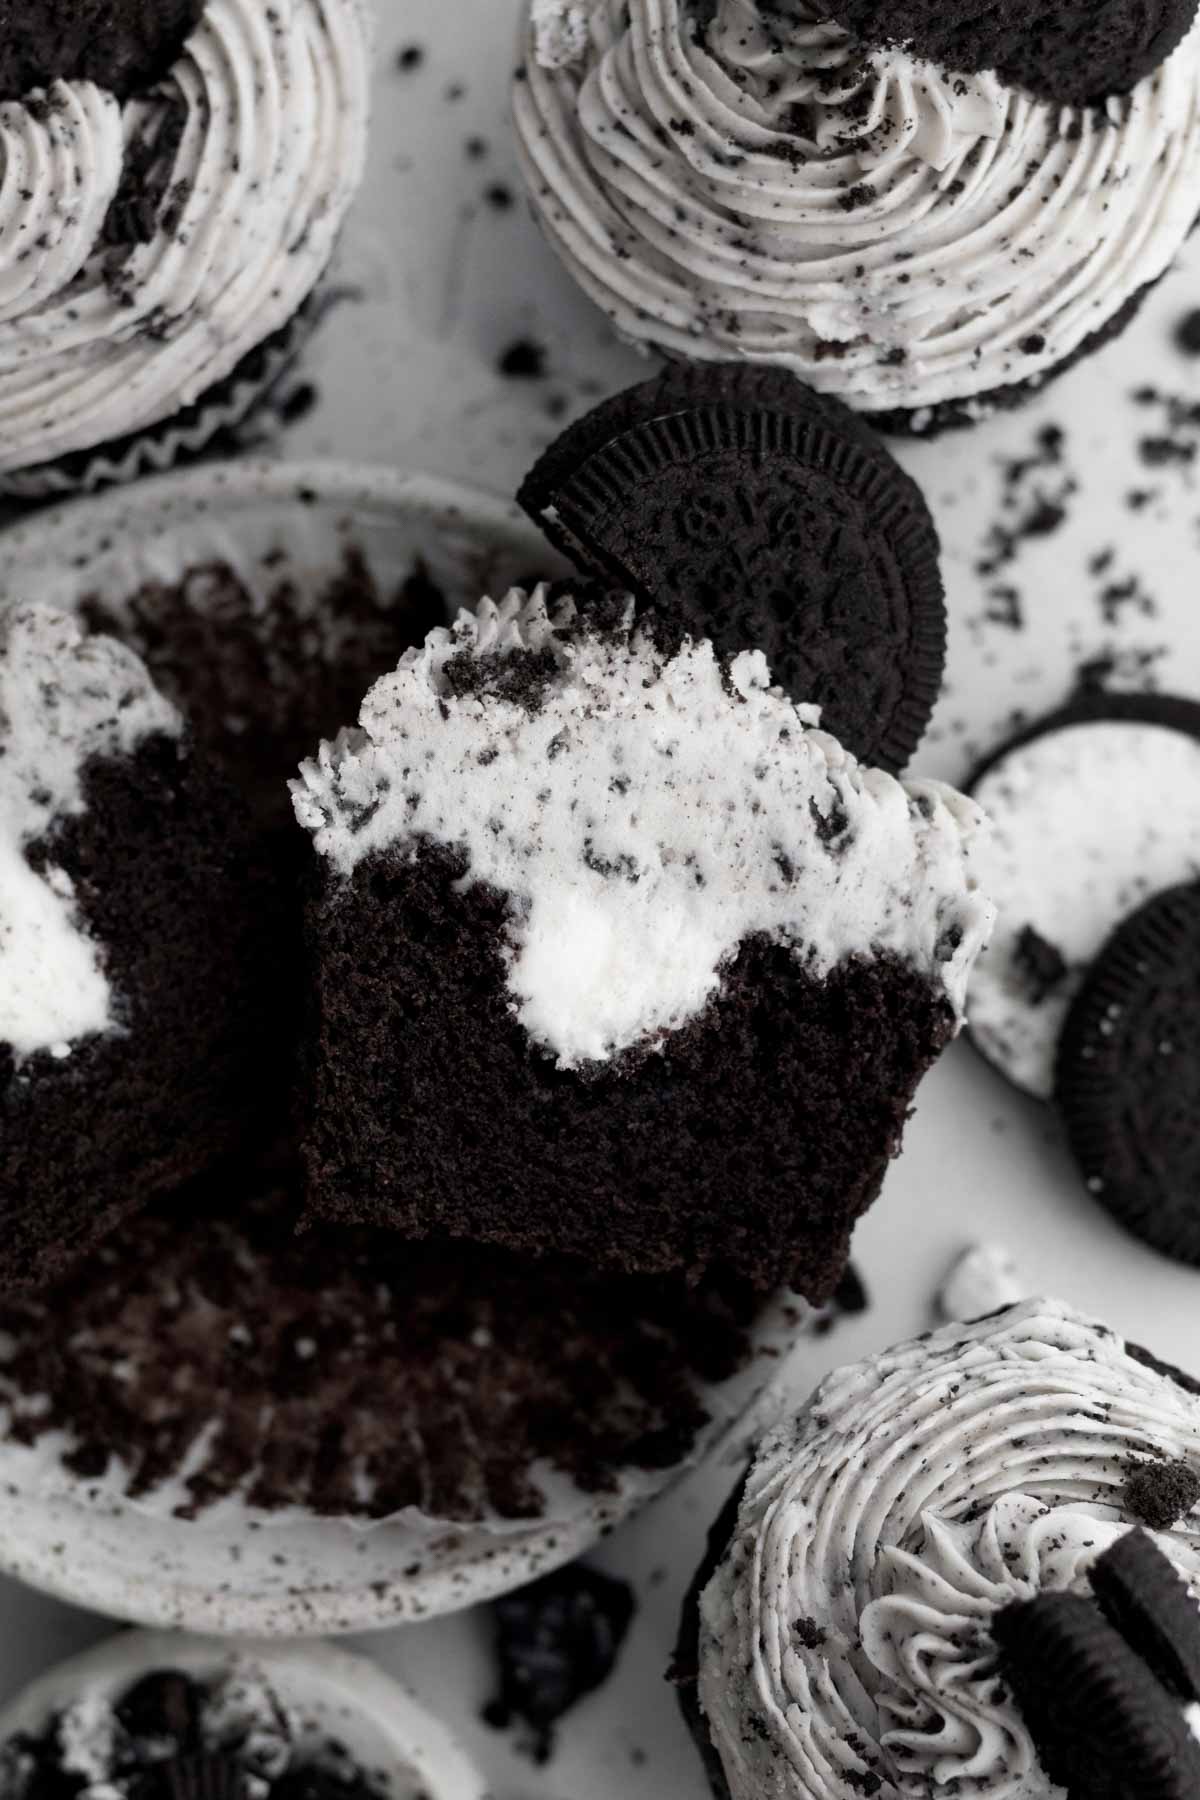
- Soft & Fluffy- The cake of these cupcakes is super soft, decadent and delicious.
- Cream Filling- They have a fluffy vanilla buttercream in the middle! For a fun twist you can fill it with my Chocolate Cream Cheese Frosting!
- Easy to Make- The batter mixes up in just one large bowl with a whisk like my Small Batch Chocolate Cupcakes!
- Cookies and Cream- These "oreo" cupcakes could not be more cookies and cream if they tried, just like my Oreo Muffins! The cake part has cookie crumbs in it, the middle of the cupcakes have fluffy vanilla frosting just like an oreo and they're topped with an "oreo" buttercream frosting, more cookie crumbs and half a chocolate sandwich cookie!
Ingredient Notes
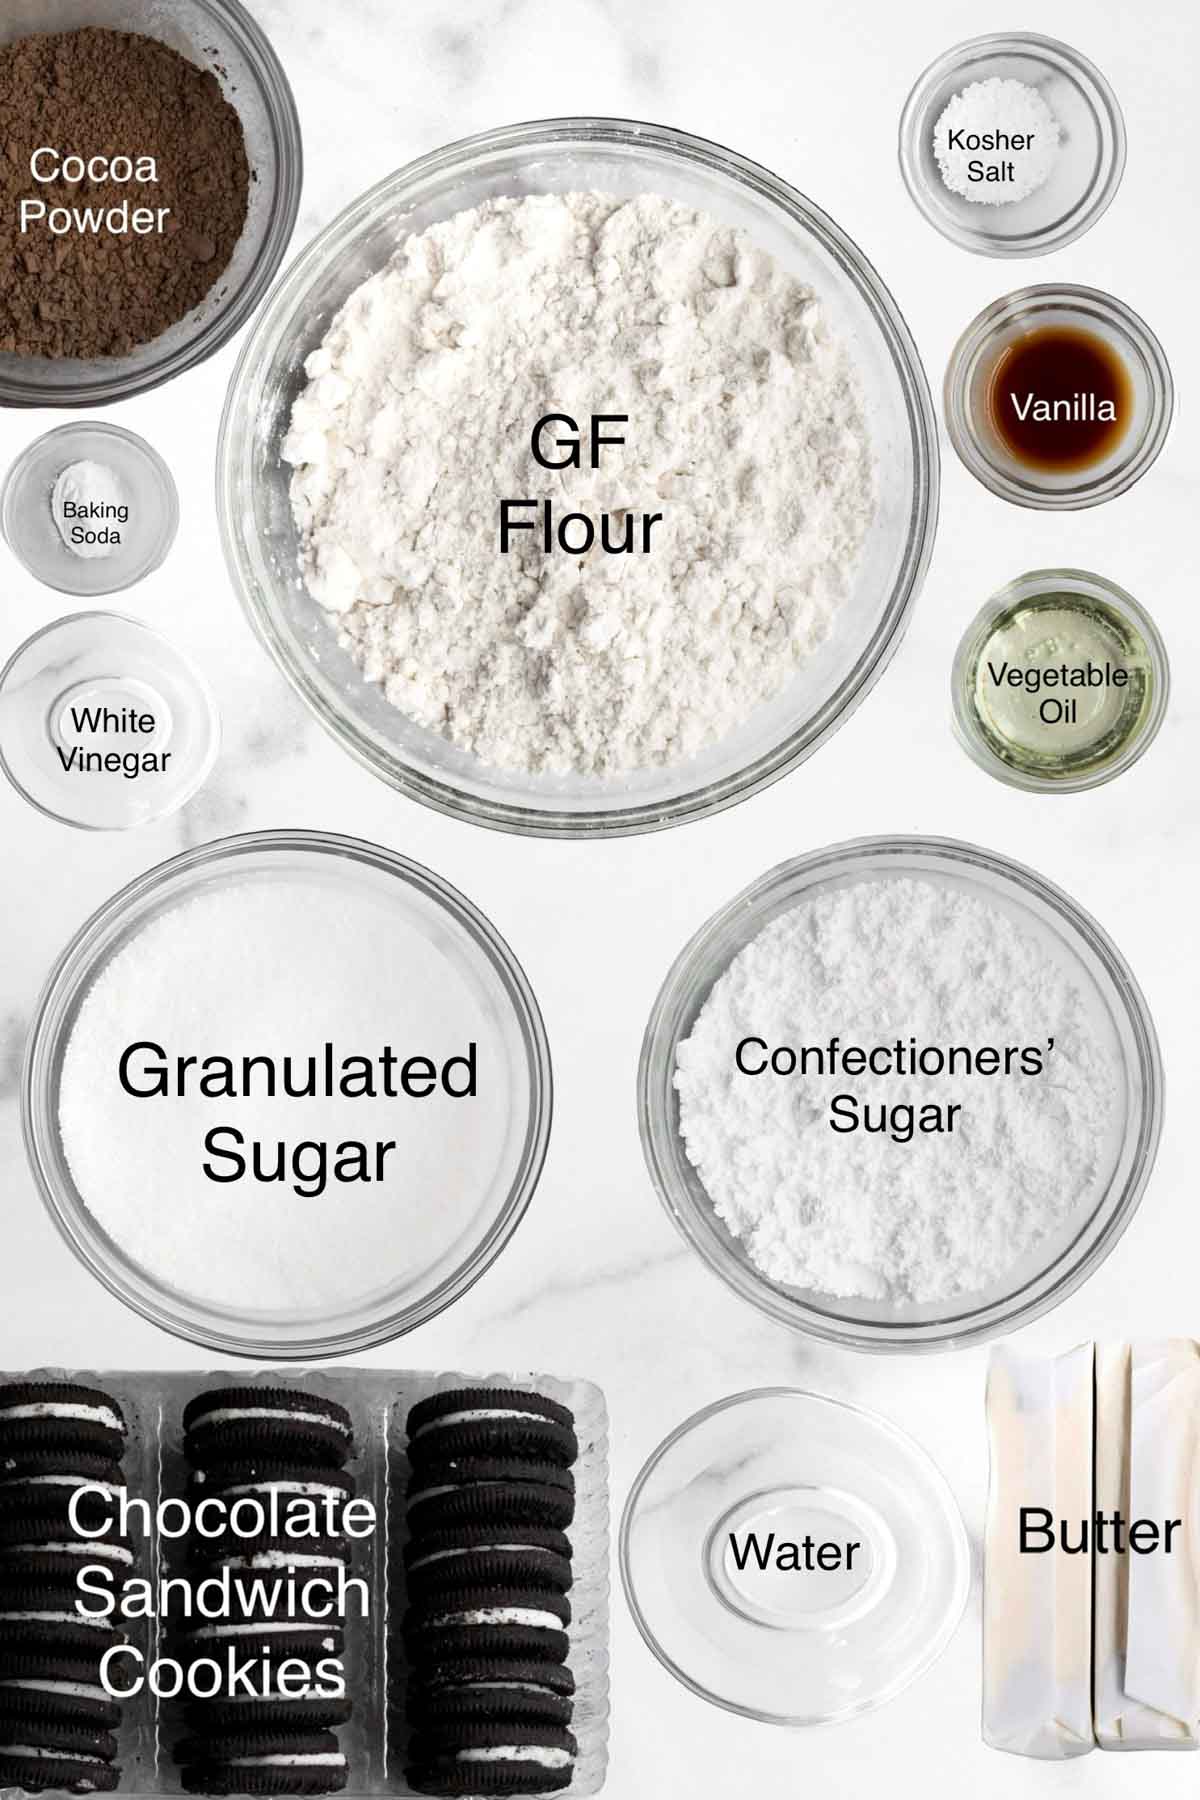
- Gluten Free Flour- If you also have nut allergies, make sure to use a brand that’s made in a nut free facility. I really love to use Cup4Cup Multipurpose Flour because it’s free of the top 9 allergens. It also contains xanthan gum which really helps give baked goods their bounce and prevents them from falling apart. Since all multipurpose gf flours are not the same, if you use a different gluten free flour, please understand the results will most likely be different.
- White Vinegar- We use this along with baking soda to help the cakes rise just like in my Chocolate Cake with Chocolate Cream Cheese Frosting.
- Vegetable Oil- The cake of these cupcakes uses oil instead of butter/vegan baking stick to help it stay moist.
- Cocoa Powders- I like to use two types to give the cake part it's dark color, but if you only want to use one, use Dutch or Natural Unsweetened.
- Chocolate Sandwich Cookies- You can of course use gluten free oreos, but keep in mind they do contain gluten free oats. I know some people with celiac cannot process oats even if they're certified. I use these gluten free/vegan chocolate sandwich cookies instead.
See my recipe card below for a complete list of the ingredients with measurements.
Substitutions and Variations
How to Make these into Vegan Cupcakes
- Use a gluten free flour that’s free from dairy.
- Make sure the brand of sugar you use is vegan.
- Use vegan baking sticks instead of butter in the frosting.
- Only use vegan/gluten free chocolate sandwich cookies.
Make this recipe with All Purpose Flour
- Use 1 ½ cups packed AP flour (252 grams).
- Make sure to use 4 packed tablespoons of cocoa powder (29 grams).
- Only use 6 tablespoons vegetable oil.
This recipe has not been tested with some of these substitutions and/or variations due to celiac disease and food allergies. If you change any of the ingredients, please let us know how the recipe turned out in the comments below!
How to Make Cookies and Cream Cupcakes
Here are the step by step instructions to make these "oreo" cupcakes!
Step 1: Crush the Cookies
Place 5 of the sandwich cookies in a zip top bag and seal it shut.
Crush the cookies with the flat side of a meat mallet or a rolling pin until they have a sand-like consistency.
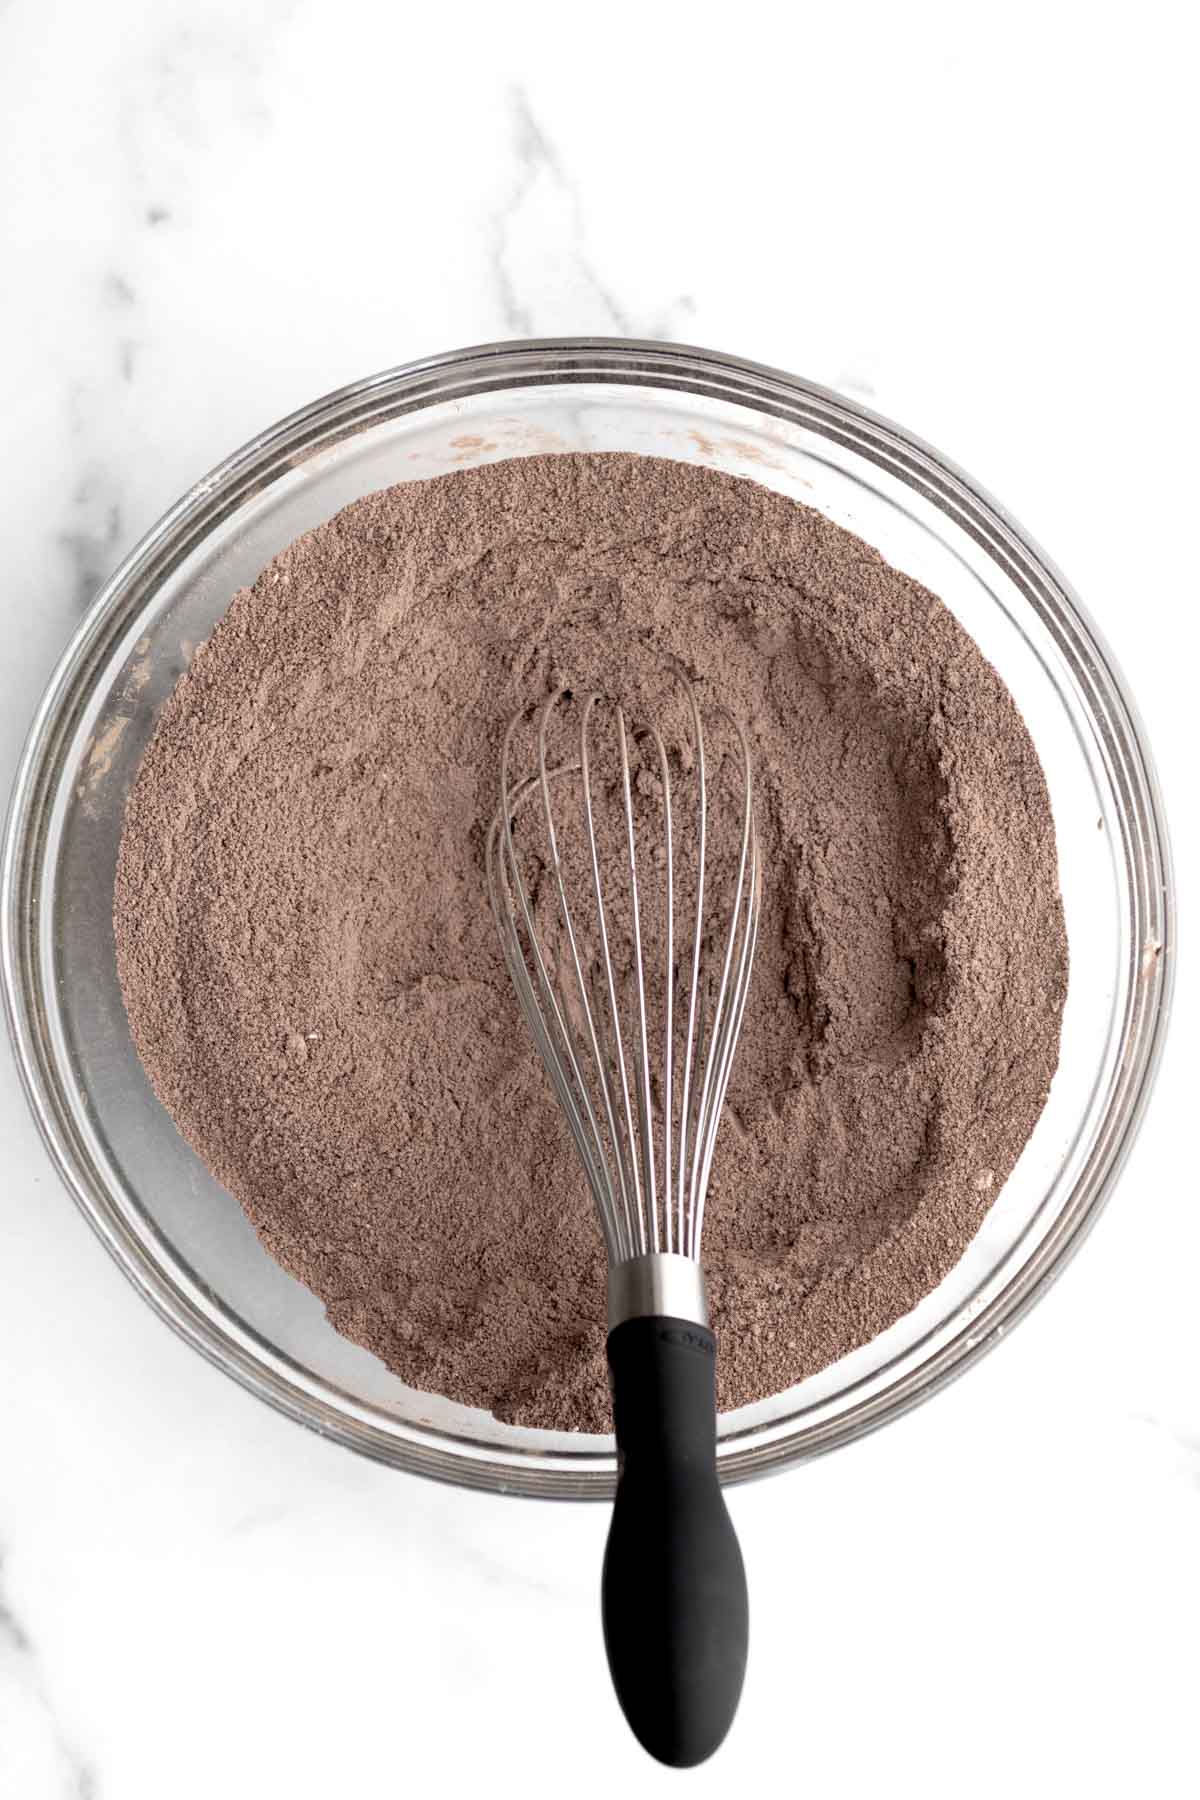
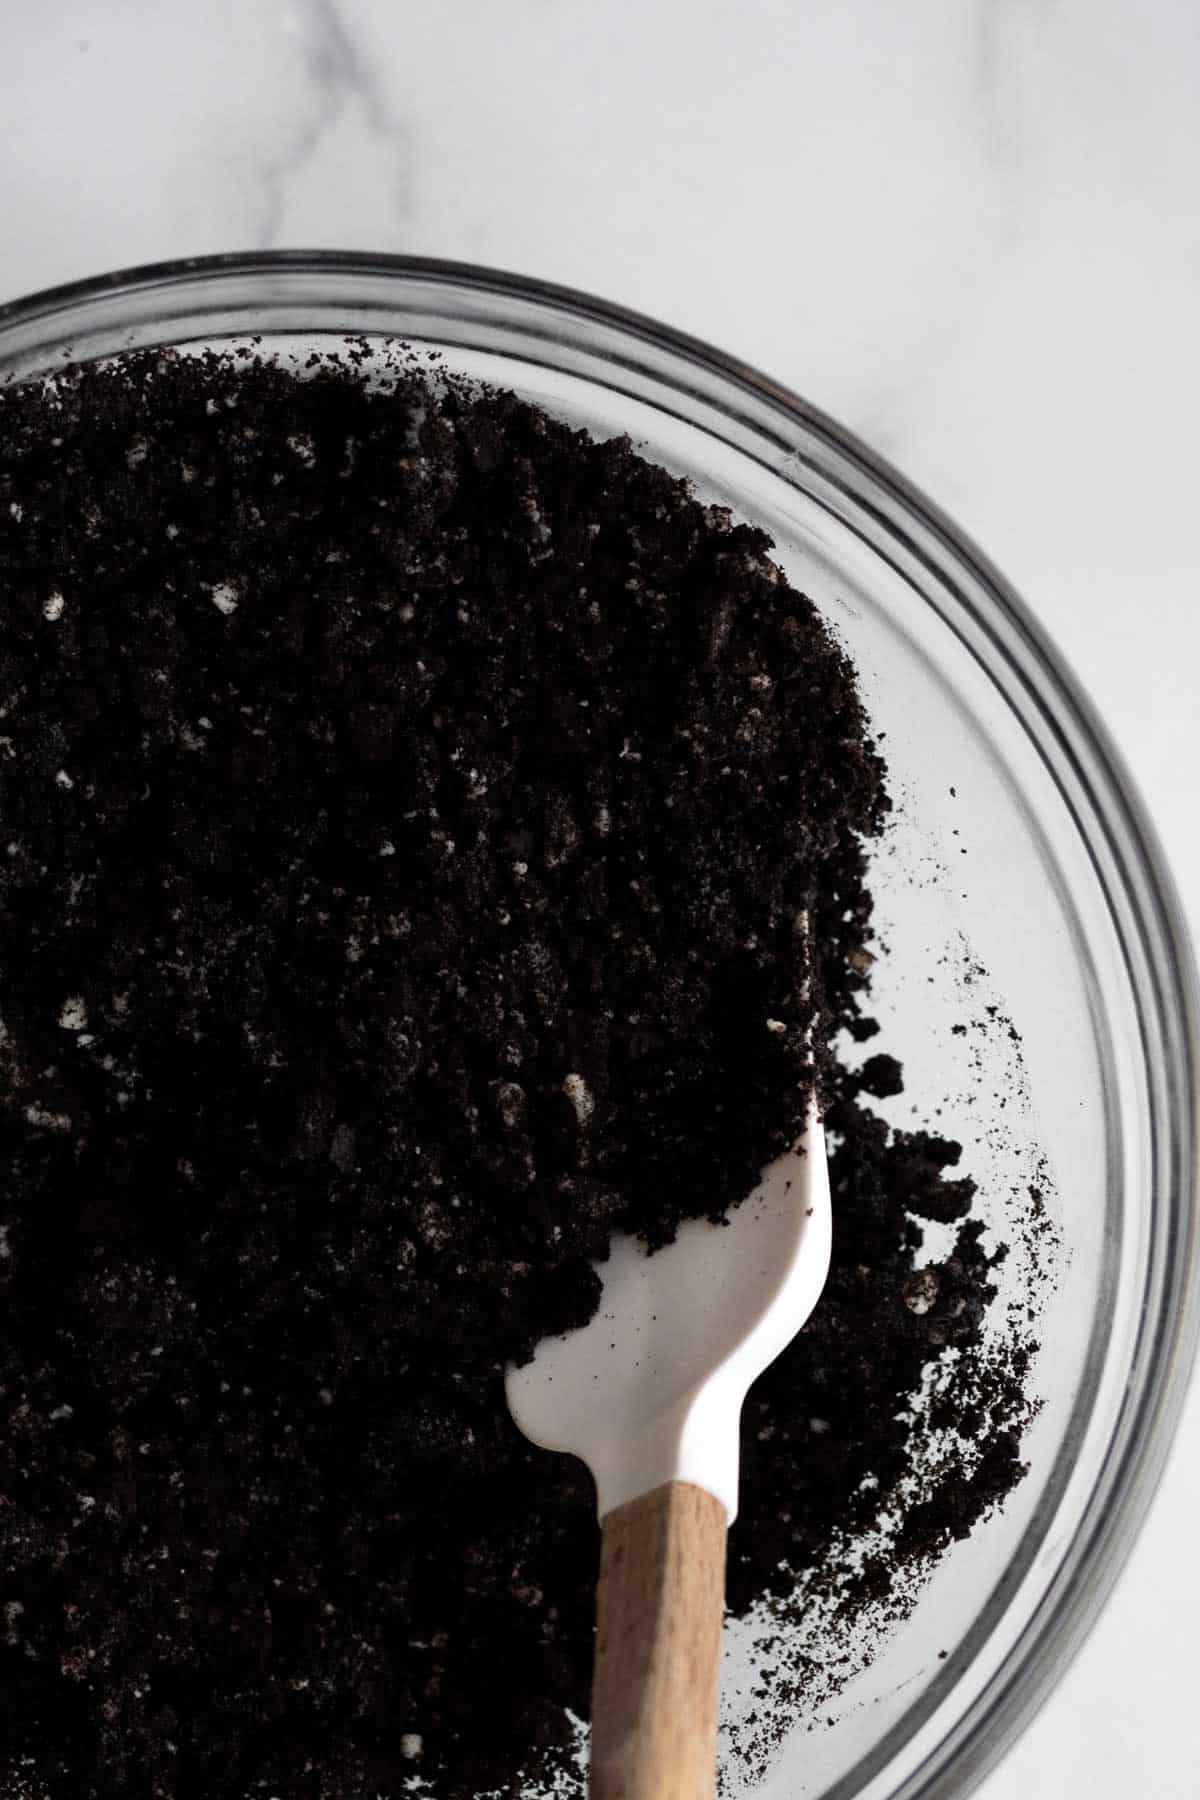
Step 2: Whisk Together All the Dry Ingredients
In a large bowl whisk together the gluten free flour, granulated sugar, cocoa powders, baking soda, kosher salt and crushed chocolate sandwich cookie crumbs until combined.
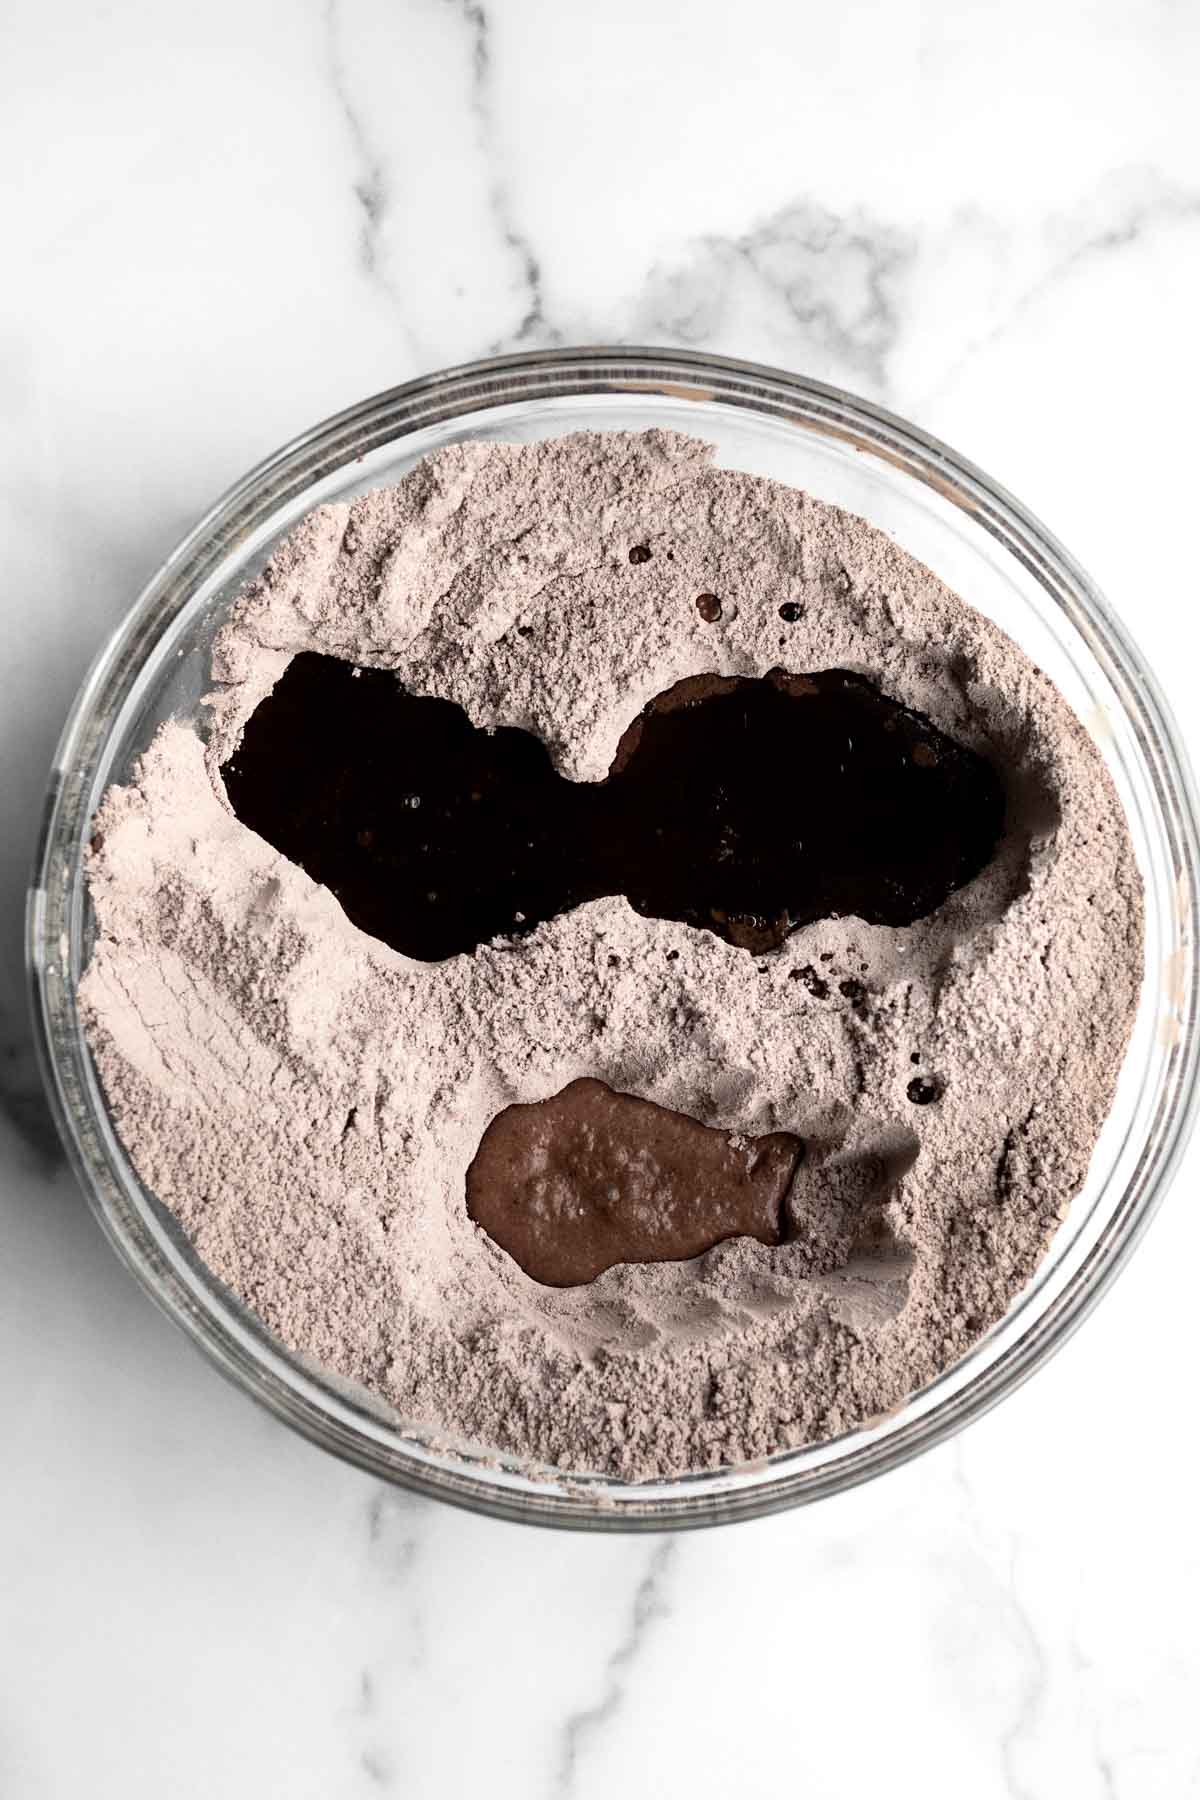
Step 3: Make 3 Wells in the Dry Ingredients and Pour in the Liquid Ingredients Minus the Water
In the dry ingredients, using clean hands, make 3 wells for the wet ingredients to be poured into.
In one well pour the vegetable oil, in the other well pour the white vinegar and in the last, pour the vanilla.
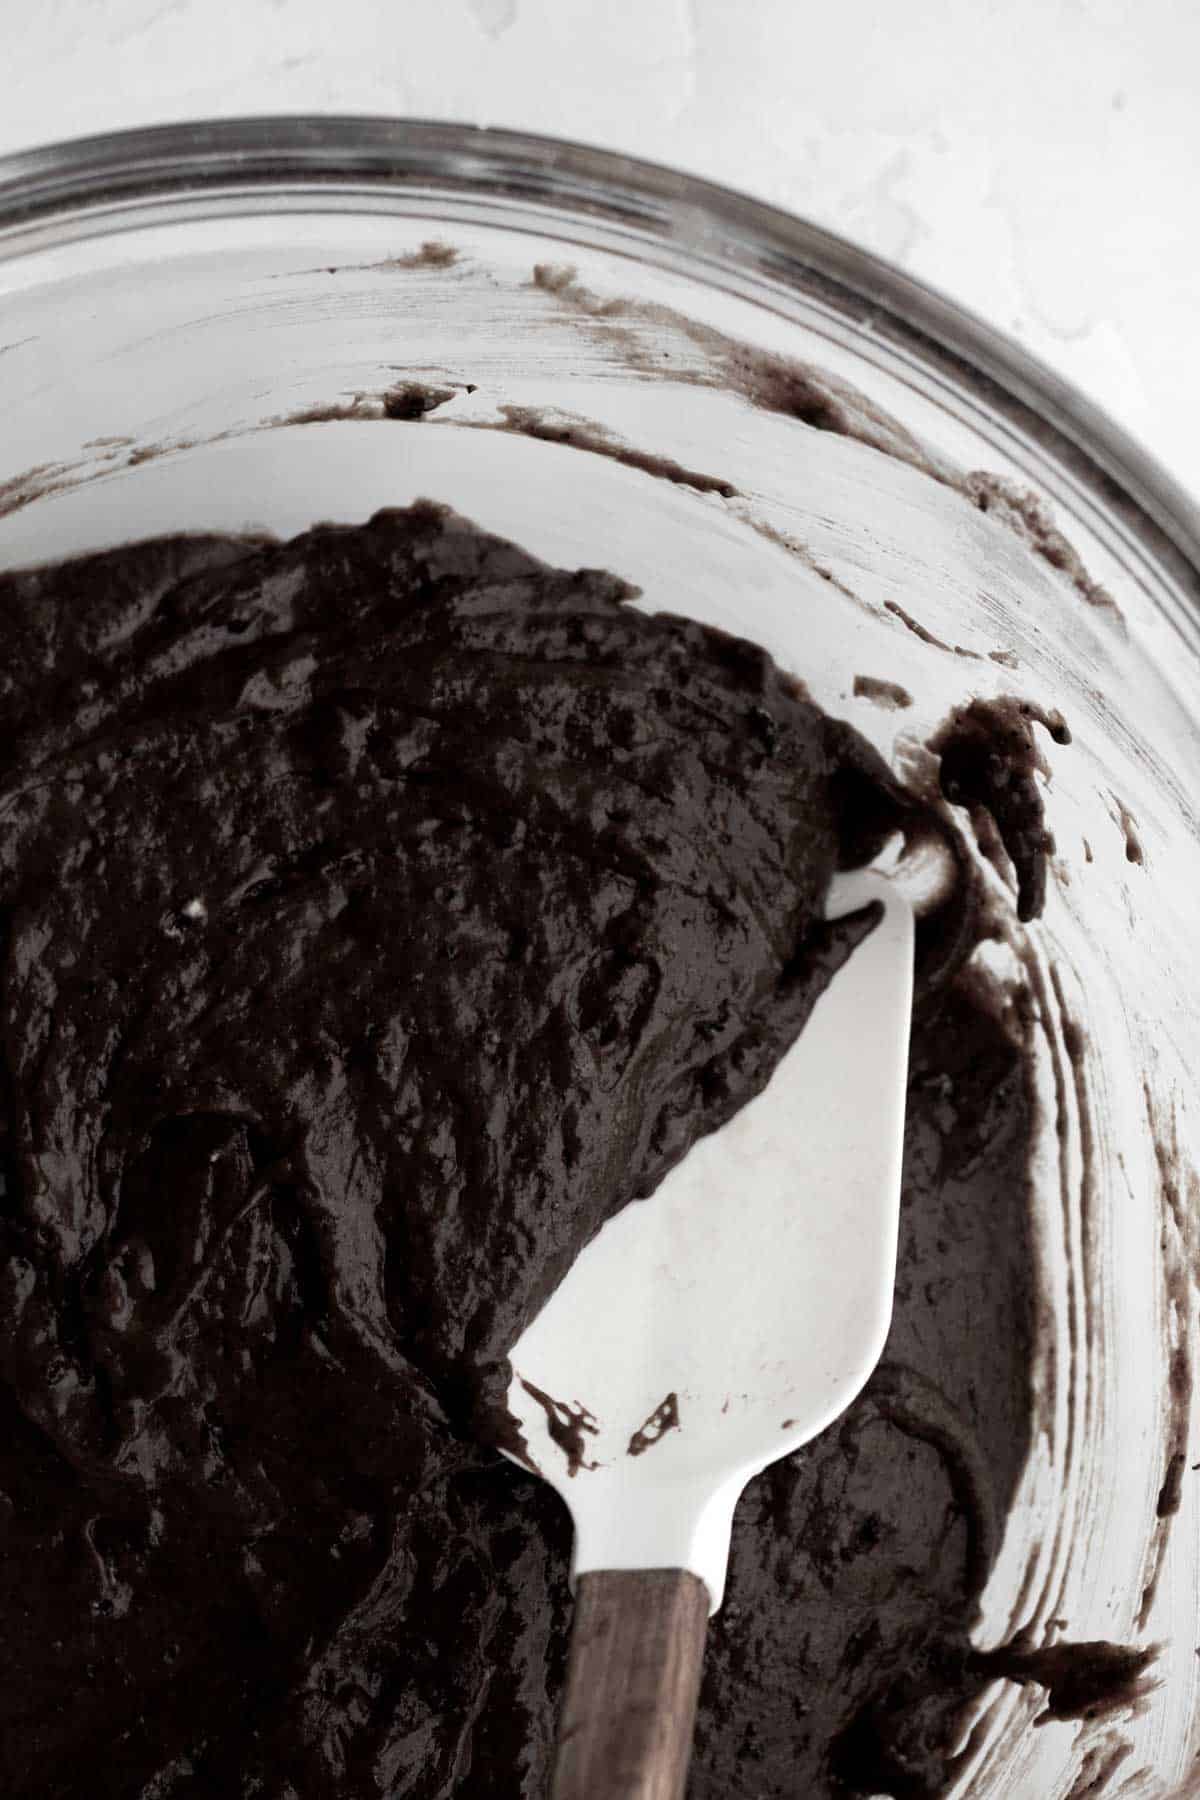
Step 4: Pour the Cold Water on Top and Combine
Pour the cold water on top of all the ingredients and use a whisk to mix everything together until fully combined.
If it gets too thick for the whisk, switch to using a spatula. Do not over mix.
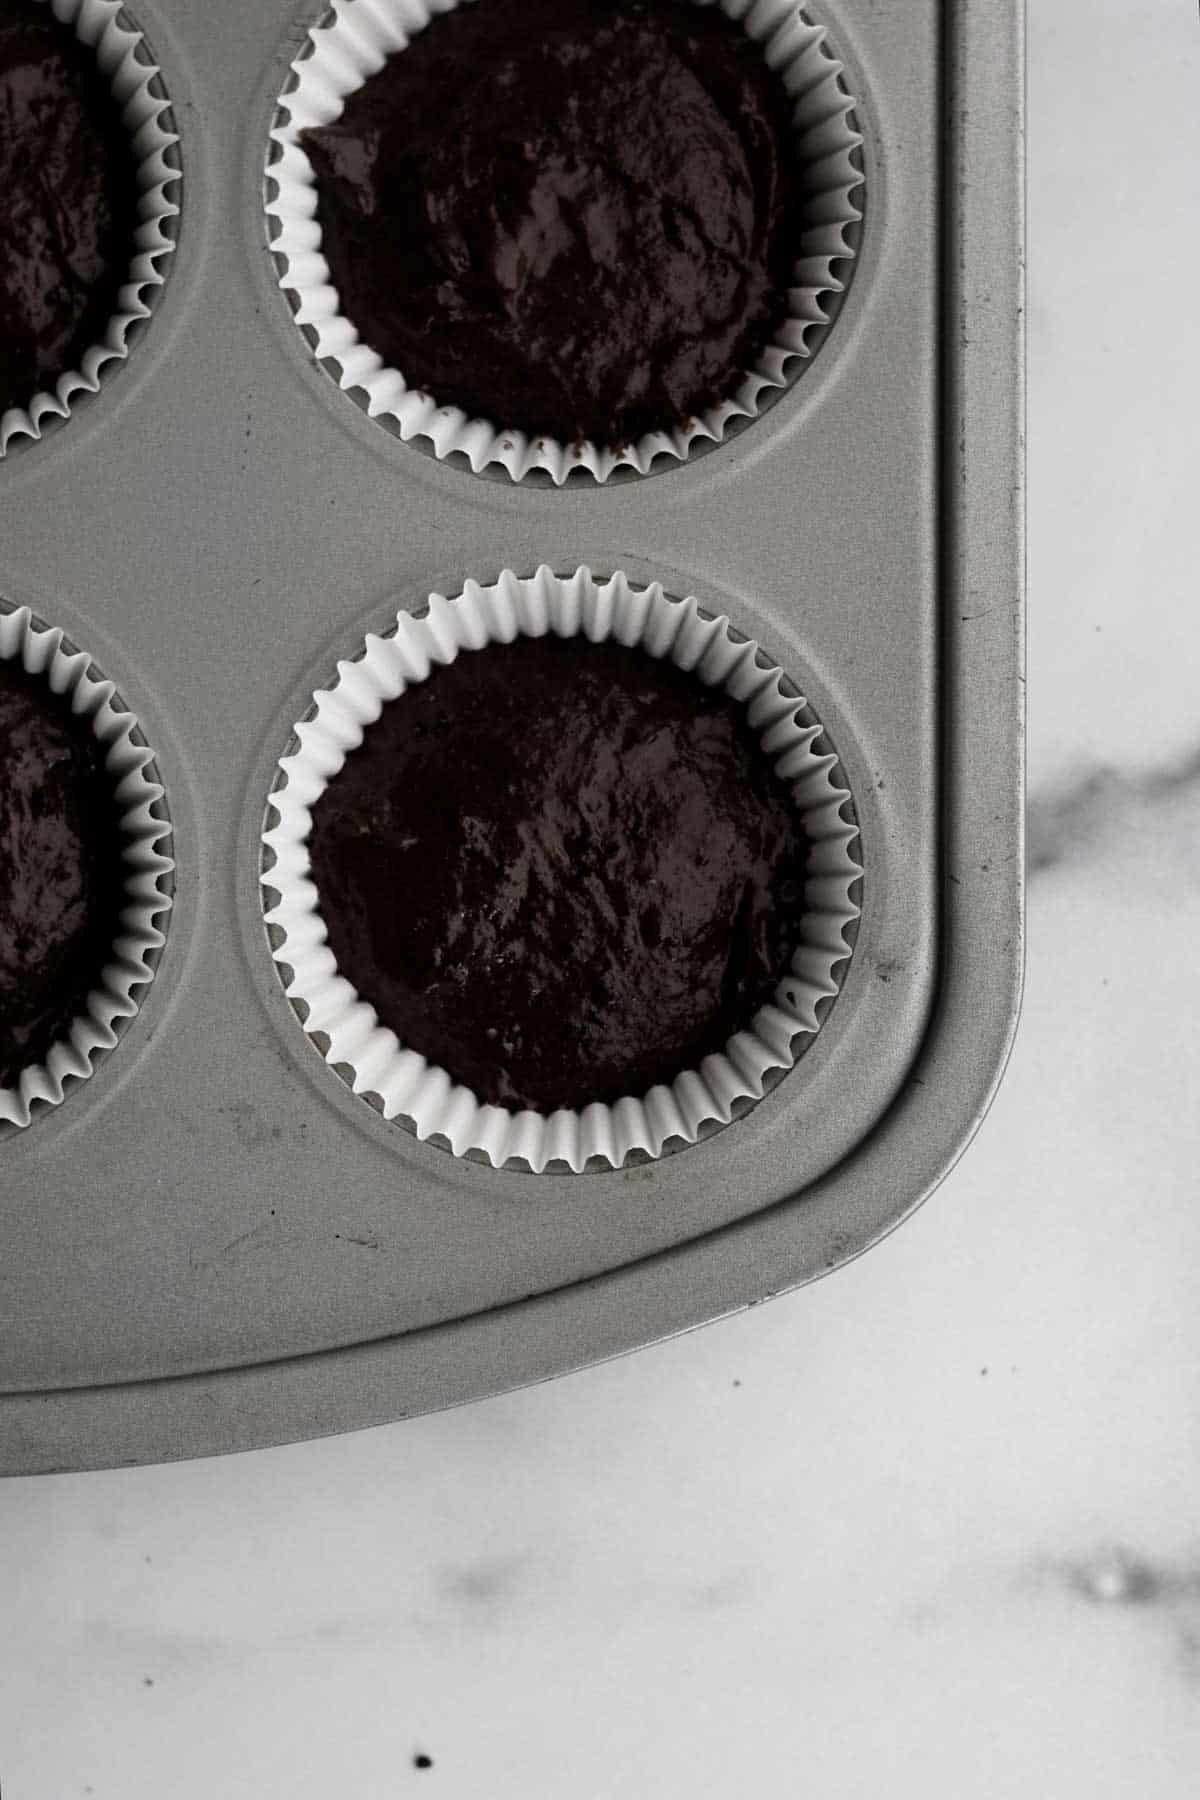
Step 5: Fill the Cupcake Tins
Use an ice cream scoop to fill the cupcake tins ¾ way to the top. Smooth the tops with a small knife. You should have 12 regular size cupcake tins filled.
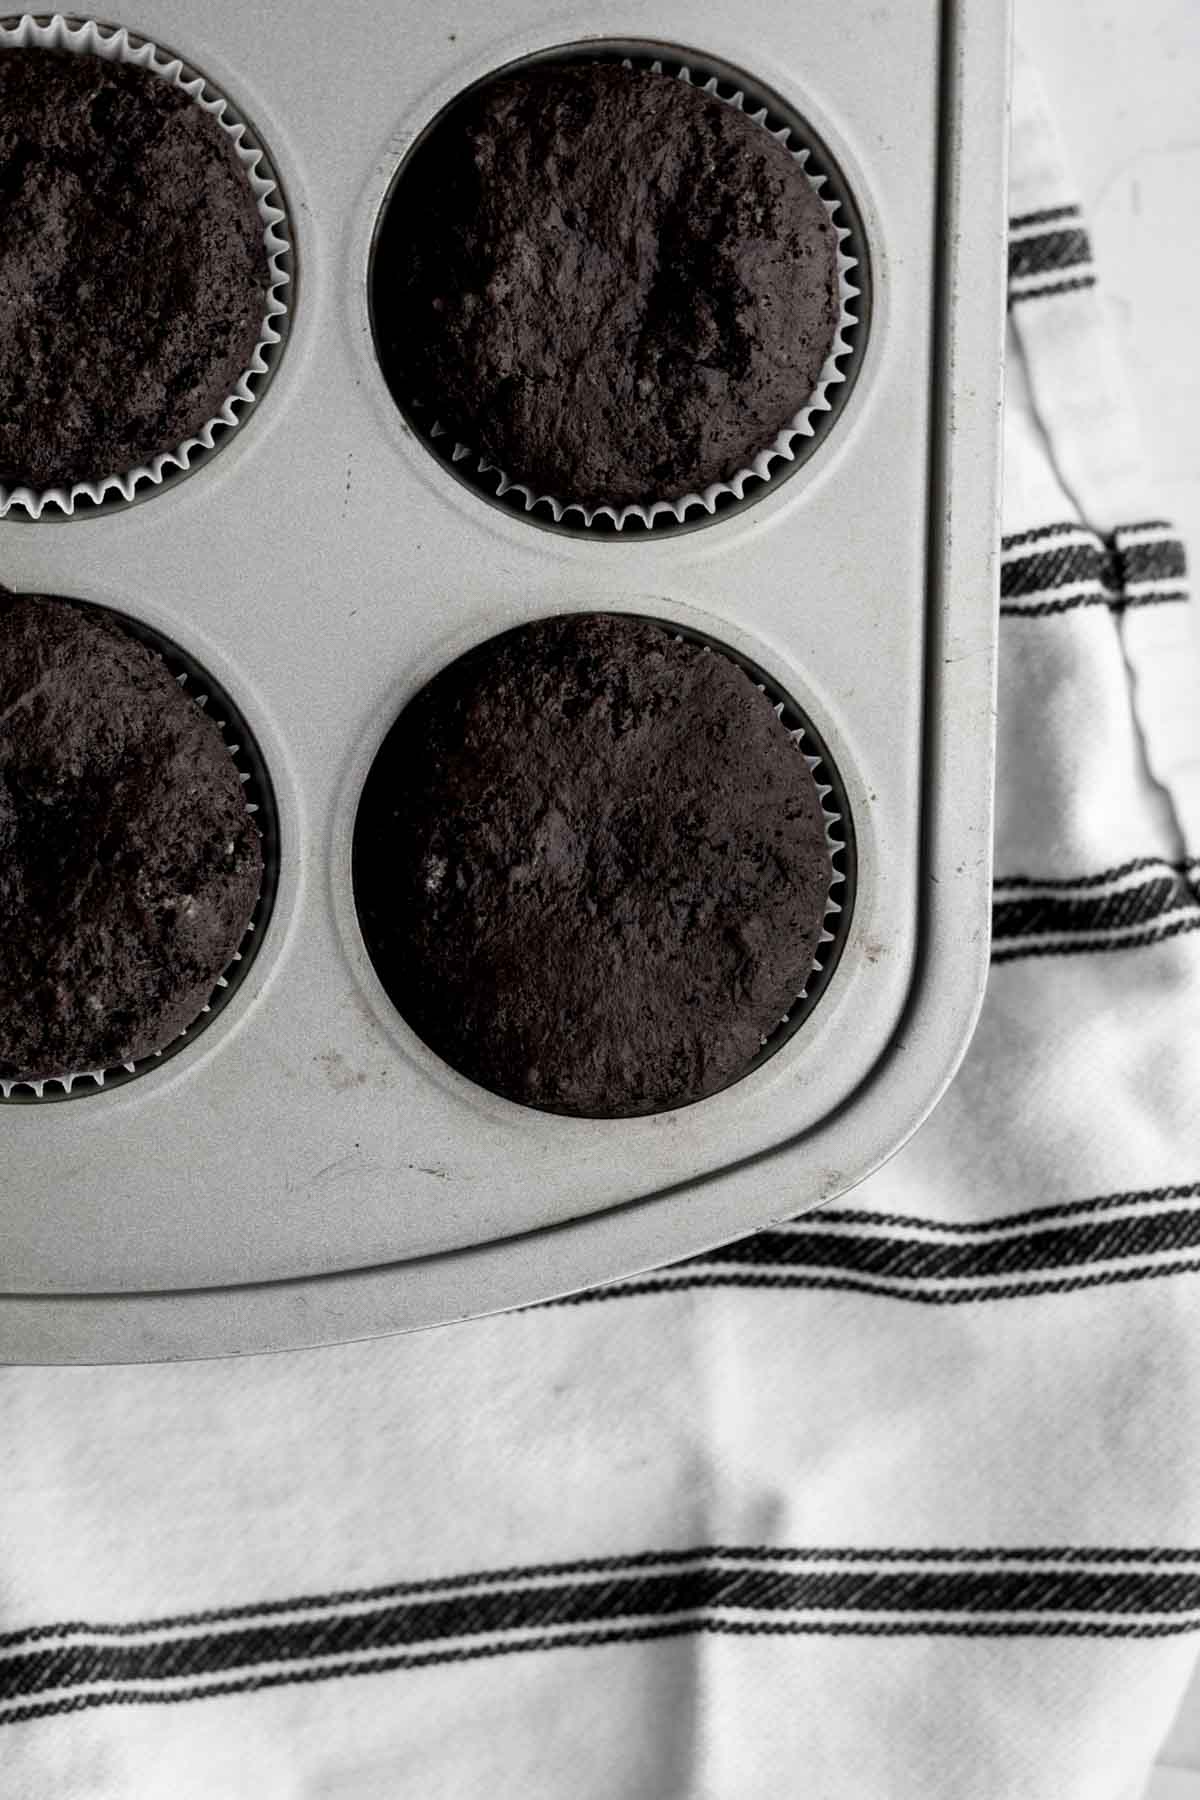
Step 6: Bake the Cupcakes and Cool
Bake the cupcakes at 350 degrees Fahrenheit for 25 minutes or until the tops of the cupcakes spring back at you when carefully touched or when a toothpick inserted comes out clean.
Let the cupcakes cool almost completely in the pan before trying to remove them.
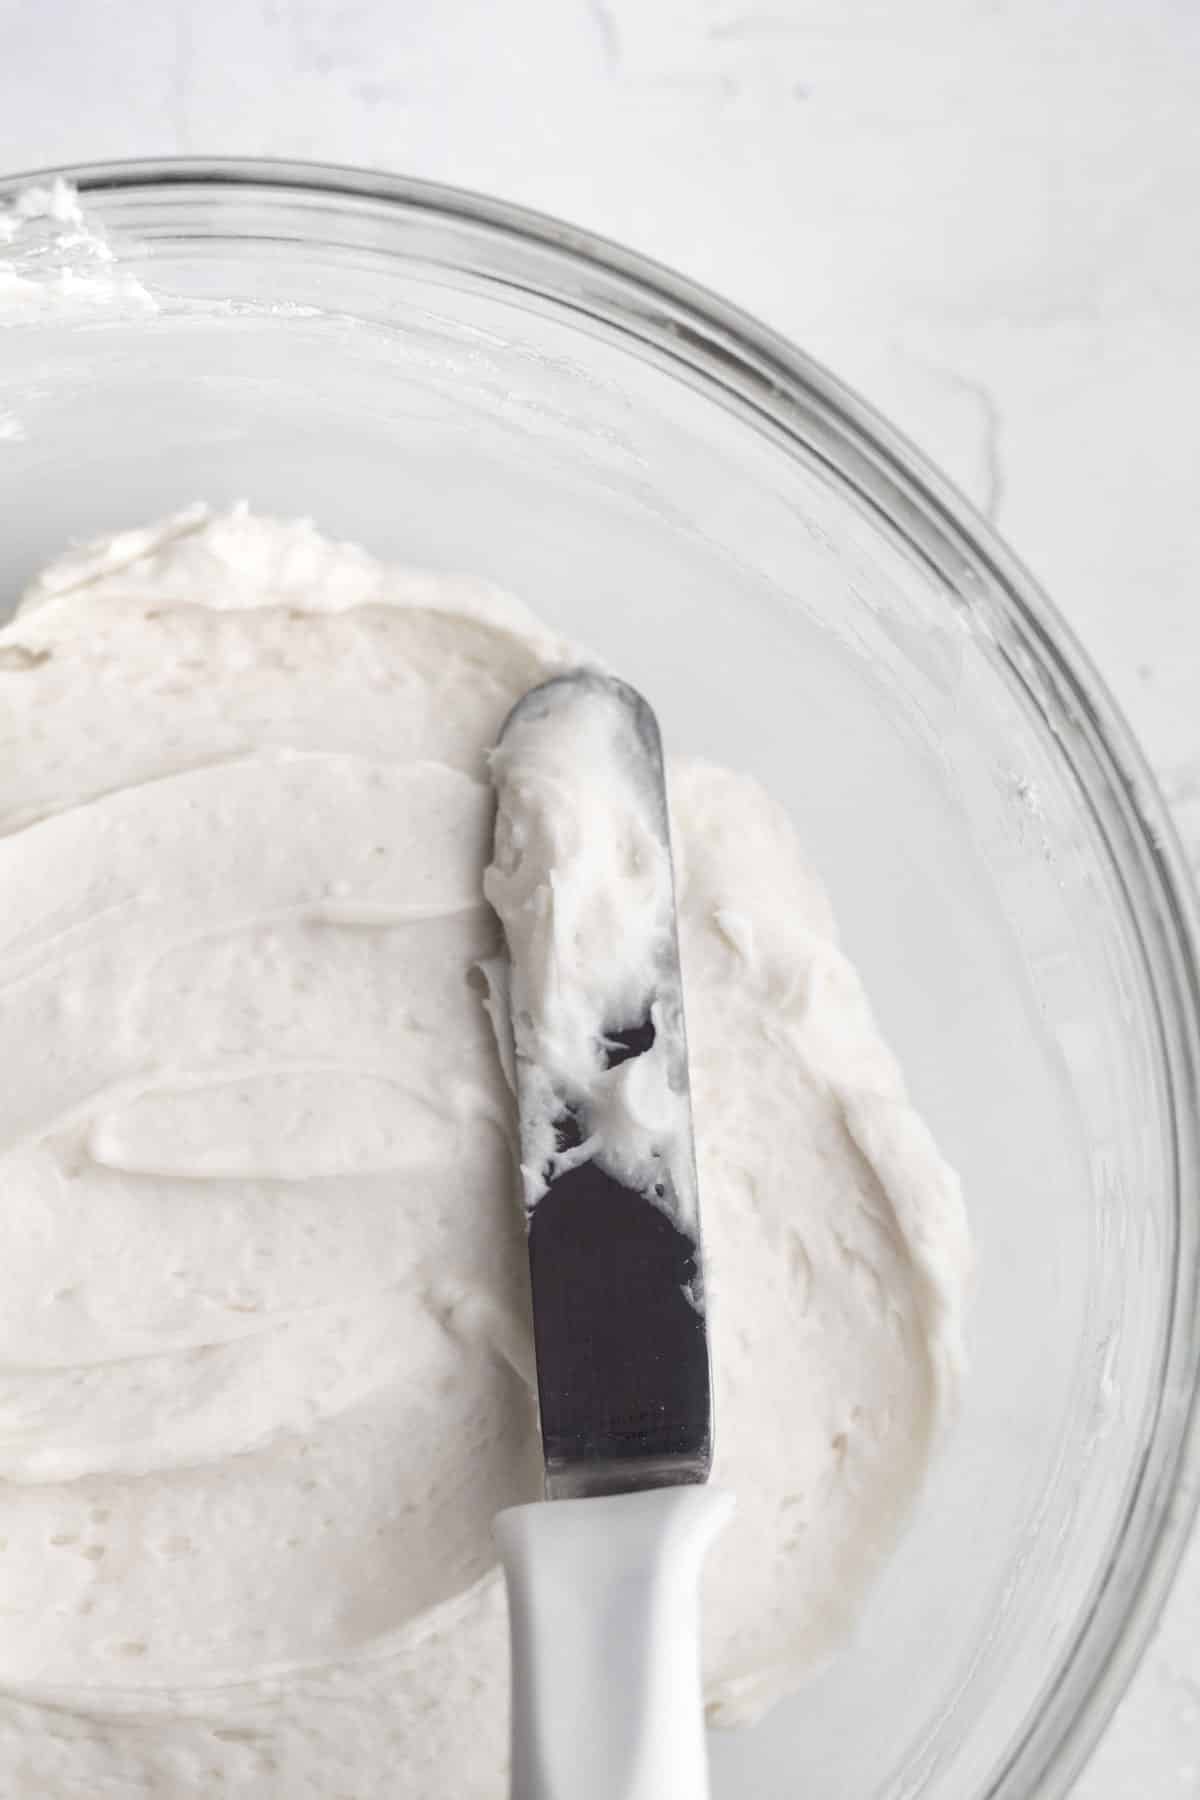
Step 7: Make the Vanilla Frosting
Mix together the butter, confectioners' sugar, pure vanilla extract and kosher salt until combined.
Slowly add in the water a little at a time until you get the desired consistency. You may not need all the water.
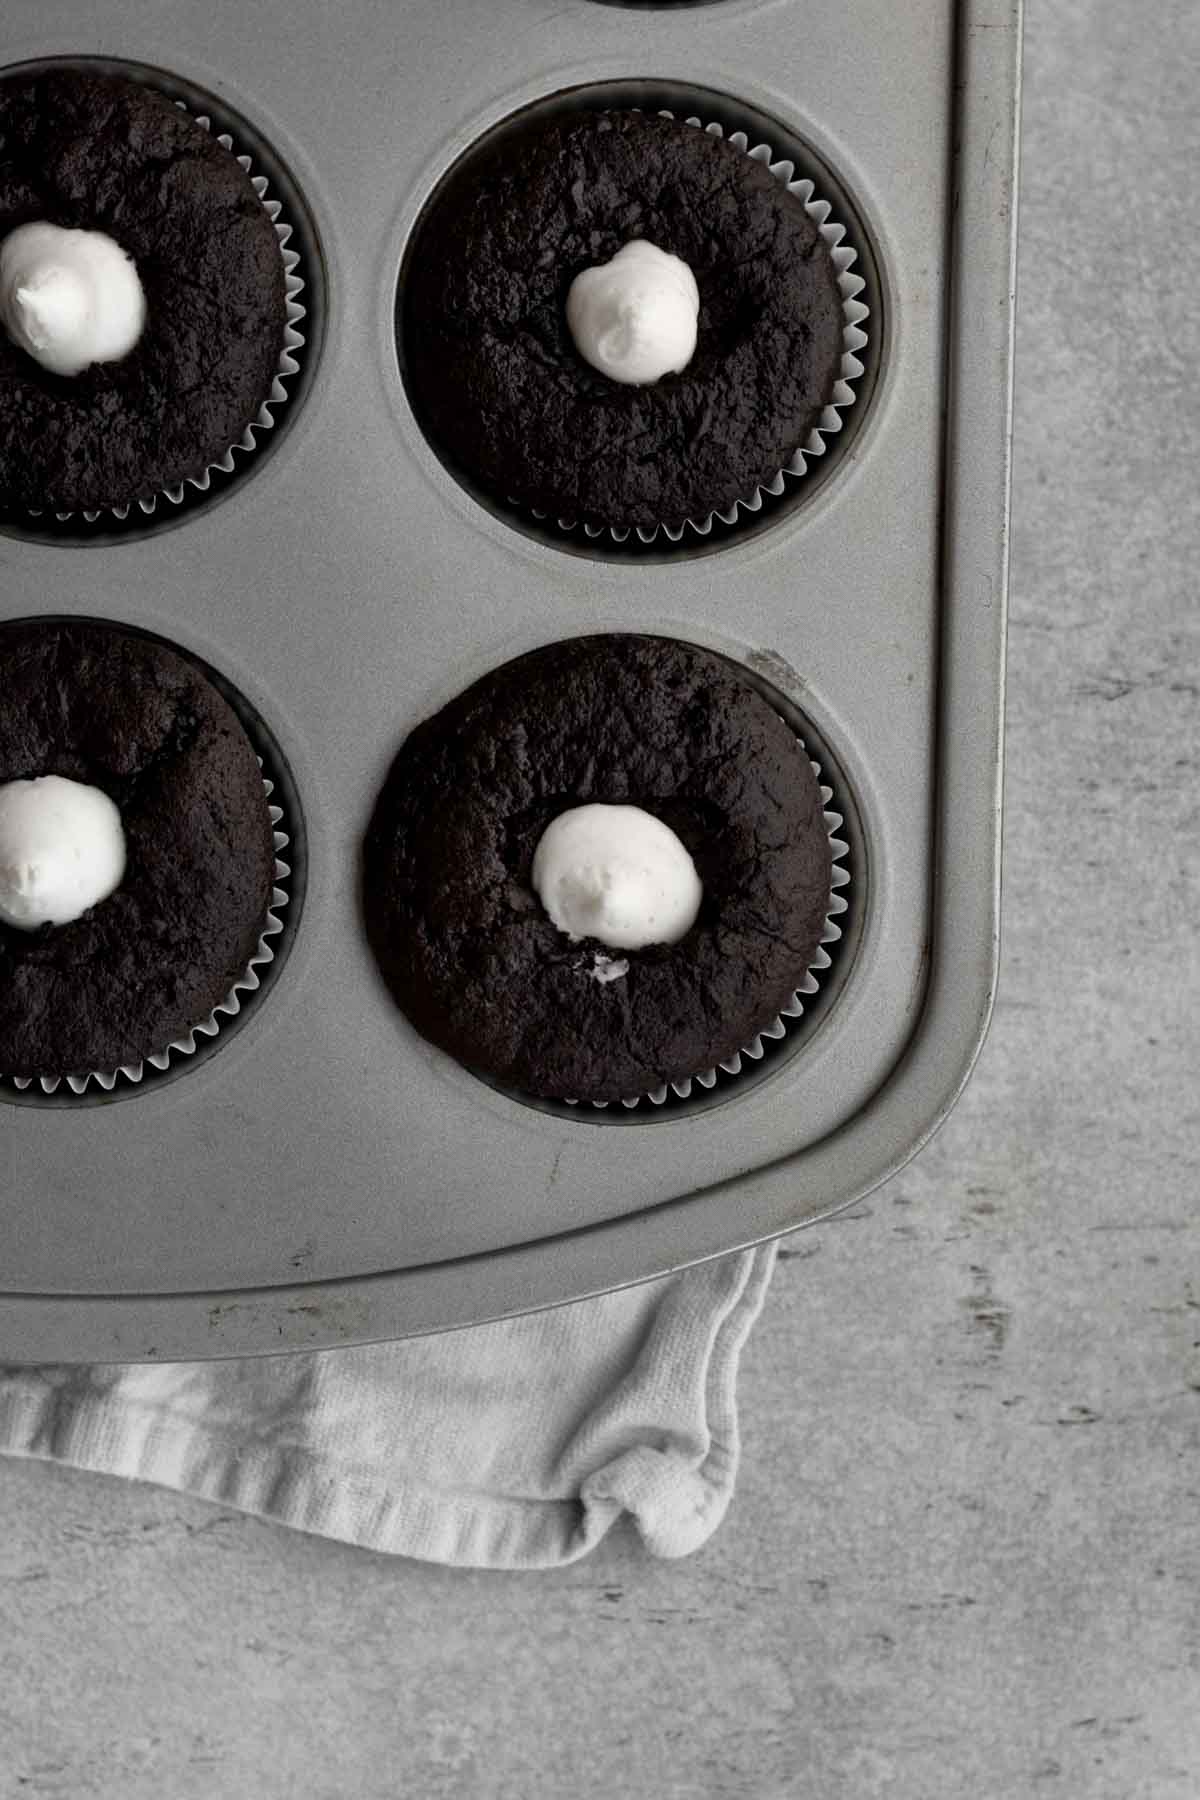
Step 8: Make Holes in the Cupcakes and Fill
Once the cupcakes have cooled, make the holes for the vanilla frosting filling.
Fill a piping bag with a tip with about 1 cup of the vanilla frosting.
Fill the holes in the center of the cupcakes with the vanilla buttercream, all the way to the top.
If you have any excess vanilla frosting, put it back into the bowl of frosting. We will use it to make the cookies and cream buttercream.
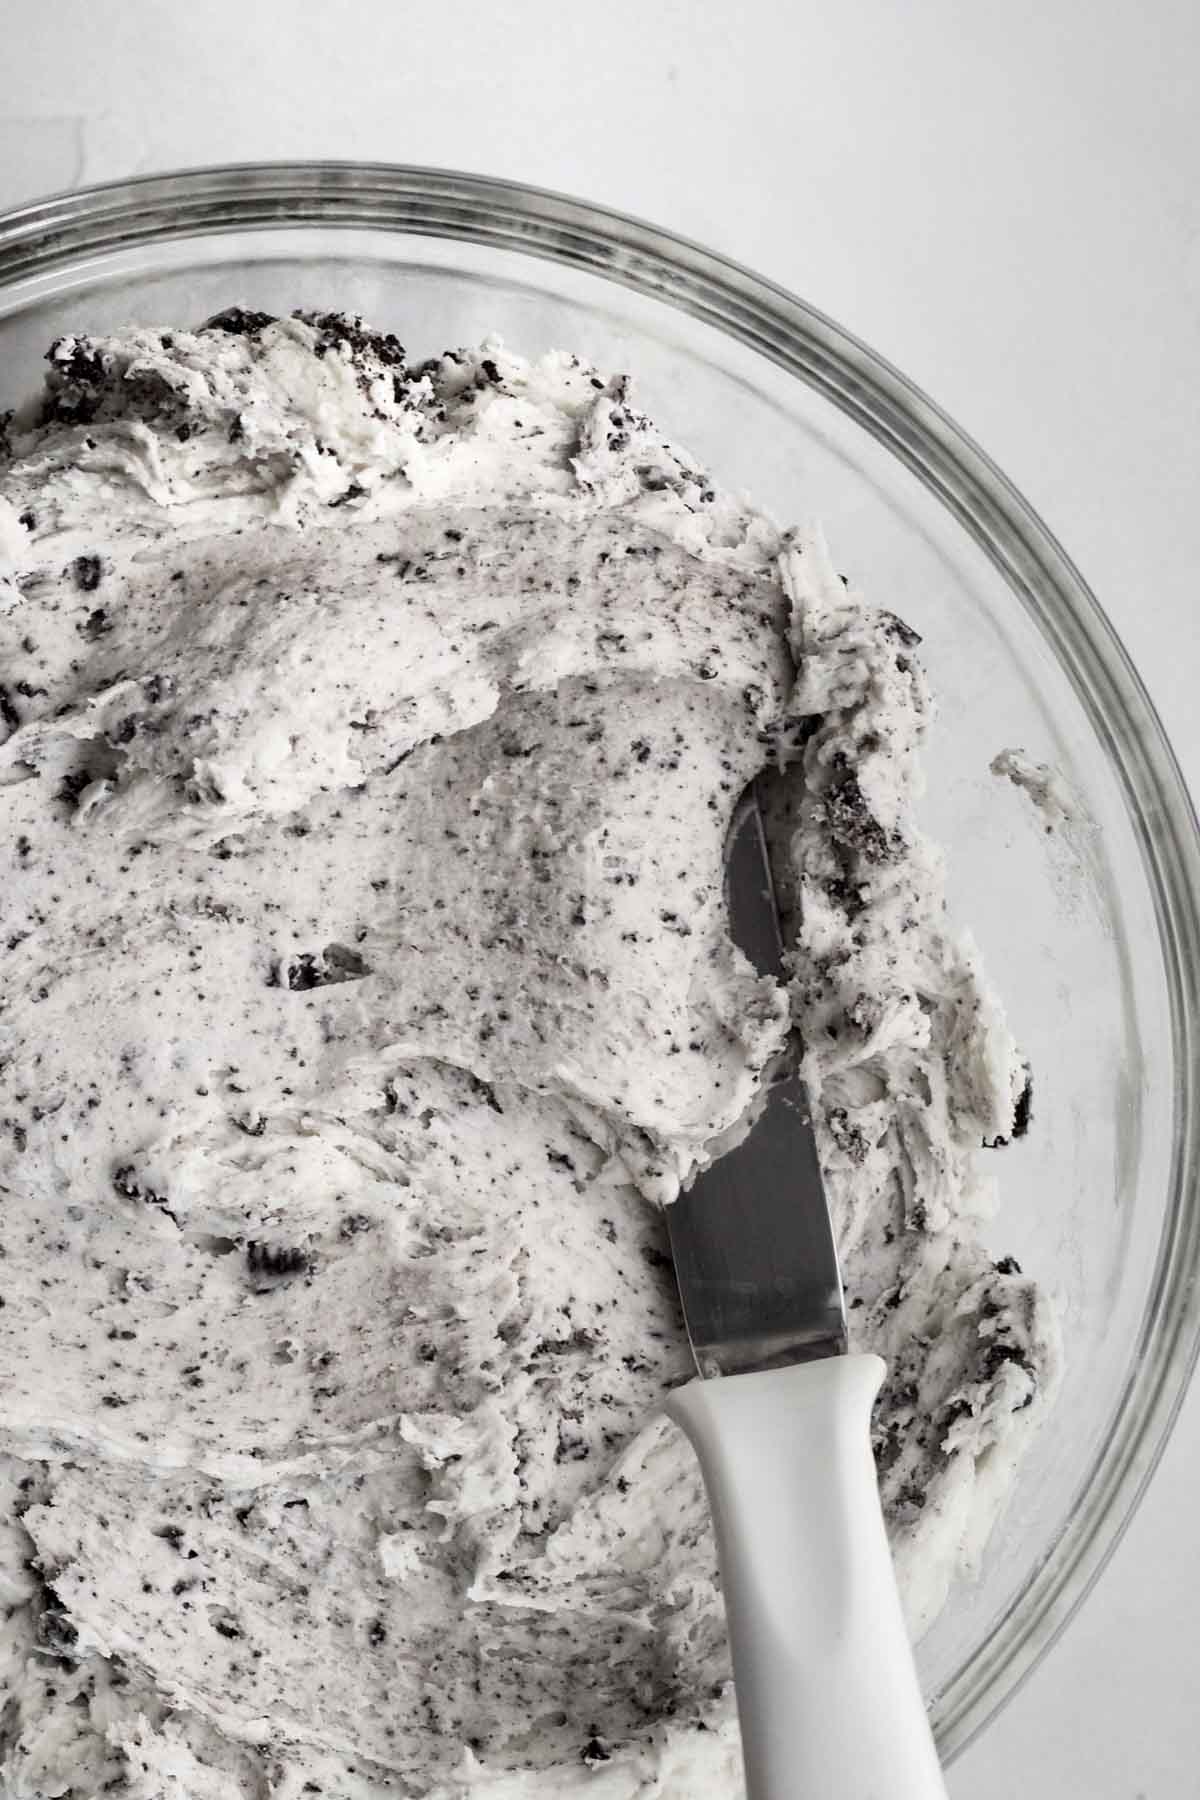
Step 9: Make the Cookies and Cream Frosting
Place 6 of the sandwich cookies in a zip top bag and seal it shut. Crush the cookies with the flat side of a meat mallet or a rolling pin until there are tiny crumbs. Not quite the sand like consistency of earlier.
Using a spatula, very gently fold the crumbs into the vanilla frosting. Mix until just combined.
If you over mix the frosting will become a muddy messy color.
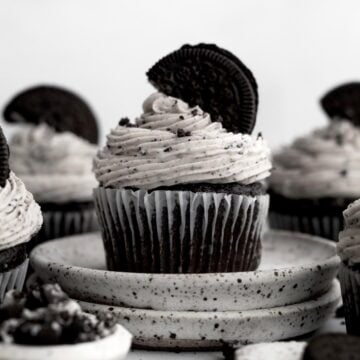
Step 10: Frost the Cupcakes and Add the Cookies
Pipe the chocolate frosting on top of each cooled cupcake or frost with an icing spatula.
Make sure to use a wide frosting tip otherwise the crumbs will get stuck. I like to use Wilton 4B.
Take the last 6 chocolate sandwich cookies and cut them in half.
There will be crumbs. Take the extra crumbs and sprinkle them on top of the frosting. Place half of the cookie on top of each cupcake.
Expert Baking Tips
For the Cupcakes
- Use Packed Cups of Flour- Normally in baking we do not use packed cups however, when working with gluten free, I've found using packed cups works best to help the baked goods keep their shape. Or read the gram measurement.
- Use 2 Types of Cocoa Powder- The 2 types of cocoa powders give the cupcakes their dark hue. If you only have one type on hand, use natural unsweetened or dutch...just know their color will not be as dark as mine. Do not use dark alone; it will make your cupcakes too dry and bitter.
- Smooth the Batter- Many gluten free batters have a way of staying exactly as they are placed, when baked. When the batter is in the cupcake pan, gently smooth the tops with a butter knife prior to baking.
- Use Paper Muffin Liners- It will ensure you're able to get the cupcakes out of the tins. If you don't have any paper liners, grease each cupcake tin with vegetable oil prior to adding the batter.
- Cool the Cupcakes- Make sure the cupcakes have cooled completely prior to frosting them. If the cupcakes are even slightly warm, the frosting will become liquid.
For the Frosting
- Making The Frosting- If the frosting is too liquidy, add more confectioners’ sugar 1 tablespoon at a time until you reach the desired consistency. It should be thick enough to stay put on the cupcakes and not run off. If the buttercream appears too thick, add a little water ¼ teaspoon at a time. Make sure your butter isn't too soft. It should be room temperature, not softened.
- Use a Wide Piping Tip- Even though you crushed the cookies into crumbs, if you use a small tip, the crumbs will get stuck inside. I like to use a Wilton 4B tip.
Recipe FAQs
You can, but they are freshest the first day. If making them ahead of time, make the night before and store them, already frosted, in an airtight container in the fridge.
If you refrigerate them without frosting them, the cupcakes can form a sticky later on the top.
Yes but only the vanilla frosting. Do not add in the smashed cookies otherwise the frosting will be a muddy color the next day.
Store the vanilla frosting in a bowl covered with plastic wrap in the fridge.
When ready to use, bring the frosting to room temperature and rewhip it to regain that creaminess.
Once the cupcakes have cooled, store in an airtight container or individually wrap each cupcake in aluminum foil for up to 2 days in the fridge. Try to create a teepee with the top of the foil so it isn't touching the top of the frosting as much.
If desired, let the cupcake come to room temperature prior to eating.
Once the frosting on the cupcakes has hardened a little (you may need to pop them in the fridge), individually wrap each cupcake in aluminum foil.
Pop them in a zip top bag and freeze the cupcakes for up to 30 days.
To defrost, put the cupcakes in the fridge the night before or leave them out on the counter for 2 hours prior to eating or until the cupcakes are room temperature and soft.
More Cookies and Cream Recipes You'll Love


Did you try this recipe? Please leave me a ⭐ review below!
Don’t forget to tag me on Instagram @laneandgreyfare and follow along on Pinterest, Facebook and YouTube! Enjoy!!!
📖 Recipe
Cookies and Cream Cupcakes
Ingredients
For the Cupcakes
- 5 gluten free chocolate sandwich cookies , crushed into a sand like consistency
- 1.5 cups multipurpose gluten free flour (I use Cup4Cup gluten free multipurpose flour which contains xanthan gum)
- 1 cup granulated sugar
- ¼ cup cocoa powder (I use 2 tablespoons dutch or natural unsweetened and 2 tablespoons dark)
- 1 teaspoon baking soda
- ½ teaspoon kosher salt
- 7 tablespoons vegetable oil
- 1 teaspoon pure vanilla extract
- 1 tablespoon white vinegar
- 1 cup cold water
For the Vanilla Frosting
- 1 cup unsalted butter or vegan baking stick, room temperature
- 6 cups confectioners' sugar
- 1 teaspoon pure vanilla extract
- pinch kosher salt
- ¼ cup plus 1 tablespoon water , room temperature
For the Cookies and Cream Frosting
- 6 gluten free chocolate sandwich cookies , smashed into tiny crumbs
For the Topping
- 6 gluten free chocolate sandwich cookies , cut in half
Instructions
For the Cupcakes
- Place 5 of the sandwich cookies in a zip top bag and seal it shut. Crush the cookies with the flat side of a meat mallet or a rolling pin until they have a sand-like consistency.
- In a large bowl whisk together the 1.5 cups of gluten free flour, 1 cup of granulated sugar, ¼ cup cocoa powder, 1 teaspoon baking soda, ½ teaspoon kosher salt and crushed chocolate sandwich cookie crumbs.
- In the dry ingredients, using clean hands, make 3 wells for the wet ingredients to be poured into.
- In one well pour the 7 tablespoons of vegetable oil, in the other well pour the 1 tablespoon of white vinegar and in the last, pour the 1 teaspoon of vanilla.
- Pour the 1 cup of cold water on top of all the ingredients and use a whisk to mix everything together until fully combined. If it gets too thick for the whisk, switch to using a spatula. Do not over mix.
- Use an ice cream scoop to fill the cupcake tins ¾ way to the top. Smooth the tops with a small knife. You should have 12 regular size cupcake tins filled.
- Bake the cupcakes at 350 degrees Fahrenheit for 25 minutes or until the tops of the cupcakes spring back at you when carefully touched or when a toothpick inserted comes out clean.Let the cupcakes cool almost completely in the pan before trying to remove them.
For the Vanilla Frosting
- In the large bowl of an electric mixer or using a hand held mixer, beat the 1 cup of unsalted butter or vegan baking stick until smooth and creamy. About 2 minutes.
- With the mixer on very low speed, slowly add in the 6 cups of confectioners' sugar, 1 teaspoon of vanilla and the pinch of salt.
- While the mixer is on, slowly add in the water a little at a time until you get the desired consistency. You may not need to use all the water.
- Once all the ingredients are combined, turn the mixer to medium high speed. Beat for about 2-3 minutes or until the frosting is super soft, fluffy and creamy. Set aside.
Assemble the Cupcakes
- Once the cupcakes have cooled, make the holes for the vanilla frosting filling.If you have piping bags with tips, you can use that to make the holes. If not, using a clean thumb, simply push down in the center of the cupcakes but not all the way to the bottom.
- Fill a piping bag with a tip with about 1 cup of the vanilla frosting. If you don’t have a piping bag, fill a zip top bag with vanilla frosting and snip a small piece of the corner off.Fill the holes in the center of the cupcakes with the vanilla buttercream, all the way to the top.If you have any excess vanilla frosting, put it back into the bowl of frosting. We will use it to make the cookies and cream buttercream.
Make the Cookies and Cream Buttercream
- Place 6 of the sandwich cookies in a zip top bag and seal it shut. Crush the cookies with the flat side of a meat mallet or a rolling pin until there are tiny crumbs. Not quite the sand like consistency of earlier.
- Using a spatula, very gently fold the crumbs into the vanilla frosting. Mix until just combined. If you over mix the frosting will become a muddy messy color.
Decorate the Cupcakes
- If you have piping bags, fill the bags with the frosting. Make sure to use a wide tip otherwise the crumbs will get stuck. I like to use Wilton 4B. Pipe the cookies and cream frosting on top of each cupcake.If you don’t have piping bags, put a thin layer of frosting on top of each cupcake.
- If you frosted the cupcakes by hand, pop the cupcakes in the fridge for 15 minutes to let that thin layer harden. This is your crumb layer so that when you frost the tops of the cupcakes, the vanilla frosting doesn’t ooze out and get all over the place. If you have a piping bag, you don’t need the crumb layer or this step.
- Take the last 6 chocolate sandwich cookies and cut them in half. There will be crumbs. Take the extra crumbs and sprinkle them on top of the frosted cupcakes. Place half of the cookie on top of each cupcake if desired.
John says
Thank you so much for this recipe! This was a huge hit!